Perfectly 26 No-Slip Bobby Pin Hacks Gripping Finer Strands
Let’s be real for a second: if you have fine, slippery, or just generally rebellious hair, you know the struggle of trying to keep a bobby pin in place. It’s like they have a mind of their own, and by midday, they’re usually on your bathroom floor. But I’ve spent way too many mornings fighting with these little metal guys, and I finally cracked the code. Today, I’m sharing 26 no-slip hacks that actually work for finer strands. No fancy tools, just simple tricks that will make your pins stay put all day. Ready to save your hair from constant re-pinning? Let’s get into it.
1. The Velvet Touch
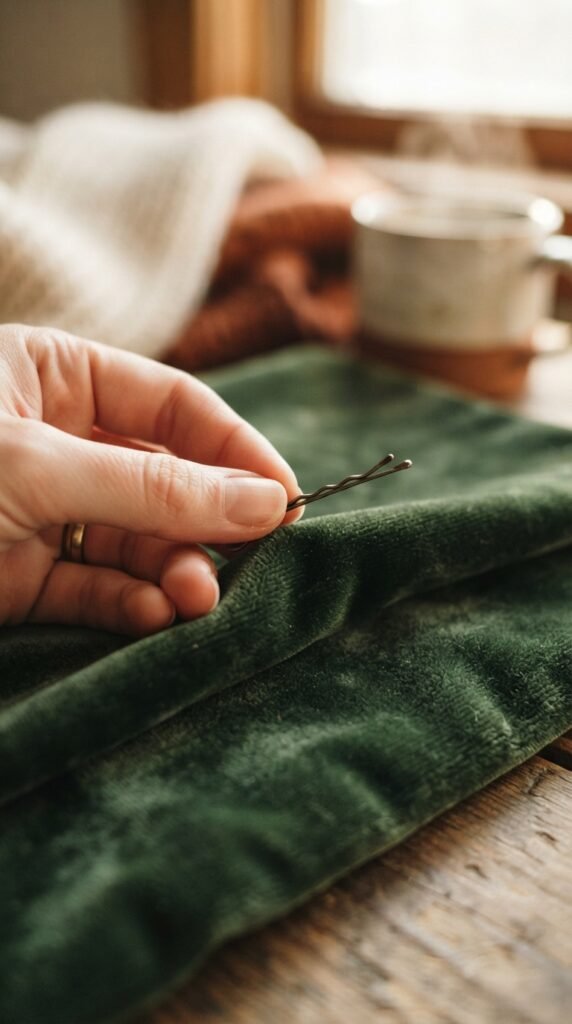
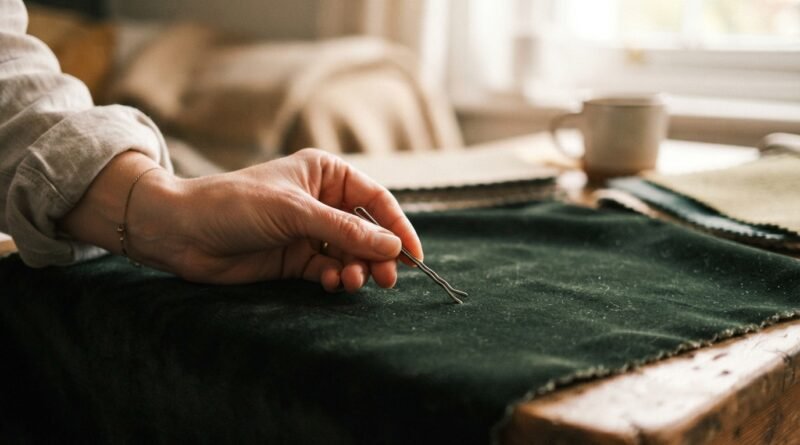
I swear by this one. Before you slide a pin in, gently press the flat side against a piece of velvet fabric. The tiny fibers grab onto the metal, creating friction that stops it from sliding. If you don’t have velvet, try a fuzzy sock or an old sweater. For a more permanent fix, you can even buy velvet-coated bobby pins in bulk. They’re a game-changer for 2026 hairstyles like the quiet luxury bob or an asymmetrical lob. Trust me, your scalp will thank you.
2. The Criss-Cross Method
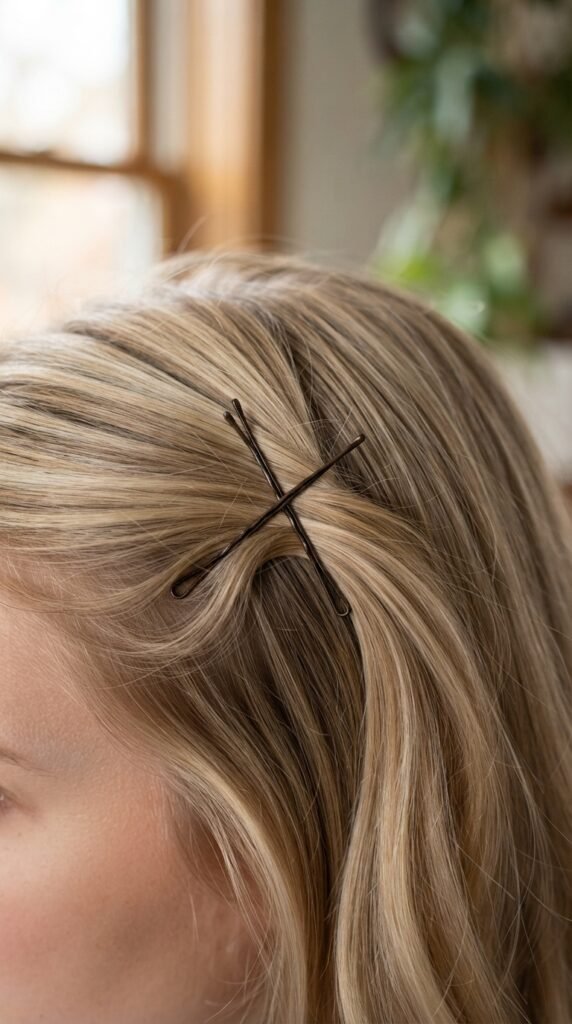
Instead of sliding a pin straight in, cross two pins to form an X shape over a small section of hair. This creates tension that locks them in place, especially around the crown area. It’s perfect for holding back bangs or securing a twist for an old money hair vibe. The key is to slide each pin in at a slight angle, not straight down. You’ll feel the grip immediately. This trick is a lifesaver when you want a polished look without a ton of product.
3. Texturizing Spray First

I know, I know. You want to avoid heavy sprays. But a light mist of texturizing spray (or dry shampoo) on the section before you pin gives the hair grip without the crunch. Let it dry for ten seconds, then slide the pin in. The texture grabs the pin’s ridges. For romantic goth hairstyles, a tiny bit of salt spray works wonders too. Just don’t go overboard. A quick spritz is all you need. Your pins will feel like they’re hugging your strands instead of slipping.
4. The Wave Slide
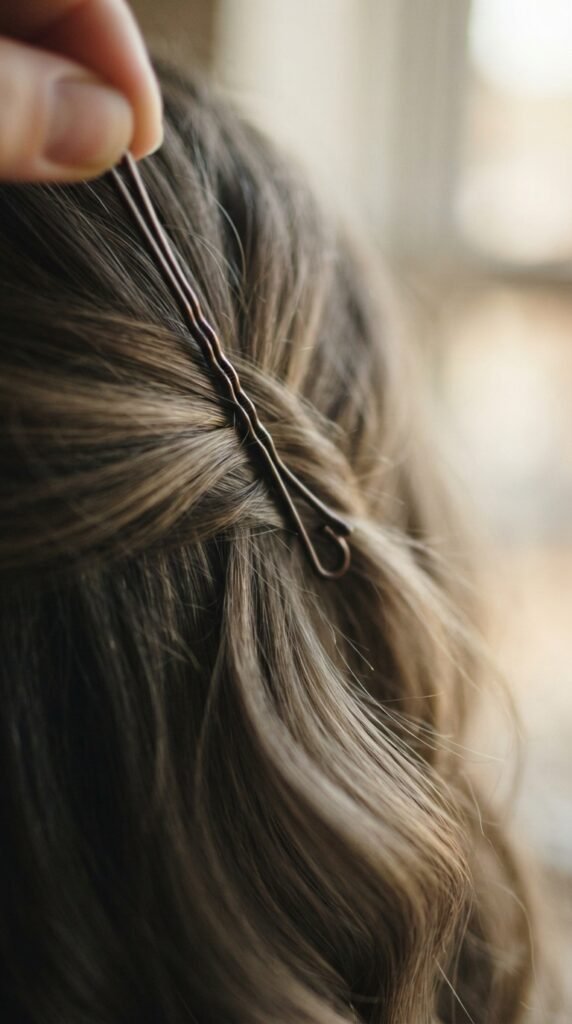
Here’s a trick I learned from an old hairstylist: slide the pin in with a slight zigzag or wave motion. Don’t push it straight. By moving it side to side as you go, the ridges in the pin catch more hair fibers. This is amazing for keeping an asymmetrical lob in place during a windy day. For finer strands, every little bit of friction helps. Practice it a few times, and it’ll become second nature. Your pins will feel like they’re locked in, not just sitting there.
5. The Hairspray Bath
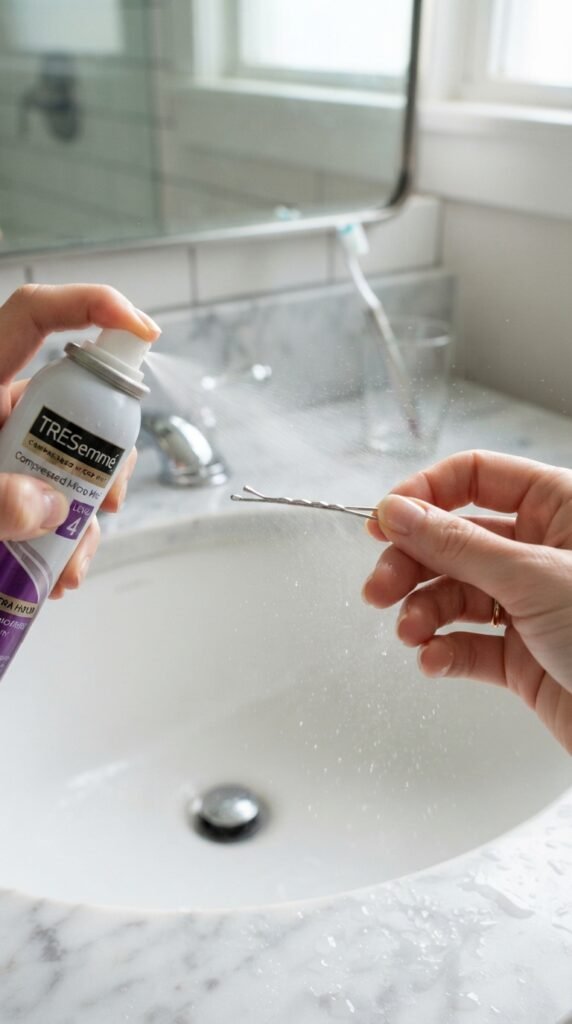
This one is so simple I almost didn’t believe it. Before you put the pin in your hair, spray it directly with a light hold hairspray. Wait a couple seconds for it to get tacky, then slide it in. The sticky texture keeps it from budging. If you’re doing a vampire haircut or a hime cut, this is especially useful for pinning back those framing pieces. Just avoid heavy sprays that flake. A flexible hold is your friend here. Your pins will feel like they’re glued in, but they’ll still slide out easily later.
6. The Double Pin Sandwich
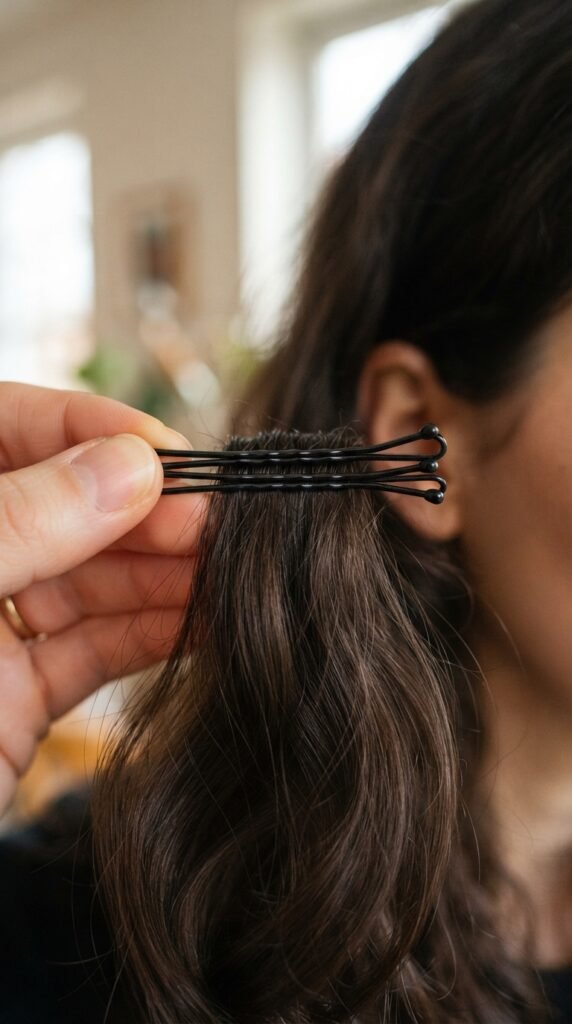
This trick is for the days when you need security. Take two pins, line them up flat against each other so the wavy sides are facing out, and slide them in as one unit. The double thickness creates a stronger grip. It’s perfect for holding up a twisted bun for a quiet luxury bob. The only catch is that you need a bit more hair to cover them. But for keeping those 2026 hairstyles intact during a busy day, it’s totally worth it. Your hair will stay put without slipping.
7. The Toothpaste Trick
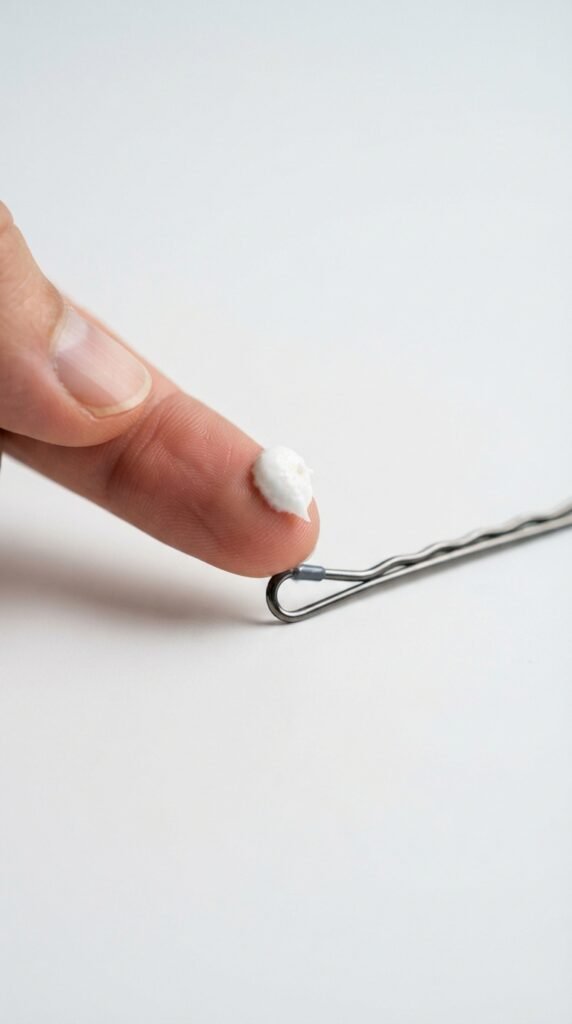
Okay, this sounds weird, but it’s a total lifesaver in a pinch. If you don’t have hairspray, put a tiny dot of toothpaste on your finger and rub it along the flat part of the pin. Let it dry for 30 seconds, then slide it in. The paste dries tacky and creates an amazing grip. It washes out easily, too. I use this when I’m traveling or at a friend’s house. For romantic goth hairstyles that need serious hold, it’s a secret weapon. Just don’t use gel toothpaste. The clear or white paste works best.
8. The Tease and Tuck
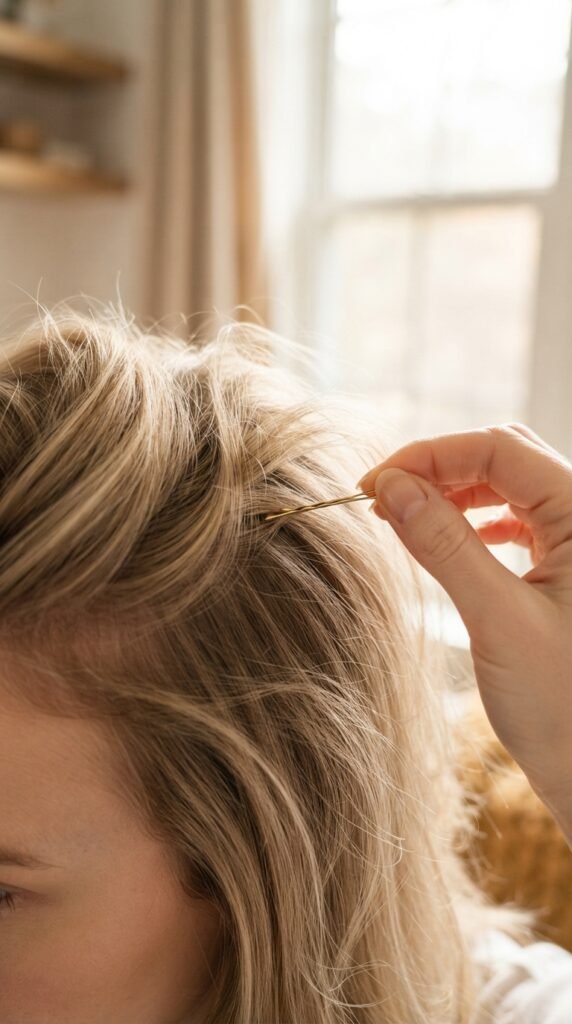
Before you pin a section, give it a tiny bit of backcombing at the root. Just two quick strokes with a fine-tooth comb. This creates a little nest that the pin can grip onto. It’s perfect for the crown area when you want a volume boost for an asymmetrical lob. For old money hair, this subtle lift is everything. Don’t over-tease it. Just enough to create texture. The pin will catch on those tiny knots and stay put. Your hair will look fuller without being crunchy.
9. The Sleep on It Method

If you have fine hair, the best trick might be patience. Put your bobby pins in about thirty minutes before you head out. Let your hair settle around them. The natural movement of your day will let the pins find their grip. Sometimes, even sleeping with them in (on a silk pillowcase!) helps. The hair molds around the pins. This works great for 2026 hairstyles like the vampire haircut or hime cut. By the time you leave, they forget they’re even there.
10. The Rubber Band Anchor
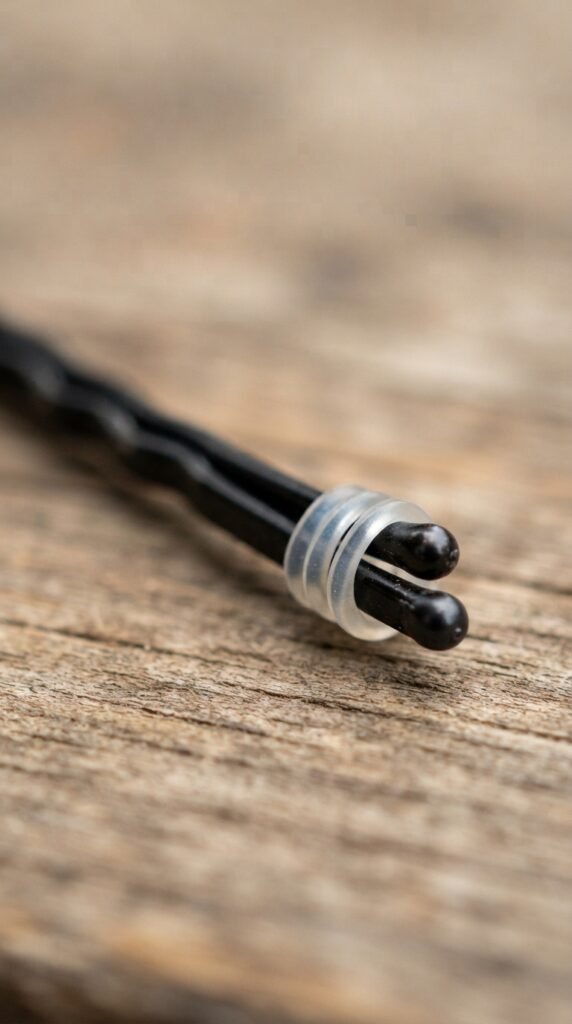
This one’s a little crafty, but it’s genius. Slip a tiny clear elastic hair tie around one end of the bobby pin, then slide the pin in. The rubber band acts like an anchor against your scalp, stopping the pin from sliding out. It’s invisible and works wonders for finer strands. For a quiet luxury bob, this keeps those side pins in place all day. Just make sure the rubber band is small enough not to tug. It’s a simple fix that feels like a professional secret.
11. The Hot Pin Trick
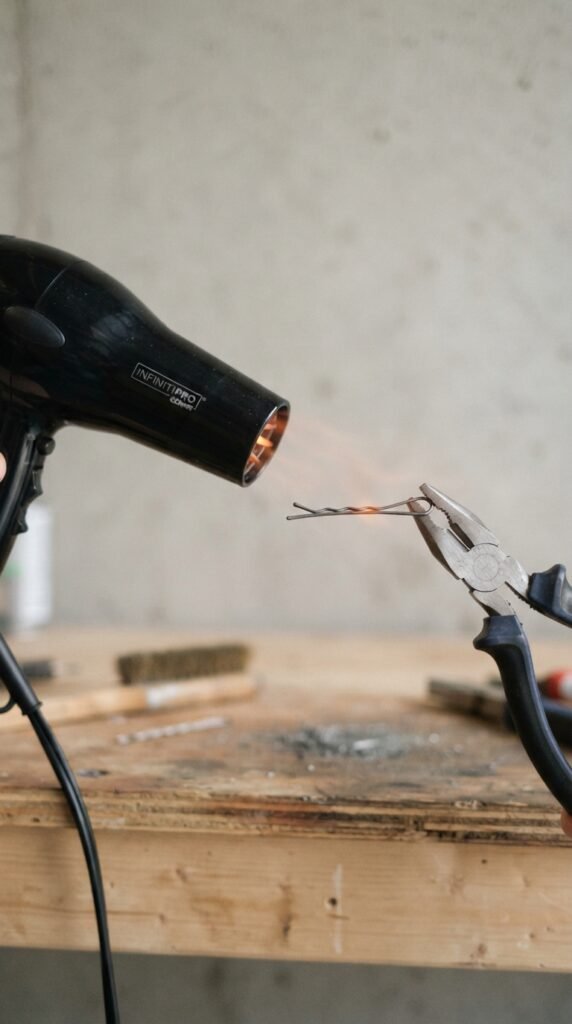
Run a bobby pin under hot water or blast it with a hairdryer for a few seconds. The warmth helps the pin mold slightly to the shape of your hair as it cools. It’s like giving it a custom fit. Test it on the back of your hand first to make sure it’s not too hot. This is perfect for securing an asymmetrical lob or pinning back pieces for romantic goth hairstyles. The grip lasts until you take it out. Your hair will thank you for the extra bit of heat.
12. The Wrong Side Up
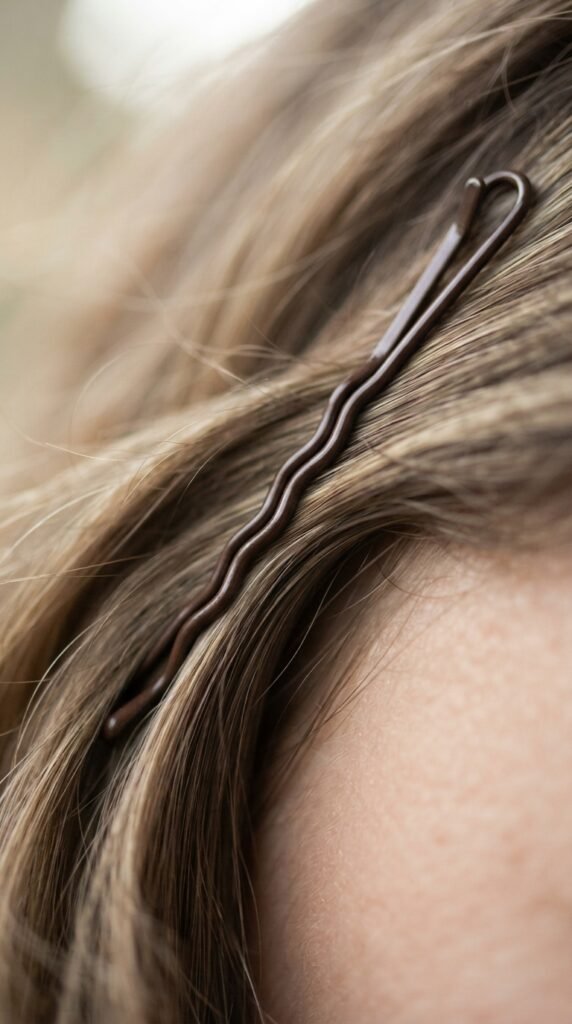
I know most people say to put the wavy side down. But for finer hair, flip the pin so the wavy side is facing away from your scalp and the flat side is against your head. This lets the ridges grab the hair on top while the flat side stays smooth. It sounds backwards, but it works. Try it with a small section near your temple. You’ll feel the difference immediately. For 2026 hairstyles that need a clean finish, this trick keeps everything sleek.
13. The Section Small
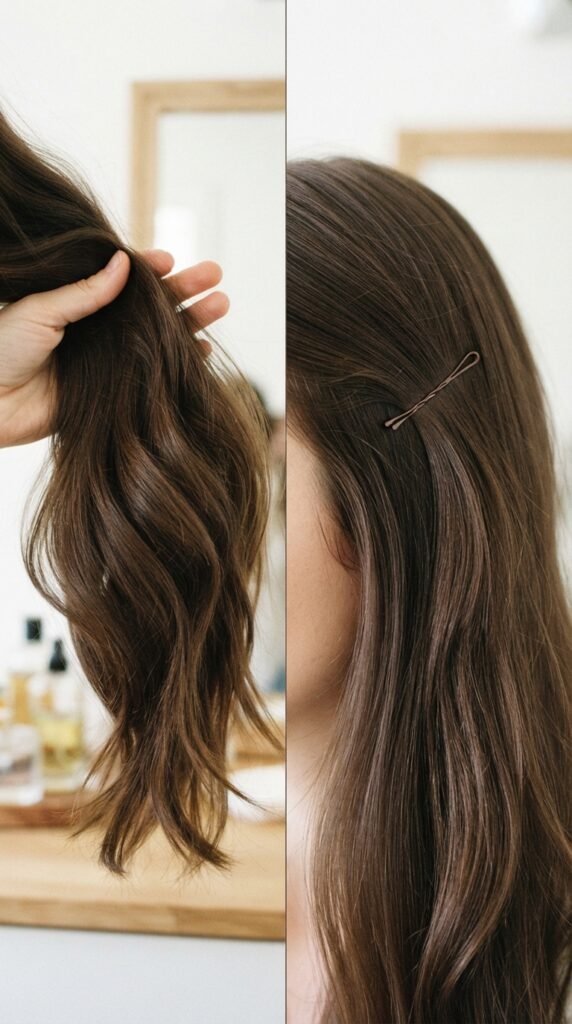
It’s tempting to grab a big chunk of hair and shove the pin in. But with finer strands, smaller sections work better. Take a piece of hair that’s about half the width of the pin. Slide it in, and it will grip tightly. For a hime cut, use two small pins instead of one big one to pin back the cheek pieces. The smaller the section, the more control you have. Your pins will feel like they’re part of the hair, not just sitting on top.
14. The Dry Shampoo Dust
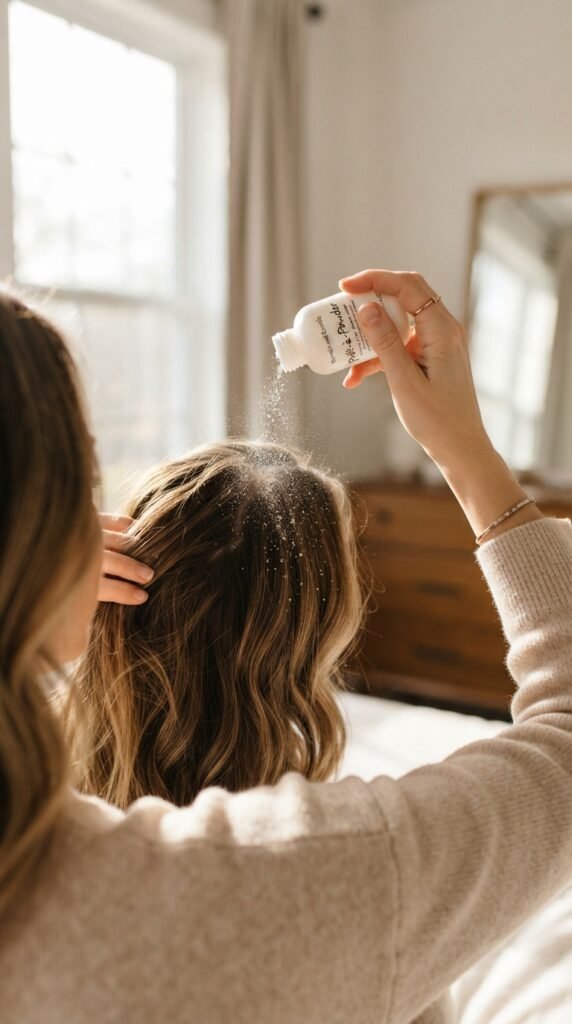
Before you pin, dip the tip of your pin into a little dry shampoo powder or baby powder. The powder absorbs excess oil and creates friction. Tap off the excess first. Then slide the pin in. It’s perfect for second-day hair when you need a quick refresh for an old money hair look. The powder also gives a bit of volume. For fine hair, this is a two-in-one win. Your pins will stay in, and your roots will look clean.
15. The Twist and Lock
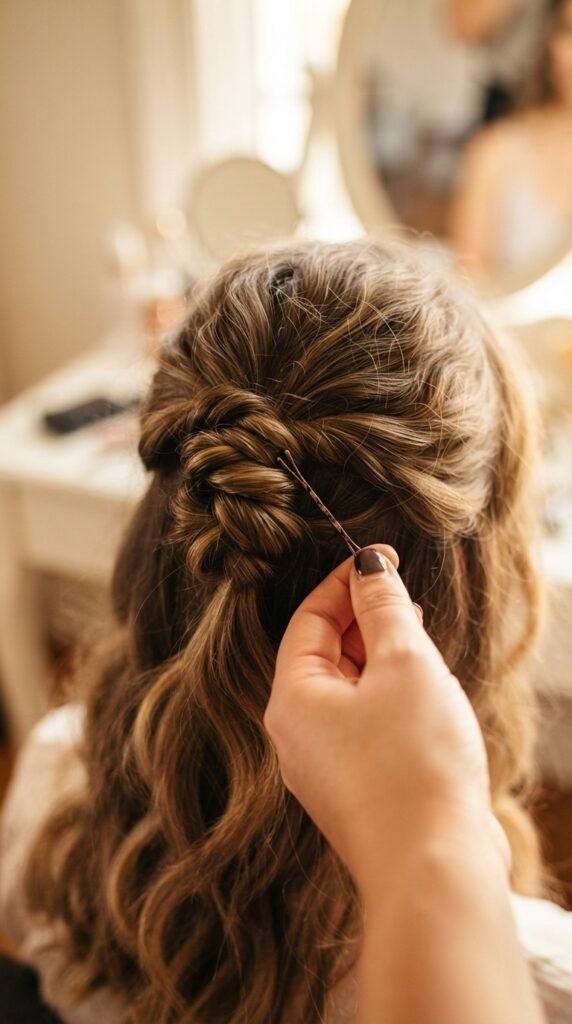
Twist a small section of hair before you slide the pin in. The twisted shape creates grooves that the pin can lock into. It’s especially useful for securing a twist or a mini bun. For romantic goth hairstyles, a soft twist adds a nice texture, too. Don’t twist too tight; you want it relaxed enough for the pin to grab. This trick works because the hair is no longer a flat ribbon. It’s a spiral that holds the pin naturally.
16. The Velcro Strip Hack
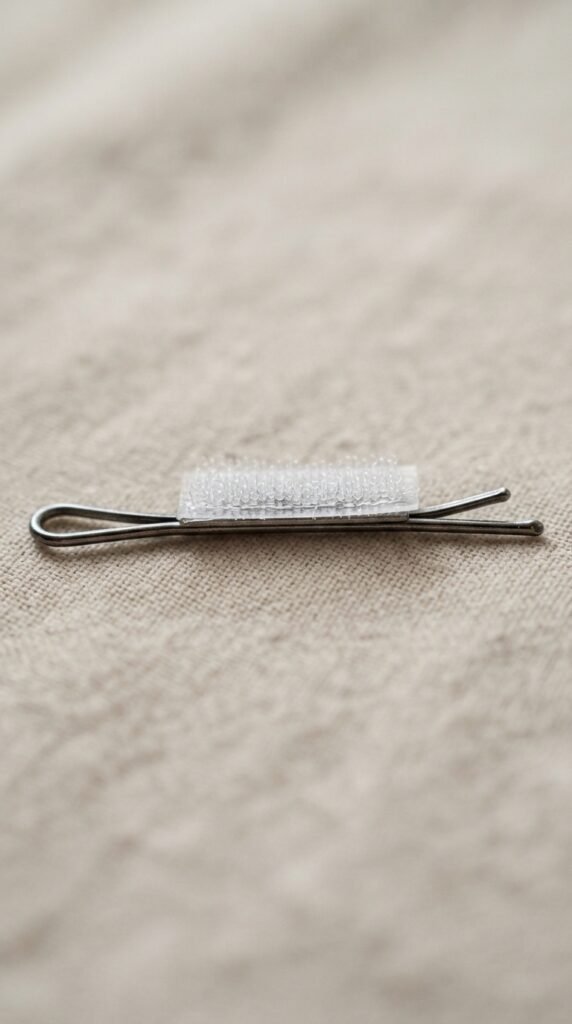
If you’re feeling crafty, cut a tiny piece of the hook side of a velcro strip and stick it to the inside of your bobby pin. It creates a gripping surface without adding bulk. You can also buy pre-made grip strips online. It’s a secret weapon for 2026 hairstyles like the asymmetrical lob. The velcro holds the hair without pulling. Just make sure it’s small enough not to show. Your pins will feel like little magnets.
17. The Hairspray on a Cotton Round
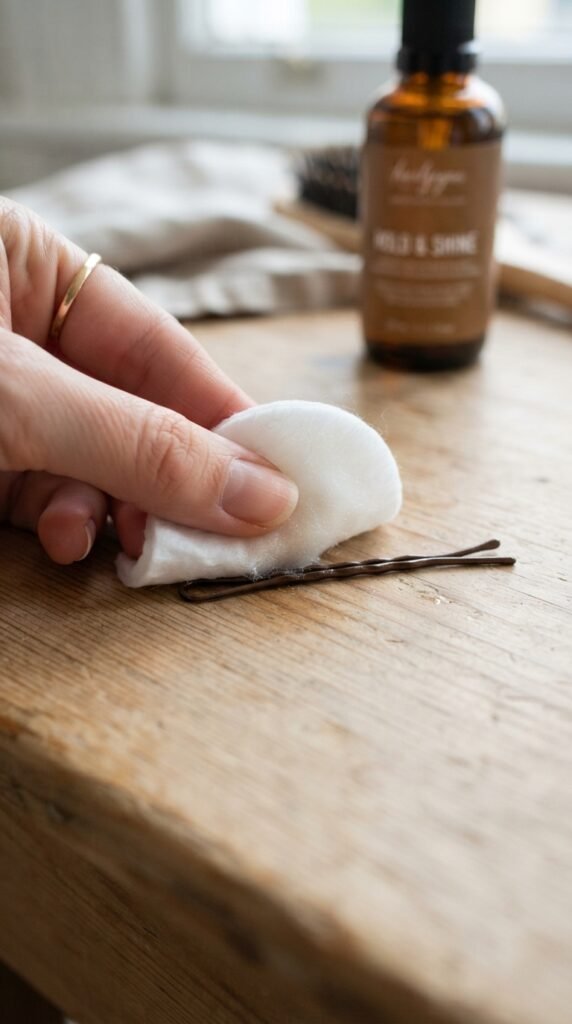
Spray a cotton round with hairspray, then squeeze the pin between the wet parts. Let it dry for a minute. The hairspray residue on the pin creates a tacky surface that grips hair without the stickiness. It’s a cleaner alternative to spraying directly. Perfect for a quiet luxury bob where you want a polished finish. The cotton pad keeps the spray even. Your pins will feel like they have a subtle coating of texture.
18. The Snap and Slide
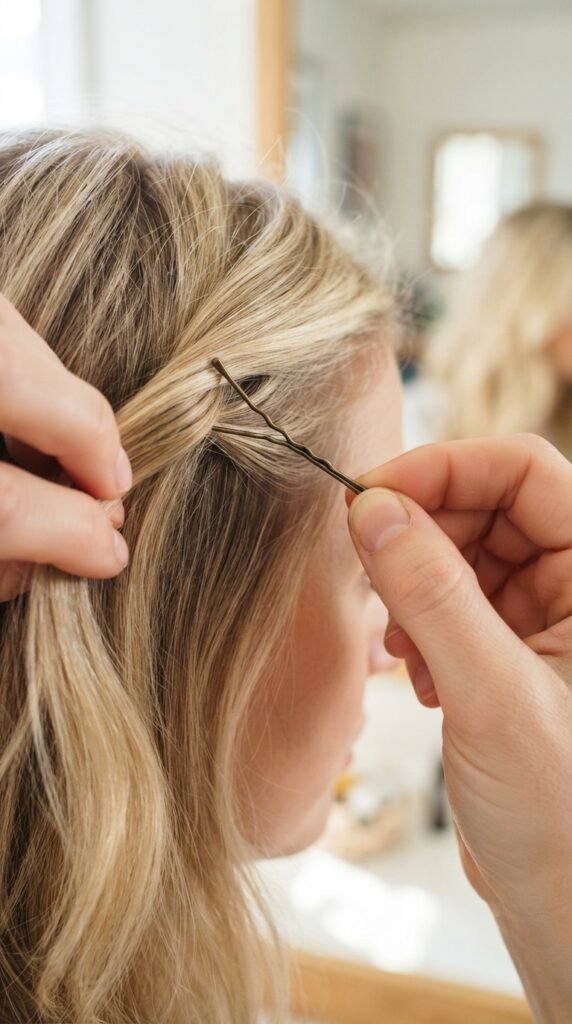
Before you slide a bobby pin in, gently snap it open a tiny bit by pulling the ends apart. This loosens the tension slightly, which lets the pin glide in easier and then grip more evenly. For fine hair, this prevents the pin from bending or damaging your strands. Use it for the vampire haircut or hime cut layers. A small, controlled snap is all you need. Your hair will thank you for the gentler approach.
19. The Oil-Free Scalp Prep
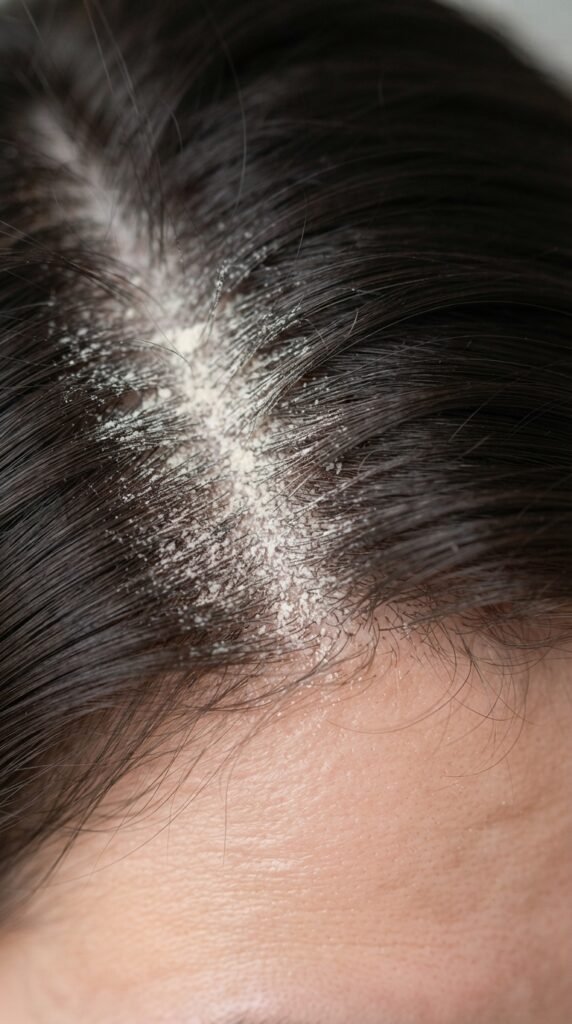
Oily roots are the enemy of bobby pins. Before pinning, blot your scalp with a tissue or powder. A clean, dry surface gives the pin something to grip. For old money hair, this extra step ensures your pins stay invisible and secure. Even a quick dusting of cornstarch works in a pinch. The less oil, the better the hold. Think of it like putting a sticker on a dusty surface. Clean scalp equals sticky pins.
20. The Fridge Trick
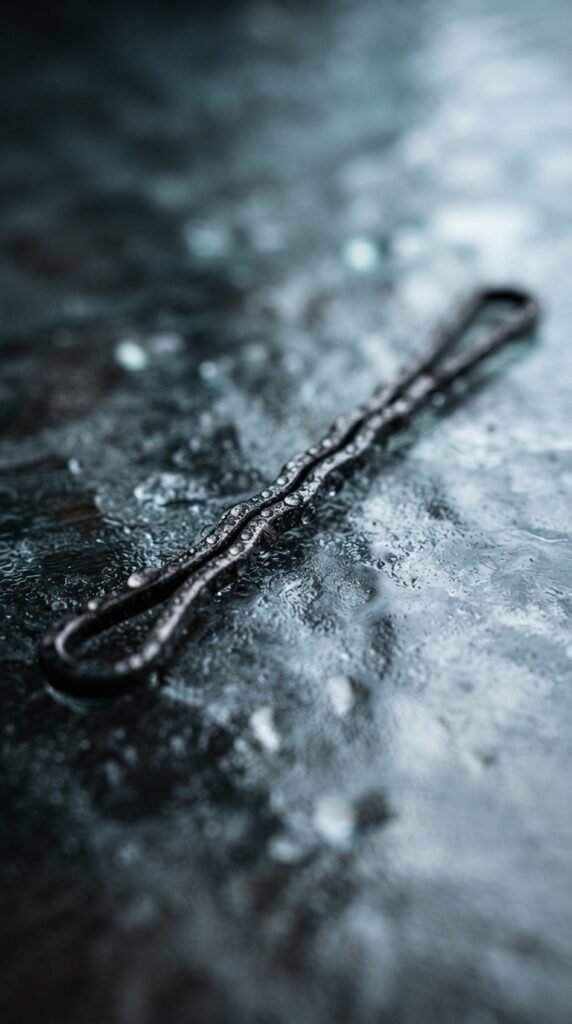
Pop your bobby pins in the fridge for ten minutes before using them. The cold metal contracts slightly, making the ridges sharper and more defined. It also helps the pin stay in place longer because it cools the hair follicle slightly. It’s a weird trick but it works for 2026 hairstyles that need extra security. Just don’t leave them in too long. Cold pins grip like magic, especially on warmer days.
21. The Double Direction
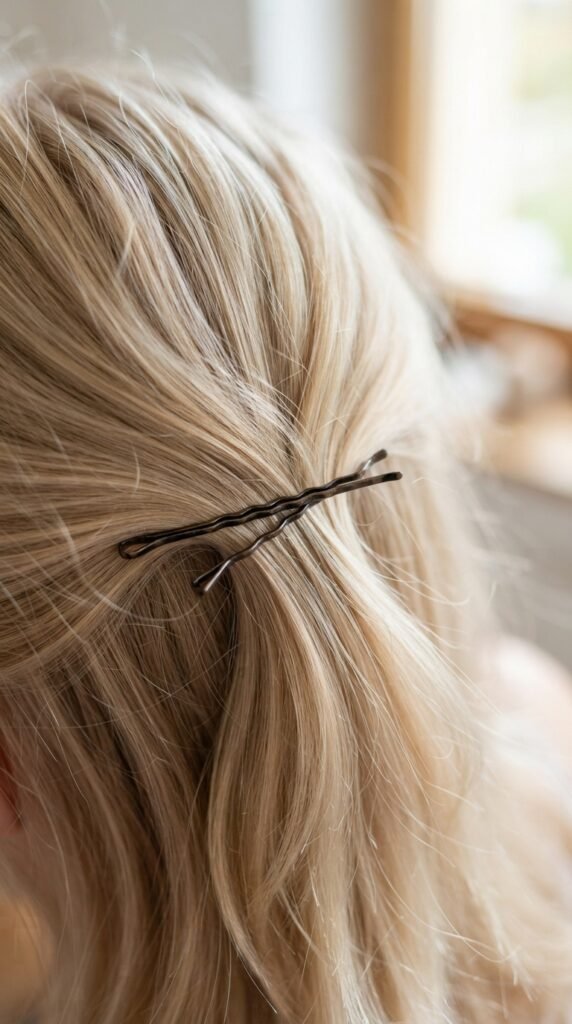
Slide one pin in from the left, then another from the right, meeting in the middle. The opposing forces lock each other in place. It’s perfect for holding up a twist or a French roll. For romantic goth hairstyles, this creates a symmetrical grip that won’t budge. Make sure the pins are close together but not overlapping. The tension keeps everything tight. Your hair will feel like it’s in a gentle hug.
22. The Silk Wrap
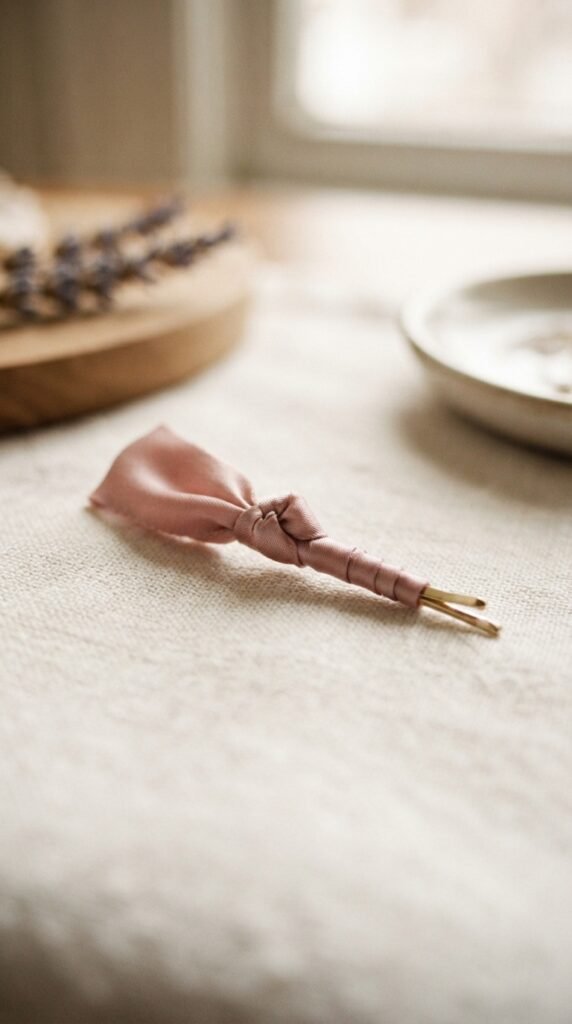
Wrap a tiny piece of silk ribbon (about 1 inch) around the center of a bobby pin. The silk creates friction without pulling your hair. It’s great for old money hair because it adds a subtle, quiet luxury touch. You can find silk scraps at craft stores. The wrap also protects your hair from metal kinks. For finer strands, this is a gentle but effective hold. Your pins will look prettier, too.
23. The Hairspray Dip
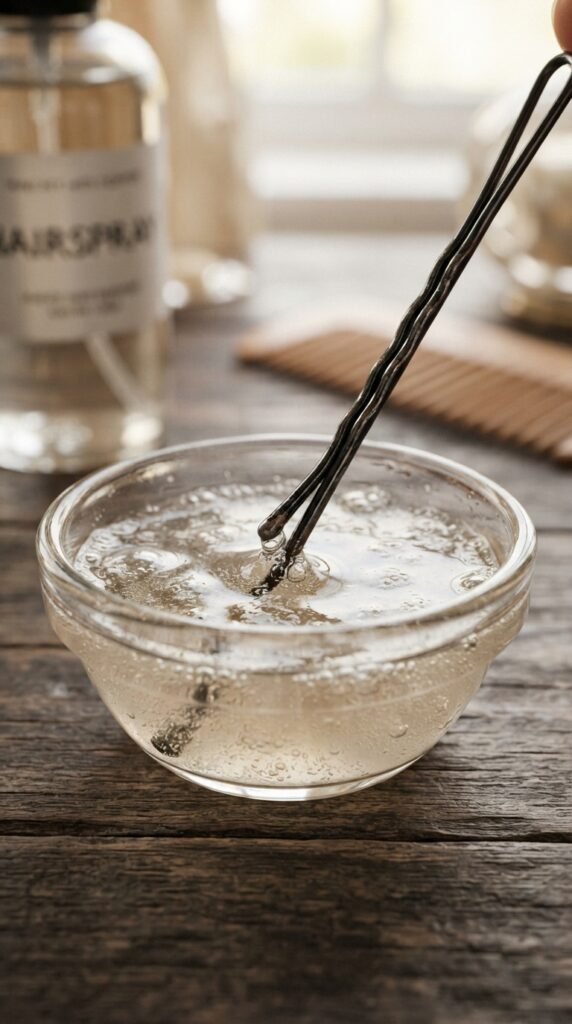
This is the nuclear option. Dip the tip of your pin into a small bowl of hairspray, let it dry for 15 seconds until tacky, then slide it in. The sticky coating is intense but amazing for glitchy glam hair or any look that needs maximum hold. Use it sparingly. It’s perfect for securing glitter or tiny accessories. Just wash the pin after use to avoid buildup. Your hair won’t budge, I promise.
24. The Ridge Side In
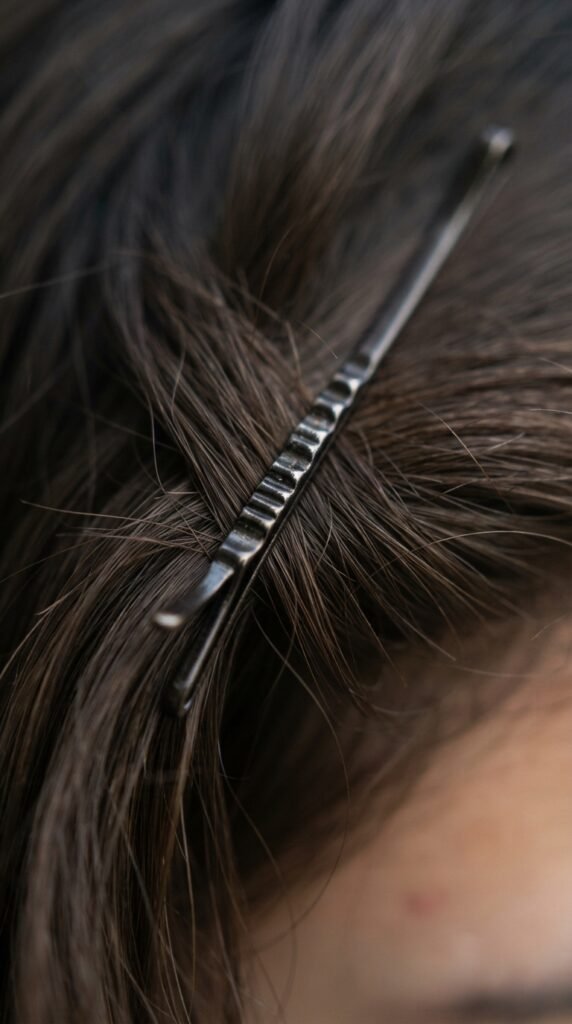
I know I said flip it up earlier, but here’s another take: if you have very fine, straight hair, place the wavy side directly against your scalp. The ridges create a gentle grip. Try both to see which works best for your specific texture. For an asymmetrical lob, the wavy side down is often more secure. Experiment with a few pins. Your hair will let you know which side it prefers.
25. The Pre-Pin Snip
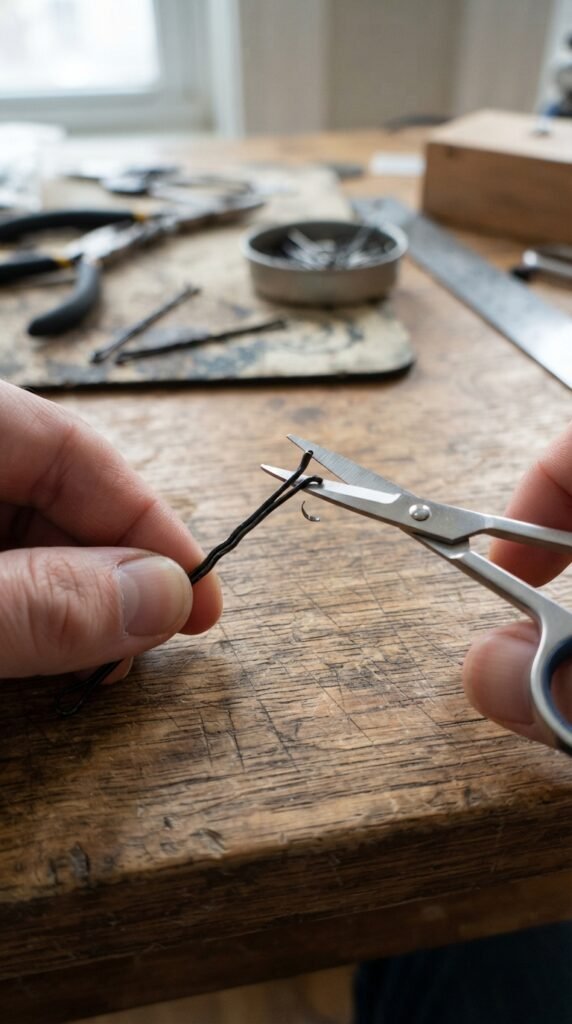
If you have a pin that always slips, snip off a tiny bit of the rounded end with nail clippers. The flat edge creates a slight hook that catches hair fibers. Be careful not to make it sharp. This is a last-resort hack but works for stubborn pins. For 2026 hairstyles like the vampire haircut, a custom-snipped pin can be the difference between a perfect hold and a sliding mess.
26. The Spit and Slide (Yes, Really)
This is the oldest trick in the book, but it works. Lightly wet the pin by touching it to your lip (or a tiny bit of water). The moisture creates a temporary tackiness that helps the pin slide in and grip. It dries in a minute, leaving a clean hold. For fine hair, this is a low-effort, high-reward hack. Use it when you’re in a rush. It’s gross? Maybe. Effective? Definitely. Your hair won’t complain.
So, there you have it. Twenty-six tricks that actually work for finer strands. The best part is that most of them use stuff you already have at home. I’ve tried every single one, and they’ve saved me from countless pin-related meltdowns. You don’t need to buy expensive tools to make bobby pins behave. It’s all about small tweaks that add up to a big difference.
I’d love to know which one of these you try first. My personal favorites are the criss-cross method and the velvet touch. They’ve become a part of my daily routine. If you have a hack I missed, please drop it in the comments. We’re all in this fine-hair journey together, and I learn something new from you every time.
Save this post to Pinterest so you can find it next time your pins betray you. And if you try one of these, let me know how it goes. Seriously. Comment below and tell me your favorite trick. I’ll be here, hanging out with my coffee and a perfectly secure hair day.