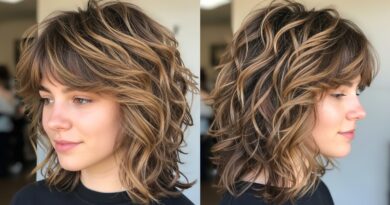
How to Fix Overprocessed Hair Before Your Colorist Sees the Damage
Okay, take a deep breath. If you’re reading this, you already know the feeling. You looked in the mirror and saw dry, stringy hair that snaps at the slightest tug — right before your colorist appointment. I’ve been there, and I know how it feels to panic.
Here’s the truth: you can absolutely improve things before that salon chair. In just a few days, you can make a serious difference. This guide is the honest, practical rescue plan I’d give my own best friend. No expensive gimmicks, no overwhelming 15-step routine.
Think of it as damage control. We’ll stabilize your hair, protect the ends, and get you in the door looking way better than you feel right now. You’re not alone, and you’re going to be okay. Let’s fix this together.
Step One: Put Down the Bleach
I know, I know. You want to tone it, lighten it, or fix an uneven patch before the appointment. Please don’t. Every extra pass of bleach or box dye strips more of the hair’s protective layer and makes the damage worse than when you started.
What to do instead:
- Skip all bleach, toner, and brightening shampoos.
- No at-home gloss or color-depositing masks.
- Let your hair air-dry completely before bed.
The goal isn’t to make things perfect from home. It’s to keep things from getting worse. If the color is uneven, that’s a conversation for your colorist — they have professional tools to handle it safely.

Assess What You’re Really Dealing With
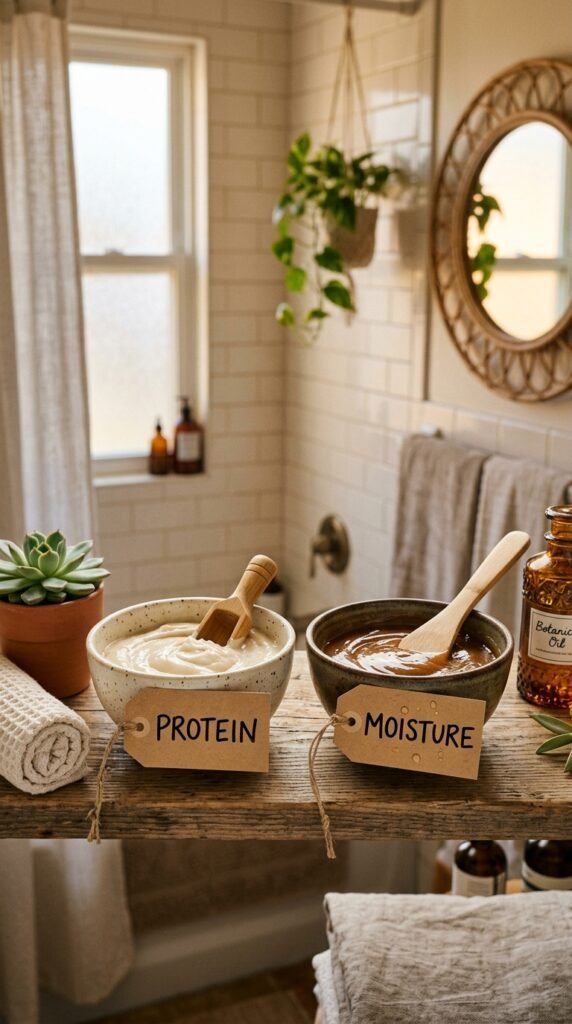
Before you start any treatment, figure out what kind of damage you’re facing. Overprocessed hair usually falls into two camps: too much protein (stiff, brittle, rubbery) or too little protein and moisture (mushy, tangled, stretchy).
Do the stretch test:
- Take one wet strand and gently pull it.
- If it stretches and snaps quickly, it needs protein.
- If it stretches a long way and feels mushy, it needs bonding and protein.
- If it feels like straw, it needs moisture.
Knowing which one you have changes everything. Applying the wrong treatment can actually make it worse. Take two minutes to check, and you’ll know exactly how to guide your routine.

The Protein-Moisture Balancing Act
This is the secret sauce. Hair is mostly protein, held together with moisture and natural oils. Bleach and lightener strip both. Too much protein makes hair stiff and brittle. Too much moisture makes it limp and mushy. You need both, in balance.
How to balance:
- Protein treatment once a week for the first two weeks.
- Moisture mask twice a week.
- A bond treatment every 3–4 days.
Think of protein like the structure and moisture like the flexibility. Both need to be present for hair to feel normal again. You can absolutely do protein and moisture in the same session, just layer them — protein first, then moisture.
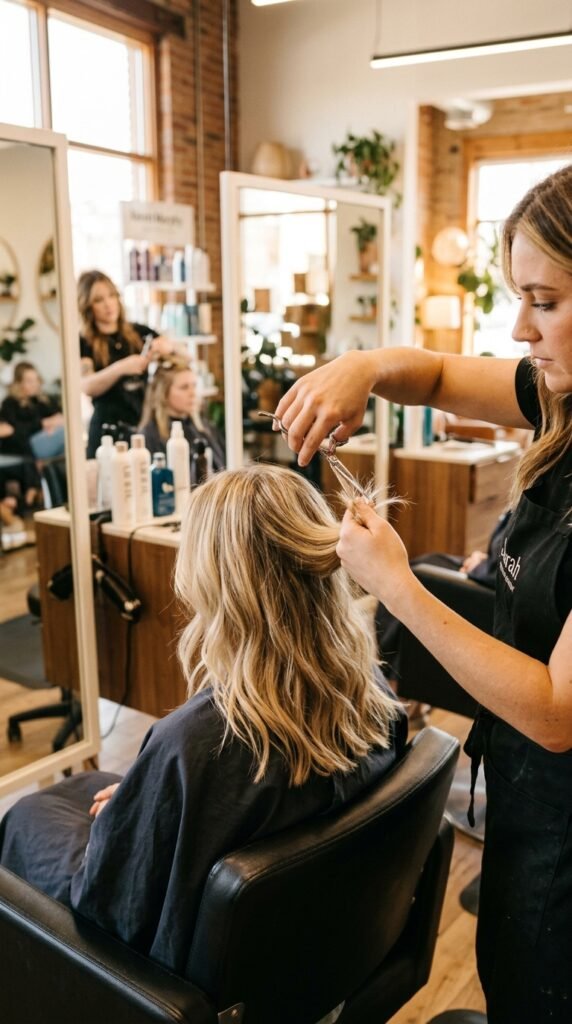
Book That Haircut Right Now
I know you’re attached to your length. But overprocessed ends are dead ends, literally. They won’t “heal” no matter how many masks you use. The best thing you can do for your hair before a color appointment is to remove the weakest parts so the healthy hair can shine.
Ask for:
- A light trim to remove split ends (even half an inch helps).
- A dusting if you want to keep as much length as possible.
- No razor cutting — it frays already-damaged strands.
Tell your colorist you want to keep as much length as possible. A good stylist will work with you. Healthy shorter hair will always look better than long stringy hair. Period.
Start With a Pre-Wash Oil Soak
This is the easiest thing you can do, and it makes a big difference fast. A pre-wash oil soak protects the hair from the harshness of shampoo and helps prevent further moisture loss. Even 20 minutes changes the game.
How to do it:
- Use jojoba, argan, or coconut oil — your choice.
- Apply a generous amount from mid-length to ends.
- Leave it for 20–30 minutes, or overnight with a shower cap.
- Wash with a gentle sulfate-free shampoo.
Do this before every wash for the next week. It adds a protective layer, smooths frizz, and keeps your hair from absorbing too much water, which weakens it over time.

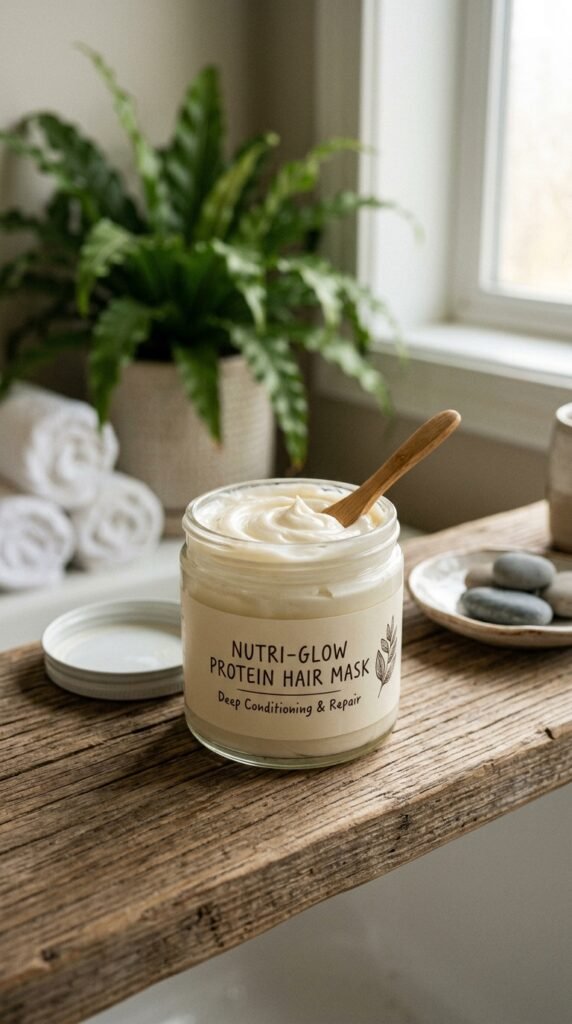
Your New BFF: A Weekly Protein Mask
Protein is not optional right now. Bleach literally dissolves the protein bonds inside your hair, so adding protein back is the closest thing to a repair we have. You don’t need a fancy salon treatment either — a good store-bought mask works.
Best choices:
- A keratin-heavy mask for fine to medium hair.
- A rice water or collagen mask for thicker hair.
- A bond-building mask that includes protein and ceramides.
Apply to damp hair after shampooing, leave it on for 10–15 minutes, and rinse with cool water. Once a week for the next month, then once every 2–3 weeks to maintain. Your hair will feel stronger within the first session.
Moisture Masks Are Non-Negotiable
Protein alone won’t fix it. After protein, you need moisture to soften and plump the hair, restoring its flexibility. Overprocessed hair that’s all protein with no moisture will feel stiff, straw-like, and snap just as easily.
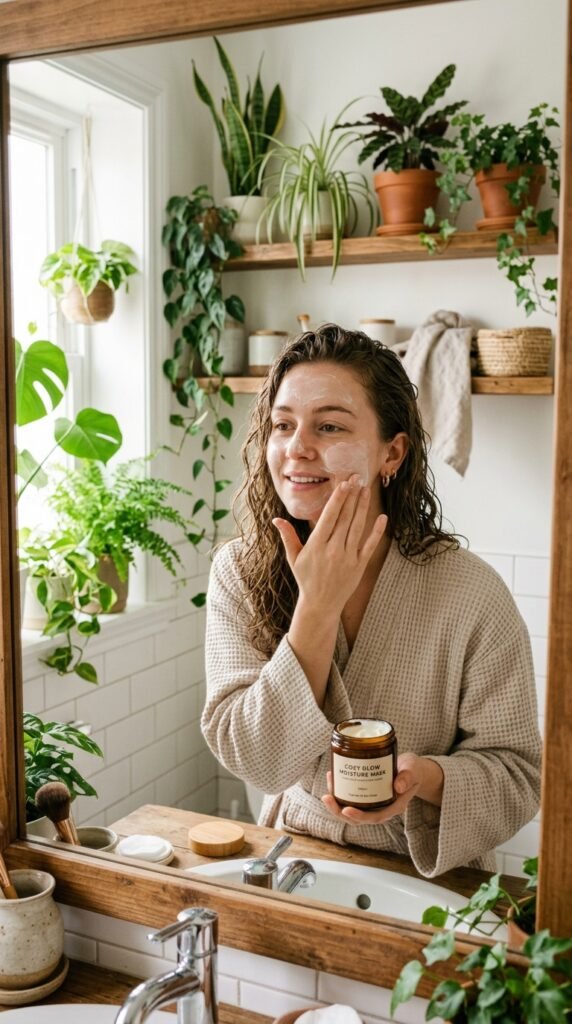
How to do a proper moisture mask:
- Use a mask with shea butter, aloe vera, or glycerin.
- Apply to clean, damp hair from mid-length down.
- Leave it for 15–20 minutes, then rinse cool.
- Finger-detangle gently with a wide-tooth comb while wet.
Twice a week is your sweet spot. This step keeps your hair bendable, shiny, and much less likely to break when you brush it.
Two Full Weeks Without Heat
This is going to be hard, but trust me: heat is your hair’s worst enemy right now. Flat irons, curling wands, and blow dryers cause immediate evaporation of moisture and stress the protein bonds even more. Two weeks off heat gives your strands a real recovery window.
Ways to style without heat:
- Air-dry and use a wide-tooth comb instead of a brush.
- Try overnight braids for soft waves.
- Use a heatless curling rod set for volume.
- Give yourself a slicked-back bun for a clean look.
If you absolutely must heat-style, keep the setting under 300°F and use a heat protectant. But genuinely, two weeks off is the best fast repair you’ll get.

Cooler Water Is Your Friend
Hot water feels amazing in the shower, but it’s terrible for overprocessed hair. It opens the cuticle, which lets moisture escape and makes hair frizzy and rough. Cooler water does the opposite — it seals the cuticle and locks in the good stuff from your treatments.
The switch that helps:
- Rinse with lukewarm water while shampooing.
- Use cool water for your final rinse.
- Finish with a cold blast for 10 seconds if you can.
This one change makes an immediate difference in shine. It’s free, it takes zero extra time, and you’ll notice your hair feels smoother and looks glossier within days. Use a shower filter if your water is hard — excess minerals can make overprocessed hair feel brittle and dull.
Upgrade to a Silk or Satin Pillowcase
This might sound extra, but it’s one of the most effective repairs. Cotton pillowcases absorb moisture and create friction, which causes split ends and breakage while you sleep. Silk and satin are smooth and friction-free, so your hair glides instead of pulls.
What to look for:
- 100% mulberry silk — best but pricier.
- Satin pillowcases — budget-friendly, works great.
- A silk bonnet if you prefer not to change your pillowcase.
Wash your hair cover weekly to keep it clean. This simple switch can reduce morning tangles dramatically and helps your hair hold onto all the treatments you’re doing. You’ll wake up with way fewer tangles and more smoothness, which makes every part of your routine easier.

Loose Hair Styles Only
Tight ponytails, braids, and buns place tension on hair that’s already weak and fragile. Overprocessed hair snaps easily under tension. For the next couple of weeks, keep your hair down or use very loose styles.
Style ideas:
- A loose, low ponytail with a soft scrunchie.
- A relaxed claw clip twist.
- A side braid that’s not pulled tight.
- Simply wearing it down with a middle part.
Avoid elastic bands with no coating, because they grip and rip the hair. Use spiral bands or silk scrunchies instead. Also, skip synthetic brushes with harsh bristles — a wide-tooth comb or a soft boar-bristle brush is gentler. Your hair will thank you by actually staying on your head.

The Exact Weekly Repair Schedule
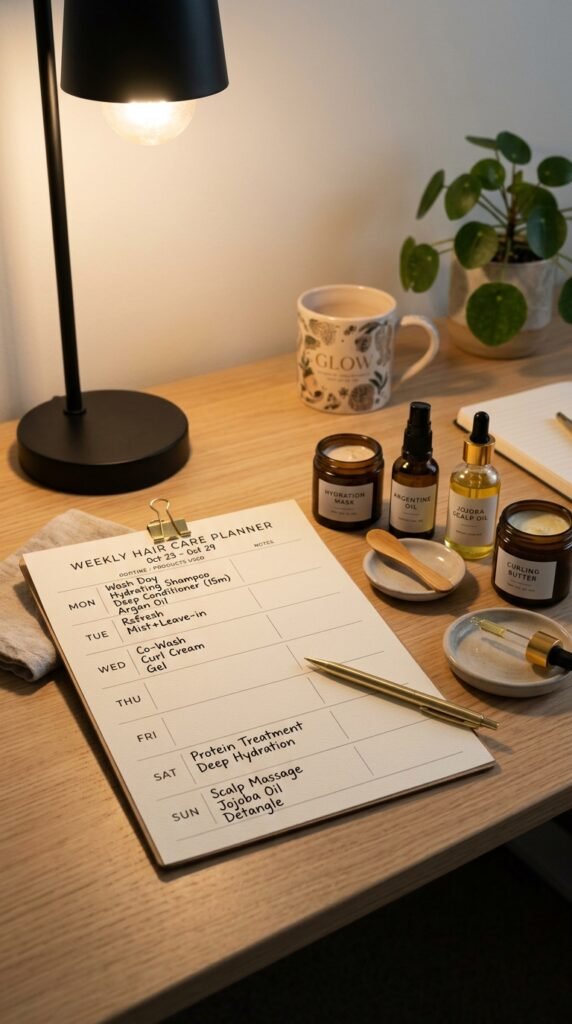
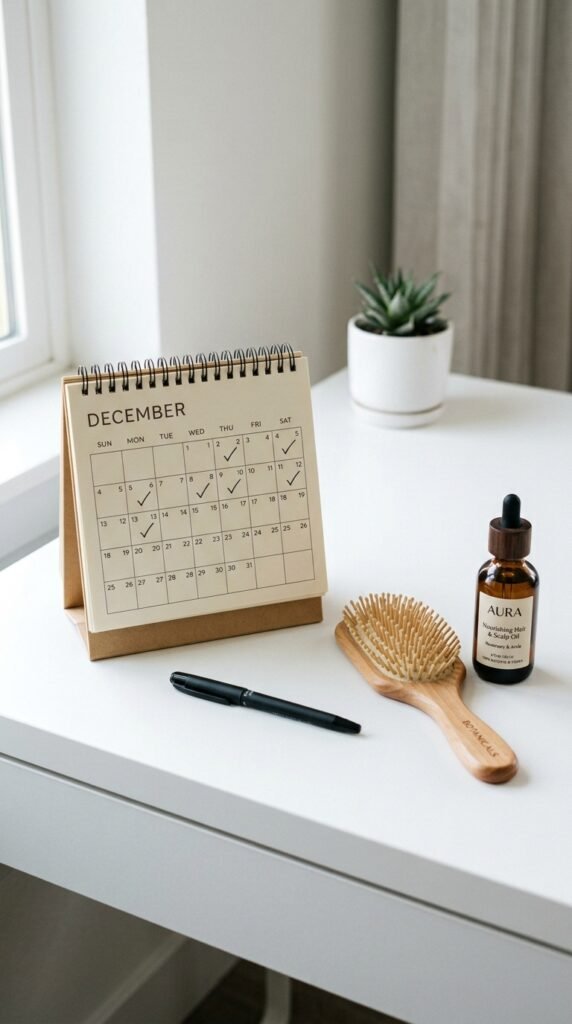
Consistency is the real secret. Here’s the simple weekly plan I use with my clients and friends:
- Monday: Pre-wash oil soak, wash, protein mask.
- Wednesday: Wash, moisture mask.
- Friday: Pre-wash oil soak (short 20-min), wash, bond treatment.
- Sunday: Wash or co-wash, skip the masks, air-dry loose.
This might feel like a lot, but each session is quick. And honestly, you’ll see more improvement from being consistent than from using fancier products once. Keep this schedule for two weeks before your appointment, then pull it back to one mask day and one oil day per week.
What Your Colorist Needs to Know
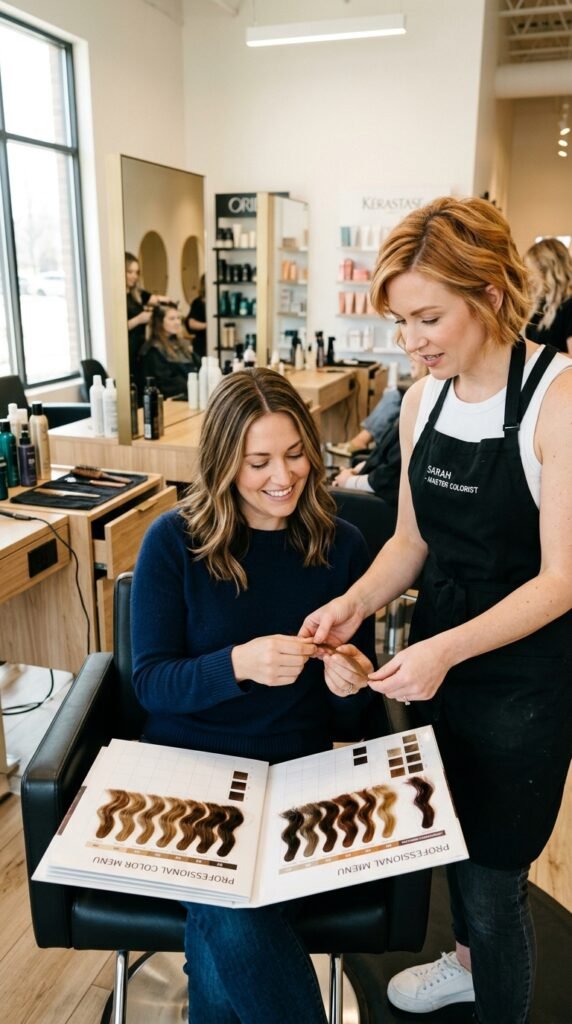
This matters more than anything you do at home. Be upfront about what happened. Colorists aren’t there to judge you, but they need to know how to keep your hair safe.
Tell them:
- Exactly what products you’ve used and when.
- If your hair snaps or stretches when wet.
- What treatments you’ve done in the past week.
- That you just trimmed your ends.
A good colorist will adjust your formulation and processing time to protect your hair. If a stylist suggests aggressive lightening anyway, trust your gut and find someone else. Your hair’s health matters more than a quick fix.
Realistic Timeline: What to Expect
Let’s be honest: you can’t fully reverse bleach damage. But you can absolutely improve the texture, strength, and appearance in a matter of days. Here’s a realistic timeline:
- Day 1–3: Hair feels smoother and less straw-like.
- Day 4–7: Less fall-out when you brush; tangles reduce.
- Day 7–10: Obvious shine and flexibility come back.
- Day 14: Hair is stable enough to color safely in most cases.
You don’t need to wait until your hair is “perfect.” You need it to be stable and strong enough that your colorist can work without chasing breakage. That’s the goal. And remember, even if it’s not perfect, doing something is better than doing nothing.
2026 Hairstyles for Damaged Hair
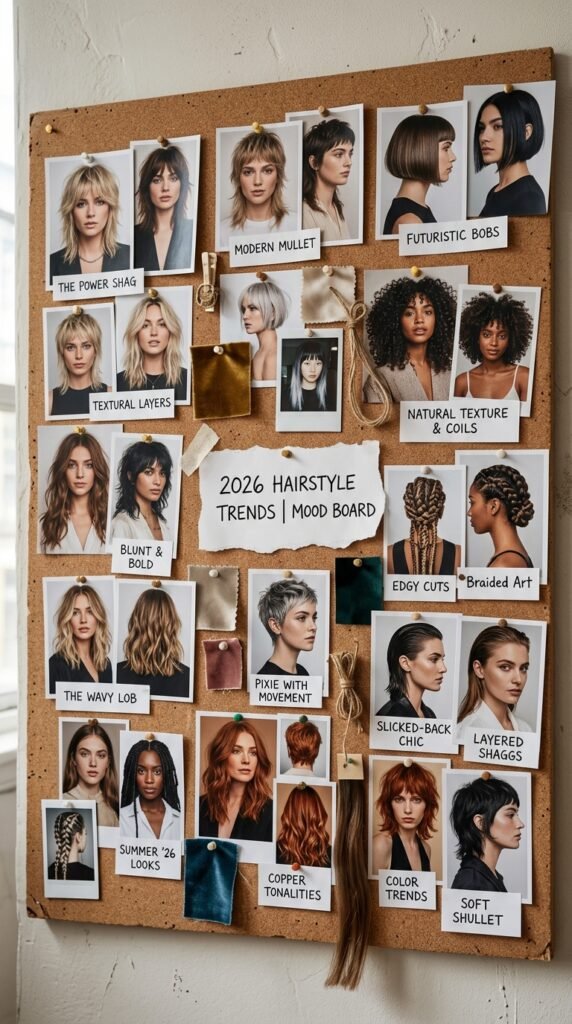
Here’s a fun pivot — all that damage doesn’t mean you can’t try something new. In fact, 2026 hairstyles are heavily focused on healthy, textured, lived-in looks that work beautifully with hair that needs some TLC.
Trends that work:
- Old money hair — polished, soft, low-maintenance.
- Quiet luxury bob — blunt but soft at the edges.
- Asymmetrical lob — modern and forgiving.
- Romantic goth hairstyles — dark, textured, deeply styling.
- Glitchy glam hair — edgy, intentionally imperfect.
- Vampire haircut — sharp layers, dramatic volume.
- Hime cut — straight, blunt, face-framing.
These styles lean into texture and movement, so they don’t rely on perfect, separate strands. You can absolutely ask your stylist about them at your next visit.
Old Money Hair
If you want a look that screams “expensive” but requires almost zero effort, old money hair is it. Think soft, shiny, slightly bent ends instead of crisp curls. It’s the kind of hair that says “I woke up like this” — even though she absolutely styles it.
Why it works for damage:
- Nothing aggressive — no bleach, no high-heat textures.
- Focuses on shine and movement.
- Lends length and face shape, not cuticle texture.
Ask your colorist for a single or two-tone gloss to regain shine without more lightener. Pair it with a center part and loose waves you create with braids, not tools. This style is becoming a cornerstone of 2026 hairstyles for good reason.

Quiet Luxury Bob
The quiet luxury bob is exactly what it sounds like: simple, elegant, and healthy-looking. It’s a chin or collarbone-length cut with minimal layers and an effortless finish. This cut works beautifully for overprocessed hair because it lets you snip off the worst of the damage and start fresh.
Key details:
- Blunt or slightly rounded ends.
- No extreme layers, so it feels thick.
- Takes almost no styling — blow dry gently and go.
If your hair is too damaged to keep long, this is the best way to pivot. You’ll feel chic, not compromised, and the shorter length will make your strands look fuller instantly. This is one of the best 2026 hairstyles to discuss with your colorist.

Asymmetrical Lob
The asymmetrical lob offers a fun, modern shape without putting your hair through any extra stress. The longer front and shorter back movement means you can hide damage or weakness at the nape while staying stylish.
Why we love it:
- Divides attention away from damaged tips.
- Encourages healthy regrowth with regular trims.
- Works with straight, wavy, and slightly curly textures.
The stylist will love this cut because it frames your face beautifully, and all that density can stay in the center where it’s strongest. It’s a perfect option in 2026 hairstyles if you want change but aren’t ready to go short. Plus, it’s super easy to maintain from home.

Romantic Goth Hairstyles
Here’s one for anyone who wants to lean into the drama. Romantic goth hairstyles bring dark, moody waves, deep black or burgundy tones, and plenty of texture. They look high-fashion and edgy, but they’re actually kind to fragile hair because they embrace a lived-in vibe.
How to style:
- Use dark tinted gloss or direct dye — no bleach required.
- Soft waves via braids or low-heat rods.
- Velvet bows or barrettes to finish the look.
The deep tones help make damage less noticeable, as dark color reflects light. And the messy, romantic texture means no one is looking for perfect strands. This is one of the coolest 2026 hairstyles for a style refresh.

Glitchy Glam Hair
This is the trend for people who want to feel modern and a little rebellious. Glitchy glam hair is all about intentionally imperfect, “glitching” pieces — think flicked ends, mismatched parted sections, and a strong gloss finish.
It’s perfect for damaged hair because:
- The frizz and flyaways become part of the style.
- You don’t need smooth, perfect strands.
- A glossy topcoat makes everything look deliberate.
To style it, apply a gel or pudding from root to tip, then use your hands to create separation. Let some strands break free. Done. It’s gorg, and it meets your hair wherever it is right now. One more reason 2026 is the year to have fun.

Vampire Haircut
Okay, this one is fun. The vampire haircut has heavy layers, sharp but soft points at the ends, and the kind of volume that feels dangerous and cool. It’s like your emo phase grew up and became elegant.
Why it works on damaged hair:
- Layering removes the weakest, thinnest parts.
- It creates the illusion of density.
- The sharp ends look intentional, not split.
This style pairs perfectly with dark romantic goth hairstyles in the 2026 line-up. If your colorist is any kind of cool, they’ll be thrilled to give you a razor-free shape that feels fresh and bold. Just make sure they use scissors, not a razor, on damaged hair.

Hime Cut
The hime cut is a blunt, straight bang with cheek-length side panels and long hair behind. It’s dramatic, gorgeous, and honestly genius for overprocessed hair because the blunted edges make strands look healthy and thick.
Things to know:
- Works best with straight or slightly wavy hair.
- Requires a little maintenance for the blunt bangs.
- Can be done on lengths that are already damaged because the cut removes the damaged ends.
Ask your stylist to keep the side panels soft enough to blend. This Japanese-inspired style is trending hard in 2026 hairstyles and pairs beautifully with rich, deep tones. It’s a statement, but it’s a roomy one.

When to Call a Professional
This is the part nobody talks about. If your hair is so damaged that you see white, rubbery strands when you stretch it, or if chunks are falling out near the root, you need a professional immediately. Same goes for major breakage at the edges.
Signs to get help:
- Hair stretches and stretches without breaking.
- You have visible breakage around the hairline.
- Your scalp feels sore or burns.
- The hair breaks off near the roots, not just the ends.
A colorist or a dermatologist can help. This isn’t about blowing your budget — it’s about preventing permanent damage. Listen to your hair when it’s screaming for help.
A Little Pep Talk Before You Go
You’ve got this. Honestly, the fact that you’re here reading this means you care about your hair enough to fix it. That already puts you ahead. The recovery process isn’t perfection — it’s progress. Even small steps like cooler water and silk pillowcases add up fast.
Give yourself grace too. You experimented, you learned, and now you’re doing something about it. That’s what real self-care looks like. Not beating yourself up, but showing up smartly.
And after your appointment? Come back and tell us how beautiful you look. I’m rooting for you, bestie. Save this post to Pinterest so you don’t lose it, and drop a comment below telling me which hairstyle trend you’re leaning toward for your recovery era. I can’t wait to hear about it.