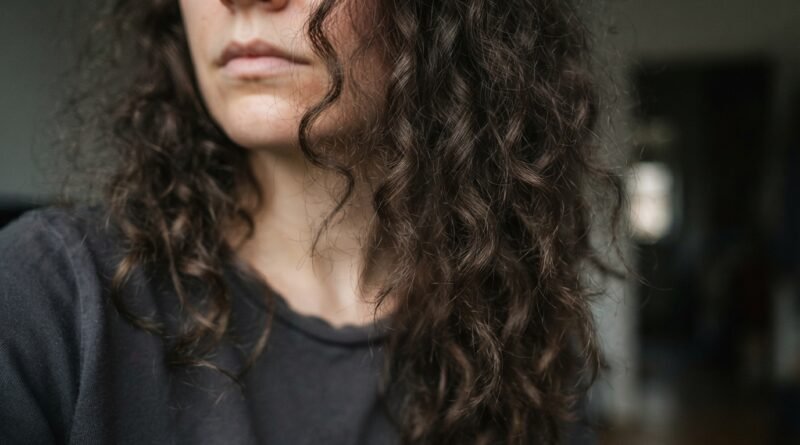
How a Protein Treatment Rescued My Chemically Damaged Curls
Okay, let me be honest with you: my curls were a mess. Six months ago, I made the classic mistake of getting a home bleach kit at 11pm and convincing myself it was a great idea. Spoiler—it wasn’t. My curls went from bouncy spirals to limp, mushy, stretchy tangles that broke off when I looked at them too hard.
I tried everything. Deep conditioners, leave-in creams, oils, prayers. Some helped for a day, but nothing actually fixed the texture. Then my hairdresser said three words that changed everything: protein treatment. Seriously.
If your curls feel like over-cooked ramen, this post is for you. I’m sharing exactly how a protein treatment rescued my chemically damaged curls, what I did, what I’d never do again, and how you can bring your curl pattern back to life without spending a fortune.
My curls before the protein treatment
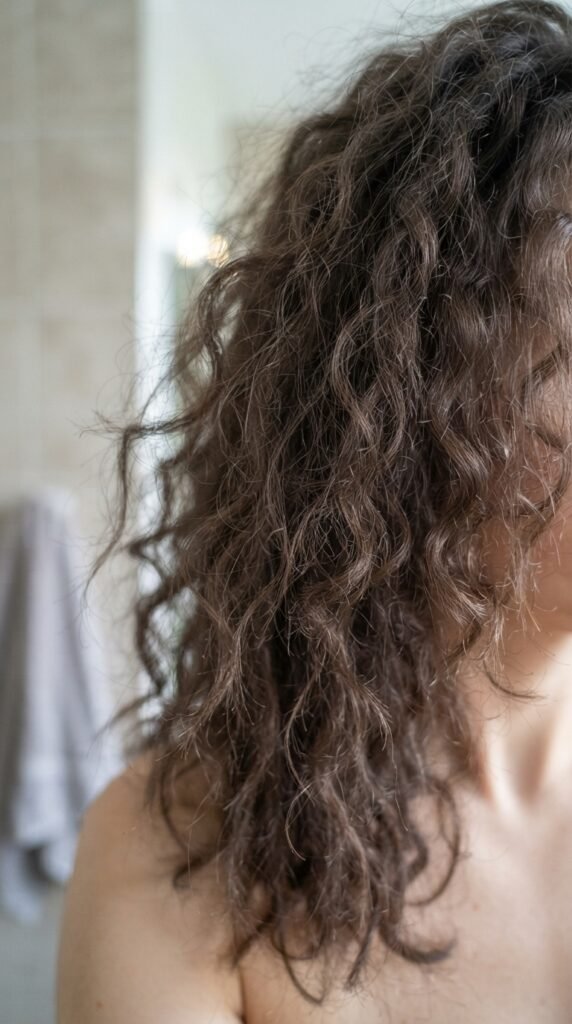
Imagine a curl that looks like it gave up on life. That was me. My hair was stringy, gummy when wet, and covered in split ends that seemed to multiply overnight. The curl pattern had basically vanished, leaving a sad, wavy frizz mess.
The worst part? No amount of conditioner ever felt like enough. The products just sat on my hair like a plastic coating, making it greasy but still dry underneath. I knew something had to change, but I had zero idea where to start.
If any of this sounds familiar, take a deep breath. This is exactly the hair protein treatments were made for.
How I knew my curls were chemically damaged
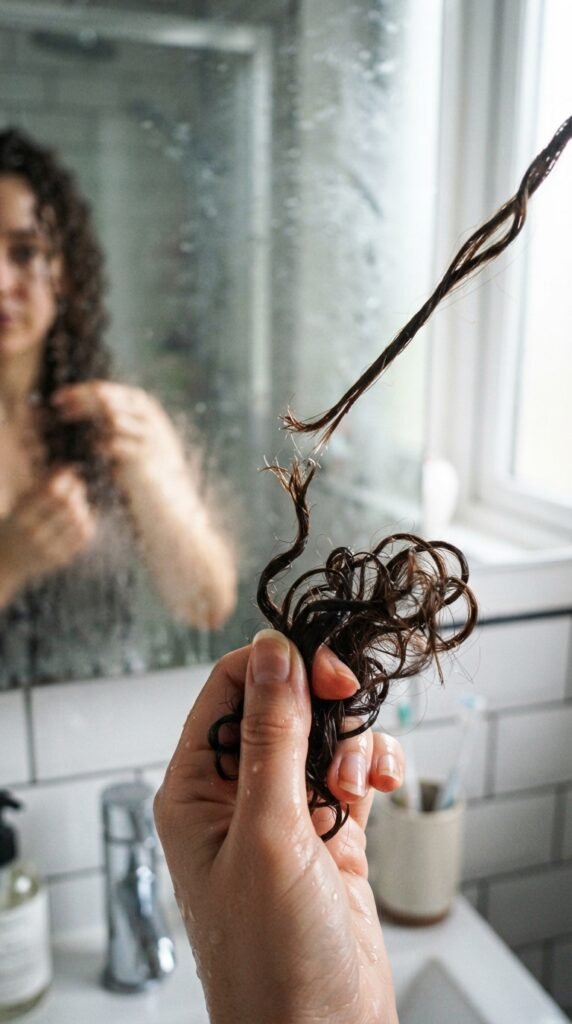
Here’s how I knew it was chemical damage and not just a bad hair day. First, my hair stretched way more than normal when wet. Healthy curls do the stretch test and bounce right back. Mine just kept stretching and then broke off.
Second, my hair felt mushy when wet. That’s the classic sign of broken bonds. And third, I had tiny white beads on the ends of my strands. Those are split ends, and they were everywhere.
If you’re nodding along, don’t panic. That stretch test was the wake-up call I needed to stop guessing and start fixing.
What exactly is a protein treatment?
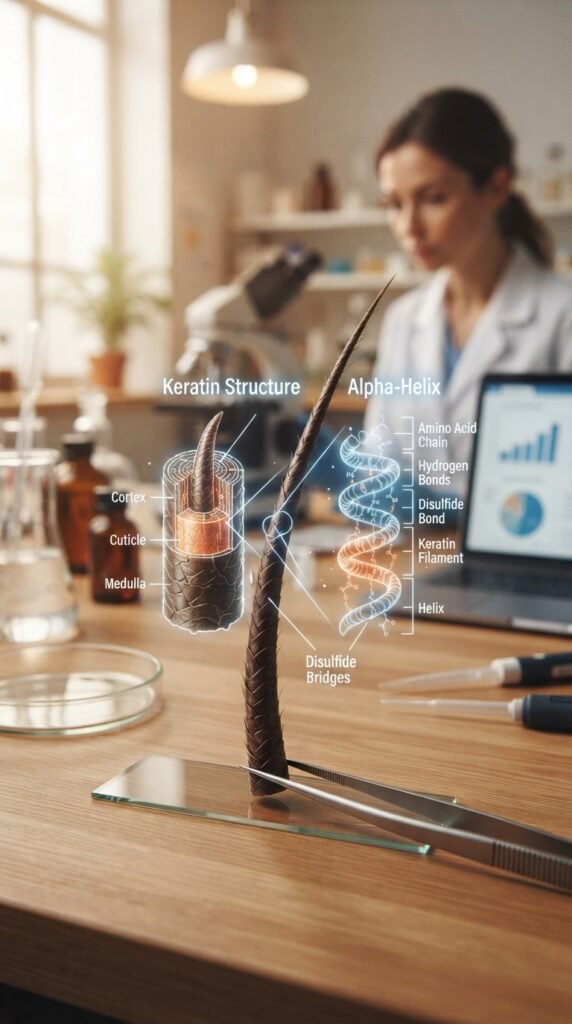
Okay, quick science lesson in plain English: your hair is made of keratin, which is protein. When you chemically treat your hair, it breaks down the bonds in that protein. A protein treatment basically injects new protein back into the hair shaft to patch up the weak spots.
Think of it like filling a pothole. The protein doesn’t erase the damage, but it fills the gaps so the hair feels strong and smooth again. It’s a temporary fix, but it’s a really good one.
There are different types: some are pure protein, some blend protein with moisture. Trust me, that distinction matters.
Why protein matters for curls

Curly hair is naturally more fragile than straight hair because the cuticle is raised and uneven. Water struggles to travel through it, so your strands are prone to dryness and damage. Add chemicals to the mix, and you’re basically asking for trouble.
Protein helps restore the structure of each curl. It also helps your hair hold onto moisture, which sounds backwards but it’s true. Without enough protein, extra moisture just makes your hair more mushy and limp.
That’s why people say balance is everything. Your curls need both protein and moisture, not one or the other.
The moment I decided to try it
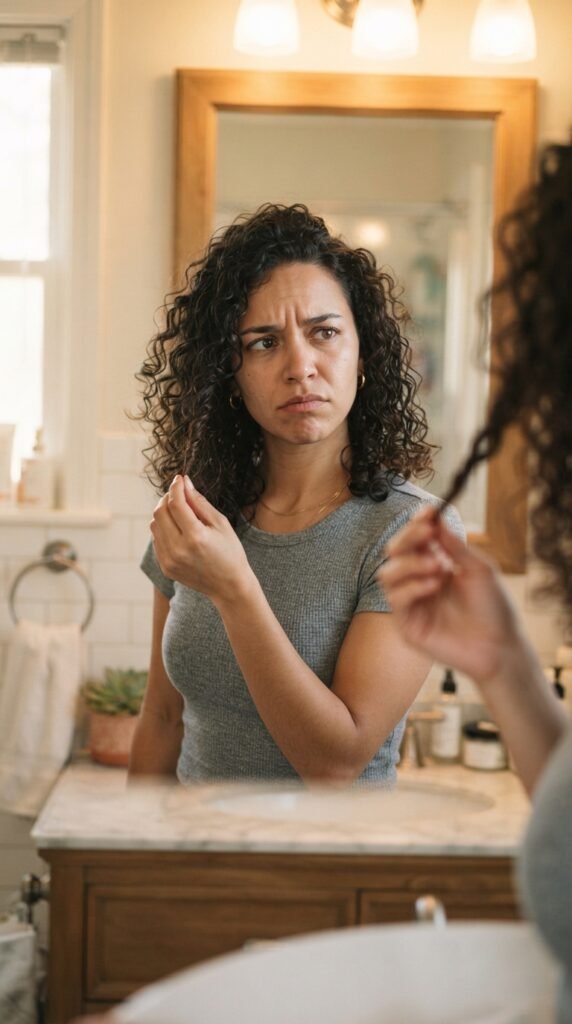
I was three deep conditioner bottles deep and still not seeing results. My curls were lifeless, and I genuinely considered chopping it all off. I had already bookmarked short styles like the asymmetrical lob and the hime cut. I was that close to giving up.
Then my hairdresser, Maya, said: “Before you cut it, let’s try a protein treatment.” I rolled my eyes internally, but she was so confident that I gave in. Best decision ever.
If you’re on the edge like I was, I get it. The product aisle is overwhelming. But knowing what to look for makes it way less scary.
My first protein treatment experience
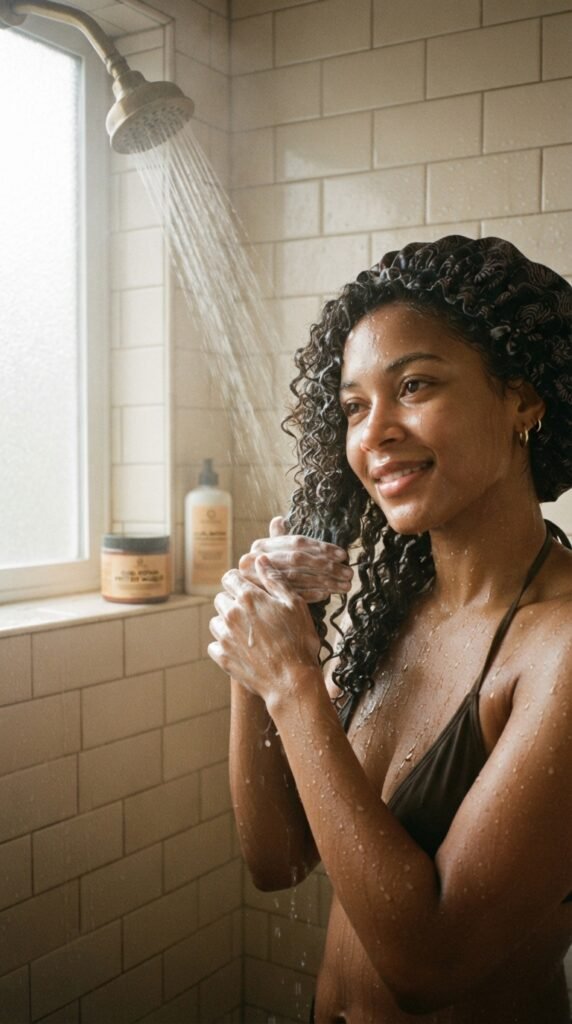
My first protein treatment took about twenty minutes. I used a store-bought protein masque from a brand known for curly hair. The instructions said to apply it on clean, damp hair, leave it for twenty minutes, and rinse completely.
Honestly, I was nervous. The treatment had a weird smell, like wet wool mixed with sunscreen. But the application was easy. I sectioned my hair, applied a generous amount, and clipped it away from my face. Then I waited.
When I rinsed it out, my hair didn’t feel dramatically different right away. But it didn’t feel worse, which was a win. The real change showed up over the next few days.
What to look for in a protein treatment
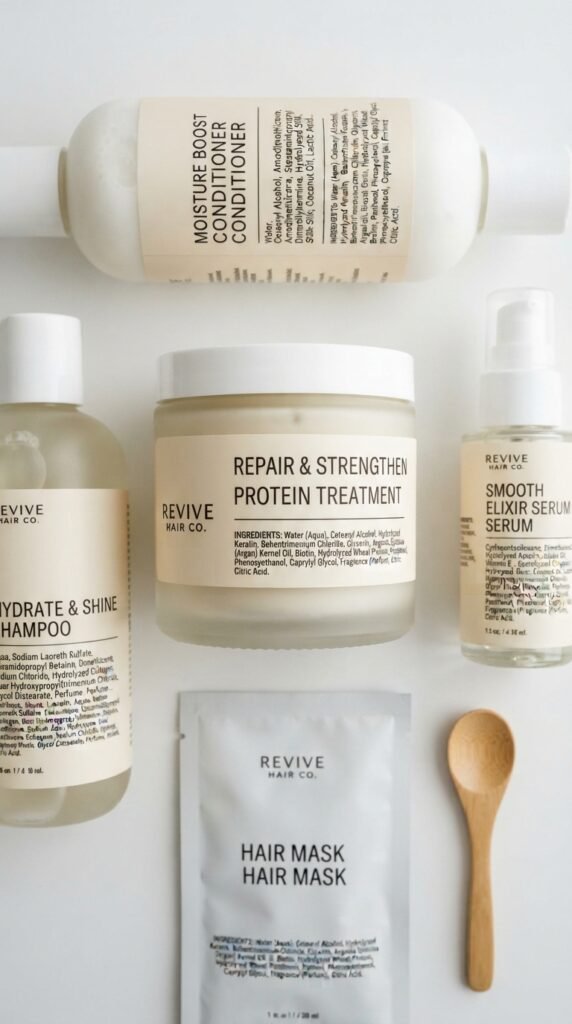
Here’s the thing: not all protein treatments are created equal. The one that worked for me had hydrolyzed protein listed in the first few ingredients. Words like hydrolyzed keratin or amino acids are what you want.
Avoid treatments with tons of silicones or heavy oils that coat the hair instead of actually fixing it. You want ingredients that are small enough to penetrate the hair shaft, not just sit on top.
- Hydrolyzed keratin or amino acids.
- No heavy silicones.
- Made for chemically damaged curls.
How often should you do it?
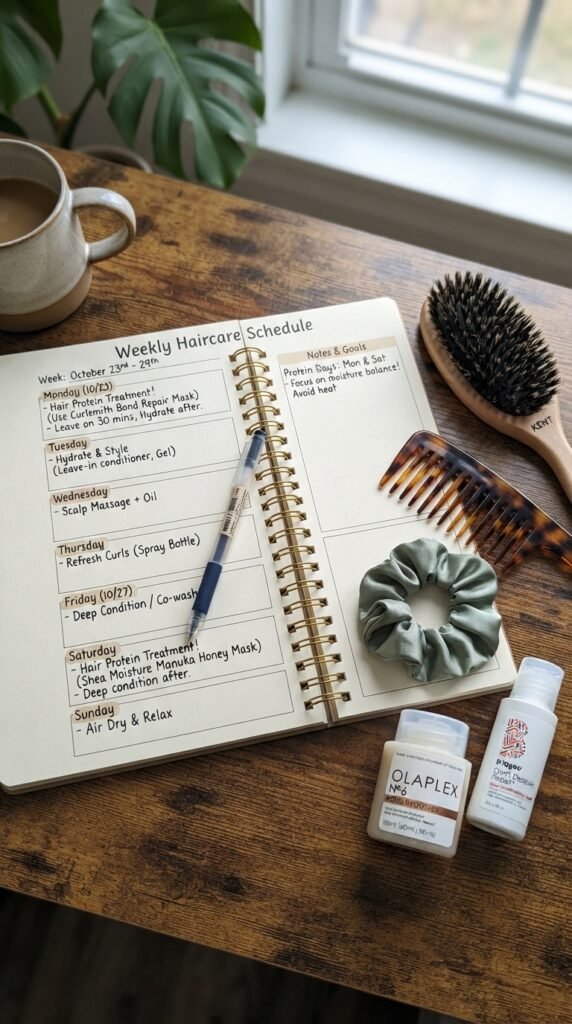
Honestly, it depends on your hair. I started with once a week for the first month, and that was the sweet spot for my damage level. Some people need it every ten to fourteen days, while others do well once a month.
You’ll know you’re on the right schedule if your hair starts feeling stronger and holding its curl again. But pay attention. Too much protein makes hair stiff, brittle, and straw-like, and that’s a different problem entirely.
My advice? Start with once a week, take notes, and adjust based on how your hair feels. Your hair will literally tell you what it needs.
The 48 hours after

The first two days after a protein treatment are weird. My curls looked tighter in some spots and still limp in others. I almost panicked and assumed it didn’t work. But then I remembered that protein takes time to fully absorb.
I didn’t wash or rewet my hair during those 48 hours. I just let it be. I used a satin bonnet at night and gently touched my hair as little as possible. Patience was the hardest part.
By day three, I noticed my curls were holding their shape longer and the frizz was noticeably less. It wasn’t the dramatic overnight change you see online, but it was real progress.
My curls one week later
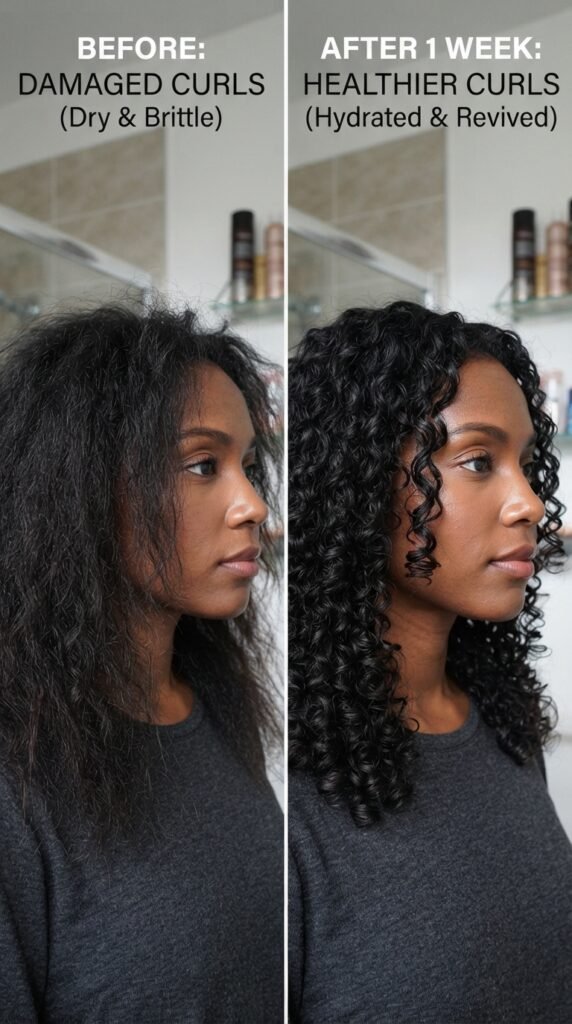
Seven days in, I actually cried a little. My curls looked alive again. They weren’t perfect or bouncy like a shampoo commercial, but they had structure and definition. The gummy texture was gone, and my hair stopped breaking off in the shower.
I remember taking a photo and comparing it to last month. The difference was honestly shocking. My hair looked like it had a routine, like it had plans and goals again.
That’s when I realized protein was the missing piece, and it wasn’t just masking the problem. It was actually helping.
The two-week mark

By week two, I did my second protein treatment. My hairdresser had told me not to be afraid of doing it again as long as my hair didn’t feel stiff. And it definitely didn’t, so I went for it.
This time, the results came back even better. My curls were more defined and had more volume. The ends that were once splitting looked smooth and sealed, at least visibly. I also noticed my hair was taking to styling products much better.
I stopped fearing my reflection and started enjoying styling my hair again. It honestly felt like I had gotten my identity back.
What protein treatment didn’t fix
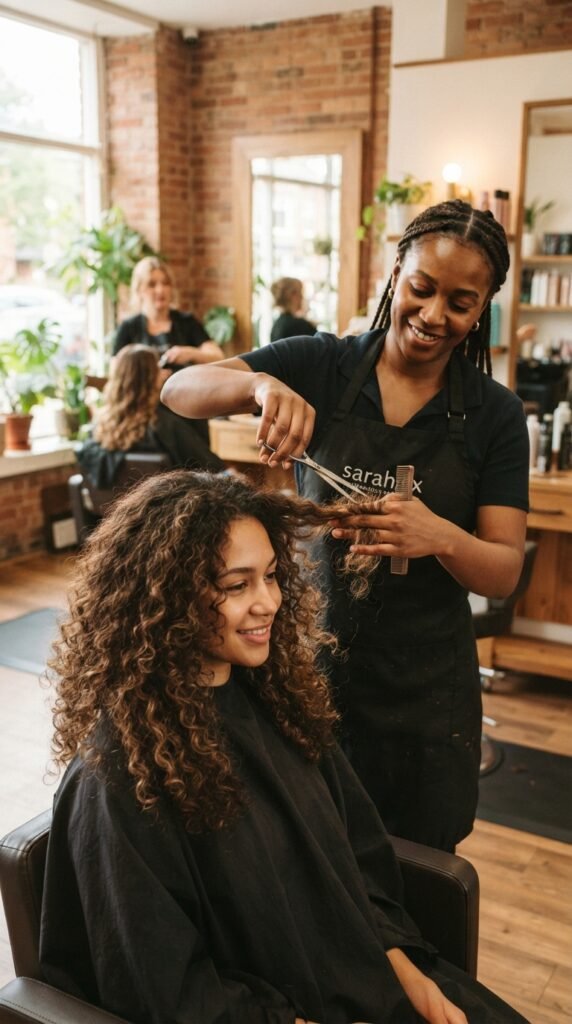
I have to keep it real with you. Protein treatment is not a magic eraser. It doesn’t bring dead split ends back to life. I still had to get a trim to cut off the worst of the damage.
And it doesn’t permanently rebuild your hair. The effect fades over time, which is why maintenance matters. If you stop completely, your hair gradually returns to its weakened state.
But here’s the thing: the protein made my hair strong enough to survive the trim and look good while it grew out. I stopped losing so much length, and that’s a huge win.
How I changed my wash routine
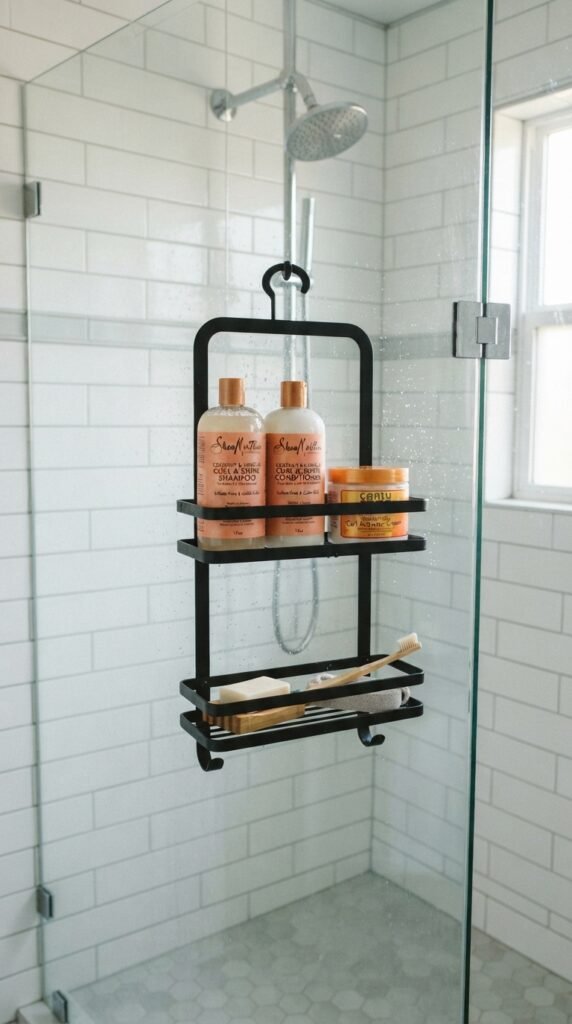
Protein treatments only worked because I changed everything around them. My wash routine became way simpler and more thoughtful. I stopped washing my hair every day and settled into twice a week, always with cold or lukewarm water.
I started using a gentle, sulfate-free shampoo that doesn’t strip my hair. And I made sure to always condition with a moisturizing conditioner afterward to balance out the protein.
- Wet hair and add a little slip before shampooing.
- Shampoo only the scalp.
- Condition the length and squish in leave-in while still wet.
The products I paired with protein
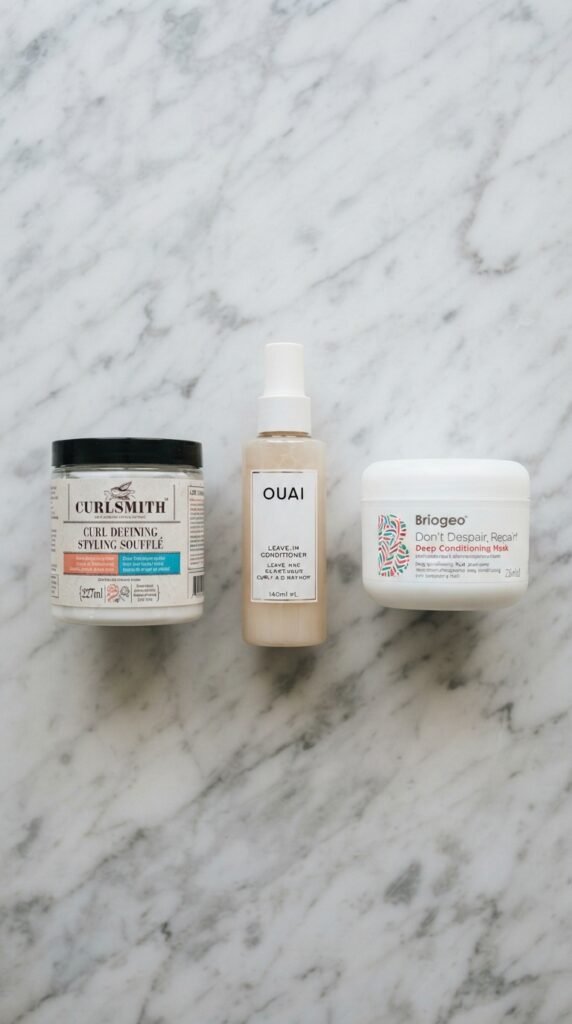
I wasn’t planning to buy a whole new collection, but I made a few strategic swaps. I picked up a curl cream with a light protein in it and a leave-in conditioner that focuses on hydrating. Balance is everything.
I also switched my deep conditioner to one that specifically said protein and moisture blend. It sounds fancy, but it’s just marketing for does both jobs at once.
I stopped using heavy oils alone. Oils are great for sealing, but without protein underneath, they were doing nothing but keeping my mushy hair mushy. Teamwork, not a single product.
Protein treatments vs. deep conditioners
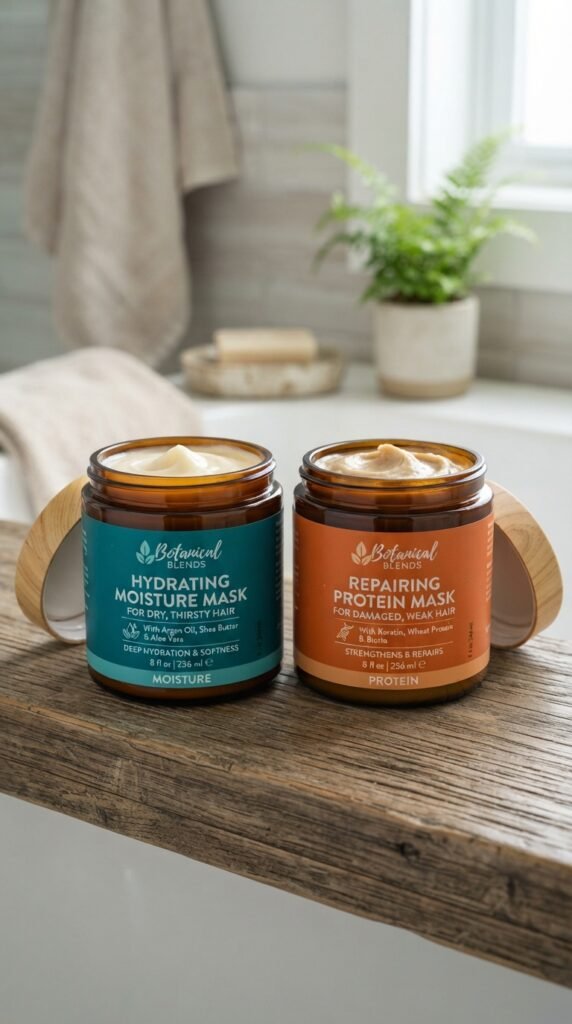
I used to think deep conditioner and protein treatment were the same thing. They’re not. A deep conditioner focuses on adding moisture, which is great for dry hair but useless if the hair structure is broken.
A protein treatment actually strengthens the hair shaft. Think of it this way: deep conditioner is the moisturizer, protein is the repair kit. Your hair needs both, but in the right order.
For chemically processed hair, always repair before you moisturize. If your hair is mushy, the deep conditioner will just make it mushier. Repair first, then lock in the moisture.
Budget-friendly protein options
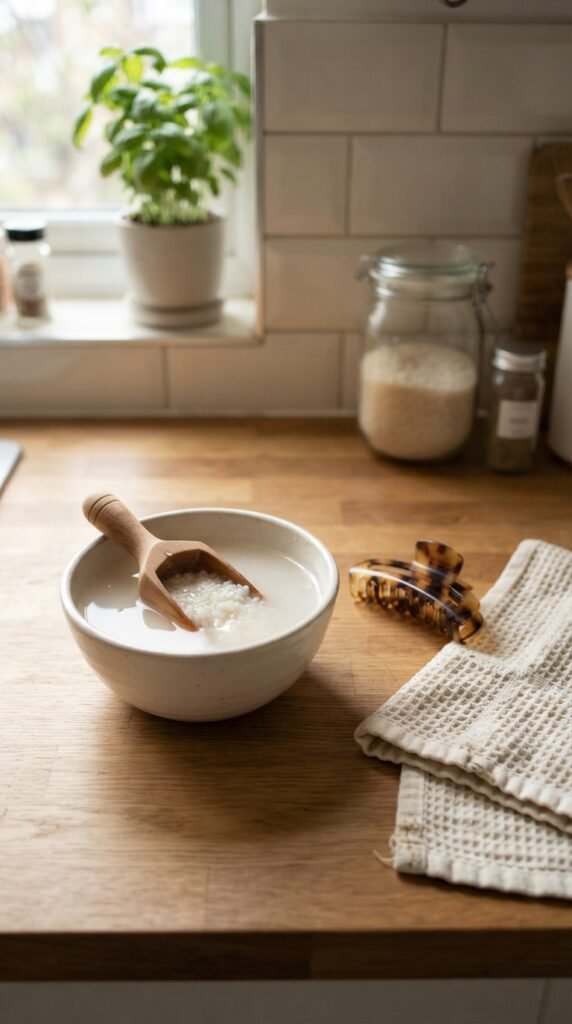
You don’t need to spend fifty dollars on a fancy treatment. My favorite store-bought protein masque cost twelve dollars. The price doesn’t always equal quality.
In fact, one of the best treatments I’ve tried is a DIY one using basic pantry ingredients. Rice water is full of protein and costs almost nothing. You just wash your rice, soak it, and use the water as a rinse.
Egg and yogurt masks are another budget option. They can be messy and need a thorough rinse, but they absolutely get the job done. Get ready to embrace the kitchen hair mask phase. It’s a rite of passage.
DIY protein treatment recipe (the one I use)
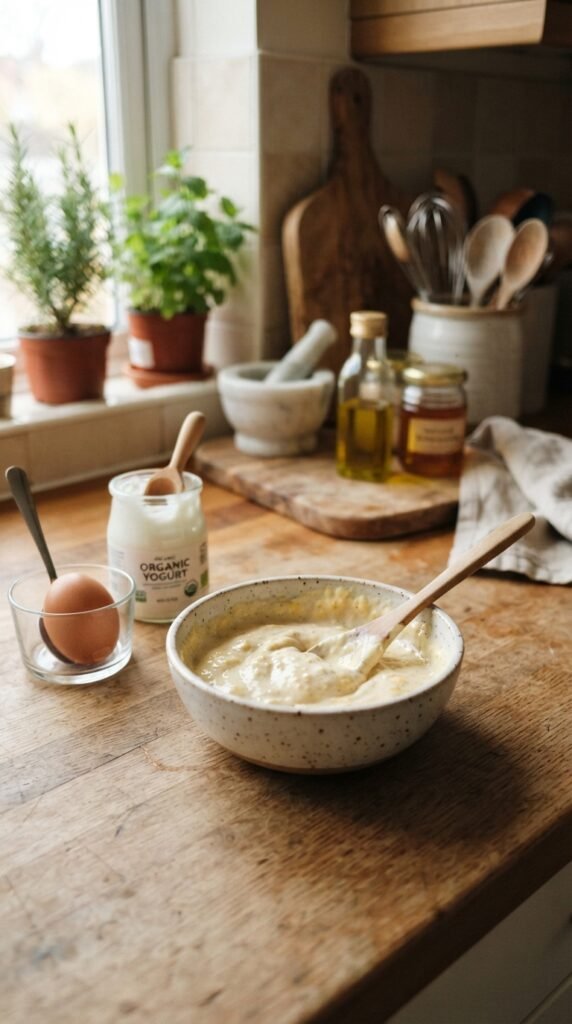
Now, I’m going to share a super simple homemade protein treatment that works for normal to slightly damaged hair. Remember to do a patch test first in case you’re sensitive.
Here’s what you’ll need:
- 1 egg
- 2 tablespoons of plain yogurt
- 1 teaspoon of olive oil
Mix it all together, apply to damp hair from mid-length to ends, leave for 20 minutes, and rinse with cool water (not hot, or you’ll cook the egg). Shampoo and condition afterward. Use this once a month max, and listen to your hair.
How to avoid protein overload

Here’s where I put down the cheerleading hat and give you the warning labels. Too much protein causes protein overload. Your hair will feel stiff, brittle, and straw-like, and it will snap instead of stretch.
Signs of protein overload:
- Hair feels hard and crunchy.
- Curls stop bouncing.
- Everything looks dull and lifeless.
If this happens, stop the protein treatments immediately and do a moisture deep conditioner reset. Protein overload is usually reversible. You just need to restore balance and let your hair rest. I’d rather see you cautious than sorry.
My curl routine now
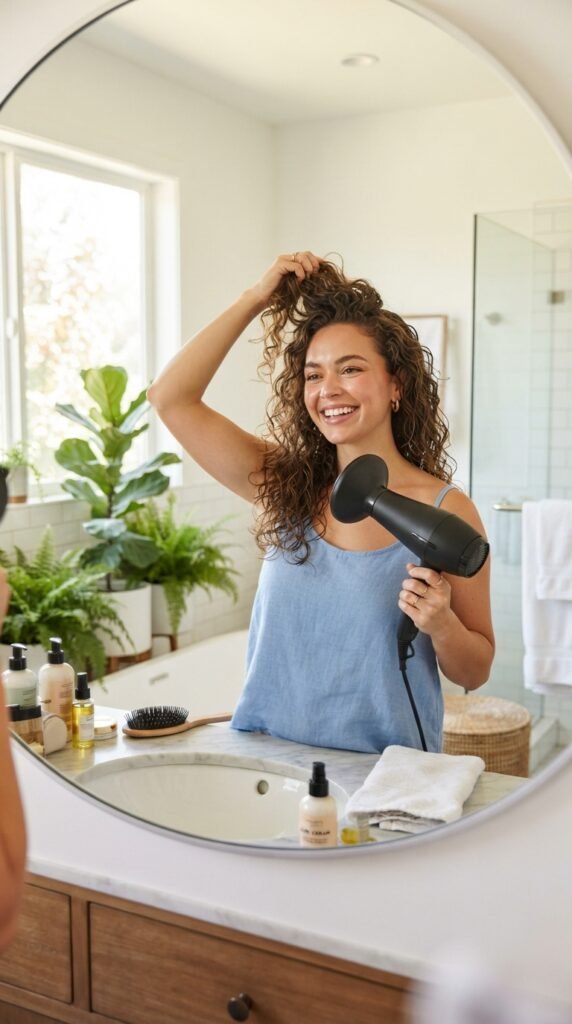
These days, my routine looks a lot less urgent and a lot more peaceful. I clarify once a month, use a low-poo shampoo weekly, and deep condition with a protein-moisture blend every other week. It’s not complicated.
Styling is still simple. After washing, I apply leave-in and a light curl cream. Then I use the bowl method to get my curls to clump nicely. I diffuse on low heat or air dry, depending on my patience level.
My hair is nowhere near perfect, but it’s healthy, and that’s the entire point. It finally holds a style, and I get to have fun with it again.
How this changed the way I style my hair
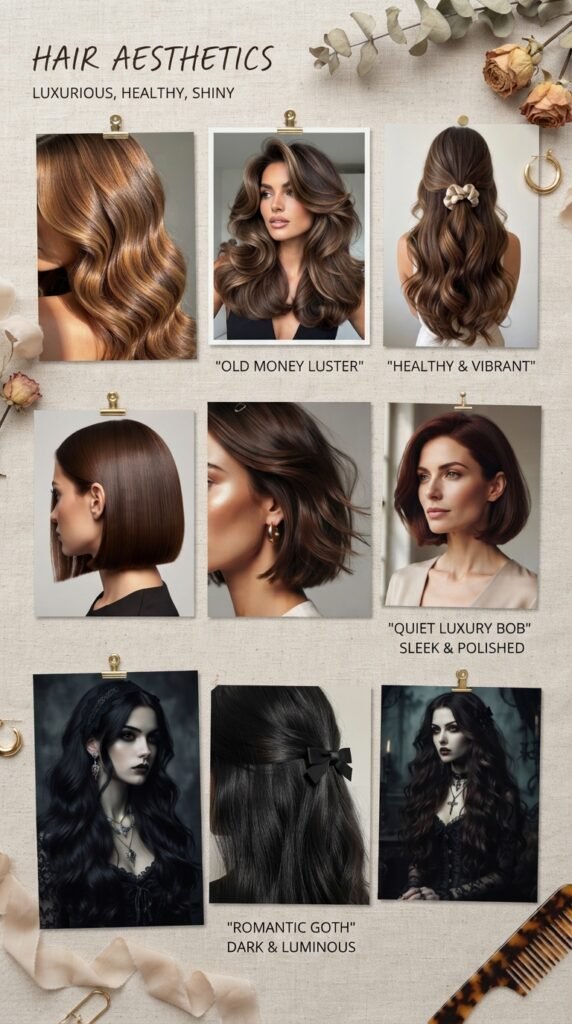
Once my curls felt stronger, I suddenly cared about trying new styles again. For a while, I had been hiding my hair in buns and ponytails. Now I’m actually excited about 2026 hairstyles I felt too insecure to try before.
I’ve been into the old money hair aesthetic lately. That look is all about healthy, glossy hair with subtle waves, and it asks for strong strands. I’ve also tried a few romantic goth hairstyles that add edge without much styling time, think braids, bows, and dark accessories.
And when I’m feeling adventurous, there’s glitchy glam hair. Those sharp partings, metallic pieces, and cyber vibes are popping up everywhere in 2026. It’s not an everyday look, but it’s fun to know my hair can handle it. Healthy hair makes every single style look better. Even the quiet luxury bob is tempting now that my hair can grow without breaking.
The truth about chemical damage and repair

Let me be honest: you can’t completely undo chemical damage. If you’ve lifted your hair with bleach, the bond structure is weakened forever. No product can change that.
But that doesn’t mean you’re stuck with broken hair forever. Protein treatments help you manage the damage and keep your hair growing strong. As the damaged bits get cut off, the healthy stuff eventually takes over.
I used to think repair meant going back to the original. Now I know it just means making your hair functional and beautiful at every stage. And protein made that possible for me.
Where to start if your curls need saving
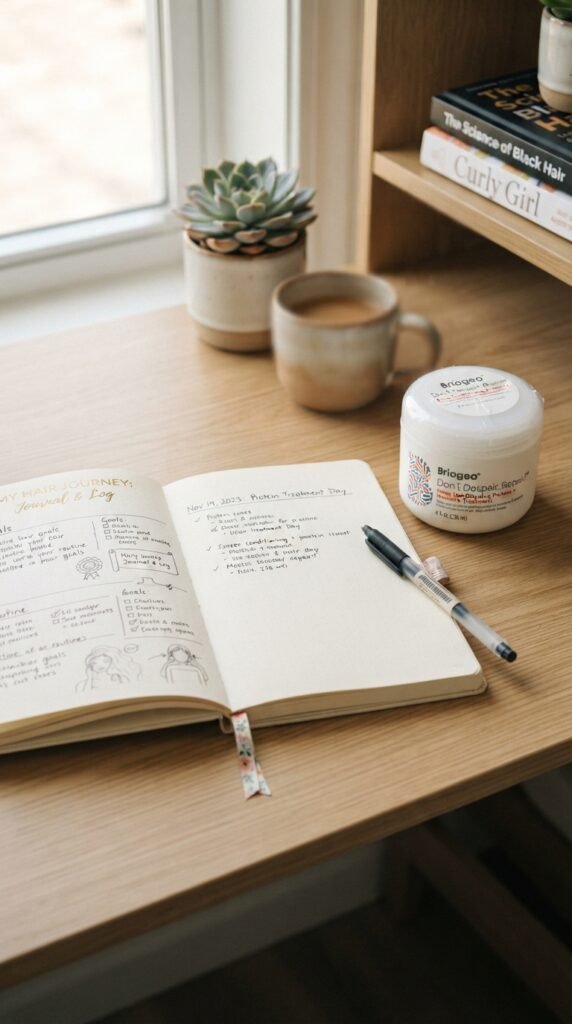
Step one: stop stressing and start testing. Do the strand stretch test on wet hair to see if you’re dealing with protein loss. If the hair stretches and doesn’t bounce back, protein will probably help.
Step two: pick a basic protein treatment. It can be the twelve dollar one from the drugstore. Avoid heavy oils for now. Step three: wait a few days and assess how your hair feels. If it feels stronger, you’re on the right path.
Step four: book a trim to get rid of the worst split ends. Chemically damaged hair won’t benefit from trying to save hopeless tips. Cut what’s truly dead to give your healthy curls a fresh start.
Some encouraging words

If your hair is in rough shape right now, I want you to know it is not your fault. Chemical damage happens to the best of us. A bad home bleach moment doesn’t mean you’ve ruined your hair forever.
The whole journey took me about a month to see a real difference, and I remember how discouraged I felt in the first week. It does get better, and true change is usually slower than the internet wants you to believe.
You are still beautiful even when your curls are a little broken. Hair grows back, and honestly, the process of repairing it teaches you to appreciate your natural texture more than a perfect hair day ever could. My bad hair phase changed the way I treat my hair forever.
What I’d tell my best friend
If my best friend came to me with worn-out, chemically damaged curls, here’s what I’d say: get a protein treatment, be patient with yourself, and remember that hair is just hair. It grows, it changes, and it can come back from almost anything.
I’d also tell her to save her money for good products instead of buying every viral serum. Twelve dollars spent well beats forty dollars of wasted hope. And book that trim sooner rather than later. Healthy hair is the best blank canvas for every trend, whether it’s the asymmetrical lob, the hime cut, or the vampire haircut. When the base is healthy, the style becomes secondary.
If you are in this messy, frustrating season of hair repair, I’m so glad you found this post. You are in the right place, and you’re way closer to your best curls than you think. Keep going.
Save this post to Pinterest so you can find it again the next time your curls need a little rescue. And I really want to hear from you: have you ever tried a protein treatment, or is this your sign to finally give it a shot? Drop a comment below and tell me about your curl journey. I’m honestly here for all of it.