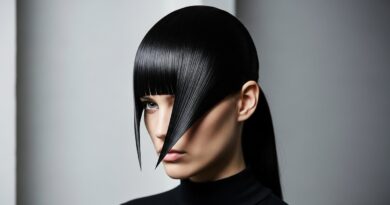
How I Transitioned From Box Dye Damage to Healthy Natural Color
If we met two years ago, I would’ve hidden my hair under a baseball hat. Box dye had stripped my ends, my roots were brassy, and I was terrified of the word “natural.” Sound familiar?
I get it. I spent years chasing a color that was never mine. Then one morning I looked in the mirror, saw the split ends and crispy strands, and knew something had to change. I didn’t want a quick fix. I wanted my hair back.
So I did it. I grew out the dye, learned my real color, and found a simple routine that brought my hair from straw to soft. No magic potion, no expensive salon series, just time and smart choices.
This post is the exact plan I followed. You’ll get practical steps, styling ideas, and plenty of reassurance for the awkward phase. Promise.
Where My Hair Started: Box Dye Regret
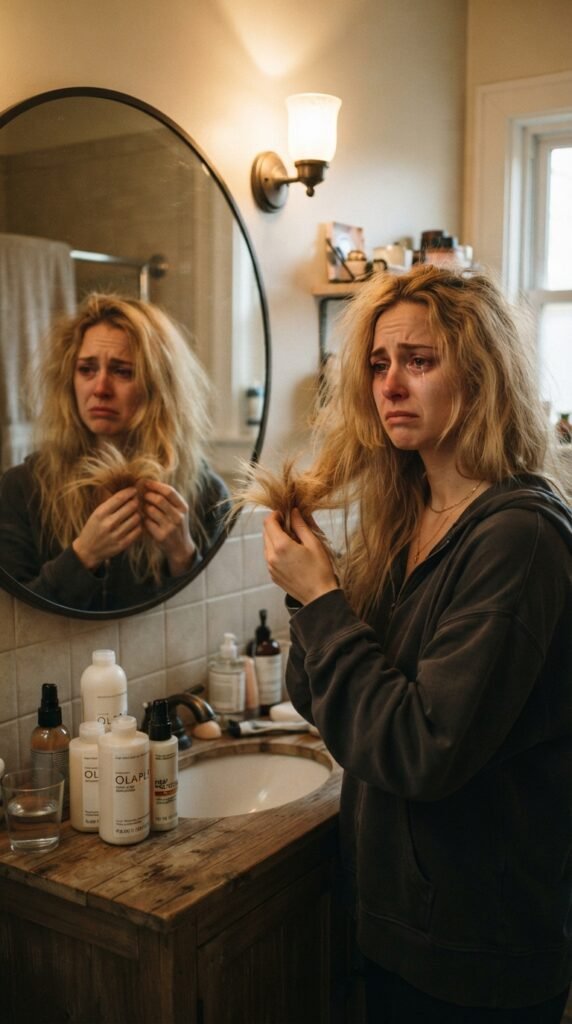
My hair was crispy. I used box dye every six weeks, then flat ironed the straw texture to hide it. The color faded to a weird orange-brown, so I would grab another box and cover it again.
That cycle went on for two years. My hair didn’t just look damaged—it felt like a dry sponge. One night I ran my fingers through it and a piece broke off. That scared me straight.
- I stopped box dyeing completely.
- I stopped heat styling for a week.
- I made peace with my real roots.
Sounds simple, but it was the hardest part. Box dye damage isn’t just split ends. It builds up until the hair breaks. Admitting that was step one.
Why I Stopped Box Dyeing Cold Turkey

I didn’t do a fancy transition color or a salon intervention. I just stopped. Cold turkey.
That part was harder than any haircut. My natural roots started showing up in that mousy-brown-with-golden-undertones shade, and I didn’t recognize myself. But I knew every new box of dye was adding more damage. So I threw out all the leftovers.
- No more drugstore color.
- No more “one last touch-up.”
- No more hiding under ponytails.
If you’re thinking about quitting, do it now. It won’t feel pretty at first, but it’s the only real way to break the cycle. The quiet luxury bob can wait.
The “Grow Out” Phase That Almost Broke Me
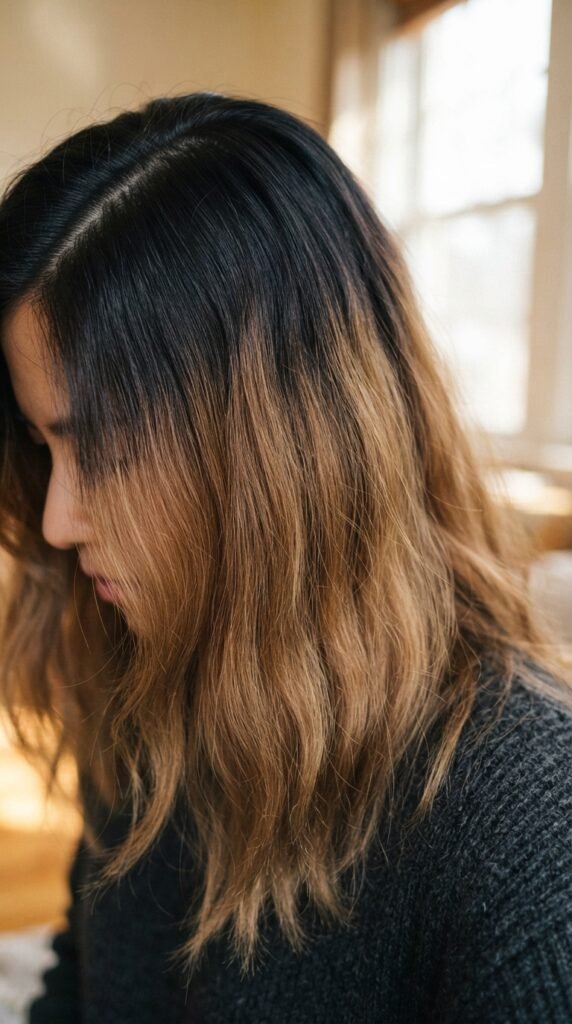
I looked like I dyed my hair in a dark cave. The line between grow-out roots and faded dye was harsh. I wanted to shave it all off. Instead, I learned to hide it with braids, claw clips, and headbands.
I also trimmed the old dye gradually. That gave me shape without losing all length. My hairstylist finally told me to stop obsessing over the color line. It would fix itself in time. She was right.
So if you’re in the grow-out phase, don’t panic. Wear cute accessories. Keep the ends healthy. It’s a season, not forever.
How I Found My Natural Color (And Loved It)
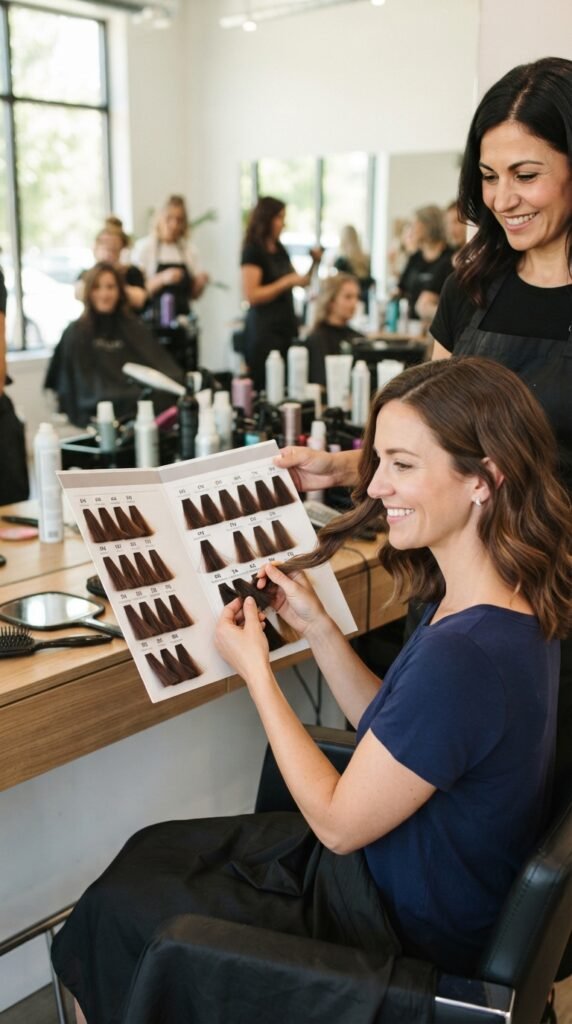
I didn’t know my natural color anymore. When I finally saw my new growth, I realized it wasn’t “boring brown.” It had dimension, warm undertones, and a few lighter pieces around my face from the sun. That’s natural highlighting.
Once I stopped comparing myself to bleach blonde, I started loving my color. Old money hair isn’t about a perfect color or expensive highlights. It’s about working with the shade you were given and making it look polished with healthy shine.
That’s how I found my healthy natural color. It became my 2026 hairstyle foundation, and everything else just built on it.
The Chop: My Asymmetrical Lob Moment

About four months in, I couldn’t stand the stringy dyed ends. So I chopped my hair to an asymmetrical lob. The shorter side took away most of the old box dye, and the longer side let me feel like I still had hair.
Honestly, that cut was the turning point. It gave my hair a shape, removed weight, and made the grow-out phase look deliberate. I’d never looked put together with a messy bun. This cut changed that.
If you’re stuck in the middle, a low-key lob with an asymmetrical edge can save you. It’s trendy enough for 2026 and practical enough for damaged hair.
Why I Embraced the Old Money Hair Vibe
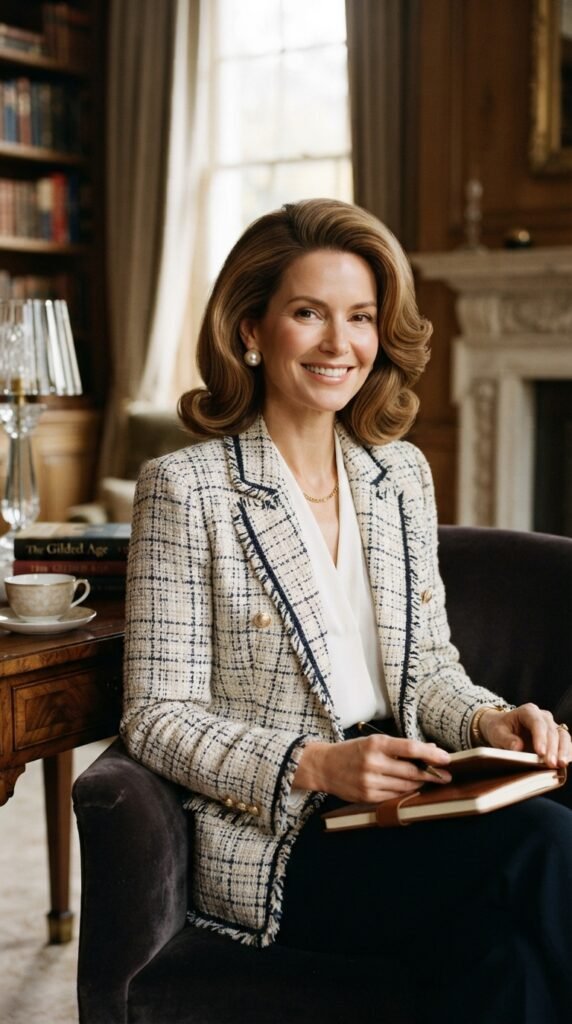
Once my hair was healthier, I stopped chasing loud colors and volume. I wanted that clean, wealthy-looking shine people call old money hair. It’s not about money at all. It’s about healthy hair, minimal effort, and letting your natural color look expensive.
I started doing weekly cold water rinses, using a silk scrunchie, and brushing my hair gently. That was it. No curling irons every day. No heavy products. The more I simplified, the healthier my hair looked.
This is the vibe I want for 2026. Even if you’re still growing out dye, you can start these habits now. Future you will thank you.
My Hair Care Reset: Products That Saved Me
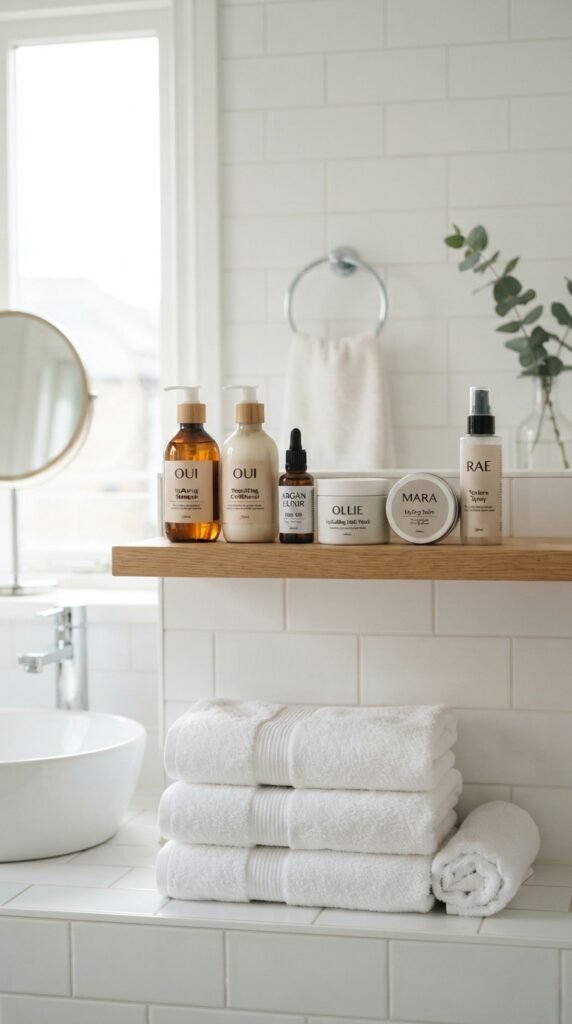
I didn’t buy a million products. I threw out anything with sulfates and drying alcohols. Then I picked a simple lineup: a gentle shampoo, a moisturizing conditioner, a leave-in spray, and a weekly protein mask. That’s it.
I know product choices are boring, but they’re the foundation. My hair needed moisture and strength. A protein mask once a week fixed the stretchy, weak spots. The leave-in spray kept my ends soft.
Tip: use a wide-tooth comb when wet. Hair is weakest when wet. This simple reset made more difference than any expensive serum. If you’re on a budget, start with those four basics.
The Protein-Moisture Balance (In Plain English)
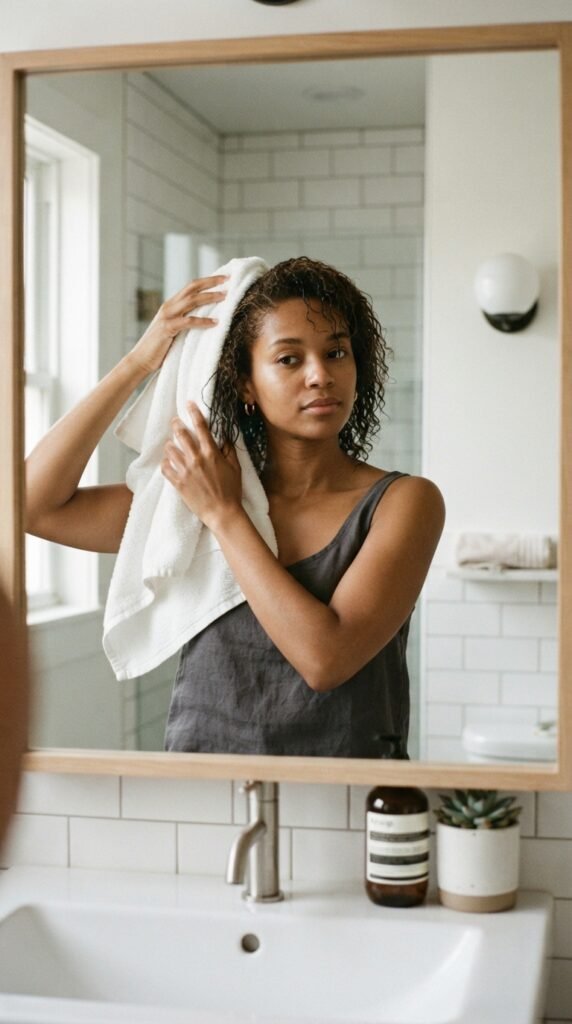
Damaged hair needs protein to rebuild, but too much protein makes it crunchy. You need moisture too. In plain English: protein fills the gaps in broken hair, and water gives it slip and softness.
If your hair snaps while stretching, it needs protein. If it feels soft but mushy, it needs moisture. I kept a little note on my mirror. For months I used a protein mask every Sunday and a deep moisture mask every Thursday.
My hair finally felt normal. This balance is the whole secret to growing out box dye damage. Don’t skip it. Your hair will tell you what it needs—you just have to listen.
My Weekly Hair Mask Ritual
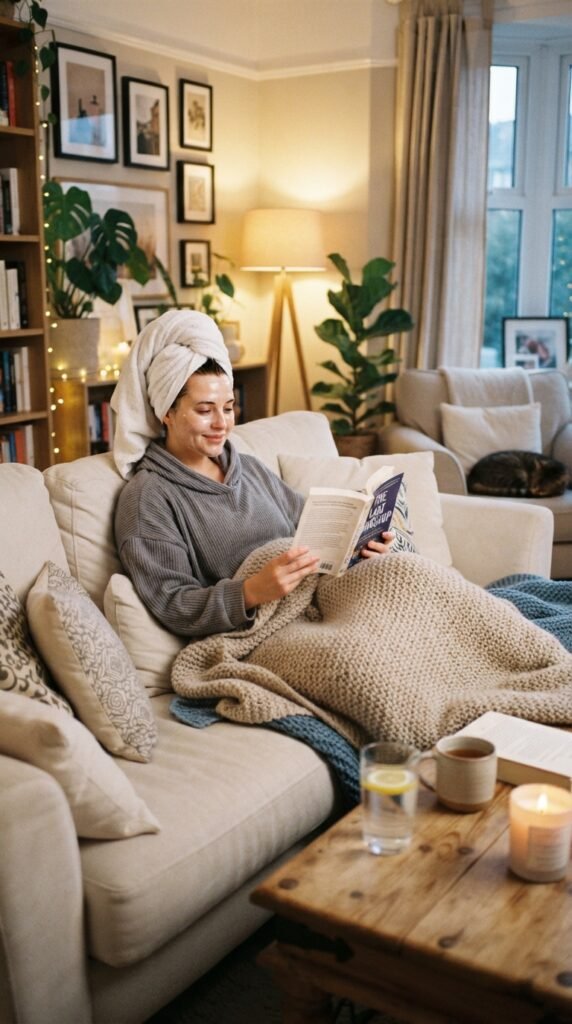
My Sunday ritual became a hair mask. No, not a fancy salon treatment. I used a store-bought protein mask, then sealed everything with a plastic cap for twenty minutes. Sometimes I’d apply a little oil on the ends before washing it out. That extra step made my hair feel like silk.
I made it easy by putting a spa moment in my calendar. I lit a candle and let the mask sit. This routine helped me stop checking for damage and start enjoying the process.
A healthy hair journey is mostly patience and consistency. So make it cozy, not clinical. That’s how you stick with it.
How I Ditched Heat Styling Most Days

I used to flat iron my hair until it smoked. No joke. To heal my hair, I had to replace heat tools with air-drying and low-heat alternatives. I started using velvety heatless curls at night and a microfiber towel to speed up drying.
On important days, I used a blow dryer on cool setting once in a while. That was it. My favorite no-heat style was a simple quiet luxury bob with a center part. It looked polished even when my hair was only halfway dry.
It saved my tips and changed my whole routine. If I can do it, you can too.
My Signature Quiet Luxury Bob (No Heat Curls)
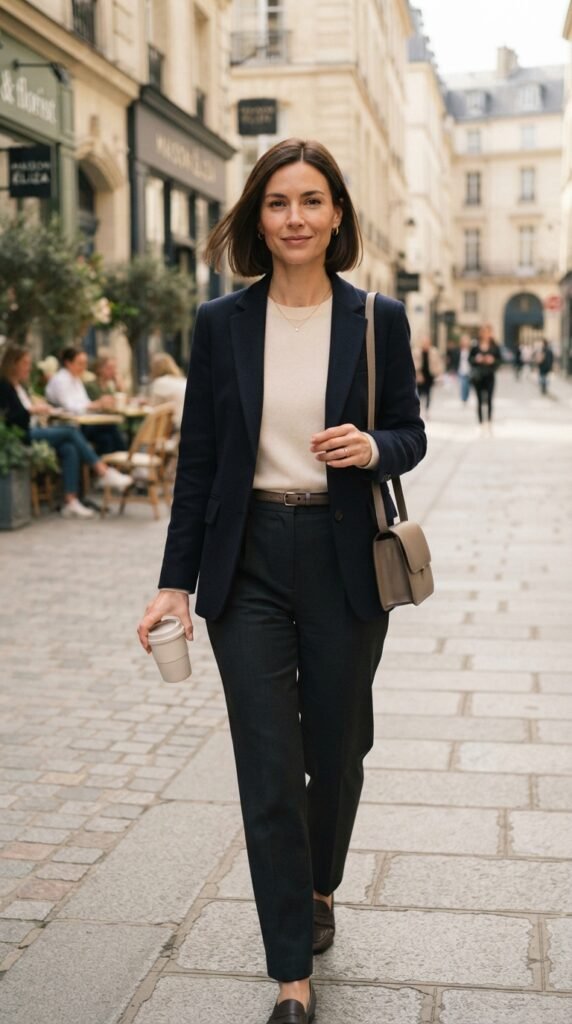
Once my hair was healthier, I took the lob shorter into a chin-length bob. That bob gave me instant “old money” energy. I called it my quiet luxury bob. The trick is the cut—blunt, no layers, just above the jaw. It looks expensive even with zero styling.
My no-heat curls were simple: I slept in two loose braids after a tiny bit of mousse. In the morning, my bob had soft, undone waves that lasted all day.
This is my go-to 2026 hairstyle when I need to feel put together without trying. If you’re transitioning, ask your stylist for a blunt bob once most of the dye is gone.
The “Vampire Haircut” Trim Trick

There’s a viral shape called the vampire haircut—all sharp angles, dark colors, and dramatic layers. I wasn’t ready for the full look, but I borrowed its best trick: a sharp face-framing trim.
My stylist cut two thin pieces near my chin and cheekbones. That little detail made my grow-out blend instead of sitting there flat and heavy. It also showed off my natural tone in a cool, gothic-chic way.
If you have darker natural hair, ask for a blunt face-framing piece. It’s one of the easiest styling choices for 2026, and it works with almost any color. A small trim made the biggest difference.
Dealing With Awkward Roots Gracefully
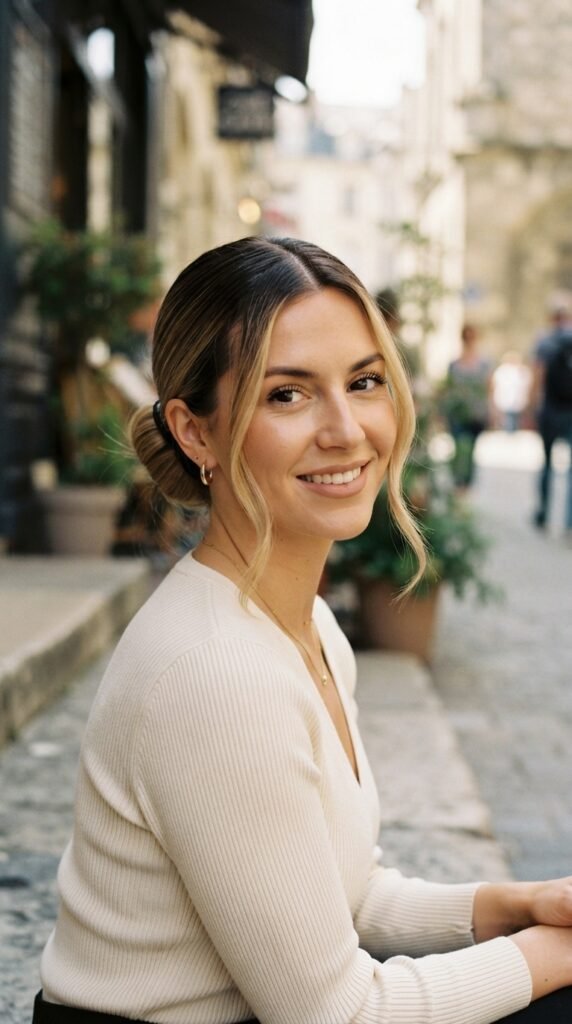
Awkward roots are part of the process. I wore my hair down in a center part, and the line between dye and natural color was super obvious. To make it less awkward, I learned to pull it back into a sleek low bun and leave a few face-framing pieces out. That looked intentional.
I also used tinted dry shampoo at the roots to soften the line—not to cover it, just to blur it. Some days I wore a headband and called it a day.
Grace is just accepting it won’t be perfect right now. Even the richest-looking old money hair started somewhere. Your roots are just proof you’re healing.
Romantic Goth Hairstyles for Dark Natural Color
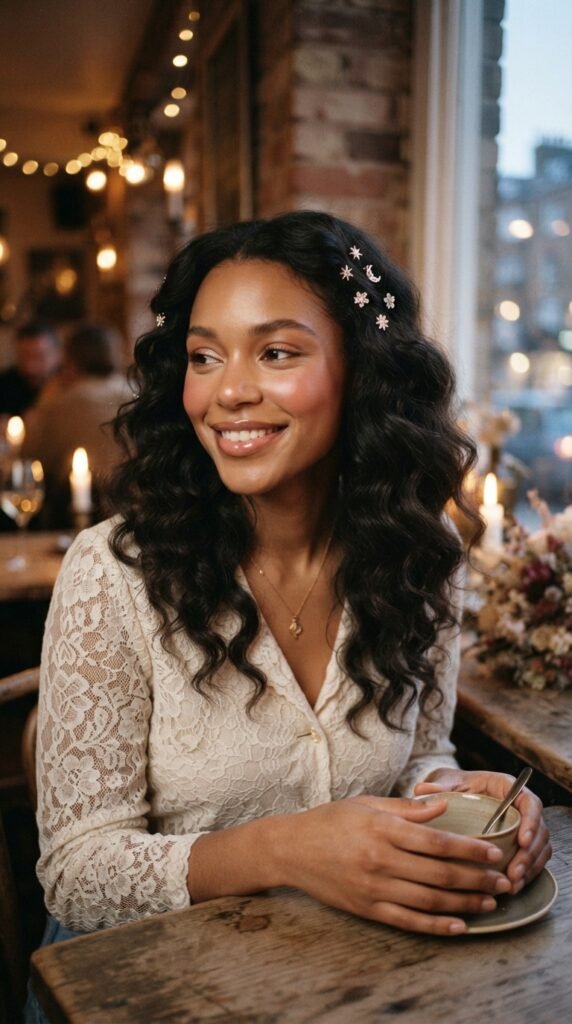
My natural color turned out darker than I remembered, which made me obsessed with romantic goth hairstyles. Think soft, witchy waves, small silver clips, and center-parted strands around the face.
That aesthetic doesn’t need bleach or harsh dye. It just needs clean, shiny hair with a little texture. My go-to look was a twisted hair crown with a few loose pieces at the temples. It read dramatic but also soft.
This unexpectedly became my favorite 2026 hairstyle on days when I wanted a moody edge. If your natural tone is darker, don’t fight it. Lean in and style it like a romantic character in your favorite novel. So fun.
What Even Is Hime Cut? (I Tried It, Kind Of)
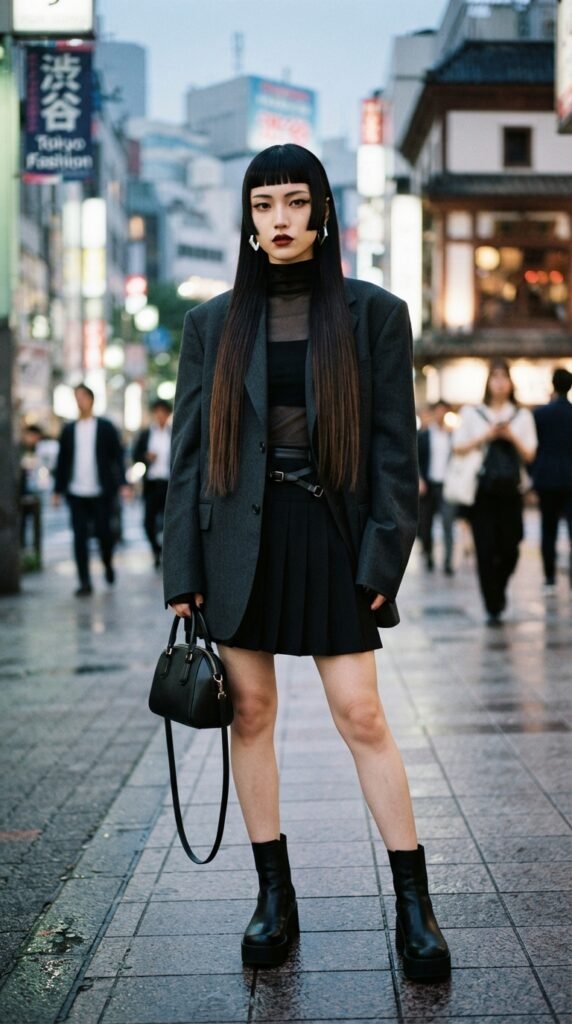
I saw hime cut trending everywhere and almost let my stylist talk me into it. For anyone confused, it’s a Japanese-inspired style with blunt bangs and straight cheek-length pieces that frame the face. The rest stays long.
I didn’t do the full hime cut because my bob was too short, but I asked for the cheek-frame part as a clip-in. Yes, clip-ins. That gave me the hime vibe without another big cut.
I could wear a sleek bob by day and add the pieces for a fashion-forward 2026 look by night. It made my routine feel fresh while my natural color kept growing in.
Glitchy Glam Hair? How Hair Accessories Saved My Growth
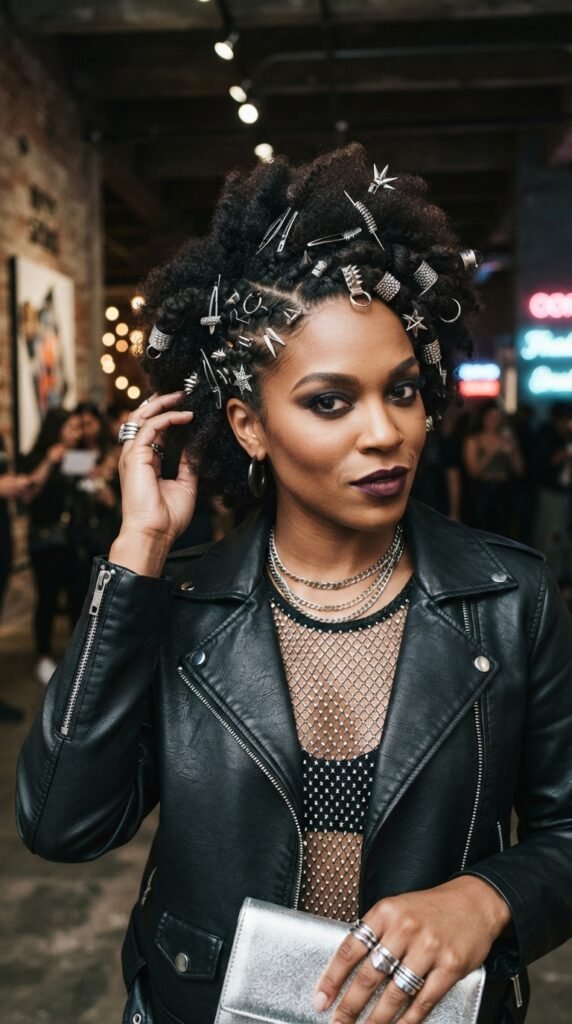
Glitchy glam hair is one of those edgy 2026 trends that feels impossible when your hair is fragile. But it’s actually perfect for you. It’s not about dyeing—it’s about chrome clips, metal barrettes, and sharp accessories against simple hair.
I bought a few silver and pearl clips and added them to my half-up pony. Instantly, my basic natural color looked editorial. Accessories protected my ends because I wasn’t re-styling or trimming. I just pinned.
This is such an easy hack for the grow-out phase. You get a high-fashion look, and your hair gets a break. The future of 2026 hairstyles is definitely playful, and you can join in with zero damage.
How I Styled the In-Between Grown Out Phase
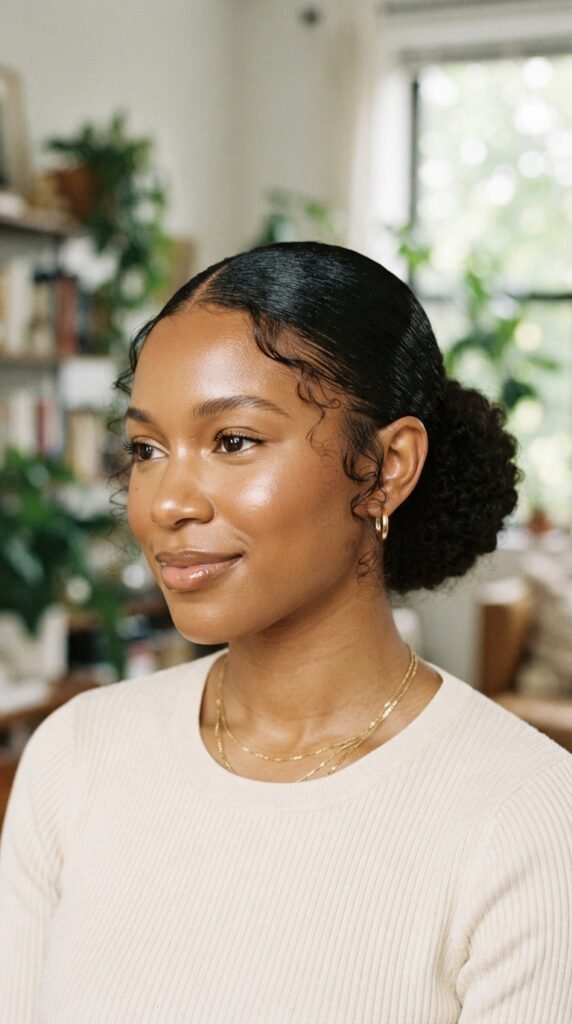
The in-between phase is the hardest. My hair was too short to tie properly and too long to ignore. So I made a list of five styles that didn’t need perfect length or perfect color.
- Slicked back bun
- Low pony with a ribbon
- Bandana headband
- Braided crown
- Half-up with a claw clip
I rotated those for three months. That saved me from getting bored and grabbing another box of dye. If you’re in this stage, write the list down. Keep it somewhere visible. Remind yourself this is temporary. Every grow-out phase is a bridge to healthier hair. You just have to cross it one cute style at a time.
Natural Hair Color Trends for 2026
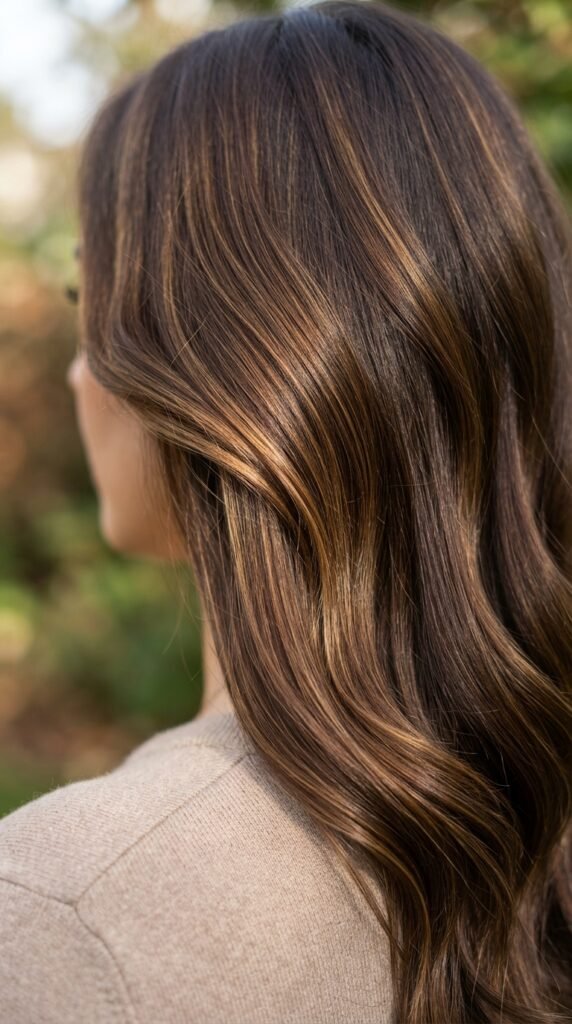
What I love about 2026 hairstyles is that they’re not about hiding your base. Natural hair color trends are all about shine, depth, and seamless grow-outs. Glossy brunette, sun-kissed tonal blends, and dimension without bleach are huge.
My natural color had more depth than I ever realized—cool at the root, warmer at the ends. Once I stopped layering dye on top, it started showing that.
You don’t need a dramatic makeover. A clear gloss or a simple haircut can bring natural color to life. And if you’re still growing out box dye, you’re already on trend. Letting your real shade breathe is the next big thing.
My Top Five Patience Hacks
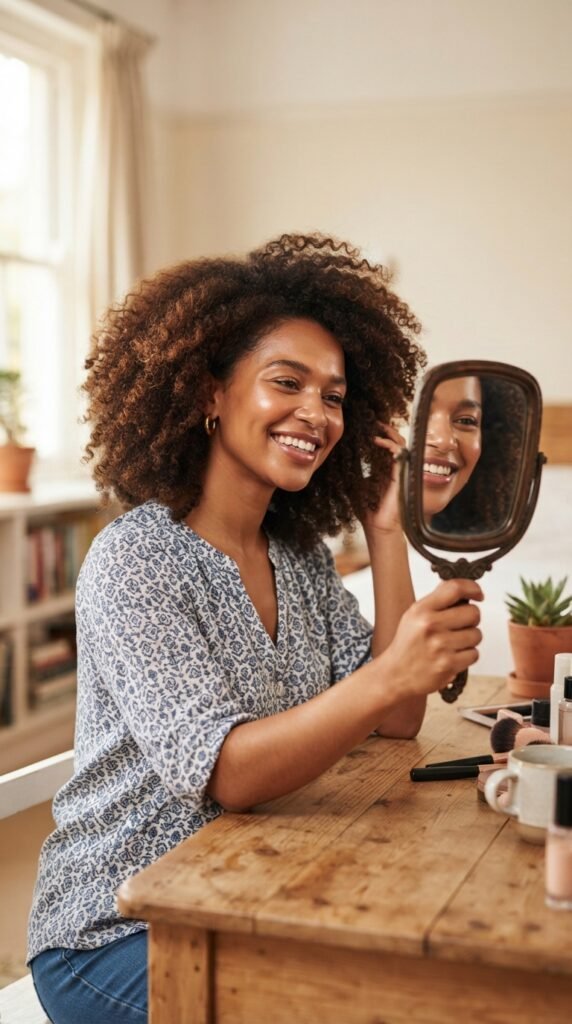
Patience sounds boring, but here’s what got me through.
- Take photos every four weeks. You won’t see progress daily, but photos don’t lie.
- Buy hair accessories you love. They make bad hair days fun.
- Trim every eight to ten weeks—just a tiny bit.
- Avoid mirrors on bad days. Seriously.
- Remember why you started. I kept a note in my phone that read: “my natural hair is enough.”
That one sentence got me through the ugly phase. Try one or all of these. Your future self will be so proud.
What I’d Tell You If You’re Starting Today
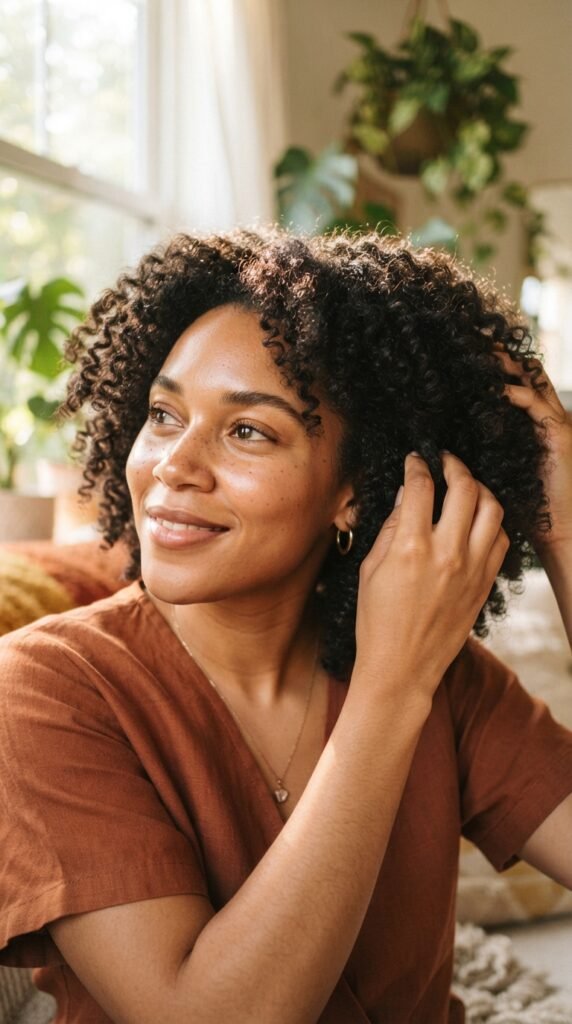
Start today. Throw out the box dye, take a before photo, and buy one good conditioner. Don’t feel like you need to chop everything off unless you want to. You can grow out your natural color while keeping length.
Just be gentle. Wash less often, skip heat when you can, and keep your ends hydrated. There will be days you hate it. That’s normal.
But months from now, you’ll have strong, healthy hair that actually looks like you. And that’s worth every awkward second. I promise.
From My Hair to Yours
If you’re at the beginning of this journey, I see you. The awkward roots, the dry ends, the urge to reach for another box. I’ve been there.
Your natural color is not a compromise. It’s a starting point. With a little patience and a few simple habits, you can fall in love with it too.
Remember, healthy hair looks good in every color. But the best version is the one that’s truly yours.
Save this post to Pinterest so you have it for the days you want to give up.
And tell me below: have you ever used box dye, and are you thinking about growing it out? I’d love to hear your story.