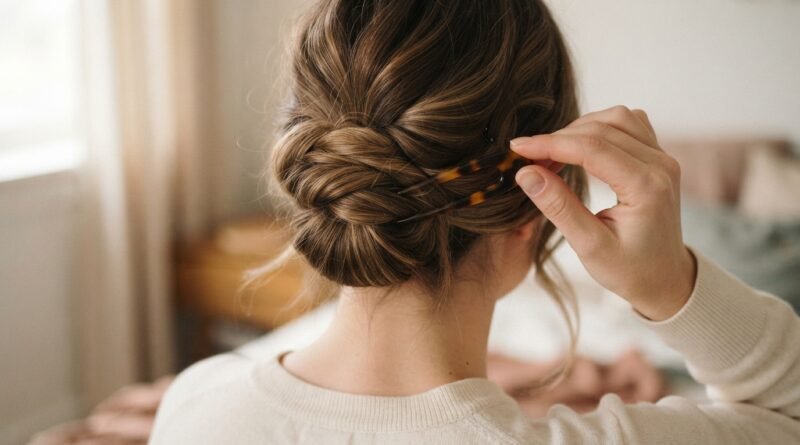
How To Create A French Pin Hairstyle For Everyday Elegance
I have a small confession. For years I avoided French pins because I thought they were for fancy updos and women with better coordination than me. Turns out I was wrong, and my messy bun phase could have been a lot cuter a lot sooner.
A French pin hairstyle is just a twist or roll held with one or two U-shaped pins instead of elastics and bobby pins. That’s the entire secret. It takes about 60 seconds once you know the motion.
Today I’m walking you through all of it: the tools, the three core twists, the fixes for every hair type, and how to make it last from morning coffee to dinner reservations. No salon skills needed, I promise.
What Is a French Pin Hairstyle, Anyway?
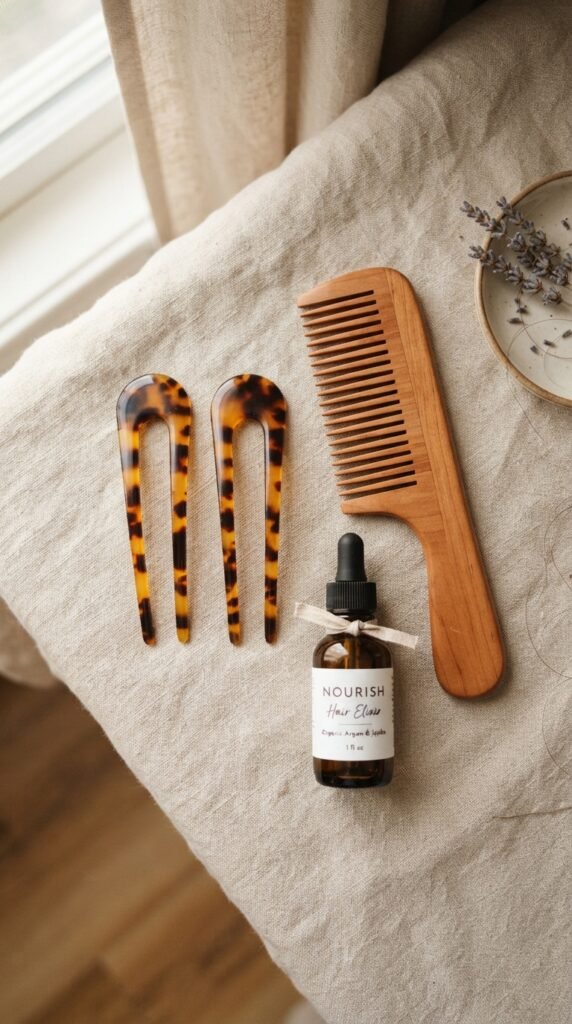
If you have ever pulled your hair back, twisted it once, and wished it looked elegant instead of “I gave up today,” French pins are your answer.
A French pin hairstyle is a twist, roll, or bun held in place with one or two U-shaped pins. No elastic dent, no bobby pin headache. The result is softer and more intentional, like you did something but didn’t try too hard.
It works on almost every length and texture. Fine hair, thick hair, curly hair, short hair. Once you learn the basic motion, you can wear it every single day without anyone getting bored of it.
The Only Three Tools You Need
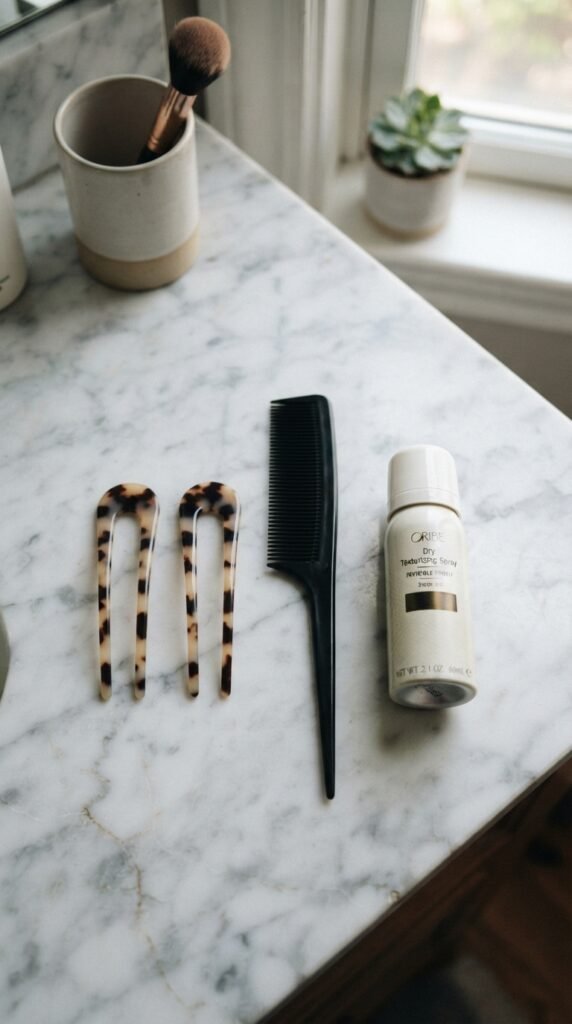
You do not need a drawer full of gadgets. I keep it to three things and I have never needed more.
- French pins (also called hair forks or U-pins): two to four, in a color close to your hair.
- A fine-tooth comb or soft brush: for smoothing the top section only.
- A little texture: dry shampoo, sea salt spray, or a tiny bit of pomade on your fingertips.
That’s it. No hairspray cloud, no elastics. If your hair is very slippery, keep a small clear elastic nearby for a base, but try it without first. Most people are surprised how well it holds.
How to Pick the Right French Pins
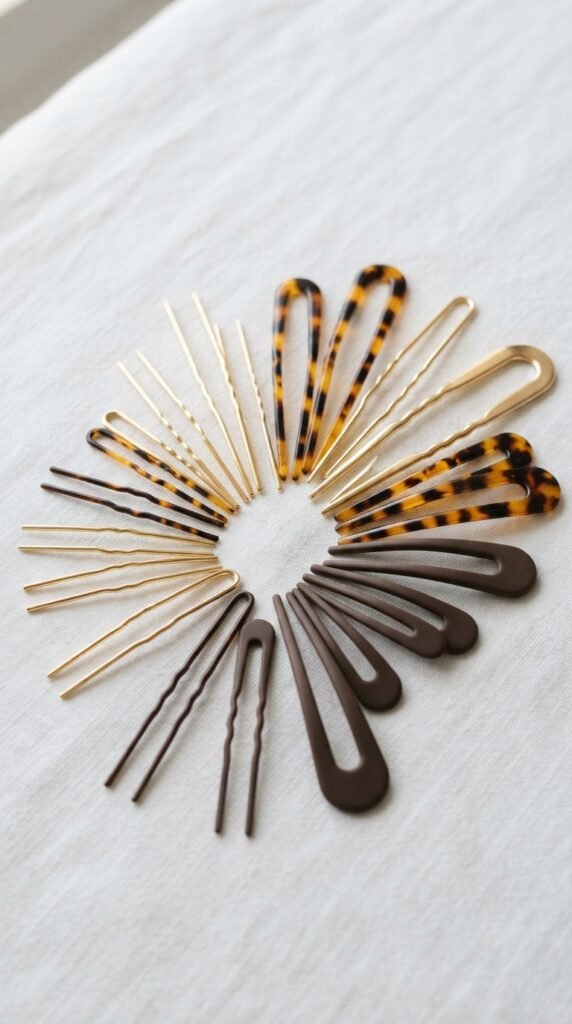
Not all French pins are the same, and the wrong ones will slide right out of your hair. Here’s my quick cheat sheet.
- Fine or straight hair: shorter pins with tighter prongs, matte finish.
- Thick or coarse hair: longer pins with a wider opening and a slight wave for grip.
- Curly hair: smooth, coated pins so they glide in without snagging.
- Color: match your roots for invisible, or go gold and tortoise if you want them to be part of the look.
Buy two sizes. You will use the small ones for face-framing pieces and the long ones for the main twist. That’s the whole shopping list.
Prep Your Hair in Two Minutes

Here’s the honest truth: French pins hold best on hair that is not perfectly clean and not completely dry. Day-two hair is the sweet spot.
- Mist dry shampoo at the roots and rough it in with your fingers.
- Add a pea-sized amount of cream or light oil to the ends only.
- If your hair is bone straight, add sea salt spray and scrunch. Grip comes from texture.
Skip heavy serum on your mid-lengths. Slick hair slides out of pins, and you will spend all day re-tucking it. A little grit is your friend here.
The Classic Low Twist (Start Here)
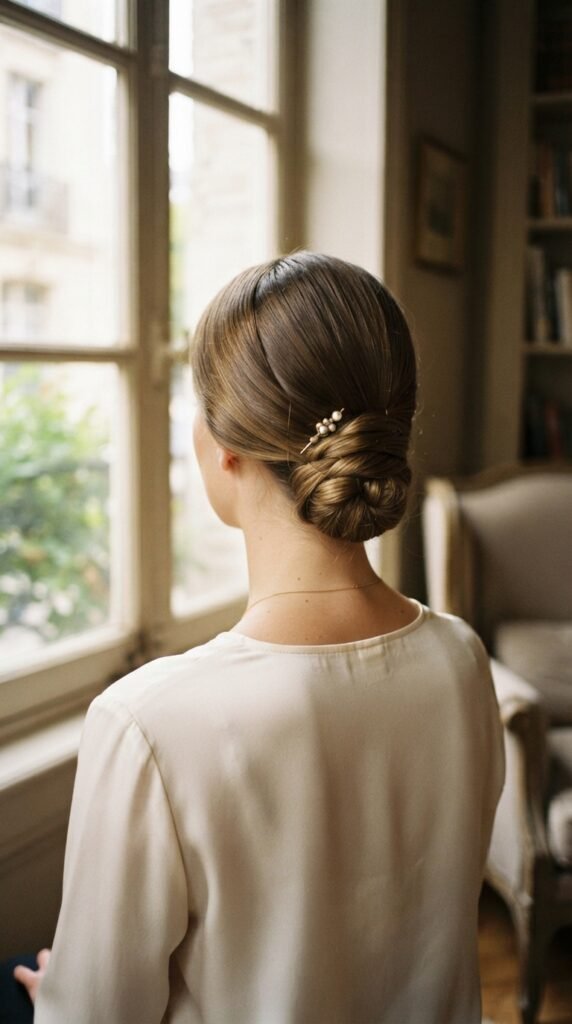
This is the one I teach first because it works on nearly everyone, no matter your length.
- Gather your hair at the nape like you’re making a low ponytail, but don’t secure it.
- Twist the whole length upward, away from your neck, until it coils on itself.
- Fold the coil up toward your head and press it flat.
- Slide one pin in at the bottom, pointing up toward your crown, then weave it back down.
- Add a second pin crossing the first in an X.
Tug the top section slightly for softness. If it feels tight, you twisted too hard. Loosen it with your fingertips before you pin.
The 30-Second French Roll
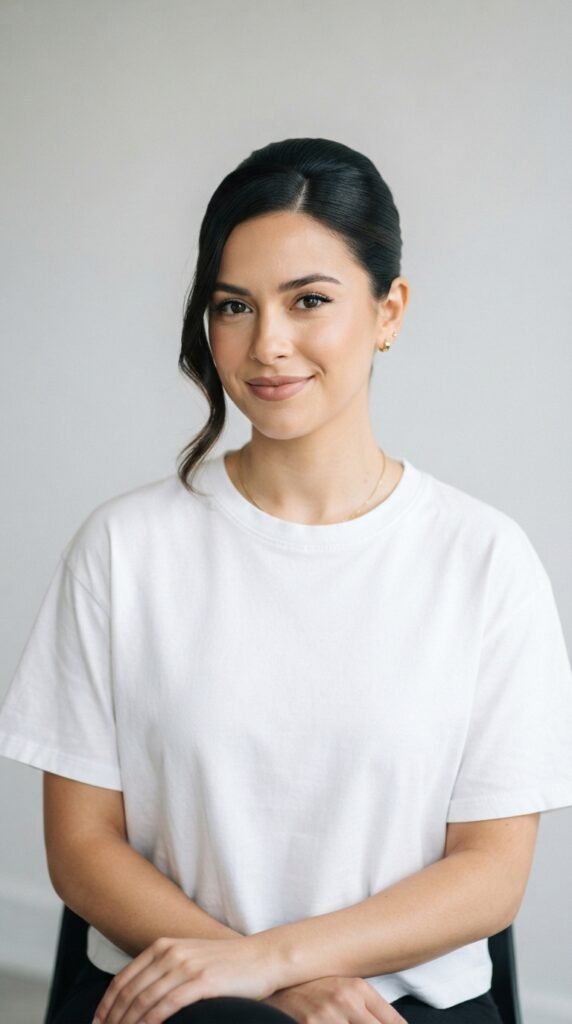
The French roll is the sleeker cousin. It reads polished and pairs beautifully with a quiet luxury bob when you’re growing one out.
- Comb everything back with your hands, no part.
- Hold your hair like a ponytail, then roll it upward around two fingers instead of twisting.
- Keep rolling until the roll sits against your head.
- Pin horizontally through the roll, not vertically, so it stays flat.
This one looks best with a little height at the crown and a soft piece left out on each side. Two pins max. If you can see the pins from the front, they’re too high.
The Messy French Pin Bun

This is my everyday go-to and the one people ask about most.
- Flip your head upside down and gather everything into a loose ponytail on top of your head.
- Do not twist. Loop the hair around two fingers into a soft knot.
- Tuck the tail underneath the knot.
- Pin through the knot at three points, like a triangle.
Now the important part: pull two or three small pieces out around your ears and at the nape. Messy is the point. A perfectly round bun looks like a dance recital. A slightly off-center one looks like you have somewhere better to be.
How to Get That Old Money Hair Look
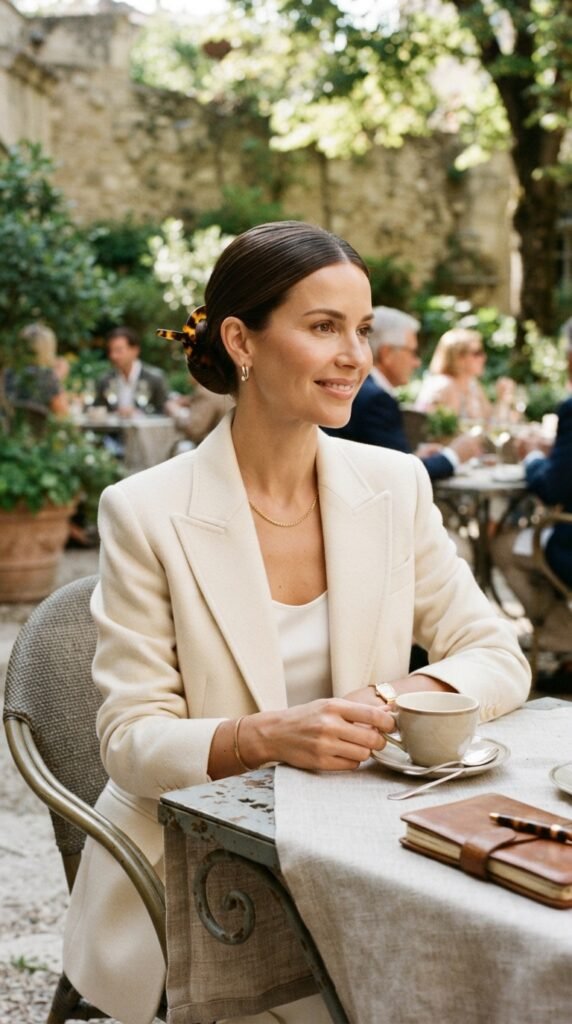
Old money hair is not about money. It’s about looking calm, healthy, and unbothered. French pins do that better than almost anything else.
- Keep the front smooth and the back soft.
- Use pins in tortoiseshell, gold, or your own hair color. Nothing sparkly.
- Choose a low chignon instead of a high bun.
- Skip heavy sprays. Shine comes from healthy hair, not product.
Pair it with a clean middle part or a soft side sweep and small gold hoops. This is the style I wear when I want to look like I have my life together, even when my inbox says otherwise.
Fine, Slippery Hair Fix
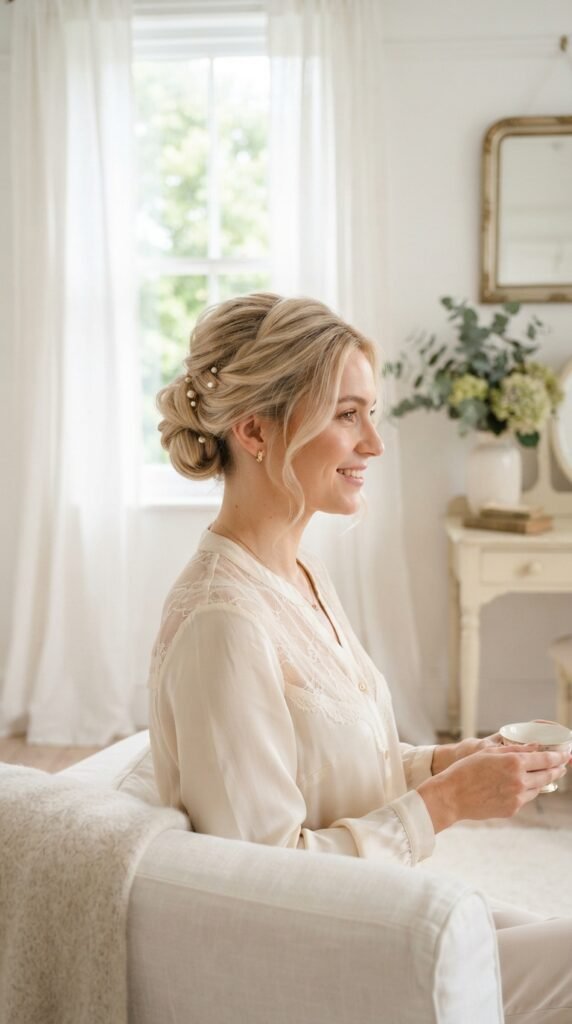
Fine hair and French pins can be frustrating. But they can also be the best combination, because pins don’t crush volume the way elastics do.
Three things change everything:
- Use pins with a matte or rubberized coating. Smooth metal slides right out.
- Add texture first, even on clean hair. Dry shampoo at the roots is non-negotiable.
- Pin smaller sections in more places rather than one big twist.
If you’re still fighting it, anchor a tiny ponytail at the base with a clear elastic, then pin around it. Nobody will see it, and your style will survive the whole day.
Thick, Heavy Hair Fix

Thick hair needs bigger tools and a little strategy. Gravity is not on your side.
- Use longer, wider French pins. Short ones will pop out by lunch.
- Split your hair into two sections, top and bottom, and pin them separately.
- Twist tighter than you think you need to. Thick hair relaxes fast.
- Cross your pins. Two pins in an X hold like four pins in a row.
For very long, heavy hair, a half-up French pin style is often more comfortable than a full updo. You get the elegance without the headache at 3 p.m.
Short Hair and the Asymmetrical Lob

Short hair does not mean you’re out of the game. You just work with smaller sections.
If you have an asymmetrical lob or a grown-out pixie, try a half-up twist. Gather only the top layer from ear to ear, twist it back, and pin it low. You get a lifted, polished shape without fighting your length.
- Use small pins for short hair.
- Pin from underneath so the pin disappears.
- Leave the sides loose and slightly piecey for a modern finish.
This is also the easiest way to stretch a blowout one more day. Nobody will know.
Curly, Coily, and Textured Hair
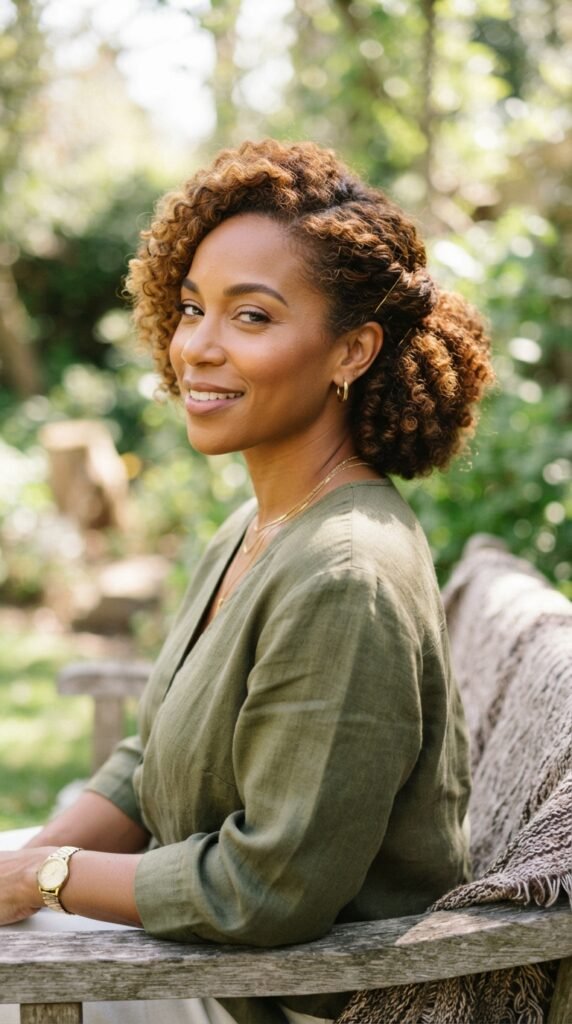
Curly hair and French pins are a beautiful match because your texture does most of the holding for you.
- Work with dry, stretched hair rather than soaking wet hair.
- Use smooth, coated pins to avoid snagging.
- Twist loosely. Tight twists flatten your curl pattern.
- Refresh with a little leave-in before you style so the shape stays defined.
Try a low twist-out pinned at the nape, or a pineapple-style bun pinned instead of banded. Both protect your ends and look genuinely romantic. Give yourself grace the first few tries. Curls have opinions.
How Many Pins Is Too Many?
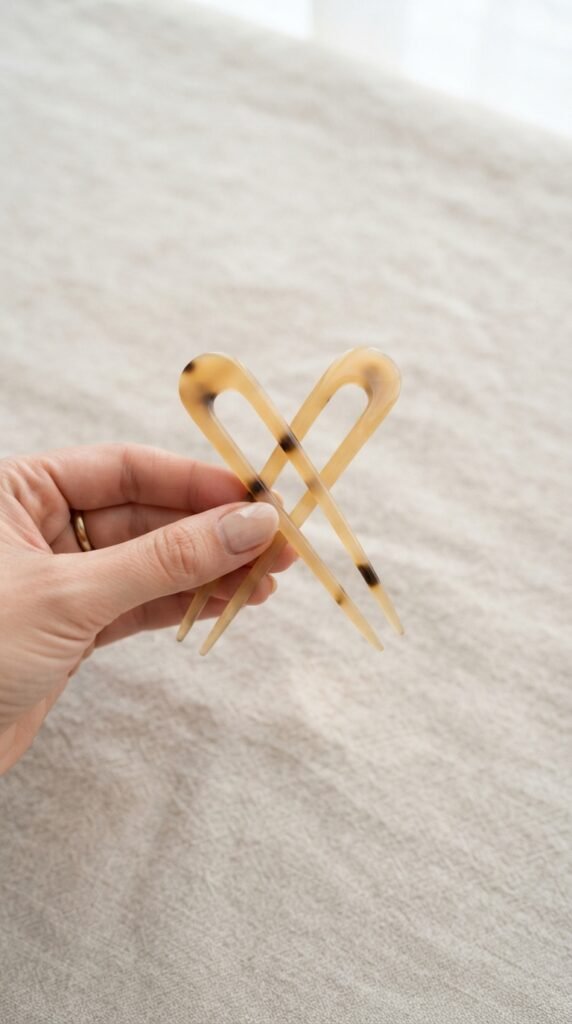
Here’s my rule: two to four pins. That’s it.
One pin is for a quick twist you plan to redo later. Two pins crossed in an X is the sweet spot for most styles. Three or four pins work for thick hair or a heavier bun.
If you need six pins, the problem isn’t the pins. It’s the shape. Something is too loose, too heavy, or twisted in the wrong direction. Take it down, retwist, and start again. It takes thirty seconds and holds ten times better.
More pins also means more chances for the style to look stiff and obvious from the front.
How to Hide the Pins
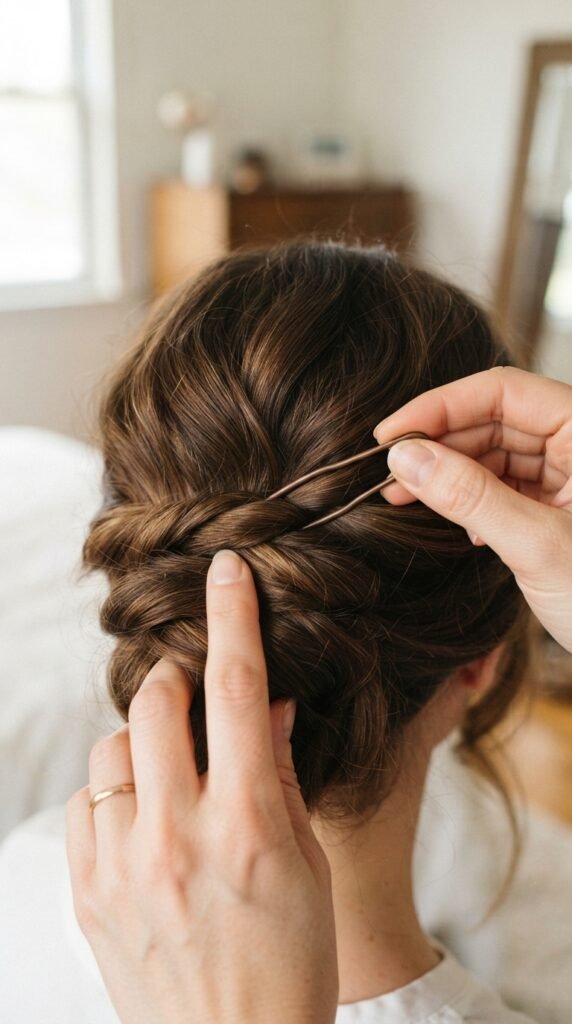
Invisible pins make the whole thing look effortless, like your hair just decided to stay that way on its own.
- Push the pin in pointing toward the center of the twist, not straight in.
- Weave it in and back out, like a stitch, so both ends disappear.
- Match pin color to your hair for everyday, or choose gold and tortoise on purpose.
- Cover the entry point with a small section of hair before you let go.
Do a quick phone-camera check from the back. Front-facing mirrors lie about the back of your head, and honestly, so do most of us.
Add Volume at the Crown
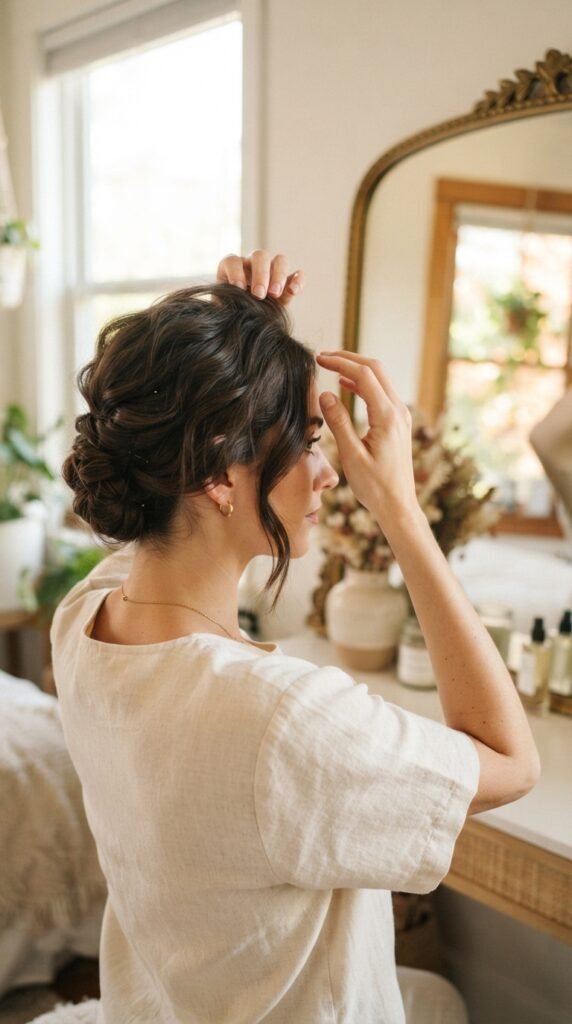
A flat crown is what makes an updo look dated. A little lift changes everything.
- Before you gather your hair, gently push the crown section forward with your fingers.
- Gather your hair low, but keep that crown height intact.
- After pinning, slide a finger under the hair at the crown and pull up slightly.
- Mist lightly with flexible hold spray, if you use it.
Two seconds of lifting is the difference between “elegant” and “I’m about to wash my face.” Try it once and you’ll never skip it again.
Make It Last 12 Hours
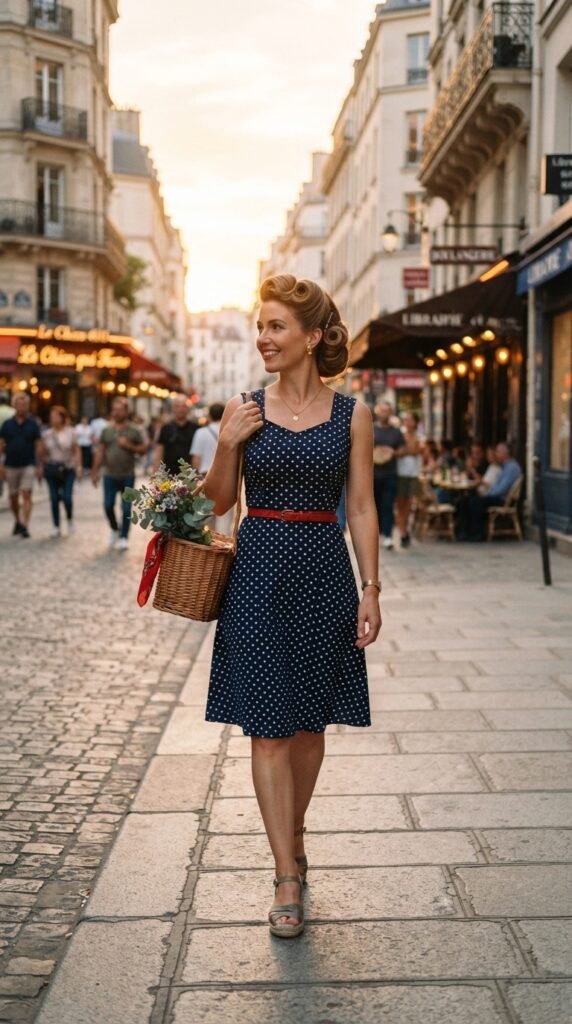
Long days are the real test. Here’s how I get a French pin style from 7 a.m. to 7 p.m. without a single redo.
- Start on day-two hair, or add dry shampoo to clean hair.
- Cross your pins. It doubles the hold.
- Keep the style low and close to your head. High styles fall faster.
- Carry one spare pin in your bag. One pin fixes almost any collapse.
If your style starts dropping, don’t take it out. Just push the loose piece back toward the twist and slide a pin in. You’ll be fixed in ten seconds, even in a bathroom mirror.
Polished for Work Without Looking Stiff

For the office, I want clean but not severe. Think quiet luxury, not headmistress.
- Smooth the top with a comb, but keep the back soft.
- Choose a low French roll or low twist, not a high bun.
- Leave one soft piece near your face on each side.
- Use matte pins that match your hair.
Pair it with a blazer and simple earrings and you’re set. This also works beautifully on a quiet luxury bob that’s grown past your shoulders, since a low twist handles medium lengths gracefully.
Soft and Romantic for Date Night
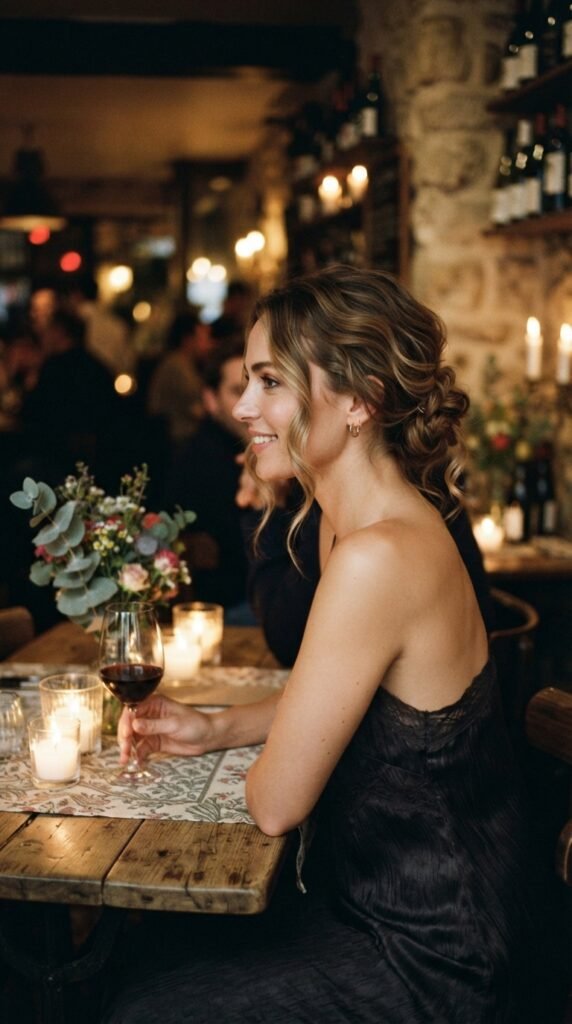
At night, loosen everything. Same technique, softer finish.
- Pull out more face-framing pieces than you would for work.
- Let the twist sit slightly off-center.
- Use gold or pearl-tipped pins as jewelry for your hair.
- Add a sheer ribbon if you want a little extra.
I love this with a slip dress or silk blouse. For something moodier, borrow a page from romantic goth hairstyles: a low, soft knot, two loose tendrils, and dark matte pins. Same 60 seconds of work, completely different feeling.
Where It Fits in 2026 Hairstyles
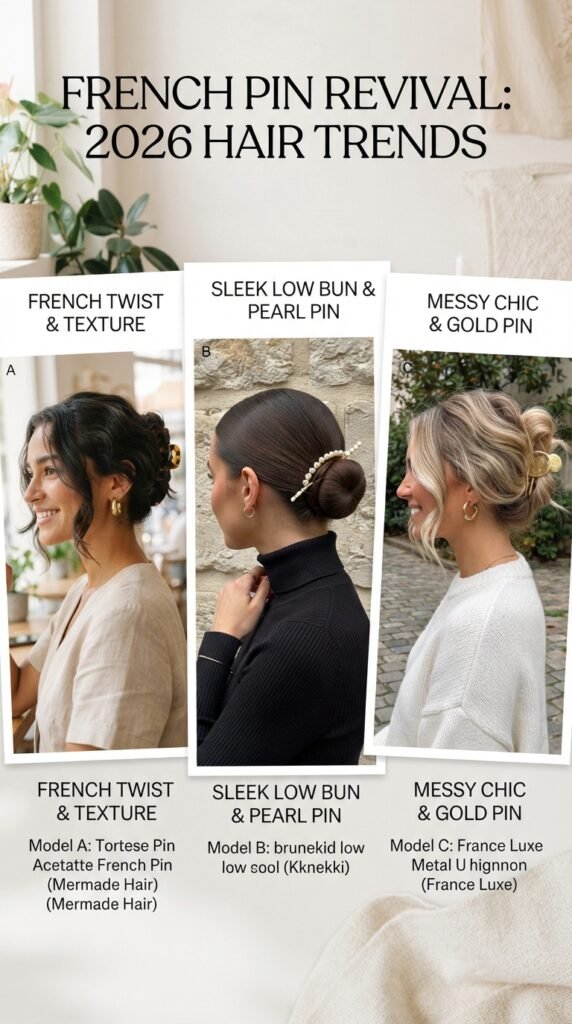
French pins are quietly everywhere right now, and that’s because they work with almost every trend in 2026 hairstyles.
- Quiet luxury bob: a low twist keeps the shape sleek and shows off the cut.
- Old money hair: soft chignons and smooth fronts are the whole look.
- Romantic goth hairstyles: dark pins, loose tendrils, soft crown volume.
- Glitchy glam hair: pin a sleek, glossy front with a textured, messy back.
- Asymmetrical lob: a half-up twist adds lift without losing length.
- Hime cut and vampire haircut: pin the back up and let the blunt side pieces frame your face.
One technique, six trends. That’s a good deal.
French Pins With Bangs and Face-Framing Pieces
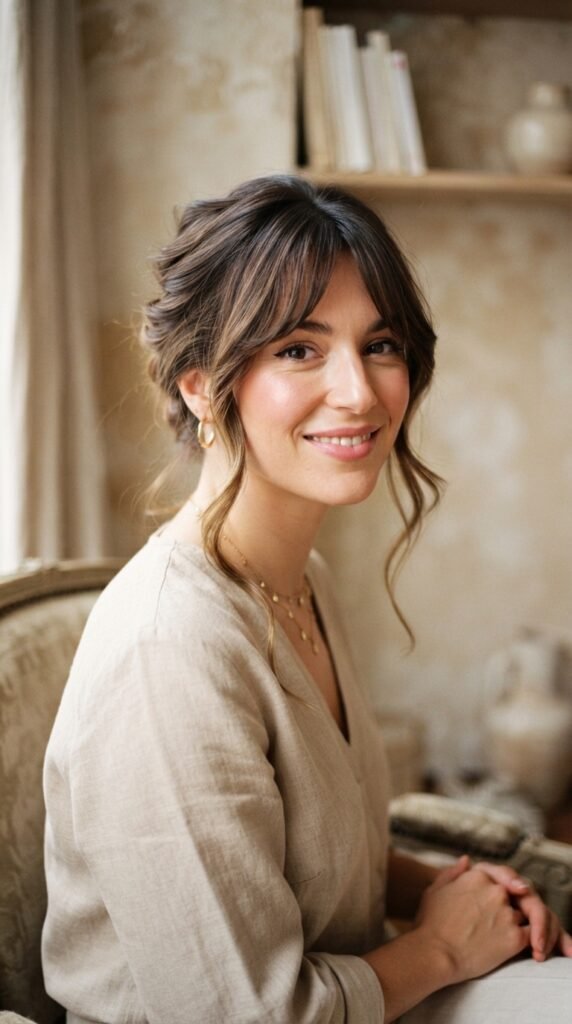
Bangs make this style look even better, if you handle them right.
- Style your bangs first, then gather the rest so you don’t flatten them.
- Leave the pieces that naturally fall out of your updo. They soften everything.
- If your bangs are growing out, pin them back with a small pin for a quick change.
Same goes for a hime cut or any blunt face-framing layer. Those straight side pieces look beautiful against a soft French pin twist, so let them hang free and keep the back simple. The contrast does the work for you.
The Half-Up French Pin Style
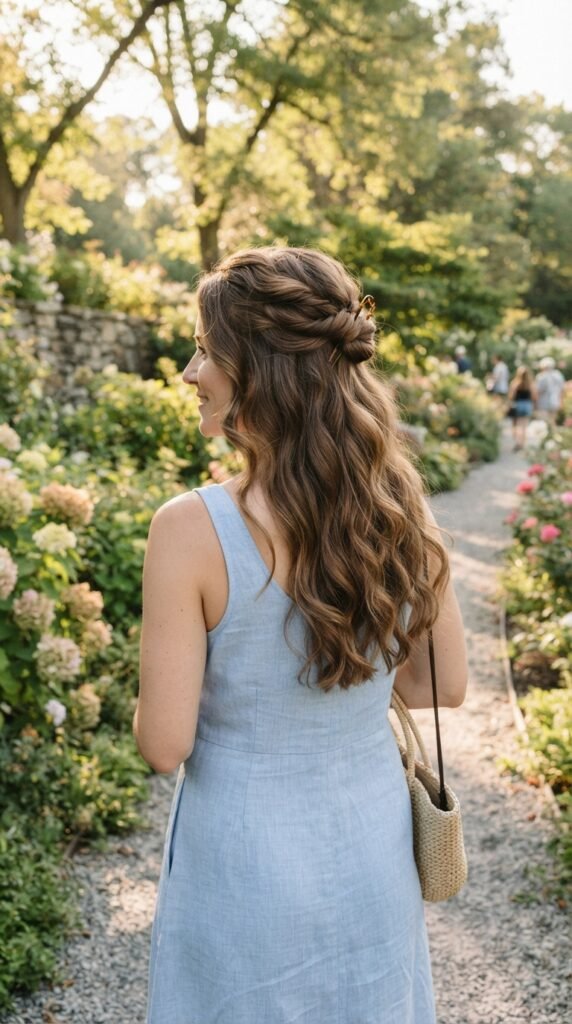
Half-up is the easiest entry point if you’re nervous about updos, and it’s beautiful on long hair.
- Take a section from ear to ear, above your temples.
- Gently twist it back, keeping it loose.
- Fold the twist and pin it at the back of your head.
- Pull the crown gently for volume.
You can add a small clip or a silk scrunchie if you want more polish. On a vampire haircut or a grown-out pixie, this reads as instantly chic. Wear it with everything, including leggings on a Monday.
Rescue a Style That’s Falling Out

It happens to everyone, usually in a parking lot. Here’s your 15-second fix.
- Find the loose piece. Don’t pull it out.
- Push it back into the twist or roll.
- Slide a pin in from the outside, pointing toward the center, then weave it back.
- Smooth the top with a damp fingertip.
If the whole thing has collapsed, take the pins out and retwist. A sagging updo looks worse than a fresh one, and it genuinely takes one minute.
Pro tip: keep one pin in your car, one in your desk drawer, and one in your purse. Small insurance, big payoff.
Three Mistakes That Ruin the Hold
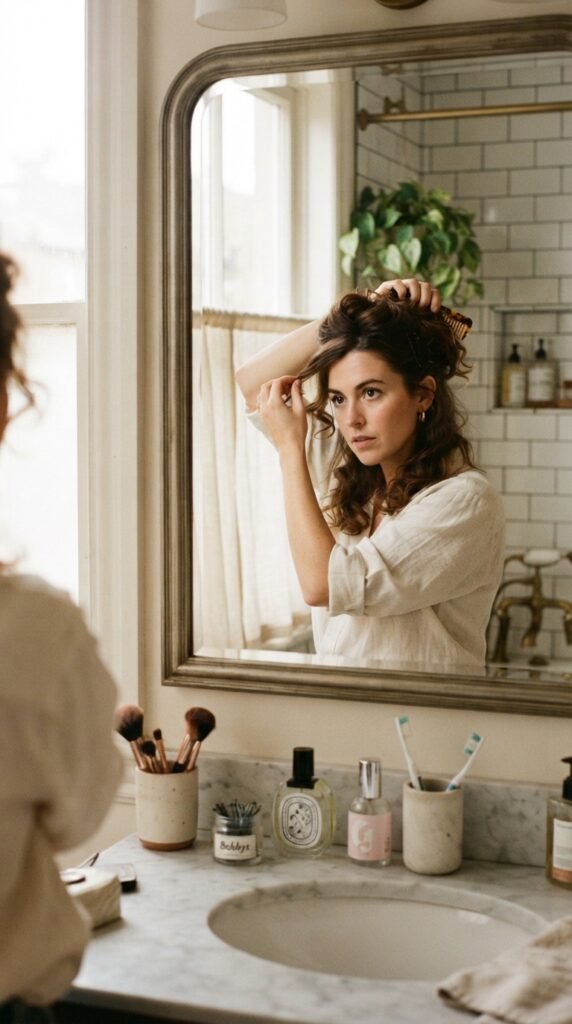
I made all three of these for years. Save yourself the trouble.
- Pinning straight in. Pins should go in and weave back out, like a stitch. Straight in means straight out.
- Twisting too tight. Tight twists actually push hair out of the pin. Tension is your enemy.
- Starting with soaking wet hair. Wet hair shrinks as it dries, and your style shrinks with it. Style on dry or mostly dry hair.
Fix those three and your French pin hairstyle will hold like it was glued, without a drop of glue anywhere.
How to Take It Out Without Breakage
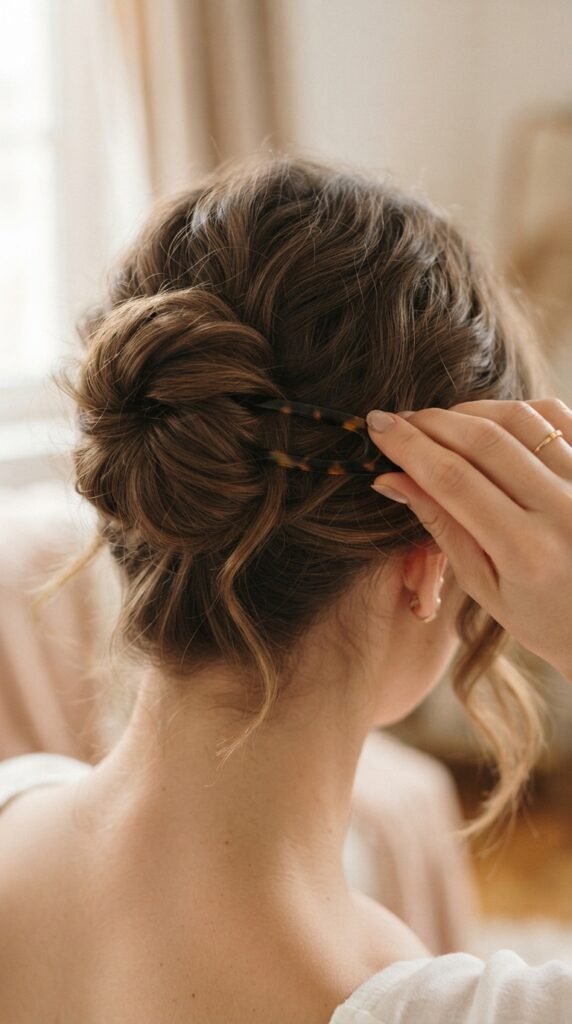
Please don’t yank. Pins come out the same way they went in.
- Slide the pin out slowly in the direction it points. Don’t pull sideways.
- If it catches, wiggle gently rather than tugging.
- Let the twist fall on its own before you brush.
Untangle with your fingers first, then use a wide-tooth comb starting at the ends. A quick drop of oil on your hands helps if your hair knotted during the day. Your hair will thank you tomorrow, I promise.
Your Five-Minute Morning Routine
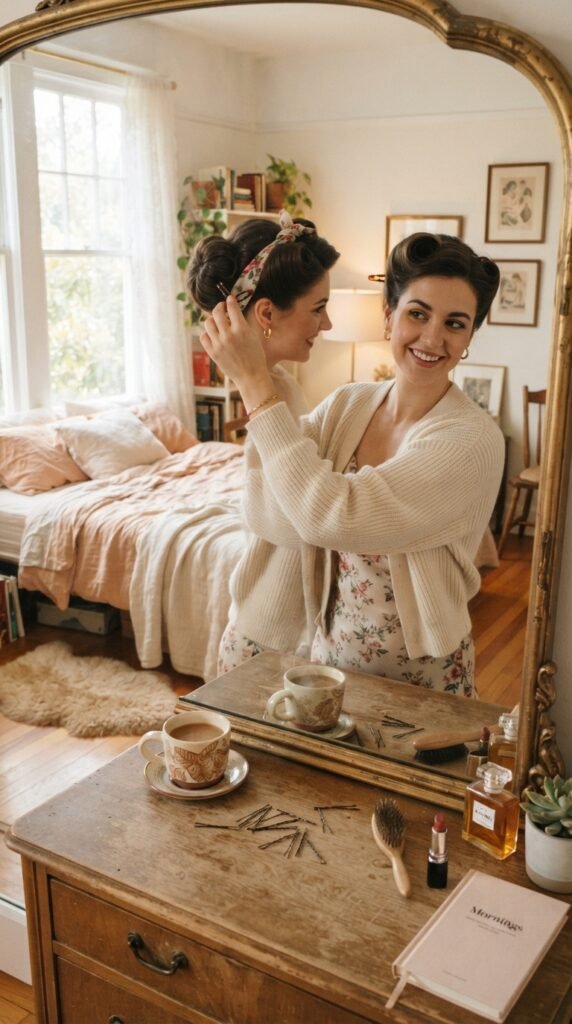
Here’s the whole thing in one place, so you can stop scrolling and start doing.
- Minute 1: dry shampoo, rough it in, add a little cream to the ends.
- Minute 2: smooth the front and pick your shape: low twist, roll, or bun.
- Minute 3: twist or roll your hair into place.
- Minute 4: pin in an X, then hide the pins.
- Minute 5: lift the crown, pull out two face-framing pieces, and go.
Practice a few mornings in a row and it becomes muscle memory. Then you’ll be the person who gets compliments at 8 a.m. on a Tuesday.
One Last Thing Before You Try It
French pins are one of those tiny skills that quietly upgrade your whole week. You learn it once, and suddenly every rushed morning has an elegant option that takes less time than a ponytail.
Start with the low twist. Don’t stress if the first attempt looks a little lumpy. Mine did too. By day three you’ll be pinning your hair without even looking in the mirror.
And if you try one of these styles, tell me which one. I read every comment, and I genuinely want to know what worked for your hair type. Your tip might help the next person reading this.
Save this post to Pinterest so you have it handy on your next busy morning. Then drop a comment below and tell me: are you a low twist girl, a messy bun girl, or still deciding? I’ll be in the comments with you.