
22 Simple Braid Tutorials Even Total Beginners Can Master
Honestly, braids used to intimidate me. I would watch those perfect TikTok videos and think, yeah right, my fingers could never do that. But here is the secret: braids are just crossing sections of hair over each other. That is it. If you can tie your shoes, you can braid your hair. I promise.
I put together these 22 simple braid tutorials because I wanted one post that actually makes sense for total beginners. No fancy tools, no ten-step nonsense, just real braids you can do in your bathroom mirror while your coffee is still hot. These work on straight, wavy, curly, and coily hair. And yes, all of them are trending in 2026 hairstyles in some way, so you will look good while you learn.
Grab a hair tie, a brush, and maybe some patience. We are going to master this together.
1. The Classic Three-Strand Braid
The classic braid is the foundation for everything in this post. Once you get this one down, every other braid gets so much easier. Start with brushed, detangled hair and gather it at the nape of your neck. Split it into three even sections.
Then just cross the right strand over the middle, the left over the middle, and keep alternating until you reach the ends. Secure with a clear elastic. Here is my favorite step: gently pull the sides of the braid outward to make it look soft and lived-in. That undone touch is very old money hair, by the way, elegant but never stiff.

2. The Messy Side Braid
This braid is practically cheating because the messier it is, the better it looks. Sweep your hair to one side, do a regular three-strand braid, and leave a few face-framing strands out on purpose. Do not stress about it being perfect.
After you secure it, pull out small pieces along the braid and let them fall naturally. This is the whole glitchy glam hair vibe, a little chaotic, a little artsy, but very intentional. It works great on day-two hair and honestly hides the fact that you skipped wash day.

3. The Dutch Braid
The Dutch braid looks like a French braid but backwards. Instead of crossing the strands over the middle, you cross them under. It creates a bold, raised braid that sits on top of your hair. Start at the top of your head, grab three sections, and braid underneath, adding hair from the sides as you go down.
The end result is a defined, edgy look that pairs really well with the vampire haircut trend. You know, the dark, layered, slightly mysterious style everyone is asking for in 2026. If you want a softer version, just pull the edges out a little after you finish.
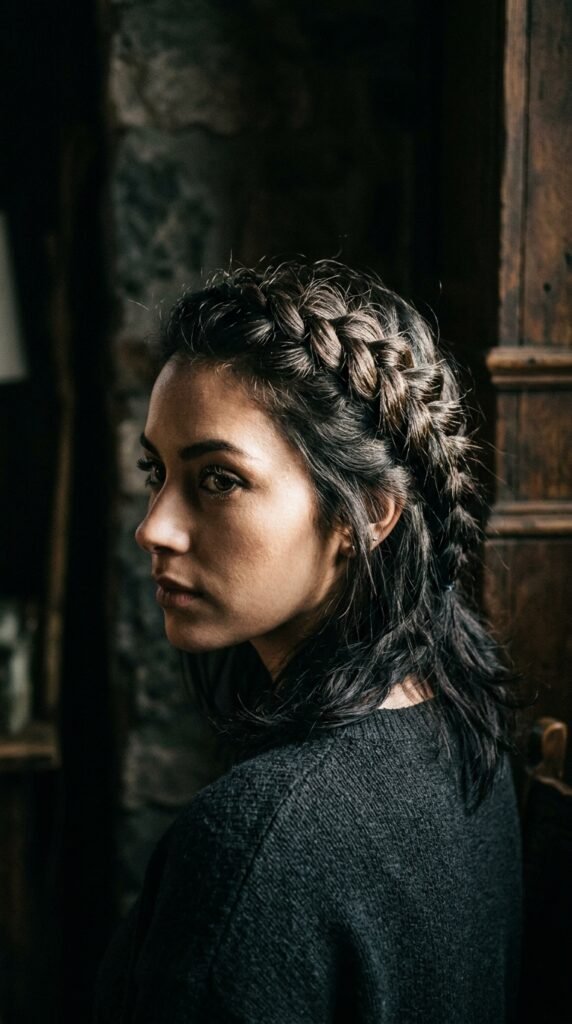
4. The French Braid
The French braid is the timeless version of the Dutch braid. You cross the strands over the middle instead of under, which gives a flatter, more elegant finish. Start near your crown and add hair from the sides as you move down. It is basically the classic braid but with extra hair picked up along the way.
This style is a total match for the quiet luxury bob lifestyle, refined and understated. It keeps your hair off your face while still looking polished and expensive. If you have a bob that barely reaches your shoulder, a French braid is still possible, you just skip the pieces that are too short to reach.

5. The Fishtail Braid
A fishtail braid looks way more complicated than it is. Split your hair into two sections. Take a small piece from the outside of the right section and cross it over to join the left. Then take a small piece from the outside of the left and cross it to the right. Alternate all the way down.
That is it. The smaller the pieces, the more detailed the braid looks. Fishtails are everywhere in 2026 hairstyles because they are delicate, feminine, and look so much harder than they actually are. Perfect for a brunch date or a wedding guest look. Pull the edges loose when you finish for that soft, romantic finish.
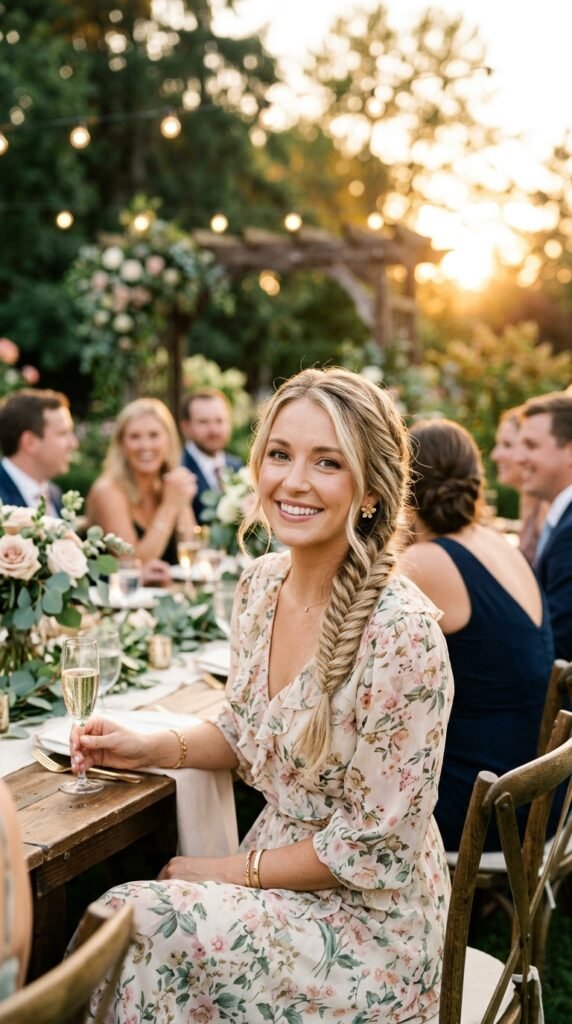
6. The Bubble Braid
The bubble braid is basically a ponytail with several clear elastics down the length. It looks like you worked for hours, but honestly it takes like five minutes. Here is the simple version:
- Put your hair in a high or low ponytail.
- Add a clear elastic every inch or so.
- Gently puff out the space between each band.
That is the whole trick. Make the bubbles uniform or vary the sizes, it honestly does not matter. This is one of the most beginner-friendly braids and it is perfect for adding a little playful energy to your day without any real effort. If you have fine hair, tease each section slightly before puffing it out.
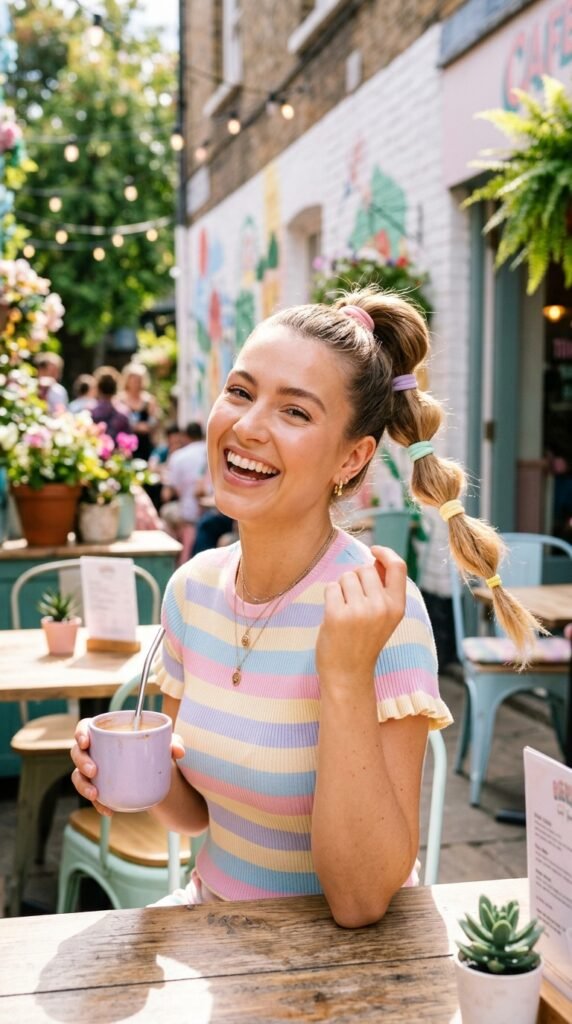
7. The Rope Braid
Take two sections of hair and twist each one in the same direction. Then twist the two sections around each other in the opposite direction. That is a rope braid. It looks like an expensive twisted updo, but the technique is just twisting and wrapping.
I love this one for old money hair energy because it looks so put together with very little effort. It stays in place well and works on second-day hair. You can do a single low rope braid, two high ones, or even twist it into a bun at the end. The possibilities are honestly endless.
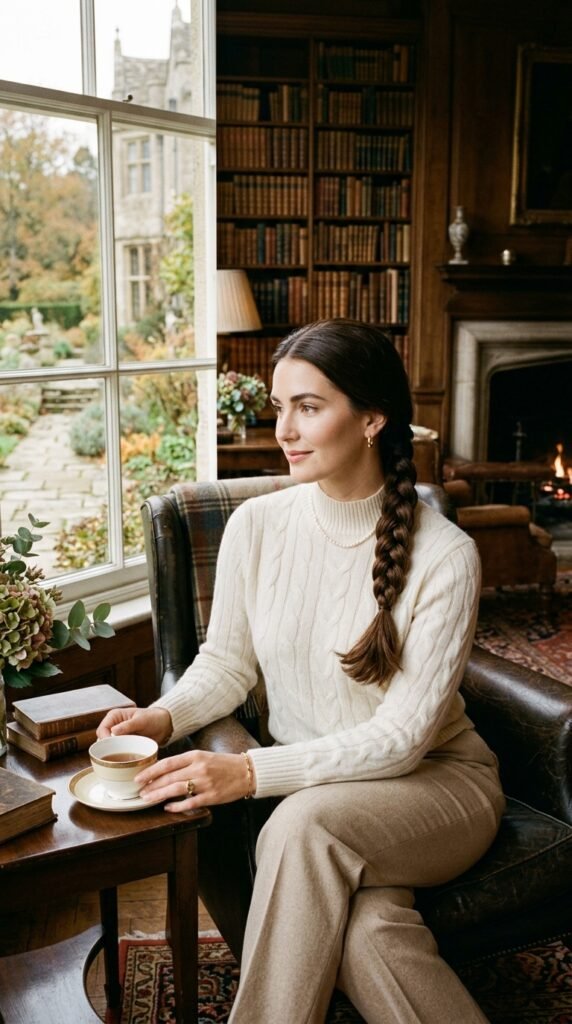
8. The Braided Headband
This is one of my favorite tricks for growing out bangs. Take a small section of hair near your temple, braid it like a tiny three-strand, and then pin it across the top of your head like a headband. Do the same on the other side and tuck the ends behind your ears.
It creates a sweet, face-framing effect that works beautifully with the hime cut trend, you know, that straight, blunt-cut style with face-framing pieces. Braiding those pieces back keeps the look fresh but also shows off the blunt ends when you want a change. It takes two minutes and looks so intentional.

9. The Milkmaid Braid
Braided halo, cottagecore dream, milkmaid braid, whatever you call it, this one is gorgeous. Do a regular braid on each side of your head and bring both braids up and over the top. Pin them in place at the crown. That is literally it.
The milkmaid braid fits right into romantic goth hairstyles because it has that ethereal, vintage energy. Pair it with a dark lip and you have a look that is soft but moody. For a casual version, pull a few strands loose around your face before you pin everything up.
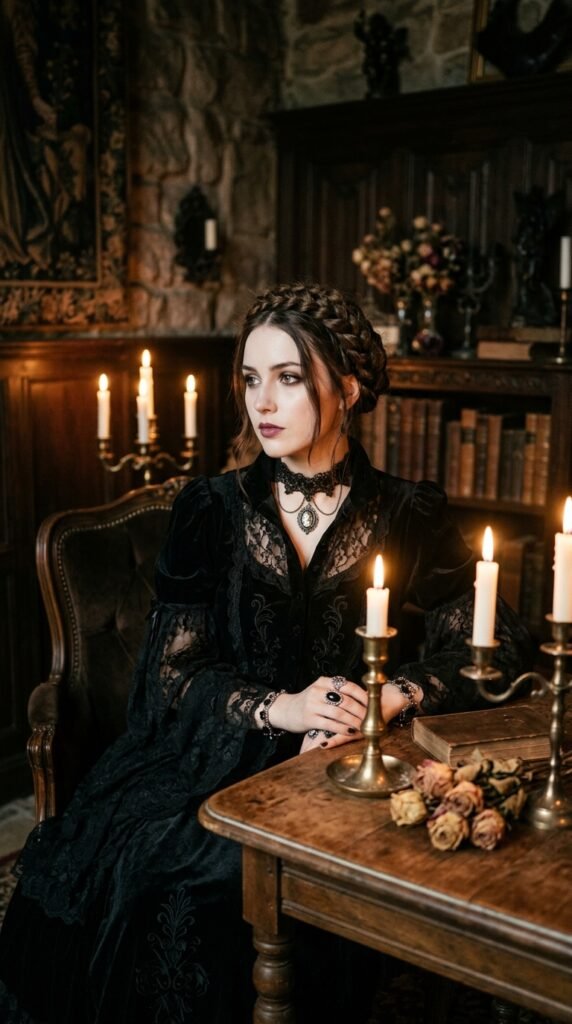
10. The Crown Braid
Think of the crown braid as a milkmaid braid but with a French braid instead of a regular one. You braid along your hairline from one ear to the other, then tuck the end into the braid. If that sounds hard, it is really not. It is just a French braid that goes sideways instead of down.
The crown braid is peak old money hair. It looks like something you would see at a garden party or a gallery opening. And honestly, it is the easiest way to look like you spent an hour on your hair when you only spent ten minutes.
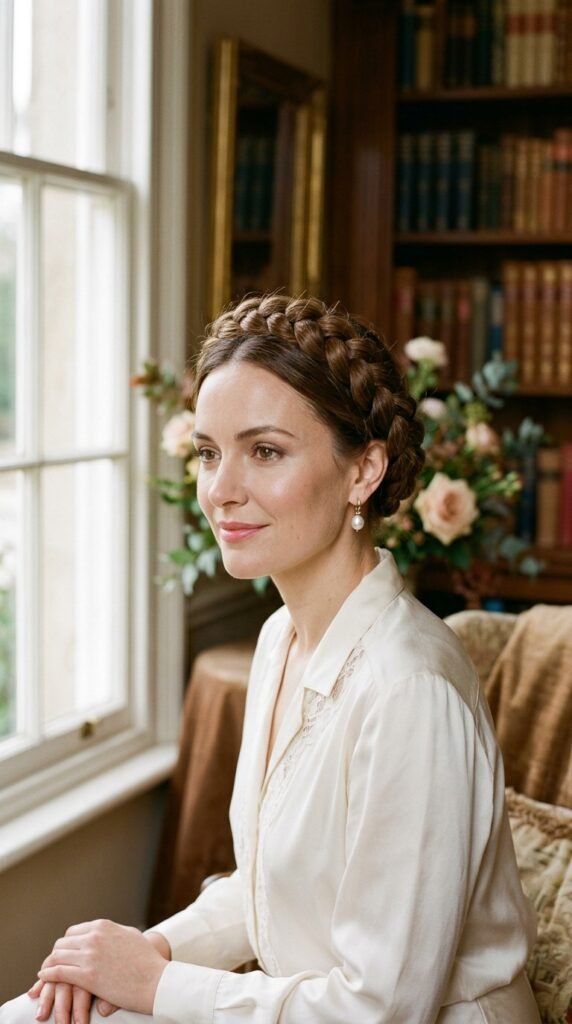
11. The Braided Ponytail
The braided ponytail is exactly what it sounds like and it is the ultimate low-effort win. Pull your hair into a ponytail at whatever height feels right, then braid the ponytail and secure it at the end. That is it.
The key is placement. If you have an asymmetrical lob, keep the ponytail on the side where there is more length. Braid it loosely and let the shorter pieces frame your face. This is an easy way to make a lob feel like a completely different haircut, and it is perfect for busy mornings.
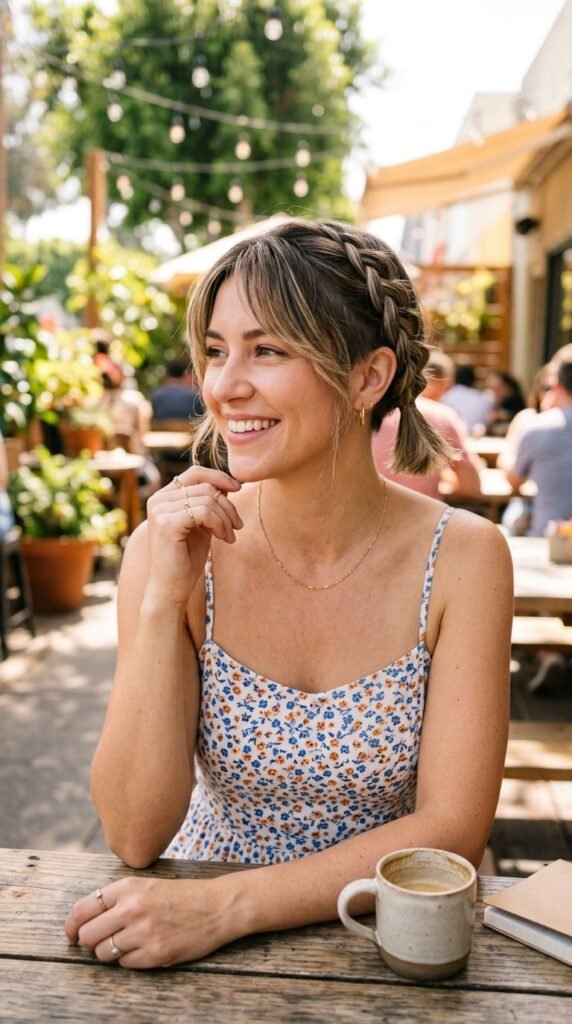
12. The Waterfall Braid
The waterfall braid sounds fancy, but it is actually just a French braid that drops strands instead of picking them up. You take a side section, braid it over the top, and let the bottom strand fall free each time. The result is a cascading braid that looks like a waterfall.
This one is great for date nights or weddings. If you can French braid even a little bit, you can handle this. The movement of the falling strands makes it look soft and romantic without any extra effort. It might take two tries, but once you get the drop motion, you will be unstoppable.
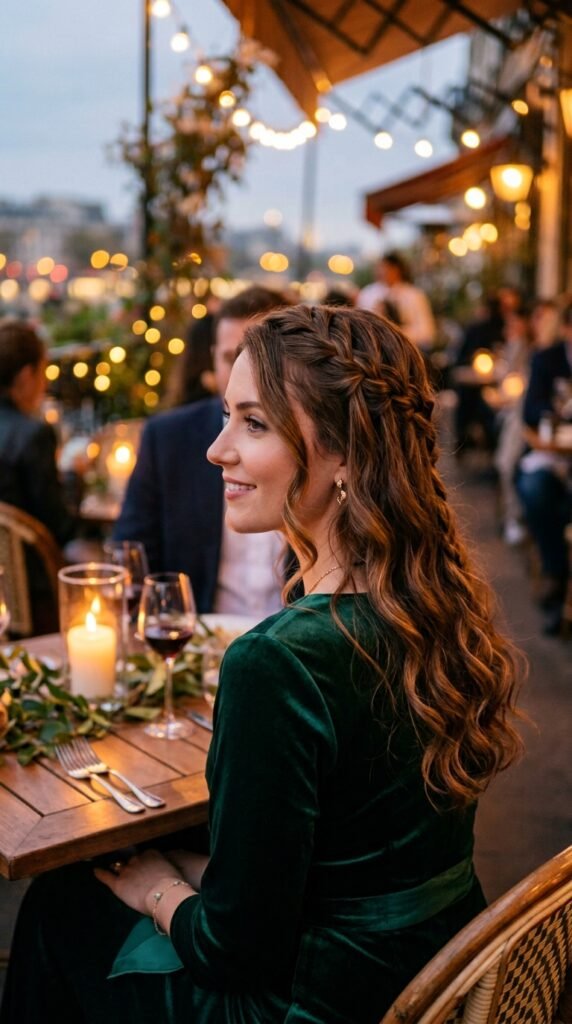
13. The Four-Strand Braid
Ready to level up? The four-strand braid looks like an intricate work of art, but the logic is simple: you just keep the strands moving in a consistent pattern. Grab four sections. Cross the first over the second, the third over the fourth, and then cross the middle ones.
Honestly, the easiest way to learn is by watching your own hands and following the pattern. It might take a few tries, but the texture is worth it. Four-strand braids are popping up all over 2026 hairstyles because they look expensive and customized. They make a regular ponytail suddenly look editorial.
14. The Pull-Through Braid
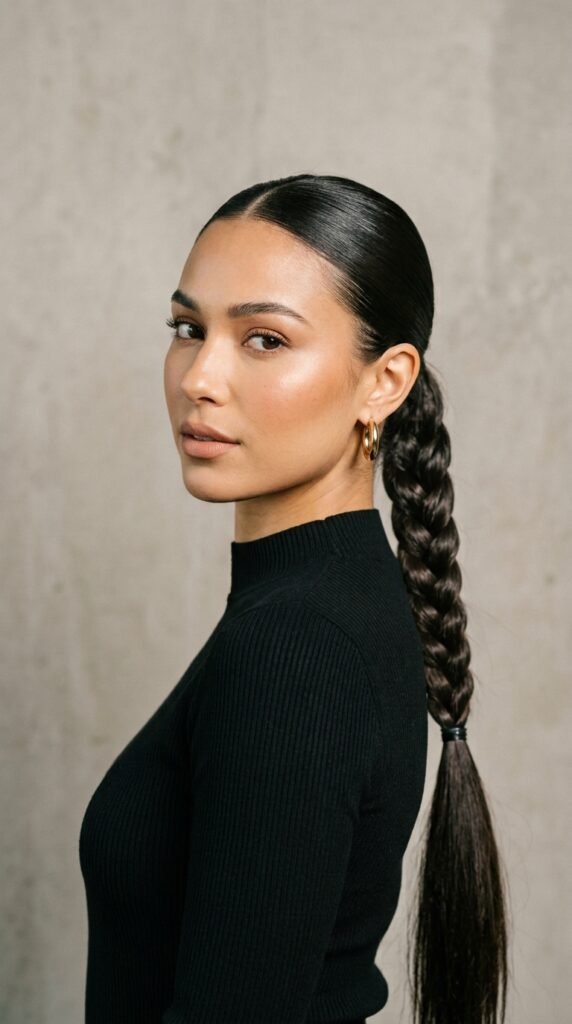
A pull-through braid is probably the easiest braid that looks the most complicated. You secure your hair in a ponytail, then add another elastic a few inches down. Then you split the space between the elastics in half and pull the upper ponytail through the gap. Keep repeating down the length.
It resembles a basketweave or chain and gives that glitchy glam hair energy that everyone is experimenting with. The best part is you never actually braid. You literally just pull hair through. If I can do this, you can do this. Word of caution, have more elastics ready, you will use a lot.
15. The Braided Bun
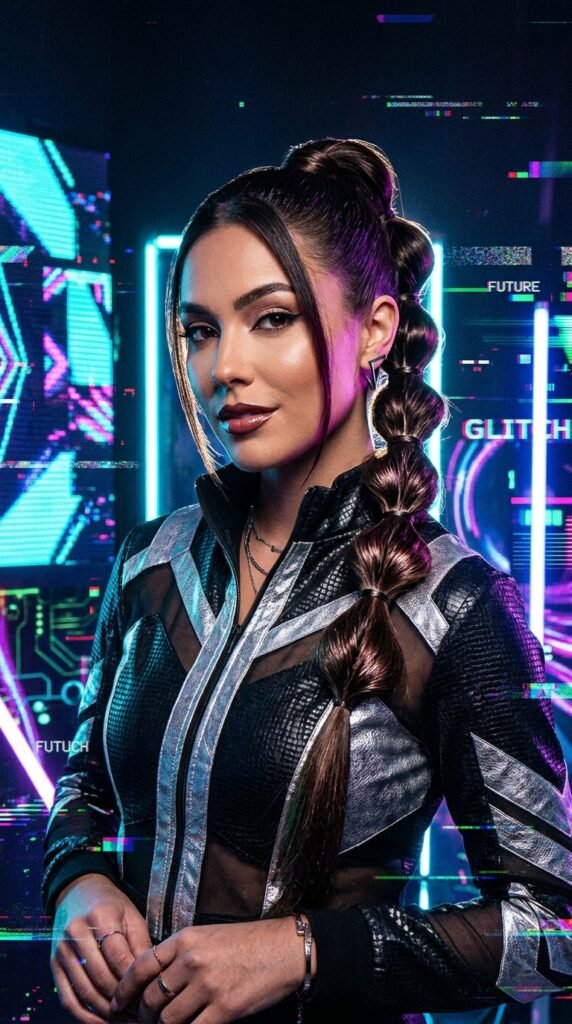
This is my go-to for work meetings and school runs. Do a simple braid from the nape of your neck, then wrap it into a bun at the base and pin it. That is it. You can also French braid up the back and then coil it. Either way, it looks elegant and effortless.
The braided bun fits perfectly with the quiet luxury bob aesthetic. It is refined, understated, and does not scream for attention, but it definitely gets noticed. It is also a great way to keep your hair out of your face when you need to get things done.
16. The Halo Braid
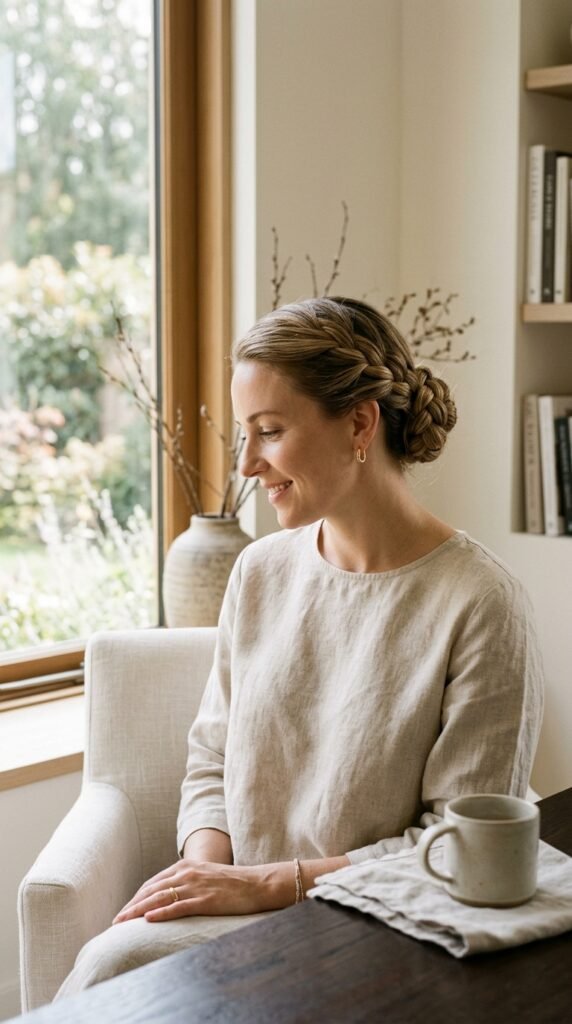
A halo braid is a crown braid finished in a circular way that makes it look like a halo of braided hair around your head. Start at the back, French braid around the crown, and tuck the end under. It is romantic, almost fairy-like, and honestly a showstopper.
For the romantic goth hairstyles trend, I love pairing a halo braid with dark, glossy hair and a deep red lip. It gives that moody, ethereal feel without being over the top. It works beautifully with the vampire haircut too, especially if you have long, wispy layers that peek out naturally.
17. The Double Dutch Braids
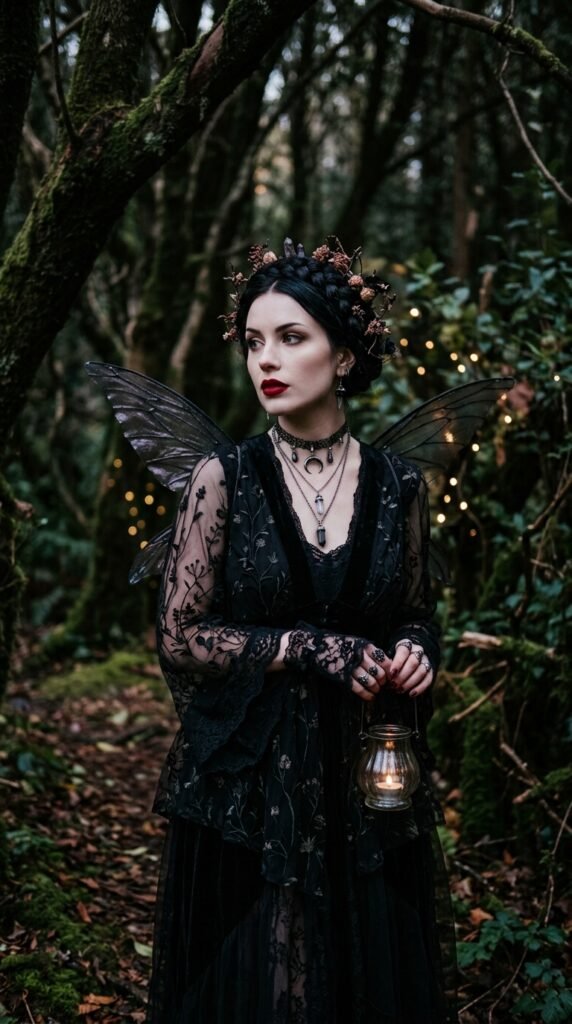
Double Dutch braids are two Dutch braids done on each side of your head. You start at the front, French-braid backward using the underhand Dutch technique, and repeat on the other side. The result is sporty, bold, and comfortable.
This is one of the easiest protective styles and it looks amazing with the vampire haircut because all those sharp layers get tucked away neatly. It is also a great gym-friendly style. Two Dutch braids hold tight for hours and keep every strand out of your face. Just do not forget to loosen the edges or your forehead will hurt by hour three.

18. The Braided Half-Up
Take the top section of your hair, braid it loosely, and pull it back into a half-up style. That is the whole thing. Leave the rest of your hair down and let it move naturally.
This style works really well if you have a hime cut or face-framing layers, because the braid pulls back the top weight and lets the blunt bottom pieces shine. It is a quick way to look polished without sacrificing length. You can do one braid in the center or two small ones on each side, depending on your mood.

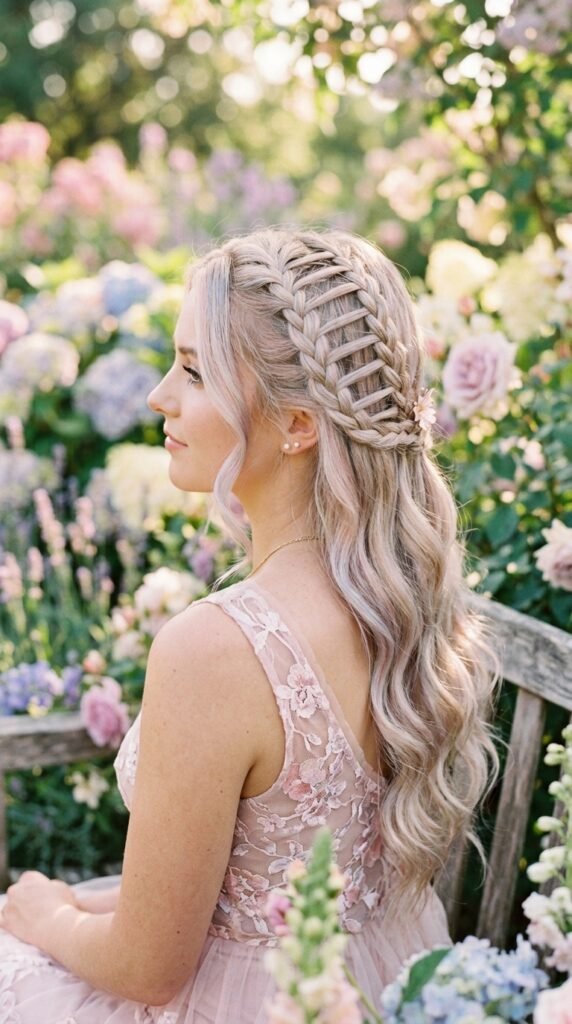
19. The Ladder Braid
The ladder braid is created by doing a French braid but only picking up hair on one side. The other side hangs in vertical sections that create the ladder effect. It sounds tricky, but once you learn the one-sided pickup, it becomes really easy.
This one is trending in 2026 hairstyles for its unique, intricate look. It is a great choice if you want to look interesting without doing a full braid. I like pairing it with light waves in the rest of the hair for a soft, dreamy finish.
20. The Twist Braid
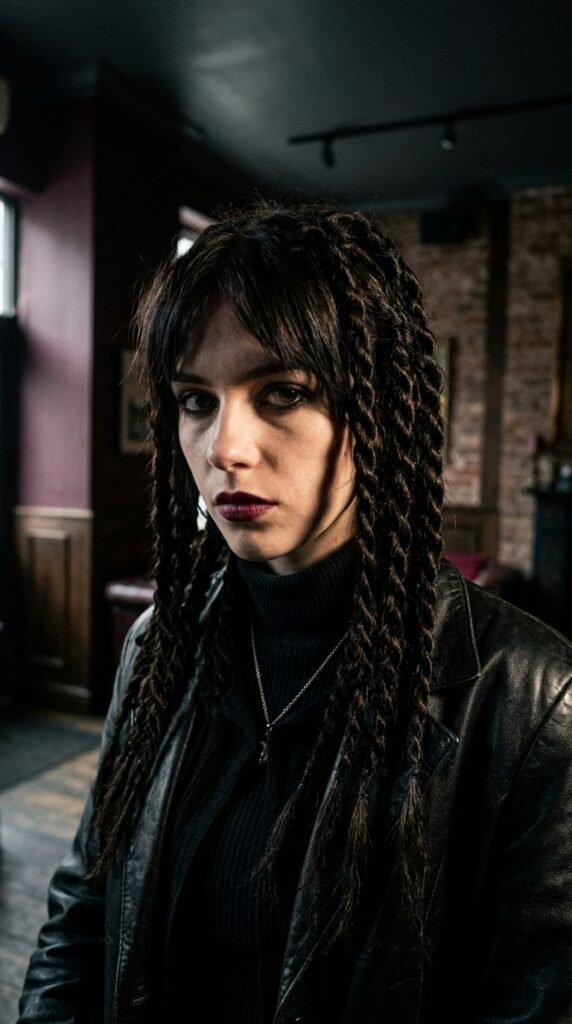
A twist braid is two strands twisted around each other, similar to a rope braid but looser and chunkier. Take two sections, twist them around each other, and keep going to the ends. Secure and gently pull to loosen.
I love this for the vampire haircut because the chunky twist contrast makes dark, layered hair look even more dramatic. It takes less than two minutes and wears really well throughout the day. You can do it on wet hair for a wavy effect when you let it out later. Two birds, one braid.
21. The Bantu Knot Braids
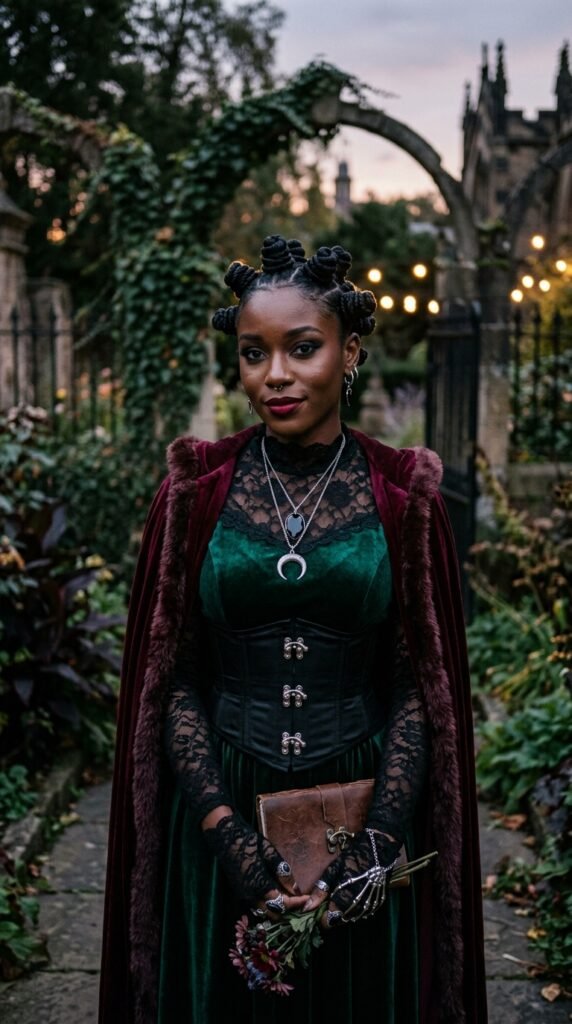
Bantu knots are technically braids-adjacent, but they are so cute that I had to include them. Part your hair into small sections, twist each section tightly, and wrap it into a flat knot against your head. Secure with a small elastic or clip.
Bantu knots are protective, stylish, and fit perfectly into the romantic goth hairstyles trend if you do them on dark, sleek hair. They also create gorgeous curls when you take them down after a few hours. It is a two-for-one deal and honestly impossible to mess up.
22. Jumbo Boxer Braids
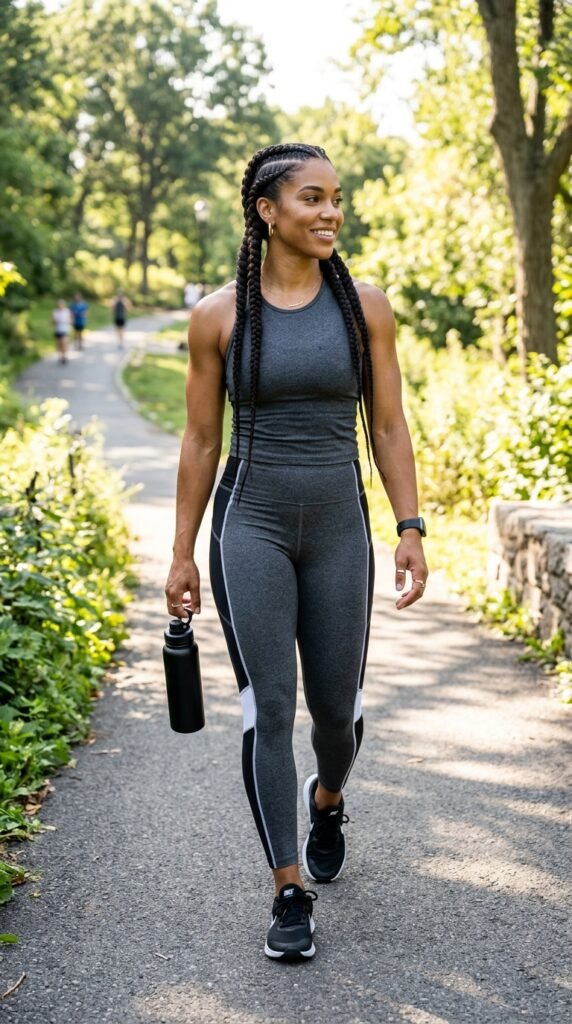
Boxer braids are just two Dutch braids, one or two per side, done tightly from the hairline to the ends. Jumbo versions use bigger sections, which means fewer steps and less time. You can honestly finish them in under ten minutes once you get the rhythm.
This is one of the most versatile styles in 2026 hairstyles. Wear it to the gym, to work, or out to dinner. It is also a great option if you have the asymmetrical lob because the braids tuck away all the shorter pieces neatly. Add a clear elastic and you are done.
A Little Note Before You Go
Braiding is a skill, not a talent. Your first attempt might look a little wobbly. That is completely fine. My first fishtail looked like a melted pretzel. But the beauty of these tutorials is that they all get easier with one quick redo. Muscle memory kicks in faster than you think.
I would love to hear which braid you try first. Seriously, come back and tell me in the comments. If you are reading this later, that means you saved it, so let me know how it went.
Save this post to Pinterest so you can find it the next time you need a quick, easy braid. And then drop a comment below telling me which braid you are most excited to try. I answer every single one.