How a Scalp Exfoliation Routine Solved My Persistent Dandruff Problem
Let’s be real: dandruff is annoying. I’ve tried every fancy shampoo and at-home treatment you can name. But my scalp stayed itchy, flaky, and honestly embarrassing. Then I discovered scalp exfoliation, and everything changed.
You don’t need a salon appointment or a three-step routine from a luxury brand. You just need a few simple tools and about five minutes. In this post, I’ll walk you through exactly what worked for me. I’ll share the exact steps, the mistakes I made, and the products I actually recommend.
By the end, you’ll have your own simple routine to calm your scalp and get ready for all the pretty 2026 hairstyles you’ve been saving. No more hiding under hats or avoiding the beach. This one change made the biggest difference for me, and I’m so excited to tell you about it.
Why My Dandruff Wouldn’t Budge

I was stuck in a cycle that made no sense. Dandruff shampoo would help for two days, then the flakes came back with a vengeance. I thought I was broken. It turned out I was only treating the surface. This time I wanted to fix it for good, not just cover it up.
Your scalp is like the skin on your face. You wash it, but you also exfoliate a few times a week. Without exfoliation, dead skin cells, oil, and product pile up. That pileup is what makes the flakes keep returning.
- Signs you need this: flaking that returns quickly
- Itching that feels deeper than just dry skin
- Heavy product buildup that regular shampoo can’t remove
What Scalp Exfoliation Actually Does
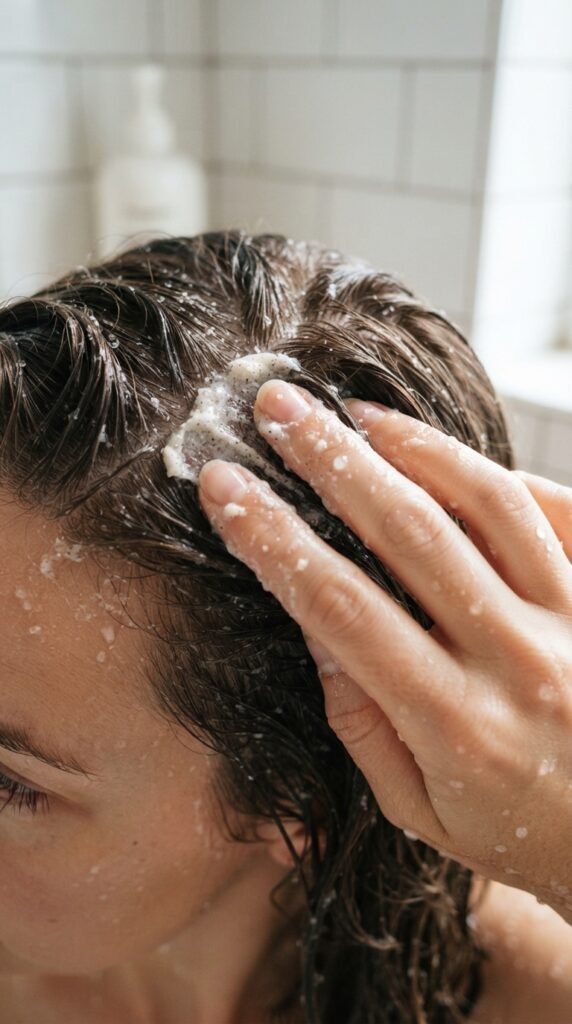
Scalp exfoliation is exactly what it sounds like. You gently remove the dead skin cells and gunk that build up on your scalp. Think of it as giving your head a mini facial. It’s a total game-changer for your roots.
It also boosts blood flow to that area, which wakes up your hair follicles. In my experience, exfoliating made my roots look fuller and feel way cleaner between washes. It’s not magic, it’s just smart care. The whole process takes less time than you think, and the payoff is huge.
- Less flaking and itching
- Better absorption of your favorite scalp serums
- Cleaner roots that don’t get greasy as fast
What You Need to Start (No Fancy Stuff)
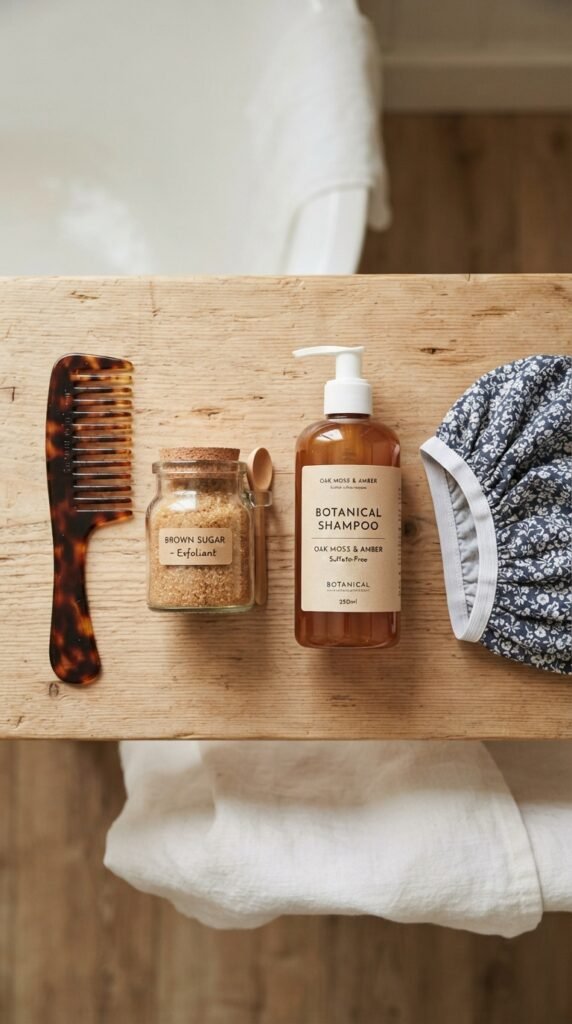
The best part about this routine is that you don’t need to buy anything expensive. I used things that were already in my kitchen and bathroom. If you have a shower cap and a comb, you’re halfway there. Plus, it smells like a tropical vacation.
Here’s what I keep for my weekly scalp exfoliation:
- Brown sugar or fine sea salt
- Your normal conditioner or a gentle store-bought scrub
- A wide-tooth comb
- A shower cap (to keep the scrub from dripping)
My favorite mix is one tablespoon of brown sugar with two tablespoons of conditioner. It looks pretty and leaves my scalp feeling silky. You really don’t need more than that.
My Simple Step-by-Step Routine
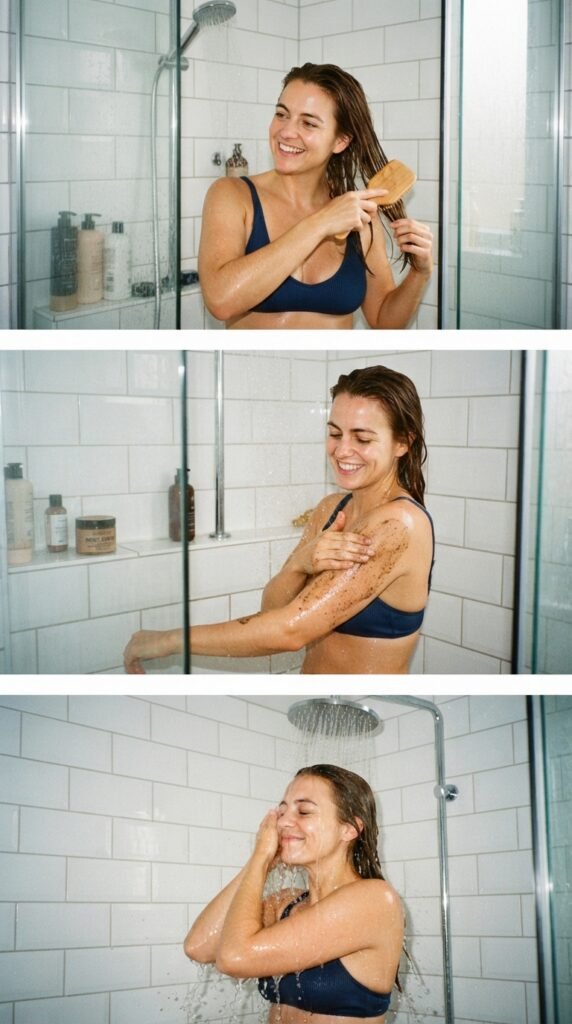
Now for the part you actually came here for. I do this whole routine once a week, and it takes less than ten minutes. Here’s the exact order that finally solved my dandruff problem. Consistency is the real secret.
- Brush your hair gently to remove tangles and loose flakes.
- Wet your scalp and apply the scrub right at the roots.
- Massage in circles for one minute with your fingertips.
- Rinse completely, then shampoo and condition as usual.
That’s it. No complicated tools, no harsh chemicals. Just a smart little ritual that changed how my scalp feels. I’ll break down each step below, because the details matter more than you’d think.
Step One – Brush the Tangles First
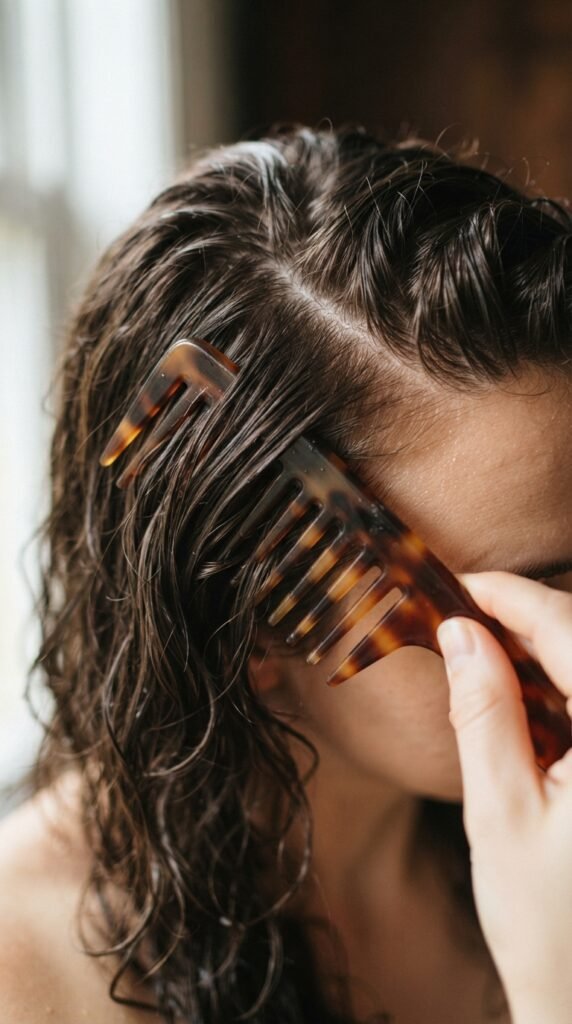
I used to skip this step and go straight to the scrub. Big mistake. Brushing your hair before the shower does more than remove knots. It also lifts away loose skin and product buildup from your scalp. This warm-up prevents breakage and makes the scrub way more effective.
Grab a wide-tooth comb and start at the very ends of your hair. Work your way up slowly. This prevents pulling and doesn’t scratch your scalp. Think of it as a warm-up before the main event.
- Use short strokes, not long drags
- Focus on the crown and behind your ears
- Be extra gentle if your hair is thick or curly
Step Two – Mix Your Gentle Exfoliant
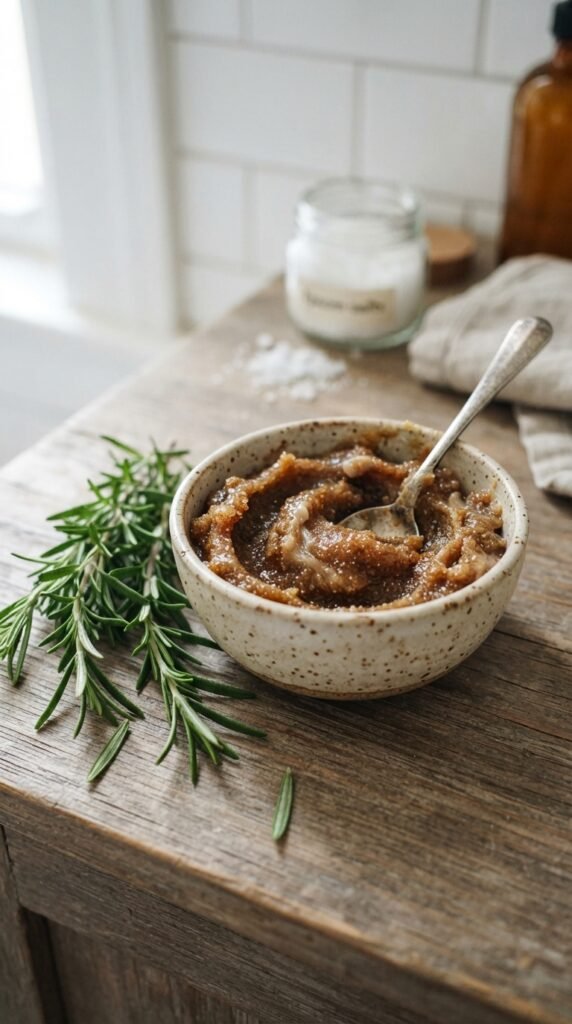
You have two options here. Buy a scalp scrub, or make your own with items in your pantry. My DIY version works just as well as the expensive ones. Maybe better. I always make a fresh batch because it doesn’t keep well.
In a small bowl, combine one tablespoon of brown sugar with two tablespoons of your regular conditioner. The sugar dissolves a little, so it won’t feel too rough on your skin. If you have sensitive skin, use finer sugar or oats instead.
- Kelp salt works for oily scalps
- Tea tree oil adds a cooling, antibacterial boost
- Avoid rough walnut shell beads and harsh microbeads
I like to add a drop of lavender oil for calmness.
Step Three – Apply in Four Small Sections
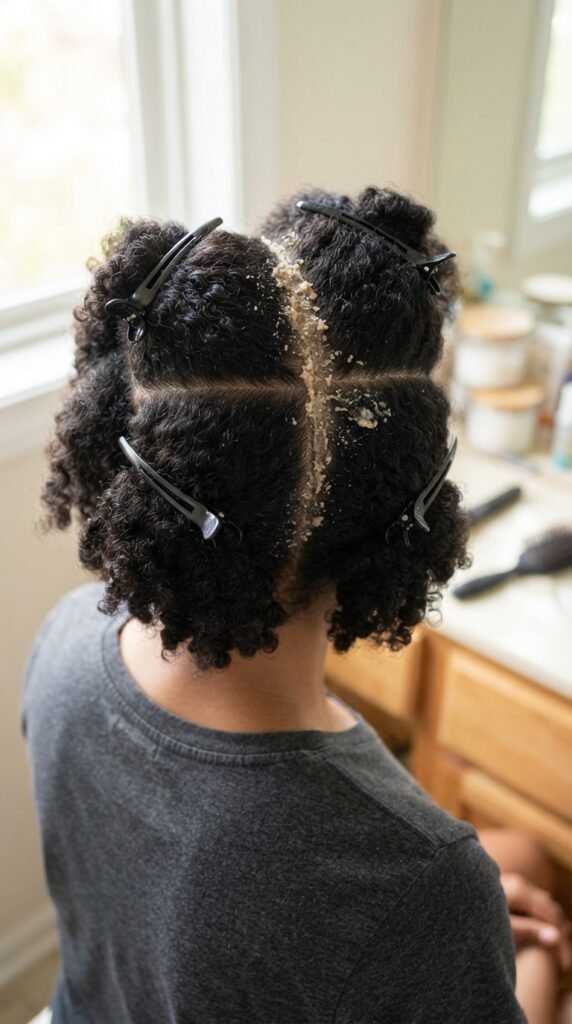
Don’t just slap the scrub on your hair. Divide your hair into four sections first. This ensures the scrub actually reaches your scalp instead of getting caught in your strands. It feels a little fiddly at first, but you’ll get fast.
Part your hair from your forehead to your nape, then ear to ear. Clip the back, front, left, and right sections. Apply the scrub directly to the exposed roots using your fingertips. Press it in gently.
- Start with the back sections
- Work from your hairline backward
- Use the pads of your fingers, not your nails
You’ll feel the difference immediately. More contact, less mess.
Step Four – Massage for a Full 60 Seconds
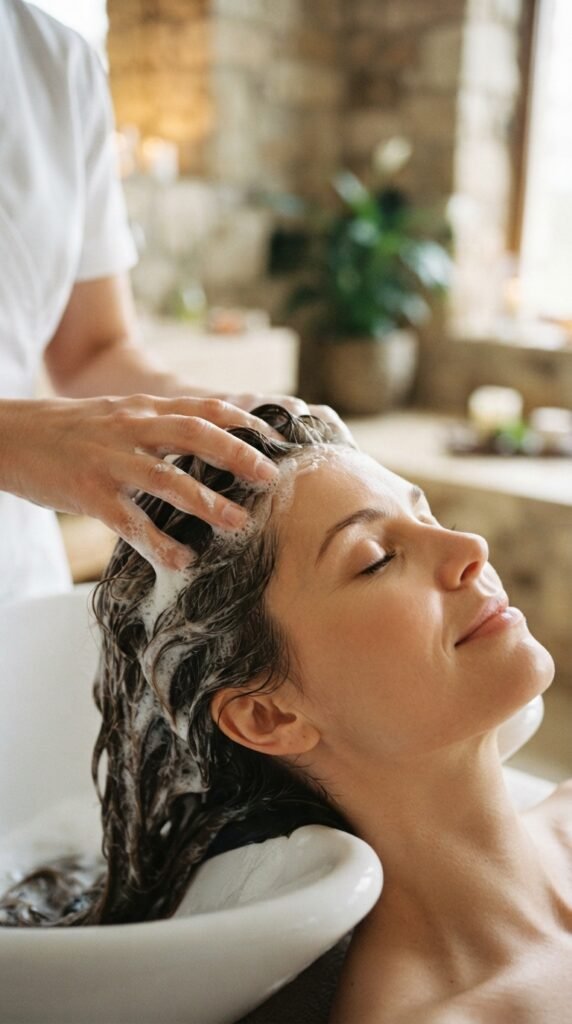
This part is my favorite. It feels like a little at-home spa moment. But the real reason for the massage is to help the exfoliant lift everything up and away from your scalp. Sometimes I do two minutes if I feel extra stressed.
Set a timer for one minute. Use your fingertips to make small circles all over your scalp. Cover the top, sides, and the area right behind your ears. If you feel your scalp getting tingly, that’s normal.
- Don’t press hard. Firm, gentle pressure is enough
- If it hurts, you’re pressing too hard
- Need longer? 90 seconds max. After that it’s over-scrubbing
This one minute is what melts my stress away too.
Step Five – Rinse, Then Shampoo (Important)
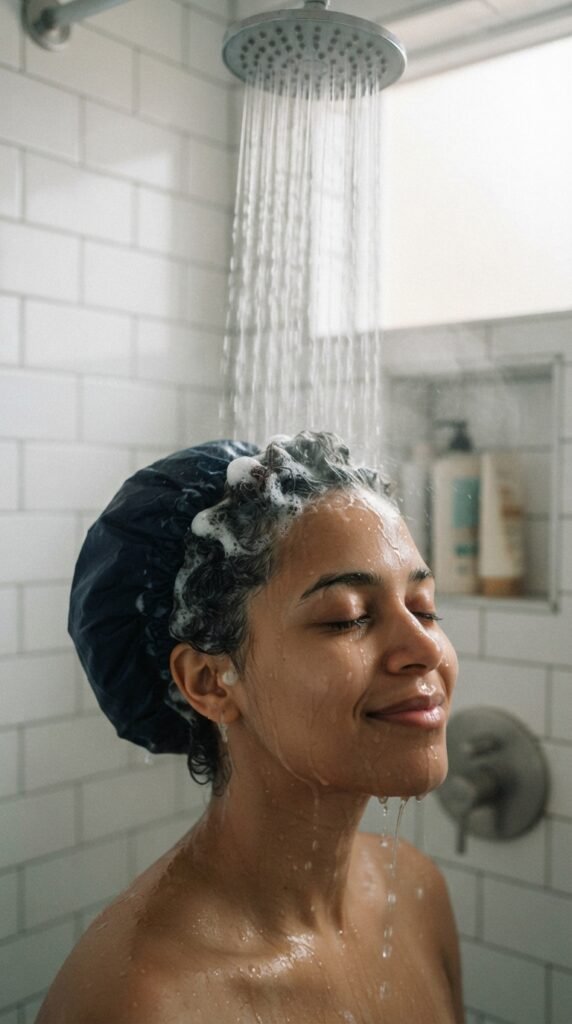
Rinse the scrub out completely with warm water. Then follow with a gentle shampoo. This is so important because shampoo removes any residue left behind by the exfoliant. If you skip shampoo, you’ll just glue the buildup back down. My scalp feels so clean after this, I can’t stop touching my hair.
Use your normal shampoo and really massage it into your roots. Rinse once, then check your scalp. If it still feels slippery, do a second quick shampoo. I have to do that when I use a coconut oil scrub.
- Finish with cool water for two seconds
- Cooler water helps seal your scalp’s moisture barrier
- Hot water makes flaking worse, so keep it lukewarm
How Often Should You Exfoliate?

This is the secret sauce. Do it too often and you’ll irritate your scalp. Do it too rarely and the buildup comes back. For me, once a week is the sweet spot. No more, no less. This is the step where most people burn out, so be patient.
I start with gentle, fine sugar. But I also listen to my body. If my scalp feels dry, I wait ten days instead of seven. If I’ve been using lots of dry shampoo, I might do it twice in one week.
- Fine, straight hair: every 10 days
- Thick, curly hair: every 5-7 days
- Very oily scalp: up to 2 times per week
Your scalp will tell you what it needs. Take notes.
What’s Normal During the First Week
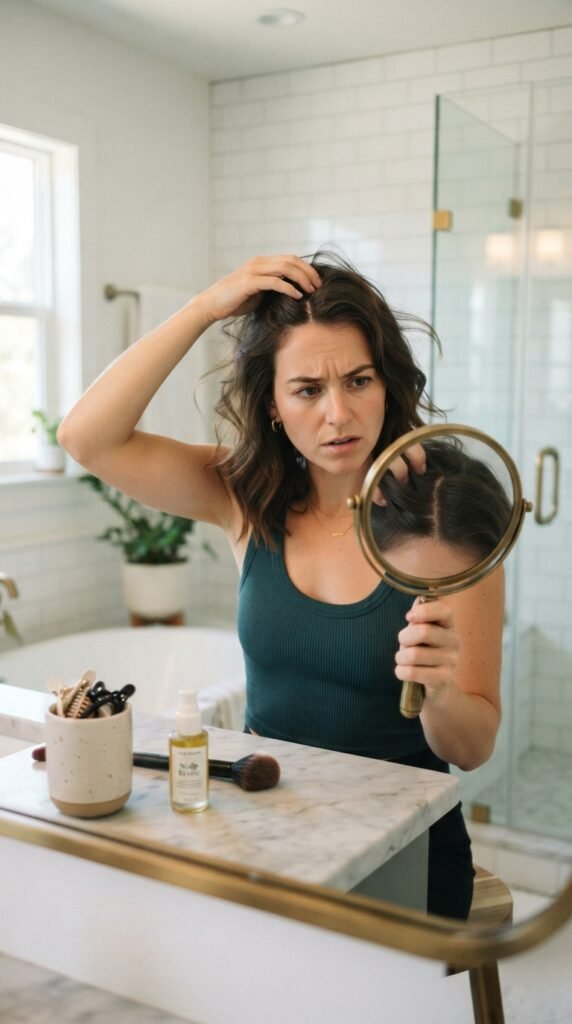
When I first started, I saw a little extra flaking two days later. My first thought was, “Great, this made it worse.” But then I remembered that your scalp is shedding dead skin layers. It’s just letting go of the old gunk. I promise, that second week is where the magic happens.
That extra flake is usually loose and easy to brush away. Don’t panic. Give it two more sessions. After my third exfoliation, everything balanced out and my scalp stayed clean for four full days.
- Mild itchiness on day two? Normal
- Red spots or open sores? Not normal. Stop and see a doctor
- Hair shedding slightly? That’s just old hair loosening
Trust the process, it gets better.
The Mistake That Kept My Dandruff Around
I want to save you from the mistake that wasted months of my life. I was too gentle. I thought scrubbing meant just rubbing the product on, not actually lifting skin. So I was barely removing anything. Your future self will thank you for getting it right.
Also, I forgot to exfoliate my hairline. Flakes love to hide near your forehead, ears, and the back of your neck. Make sure you cover every inch of skin under your hair, not just the top of your head.
- Press firm enough to feel tension without pain
- Use two hands and cover the edges
- Don’t forget the V behind your ears
Get all the spots, and you’ll finally see results.
Results After Four Weeks – No More Flakes

Here’s the honest truth. After four weeks of once-a-week exfoliation, I stopped seeing flakes on my shoulders. My itching was completely gone. I could wear a black top again without checking constantly. If my routine can work, seriously, anyone’s can.
My hair also felt lighter and softer. Products spread more evenly because there was no rough buildup underneath. My roots got a little extra lift, and my hair didn’t look flat by lunchtime. This is the kind of change you can feel.
- No more shirt checks
- No more scalp itch in bed
- No more avoiding dark colors
I honestly wish I’d found this routine years ago.
How This Changed My Hair Confidence

When your scalp feels clean, you hold your head different. I stopped pulling my hair back in a low bun every day. I actually started to style my hair instead of hide it. That alone made a huge difference in my mood. Even on a bad hair day, clean roots make you look put together.
You don’t realize how much dandruff holds you back until it’s gone. I felt more comfortable in one-on-one conversations and sitting in bright rooms. It sounds dramatic, but it’s true. A healthy scalp is a confidence booster.
- Try a half-up style you’ve been avoiding
- Don’t wear a hat unless you want to
- Show off the texture your haircut gives you
Clean roots make every hairstyle feel intentional.
Why This Unlocks Every 2026 Hairstyle
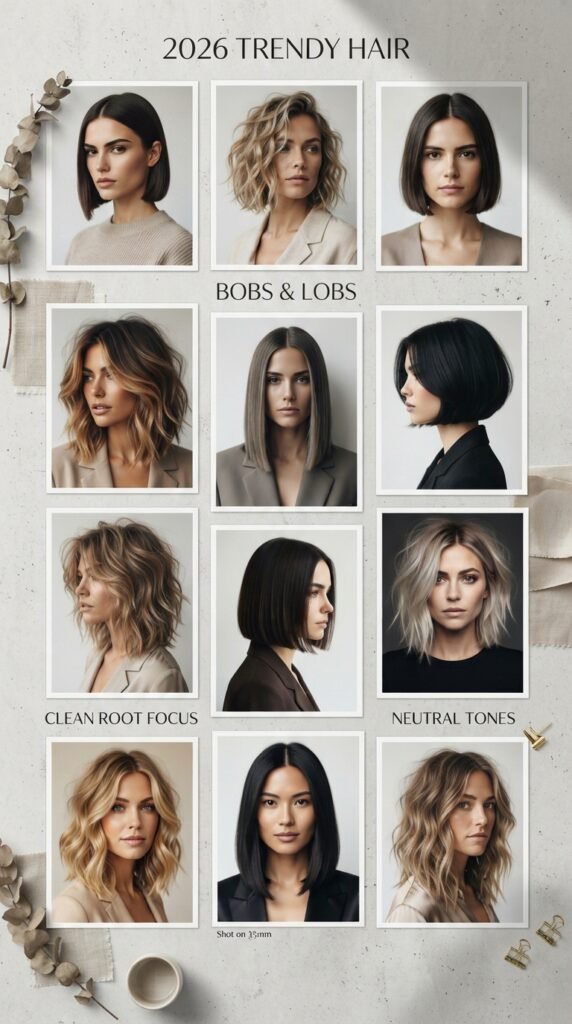
Dandruff literally makes you scared to wear your hair down. But once I fixed my scalp, I got excited about all the 2026 hairstyles I’d been pinning. Clean roots make every trend easier to pull off. It’s like giving your hair the perfect canvas.
Trendy cuts, serious volume, and sleek buns all depend on a healthy scalp. Flakes and product buildup ruin the clean lines of a fade or the soft movement of a shag. No amount of expensive haircare can fix a scalp that’s covered in dead skin.
- 2026 hairstyles are all about texture and shine
- Old money hair demands fresh roots
- Glitchy glam hair needs a residue-free base
Once your scalp is clean, you’re ready for anything.
Quiet Luxury Bob + Clean Roots = *Chef’s Kiss*

The quiet luxury bob is all about understated elegance. It’s sleek, minimal, and beautiful. But that style does not work if your scalp is flaky. It’s too precise, and any flake near your hairline becomes the center of attention. For the final polish, a tiny bit of serum works wonders.
Once my scalp was clean, my bob sat like a dream. I added just a bit of texture spray at the roots, and it looked expensive without trying too hard. The secret is that clean hair lies flatter and moves more naturally.
- Use a fine-tooth comb for a sleek finish
- Add a little mousse to lift the crown
- Touch up your scalp once a week to keep it fresh
A quiet luxury bob is basically a magnet for attention. Make sure it’s clean.
Old Money Hair Needs an Old Money Scalp

Old money hair sounds fancy, but it’s really just healthy, low-key, and shiny. The kind of hair that looks like it hasn’t seen a heater in years. You can’t achieve that glossy look when your roots are full of buildup. That’s the real old money secret.
Exfoliating my scalp gave me that subtle, expensive-looking bounce at the root. It also made my hair look thicker because my texture wasn’t weighed down. For old money vibes, I do a deep side part and let my hair dry naturally.
- Use a boar bristle brush to distribute natural oils
- Skip heavy serums at the root
- Rinse with cool water to lock in shine
Clean scalp, rich energy.
Romantic Goth & the Vampire Haircut Need Fresh Roots

I love romantic goth hairstyles. The dark layers, the soft curls, the secret vampire haircut twist. These styles are moody and beautiful, but they usually need texturizing powder and dry shampoo. That stuff can clog your scalp fast. Your roots will thank you after all that texture.
My weekly exfoliation keeps my roots clean under all that grit. Plus, the vampire haircut looks best with a little separation at the roots, which you only get if there’s no gunk gluing your hair down.
- Use a lightweight hair oil on ends only
- Massage powder into roots, then brush through
- Exfoliate every Saturday to reset
Dark hair shows flakes like crazy, so stay on top of it.
Glitchy Glam Hair & the Hime Cut Need Product Overload Recovery

Glitchy glam hair and the hime cut are super fun to style. But they often need hairspray, wax, and serum to get that sharp, shiny finish. All that product lands on your scalp and causes buildup. My scalp would start itching after two days. Your hime cut will stay sharp, and your scalp will feel free.
That’s where exfoliation saves me. It removes the product film that regular shampoo can’t break down. My hime cut keeps its sharp shape because there’s less residue pulling it down.
- Double shampoo after a heavy product day
- Scrub your scalp before you do any intricate styling
- Give your hair one no-product day each week
Your scalp deserves a full reset.
Asymmetrical Lob With Soft Layers Is My Payoff

After months of fixing my scalp, I finally got the courage to change my haircut. I went for an asymmetrical lob with soft layers, and it quickly became my favorite. The unevenness feels modern, and it hides how I kind of missed my last haircut. I never thought a haircut could feel this good, but here we are.
The best part? The layers actually move. They shift with my head, instead of sticking together from leftover flakes. My scalp stays clean, so I can wear hair behind one ear without worrying.
- Ask your stylist for face-framing layers
- Use a small round brush when blowing out
- Exfoliate again two days after a fresh cut
This cut only looks good with a healthy scalp.
Let’s Wrap This Up With Some Warm Thoughts
Scalp exfoliation isn’t just another trend for me. It solved a problem I’d carried for years. I still can’t believe a little brown sugar and conditioner made that much difference.
If you’ve been fighting dandruff, I hope you try this routine for at least four weeks. Be patient, be gentle, and remember to listen to your scalp. You deserve comfortable, flake-free roots.
Save this post to Pinterest so you can find it again when you’re ready to try. And leave a comment below – I’d love to know if you’ve ever tried scalp exfoliation, or if you’re about to start. You got this.