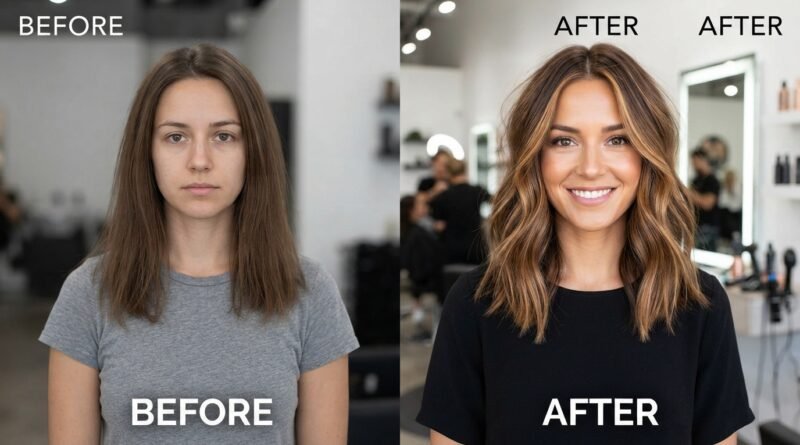
21 Hair Color Corrections That Saved People From Their Biggest Dyeing Mistakes Ever
Welcome back, friend! If you’ve ever stared at your reflection after a dye job and thought, “What have I done?”, you are so not alone. Today, we are diving into the wild world of hair color corrections. We’re talking real stories of real people who went from panic mode to absolute hair goals.
I’ve gathered 21 of the most lifesaving fixes that turned total dyeing disasters into incredible transformations. Whether you’ve gone too dark, too brassy, or too… green, I’ve got the exact solutions to help you breathe easy again. Think of this as your friendly guide to hitting the reset button without chopping it all off. Let’s turn that “oops” into your absolute best look yet, one smart fix at a time.
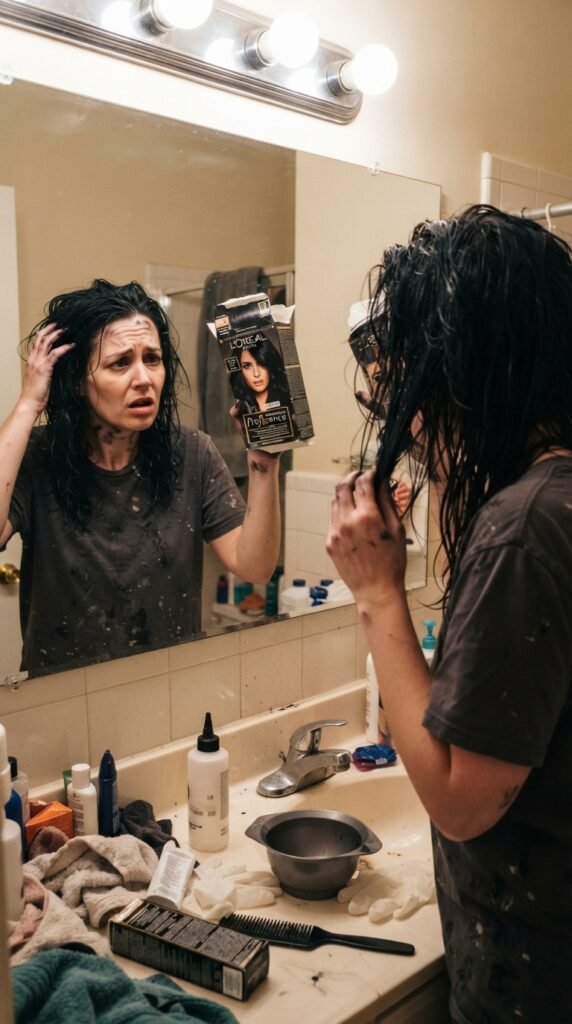
1. The “Oh No” Box Dye Removal
We have all been tempted by the $7 box dye at the drugstore, right? One of my readers ended up with jet-black hair when she was aiming for a soft brunette. It was a total shock, and she panicked. The fix wasn’t more bleach; it was a good clarifying treatment and a vitamin C paste to gently lift that excess pigment.
It takes a few sessions, but it saves your strands from melting off. Patience is your best friend here. Remember, your hair is the canvas; you cannot rush a masterpiece. This is exactly how we approach the natural, lived-in tones trending in 2026 hairstyles.
2. From Neon Orange to Sun-Kissed Glow
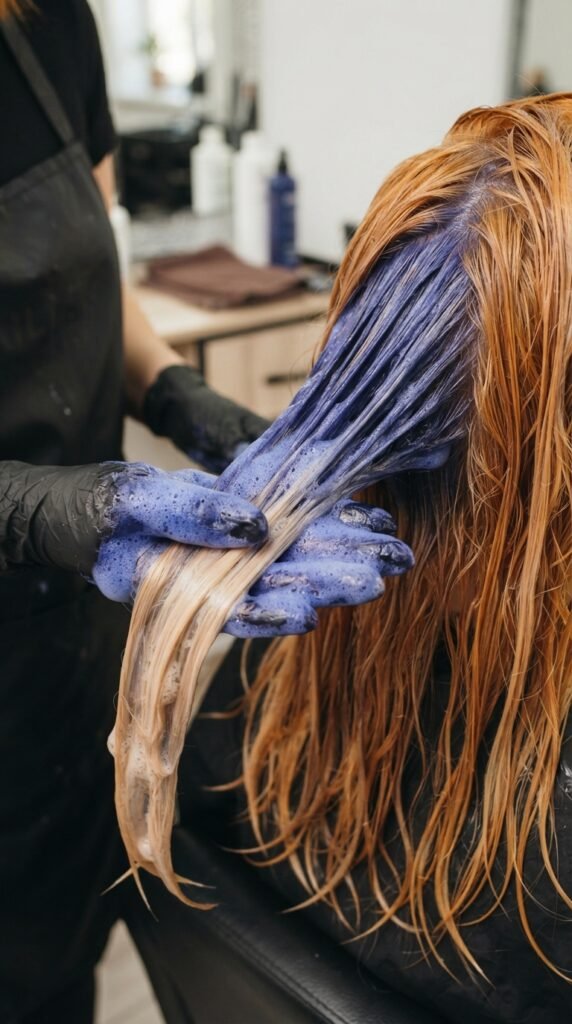
Bleach always pulls warm, so that bright orange phase is a rite of passage. One client came to me looking like a carrot, crying about her botched home highlight kit. Instead of panicking, we used a blue-based toner to neutralize the orange instantly. A toner truly is magic in a bottle.
Next time, always have a toner on hand before you start. Here is the quick recipe we used to get her to a sun-kissed glow:
- Mix a blue toner with a low-volume developer.
- Apply generously to damp hair.
- Rinse after 10 minutes and marvel at the transformation.
3. Fixing The “Chicken Yellow” Blonde
You finally got your hair light enough, but it looks like a highlighter pen. Yellow hair screams “DIY job” when it isn’t balanced. This is where a violet toner becomes your holy grail, my friend. It lifts that harshness and creates a cool, expensive-looking canvas.
We are all craving that quiet luxury bob vibe, which only works if the color looks healthy. A simple glaze can turn a brassy mess into a chameleon color that shifts beautifully in the light. Don’t dye it again—just tone it.
4. The Emergency Green Hair Rescue
Did you go swimming with freshly bleached hair? We have all made that mistake, and it is alarming. The chlorine and copper bond to your hair, leaving you looking like Shrek. But do not worry; this is not permanent! A chelating shampoo is the only thing that will break down those mineral deposits.
If it is a lighter stain, crushed aspirin mixed into your shampoo can work wonders. It’s a weird trick, but it really works. Keep your hair safe this summer by wetting it and adding leave-in conditioner before swimming. Your vampire haircut will thank you for keeping those red and copper tones out.
5. Banishing The Unwanted Brass
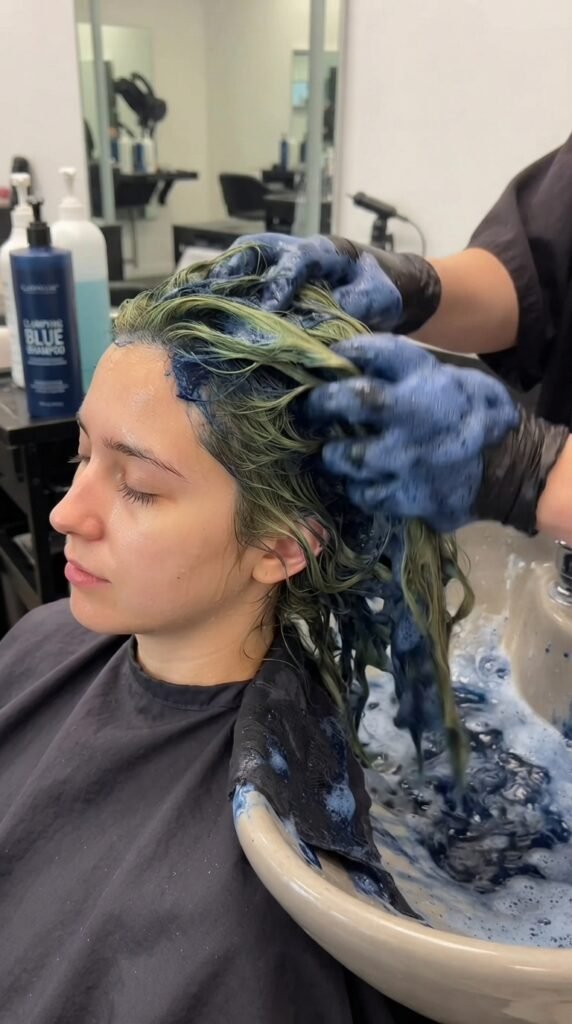
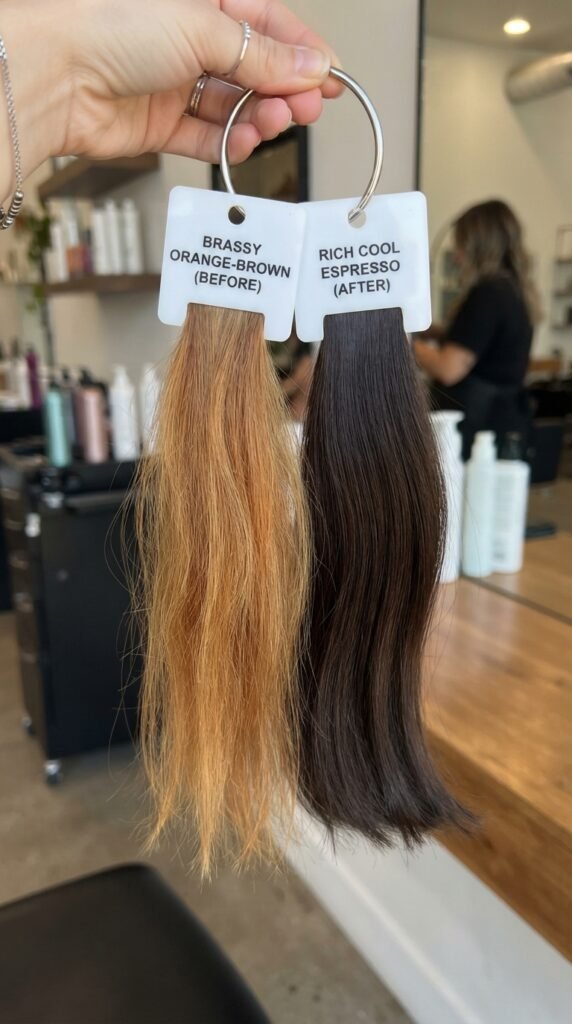
It is not just blondes who struggle; brunettes get brassy, too. That warm, reddish tint on brown hair can make it look dull and tired. The fix here is a blue or green shampoo, depending on your depth. This is a total game changer for keeping things fresh.
Ever heard of old money hair? It relies on rich, cool browns with golden undertones, not orange. Switching your everyday shampoo to a color-depositing one keeps the richness alive. It is the easiest daily habit to maintain an expensive-looking salon gloss at home.
6. Correcting “Hot Root” Syndrome
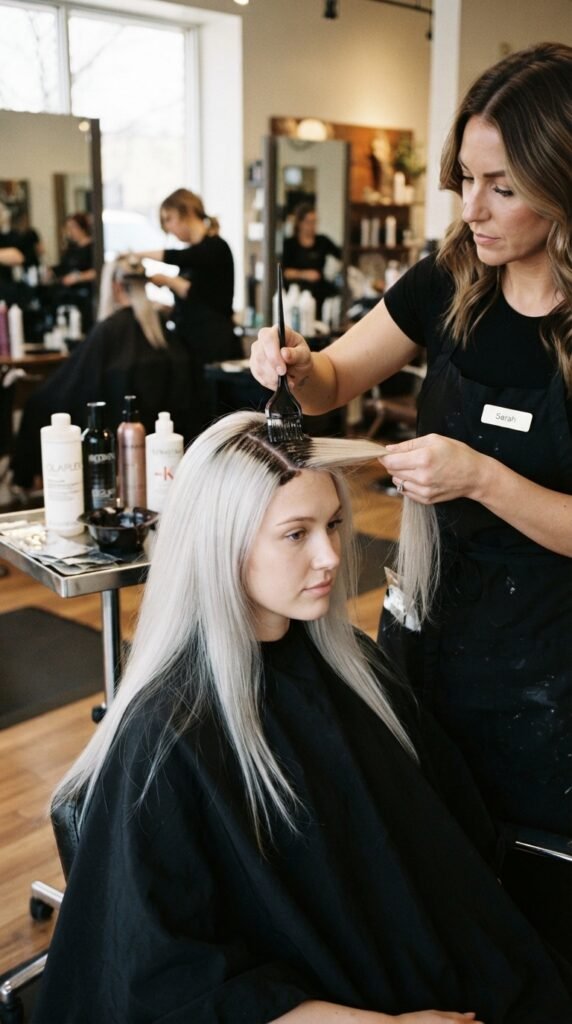
You know that look where your roots are 10 times lighter than the ends? That happens when the heat from your scalp speeds up the bleach. It is so fixable with a root smudge. We gently back-combed the roots and applied a demi-permanent color that blends everything seamlessly.
The goal is always dimension, not visible lines. A soft shadow root can save you from looking like you have a helmet of color. This technique creates the modern soft grow-out we all love to wear with an asymmetrical lob.
7. The Muddy Brown to Dimensional Color
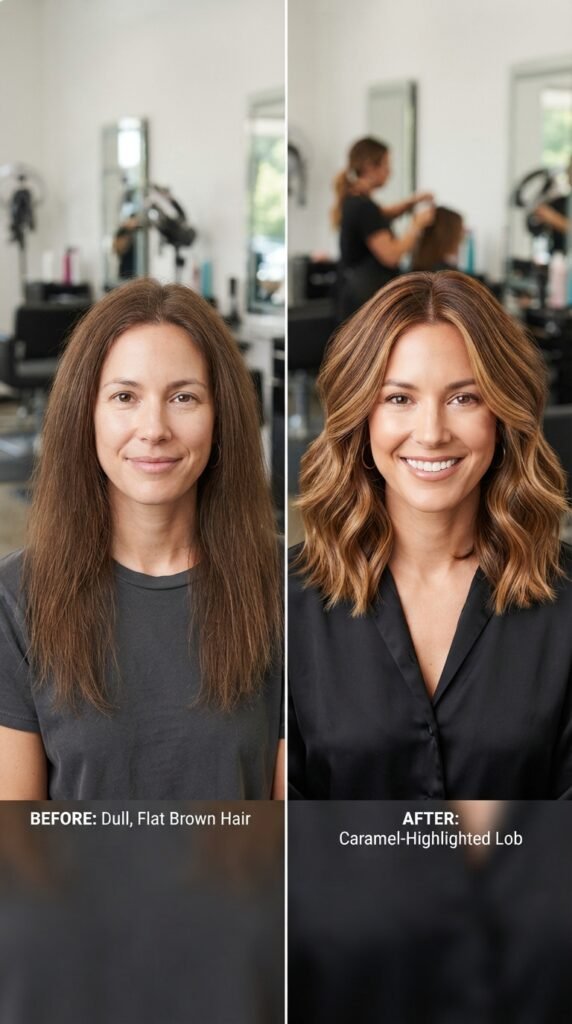
A client of mine tried to go brown from black by washing her hair with dish soap. It just looked flat and muddy. The color correction wasn’t about more dye; it was about adding dimension. We did a subtle balayage with caramel ribbons to mimic the sun’s natural glow.
For the DIYers: always avoid dish soap. It strips the cuticle so much that the pigment doesn’t stick evenly. Instead, opt for a clarifying mask and a gloss. Remember, 2026 hairstyles are about looking effortless, not uniform.
8. Taming The Splat Hair Dye Stain
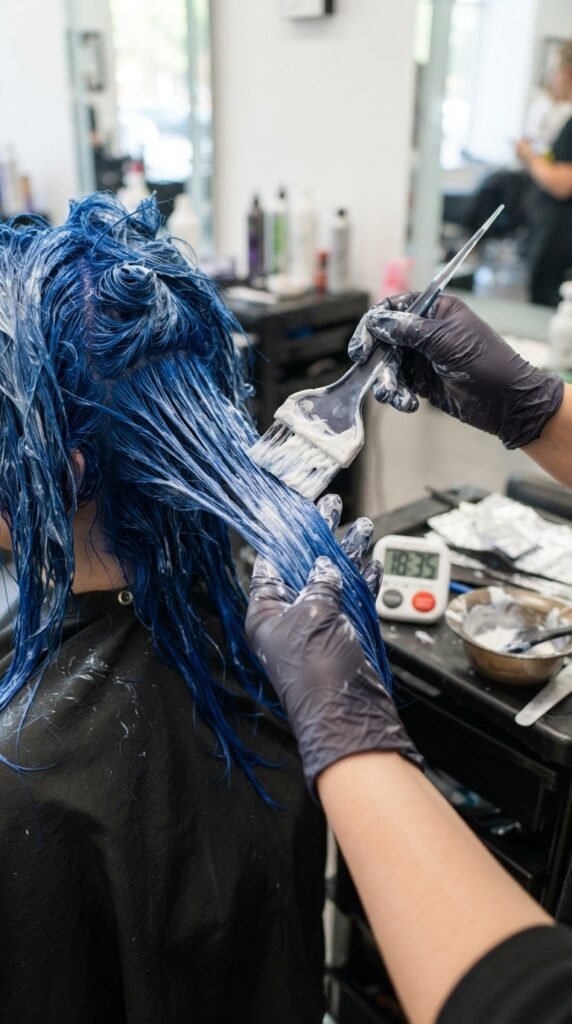
We all know that one person who used Splat and regretted it. The blue or purple stains just will not budge, no matter how many washes. The secret is a color remover that shrinks the dye molecules so they can wash out. It takes time, but it is the only way without severe damage.
After removing it, the hair is often porous and thirsty. A deep protein treatment is non-negotiable to prevent breakage. If you are craving that dark, moody look, skip the harsh dyes and try a semi-permanent color that doesn’t penetrate the cortex. It keeps the romantic goth hairstyles life safe.
9. Blending The Skunk Stripe
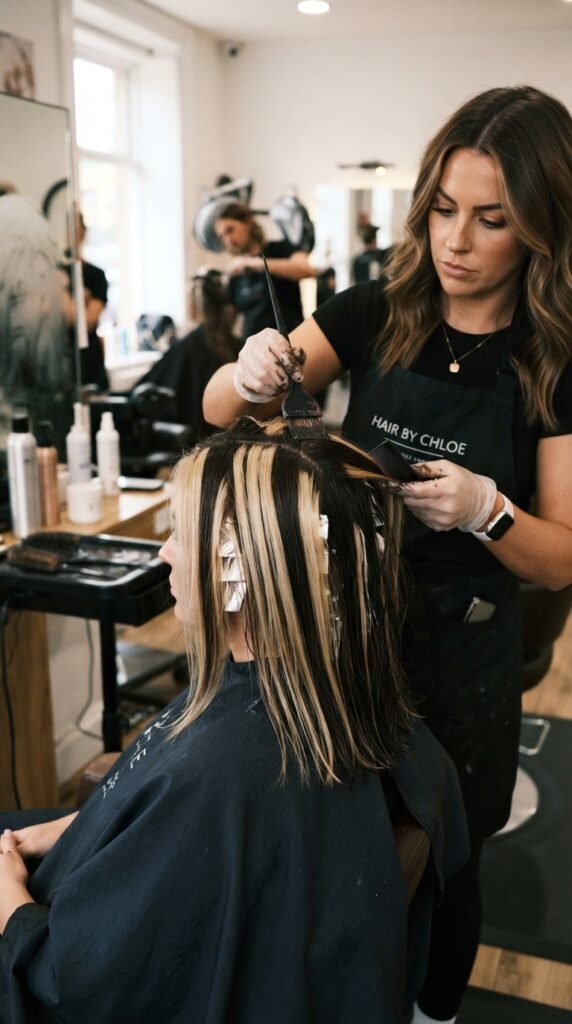
Remember when chunky, stripey highlights were cool? Now they are a correction nightmare. The fix involves weaving the color out with a shadow root and a gloss. You don’t want to see distinct bands of color; you want the “blurred” effect.
We often use a “Color Melting” technique to mix the dark and light. This is the ultimate fix if you’ve been living in the 2000s. A soft blend on a hime cut actually looks intentional if the colors are seamless.
10. Saving Hair That Turned Pink
So you tried to go blonde, but your hair is now Pepto-Bismol pink. This is so common when you have previously dyed red hair. The red pigments re-expose themselves. A green shampoo or a dedicated “color remover” for red will help neutralize that pink tone.
If it’s still pink, don’t panic—rock it for a few days! Often, fading happens fast. We used a protein filler to even out the porosity before re-coloring. You have to fill the hair with a neutral tone before you can deposit your desired brown.

11. The “Gray-Brown” Dye Accident
Ha! You thought you were being cool and adding gray, but it just turned your hair a murky, greenish-brown. This happens when the undertones clash. The fix is warming it up with a gold or copper filler. It takes away that swampy look and brings back life.
Gray is such a tricky color to fight against. If you want to achieve glitchy glam hair, you have to strip those extra green bits first. Once it’s neutral, you can add the perfect metallic tone. Don’t just throw more color on top of a problem!
12. Overlapping Bleach Damage
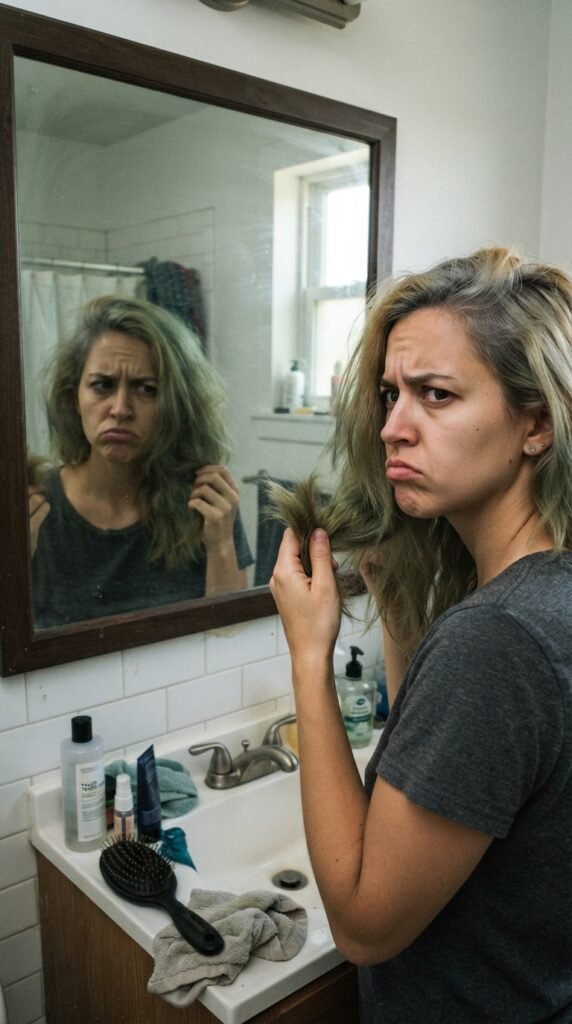
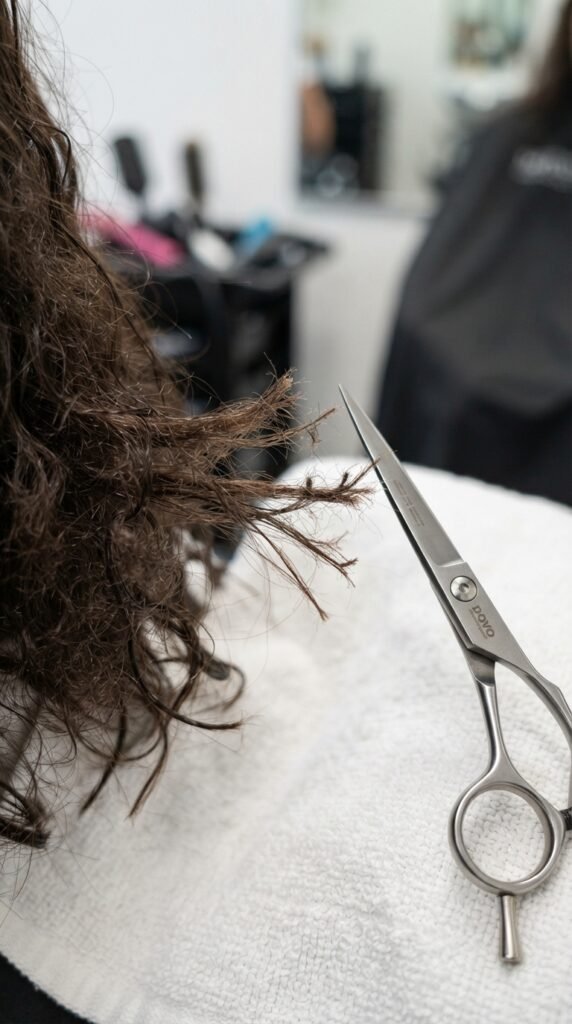
We all get impatient, but overlapping bleach is the fast track to gummy hair. One of my readers applied bleach to her mid-lengths, not realizing she had bleached there a month before. The ends snapped off. We had to perform a “search and destroy” trim to save the integrity.
But the color correction here was about the texture. We used a bond builder and a toning gloss to make the remaining hair look thicker. This is a great time to consider a shorter cut, like a chic quiet luxury bob, to remove the dead weight and start fresh.
13. Turning “Mousy Brown” Into a Statement
Going darker than you planned can wash out your skin tone. If your “espresso” looks like a boring mousy brown, we can fix that with a tonal shift. Adding a glaze of red or violet can completely change how the brown reflects light.
Color corrections for brunettes are all about tone. We want that old money hair aesthetic, which looks rich and shiny. A simple conditioning color mask can make the dullest brown look expensive and multidimensional.
14. The “Blue-Black” Band-Aid
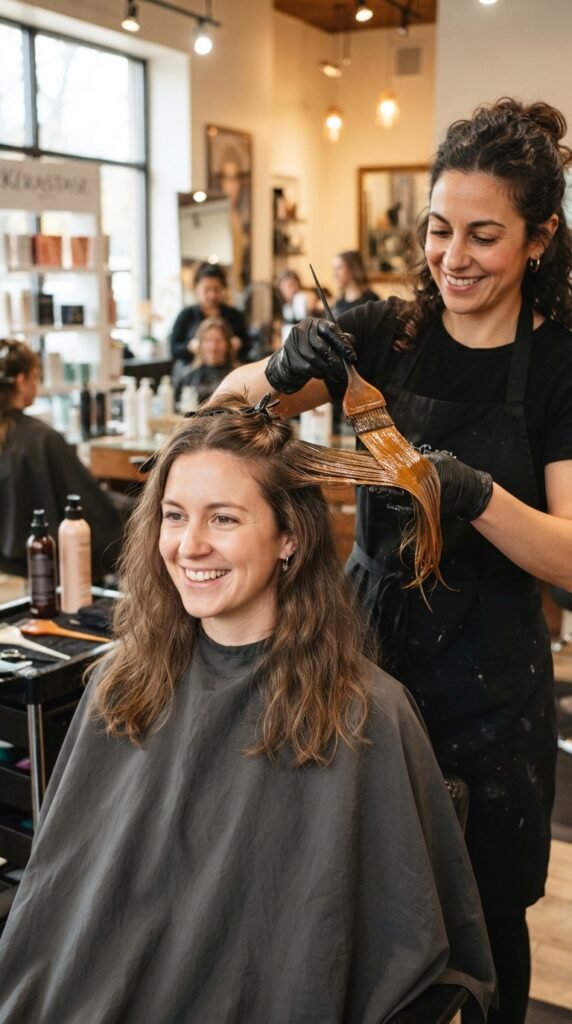
When your brown gets too brassy, sometimes you panic and think, “I’ll just dye it black.” That’s a huge mistake! It removes all dimension and can look flat. Correction involves removing some of that blue-black pigment to reveal a softer shade.
This process can be long and damaging if you’re not careful. Find a stylist who knows about color removers. They will slowly open the cuticle and wash away the blue pigment. If you do this gently, you can land on a gorgeous natural brown that still has shine.
15. Fixing The Too-Dark Red
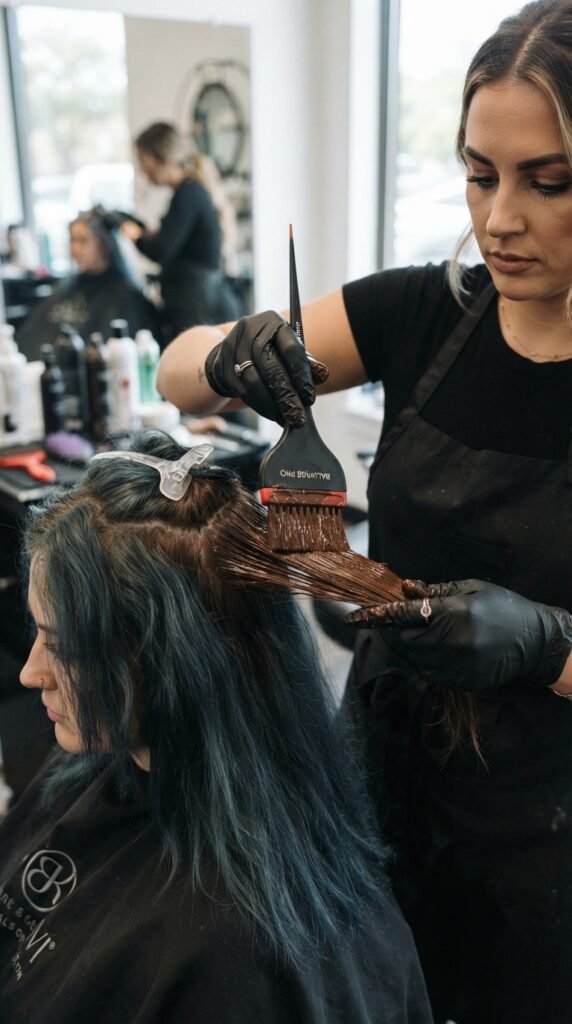
You wanted auburn and ended up with cherry cola. This happens when the red molecules over-deposit. To correct this, we don’t bleach it out (which makes it patchy). Instead, we pre-soften the cuticle with a gentle treatment and then apply a lighter, golden red.
The key is to fill the hair with warmth again. A good rule of thumb is to always lift before you deposit vivid colors. If you want that vampire haircut look with dark red highlights, start with a base that isn’t too intense to allow for variation.
16. The Patchy Bleach Job
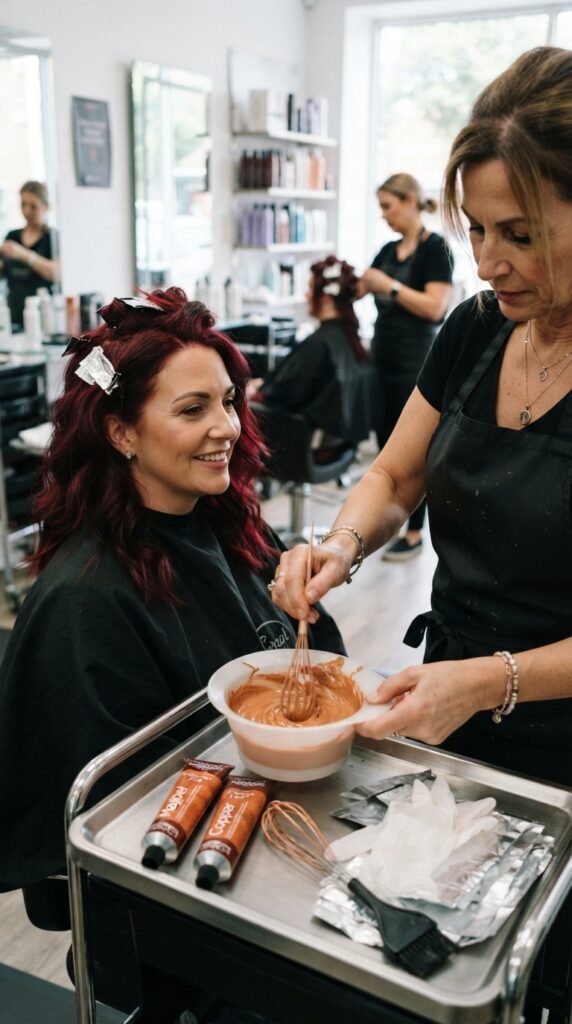
Bleach can be so uneven, especially if your hair had different porosity levels. You end up with light spots and dark spots. A total re-bleach will ruin your hair, so instead, we do a “soap cap” to lightly lift the stubborn areas again.
A soap cap is bleach mixed with shampoo to create a gentle, creamy lather. It evens everything out without harsh lines. You have to have a lot of patience during this. Once even, you can apply the asymmetrical lob color of your dreams.
17. Escaping The “Ombre Disaster”
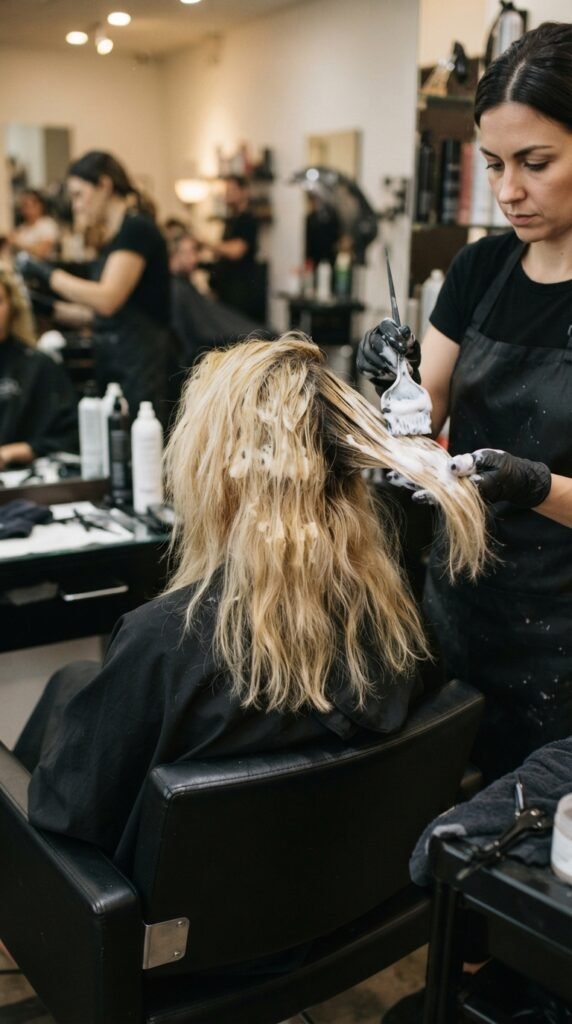
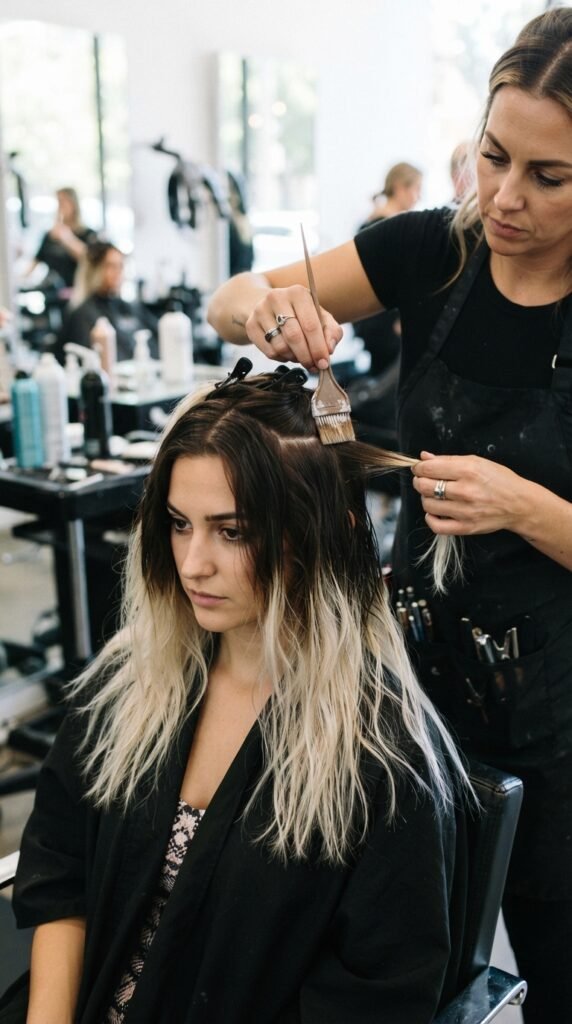
You asked for a subtle dip-dye and got a dramatic gradient where your hair goes from dark to straw-like. The correction is to use a smaller brush to feather the line. We re-pigment the ends with a toner that matches the middle roots for a blurred effect.
The trend is moving away from harsh lines anyway. We want soft, sun-kissed shadows. Try using a toner application that moves up and down to eliminate that stark band. This creates that smooth transition perfect for 2026 hairstyles.
18. When Highlights Turn Gray
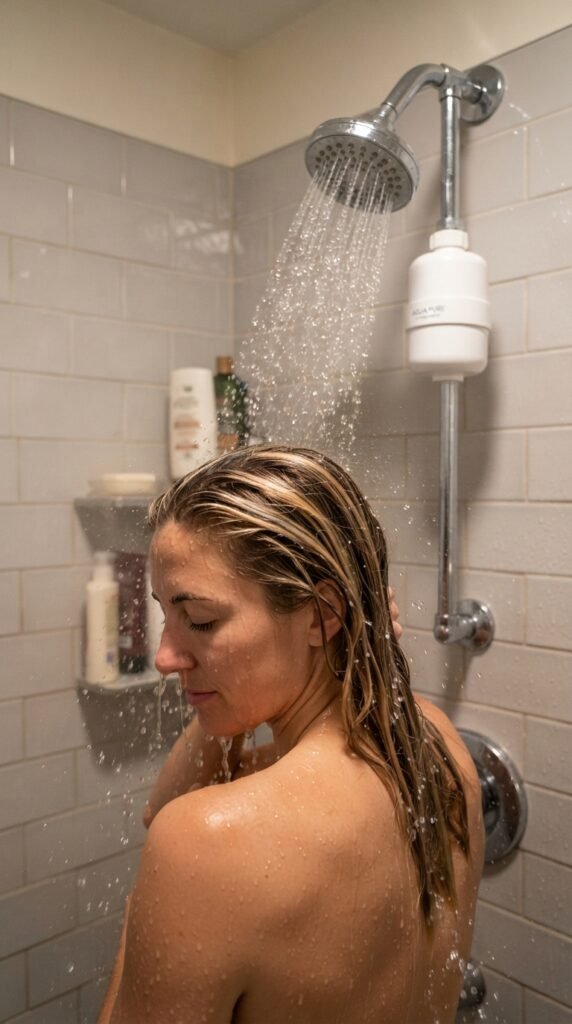
If your highlights are picking up a filmy gray look, it’s likely an oxidation issue or product build-up. This can happen with hard water. The fix is a chelating treatment and a highlight “re-gloss” to warm them up.
Always use a filter on your shower head if you color your hair. It saves you so much money and stress. A great gloss will make your highlights look shiny and reflective again, giving you that glitchy glam hair shimmer.
19. The Dark Roots That Grew Too Fast
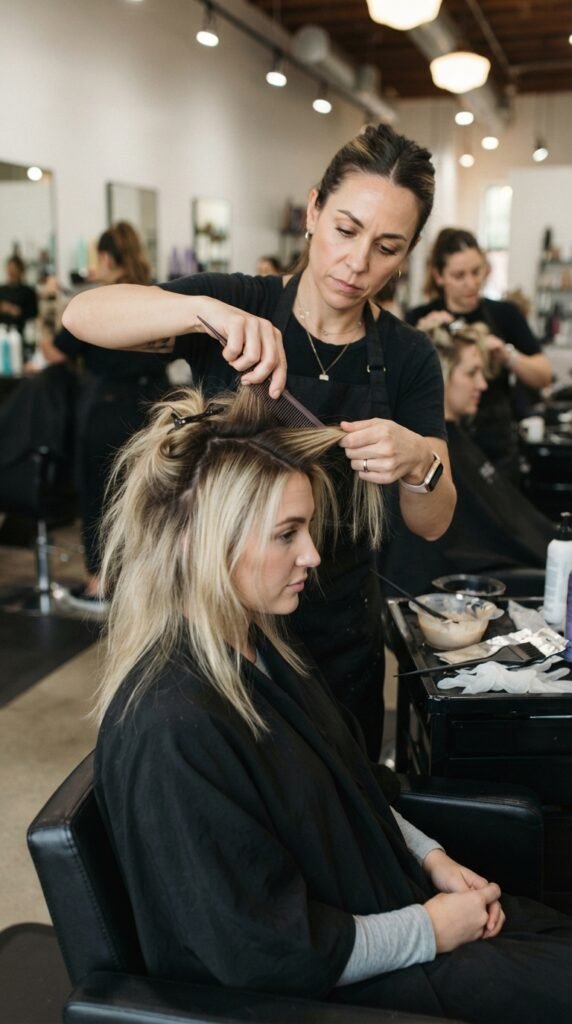
You got a full bleach, but your roots grew out super thick, creating a harsh outline. You don’t want to bleach again; you want to blend! We use a “smudge root” technique. The secret is backcombing the roots and painting the bleach close to the scalp but blurring the line.
Using lower volume developers prevents the roots from lifting too much. This creates a gorgeous, lived-in look. You can make any hime cut look modern with a grungy root like this.
20. Glossy Fix for Over-Processed Hair
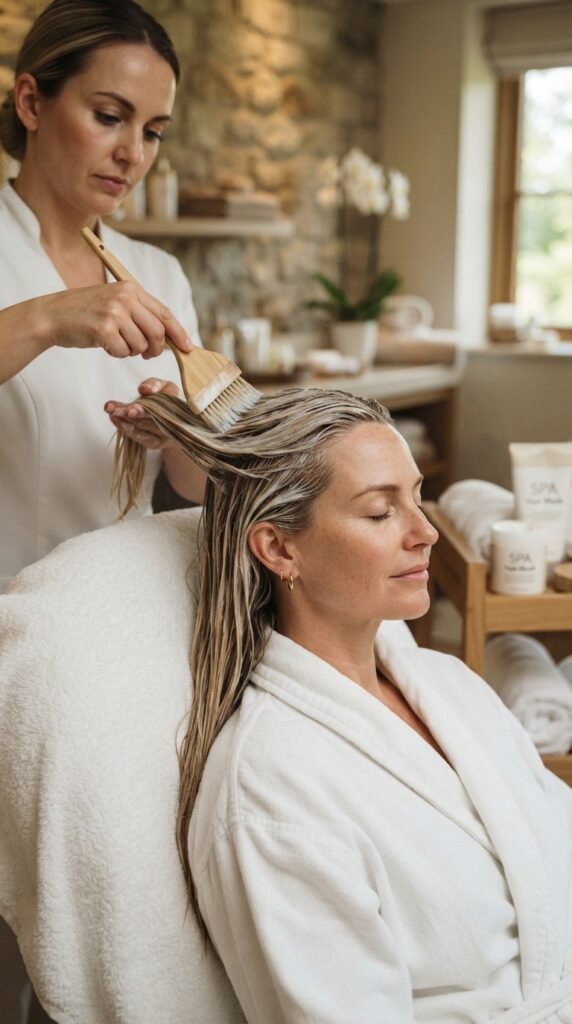
Your color is okay, but your hair looks like straw and feels terrible. You need a bond builder and a rich gloss, not more dye. The process of lifting color strips the natural lipids. A protein treatment will fill in the gaps and make the hair feel thick again.
Don’t chase a color correction if the hair is compromised. First, fix the strength, and then adjust the tone slightly. A clear gloss will add insane shine and make your color look 10 times richer. This is the true foundation of old money hair.
21. Going Back to Your Natural Brown
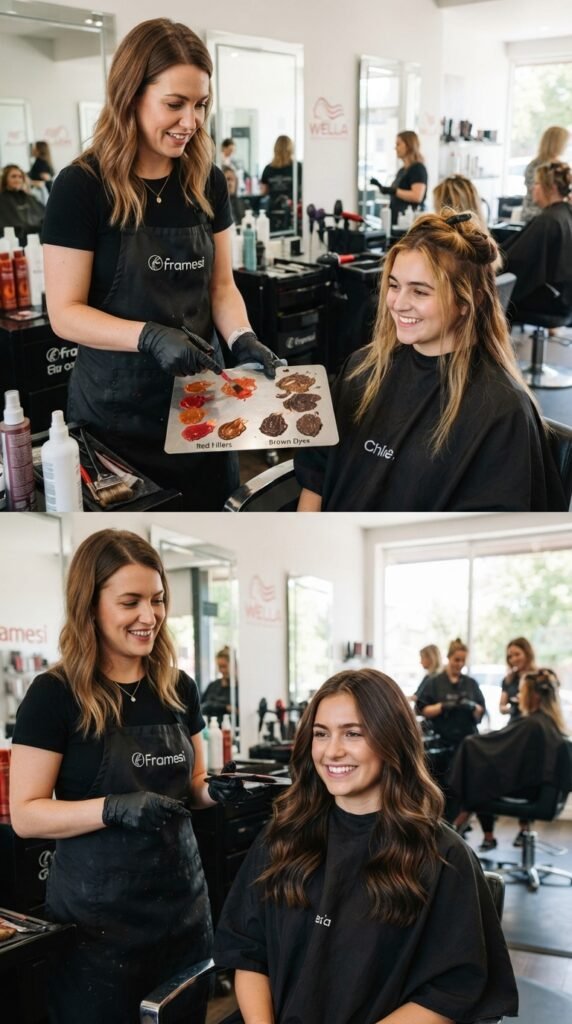
Sometimes, you just want to give up the blonde life and go back home. That transition is the hardest to do alone. To basically delete the blonde, we pre-fill the hair with a red filler, then apply the brown. The filler prevents the brown from turning drab and green.
This step is not optional. It is the only way to get a rich, vibrant brunette that doesn’t look gray. This is a great way to hit the reset button for quiet luxury looks. You will be shocked at how healthy your hair feels once you stop bleaching.
We’ve All Been There!
Take a deep breath, because if you’re facing a color disaster, know that almost anything is fixable with the right tools and a bit of patience. The worst part is the shock, but the path to recovery is always there. Remember to treat your hair with love and always prioritize protein and moisture.
Looking forward to the 2026 hairstyles, the focus is all on health and dimension. Forget harsh lines and damaging processes; it’s all about rich, shiny, and strong hair. Whether you’re rocking a romantic goth vibe or a classic bob, healthy hair is the best accessory.
Have you survived a dyeing catastrophe? Tell me exactly what happened in the comments below—I love hearing your rescue stories!
Save this post to Pinterest so you never lose these life-saving tips.