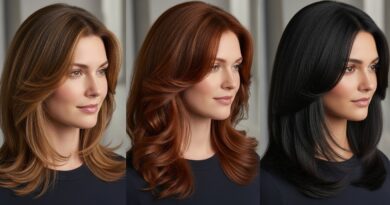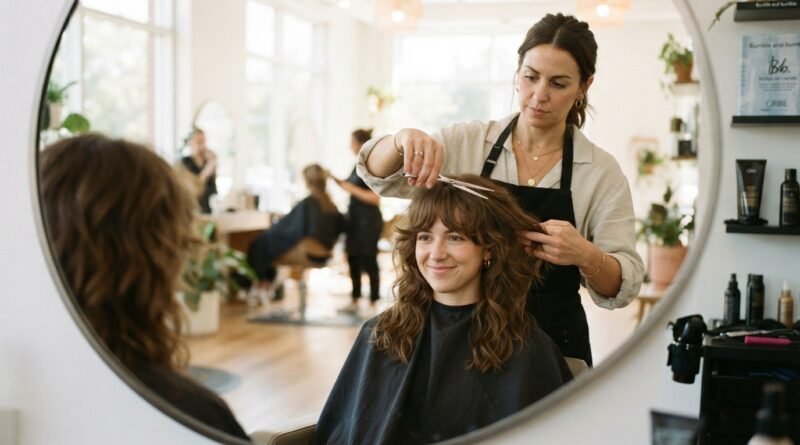
Modern Shag Styling Tricks That Keep Layers Looking Intentional Instead Of Messy
Hey friend! I’ll be honest: shag haircuts used to scare me. One wrong flip and my layers looked like I’d lost a fight with a pair of scissors. But after years of testing—and plenty of reader questions—I’ve figured out the tricks that make modern shag styling look intentional instead of messy. These are the same little methods I use before a video call, a date night, or just a normal Tuesday.
In this post, I’m sharing my go-to techniques, product picks, and styling hacks for straight hair, curly hair, and everything in between. No complicated salon skills needed. Just simple moves that work.
By the end, you’ll know exactly how to make your layers work with your natural texture, your daily routine, and your personal vibe. We’re going to get you comfortable with your shag—and maybe even fall in love with it.
Start With the Right Cut for Your Texture
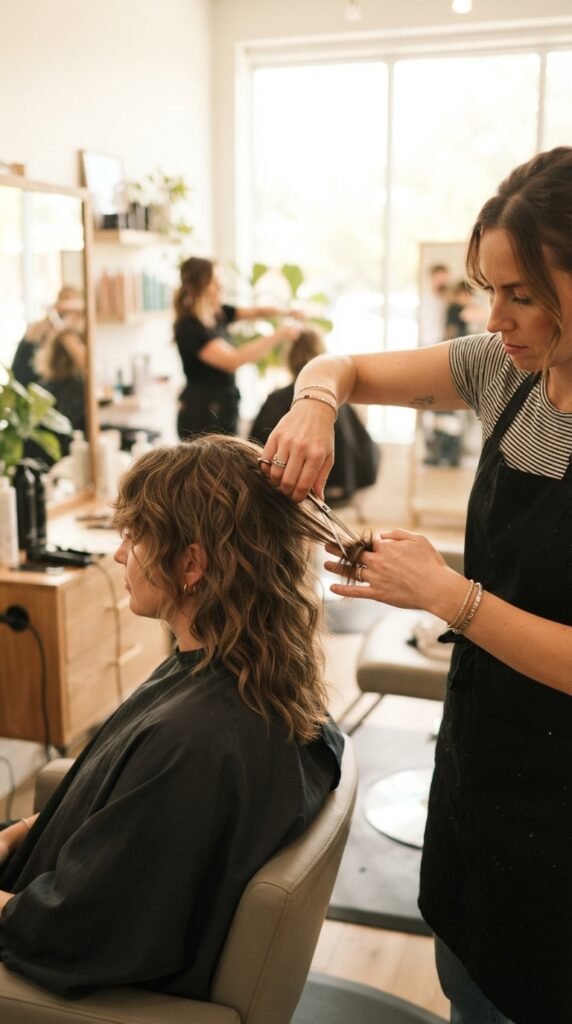
The best shag starts in the chair, not at home. Ask your stylist for layers that match your natural texture. If you have fine hair, keep the interior layers longer so it doesn’t get too wispy. If you have thick or curly hair, ask for more weight removal in the back to avoid triangle head.
- Mention 2026 hairstyles trends so they know you want a modern shape.
- Bring a photo of a lived-in shag, not a razor-sharp cut.
- Ask for face-framing pieces that fall below your cheekbone.
The right cut makes styling almost automatic. You won’t need to fight your hair.
Use the Right Product: Mousse Over Oil
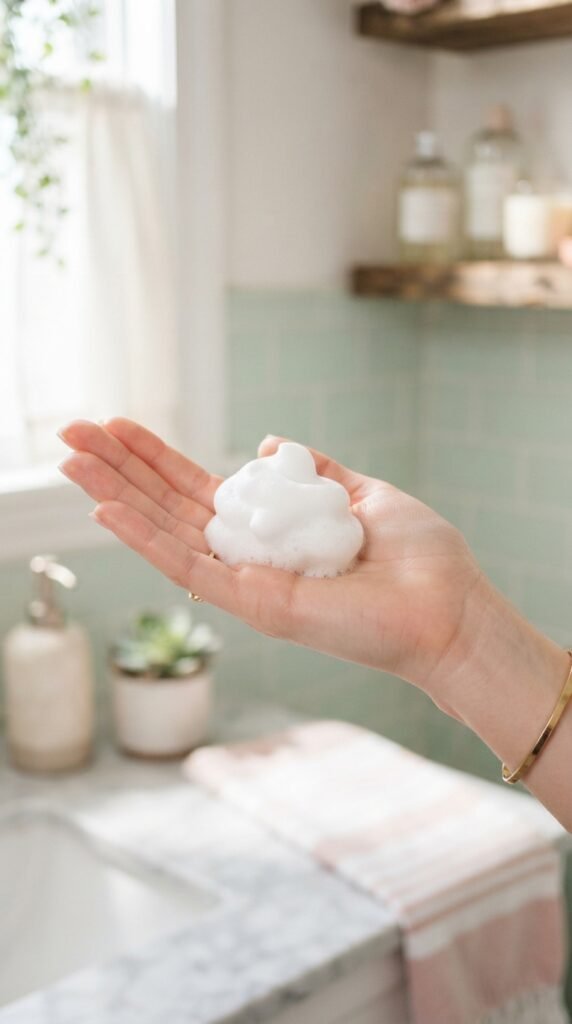
If you use heavy oil on shag layers, you’ll end up with greasy strings. That’s the fastest way to look messy in a bad way. Mousse gives you grip and memory, so your layers stay where you put them.
- Apply a golf-ball-size mousse to damp hair.
- Focus on roots and mid-lengths.
- Comb it through, then scrunch or blow-dry.
For a sleeker finish, use a small drop of oil only on your ends. This keeps the shape defined while still looking polished.
The Diffuser Trick for Curly Shags
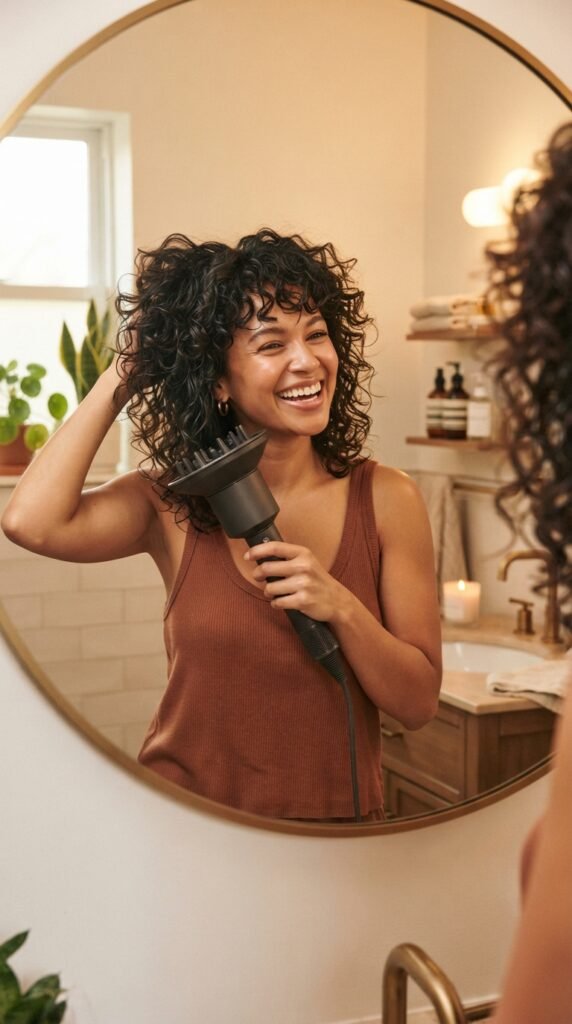
Curly shags can look amazing, but they also love to puff up. A diffuser is your best friend here. The trick is to hover, don’t push the hair up too much.
- Flip your head upside down and place the diffuser at your roots.
- Gently move it in circles for ten seconds.
- Cup the curls in the bowl and push upward for definition.
This creates soft, intentional volume. If you want more romantic goth hairstyles vibes, let the curls air-dry halfway first. You’ll get that slightly moody, mysterious texture without losing shape.
Blow-Dry With a Round Brush, but Keep It Loose
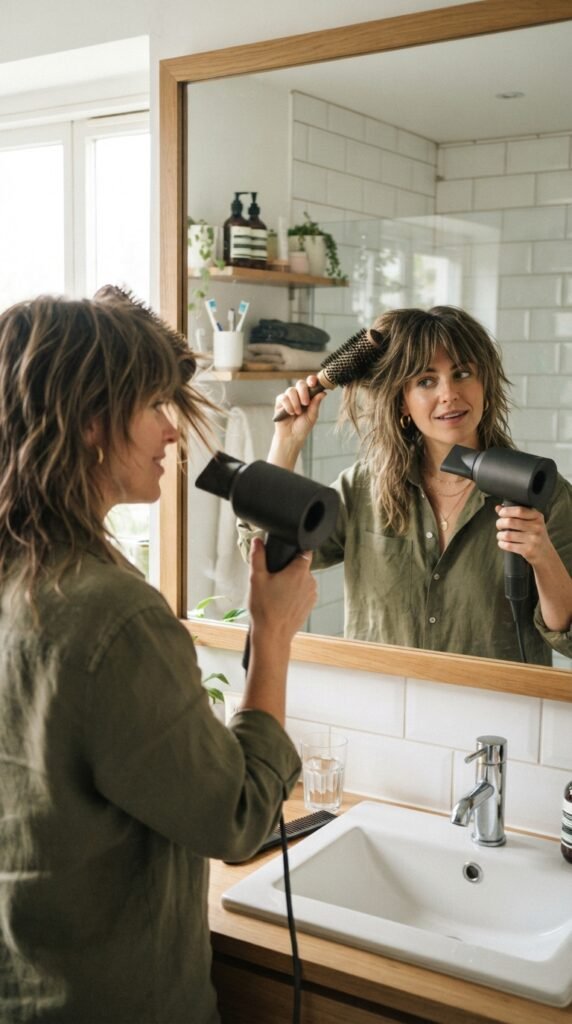
A round brush is great for shags because it smooths the top and bends the layer ends away from your face. But you don’t want pin-straight perfection. Keep the brush loose and glide it downward.
- Working section by section, wrap the brush under each layer.
- Pull down and follow with your blow dryer.
- At the ends, roll the brush slightly under for three seconds.
This gives movement without curl. It also makes your layers look intentional and soft. Finish with cool air to set the shape.
How to Style a Shag With Straight Hair

Straight shags are a favorite for 2026 hairstyles because they look clean but edgy. The key is adding a little texture spray at the roots. Then give your layers a quick tousle with your fingers.
- Spray a sea-salt or texturizing spray on damp hair.
- Blow-dry straight with a paddle brush.
- Use a flat iron on small pieces around your face for a smooth, deliberate bend.
Don’t brush it after styling. That’s when the shag starts to look messy. Instead, use your fingers to fluff the root area and let the layers fall naturally.
Tousled Waves Without the “Just Rolled Out of Bed” Vibe

Tousled waves are supposed to look relaxed, not chaotic. The trick is to keep the top layers smooth while the bottom layers hold the wave. Start with a curling wand in one-inch sections.
- Curl away from your face, leaving the last inch straight.
- Pin each curl to cool.
- Remove pins and gently shake with your hands.
This gives you those effortless waves that still look put together. It’s a nice bridge between a messy shag and old money hair—think effortless but clearly intentional.
The Secret to Face-Framing Layers
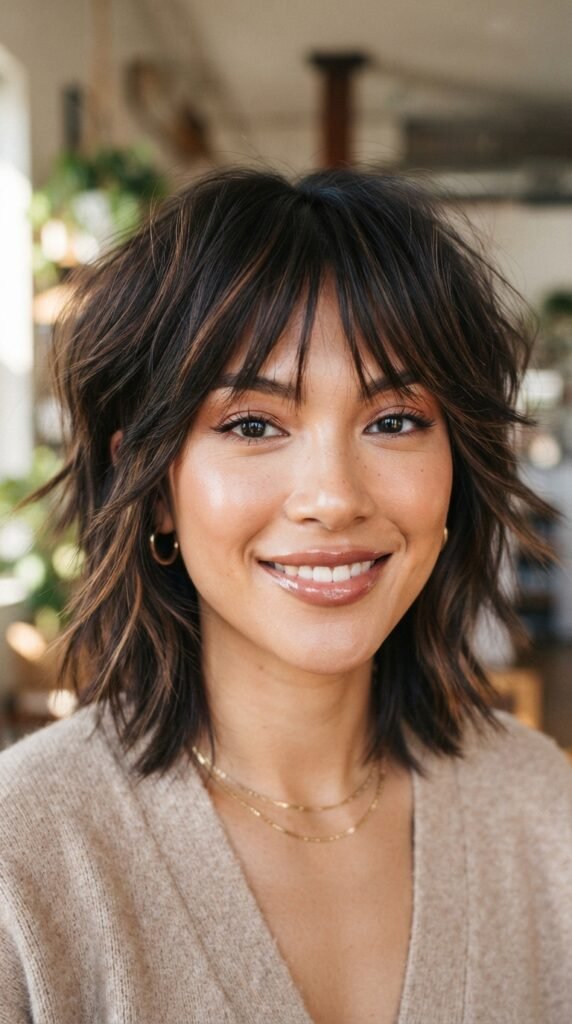
Face-framing layers are the heart of a modern shag. They should hit somewhere between your cheekbone and chin. That length makes your jawline look sharper and keeps everything balanced.
- Use a small flat iron or round brush to turn the ends away from your face.
- Apply paste between your palms and pinch the face-framing pieces.
- Keep them separated from the rest of your hair.
If you have a hime cut or blunt fringe, focus on blending the face-framing shag pieces carefully. A little definition goes a long way.
Bangs: Curtain Bangs vs. Wispy Bangs
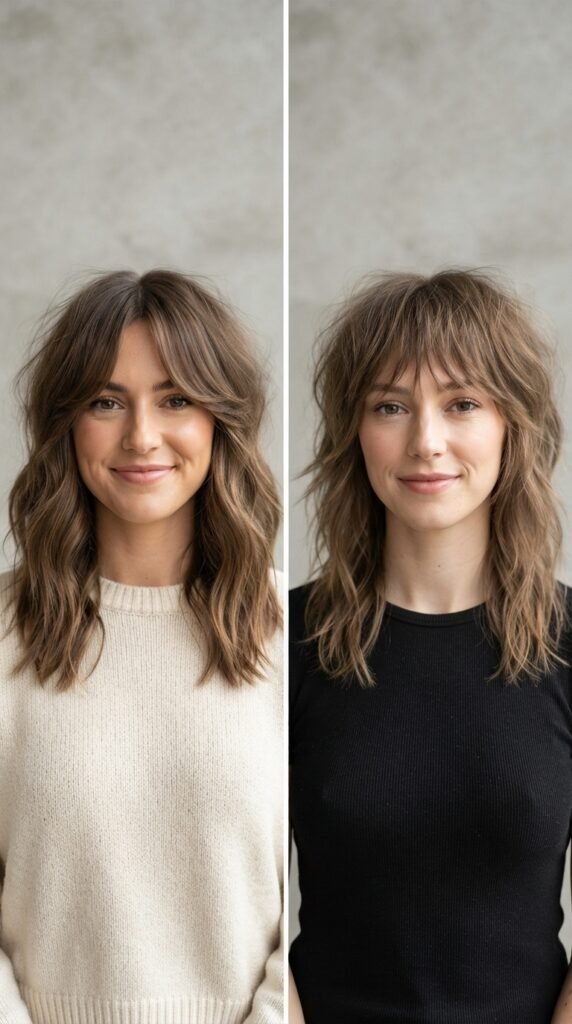
Bangs can make or break a shag. Curtain bangs are the safest option because they swoop away from your face and soften the layers. Wispy bangs are lighter and add a bit of edge.
- Curtain bangs: blow-dry them side to side, then let them fall naturally.
- Wispy bangs: use a dab of styling cream and twist small sections.
- Both options work whether your hair is straight or textured.
For 2026 hairstyles, curtain bangs are still huge, especially with quiet luxury style. They keep your face open while giving the shag that easy, understated polish.
Use a Flat Iron to Define Individual Pieces
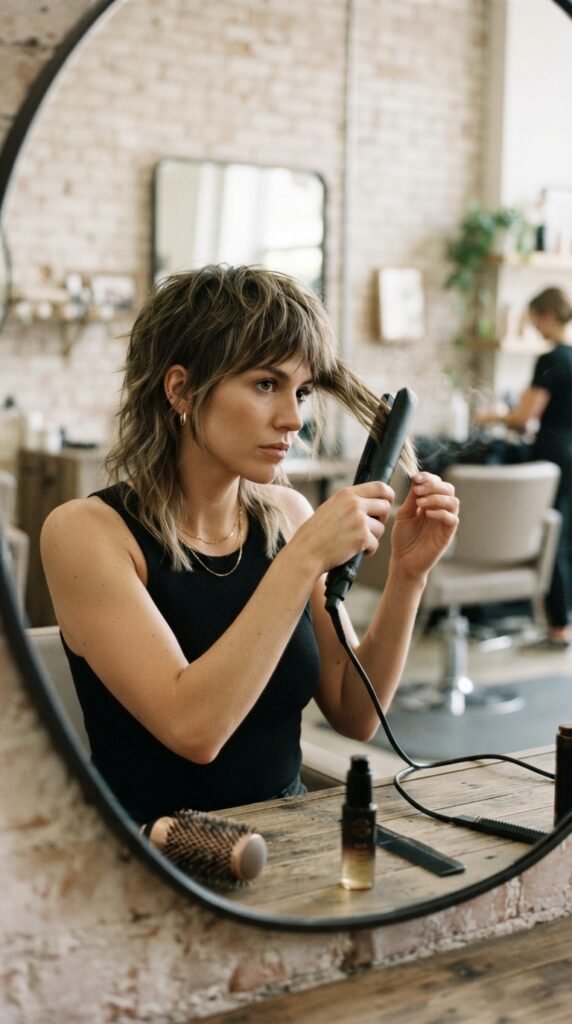
Sometimes a shag needs a little separation to look deliberate. A flat iron is perfect for this because you can style piece by piece. Choose one-inch sections and glide the iron slowly.
- For the front layers, turn the iron outward at the ends.
- For the crown, lift the hair straight up and clamp down for a few seconds.
- This adds a subtle bend without curling.
This trick makes your shag look a little more modern and sculpted. It also works great with glitchy glam hair—a style where sharp, separated pieces are part of the vibe.
The “Old Money Hair” Shag Hybrid

Old money hair is all about looking polished and wealthy, and yes, a shag can fit that vibe. The trick is to keep the ends smooth and the color glossy. Think quiet luxury bob energy, but with layers.
- Ask your stylist for long, soft shag layers instead of choppy ones.
- Use a shine serum on the middle and ends.
- Keep the overall silhouette neat, especially around the nape.
This hybrid is perfect for office days or dinners. The shag adds movement, while the old money hair tone keeps it refined. It’s one of my favorite 2026 hairstyles for anyone who wants low-maintenance but high-polish.
Quiet Luxury Bob Meets Shag: The Modern Combo

If you love the quiet luxury bob but want more texture, blend it with a shag. The combo gives you the clean jawline of a bob and the soft movement of shag layers. It’s very chic.
- Keep the bob length at your chin or just below.
- Add face-framing layers and a soft curtain fringe.
- Style with a paddle brush for a smooth, expensive finish.
This cut is everywhere in 2026 hairstyles, and for good reason. It looks simple but takes real technique behind the chair. At home, just add a little volumizing spray at the roots and you’re done.
Romantic Goth Hairstyles With Shag Layers

Romantic goth hairstyles pair perfectly with a shag. Dark color, soft curls, and wispy layers create that poetic, slightly mysterious vibe. The best part? It’s not hard to recreate.
- Use a curling iron to create soft, looser curls.
- Pull a few pieces out around the face.
- Finish with a light hairspray to keep the shape without stiffness.
Burgundy, plum, or jet black tones all shadow the layers beautifully. This style feels very intentional and works great for concerts, date nights, or just feeling like the main character.
Glitchy Glam Hair: Edgy Shag Styling

Glitchy glam hair is all about sharp, defined sections and metallic shine. A shag gives you the perfect foundation for this look. The layers create motion, and the separation makes it feel high-fashion.
- Add a small amount of wax or pomade to your fingertips.
- Pinch individual layers, focusing on the ends.
- Use a flat iron for any pieces that need a sharper edge.
Silver, platinum, or even subtle chrome highlights make the layers pop. If you want to try something bold for 2026 hairstyles, this is it. Just keep the rest of your hair smooth so the texture looks deliberate.
Asymmetrical Lob Shag Styling Tricks
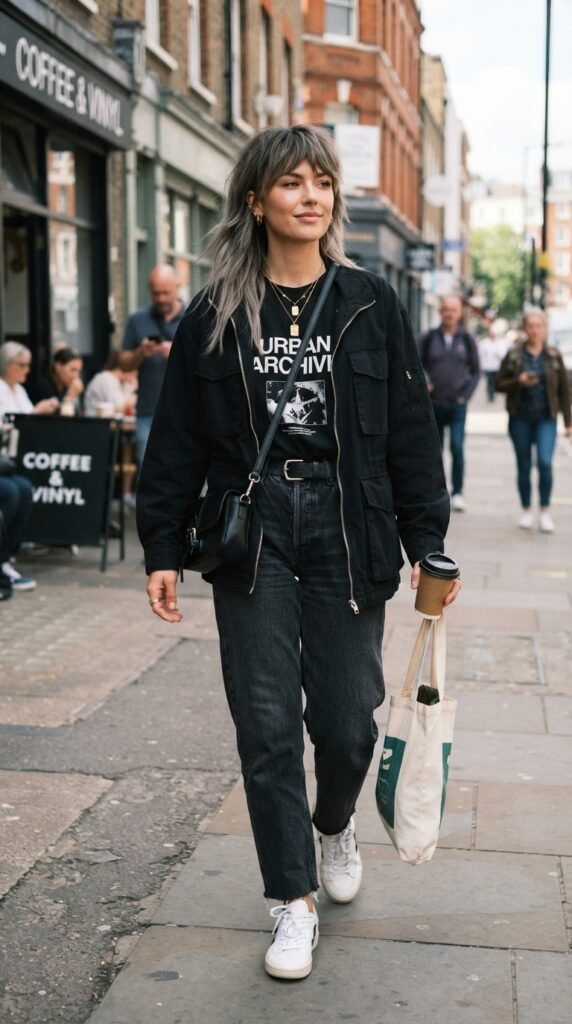
An asymmetrical lob with shag layers is a killer combo. The uneven lengths add movement, and the shag keeps it from looking too harsh. The trick is to style each side differently to embrace the asymmetry.
- On the longer side, use a round brush to create a slight inward curve.
- On the shorter side, flip the ends outward for a playful finish.
- Add texturizing spray at the roots for lift.
This cut works well for all hair types, and it’s a great way to test a lob without going too uniform. It feels fresh, modern, and very 2026.
Vampire Haircut: How to Make Dark Layers Pop

The vampire haircut is basically a shag with extra drama. Deep layers, strong face-framing, and curtain bangs give it that gothic-yet-glamorous look. To style it, you want to emphasize the shadows in your layers.
- Use a round brush to flip the face-framing pieces away from your face.
- Keep the back layers soft and blended.
- Add a dark glossing product to enhance your color.
Black or deep espresso color helps the texture show up. If you love romantic goth hairstyles but want something sharper, the vampire haircut is your answer. It’s bold, but still wearable.
Hime Cut Meets Shag: Bold and Intentional
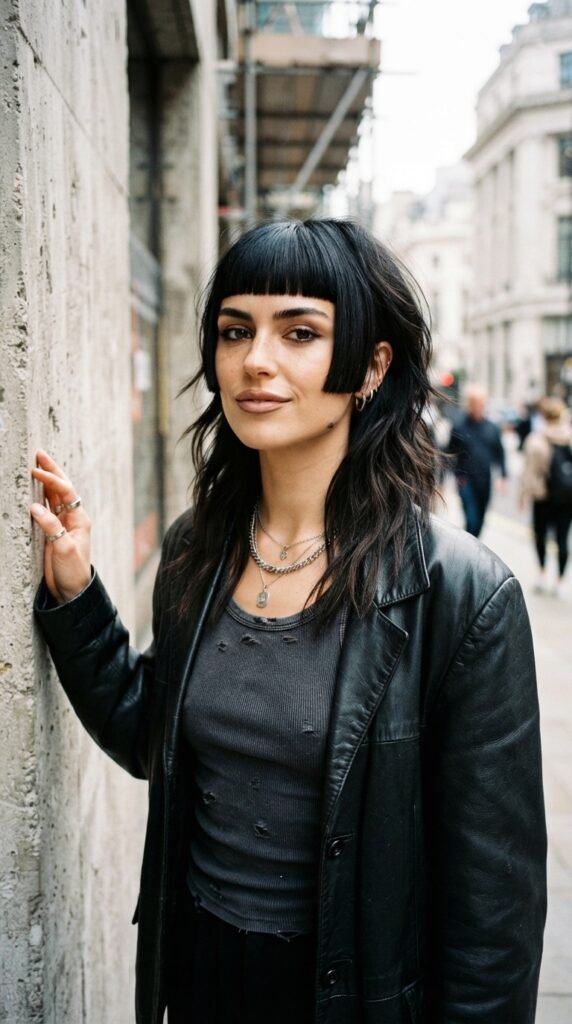
The hime cut is known for its straight, cheek-length pieces and blunt bangs. Pairing it with a shag combines structure with softness. It’s a unique look, but it can be styled more casually.
- Keep the iconic hime side pieces smooth and straight.
- Let the shag layers behind them stay wavy and relaxed.
- Use a flat iron on the front pieces only.
This gives you the best of both worlds: sharp and intentional in the front, playful and airy in the back. If you want a statement style for 2026 hairstyles, this is definitely memorable.
How to Refresh Shag Layers on Day Two
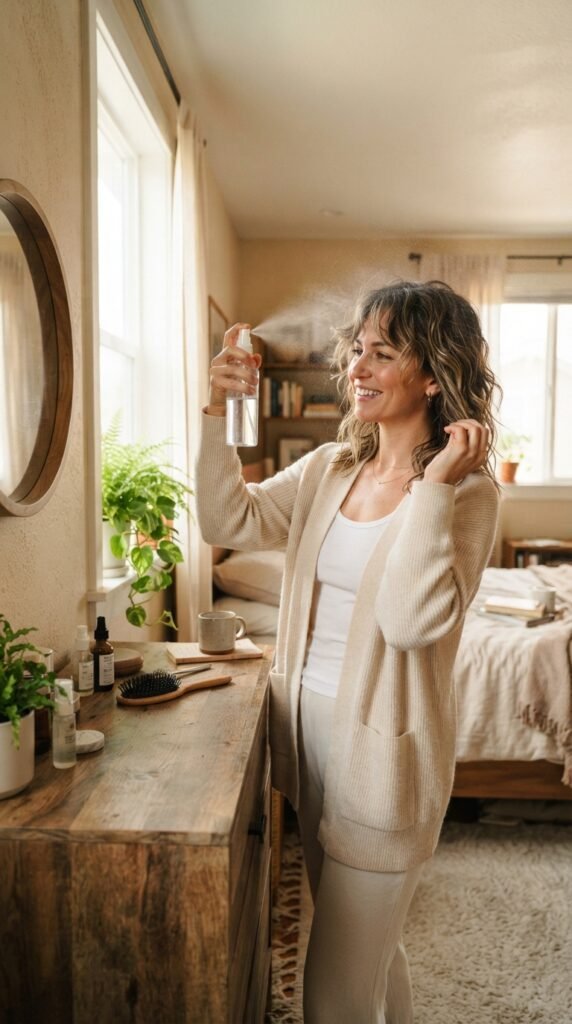
Day-two shag hair can be tricky because the layers might flatten or separate weirdly. The fix is simple: reform with water. Keep a spray bottle near your bathroom mirror.
- Lightly mist your hair until damp, especially the roots.
- Scrunch in a bit of mousse or texturizing spray.
- Blow-dry with your fingers, lifting each layer at the root.
Don’t start over with a full wash. This refresh keeps your cut looking intentional and saves time. It’s the little trick that turns a sleepy morning into a good hair day.
Products That Save Your Shag From Frizz
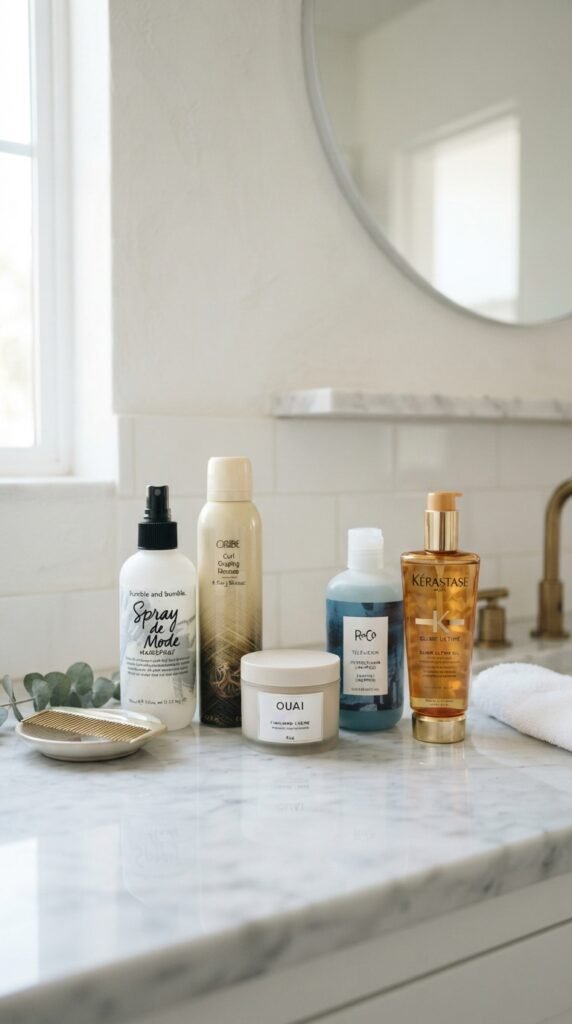
Frizz can make a shag look messier than it is. The right products keep humidity away and maintain the shape. You don’t need a lot—just the right ones.
- Mousse for volume and grip.
- Texture spray for movement and separation.
- Lightweight oil for shine on the ends.
- Hairspray with flexible hold so layers don’t get stiff.
These all work together to make shag styling easier. If you have curly hair, add a curl cream. If you have straight hair, skip the cream and use mousse instead. Simple and effective.
Accessories That Make Shag Layers Look Deliberate

Sometimes your shag just won’t cooperate. Accessories are the quickest way to make it look intentional. Clips, headbands, and scarves add style while controlling flyaway layers.
- Use a claw clip to sweep one side back and let the other side fall.
- Place two small clips near your temples to hold face-framing pieces.
- Tie a silk scarf around your head to add polish.
This is a lifesaver on busy mornings. Your shag becomes a deliberate style choice instead of a battle. Plus, accessories make even the most awkward layer day look designed.
Common Shag Mistakes to Avoid
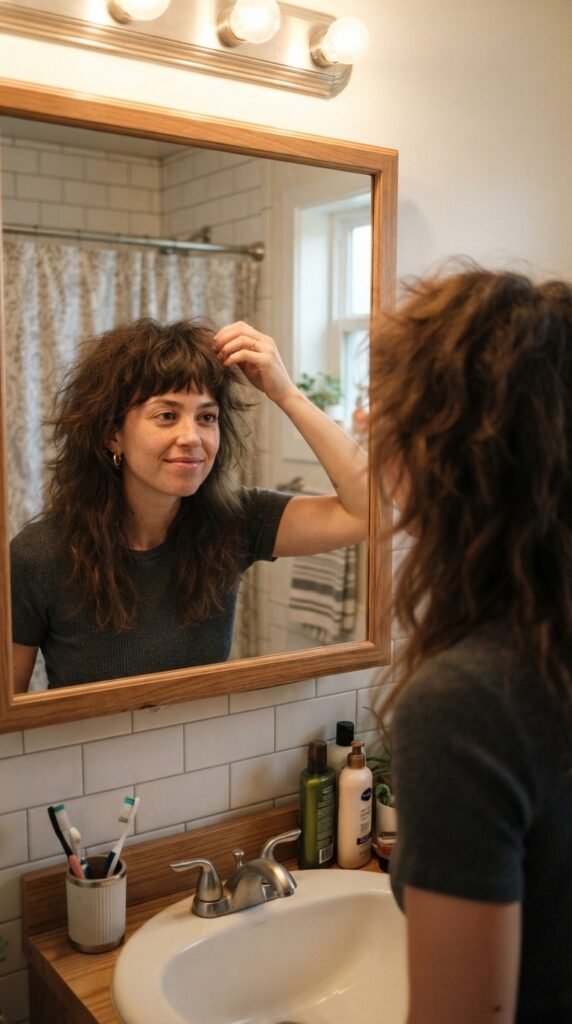
Over-brushing, heavy products, and skipping trims are the top shag mistakes. Brushing shag layers too much makes them puff and lose shape. Heavy oils weigh them down. Irregular trims let the cut grow out unevenly.
- Don’t brush dry shag hair. Use fingers or a wide-tooth comb.
- Don’t apply product to your roots unless it’s mousse.
- Don’t skip your six-week trim appointment.
Keep it simple, and your layers will always look intentional. A little care goes a long way.
A Little Shag Love
I know shag layers can feel like a gamble, but once you learn how to style them, they become so fun. You don’t need perfect waves or an expensive salon finish. Just a few good products, the right techniques, and a little patience.
Whether you’re into old money hair, romantic goth hairstyles, or a quiet luxury bob with shag layers, the goal is always the same: make your hair look like you meant it. And now you have the tricks to do exactly that.
Save this post to Pinterest so you have it for your next wash day. And tell me in the comments: which shag styling trick are you trying first? I’d love to hear how it goes.