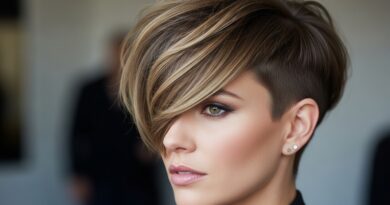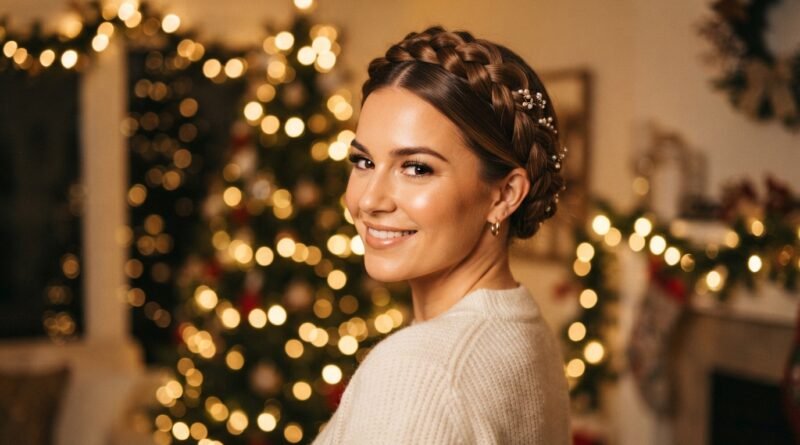
23 Braided Crown Styles Worth Trying for Holiday Family Photos
Family photos are coming, and you want hair that looks like you tried — without standing in front of the mirror for two hours. Same, friend. That’s why I keep coming back to braided crowns.
A braided crown works for almost everyone. Short hair, long hair, fine strands, curls, day-three hair you didn’t wash. It photographs elegant, holds up through dinner and hugs, and it plays beautifully with the 2026 hairstyles everyone’s saving right now.
Below I rounded up 23 braided crown styles worth trying for holiday family photos. Some are classic, some lean old money hair, and a few go a little romantic goth. Pick one, screenshot it, and bring it to your mirror.
Let’s get you photo-ready in 20 minutes or less.
1. Classic Double French Braid Crown
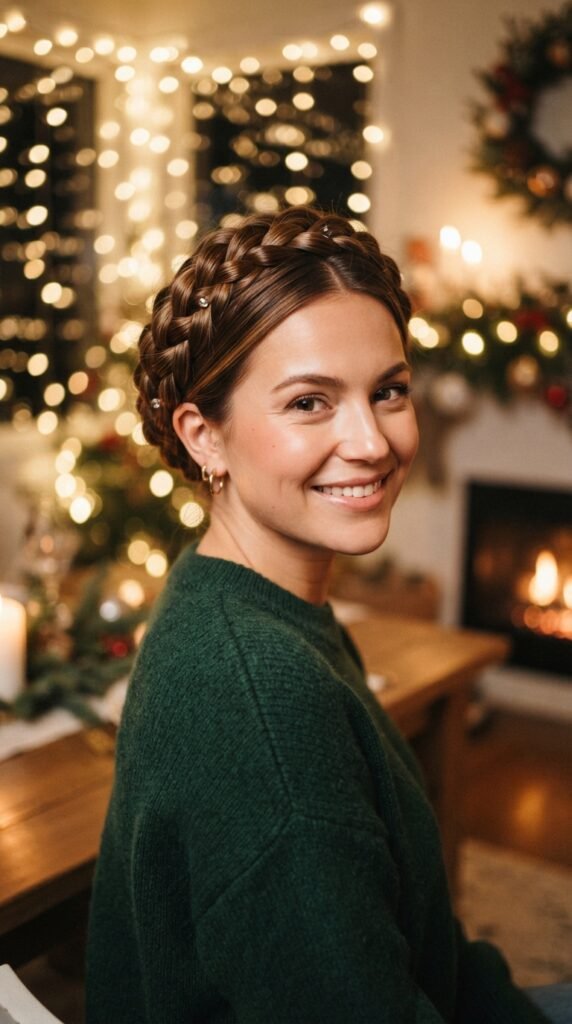
This is the style people picture when they say “braided crown.” Two French braids start at your part, curve behind your ears, and meet at the back of your head. It looks fancy. It’s honestly just two braids.
Best for: medium to long hair, day-old texture, anyone who needs it to stay put through dinner.
- Part down the middle, French braid each side down and back
- Pin the tails across the back and tuck the ends under
- Pull the braid edges loose with two fingers
2. Halo Braid
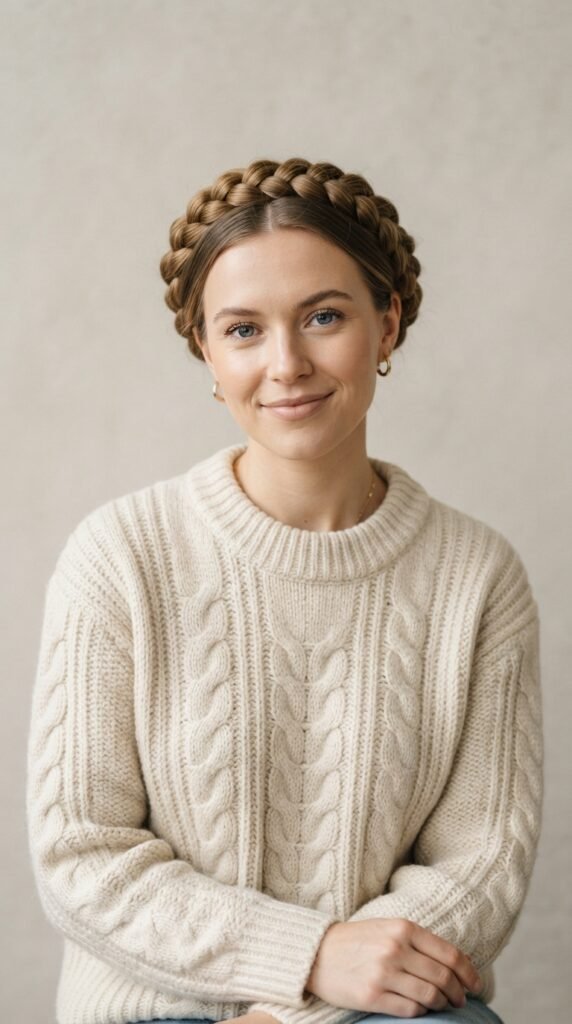
The halo braid sits right on top of your head like a crown you made yourself. It’s the most photo-friendly option here because it frames your face from every single angle.
If your hair is fine, this one is your friend. The halo reads bigger than your actual hair does.
- Braid one side from your part down to the nape
- Wrap that braid across the top like a headband
- Pin every few inches, then hide the tail underneath
3. Milkmaid Braids
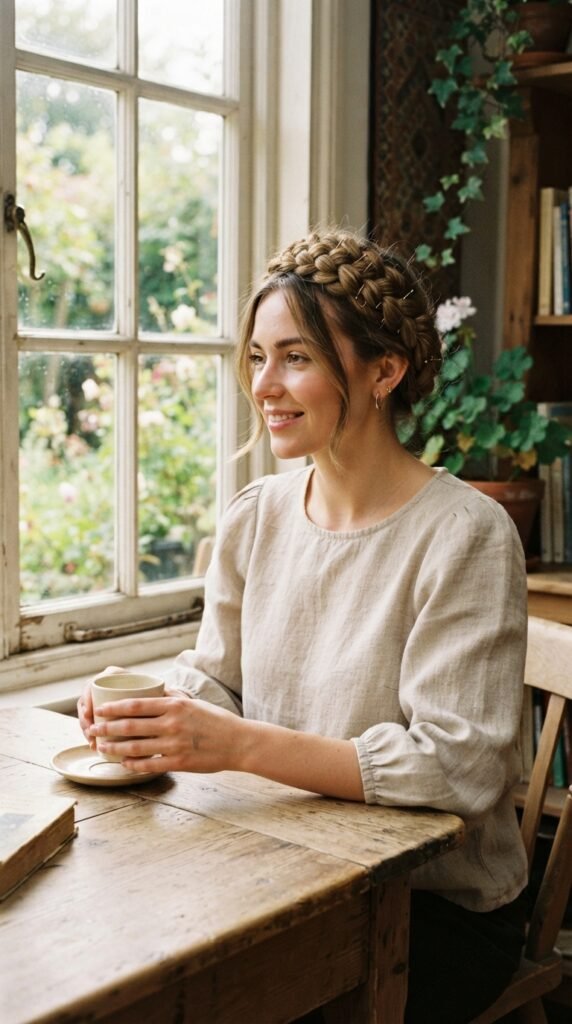
Milkmaid braids are the softer, more romantic cousin of the halo. Instead of hugging your head tight, they sit slightly forward and a little undone. Very storybook, very holiday card.
They work best on hair that’s at least shoulder length.
- Split hair into two low pigtails and braid each one
- Cross both braids over the top of your head
- Pin generously, then loosen the braid width
4. Dutch Braid Crown
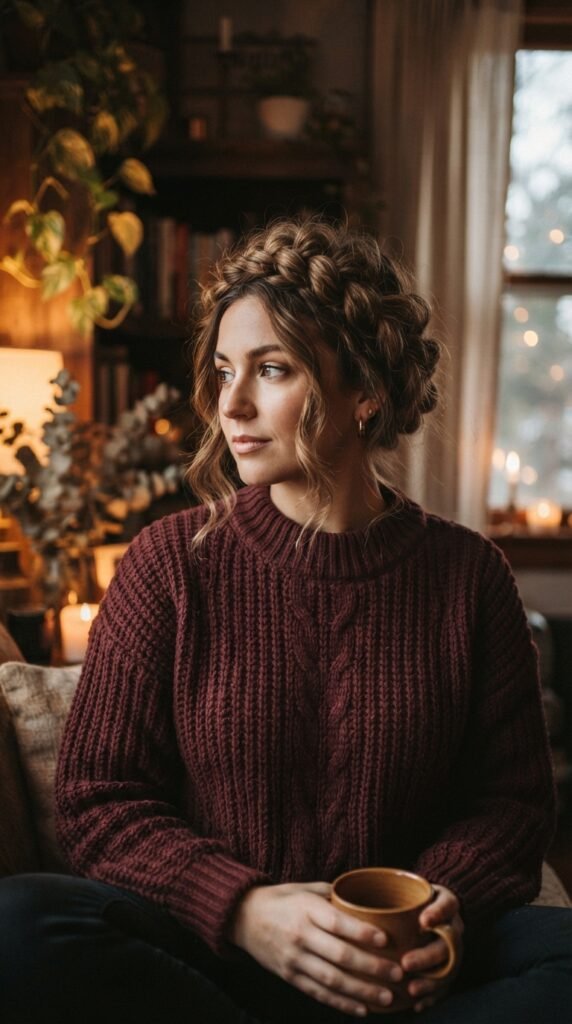
A Dutch braid is a French braid’s bolder sister. You braid under instead of over, so the braid sits on top of your hair instead of sinking into it. That means more volume and more drama in photos.
This is the version I recommend when you want your crown to actually look like a crown.
- Braid under, not over, the whole way around
- Keep sections small at the front for a clean hairline
- Pancake the braid after pinning for softness
5. Fishtail Crown
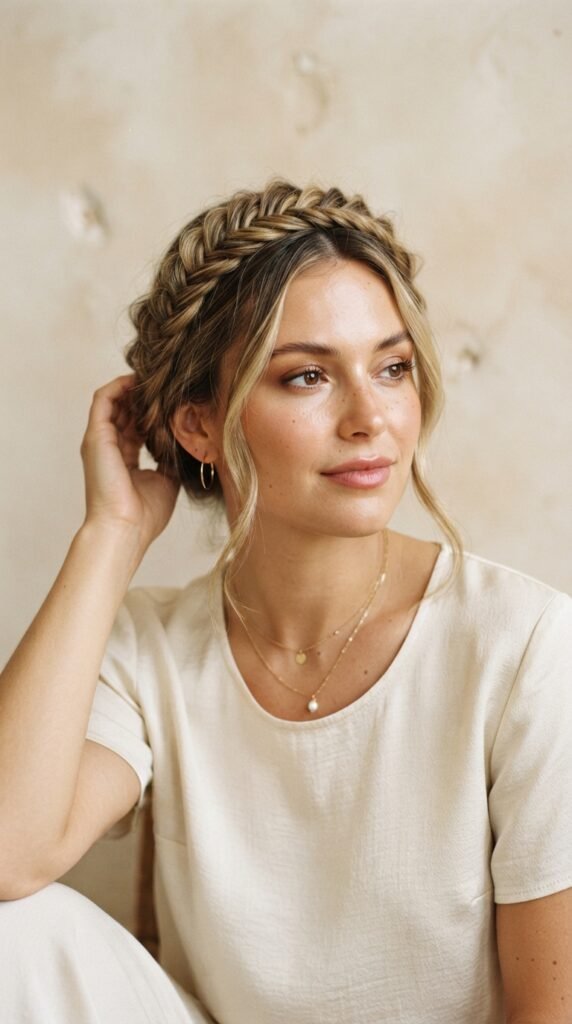
Fishtail braids look complicated and take about the same time as a regular braid once you get the rhythm. The woven texture catches light in family photos, which is exactly what you want.
Fair warning: fishtails take longer to undo, so don’t plan this one for a rushed night.
- Start with two sections and cross tiny pieces from the outside in
- Keep tension loose for a softer, wider braid
- Wrap around your head and pin at the nape
6. Pulled-Apart Messy Crown

This is the “I woke up like this” crown, except you definitely didn’t. The trick is pulling every section wide after you braid it. The messier it looks, the more intentional it reads.
It’s forgiving, too. No one can spot a slipped section in a messy braid.
- Braid two loose French braids around your head
- Pull outward on every bump with two fingers
- Let a few strands fall loose around your face
7. Old Money Braided Crown
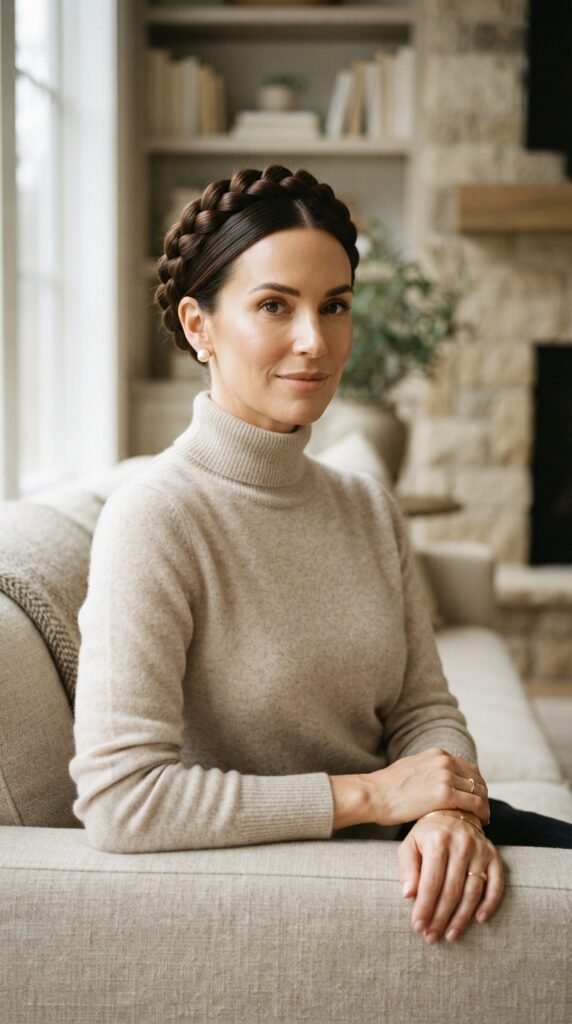
Old money hair is all about restraint, and this crown nails it. Sleek at the roots, smooth through the braid, nothing frizzy, nothing fussy. It’s quiet and expensive-looking.
Keep your jewelry simple and your hair products light. Shine is the whole point.
- Blow dry smooth or slick with a light cream
- Braid tight and even around your head
- Skip the pancaking — keep it polished
8. Quiet Luxury Crown with a Satin Ribbon
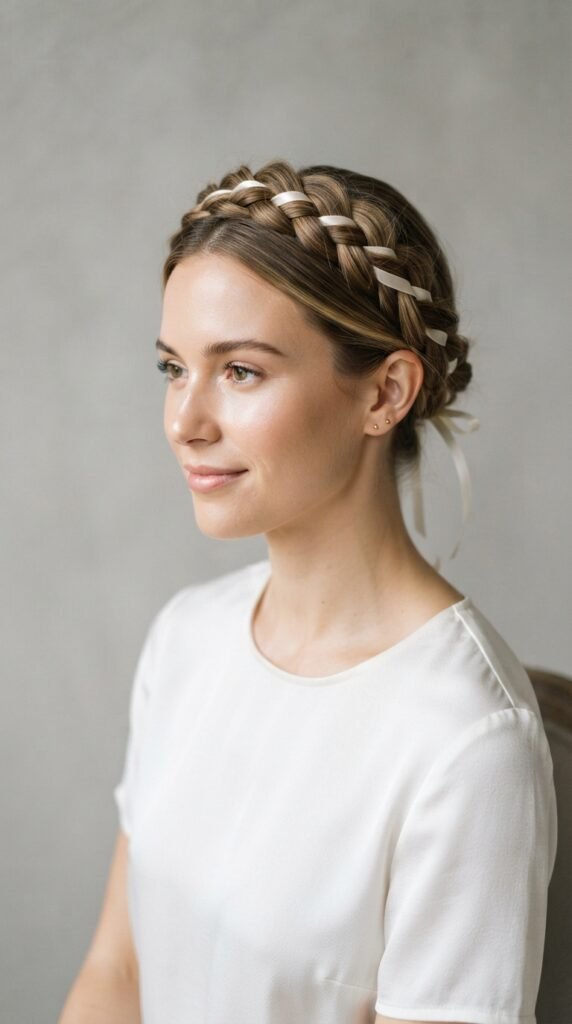
Want the quiet luxury bob energy without cutting your hair? Weave a thin satin ribbon into your braid. One ribbon. That’s the whole upgrade.
Choose ivory, cream, or a soft champagne so it reads expensive instead of craft-store.
- Match your ribbon to your outfit, not your hair
- Weave it in with one strand from the start
- Trim the ends short so they don’t peek
9. Braided Crown on a Quiet Luxury Bob
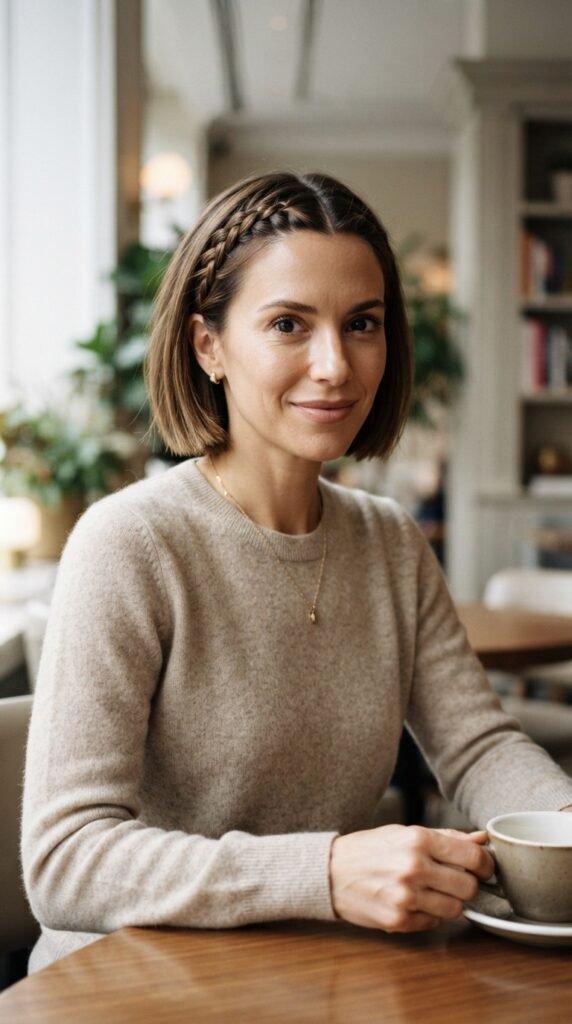
Short hair can absolutely wear a crown. You just braid smaller sections and pin more. Two little braids across the top of a quiet luxury bob look incredibly chic and take five minutes.
This is my go-to when a friend with a bob says she can’t do braids.
- Braid two small sections near your part
- Pin them flat across the top of your head
- Leave the rest of the bob sleek and smooth
10. Braided Crown with an Asymmetrical Lob
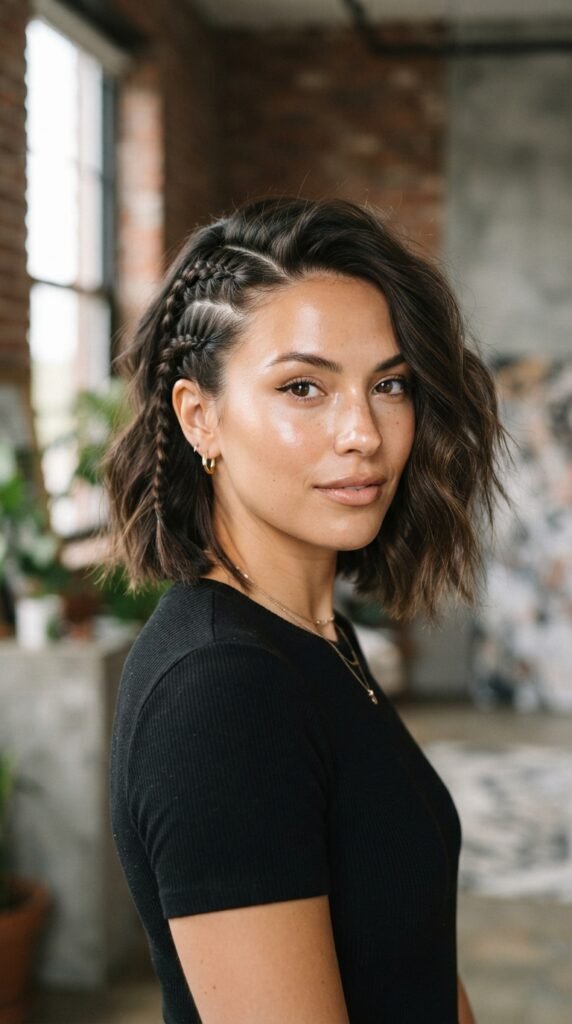
If you’re growing out an asymmetrical lob, don’t fight it. Braid only the longer side and pin it across like a headband. The shorter side stays loose and clean.
It looks deliberate, modern, and a little bit cool-girl. Perfect for family photos where you’re the stylish one.
- Braid the longer side from the part back
- Pin it along your hairline like a headband
- Leave the short side untouched and smooth
11. Hime Cut Braided Crown
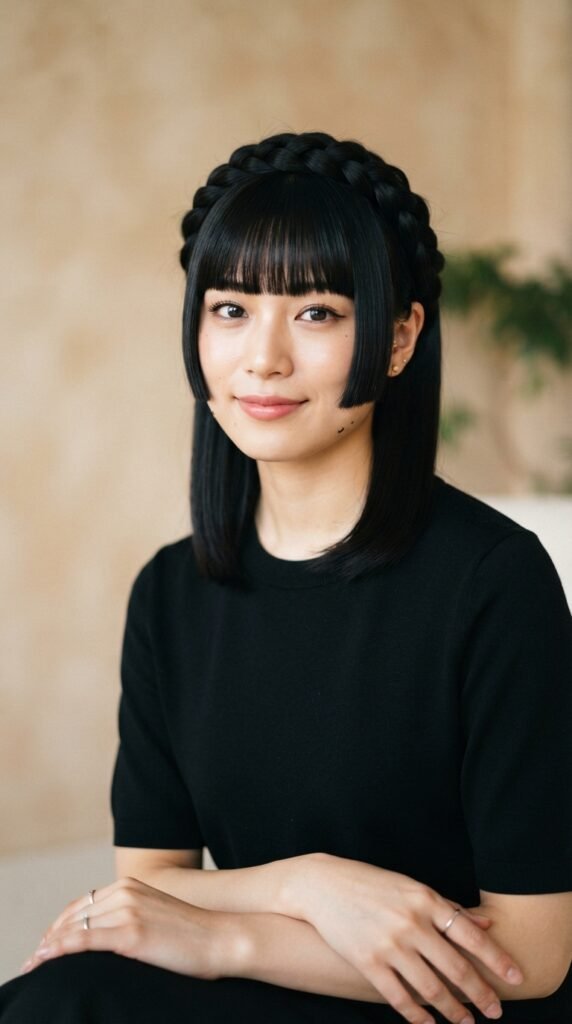
The hime cut has straight blunt side pieces framing the face and longer hair behind. Pair it with a braided crown and you get something that looks almost royal.
It’s a favorite for anyone who wants a statement without a full updo.
- Keep the side pieces straight and untouched
- Braid the back section into a low crown
- Pin snug so nothing shifts mid-photo
12. Romantic Goth Braided Crown
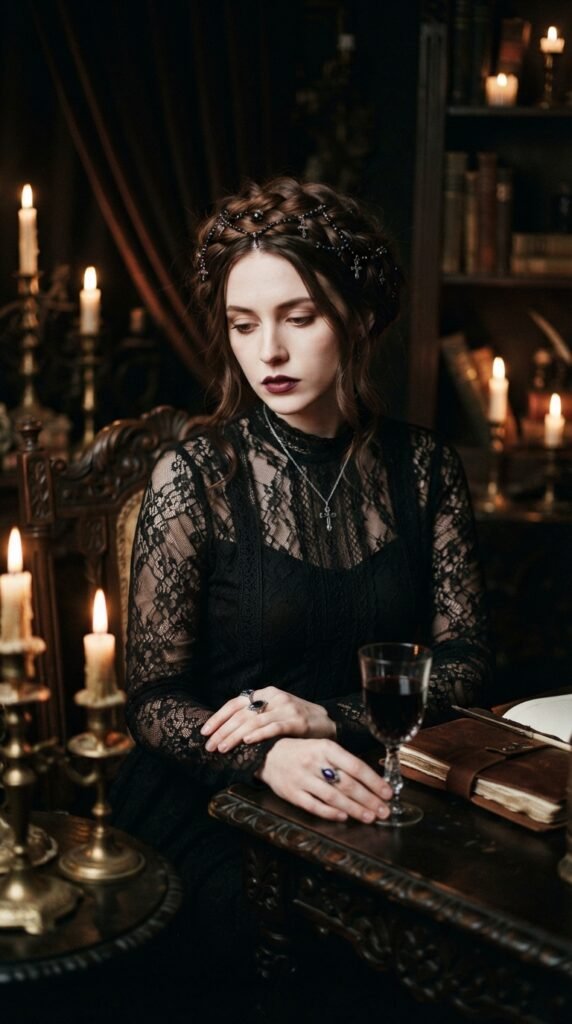
Romantic goth hairstyles and braided crowns are a match made somewhere lovely and slightly haunted. Think dark hair, soft matte texture, and a deep ribbon.
For holiday photos, this one looks stunning against a dark green or burgundy backdrop.
- Add a black or burgundy velvet ribbon
- Tuck in a single dried rose or tiny brooch
- Keep the braid slightly undone for softness
13. Vampire Haircut Braided Crown
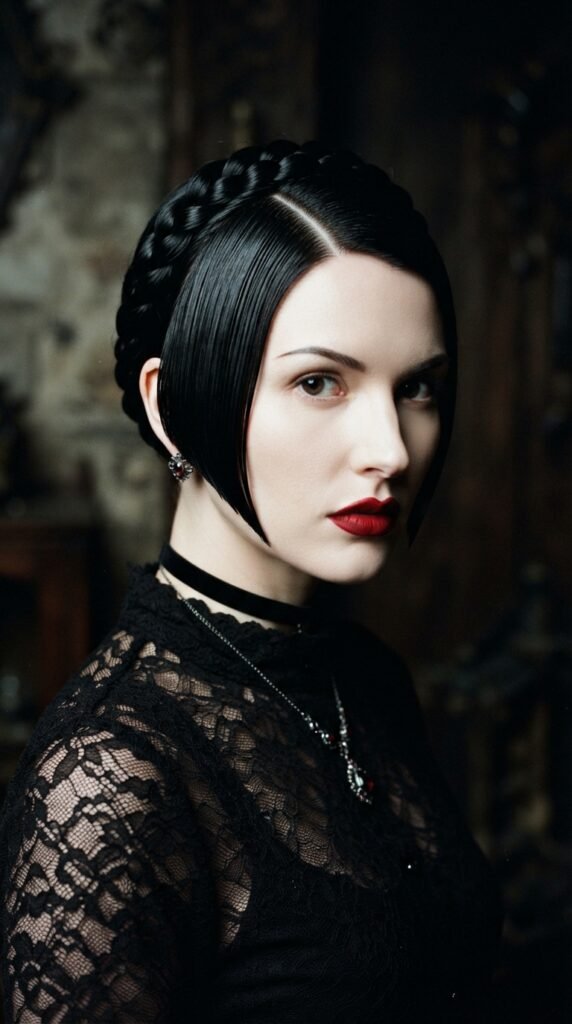
The vampire haircut is all sharp lines and sleek shine. Add a tight crown braid and it turns elegant and a little dangerous, in the best way.
This is the one to try if your family photos lean moody and formal.
- Slick the roots with gel or a strong pomade
- Braid tight and low around your head
- Finish with a shine spray, not a softening one
14. Glitchy Glam Braided Crown
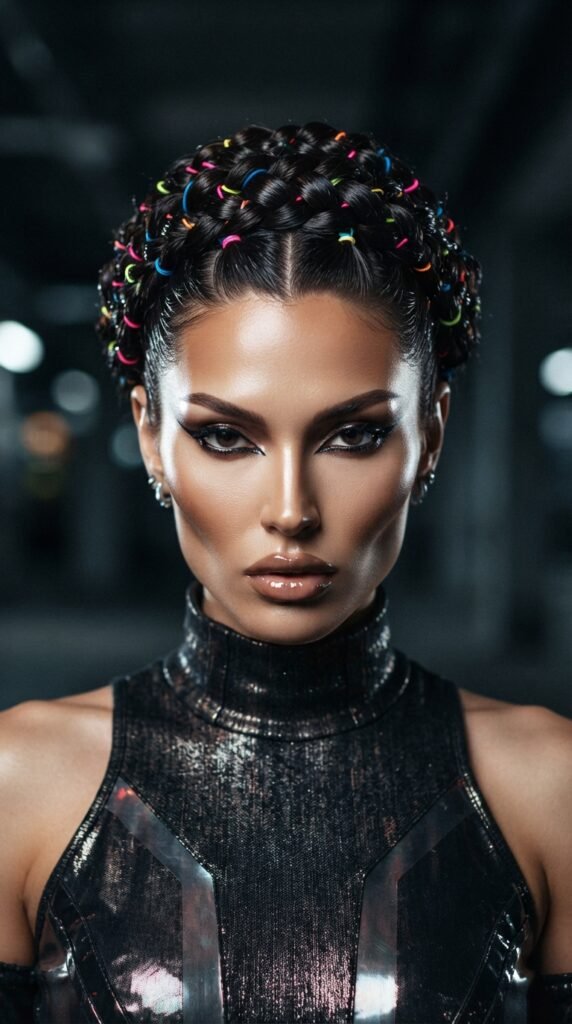
Glitchy glam hair is glossy, precise, and slightly futuristic. A braided crown fits right in when you keep it tight and add unexpected details like tiny colorful elastics.
It’s fun, it’s different, and it photographs beautifully under direct flash.
- Braid tight with clean, even sections
- Swap your clear elastic for a bright one
- Add shine spray for that glassy finish
15. 2026 Curtain Bang Braided Crown

Curtain bangs are everywhere in 2026 hairstyles, and they actually work great with a crown. You just braid behind the bangs and let them fall in front.
It’s soft, modern, and flattering on almost every face shape.
- Start your braid behind the bangs, not at the part
- Braid loose so the crown doesn’t look flat
- Style bangs forward with a round brush
16. Braided Crown with Face-Framing Tendrils
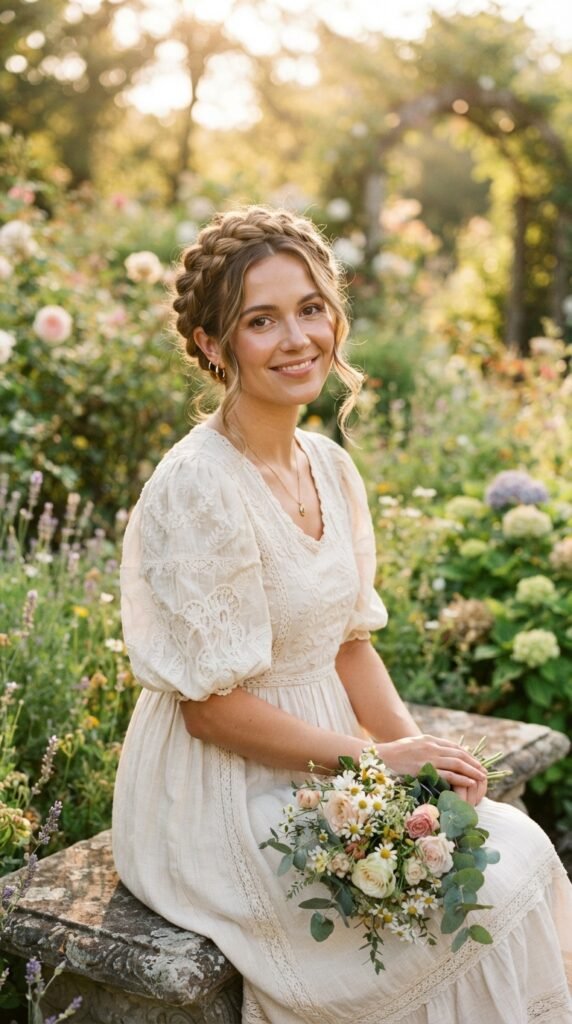
Tendrils are the secret to a braided crown that doesn’t look harsh. Pull two soft pieces out near your temples, curl them lightly, and suddenly the whole thing feels romantic instead of severe.
This is especially good if you have a round or square face shape.
- Pull two small pieces from in front of your ears
- Curl them away from your face with a wand
- Spray lightly so they hold but still move
17. Micro Braid Crown with Gems
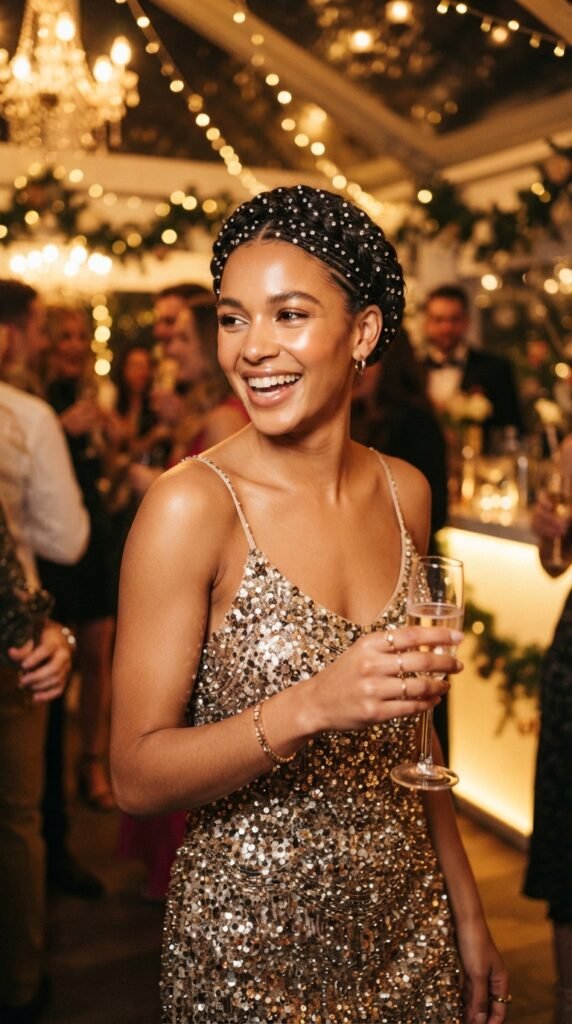
Micro braids are thin, delicate, and so pretty with tiny gems tucked in along the braid line. You can buy stick-on hair gems for a few dollars and they photograph like real jewelry.
Perfect for a holiday party that turns into photos.
- Braid small sections tight along the hairline
- Place gems every inch or two
- Seal with a light mist of hairspray
18. Twisted Rope Crown
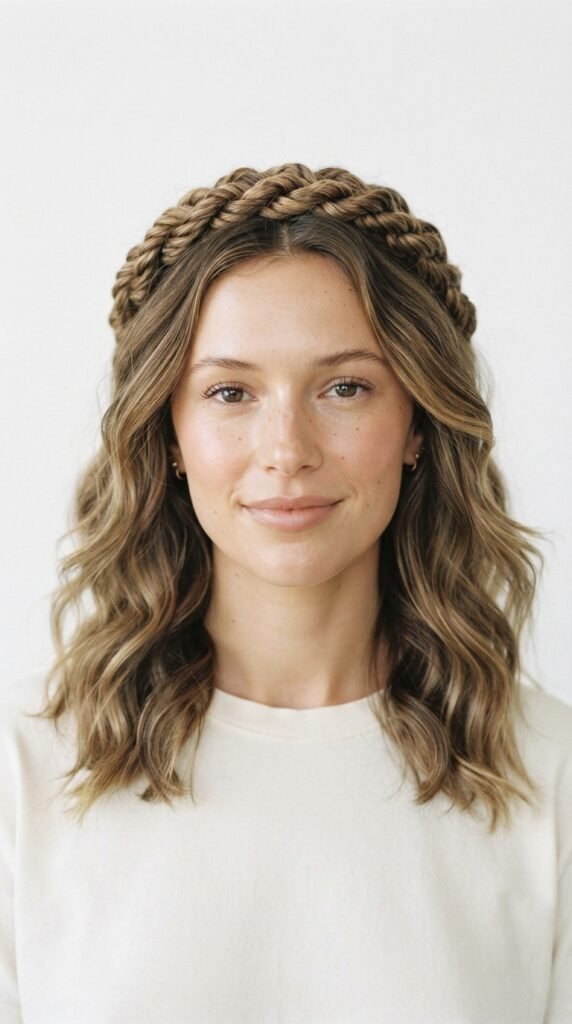
If braiding still feels hard, twist instead. A rope crown is just two sections twisted around each other and pinned around your head. It looks just as polished.
This is the one I recommend for total beginners.
- Split a section into two strands
- Twist them around each other in one direction
- Wrap around your head and pin every few inches
19. Pearl-Studded Dutch Fishtail Halo
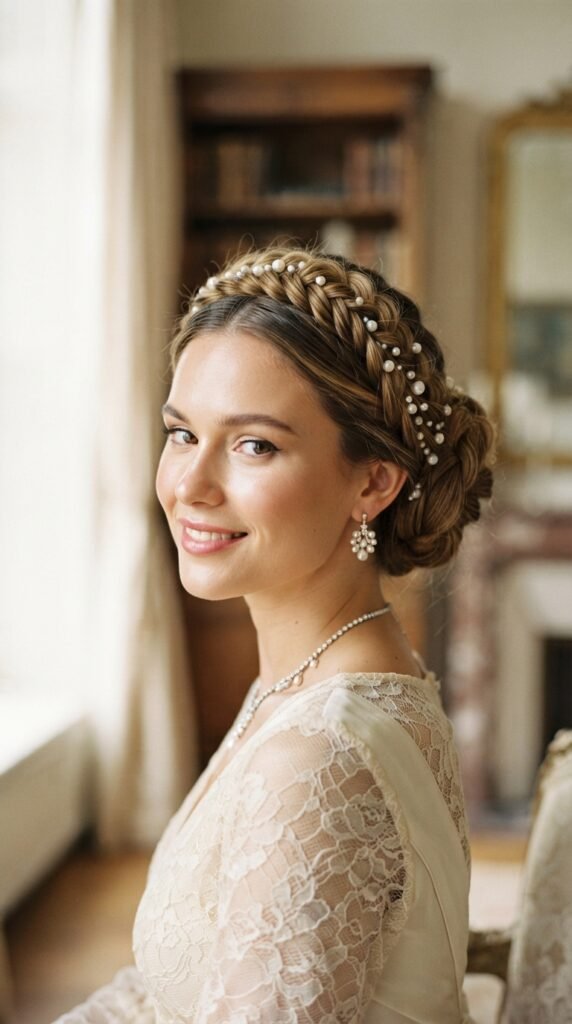
Pearls plus a fishtail crown equals instant heirloom. Pin small pearl clusters along the braid line and your hair starts to look like jewelry.
It’s a beautiful choice for a formal family photo on a staircase.
- Braid a Dutch fishtail around your head
- Pin pearl clusters every few inches
- Keep the rest of your hair smooth and shiny
20. Braided Crown Bun
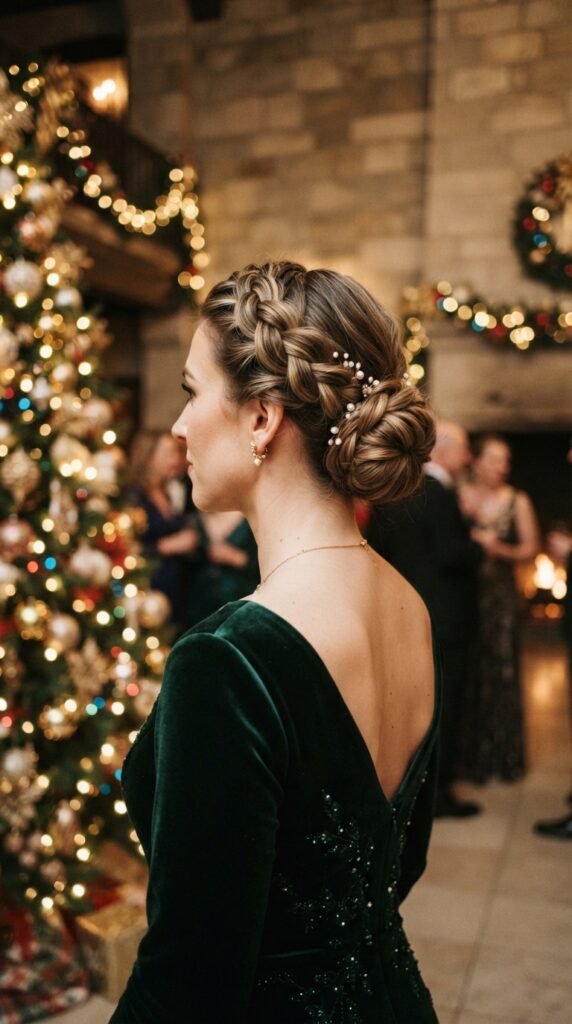
Crown on top, bun in back. This combo looks like you spent an hour on it and takes about fifteen minutes. It also keeps every strand off your face, which matters when kids are involved.
Great for long, thick hair that tends to escape.
- Braid both sides toward the nape
- Gather the tails into a low bun
- Pin the bun flat and wrap the ends underneath
21. Velvet Bow Braided Crown
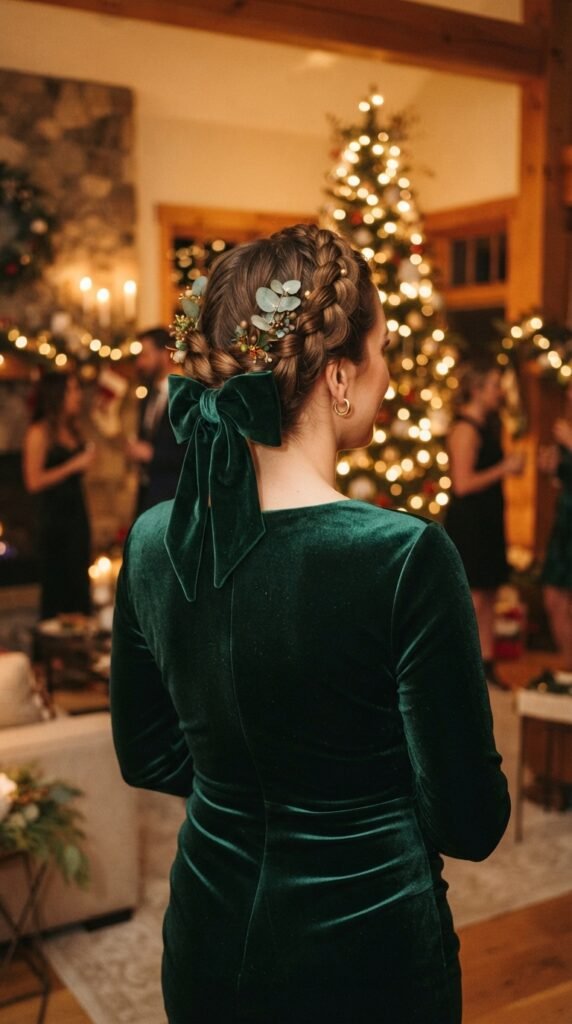
A velvet bow at the back of a braided crown is the easiest festive upgrade there is. It hides your pins, adds color, and looks like you planned it for weeks.
Pick a bow that matches your outfit so it all feels intentional.
- Finish your crown braid at the back of your head
- Clip or pin a velvet bow right over the ends
- Pull the bow loops wide so they show in photos
22. Low Braided Crown
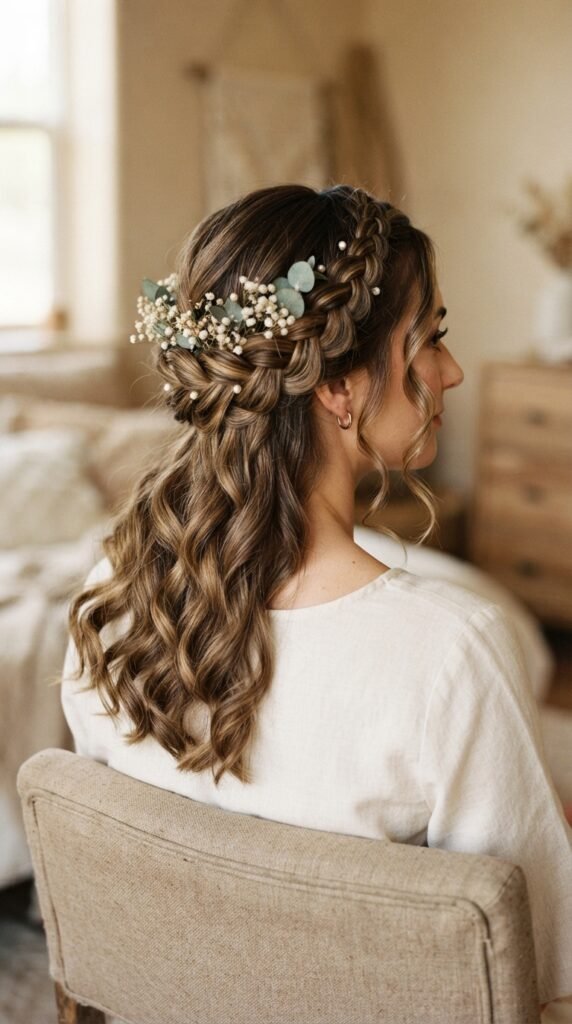
A low crown sits behind your head instead of on top. It’s subtle, elegant, and amazing if you don’t like the feeling of hair on your forehead.
It also works on shorter lengths that can’t reach all the way around.
- Start braiding at one temple and angle downward
- Wrap across the back of your head only
- Leave the front soft and loose
23. Baby’s Breath Ribbon Crown
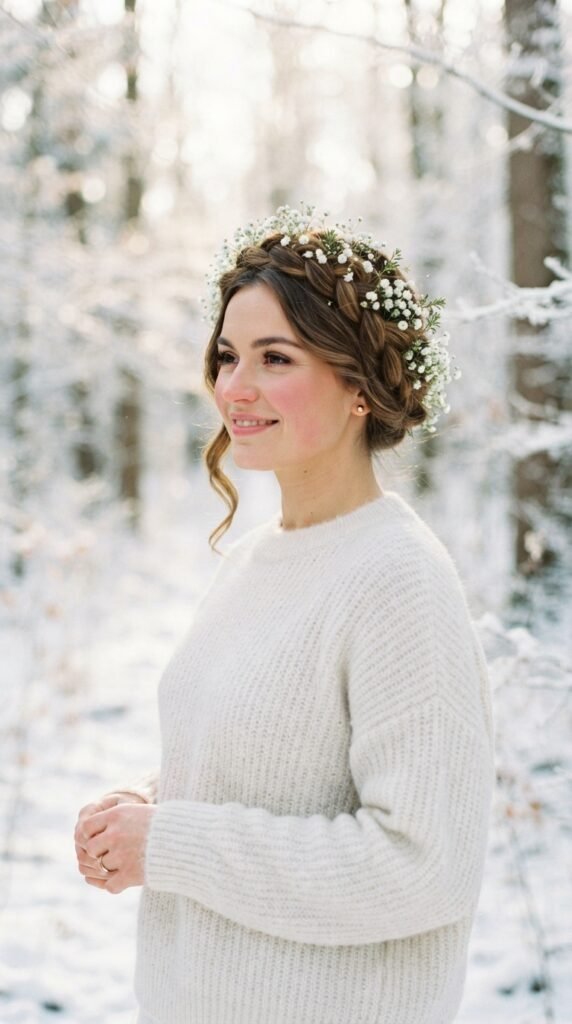
Weaving real or faux baby’s breath into a braided crown makes it feel alive. It’s soft, romantic, and slightly vintage in the best way.
Faux stems hold up better than real ones, especially if your photos run long.
- Tuck small sprigs in every few inches
- Keep them near the top, not the sides
- Secure each sprig with a tiny pin
What You’ll Need Before You Start
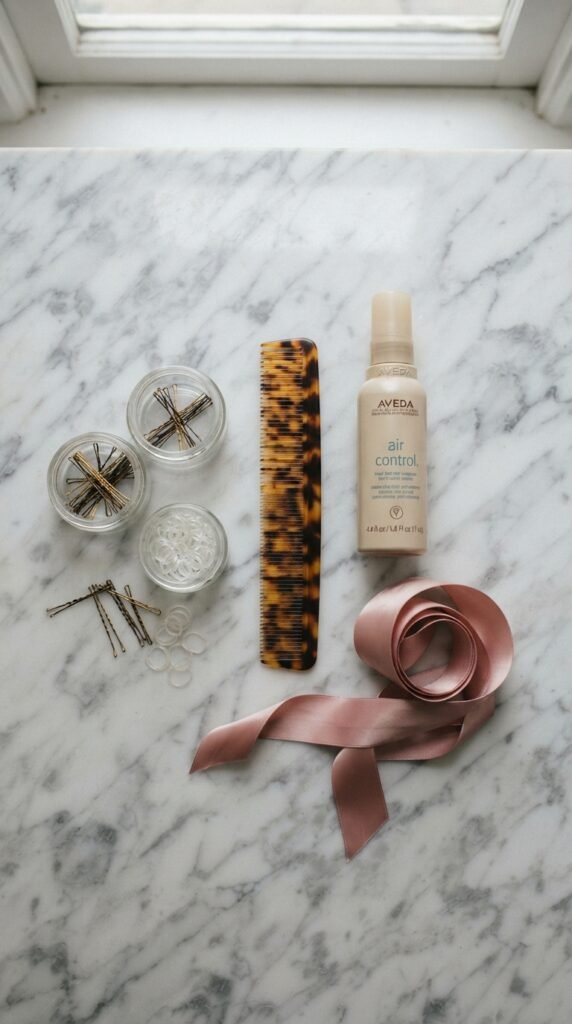
You don’t need much, but having it within arm’s reach saves you from wandering around with one arm stuck above your head.
- Bobby pins that match your hair color
- Clear elastics and one fine-tooth comb
- Light hairspray and a texture spray
- A mirror you can turn your back to
Second-day hair grips better than fresh clean hair, so skip washing the morning of your photos if you can.
How to Make Your Braided Crown Last All Night
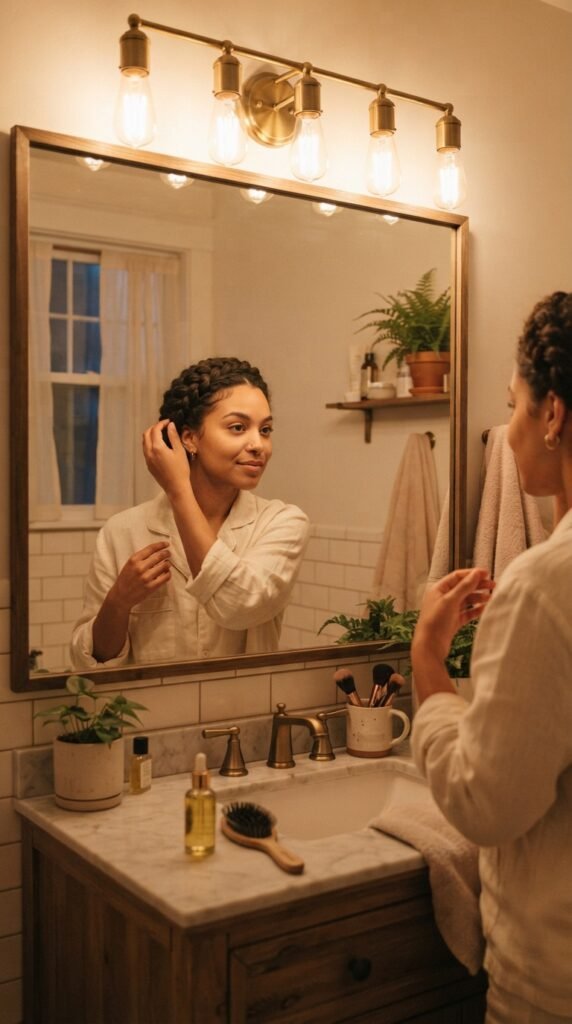
Braided crowns are sturdy, but holiday photos last longer than you think — especially with dinner in between.
- Pin every few inches, not just at the ends
- Crimp your bobby pins open slightly before sliding them in
- Spray the crown, not your whole head
- Carry two spare pins in your purse
If a section slips, twist it back and pin it. Nobody will notice. Everyone will be looking at your smile anyway.
One Last Thing Before You Grab the Camera
Here’s the honest truth: your family is not going to remember whether your braid bumps were perfectly even. They’re going to remember that you were in the photo.
So pick one of these 23 braided crown styles, give yourself a little grace in the mirror, and let the messy parts be part of it. Soft, imperfect braids always photograph warmer than stiff ones.
If you try one, tell me which style you picked in the comments. I read every single one, and I genuinely love hearing what worked for your hair.
Save this post to Pinterest so you can find it again on photo day — and share it with the friend who always asks you to do her hair.