
24 Easy Braided Hairstyles For Fine Hair That Add Fuller Looking Texture
If your hair is fine, you already know the struggle. You spend twenty minutes on a braid, step back, and it looks… flat. I’ve been there. My own hair is baby-fine and slippery, and for years I honestly thought braids just weren’t for me.
They are. You just need the right tricks. Pancaking, a little grit spray, and braid styles that are built to fake volume instead of fighting your hair type.
So I rounded up 24 easy braided hairstyles for fine hair that actually look full. Most take under ten minutes, and a few are styles you can literally sleep in and wear the next day.
Whether your vibe this year is old money hair, romantic goth, or glitchy glam, there’s a braid here for you. Let’s get into it.
1. Pancaked Dutch Braids
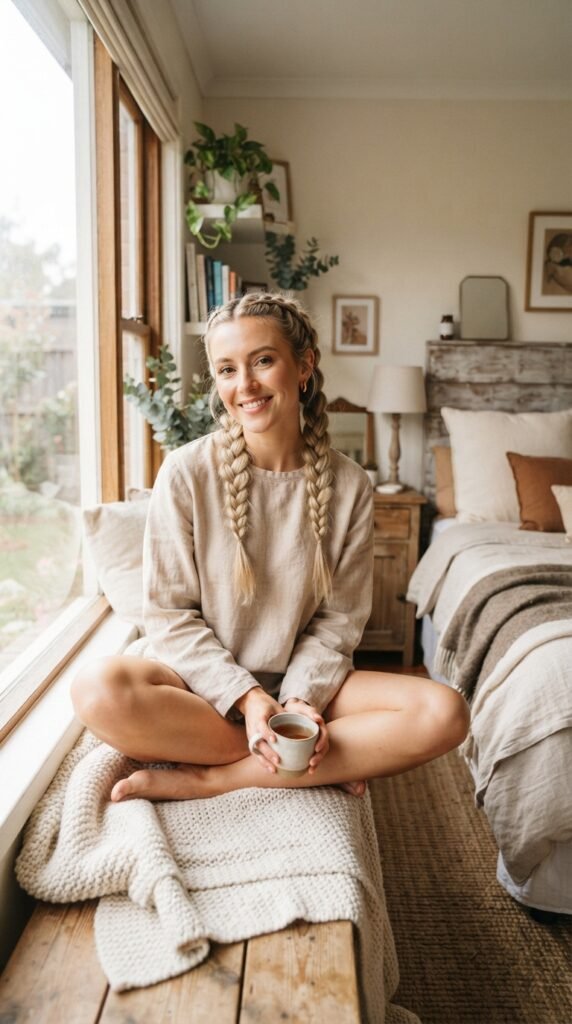
Dutch braids sit on top of the hair instead of sinking in, which is exactly why they read thicker than French braids on fine hair. And pancaking is the magic step.
- Spray your roots with a light texture spray.
- Braid two Dutch braids, firm tension but not tight.
- Starting at the bottom, gently pull each stitch outward with two fingers.
- Stop when it looks full, not fuzzy.
- Mist with flexible hold hairspray.
Quick tip: if your scalp is sensitive, pancake only the bottom half and leave the top smooth.
2. Pull-Through Braid Ponytail
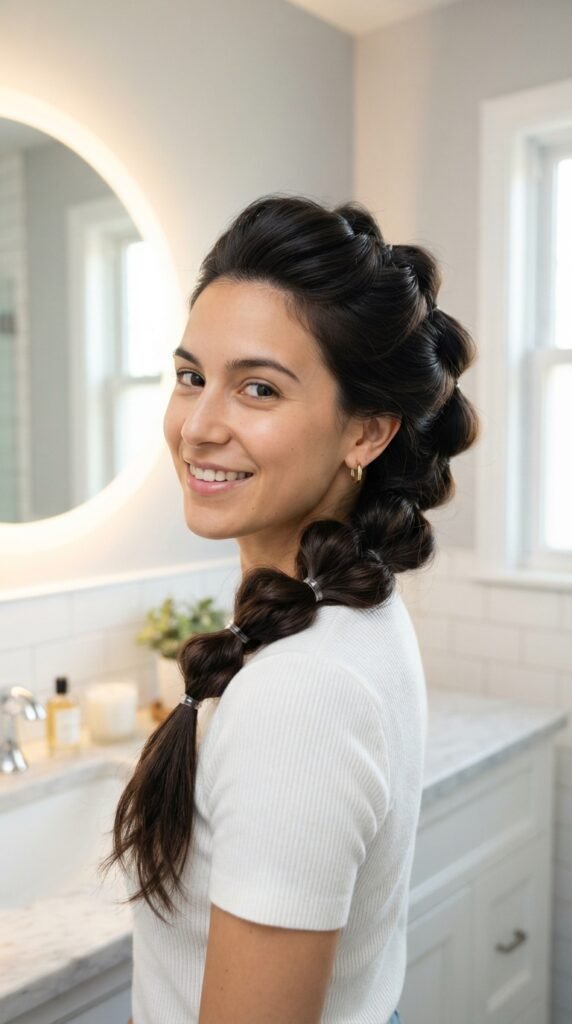
This is the cheat code. A pull-through braid isn’t a real braid at all. It’s elastics and flipped sections, so it looks thick instantly and takes about five minutes.
- Tease the crown lightly with a comb.
- Pull all your hair into a high ponytail and secure it.
- Add a second elastic an inch below, split the hair above it, and flip the tail through.
- Repeat all the way down.
- Gently pancake each bubble.
Works best on second-day hair with a little natural grit to it.
3. Bubble Braid Ponytail
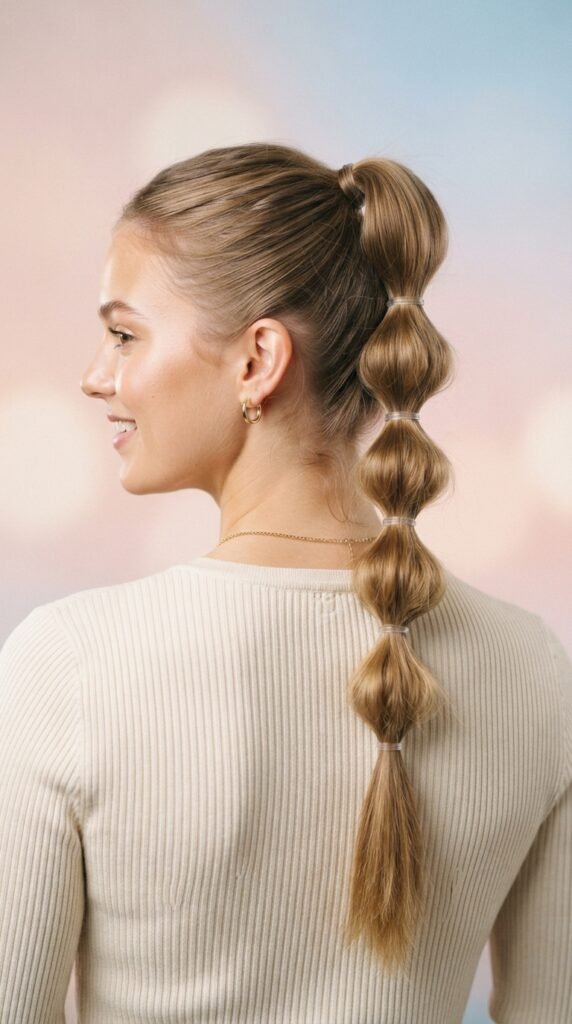
Same family, different energy. Bubble braids use elastics every two inches with a soft tug in between each one. Slippery fine hair loves them because the elastics do all the holding.
- Clear elastics for a nearly invisible look
- Matching ties if you have dark hair
- Wrap one small strand around the base elastic to hide it
- Finish with a drop of light oil on the ends only
Don’t over-pancake these. Bubbles can tip from “full” to “messy” fast on thin hair.
4. Halo Braid (Crown Braid)
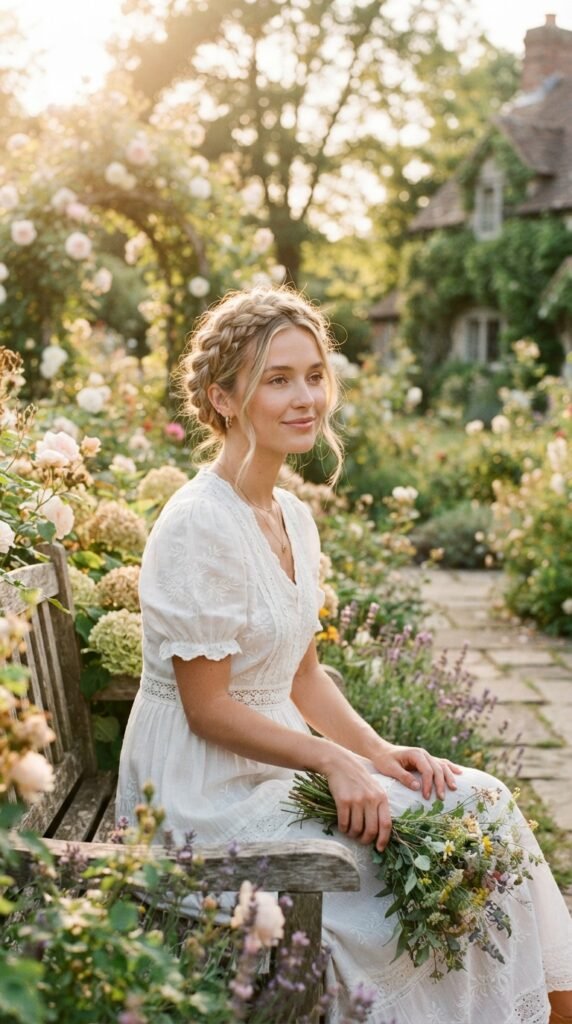
A halo braid wraps around your head like a crown. It lifts your features and hides thin spots at the crown at the same time. Soft, romantic, and very on-trend right now.
- Part your hair down the middle.
- Dutch braid one side, working up and around your head.
- Repeat on the other side and pin the ends.
- Pancake gently.
This one pairs beautifully with romantic goth hairstyles. Add a velvet ribbon or a dark floral pin and you’re done.
5. Milkmaid Braids
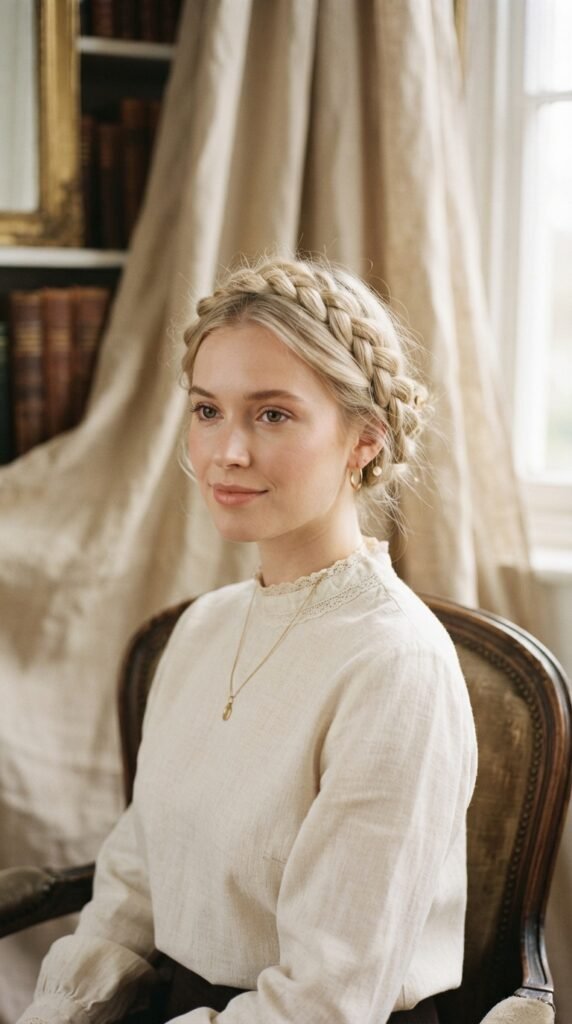
Milkmaid braids are two braids pinned across the top of your head. Pure old money hair energy. Soft, expensive-looking, and genuinely forgiving on fine hair.
- Braid two low, loose braids.
- Cross them over the top of your head.
- Pin with bobby pins and tuck the ends under.
- Pull out a few face-framing pieces.
Because they sit wide across your head, they add instant width at the sides. Fine hair instantly reads fuller.
6. Fishtail Side Braid
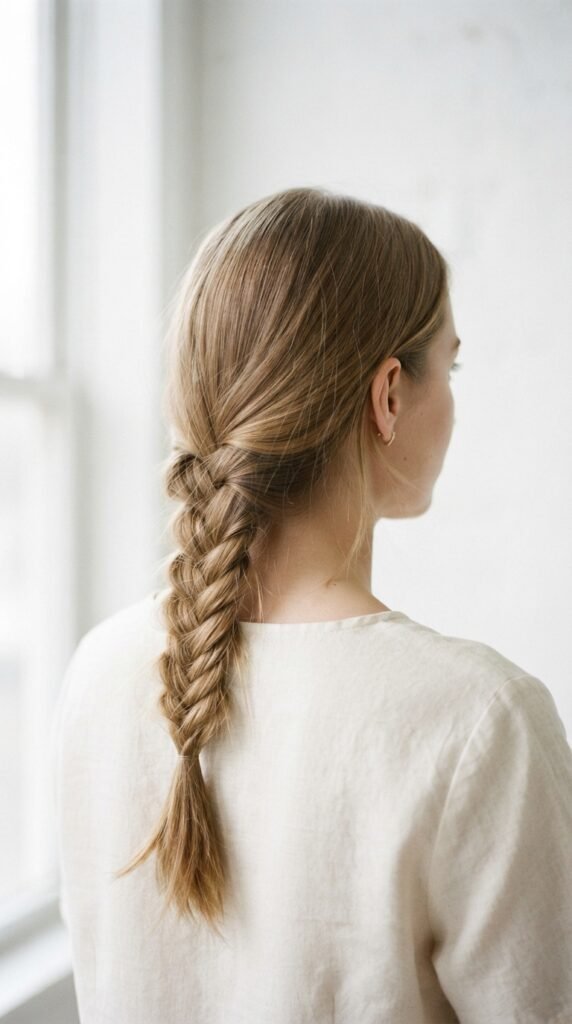
Fishtail braids look intricate, but delicate hair actually wears them really well because the pattern is thin and pretty. The secret is pancaking after you finish.
- Pull all your hair over one shoulder.
- Split it into two sections.
- Take a thin strand from the outside of one section and cross it to the other. Repeat.
- Secure with a clear elastic.
- Gently stretch the cross pieces outward.
Use a texturizing spray before you start so slippery strands behave.
7. French Braid Half-Up

A French braid half-up gives you volume at the crown while leaving your length loose. Ideal if your ends are the thinnest part of your hair.
- Take a section from your front hairline and start a French braid.
- Add hair from both sides as you move back.
- Stop just past your crown.
- Braid the rest normally and pin or tie it off.
- Pancake the top braid only.
Curl the loose ends away from your face. It makes the whole style look fuller.
8. Waterfall Braid
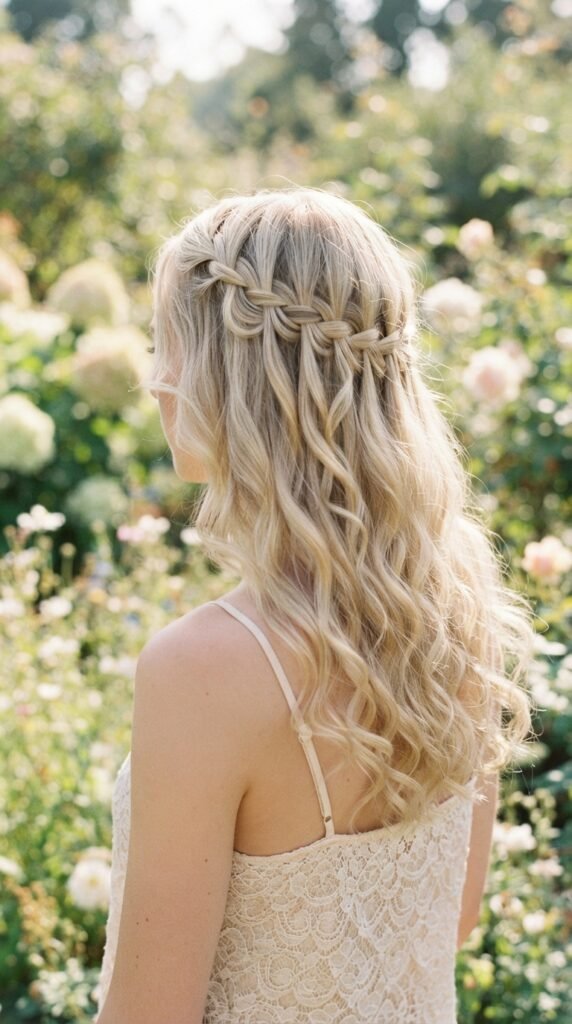
A waterfall braid drops a strand each time you cross. The result is a soft cascade that looks effortless and hides thin areas without pulling anything tight.
- Start a French braid at your part.
- Cross over, drop the bottom strand, and pick up a new one.
- Repeat across the back of your head.
- Pin the end underneath.
This is one of the best braids for fine hair because it adds interest instead of tension. No tight scalp, no flat roots.
9. Ladder Braid
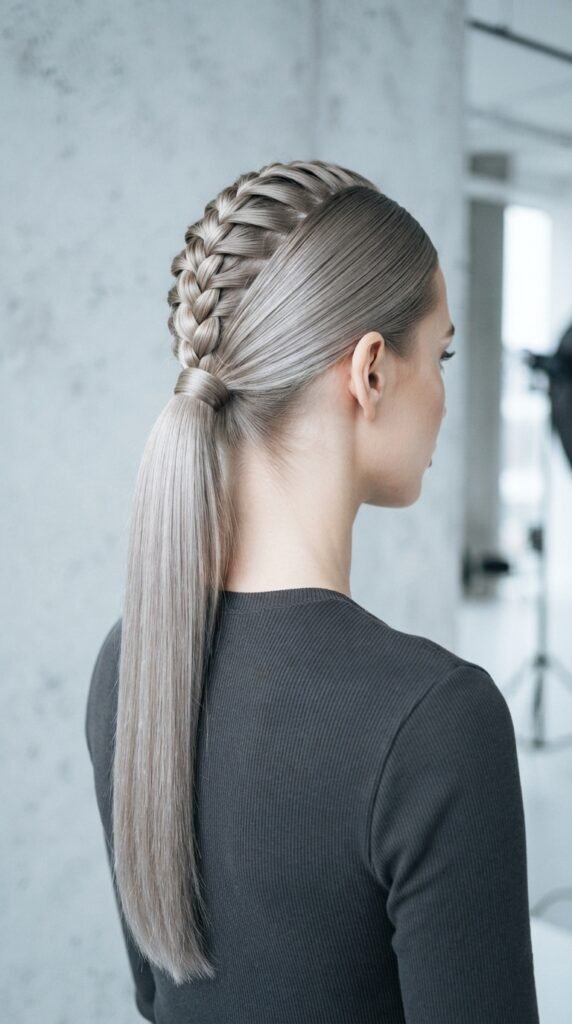
A ladder braid uses small horizontal strands to build “rungs” down your ponytail. It reads much thicker than a plain ponytail and looks way harder than it is.
- Pull hair into a mid-height ponytail.
- Take a small horizontal section from the underside, left side.
- Pin it across the ponytail to the right.
- Repeat, alternating sides, all the way down.
Keep the rungs small if your hair is fine. Big sections look stringy instead of full.
10. Rope Braid Ponytail
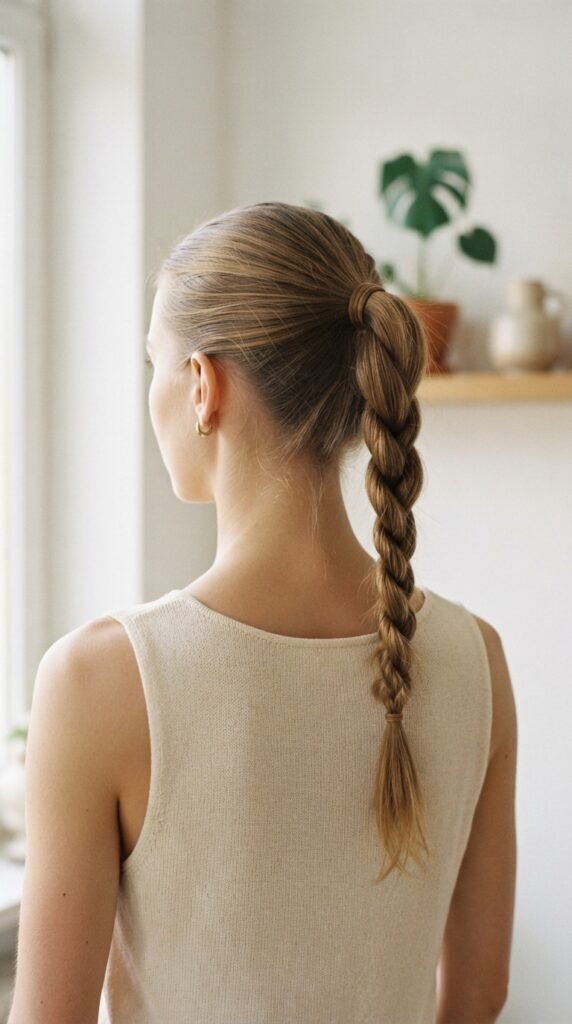
A rope braid is just two strands twisted around each other. Fast, polished, and it holds beautifully on fine hair because twisting creates natural grip.
- Make a ponytail.
- Split it into two sections.
- Twist each section tightly in the same direction.
- Wrap them around each other in the opposite direction.
- Secure and pancake slightly.
Spray your hands with texture spray first. It gives you way more control.
11. Mermaid Braid

A mermaid braid is a loose French braid with big, pulled sections. It’s intentionally soft, which means fine hair gets to look airy instead of thin.
- Take small sections and braid loosely.
- Pull wide sections apart as you go.
- Leave a few strands out near your face.
- Finish with soft waves on the ends.
Add a satin ribbon woven through for a quiet luxury look. It photographs beautifully.
12. Braided Low Chignon
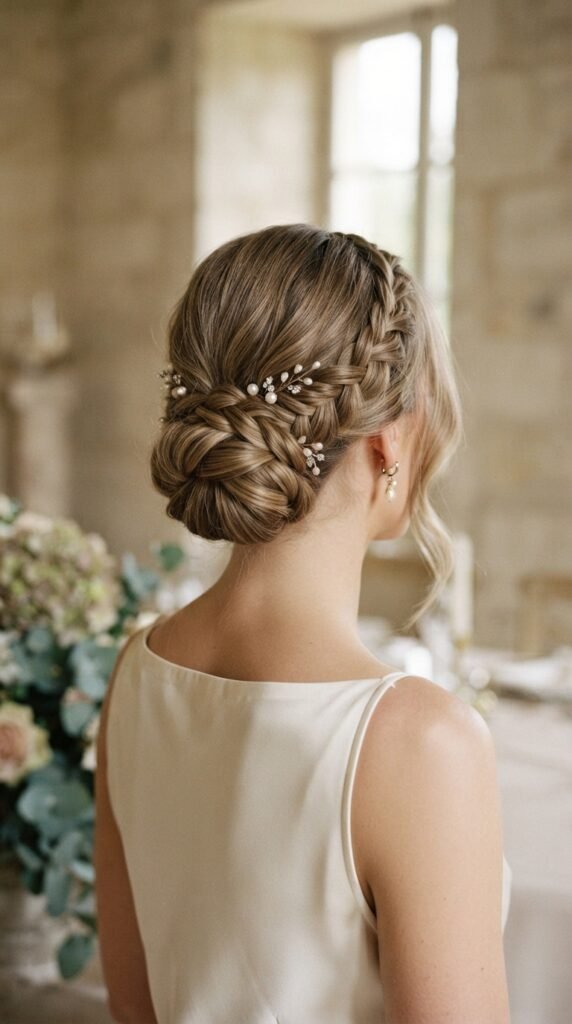
A low bun with a braid wrapped around the base. Classy, hides thin ends, and takes five minutes flat.
- Make a ponytail at the nape of your neck.
- Braid the tail and secure with a clear elastic.
- Wrap the braid around the base of the ponytail.
- Pin it in place.
- Pull a few strands loose around your face.
This works just as well with an asymmetrical lob length as it does with long hair. Just wrap tighter if your hair is short.
13. Braided Bun with Claw Clip
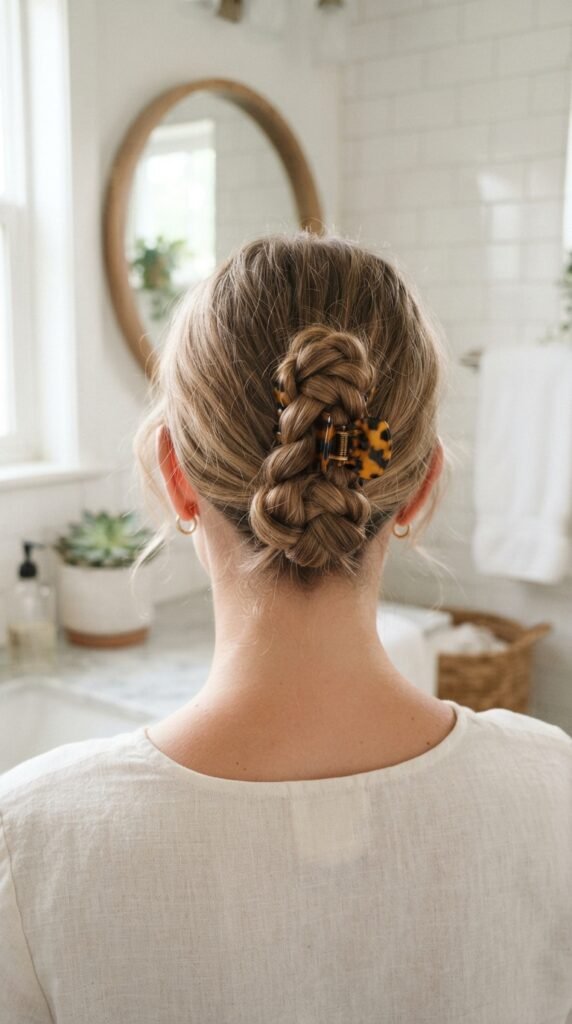
Claw clips are back, and they’re perfect for fine hair because they grip without pinching. Add a braid first and your bun looks twice as full.
- Braid a loose ponytail.
- Twist it into a bun.
- Clip over the base.
- Fluff the braid edges with your fingers.
Choose a clip that isn’t much wider than the bun, or it’ll slide all day.
14. Dutch Braid Headband
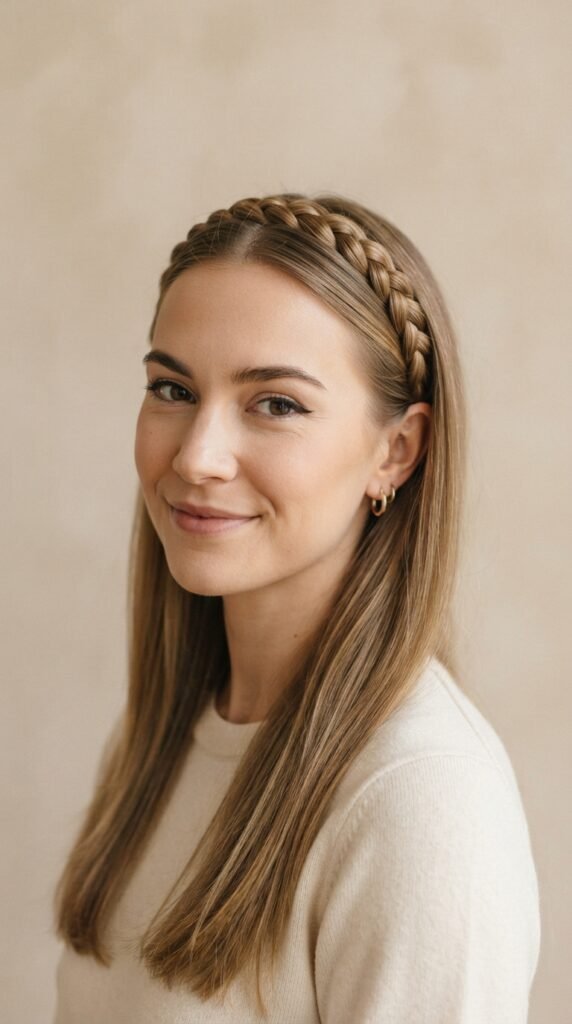
A braid worn like a headband across your front hairline. It instantly frames your face and adds volume exactly where fine hair needs it most.
- Part your hair on the side.
- Take a section behind your ear and Dutch braid across your hairline to the other ear.
- Pin behind the ear.
- Pancake gently.
This one is great for a glitchy glam hair look. Add a shiny clip or a metallic pin and it feels editorial.
15. Side Braid with Crown Volume
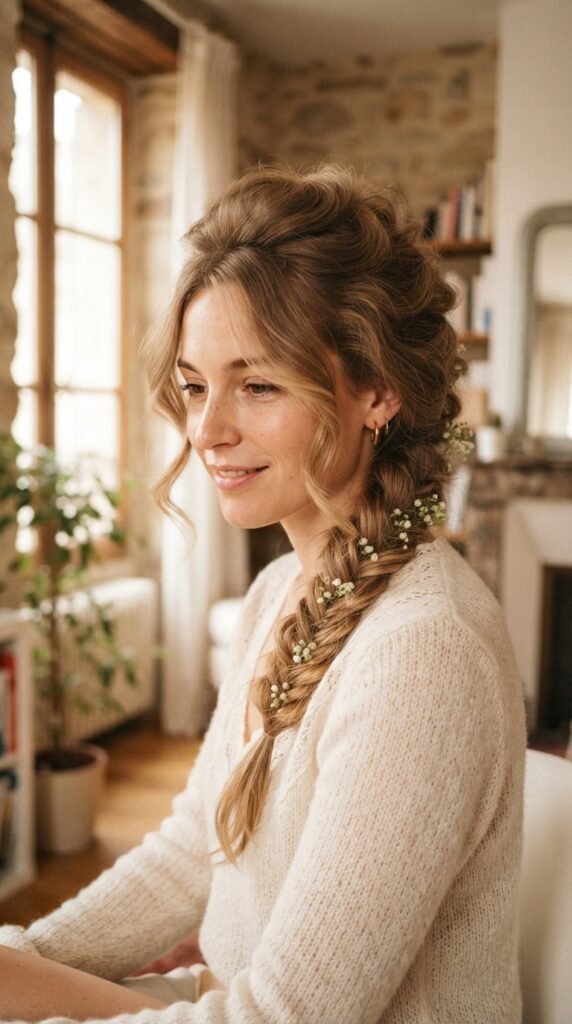
Tease the crown before you braid and you get height at the top plus a soft braid down the side. Two problems solved at once.
- Backcomb your crown lightly.
- Smooth the top layer over it.
- Braid over one shoulder.
- Pancake the braid.
Don’t over-tease. Fine hair tangles fast and backcombing is hard to undo without damage.
16. Braided Space Buns
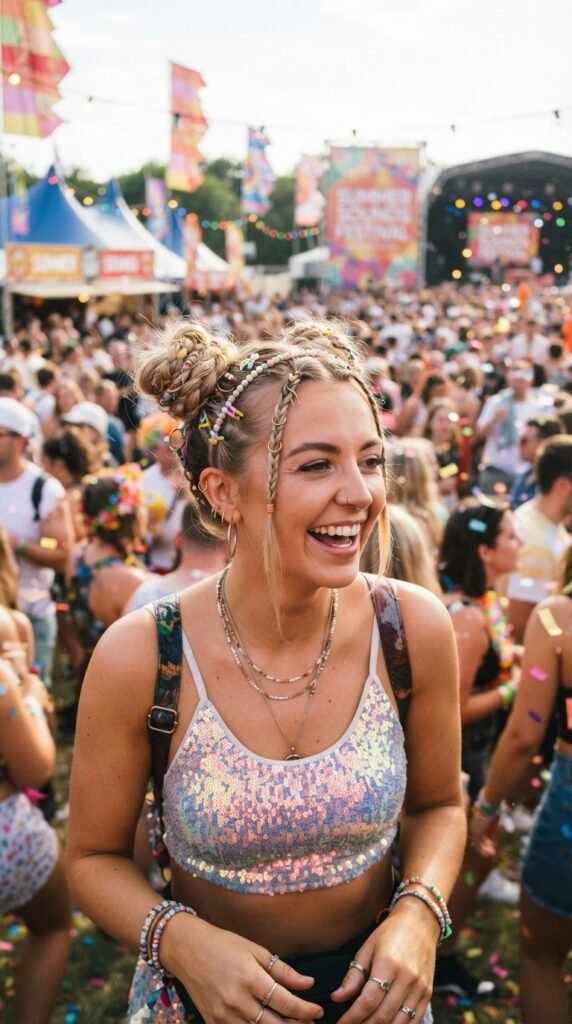
Two braided buns on top of your head. Fun, textured, and a great way to hide thin ends completely.
- Part your hair down the middle.
- Braid each side into a small high ponytail.
- Coil each braid into a bun.
- Pin and pull loose pieces for softness.
These work surprisingly well on short hair, especially with a vampire haircut where you have longer layers in front to braid.
17. Low Braided Pigtails
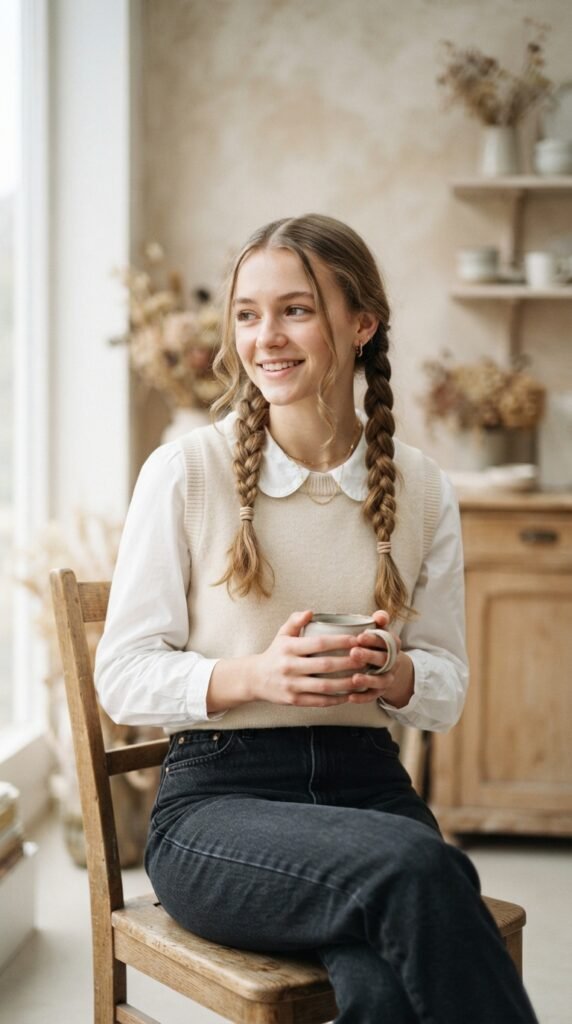
Low pigtails are trending again, and braiding them makes each side look thicker. Very 2026 hairstyles energy, very low effort.
- Part hair into two sections.
- Braid each one low and loose.
- Pancake both braids.
- Pull out face-framing pieces.
Add tiny ribbon bows for a romantic detail. It takes the style from casual to intentional in ten seconds.
18. Snake Braid
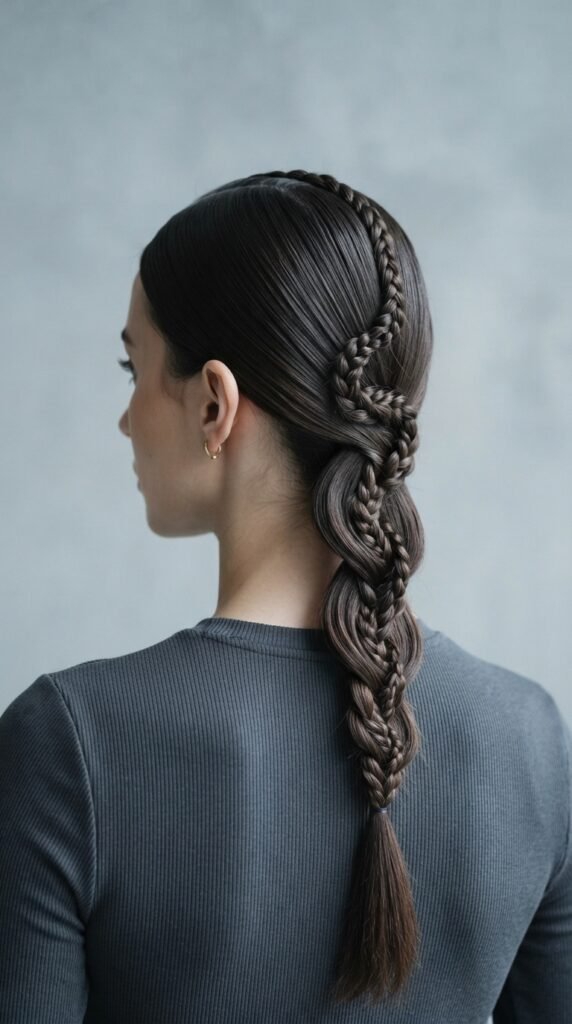
A snake braid looks fancy but it’s basically two steps. It’s a flat braid with one strand pulled through, creating a zigzag effect down the length.
- Make a ponytail.
- Divide it into three sections.
- Braid a few stitches.
- Pull the middle strand up toward the base, pushing the braid up with it.
- Repeat down and secure.
Looks incredible with a sleek finish and a middle part.
19. Four-Strand Braid
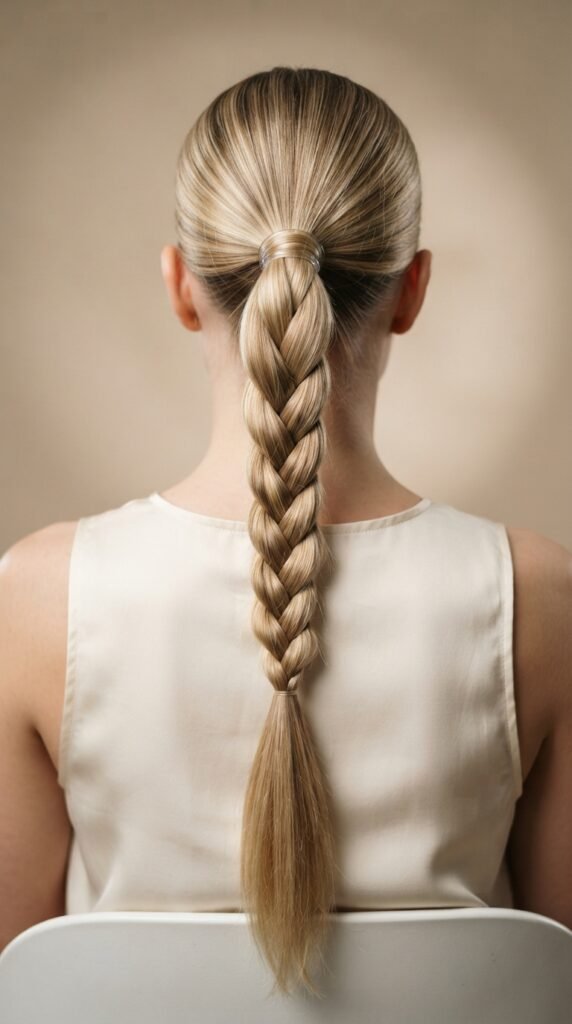
Sounds intimidating, but it’s just an over-under pattern. Because it’s woven from four strands instead of three, it looks noticeably wider than a regular braid.
- Ponytail, split into four even sections.
- Take the far right strand over one, then under two.
- Repeat with the far left strand.
- Keep tension even and work down.
- Secure at the end.
Practice on slightly damp hair. It grips better and the pattern is easier to see.
20. Braid with Ribbon
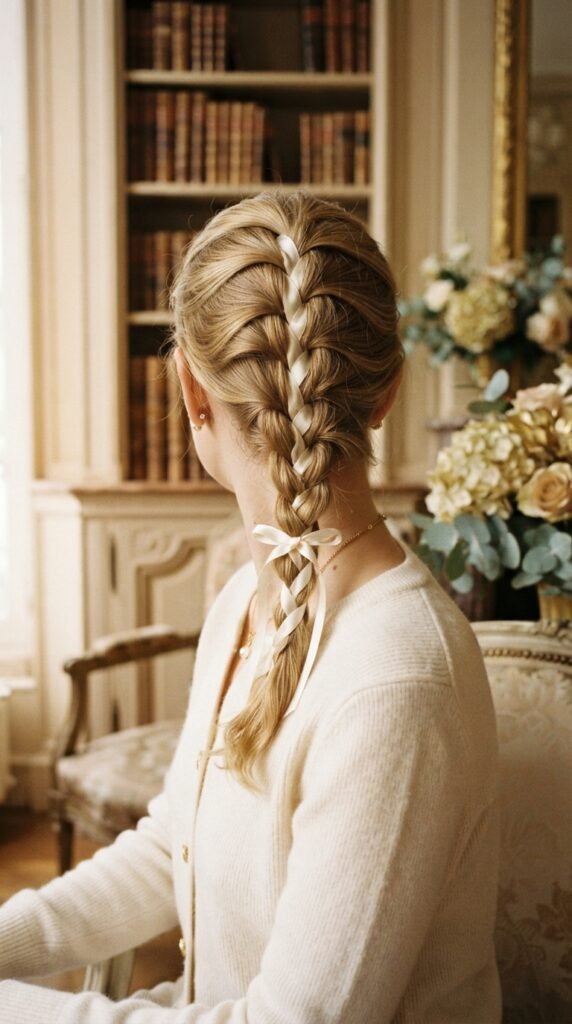
Weaving a silk ribbon through your braid adds instant thickness and that old money hair look everyone is chasing. It’s the easiest upgrade in this whole list.
- Tie the ribbon at the base of your braid.
- Braid normally, treating the ribbon as one strand.
- Secure at the end.
- Trim the excess.
Pick a ribbon close to your hair color for subtle fullness, or a contrast shade if you want it to be the moment.
21. Accent Micro Braid with Asymmetrical Lob
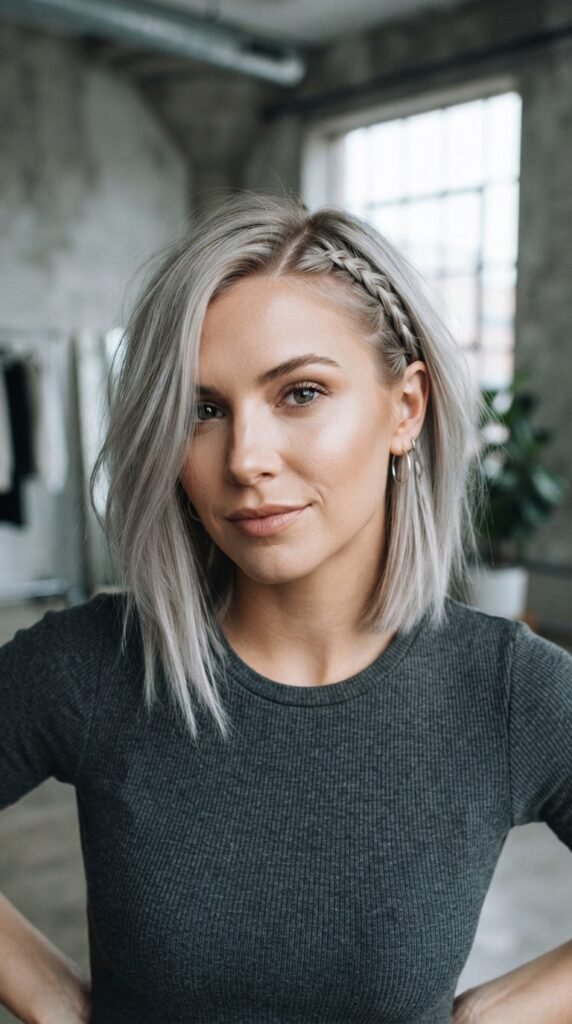
If you have an asymmetrical lob, tiny accent braids change everything. They add texture without pulling your whole style tight.
- Take a small section near your part.
- Braid it down.
- Pin it or leave it loose.
- Add a second on the opposite side for balance.
This is one of the easiest 2026 hairstyles trends to try at home. Two minutes, no skill, big payoff.
22. Braid-Out Beach Waves
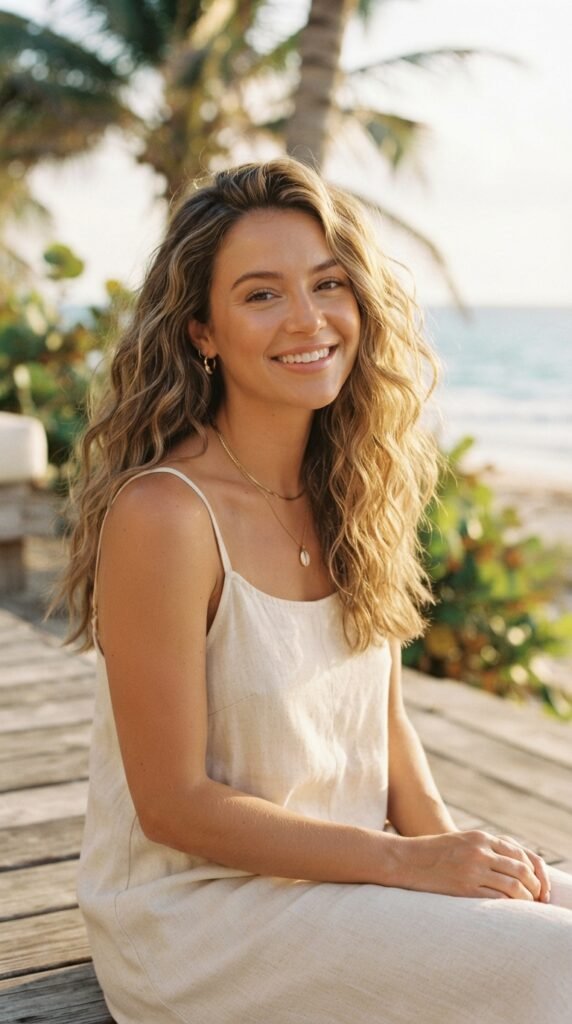
Braid damp hair before bed, sleep on it, undo in the morning. You get soft waves plus real volume, with zero heat. This is the best trick in the book for fine hair.
- Wash your hair and apply a light mousse.
- Braid it into two to four braids.
- Sleep on them.
- Unravel, shake out, and use your fingers only.
Do not brush. Brushing kills the volume you just created.
23. Sleek Braided Ponytail
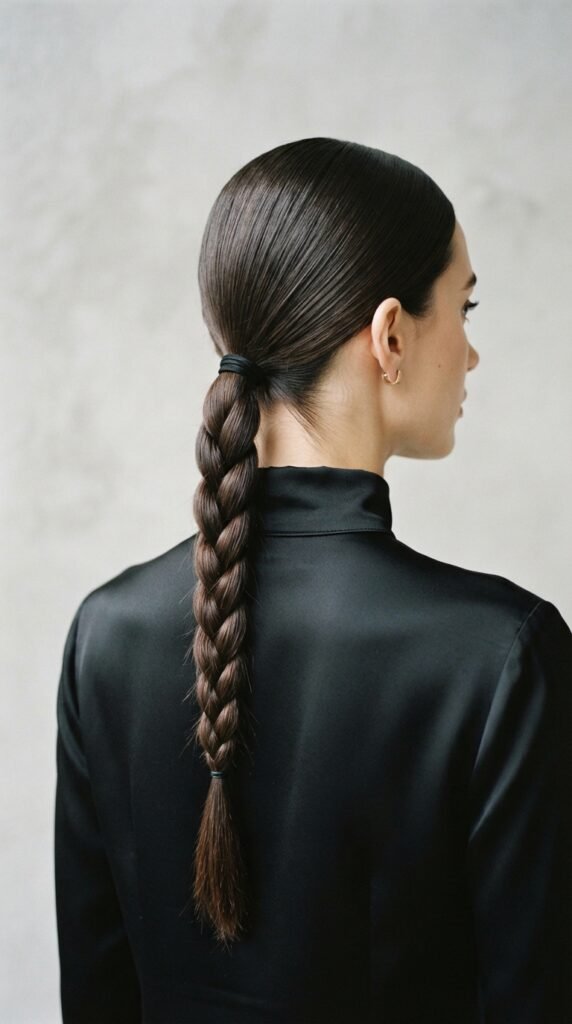
A sleek ponytail with a braided tail looks expensive and requires almost no skill. This is the quiet luxury bob alternative when you want your hair up and out of the way.
- Smooth hair back with a soft brush.
- Secure at your preferred height.
- Braid the tail.
- Pancake just slightly.
Use a tiny bit of gel on the roots only. Gel through the mid-lengths flattens fine hair fast.
24. Twist-Back with Braid Detail
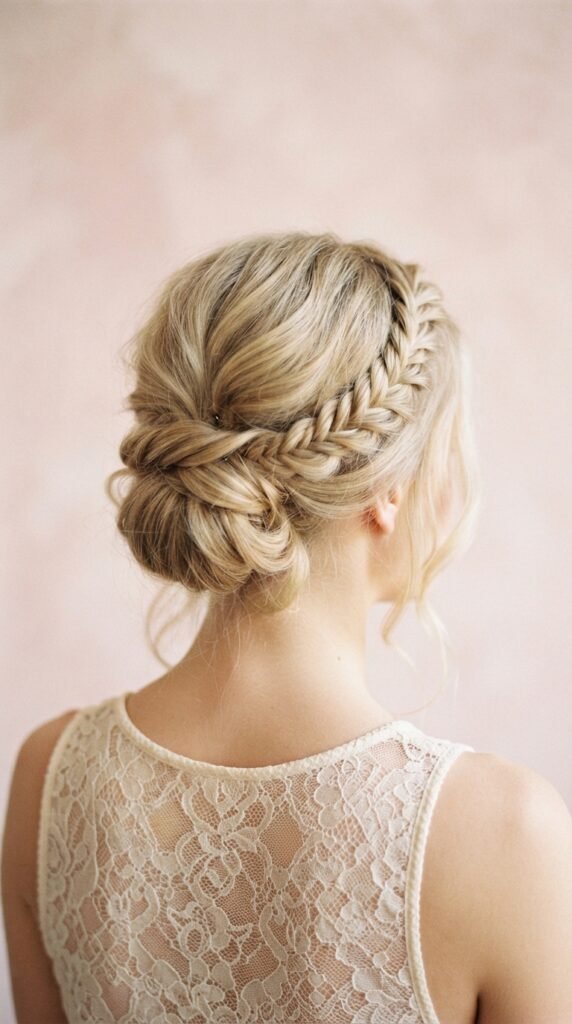
Twist your front sections back and add a small braid on one side. This looks gorgeous with a hime cut or long face-framing layers.
- Take your front sections and twist them back.
- Pin at the back of your head.
- Add a small braid on one side.
- Pull out baby hairs around the face.
It’s soft, romantic, and hides thinning at the temples beautifully.
How to Prep Fine Hair for Braids
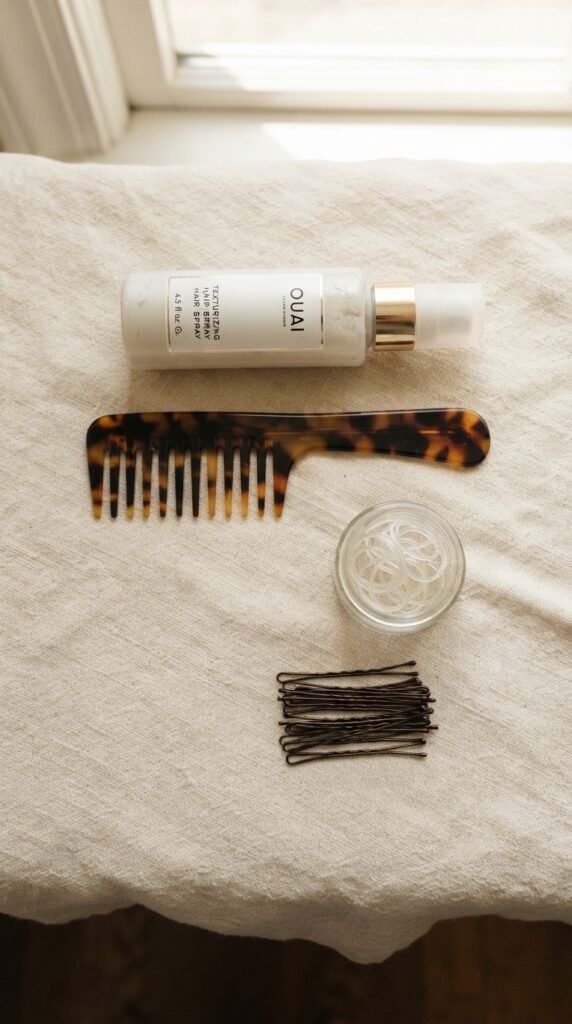
Prep matters more than the braid itself on fine hair. Skip this step and even a great braid falls flat by lunch.
- Start on second-day hair, not freshly washed
- Spray dry shampoo or texture spray at the roots
- Comb through with a wide-tooth comb, never a fine brush
- Keep a cup of clear elastics and bobby pins nearby
Two minutes of prep is the difference between a braid that lasts all day and one that disappears by noon.
Best Products for Fine Hair Braids
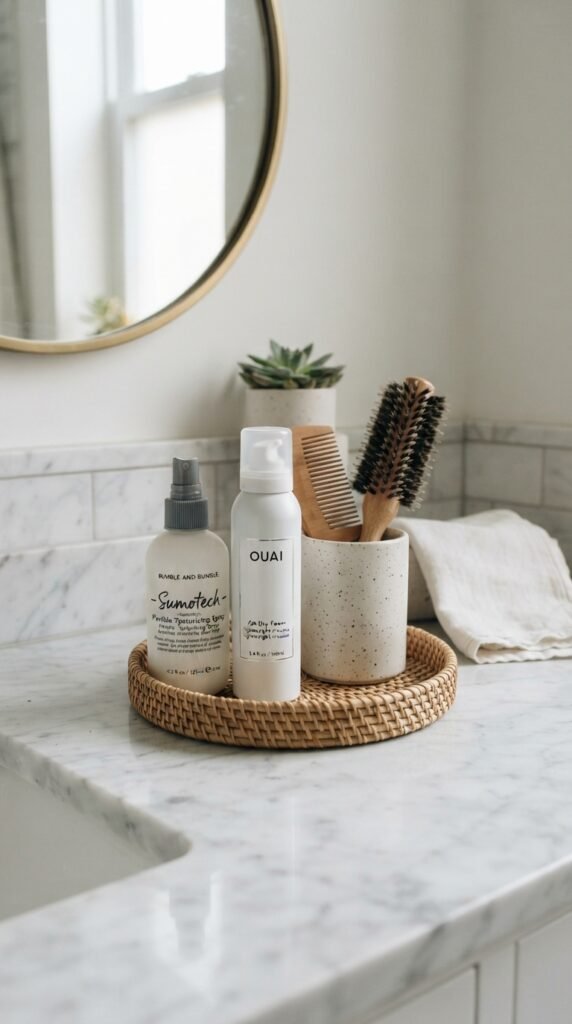
You don’t need much. Fine hair gets weighed down fast, so choose lightweight formulas and use less than you think.
- Texturizing spray for grip at the roots
- Light mousse before braid-outs
- Flexible hold hairspray to finish
- Dry shampoo for second-day volume
Avoid heavy pomades and thick creams. They flatten fine hair within an hour and make braids look greasy instead of full.
3 Mistakes That Make Braids Look Thin
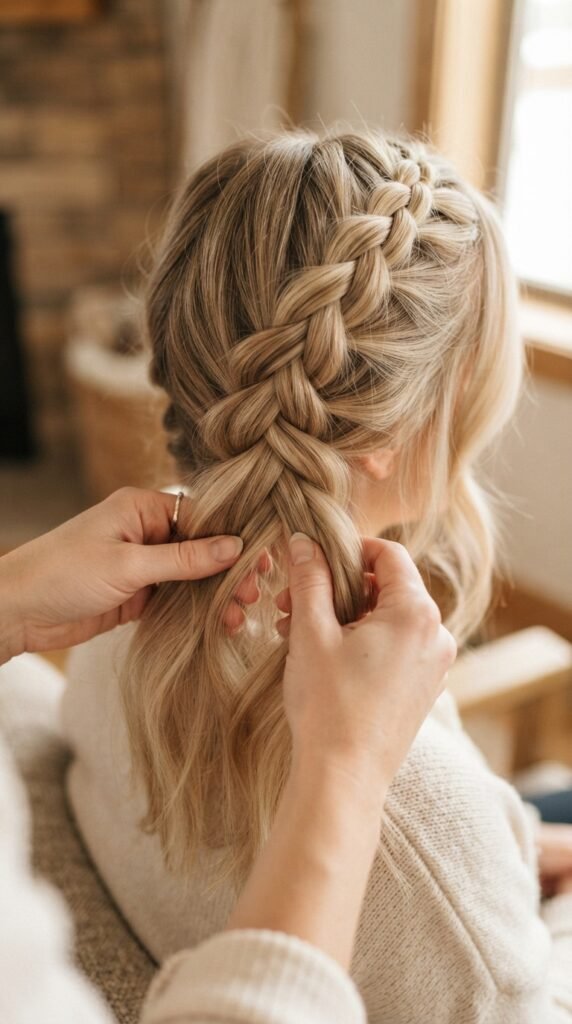
If your braids keep falling flat, one of these is usually the reason.
- Braiding on squeaky clean hair with no grip
- Pulling braids too tight, which flattens the roots
- Skipping the pancake step entirely
Fix those three and you’ll see a difference on the very first try. Loose, textured braids always look fuller than tight, perfect ones.
A Few Last Things Before You Grab That Comb
Braids and fine hair are a genuinely great match. You just have to work with your texture instead of against it. A little grit, a gentle pancake, and the right style choice do all the heavy lifting.
Pick two or three from this list and practice them this week. Once you’ve got pancaking down, every braid on here gets easier.
Save this post to Pinterest so you can find it the next time you’re standing in front of the mirror with five minutes to spare. And tell me in the comments: which one are you trying first? I read every single one.