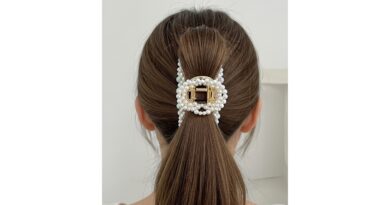
How To Create A Sleek Headband Hairstyle On Straight Hair
Some mornings you want hair that looks like you tried, without actually trying for an hour. A sleek headband hairstyle gives you exactly that. It smooths straight hair, hides the pieces that won’t behave, and pulls your whole look together in under ten minutes.
My hair is fine and pin-straight, and it slips out of everything. Headbands used to slide right off my head until I learned a few small tricks. Now this is my go-to for work meetings, date nights, and every single day my hair refuses to cooperate.
Below I’m sharing the exact steps, the products that actually hold, and a few fun variations so you can match whatever mood you’re in this year. Let’s get into it.
Why This Style Works So Well On Straight Hair

Straight hair is honestly the perfect canvas for a headband. There’s no curl pattern fighting you, no shrinkage to work around. You just smooth, place, and go.
It also solves the number one complaint I hear from straight-haired friends: flatness. A headband lifts hair away from your face, so you get shape and volume at the crown without a single hot tool.
And it’s flexible. The same basic technique works for a quiet luxury bob, an asymmetrical lob, or long waist-length hair. Once you know the steps, you can change the whole vibe with one accessory swap.
What You Need Before You Start
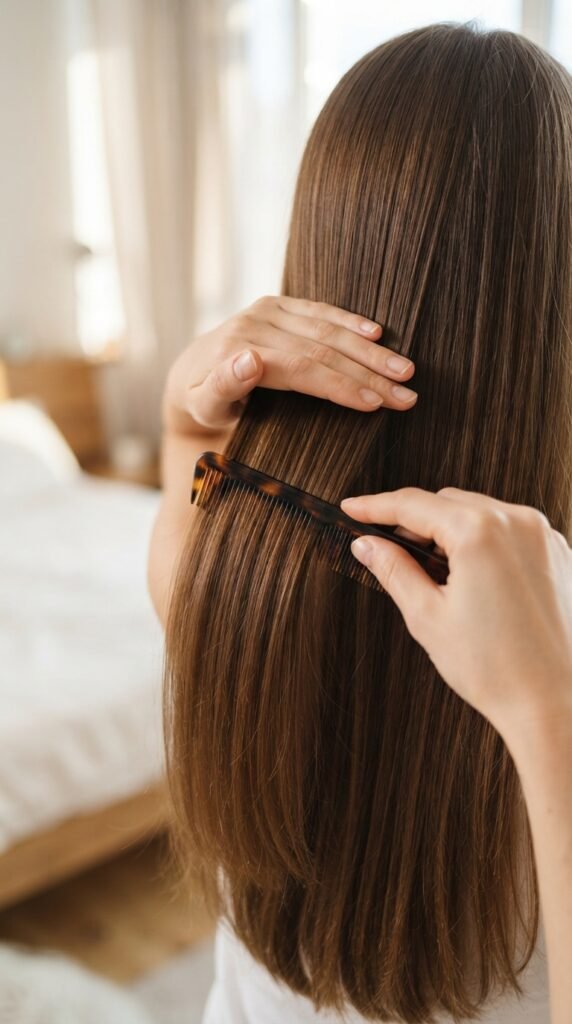
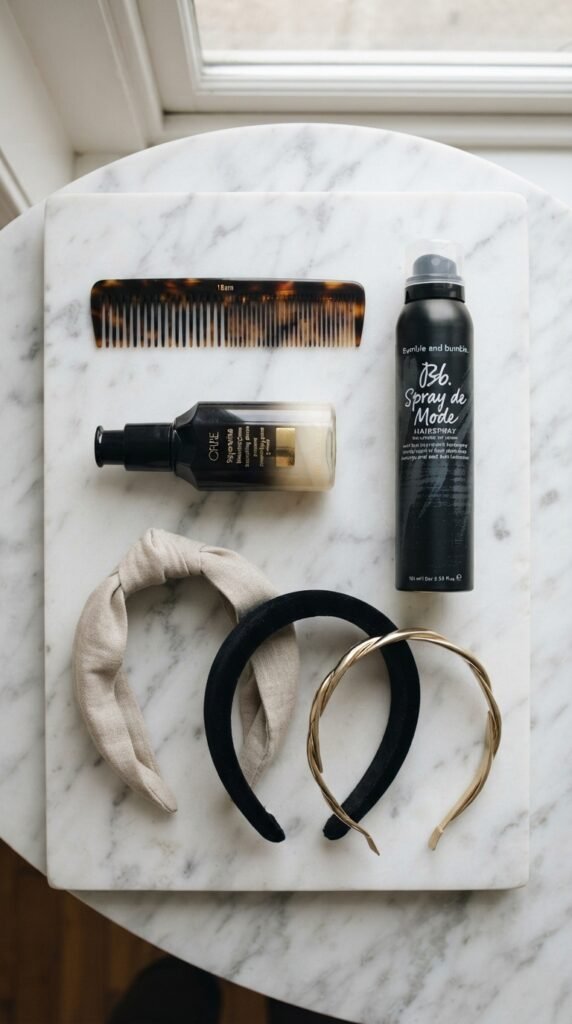
Gather everything first so you’re not running to the bathroom mid-style. Here’s my short list:
- A fine-tooth comb or a soft brush
- A light smoothing serum or cream
- Strong-hold hairspray
- A few clear elastics or bobby pins
- Your headband of choice
That’s it. You don’t need a drawer full of tools. Fancy gadgets are fun, but the products above do 90 percent of the work for a sleek finish on straight hair.
If your hair is very slippery, grab a texture spray too. It’s the secret weapon nobody talks about enough.
Step 1: Start With Dry, Detangled Hair
Freshly washed hair is actually harder to style because it’s too soft and slippery. Day-old hair holds shape way better.
So if you can, style on second-day hair. If it’s wash day, add a little dry shampoo at the roots and let it sit for a minute before brushing it through.
Comb everything out first. Any tangles left in will show up as bumps once the headband is in place, and those bumps are nearly impossible to fix without starting over.
Smooth, knot-free hair is the foundation of everything that follows.
Step 2: Prep With a Light Hold Product
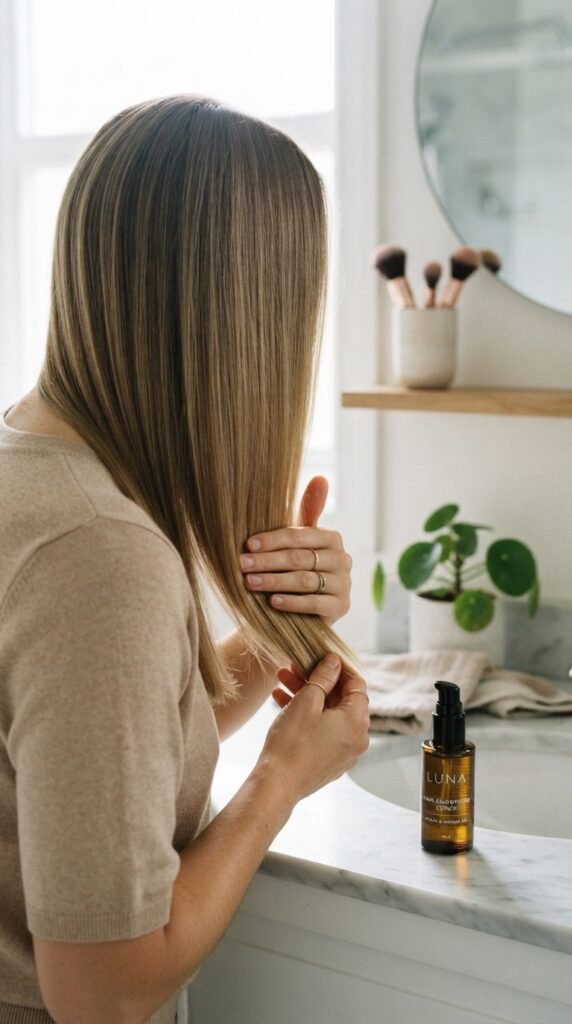
Less is more here. A pea-sized amount of smoothing serum goes a long way.
Warm it between your palms, then glide it from the mid-lengths down to the ends. Skip your roots entirely unless you want that greasy look.
If you want extra grip, mist a texture spray through the middle and ends. It gives straight hair a little tooth so the headband stays put.
For an old money hair finish, choose a serum with a satin sheen rather than a wet, glossy one. It reads expensive and photographs beautifully.
Step 3: Add Root Volume So It Doesn’t Fall Flat
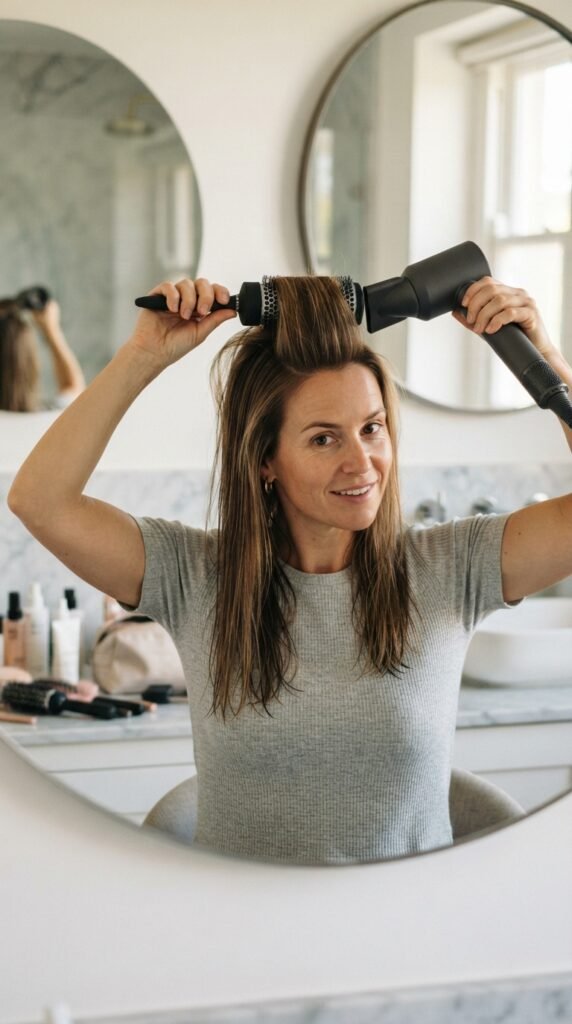
Flat roots plus a headband can look a bit severe. A little lift at the crown softens everything.
Two easy ways to get it:
- Blow-dry your roots upward with a round brush for 30 seconds.
- Or clip the top section up while you finish the rest, then release.
No time for either? Use a velcro roller at the crown while you do your makeup. It takes zero extra effort and gives you real volume.
Just don’t overdo it. You want shape, not a bump. Aim for gentle lift that falls naturally toward the back of your head.
Step 4: Smooth Flyaways Before the Band Goes In
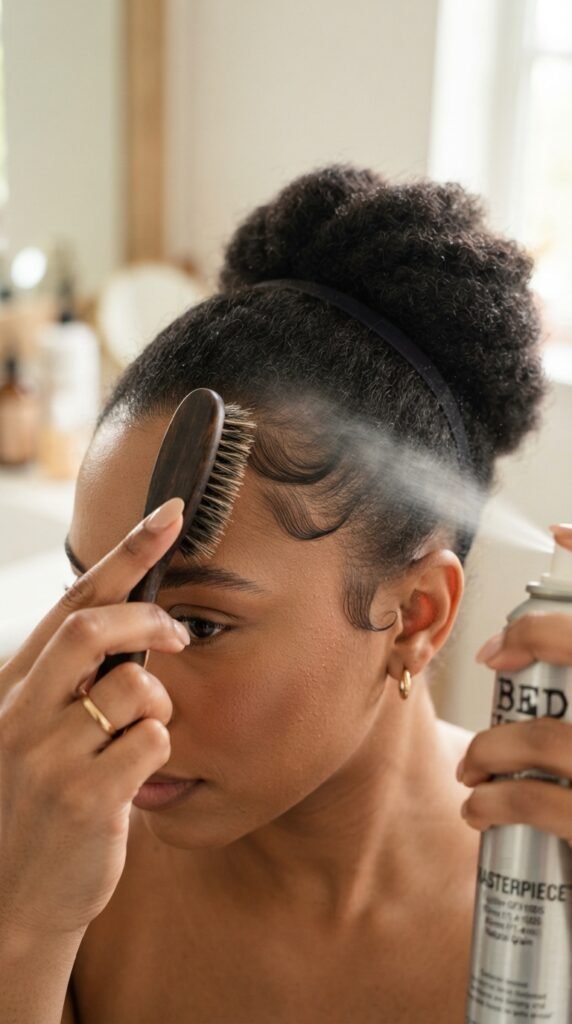
Flyaways are the enemy of a sleek look, and they’re most visible right around your hairline.
Lightly mist hairspray onto your brush or comb, not directly onto your head. Then smooth the top layer down in one slow pass from your forehead backward.
For stubborn baby hairs, wrap a soft toothbrush with a little spray and gently swipe them into place.
Do this before you add the headband. Once the band is in, you can’t easily redo this step, and going back over it usually makes things worse.
Step 5: Choose the Right Headband
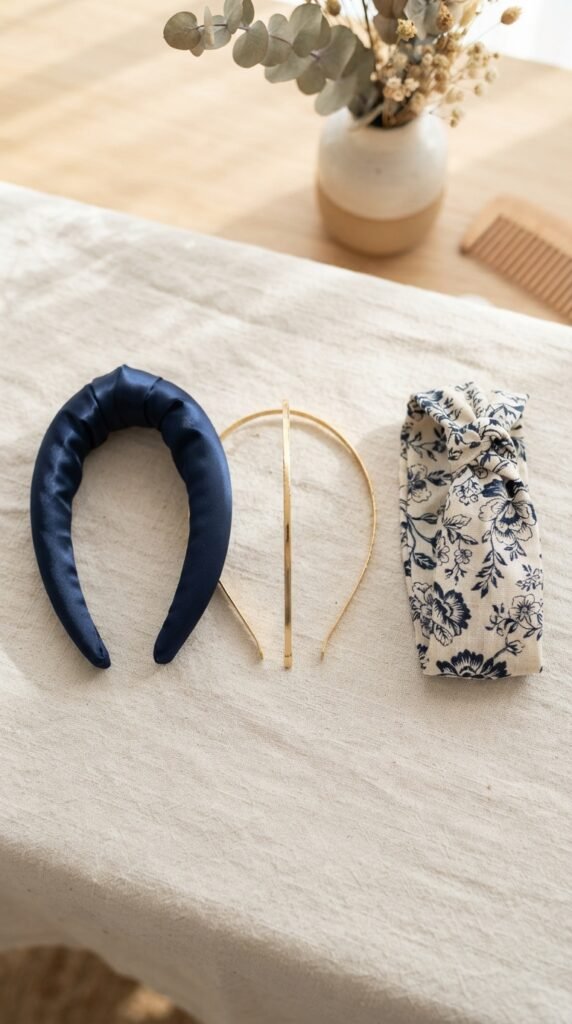
The headband you pick changes everything. Here’s a quick guide:
- Padded or fabric bands: best grip, great for thick or slippery hair.
- Thin metal bands: elegant and minimal, but they slide.
- Wide flat bands: bold, great for short hair and lobs.
- Satin-wrapped bands: gentle on hair, gorgeous for dressy looks.
Match the band width to your hair length. Long hair looks great with a thinner band. Short hair and bobs can handle something wider and more statement-making.
Comfort matters more than trends. If it pinches behind your ears, you’ll take it out within an hour.
Step 6: Place the Headband Correctly
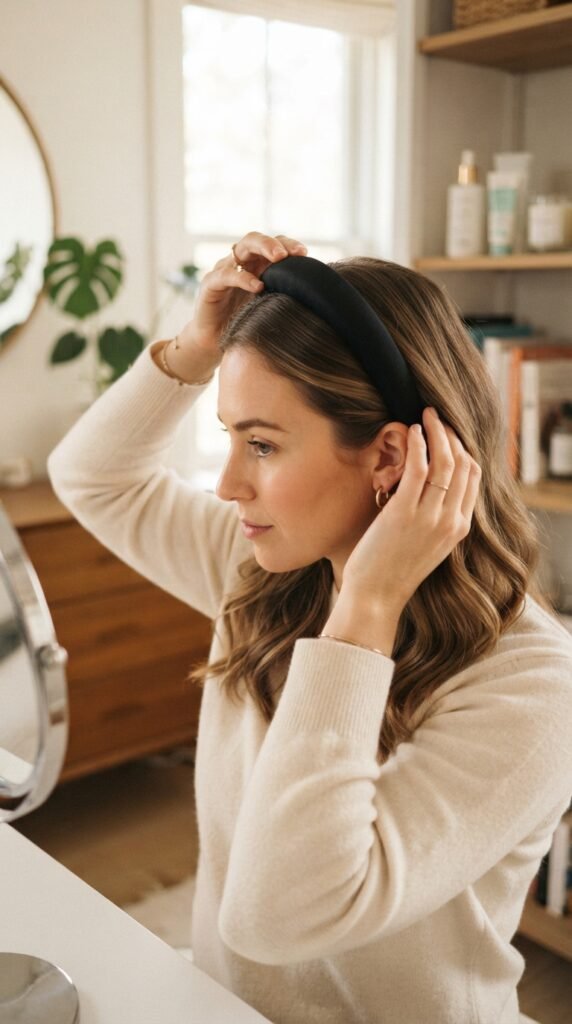
Position is everything, and most people get it slightly wrong.
Start with the band in front of your hairline, about an inch back from your forehead. Slide it back slowly, keeping the ends tucked behind your ears.
If it sits too far forward, it squashes your whole face. Too far back and it looks like it’s falling off.
For a middle-part look, place the band straight across. For a side part, angle it slightly so it follows your part line. Once it feels balanced, give it a gentle press down to help it grip.
Step 7: Tuck and Smooth Section by Section
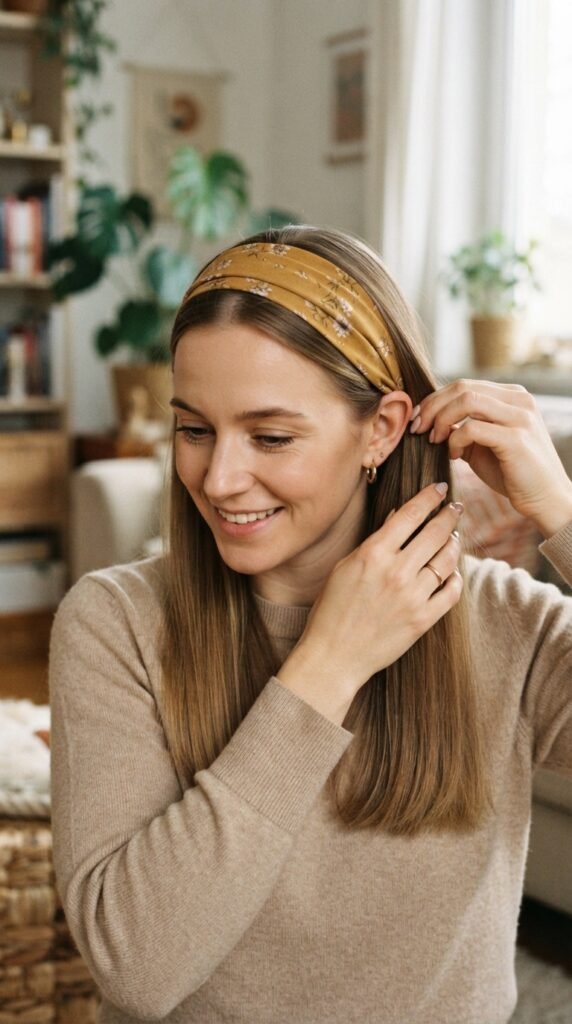
Now comes the part that makes it look polished instead of rushed.
Work in small sections. Take a one-inch piece of hair near your temple, smooth it with your fingers, and tuck it behind your ear.
Repeat all the way along both sides until everything is neatly tucked and no random strands are popping through the band. If a section keeps slipping, hit it with a tiny bit of hairspray before tucking.
This takes two minutes and it’s the difference between “I threw on a headband” and “I styled my hair.”
Step 8: Set the Style So It Lasts
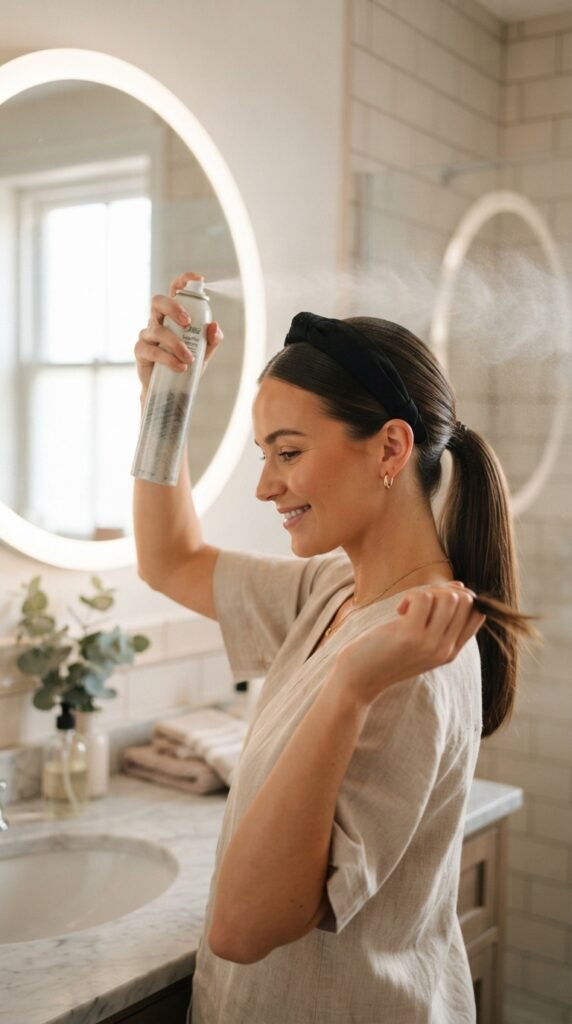
Finish with a light, even layer of strong-hold hairspray. Hold the can about ten inches away and mist, don’t soak.
Focus on the areas that move most: your hairline, behind your ears, and the crown. Then leave it alone for a minute. Seriously. Touching it while it’s still tacky breaks the hold and creates flyaways.
If you have a satin scarf, tie it loosely over your hair for five minutes while you finish getting ready. It sets everything flat and shiny. Cold air from your blow dryer on the cool setting works too.
The Slicked-Back Classic
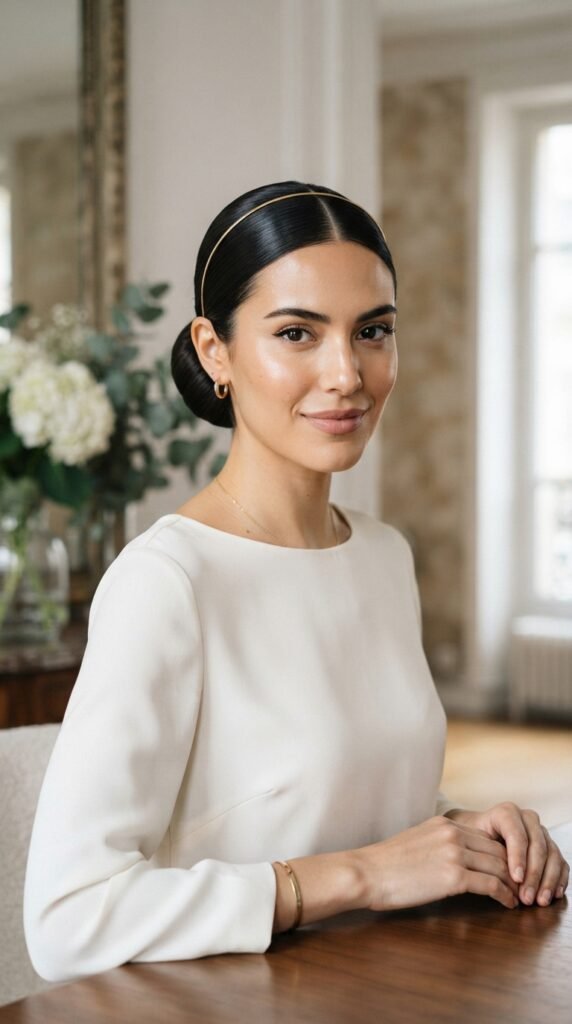
This is the version I reach for on days I need to look serious. Think job interview, big meeting, or anything where you want to feel in charge.
Brush all your hair back with a smoothing brush and a little gel at the hairline. Then add a thin metal headband and pull the rest into a low bun.
It’s clean, it’s timeless, and it works with any outfit.
If you want it softer, leave a few face-framing pieces out. Just curl them lightly with your fingers so they don’t look stringy.
The Soft Middle Part Look

This one feels a little more romantic. It’s my favorite for weekends and brunch.
Keep your middle part, smooth both sides, and place a slim band across your head. Let the hair fall naturally instead of tucking it tight.
The key is to keep the front pieces soft around your cheekbones. Straight, flat hair on both sides can look harsh, so tuck just the top layer behind your ears and leave the rest.
Pearl or tortoiseshell bands look lovely here. Anything with a little texture or shine works beautifully with a middle part.
The Scarf or Ribbon Wrap Trick
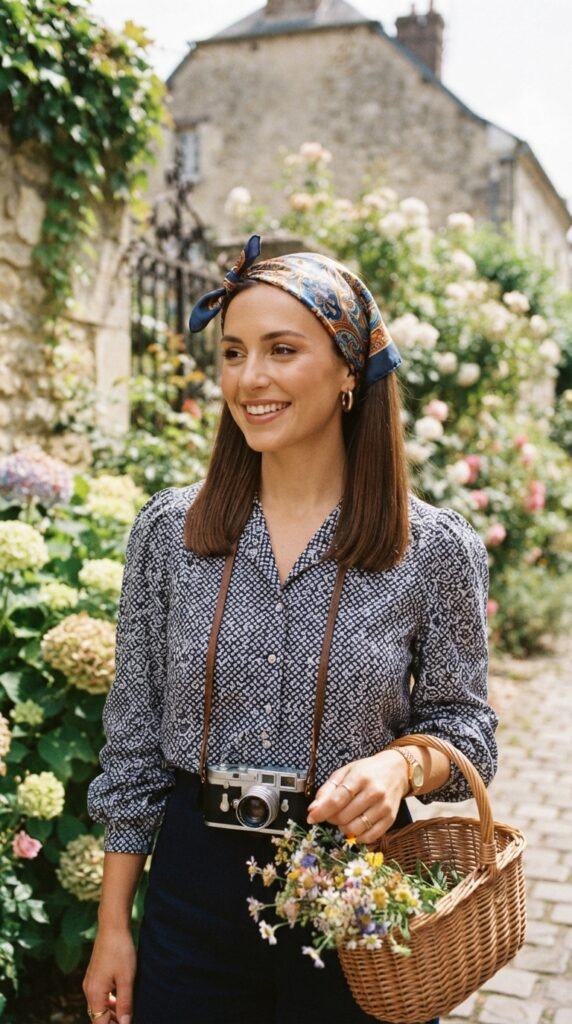
If you want a headband look without an actual headband, use a silk scarf or a wide ribbon.
Fold the scarf into a band roughly two inches wide. Place it where you’d place a headband, then tie it at the nape of your neck or on top of your head for a retro feel.
Silk glides less than you’d think once it’s tied snugly, and it’s gentler on your hair than plastic.
This trick is perfect for romantic goth hairstyles or vintage-inspired outfits. Choose black lace or deep burgundy for a moodier take, or cream silk for a soft, old money hair vibe.
How To Do the Old Money Hair Version
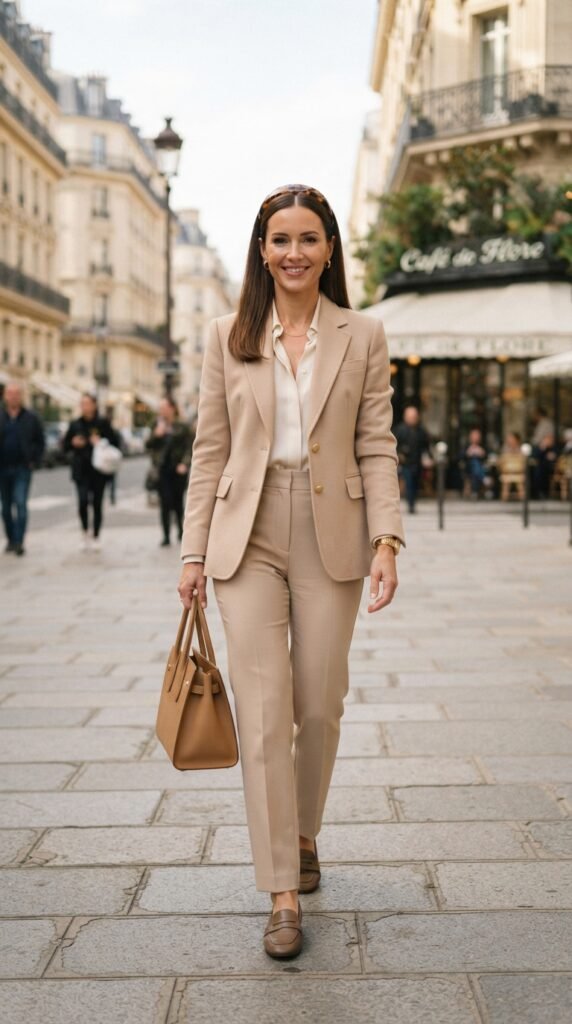
Old money hair is all about shine, softness, and looking effortlessly expensive. No hard edges, no obvious product.
Start with hair that’s smooth but not stiff. Use a light serum for sheen and skip anything that makes your hair crunchy.
Choose a tortoiseshell or neutral-toned band. Place it a little further back so more of your hairline shows. Pull the rest of your hair into a low, loose ponytail or leave it down. The point is that nothing looks fussy.
Finish with a fine mist of shine spray, not hairspray, so it catches the light in a soft, healthy way.
A Quiet Luxury Bob Twist

Got a quiet luxury bob? You can absolutely wear this style, and it looks incredible.
Because the hair is shorter, choose a slim band so you don’t overwhelm your face. A thin satin or metal band works best.
Smooth your hair forward and place the band slightly behind your hairline. Then tuck the sides behind your ears so the bob’s shape stays clean.
The goal is a neat, sculpted finish that shows off your jawline. A little texturizing spray at the roots keeps it from going flat by noon. Honestly, this combo might be my favorite look of 2026 hairstyles so far.
Romantic Goth Hairstyles Meet the Headband

Romantic goth hairstyles are all about drama with softness, and a headband fits right in.
Go for velvet, lace, or deep jewel tones. Black, oxblood, and emerald all work beautifully against dark hair.
Keep the front sleek and smooth so the mood stays elegant rather than messy. Then let the ends do something interesting, like a loose wave or a slightly undone texture.
A center part with a wide lace band looks genuinely stunning. Add a few small clips or a delicate pin near the temple if you want more detail. It’s polished, a little eerie, and very pretty all at once.
Glitchy Glam Hair For a Night Out
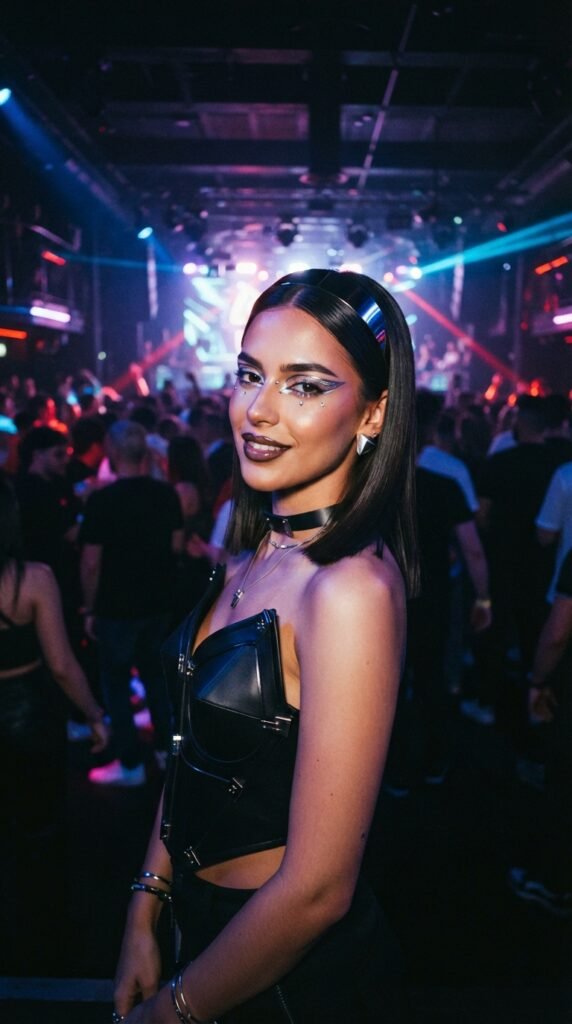
Glitchy glam hair is bold, shiny, and a little futuristic. A headband is the easiest way to try it without a huge commitment.
Choose something metallic or holographic. Chrome, silver, or iridescent bands catch light and give that digital, high-shine feel.
Keep the hair itself super sleek and glassy. Smooth it completely flat with a fine-tooth comb and a shine serum.
Then add one unexpected detail: a tiny braid at the temple, a couple of spaced-out clips, or a wet-look strand near the face. It’s playful and a little strange in the best way.
Working With an Asymmetrical Lob

An asymmetrical lob is fun because the length difference already gives you movement. A headband can frame it beautifully.
Place your band following the angle of your cut. If the shorter side is on the left, angle the band slightly down toward the right.
Tuck the longer side behind your ear so the shape reads clearly. Let the shorter side stay loose or tuck it for a sharper contrast.
A medium-width fabric band works best here. Anything too thin gets lost, and anything too wide can overwhelm a lob. Add a little texture spray at the ends to keep things from looking flat.
Styling a Hime Cut With a Headband
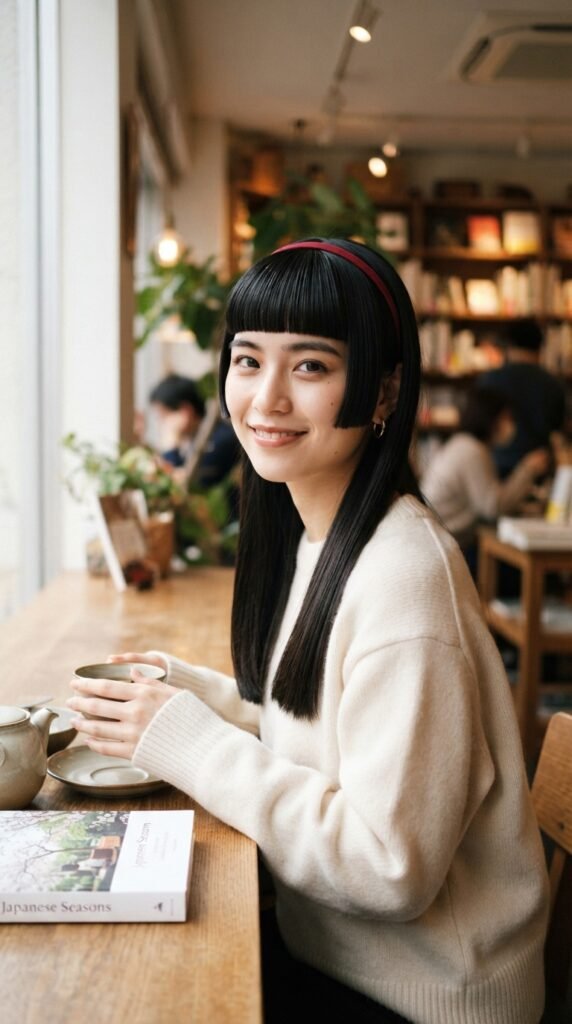
The hime cut is striking on its own, but a headband makes it feel almost ceremonial in the prettiest way.
Because the cut already has those signature blunt side locks, keep the band simple. A slim, flat band in black or deep red is perfect.
Place it so the side locks fall in front of the band. That contrast between straight, blunt edges and the curve of the band is what makes it work.
Keep everything sleek and straight. No waves, no volume at the roots. This is one of those 2026 hairstyles that looks incredible in photos, so save it for a shoot or a special event.
Vampire Haircut Vibes With a Wide Band

The vampire haircut is all about sharp angles and drama. A headband adds a slightly formal, almost gothic touch.
Go wide. A thick black or dark velvet band balances the sharp layers around your face.
Slick the top section back tightly and let the face-framing pieces hang loose in front. Those sharp strands are the whole point.
For extra intensity, straighten the ends with a flat iron so they’re pin-straight and precise. Keep your makeup minimal or full drama, there’s no in-between with this look. Either way, the headband holds it all together.
2026 Hairstyles That Love a Headband
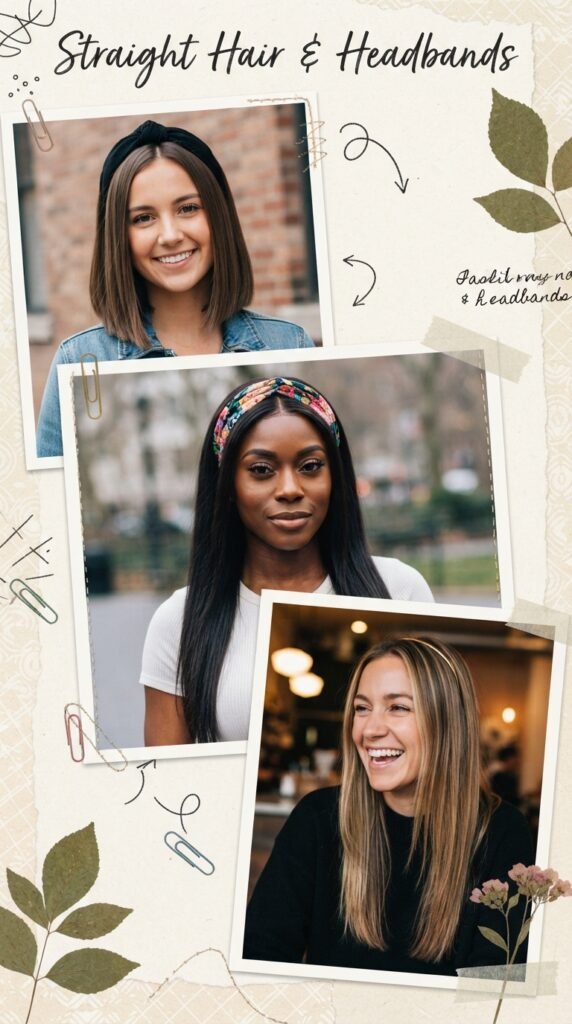
If you’re planning your looks for the year, here’s where headbands really shine:
- Quiet luxury bob: slim bands, sleek finish.
- Asymmetrical lob: medium-width fabric bands.
- Hime cut: thin flat bands placed behind the side locks.
- Vampire haircut: wide, dramatic bands.
- Long layered hair: padded bands for grip.
The trend in 2026 hairstyles leans toward polished, intentional, and slightly retro. Headbands fit that perfectly. Pick one style above, try it this week, and see how you feel. You might find your new signature.
How To Make It Last All Day

Straight hair and long days don’t always get along, so here’s how to keep it together.
Carry a small travel hairspray and a fine-tooth comb in your bag. A quick touch-up at lunch brings everything back.
Avoid touching your hair. Every time you run your fingers through it, you break the hold and add oil.
If it’s humid out, spray extra hairspray at the hairline and behind the ears before you leave. Those are the first places to give. And if the band starts sliding, don’t panic. Just push it back into place and smooth the front with your fingers.
How To Refresh It on Day Two
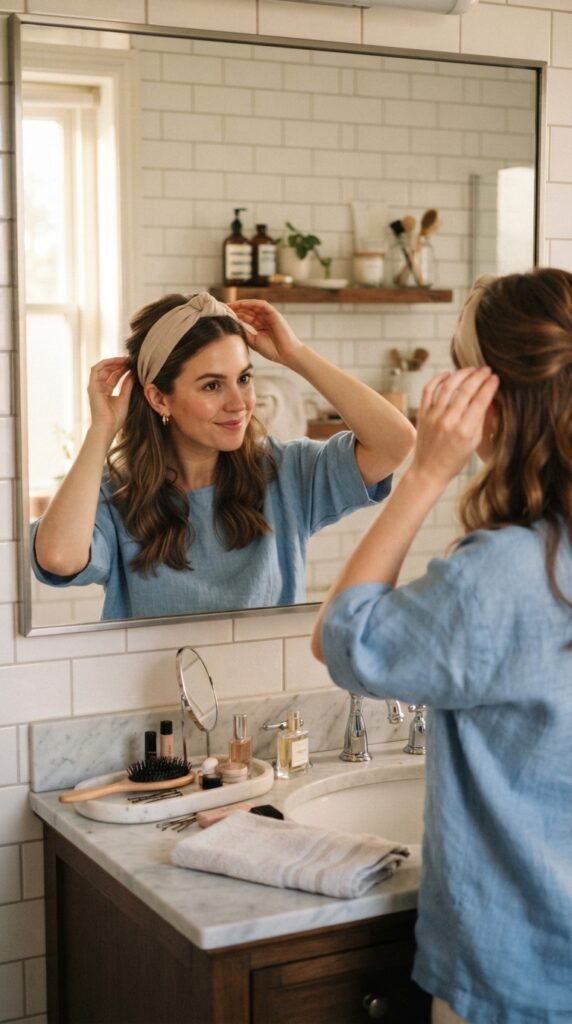
Day two is honestly the best day for this style. Your hair has more grip and it holds shape longer.
Start by brushing everything out gently. Then add a tiny bit of dry shampoo at the roots and let it absorb for a minute.
Re-smooth the top layer with a comb and a light mist of water mixed with a drop of serum. That mixture wakes up the shine without making it greasy.
Swap the headband for a different one if you want a fresh look. Same hair, new vibe. Then tuck your sides again and you’re done in about three minutes.
Mistakes To Avoid
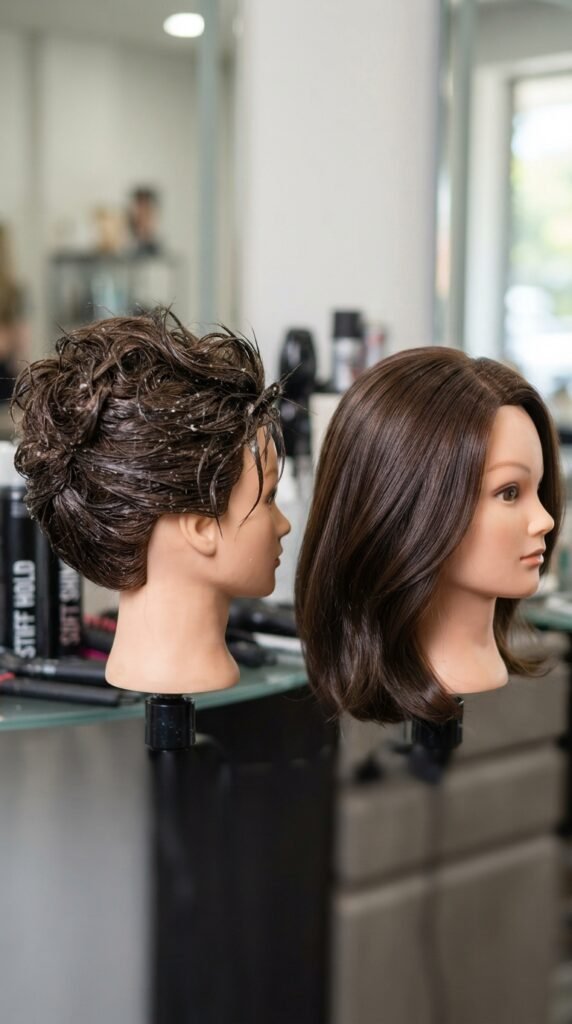
I’ve made all of these, so learn from me.
- Too much product: crunchy hair never looks sleek.
- Placing the band too far forward: it flattens your face.
- Skipping the prep: no serum means flyaways all day.
- Wearing a band that pinches: you’ll take it out by lunch.
- Touching it constantly: the fastest way to ruin a good style.
The biggest one is overdoing the hairspray. Hold comes from good prep, not from drowning your hair. Start light and add more only if you need it.
The 5-Minute Version For Busy Mornings

Running late? This is your shortcut.
- Brush your hair out. (30 seconds)
- Add dry shampoo if it’s day two. (30 seconds)
- Smooth a tiny bit of serum through the ends. (30 seconds)
- Place your headband and tuck the sides. (2 minutes)
- One light mist of hairspray. (15 seconds)
That’s it. No hot tools, no complicated sectioning, no stress. Honestly, this is the version I do most often. Keep a headband in your bag and you’re covered anywhere.
One Last Thing, Friend
Sleek straight hair and a headband is one of those combinations that just works. It’s simple, it’s fast, and it looks like you put in way more effort than you did.
Start with good prep, pick a band that fits your hair length, and take two extra minutes to tuck the sides. That’s the whole formula.
Try it once this week. I think it’ll become one of your regulars.
Save this post to Pinterest so you have it handy next time you need a quick, polished look.
And tell me in the comments: which version are you trying first, the soft middle part or the slicked-back classic? I read every single one.
Talk soon,
Hailey & Team