Beveled Tips: Angled End Cuts
In the world of fabrication, construction, and fine craftsmanship, the difference between a good project and a great one often lies in the details. One such detail, frequently overlooked by novices but revered by seasoned professionals, is the beveled tip or angled end cut. More than just a simple slice, a bevel is a deliberate, angled surface cut along the edge or end of a material. It’s a fusion of form and function, serving purposes that range from structural integrity and safety to aesthetic elegance and seamless joinery. Whether you’re framing a house, crafting a picture frame, or fabricating a metal part, understanding how and when to employ beveled tips is a fundamental skill. This guide will dive deep into the world of angled end cuts, exploring their why, how, and where.
What Exactly Are Beveled Tips and Angled End Cuts?
Let’s start with a clear definition. A bevel is an edge that is not perpendicular to the faces of a piece of material. While a typical cut leaves a 90-degree square end, a bevel cut creates an angled surface between the two faces. This angle can be anything other than 90 degrees. The term “beveled tip” often refers to the resulting pointed or angled end of a tool, component, or workpiece after this cut is made. For instance, a chisel has a beveled cutting edge, and a piece of trim for a door frame has beveled ends to form a tight miter joint. It’s crucial to distinguish a bevel from a miter: a bevel is an angle cut on the edge of the thickness, while a miter is an angle cut on the face of the width. Often, the two are combined in complex joinery.
The Multifaceted “Why”: Applications and Advantages
Why go through the extra effort of setting up an angled cut? The reasons are surprisingly varied and impactful.
Enhanced Aesthetics and Professional Finish: Beveled edges soften the harshness of a sharp 90-degree corner. On countertops, tabletops, or mirror frames, a bevel adds a refined, finished look that catches the light and creates visual interest. It signals careful, deliberate work.
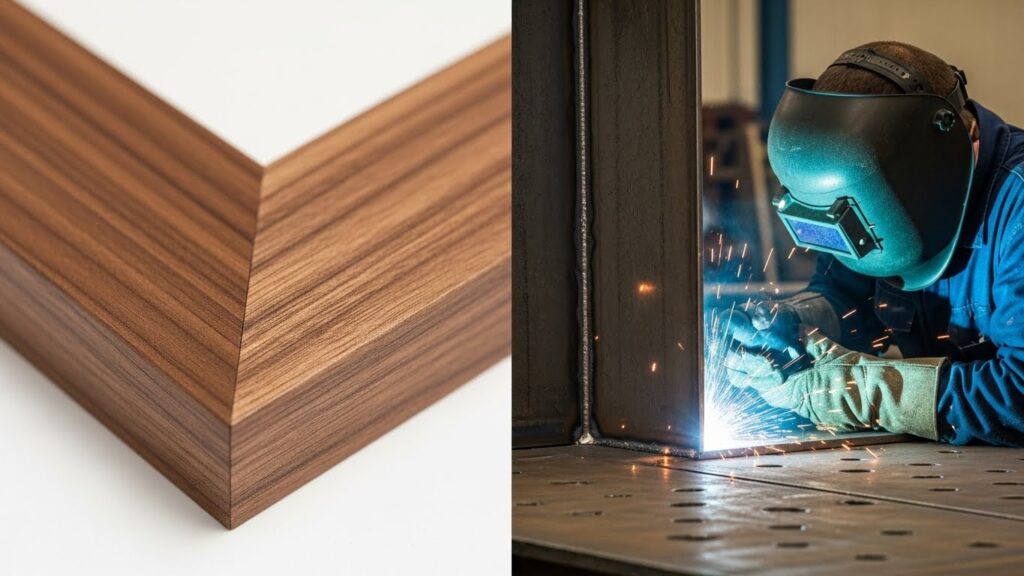
Superior Joinery: This is perhaps the most critical function. Angled end cuts are the backbone of miter joints (like those in picture frames and crown molding) and various woodworking joints. A precise 45-degree bevel on two pieces allows them to meet seamlessly at a corner, hiding end grain and creating a continuous line that is both strong and beautiful.
Safety and Functionality: Sharp, square corners on materials like metal, glass, or even wood can be hazardous. Beveling these edges—a process often called chamfering—removes the dangerous sharpness, making parts safer to handle. In machining, a bevel on the end of a shaft makes it easier to insert into a hole or bearing.
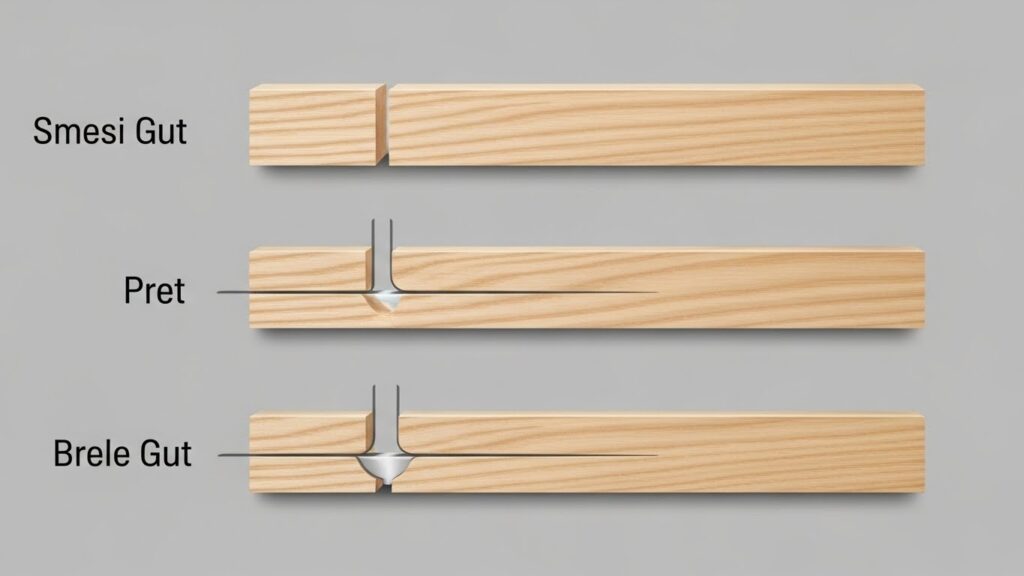
Welding Preparation: In metal fabrication, beveled edges are essential for strong welds, especially on thicker materials. A V-shaped bevel (or double bevel) cut along the edges of two metal plates creates a groove that allows the weld to penetrate deeply, fusing the materials together throughout their thickness for a joint far stronger than a surface-level weld.
The Toolbox for Perfect Bevels: From Hand Tools to Powerhouses
Creating a precise beveled tip requires the right tool for the job, material, and desired level of accuracy.
Hand Tools for Control: For woodworking, a hand plane (especially a block plane) is a traditional tool for shaving down an edge to a perfect angle. A chisel and mallet can also be used to carve a bevel. For metal, a file is the classic hand tool for slowly shaping an angled edge. These methods offer immense control but require skill and patience.
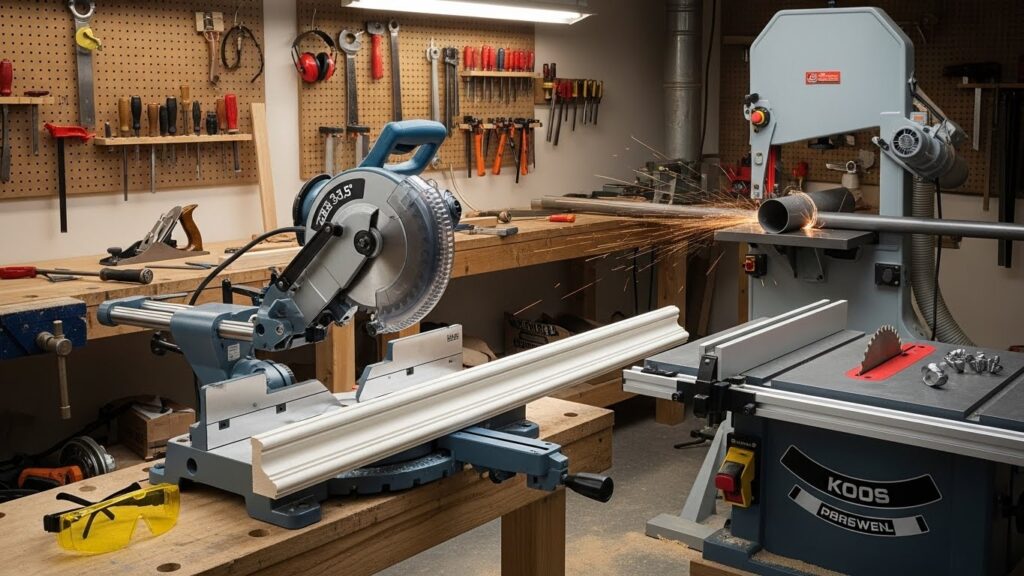
The Miter Saw King: The power miter saw is the undisputed champion for cutting bevels on trim, framing lumber, and other long stock. Its rotating blade can be tilted to the left or right to create precise, repeatable angled end cuts. A compound miter saw adds the ability to bevel and miter simultaneously, essential for complex crown molding cuts.
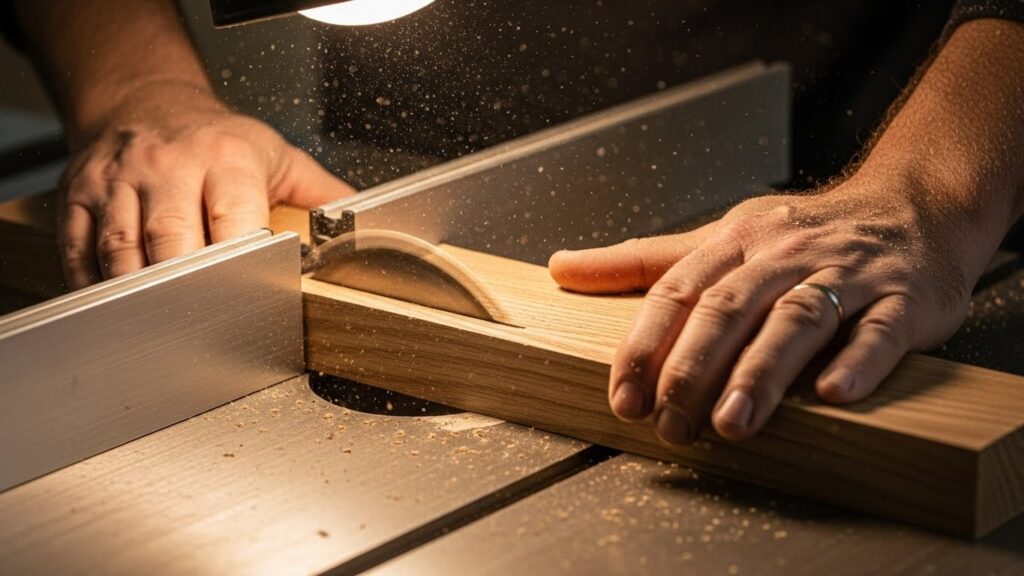
Table Saw Versatility: By tilting the blade on a table saw, you can rip long bevels along the edge of a board or crosscut bevels on the end. A tapering jig can be used for consistent, safe bevels on multiple workpieces. It’s a highly versatile setup for serious woodworkers.
Specialized Machinery: In metalworking, a bandsaw with a tilting table or a cold saw is used for cutting bevels on bar stock and tubing. For welding prep, beveling machines or portable grinders with special attachments are used to quickly and consistently create those critical V-grooves.
Mastering the Cut: Techniques and Pro Tips for Flawless Bevels
Knowing the tools is half the battle. Here’s how to use them effectively.
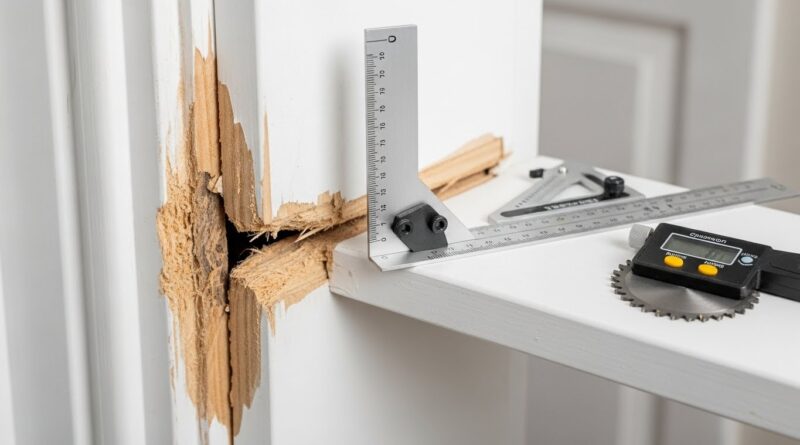
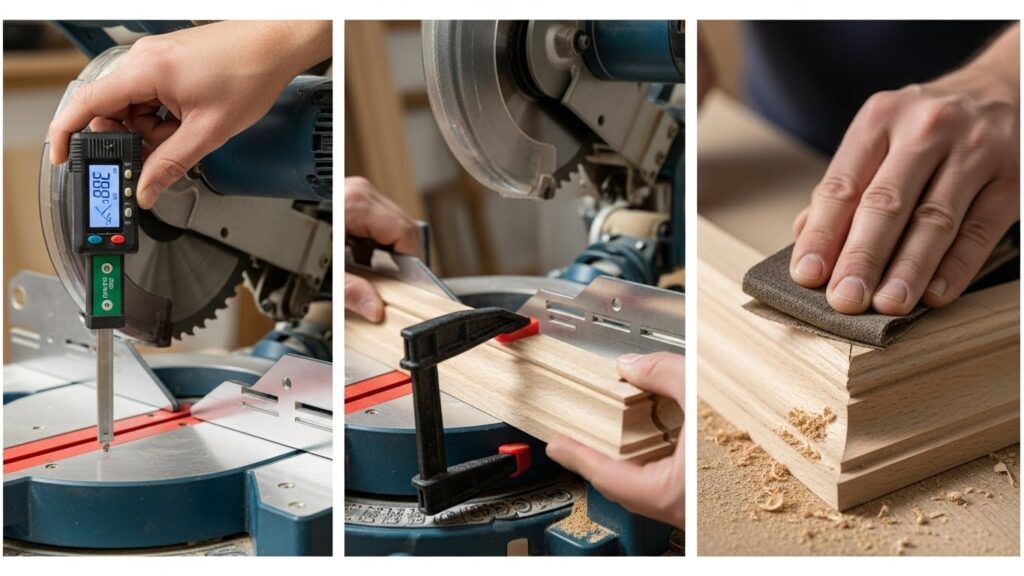
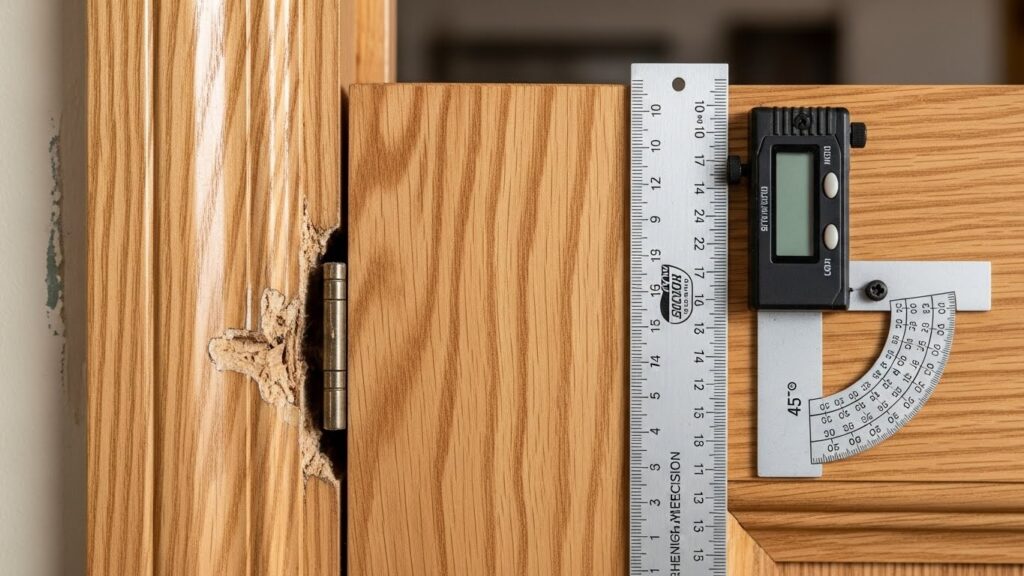
Measure, Mark, and Set Up with Precision: Always use a reliable protractor or a digital angle finder to measure and mark your desired bevel angle. Double-check the angle setting on your tool (miter saw, table saw blade) before cutting. Remember the old adage: “Measure twice, cut once” becomes “measure twice, set the angle thrice, cut once” when dealing with bevels.
Account for the Kerf: The saw blade’s thickness (kerf) removes material. For joinery, this means your finished piece will be slightly shorter than the measured length from the apex of the angle. Experienced woodworkers often use a “kerf allowance” in their calculations or use practice cuts on scrap to dial in the exact length.
Secure Your Workpiece: Angled cuts can cause the workpiece to shift or “creep” during the cut. Always use clamps, hold-downs, or a stable fence. This is a critical safety step as well as an accuracy one.
Test on Scrap First: Never make your first bevel cut on your final, expensive material. Use identical scrap to test your setup, verify the angle, and ensure the joint fits perfectly. This simple step saves immense frustration and waste.
Finishing the Bevel: After cutting, a beveled edge may have slight saw marks or burrs (especially on metal). Lightly sanding wood bevels with a sanding block or using a file/deburring tool on metal bevels will create a professional, smooth finish ready for joining or painting.
Common Pitfalls and How to Avoid Them
Even pros make mistakes, but knowing the common traps can help you steer clear.
The Dreaded Gap: The most common issue in miter joints is a visible gap at the inside or outside corner. This is usually caused by an angle that is slightly off (even by half a degree) or by the saw blade not being perfectly square to the fence in another plane. Calibrate your tools regularly and consider using a specialized miter saw calibrator.
Material Tear-Out: Cutting bevels, especially across wood grain, can cause splintering on the exit side of the cut. Use a sharp, high-tooth-count blade and support the workpiece fully. For critical cuts, place a sacrificial piece of scrap wood behind your workpiece to prevent blowout.
Inconsistent Angles in a Set: When you need four identical beveled pieces for a frame, the slightest variation in your saw setting or marking will compound. Cut all pieces from the same setup without moving the tool. Use stop blocks for identical length, and cut all like angles (e.g., all left-hand 45s) in one batch.
Beyond the Basics: Creative and Advanced Uses for Beveled Tips
Once you’ve mastered standard bevels, a world of creative and advanced applications opens up.
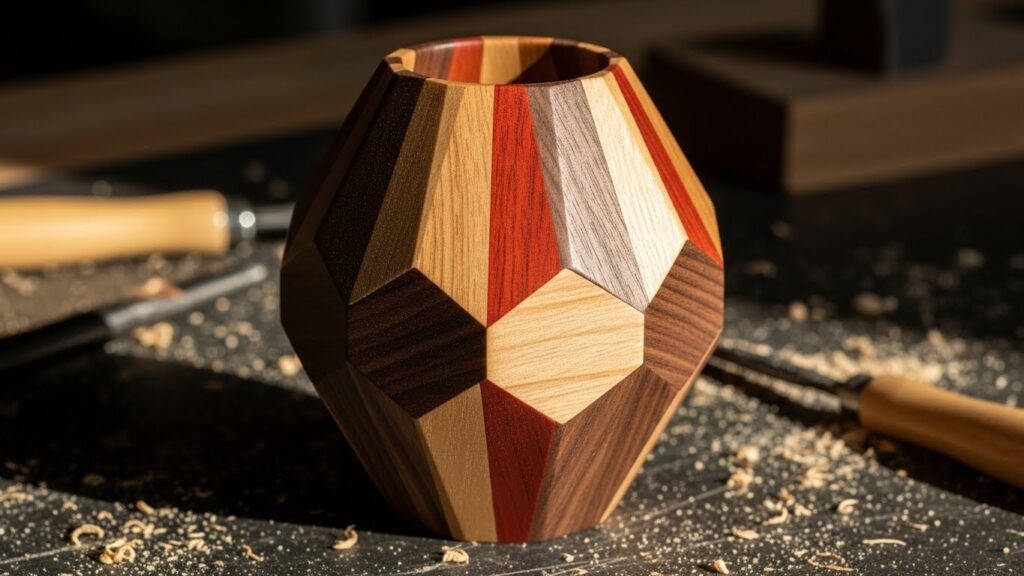
Decorative Inlays and Marquetry: Thin strips of wood with beveled edges can be inlaid into a base wood to create stunning geometric patterns. The bevel catches the light differently, adding depth and shadow to the design.
Architectural Detailing: Bevels are not just for joints. Beveled edges on stair treads, window sills, and shelving add subtle sophistication and are easier on the eyes and hands than sharp corners.
Custom Tool Making: From creating a beveled tip on a custom punch or drift to fashioning a wooden wedge, the ability to shape precise angles is key for making and modifying tools in the shop.
Compound and Complex Bevels: The ultimate challenge is the compound bevel—a cut with both a miter angle and a bevel angle simultaneously. This is essential for fitting crown molding flat against the wall and ceiling, where the spring angles must be perfectly calculated and executed.
Conclusion: Elevating Your Craft with Angled Precision
The humble beveled tip is a testament to the principle that true craftsmanship is about intentionality. It moves beyond mere assembly to the realm of thoughtful design and precise execution. Mastering angled end cuts is not just about learning to tilt a saw blade; it’s about understanding geometry, material behavior, and the pursuit of invisible joinery and flawless form. Whether your goal is to build a stronger weld, frame a masterpiece, or simply add a touch of refined detail to your next project, embracing the bevel will undoubtedly elevate your work. So, grab your angle finder, set up your tools with care, and start transforming ordinary square ends into extraordinary beveled tips.