Blowout 24 Volumizing Round Brush Techniques Lifting Roots High
Okay, let’s be real. How many times have you tried to give yourself a salon-level blowout at home, only to end up with flat roots and a sore arm? I’ve been there too. It’s frustrating when the volume just doesn’t last.
But what if I told you the secret isn’t in the dryer, but in the brush? Specifically, a 24 volumizing round brush. This one tool can change your entire hair game.
Today, I’m breaking down the exact techniques my stylist taught me for lifting roots sky-high. It’s easier than you think, and the results are seriously worth it. Let’s get into it.
Why a 24 Volumizing Brush is Your New Best Friend
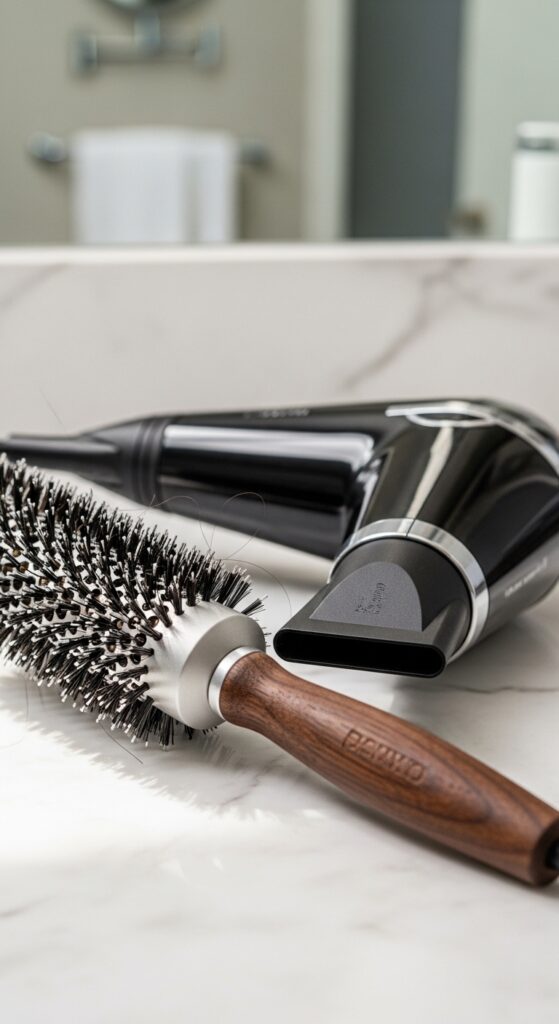
You might see a bunch of different brush sizes and wonder what the big deal is. The 24mm round brush is the perfect middle ground. It’s small enough to get right at your roots for serious lift, but not so tiny that it takes forever to dry your hair.
The key is the “volumizing” part. These brushes usually have a mix of boar and nylon bristles. The boar bristles help smooth the hair cuticle for shine, while the nylon pins grip the hair firmly so you can really tension and lift from the root. It’s the foundation for so many gorgeous 2026 hairstyles we’re starting to see.
Sectioning is Non-Negotiable for Root Lift
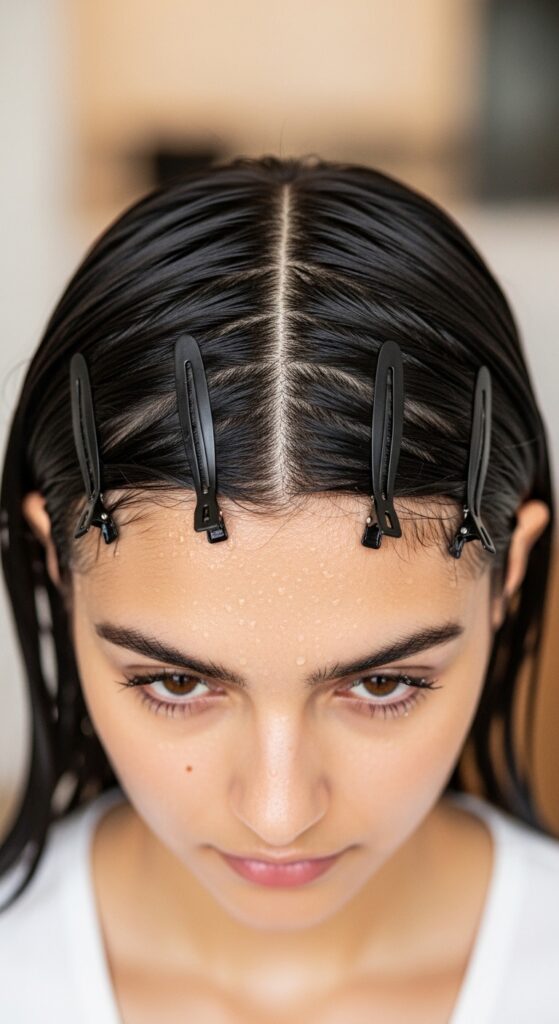
If you try to blow-dry your hair all in one piece, you’ll never get that lift. Sectioning is the most important, and most skipped, step. Start with towel-dried hair that has a heat protectant worked through.
I make four main sections: a lower back section, an upper back section, and one on each side. Clip the top three sections up and out of the way. You’ll work from the bottom layers up. This lets you focus on one small, manageable piece at a time, directing all your effort right at the roots.
The Right Prep: Heat Protectant is a Must
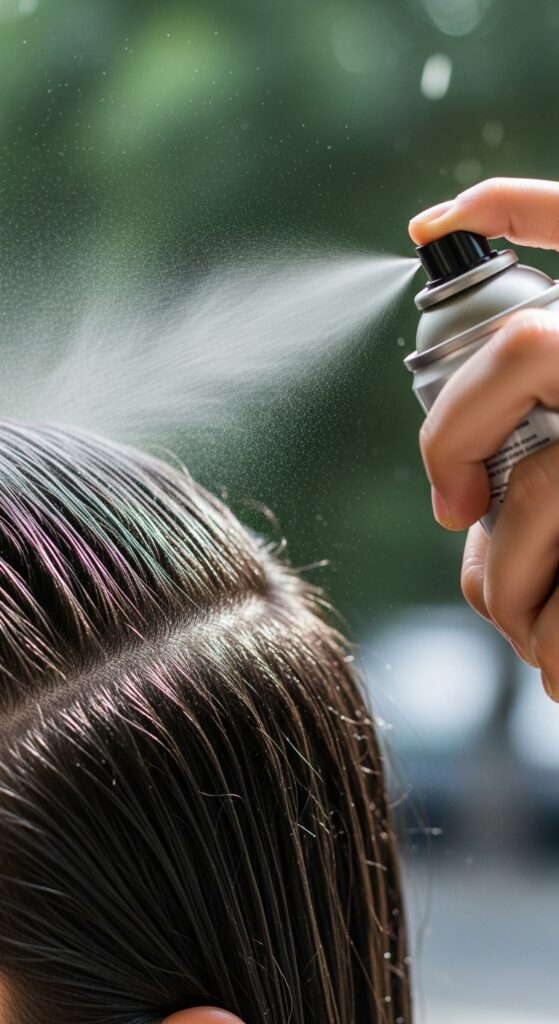
Before you even turn on the dryer, protect your hair. I use a lightweight heat protectant spray from mid-lengths to ends first. For the roots, I love a mousse or a root-lifting spray.
Apply the root product directly at your part and any areas that get flat. Rub it in with your fingers. This gives the hair a bit of grit and memory, so the volume you create will actually stick around. Think of it as the foundation for your style.
How to Hold Your Hairdryer and Brush Together
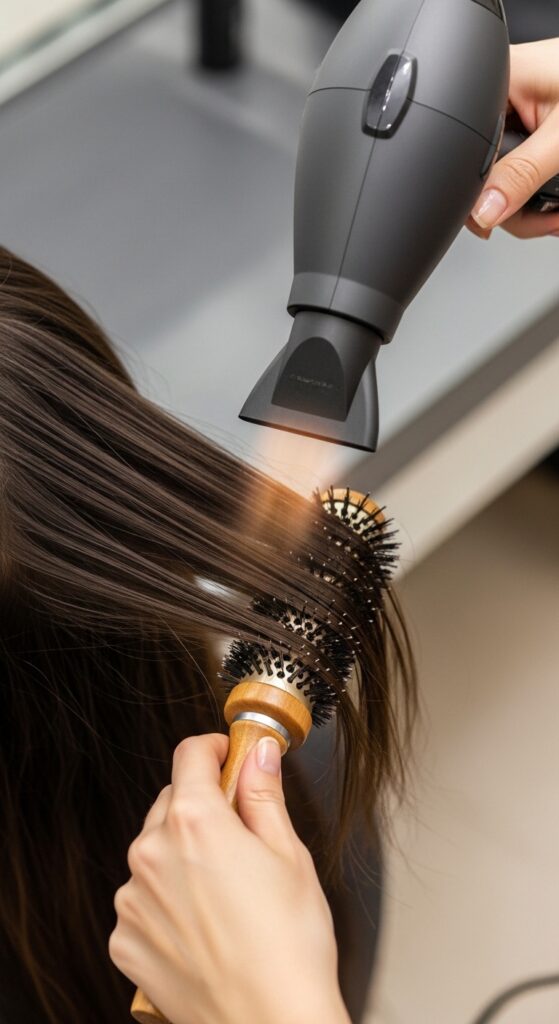
This feels awkward at first, but you’ll get it. Hold the brush in your dominant hand and the dryer in the other. The dryer nozzle should always be pointing down the hair shaft, following the brush.
This seals the cuticle for shine and smoothness. Keep the dryer close, about 6 inches away. Your goal is to blast the hot air onto the hair that’s wrapped around the brush, not just randomly around your head.
The Basic Root-Lift Technique: Step-by-Step
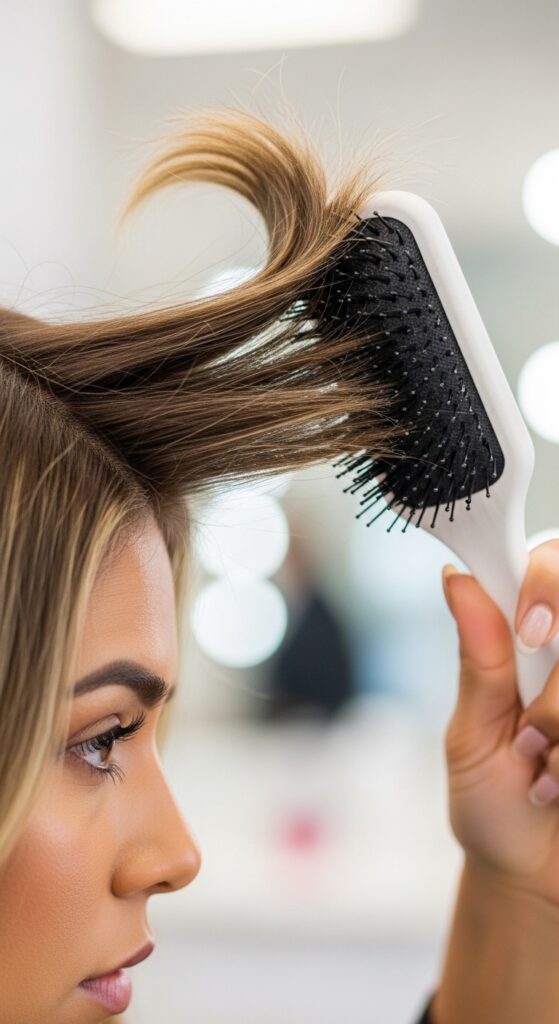
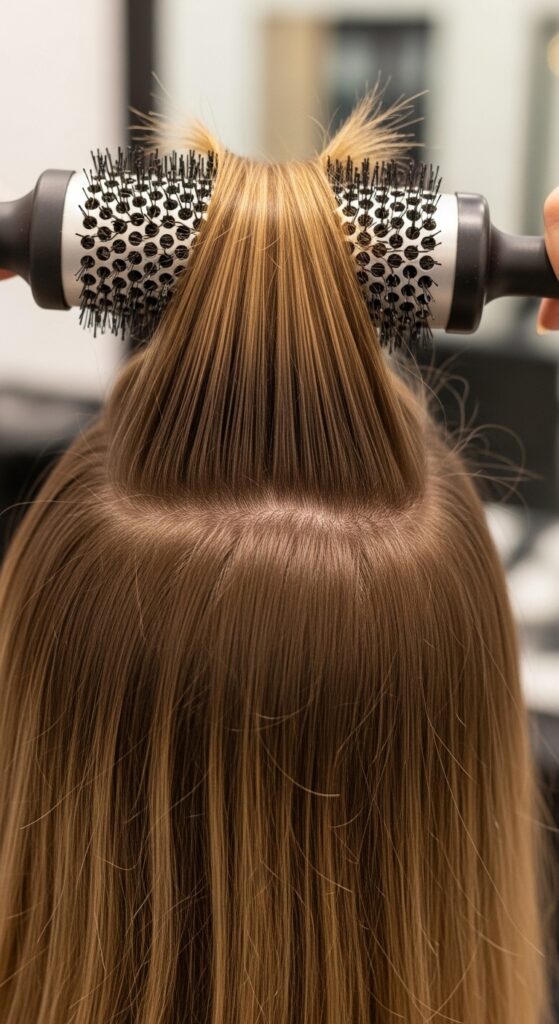
- Take a section about 2 inches wide. Place the brush under the hair, close to the root.
- Pull the section up and away from your head. You want tension at the root.
- Wrap the hair around the brush, rolling it downward once. The brush should now be under the hair, holding it taut.
- Direct the dryer heat onto the wrapped hair for 5-10 seconds. Let it cool on the brush for a few seconds before releasing.
Direction is Everything: Lift Where You Need It
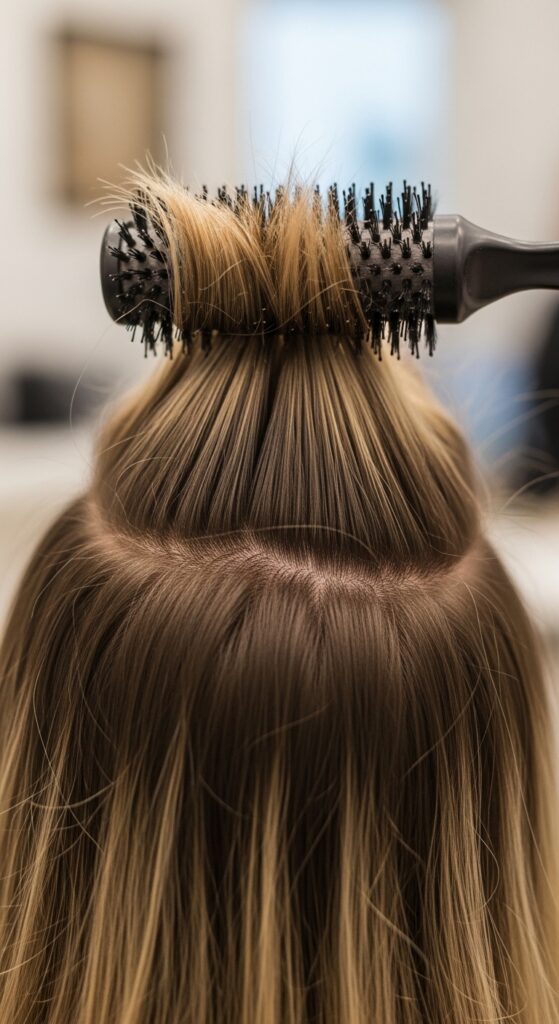
Where you pull the hair determines where the volume goes. For crown volume, pull sections straight up. For side volume, pull them back and away from your face.
If you have a side part, pull the hair on the heavier side back, and the hair on the lighter side forward slightly. This builds a natural-looking lift that doesn’t look “teased.” It’s a key move for that coveted old money hair look—effortless and full.
Cool Shot is Your Secret Weapon
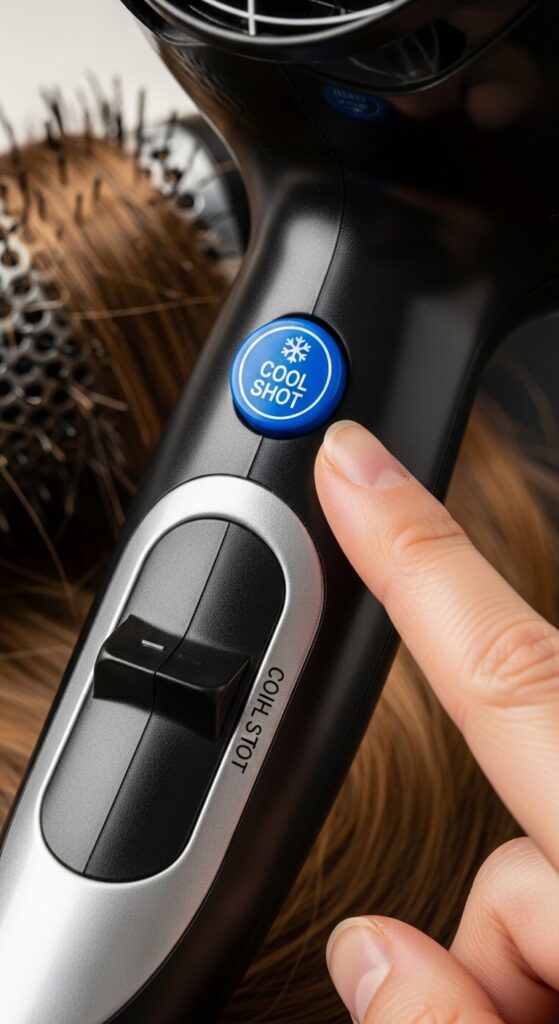
That little blue “cool shot” button on your dryer is magic. After you’ve heated a section on the brush, hit the cool air button for another 5-10 seconds.
This cools the hair and sets the shape. It locks in the volume you just created. Never release the hair from the brush while it’s still hot, or it will just fall flat. Patience here makes all the difference.
Creating Volume at the Crown for Any Haircut
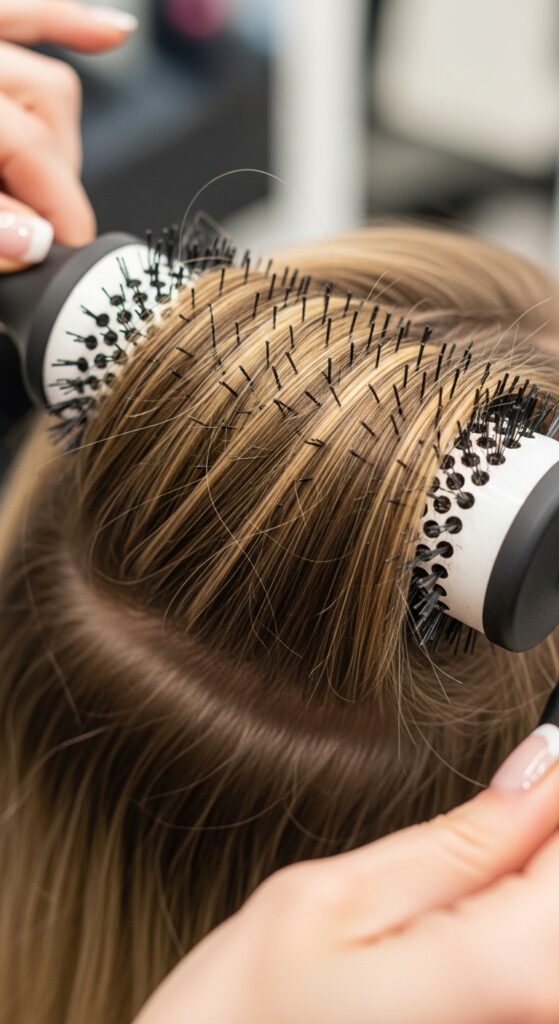
The crown is the most common flat spot. For this, take horizontal sections across the top of your head. Pull each one straight up, perpendicular to your head.
Roll the brush just slightly, heat, and cool. Work from the front of the crown to the back. This builds a foundation of height that makes even a simple quiet luxury bob look expensive and polished.
Adding Volume to a Blunt Cut or Bob
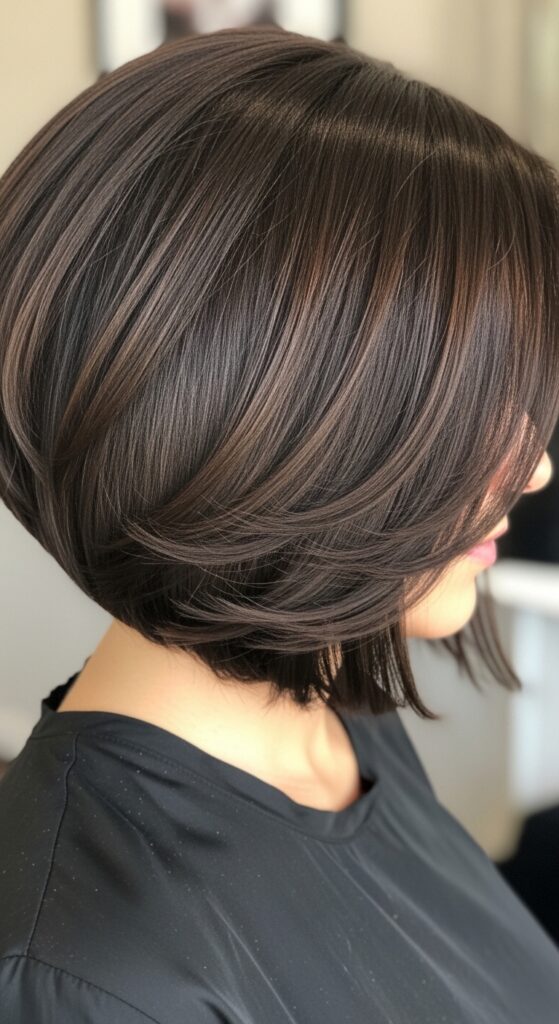
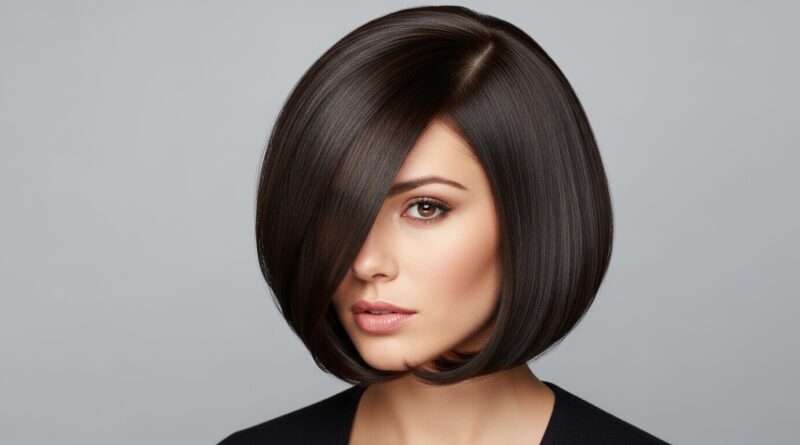
A blunt cut can look heavy if the roots are flat. Use the same root-lift technique, but when you get to the ends, roll the brush under to create a slight inward bend.
This gives you that classic, smooth bob shape but with body from top to bottom. It keeps the style modern and light, not helmet-like. This technique works for an asymmetrical lob, too, giving that chic, angled shape lots of life.
Styling Face-Framing Layers and Bangs
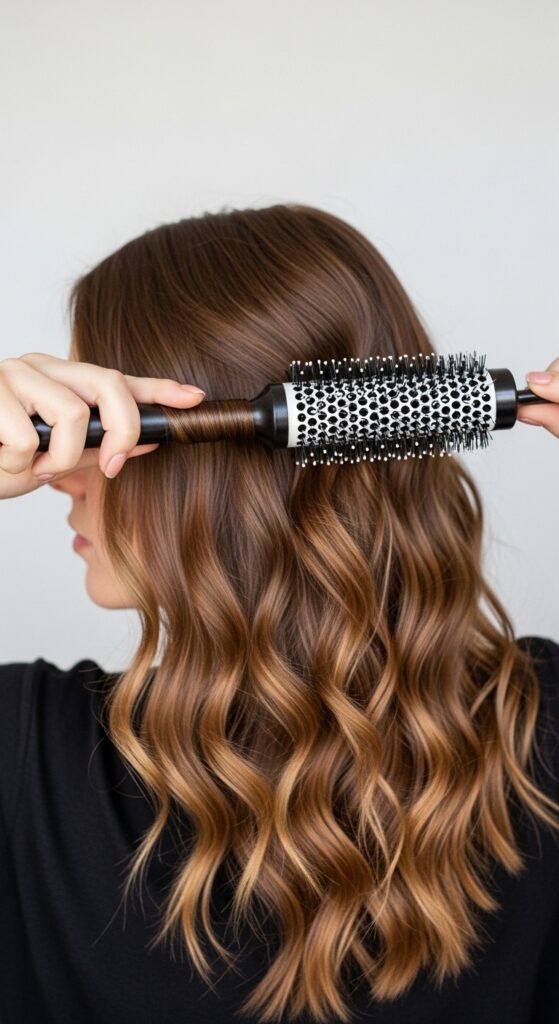
For those pieces around your face, use a smaller section. Place the brush under the hair near the root and pull it forward, away from your face.
Roll the brush downward, directing the ends away from your face for a soft, flattering flip. This opens up your features and blends beautifully with fuller styles like the hime cut or with curtain bangs.
Achieving Smoothness Without Sacrificing Body
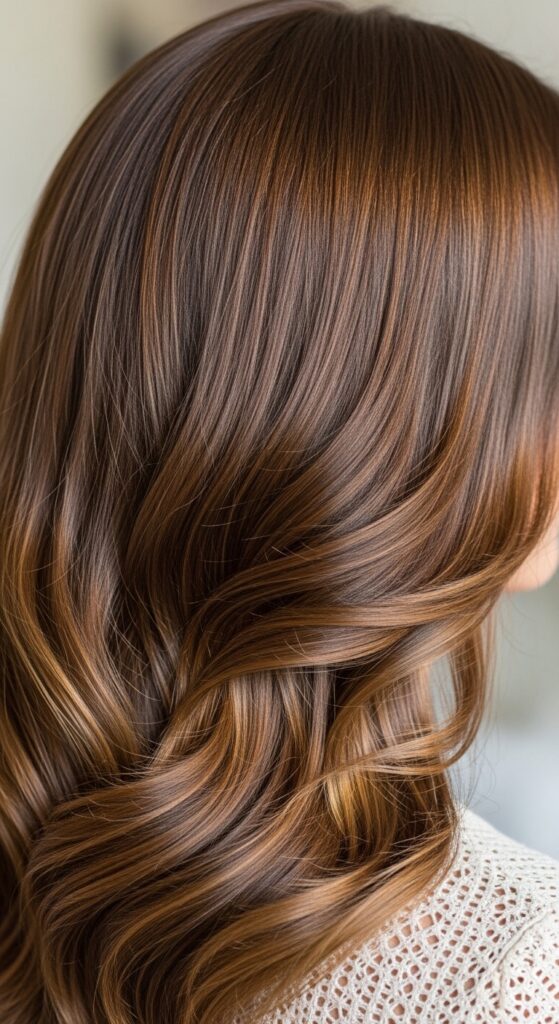
We want volume, not frizz. After you’ve lifted the roots, go back over larger sections with the brush to smooth the mid-lengths and ends.
Keep the tension firm and follow with the dryer nozzle pointed down. The boar bristles will polish the hair. You get the smooth, shiny finish without pulling out all the beautiful volume you just built at the root.
Making Your Blowout Last for Days

To make this effort last, start with a silk pillowcase. It creates less friction than cotton. Before bed, loosely gather your hair into a high, loose ponytail on top of your head with a silk scrunchie.
In the morning, just flip your head over, shake out the roots, and maybe hit them with a little dry shampoo for extra grip. You’ll revive the volume in seconds.
Quick Refresh for Day 2 and 3 Hair
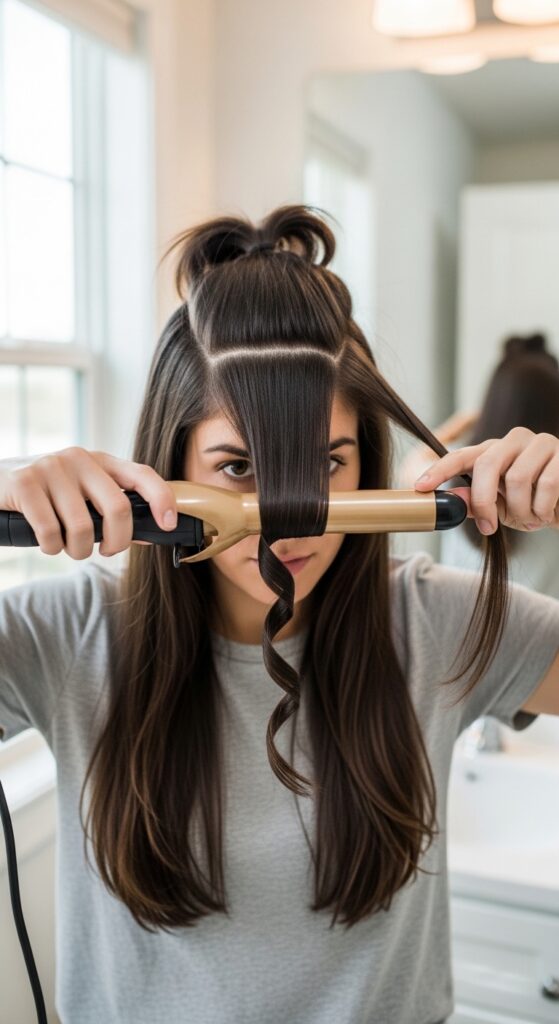
When the roots start to fall, don’t re-wet your hair. Use a dry texturizing spray at the roots and massage it in. Flip your head over and blast the roots with your dryer on medium heat for a minute, using your fingers to lift.
For the ends, you can use a large curling iron to re-define any waves or bends. This keeps the style looking fresh and is perfect for maintaining romantic goth hairstyles or glitchy glam hair between washes.
Common Mistakes That Flatten Your Roots
- Brush is too big: A 38mm brush gives a wave, not root lift.
- Not enough tension: You have to pull firmly away from the scalp.
- Releasing hair while hot: Always cool it on the brush.
- Too much product: Heavy creams weigh roots down. Stick to sprays and mousses.
Adapting the Technique for Fine Hair
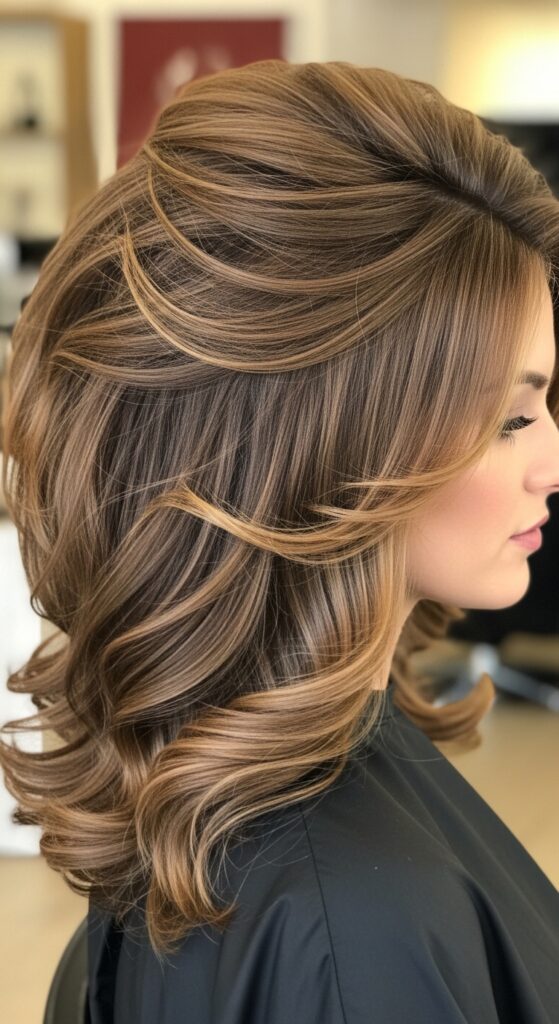
Fine hair needs a lighter touch. Use a volumizing mousse at the roots and a texturizing spray on lengths. When blow-drying, keep sections smaller.
Pull the hair up at a sharper angle for maximum lift. The cool shot is extra important here to set the style. Finish with a light-hold hairspray all over for insurance.
Adapting the Technique for Thick or Curly Hair
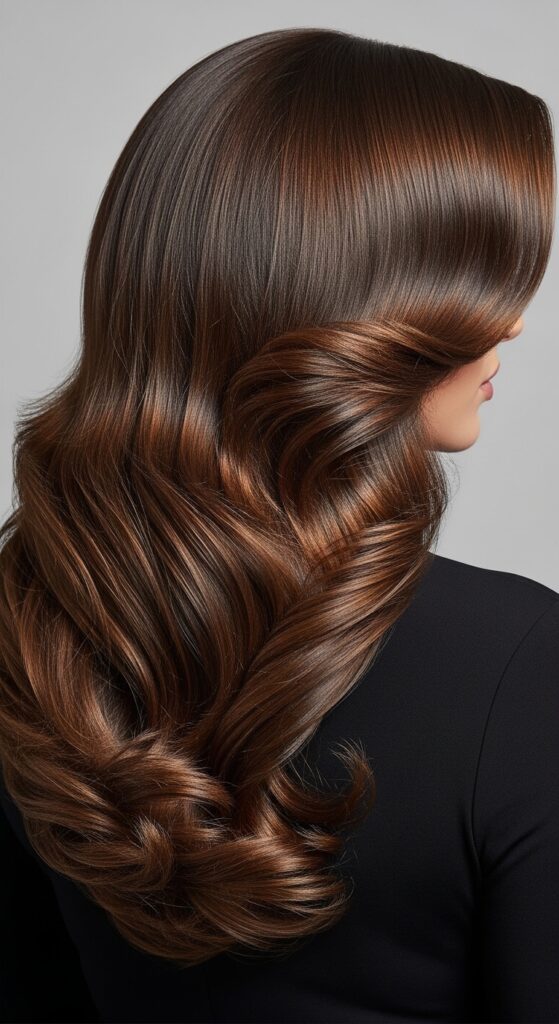
For thicker hair, you need more tension and more heat. Work in smaller sections to ensure each one gets fully dry. A pre-dry with a diffuser to get hair 80% dry can help before you go in with the brush.
Use a stronger hold mousse. The goal is to smooth and shape while still encouraging that lift from the root, perfect for smoothing a curly shag or adding polish to a vampire haircut’s texture.
Product Recommendations for Maximum Hold
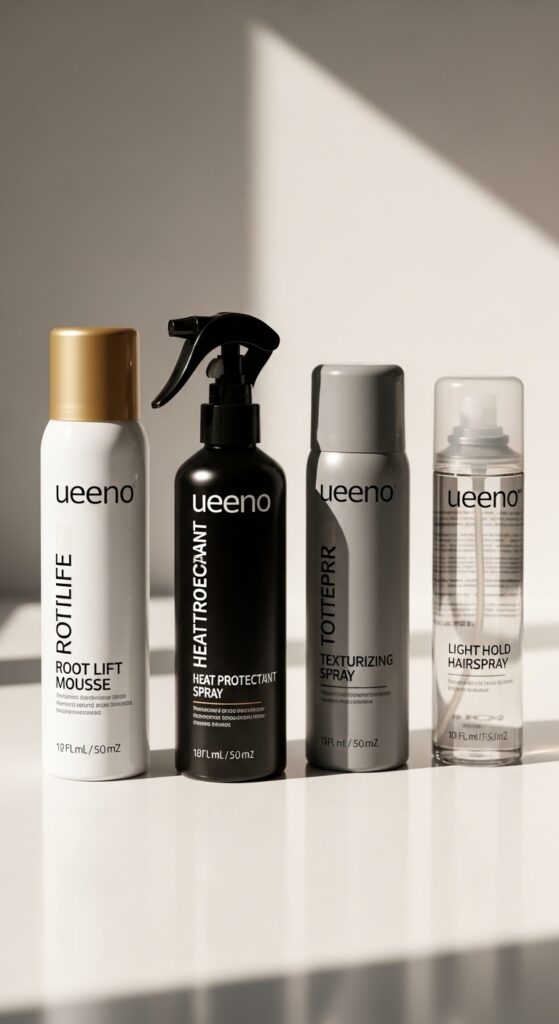
You don’t need a lot, but you need the right ones. I always start with a heat protectant. Then, a root-lift mousse like Living Proof Full Thickening Mousse is a game-changer.
A light texturizing spray on the ends adds separation. Finally, a flexible-hold hairspray locks it all in without making it crunchy. This combo works for almost every hair type.
How to Get That “Blowout Bounce” and Movement
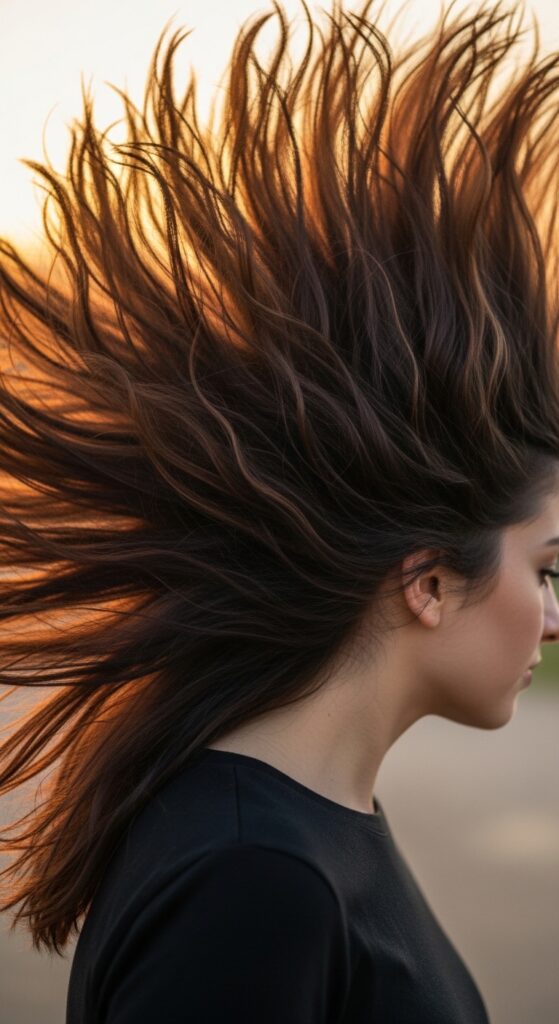
The bounce comes from the direction changes. Don’t dry every section going the same way. Alternate pulling some back, some up, some slightly forward.
When you’re finished, flip your head over and gently shake your roots with your fingers. Then flip back and lightly run your fingers through, never a brush, to break up the sections just a little for that live-in, bouncy feel.
Integrating Waves for a Softer Look
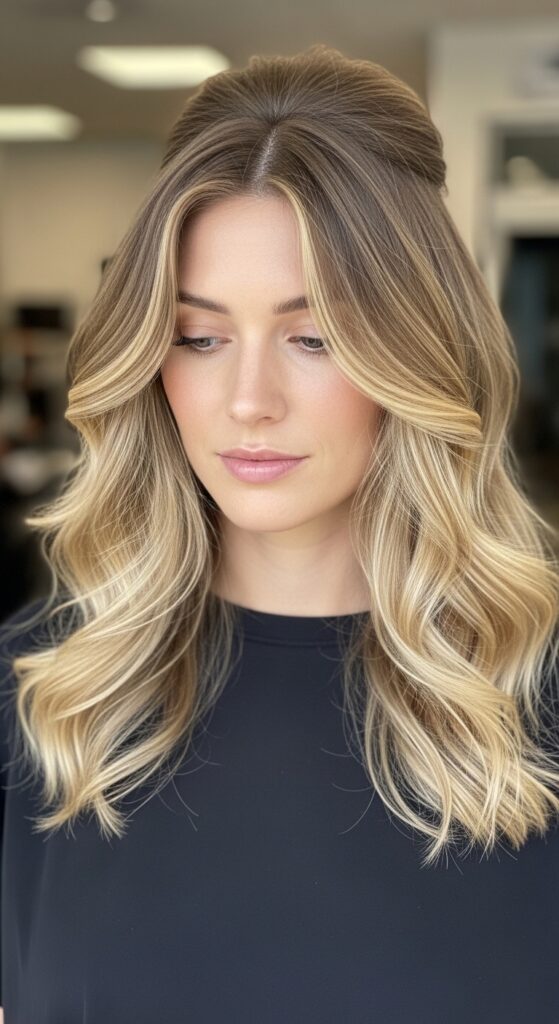
After your blowout is smooth and voluminous, you can add soft waves. Take large vertical sections and wrap them around the barrel of your 24mm brush, like a curling iron.
Heat and cool, then release. This gives a seamless, soft wave that matches the root volume. It’s a gorgeous way to add a touch of romance to the look.
When to Upgrade Your Tools
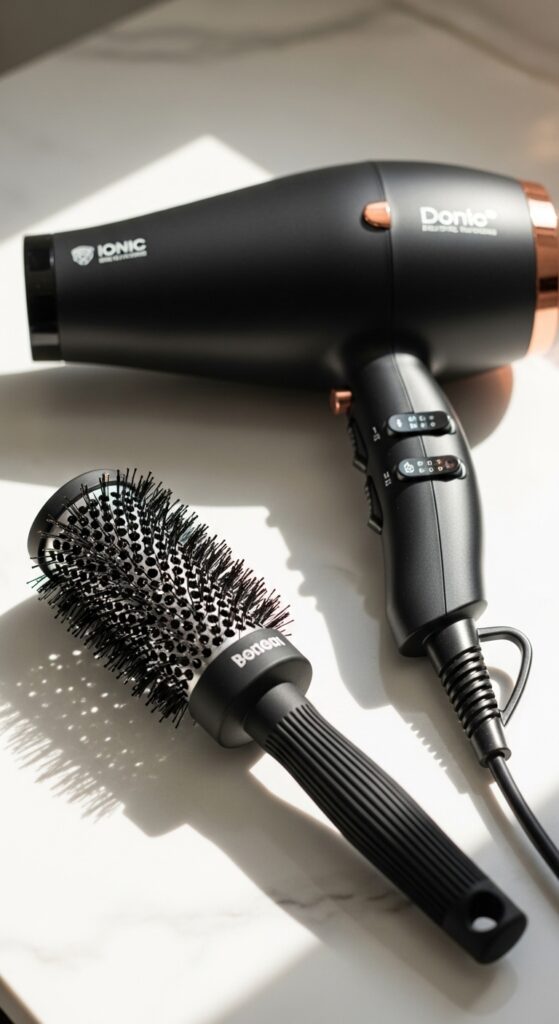
If you’re struggling, check your tools. A good dryer with high wattage and ionic technology dries hair faster and smoother. Your brush should have a mix of bristles and feel sturdy.
The barrel should be metal or ceramic to retain heat. These investments make the process faster and the results better, saving you time and frustration in the long run.
Practice Makes Perfect: Start Simple
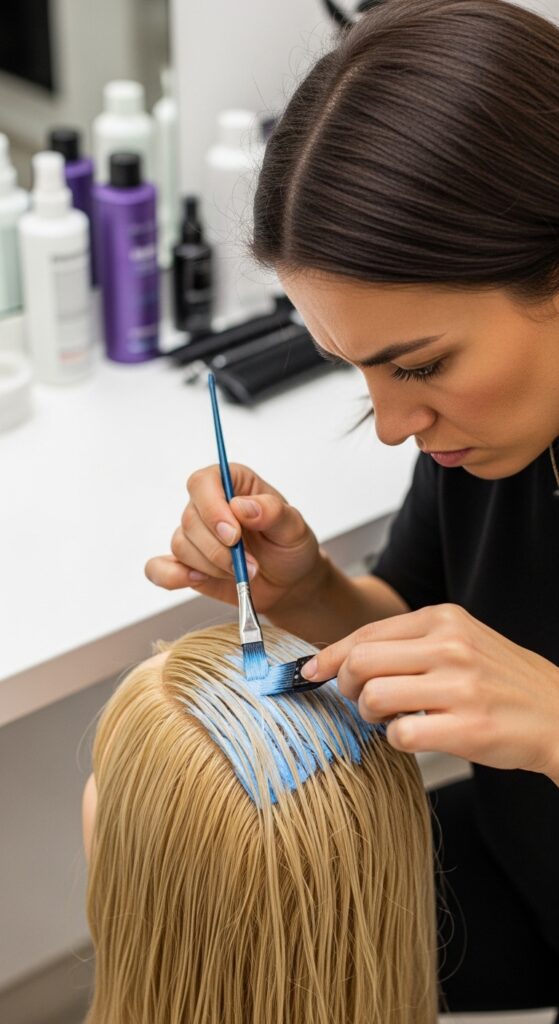
Don’t expect to be perfect on the first try. Start by just mastering the root lift on the under-layers of your hair, where mistakes are hidden.
Practice the motion of rolling the brush and holding the dryer. Even just getting volume at your nape and crown will make a huge overall difference. You’ll get faster and better every time you try.
Your At-Home Salon Routine Simplified
- Wash, condition, towel-dry gently.
- Apply heat protectant and root lift product.
- Section hair into four parts.
- Dry bottom sections with brush technique, then top sections.
- Smooth mid-lengths and ends.
- Cool completely, then shake out and style.
See? It’s not so complicated. With the right brush and these focused techniques, you can absolutely get that “just-left-the-salon” volume at home. The key is all in the tension, the direction, and taking the time to let each section cool.
Once you get the hang of it, it becomes a quick part of your routine. You’ll start to feel like a pro, able to give yourself a lift that works with everything from a sleek bob to more textured, trending styles.
Now I want to hear from you! Which of these tips are you going to try first? Did you discover a trick that changes everything for your hair type? Spill your thoughts in the comments below—I read every single one.
Save this post to Pinterest so you can always come back to the step-by-step guide whenever you need a volume refresh!