Boldly 22 Prism-Colored Micro Beads Threaded Through Protective Twists
You know that feeling when you want to protect your hair but still want it to look like a total party? That’s exactly where we’re going today. I recently discovered the magic of threading tiny prism-colored micro beads through protective twists, and honestly, it’s the easiest way to get a high-impact look without any heat or damage. Think of it like jewelry for your hair, but way more fun and way less expensive. In just a few steps, you can take your basic twists from quiet to completely unforgettable. Let me show you how I did mine, and I promise it’s simpler than it sounds.
What You’ll Need for This Look
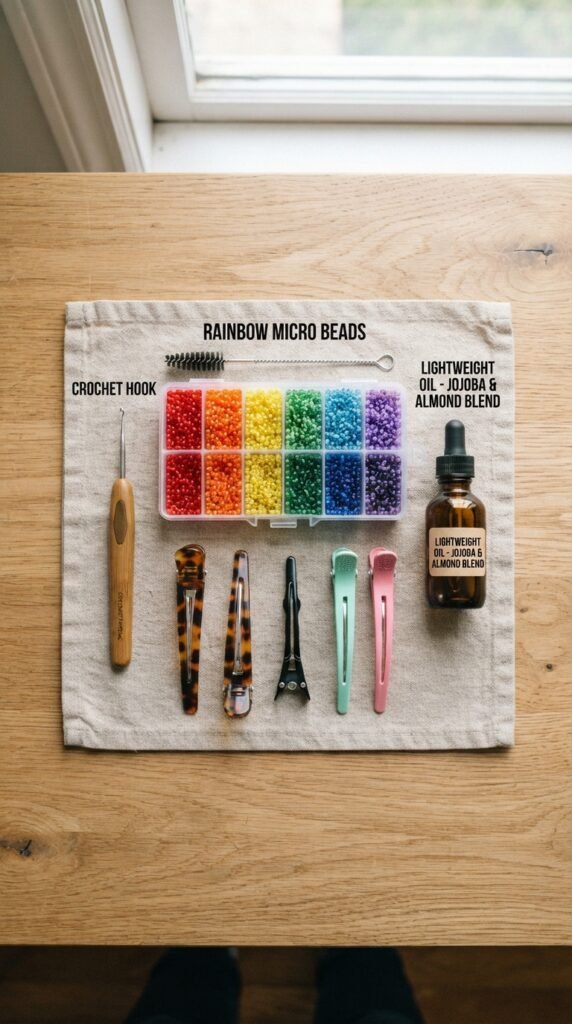
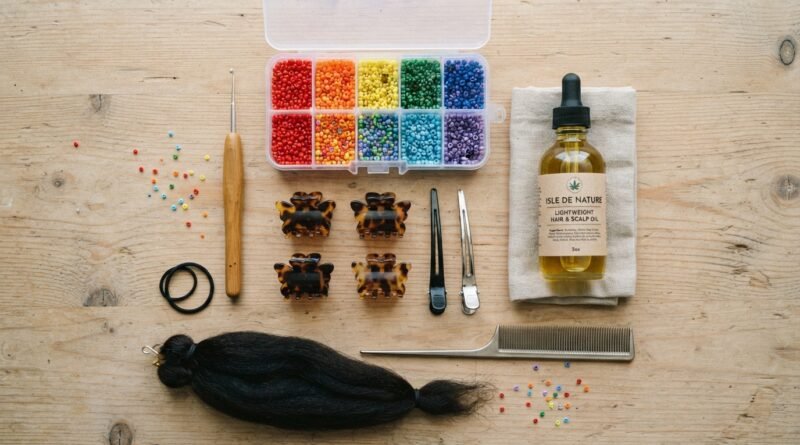
Before we dive in, let’s get your toolkit ready. You will need some pre-stretched braiding hair in a shade close to your own, a pack of prism-colored micro beads (I love the ones that catch light like tiny rainbows), and a thin crochet hook or a bead threader. A little bit of hair oil or edge control will help keep everything neat.
Don’t overthink the supplies. A basic kit from your local beauty store or an online shop will run you under $20. The goal is to have fun, not to spend a fortune.
Why Micro Beads Work So Well With Protective Twists
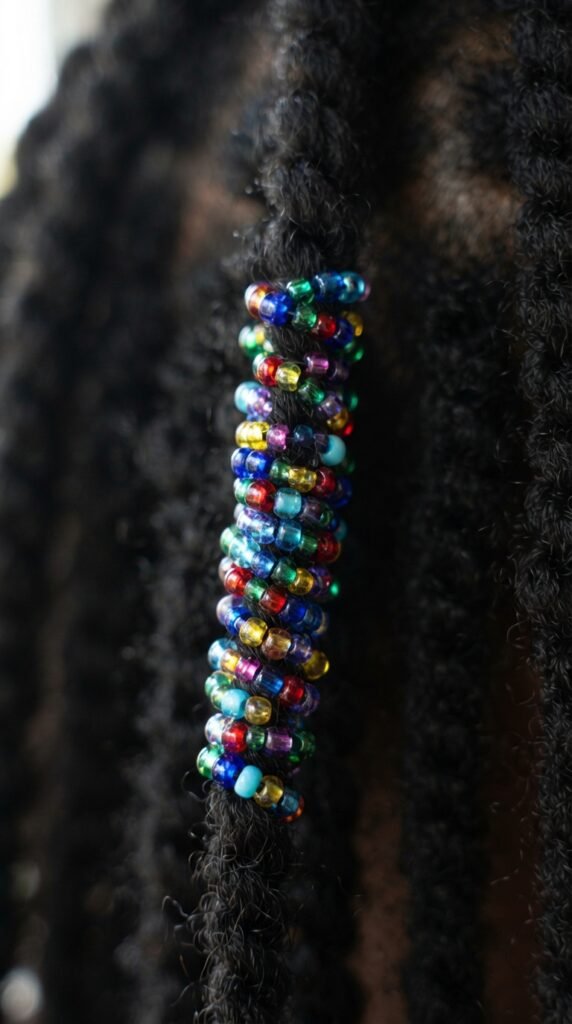
Micro beads are lightweight, so they won’t pull on your roots or cause tension headaches. Unlike heavy metal hair clips, these little guys sit quietly on the twists and move with you. They also last for weeks if you secure them properly.
Another reason I love them? They make a bold statement without any commitment. If you get bored, you can easily slide them off. It’s the perfect way to experiment with color, texture, and light without dyeing or cutting anything.
Start With Clean, Moisturized Hair
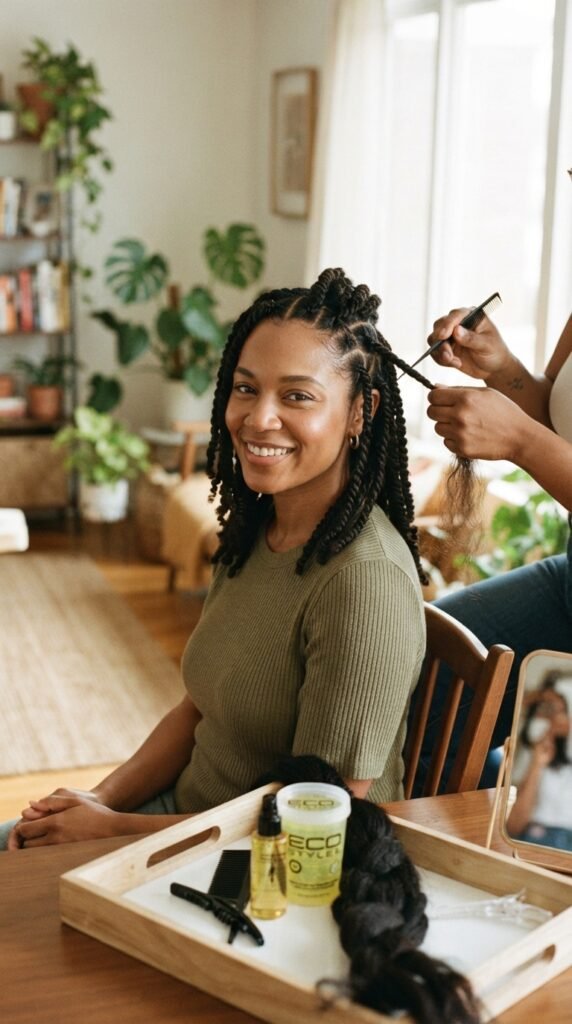
Always start with clean, fully dried hair. If your natural hair is damp under the twists, it can lead to mildew or breakage. I like to wash mine, apply a lightweight leave-in conditioner, and let it air dry completely before I add the braiding hair.
Once your hair is dry, section it into small, even parts. This makes it easier to create uniform twists and ensures every twist gets its own moment with the beads.
How to Section for a Polished Finish
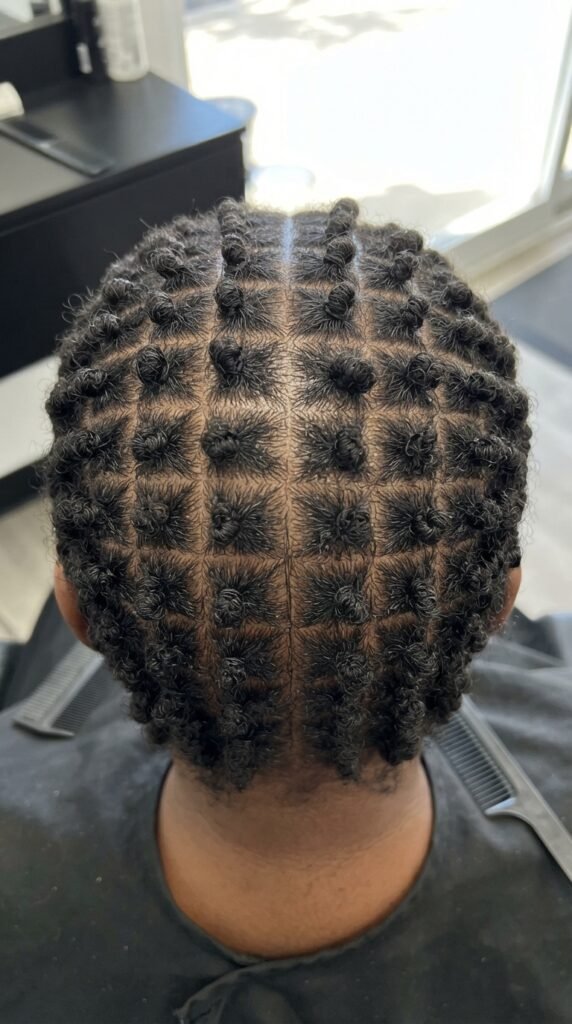
You want your twists to be about the thickness of a pencil. Too thick and the beads might slip; too thin and they might look sparse. Using a rat-tail comb, part your hair into neat little squares or triangles.
One tip I swear by: clip each section out of the way as you go. This keeps your parts sharp and your final look professional. It takes an extra ten minutes, but the result is totally worth it.
The Secret to Adding a Bead: A Simple Loop Trick
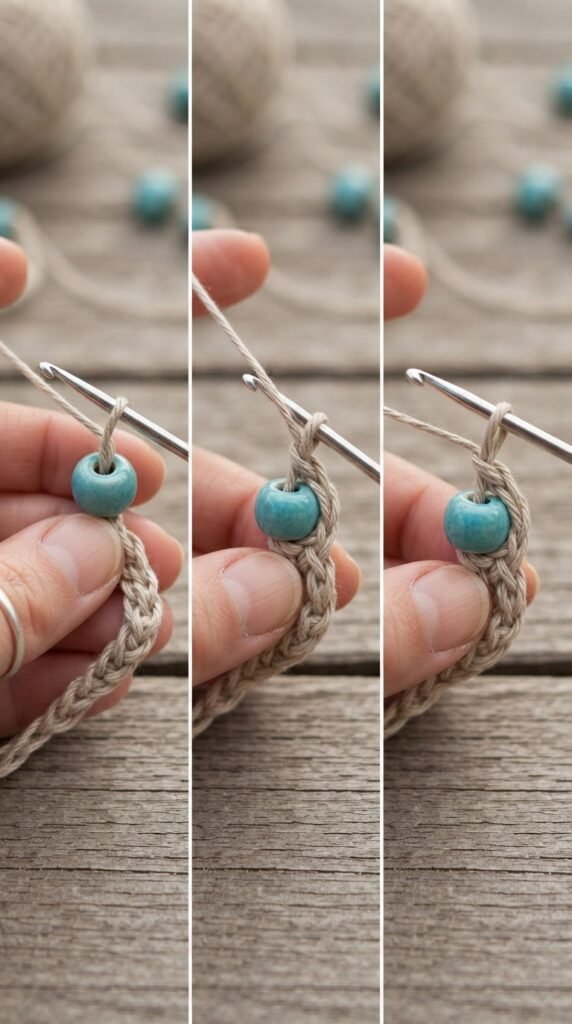
Here is the easiest method I’ve found. Thread your bead onto a small piece of string or a thin elastic band. Then, use your crochet hook to pull that string loop through the center of the twist, about an inch from the end. Slide the bead over the string and onto the twist.
Once the bead is on, just remove the string. It sounds fiddly, but after two or three tries, you will be a pro. You can also buy pre-threaded beads, which saves even more time.
Picking the Right Bead Colors for Your Skin Tone
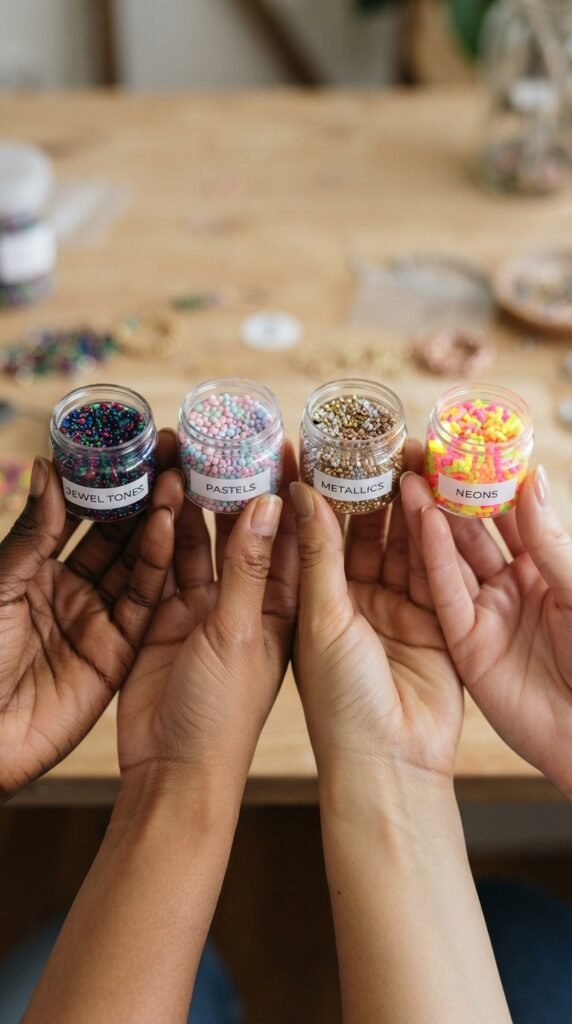
I love a rainbow approach, but if you want something more curated, think about your undertones. Cool skin tones pop with blues, purples, and silvers. Warm skin tones glow with golds, corals, and greens.
For a truly “quiet luxury” vibe, try mixing matte black beads with one or two metallic gold or silver ones per twist. It gives a subtle, old money feel without screaming for attention.
How Many Beads Per Twist? Less Is More
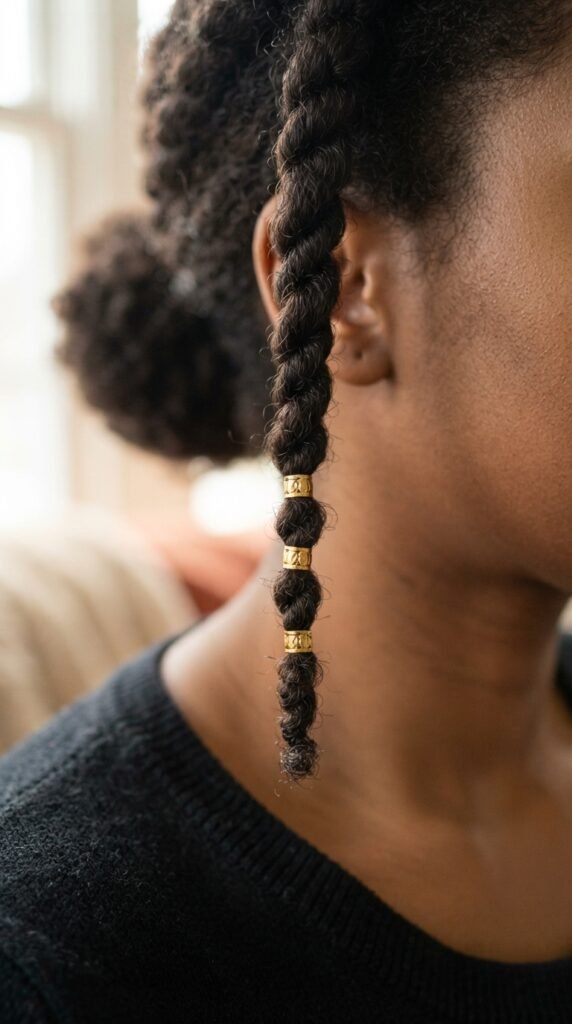
You don’t need to cover every inch of your hair in beads. For a chic look, add one bead at the very tip of the twist and one about halfway up. Three beads max per twist keeps it from looking cluttered.
If you are going for a glitchy glam style, try clustering three beads right at the bottom. It creates a cool, digital-inspired pop that feels fresh and modern.
Protective Twists Meet the Old Money Aesthetic

You can absolutely wear this look with a quiet luxury bob shape. If your twists are cut to jaw-length or just below, adding a single gold or pearl-toned bead to each one mimics the elegant restraint of old money hair.
It’s the perfect balance between “I put effort in” and “I don’t have to try too hard.” Pair it with a simple outfit, and you will look like you just stepped out of a very expensive catalog.
Romantic Goth Hairstyles Meet Colorful Beads
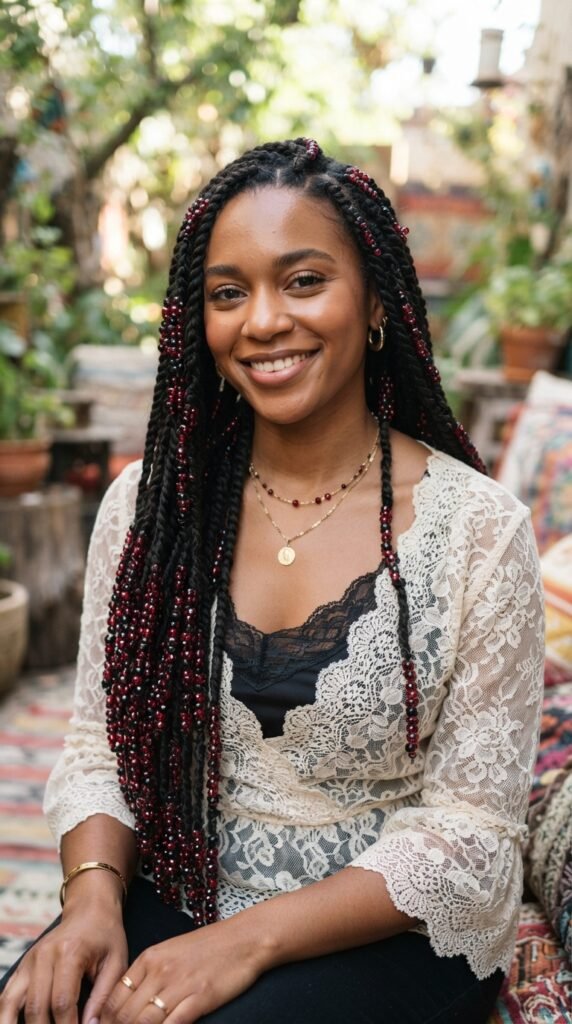
If you vibe with romantic goth hairstyles, this is your moment. Choose beads in burgundy, black, and dark purple. Space them out evenly along the bottom half of your twists for a moody, magical effect.
The prism finish on the beads catches candlelight beautifully, which is exactly the vibe for a cozy, dramatic evening look. It’s delicate but still edgy.
Adjusting the Look for an Asymmetrical Lob
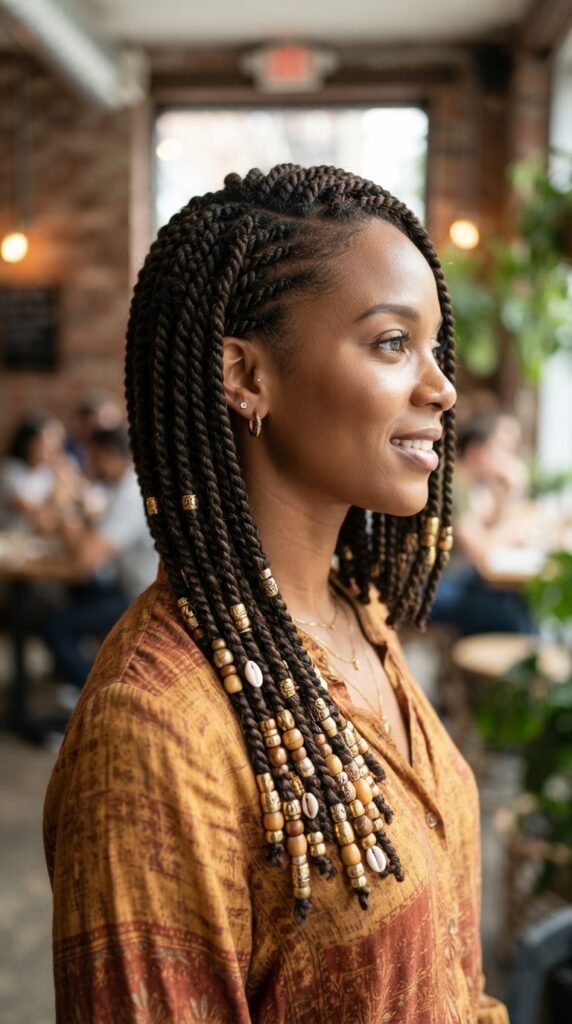
An asymmetrical lob is one of my favorite 2026 hairstyles because it’s so versatile. If you are rocking twists cut in this shape, bead placement is key. Concentrate your colorful beads only on the longer side for a fun, unbalanced contrast.
This draws the eye to the asymmetry and makes your haircut look intentional and artistic. Leave the shorter side completely bead-free for maximum visual interest.
Vampire Haircut Styling With Micro Beads
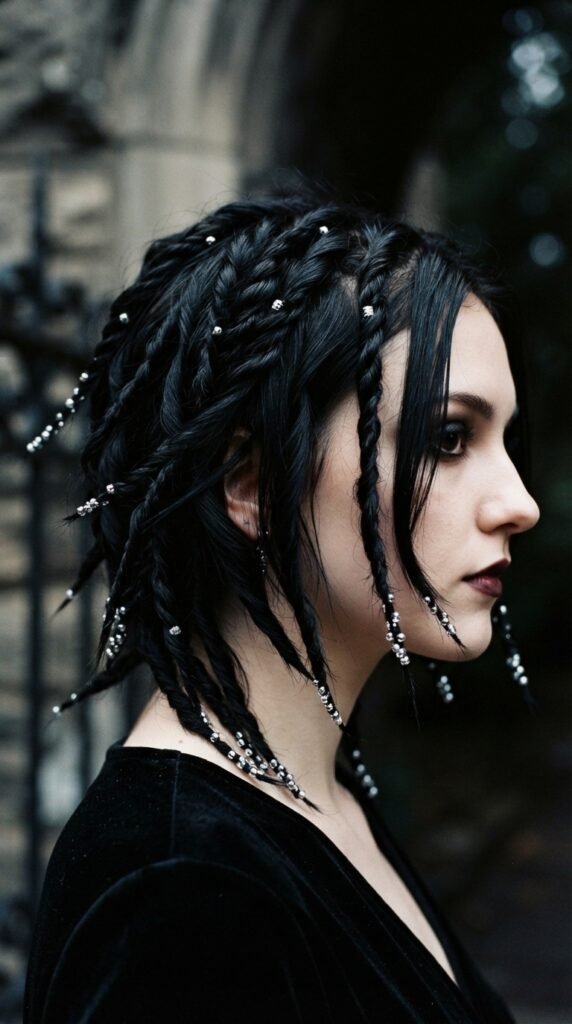
For anyone who loves the vampire haircut, micro beads are a no-brainer. The sharp, layered ends of this cut already scream drama. Adding a few silver or white prism beads to the very tips makes them look almost glow-in-the-dark.
It gives a cool, slightly spooky vibe without being over-the-top. I’d wear this with a dark red lip and a baggy black sweater for the ultimate fall energy.
Getting the Hime Cut Effect With Beads
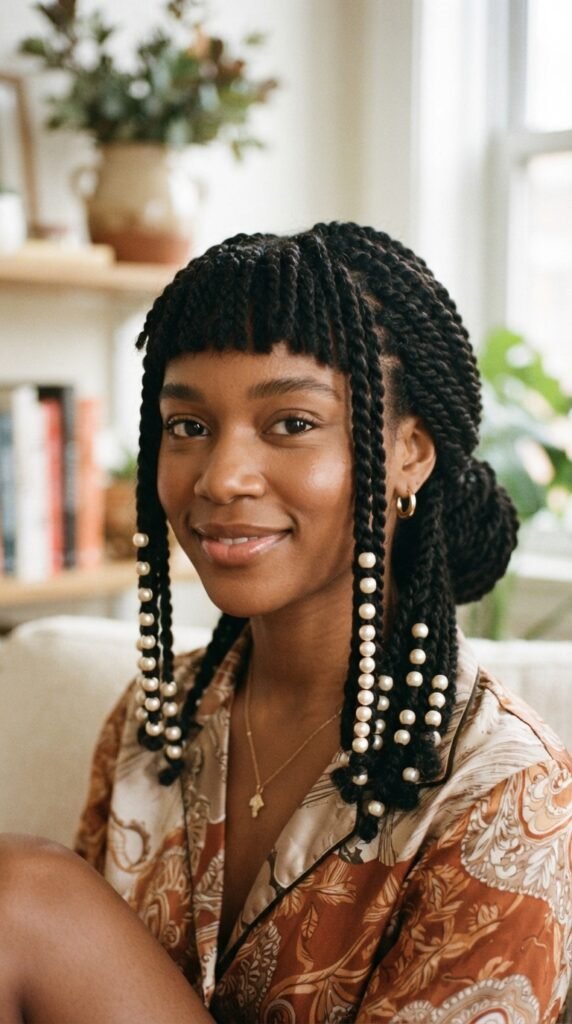
The hime cut is all about the sharp side pieces framing your face. When you do this with protective twists, add a line of tiny beads down each of those front sections. It acts like a natural highlight for your face.
Use clear or pearl beads for a soft, princess-like feel. It’s a beautiful way to honor the classic shape while adding your own colorful twist.
Glitchy Glam Hair: A Digital Era Must-Try
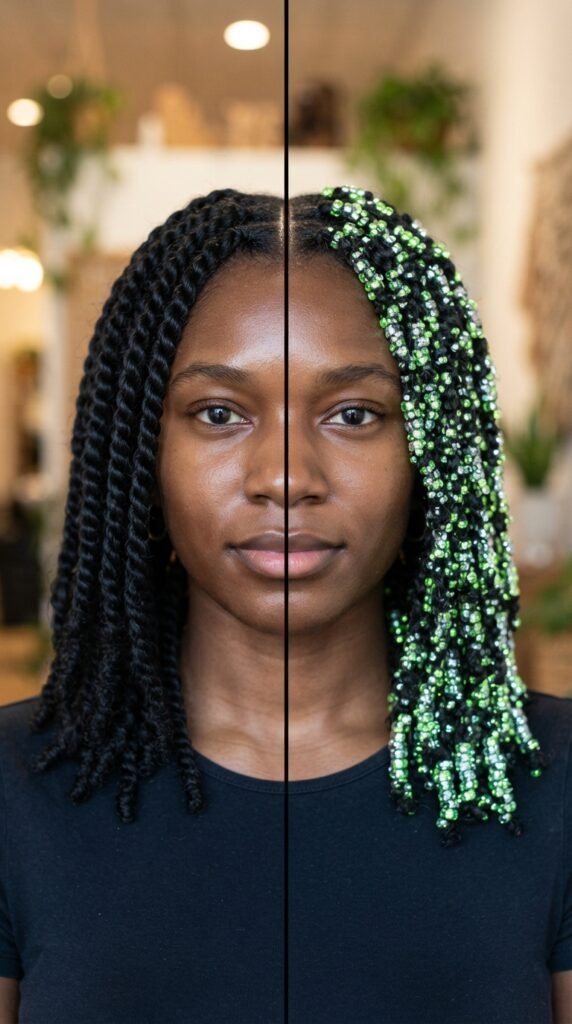
This trend is all about controlled chaos. To channel glitchy glam hair, mix two or three completely different bead colors in the same twist. Use neon pink, electric blue, and bright yellow together for a screen-like effect.
Don’t space them evenly. Put two beads close together, then skip a long gap, then add one more. The randomness is what makes it feel “glitchy.” It’s perfect for festivals or just a day you want to feel a little extra.
How to Secure Beads So They Never Slip Off
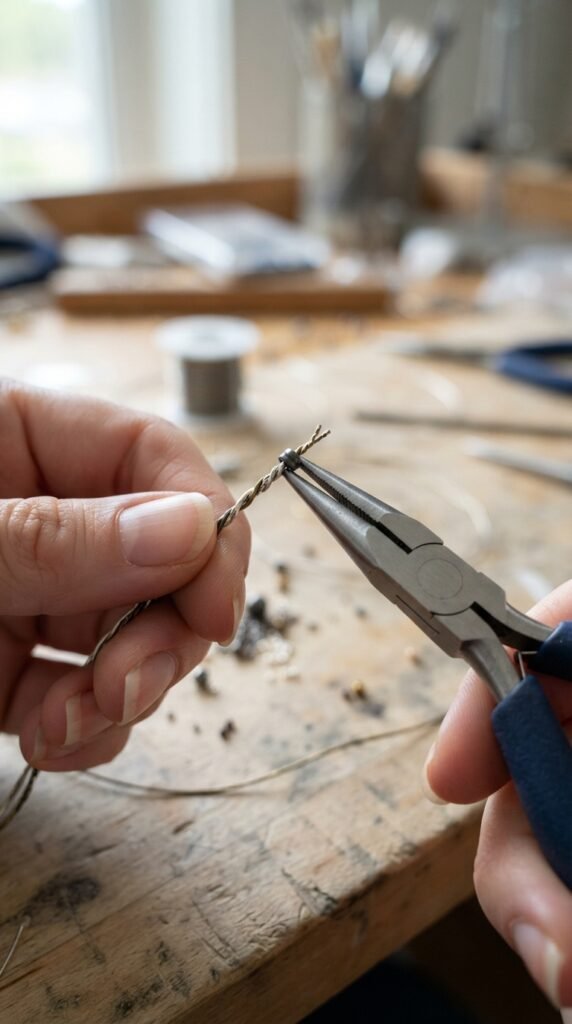
If you are using metal micro beads, you can gently crimp them with a pair of small pliers. Just squeeze the bead slightly until it grips the twist. Be careful not to crush it completely, you want it to stay round and pretty.
For plastic beads, a tiny dab of clear hair gel on the twist before sliding the bead on will keep it in place. Let it dry for a minute, and it will hold like a charm.
Mixing Textures: Curly Twists vs. Straight Twists
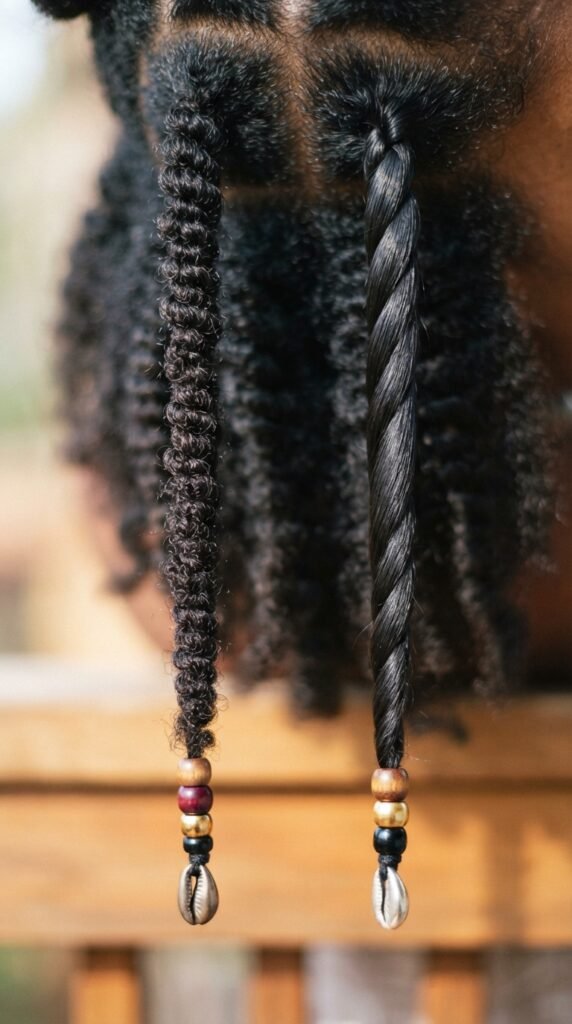
Beads look amazing on both curly and straight protective twists. On curly twists, they tend to sit a bit higher, creating a playful, bouncy look. On smooth twists, they slide down to the tip and look more sleek.
Try mixing the two textures in one style. Do the top half of your head with straight twists and the lower half with curly twists. The beads will highlight the contrast beautifully.
Maintenance for Long-Lasting Colorful Beads

To keep your beads bright and your twists fresh, always sleep with a satin or silk bonnet. The beads can snag on cotton pillowcases, and nobody wants to wake up with a bead tangled in their hair at 3 AM.
When you wash your hair, use a gentle shampoo and focus on your scalp. Avoid scrubbing the beads themselves; just let the water run over them. They will stay shiny and vibrant for weeks.
Removing the Beads Without Damaging Your Hair
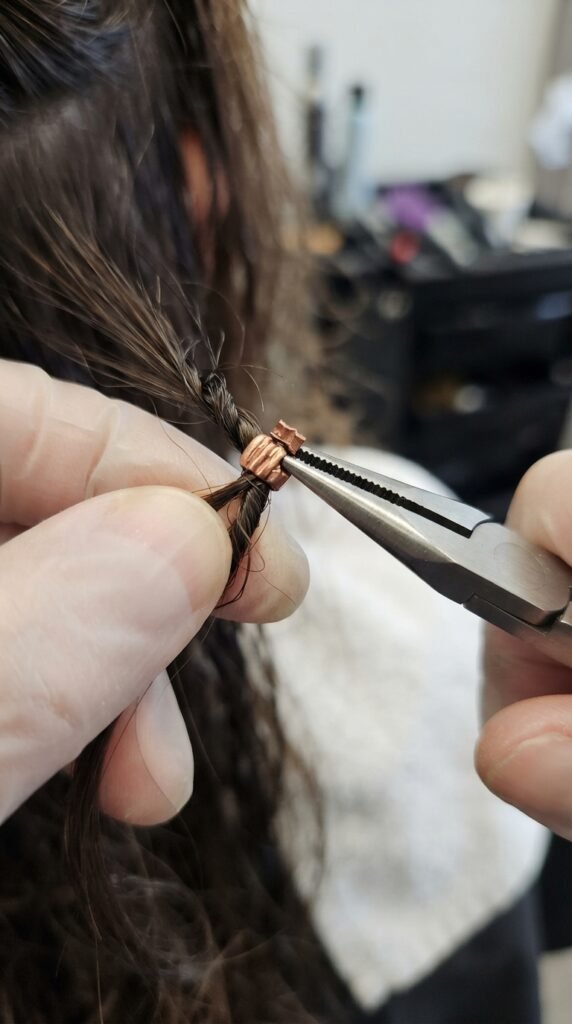
When it’s time for a change, removal is easy. Gently pinch the metal bead with pliers to open it back up. For plastic beads, slide a thin needle or pin between the bead and the twist to loosen the grip.
Never pull the bead down over the twist. Always slide it off upward, toward the root. This keeps your twist intact and your hair smooth.
Perfect for All Hair Types and Lengths
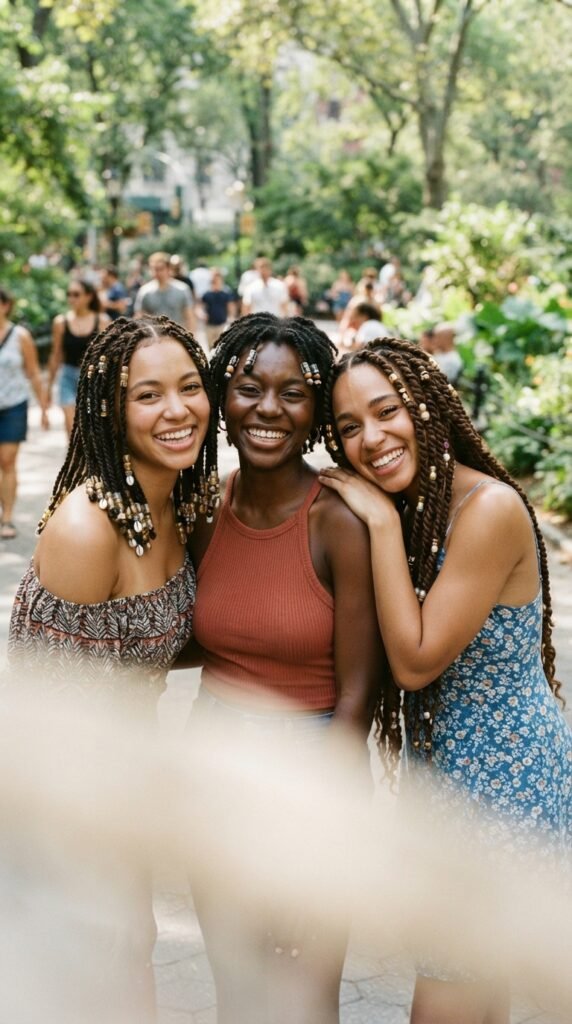
This style is not just for one hair type. Whether you have fine, thin hair or thick, coily hair, micro beads work. For shorter hair, use tiny, 4mm beads. For longer twists, you can go up to 8mm or even 10mm for a bolder statement.
I love that this is a trend anyone can try. It’s forgiving, affordable, and instantly changes your whole look. Plus, it’s a great conversation starter.
Pairing Beads With 2026’s Biggest Trends
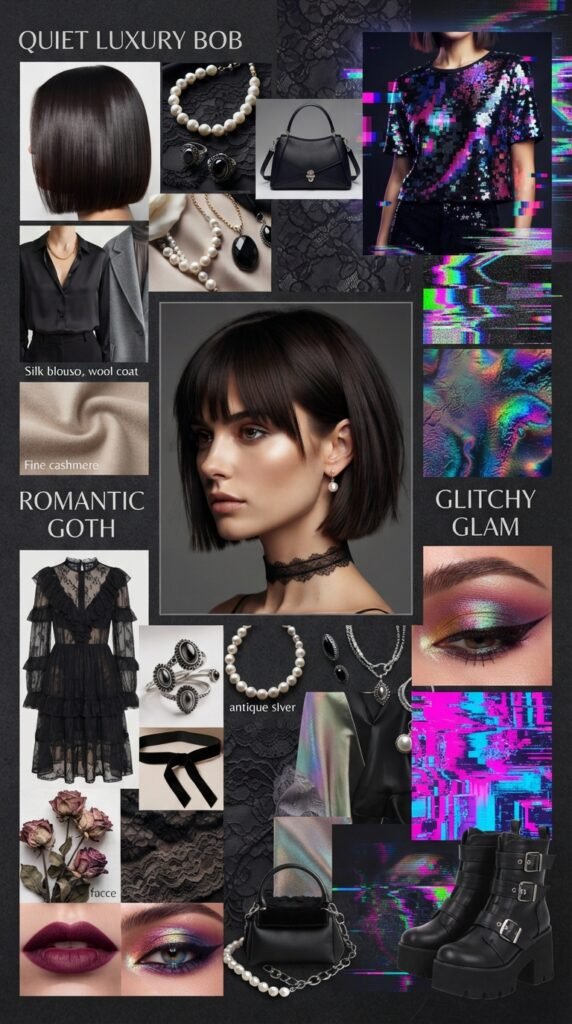
This is where it all comes together. The 2026 hairstyles scene is all about mixing soft elegance with bold edges. A quiet luxury bob in protective twists with a few gold beads? Yes. A vampire haircut with dark red beads? Absolutely.
You can literally take any of the trends we talked about and add a bead accent. It’s the accessory that ties it all together, literally and figuratively.
Final Easy Steps to Get Started Right Now
Ready to go? Here is your quick recap. First, get your twists prepped and sectioned. Second, thread one bead onto a small string. Third, pull the string through the end of your twist. Fourth, slide the bead into place and remove the string. Fifth, repeat on every twist you want.
That’s it. You can do the whole head in about 30 minutes while watching your favorite show. It’s low effort, high reward, and totally worth the tiny amount of patience it takes.
I hope you feel as excited as I am to try this out. It’s one of those little projects that makes you feel like you did something creative and good for your hair at the same time. The best feeling, right?
Save this post to Pinterest so you can come back to it when you need a reminder of how easy this is. And please, tell me in the comments what color beads you are planning to use. I am honestly curious and would love to hear your ideas.