Boost 21 Root Refresh Clips Lifting Flatness Between Washes
Okay, bestie, let’s be real for a second. We all love the look of fresh, bouncy, voluminous hair. But we also love a good stretch between wash days, right? That’s where that little moment of panic happens, when you look in the mirror and your roots are just… flat. That sad, oily, stuck-to-the-scalp situation that makes your whole head feel heavy.
Enter the absolute game-changer you didn’t know you needed: root refresh clips. These tiny little tools are basically magic for your second-, third-, or even fourth-day hair. They’re the secret to getting volume without a full blowout or a dry shampoo avalanche. Today, I’m sharing exactly how to use ’em to lift the flatness, refresh your style, and buy you at least another day (or two) of gorgeous hair. Ready to look fresh without the wash?
Why Your Roots Go Flat (And Clips Are The Fix)
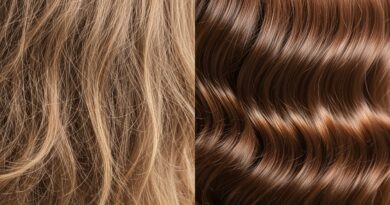
It’s not your fault. Your natural oils, heat from your body, and even gravity all work together to pull your roots down overnight. By day two, even the best blowout can look sad. Dry shampoo helps, but it can leave texture and sometimes just doesn’t give that lift.
Root refresh clips work differently. They lift the hair at the root while you go about your morning routine. By creating that physical separation while the hair cools down (or product sets), you train the hair to hold its shape. It’s the simplest, most low-effort volume hack, and it seriously delivers the kind of polished, “old money hair” look without the salon visit.
What You’ll Need (The Super Short List)

You don’t need a fancy toolkit. Just two or three things (and you probably already have one of them).
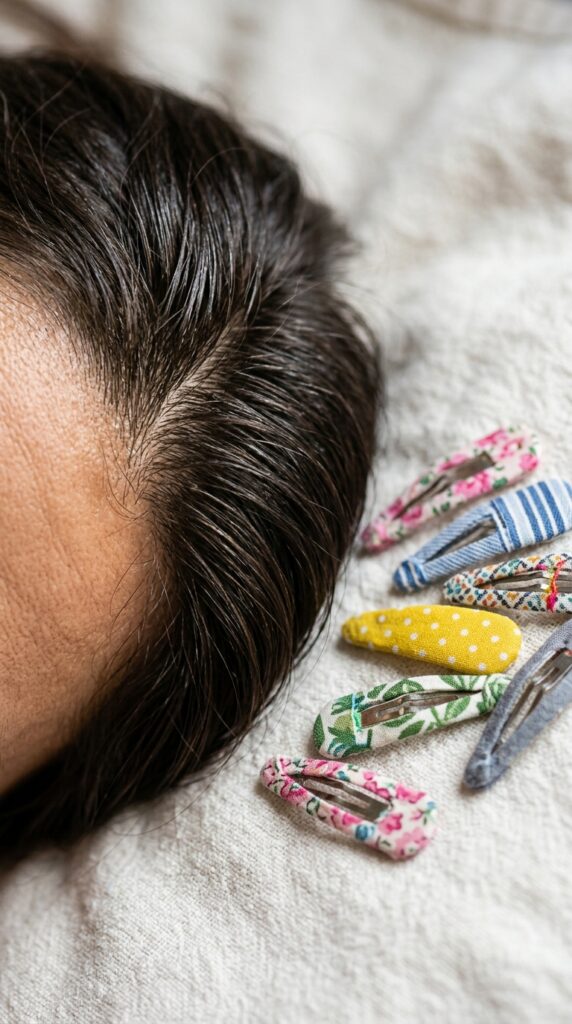
- The Clips: Look for small, double-pronged metal clips. They grip the hair better than the single-prong ones.
- Dry Shampoo (Optional but great): A light powder or spray for a little texture boost.
- A Hairdryer (Optional): Even 30 seconds of warm air can set the lift in place.
Step 1: Start With Clean-ish Hair (Don’t Wash!)

This whole trick is for the hair you already have. Don’t make it wet. If your roots are a little shiny, go ahead and give them a quick dusting of dry shampoo first. Let it sit for a minute, then brush it through lightly.
The goal is to give the clips a little bit of “grip” to work with. Completely dirty hair can be too slippery. You want the hair to be dry, not crunchy, just with a tiny bit of texture so the clips hold on and create actual volume. Think of it as prepping the canvas.
Step 2: Section Your Hair Like You Mean It

Don’t just clip a random chunk. For real lift, you need to work in sections. Start at the crown of your head—that’s the place that looks flat first.
- Top Crown: Take a one-inch section from the very top.
- Mid-Section: About an inch below the first section.
- Sides: A small section near your temples or behind your ears.
Honestly, you only need 3-5 sections total. Any more than that and you’re just fussing for no reason. We’re keeping it practical.
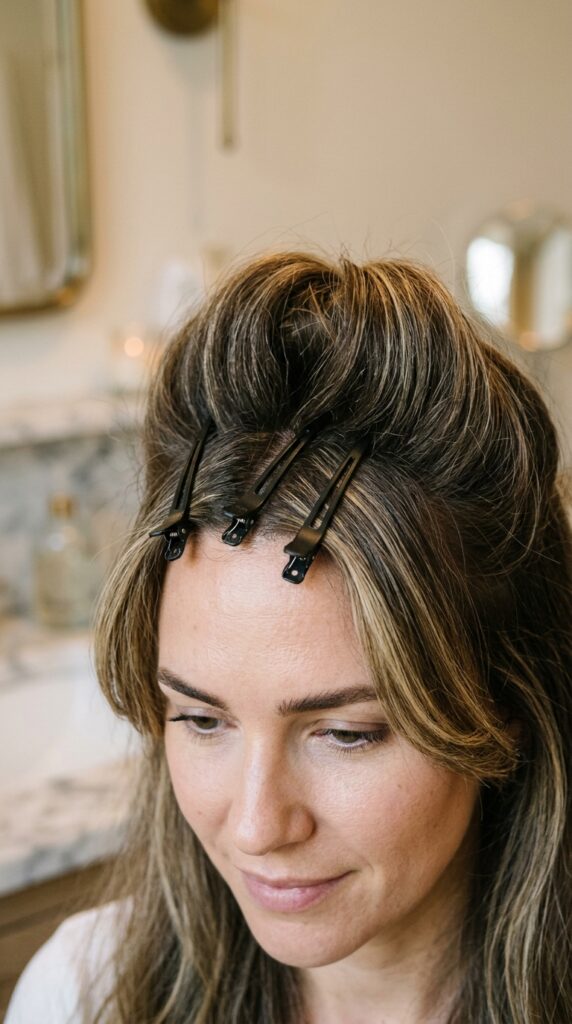
Step 3: The “Lift and Press” Technique
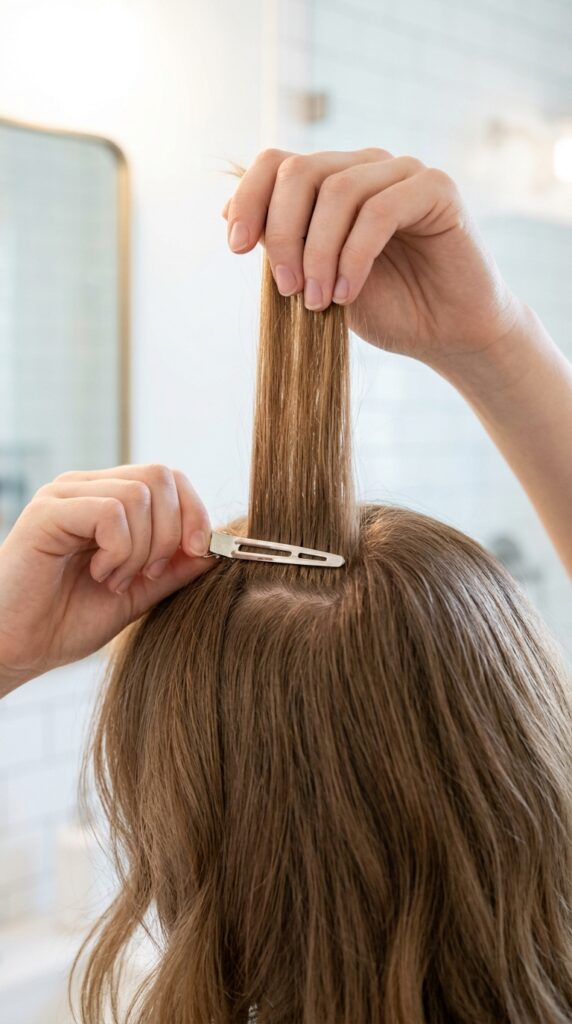
This is the most important part. Take your section, lift it straight up (perpendicular to your head), and then gently press the clip in place right at the root. Don’t clamp it down flat against your scalp.
You want the clip to hold the hair in that lifted position. Imagine you are creating a little “tent” of hair. The clip is the pole holding the tent up. This physical break is what stops the oil from traveling down the strand and gives you that airy, “quiet luxury bob” feeling of effortlessness.
Step 4: Add Heat (The Secret Weapon)
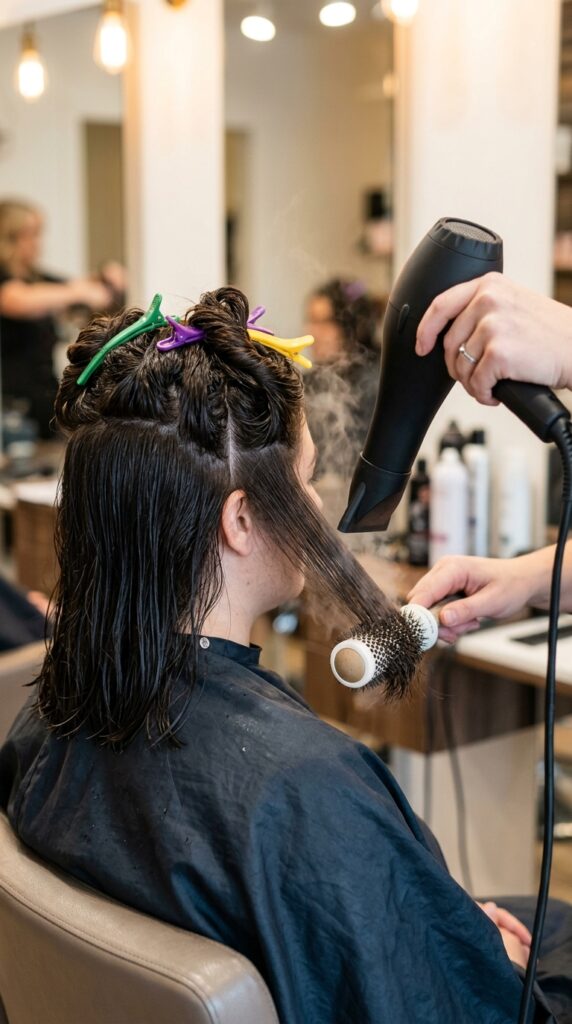
This is a total game-changer and takes less than a minute. Once your clips are in, blast your roots with warm air from your hairdryer for 10-15 seconds. Don’t use the hottest setting—just warm.
The heat “sets” the memory of that lifted shape into the hair cuticle. If you have fine hair that falls flat easily, this step is why the clip trick actually works for you. Let the hair cool completely (while you brush your teeth) before removing the clips. Cold air also works if you have a cool shot button!
Step 5: Let It Cool Down (Patience is Cheap)

I know you want to take them out and see the magic right now. Don’t. Go do something else for 5-10 minutes. Put on your mascara, make your coffee, or pick out your earrings.
This cooling-off phase is crucial. If you pull the clips out while the hair is still warm, the lift will just fall right back down. Think of it like letting a pie cool after you take it out of the oven. Let the structure set. This is the “low maintenance, high reward” part of the process that makes everyone think you just blow-dried.
How to Style After Removing Clips

Okay, time for the big reveal. Gently, gently, unclip each section. Don’t pull the clip straight down—slide it out to the side so you don’t flatten that new volume.
Now, just flip your head over quickly and run your fingers through the roots. Don’t use a brush yet. You want to rough up the lift so it looks natural, not like you have a helmet on. If you have a vampire haircut or a modern hime cut, this finger-combing stage helps the shorter layers blend into that voluminous crown without losing the shape.
Best Hairstyles for the Root Refresh Trick
This trick works on pretty much any length, but it’s a total superstar for certain cuts. Styles that rely on structure and lift at the crown love this technique.
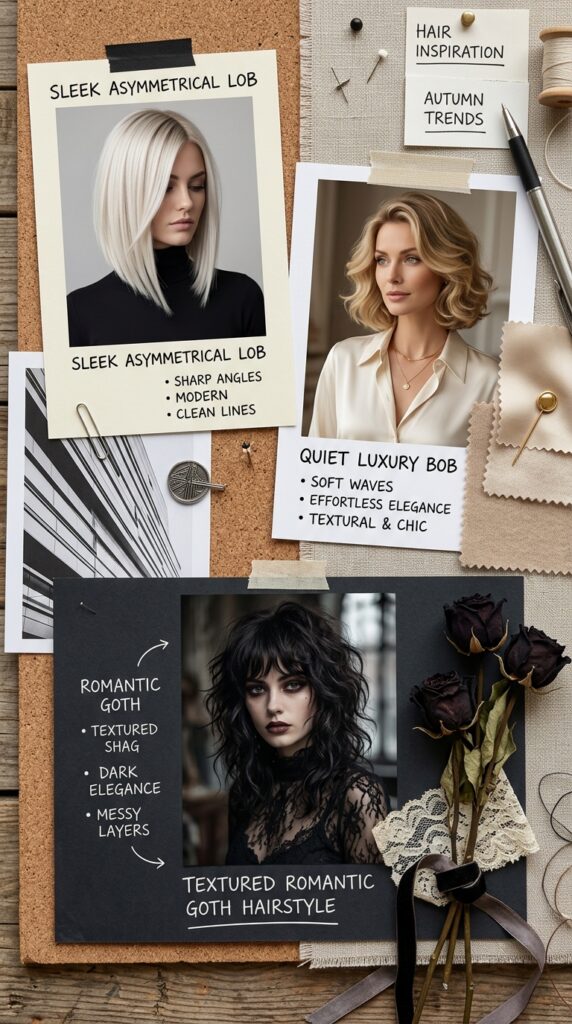
- Quiet Luxury Bob: Gives that subtle, expensive lift at the back.
- Asymmetrical Lob: Keeps the longer side from dragging the look down.
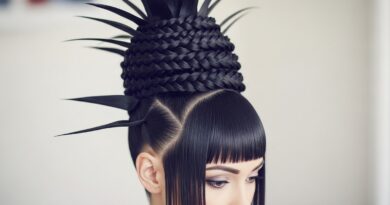
- Romantic Goth Hairstyles: Lifts the roots so the dark waves have more movement and otherworldly texture.
- 2026 Hairstyles: Modern cuts are all about effortless texture—clips deliver it without heat damage.
How This Works With “Old Money Hair”

You know that look. The hair that looks perfectly polished but like it wasn’t trying too hard? That’s the “old money” aesthetic. It’s not about big, teased hair. It’s about healthy, smooth hair with a soft, natural rise at the crown.
Root refresh clips are the ultimate way to get that. You avoid backcombing (which ruins the cuticle) and excess product. It’s just clean, lifted, expensive. Pair it with a quiet luxury bob or a sleek blowout, and you look put-together with zero effort. It’s the secret of people who always look “fresh.”
Can You Use This For Curly or Wavy Hair?
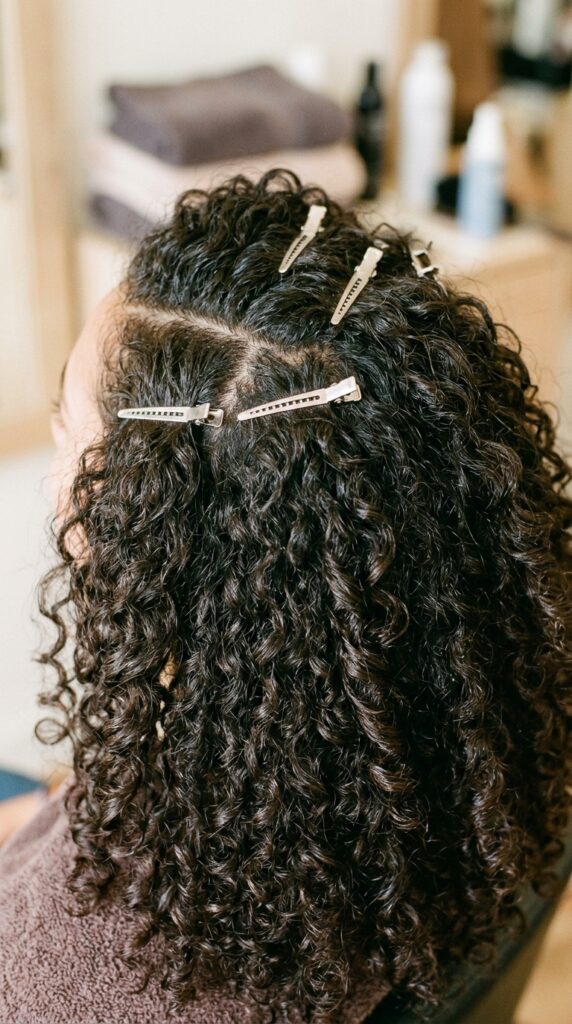
Absolutely, yes. Curly and wavy hair gets flat at the crown even faster than straight hair because of the weight of the curls. The trick is to clip smaller sections and be extra gentle.
Don’t pull the curl straight up. Instead, clip it at the root while leaving the curl shape intact. Use a little leave-in refresher spray before clipping. Let it air dry for 10 minutes, then unclip. You’ll get volume at the root without messing up your pattern. It’s the best way to refresh a twist-out or wash-and-go for another day.
The “Glitchy Glam” Hack for Edgy Looks
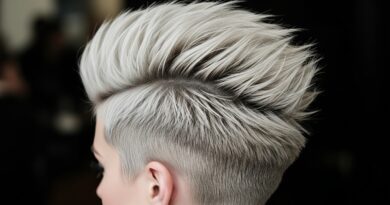
If you love the glitchy glam hairstyles trend—where things are slightly off-kilter and futuristic—clips are your styling tool. You can place them intentionally off-center to create an asymmetrical volume lift.
For example, clip only the left side of your part up high. When you take it out, that side will have dramatic height, while the other side stays sleek. It gives that high-fashion, slightly undone look. It’s a very 2026 way to style. Pair it with a metallic hair accessory, and you’ve got a whole vibe that looks like you spent hours on it.
Why This Beats Dry Shampoo (Most of the Time)
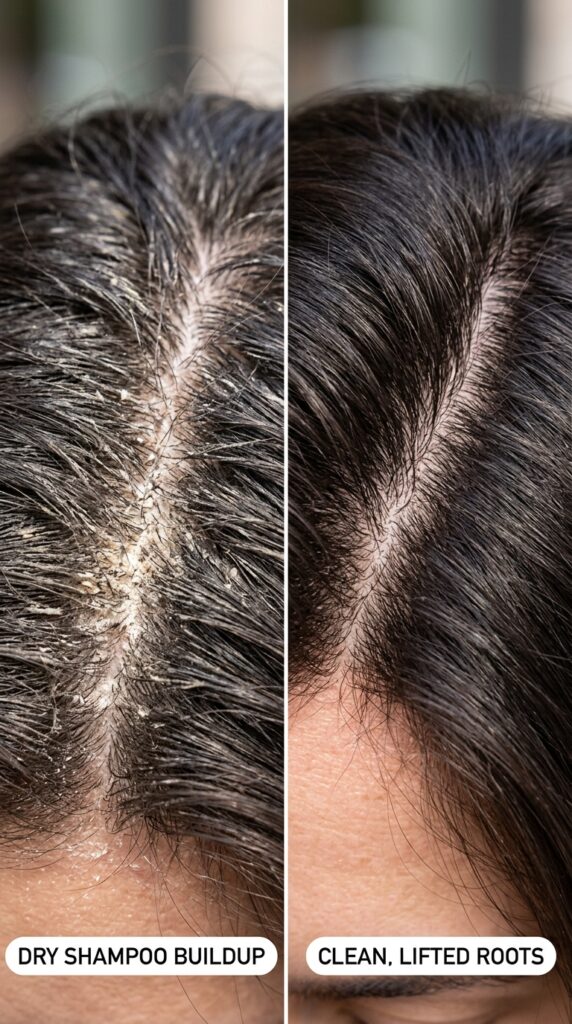
Listen, dry shampoo is my friend. But too much of it builds up and makes your hair look dull and feel sticky. Root refresh clips give you volume without adding any product.
This is especially good for finer hair types that get weighed down easily. You get the volume, and your hair still feels clean and soft to the touch. It also helps distribute your natural oil better by giving it less surface area to cling to. Less product, more volume—a total win for your hair health.
How to Keep the Volume All Day

So you got the lift. Now, how do you keep it from falling flat by lunchtime? The answer is simple: stop touching it. Your warm hands will flatten the roots faster than anything else.
Also, use a light-hold hairspray (just one spritz from a distance) after you style. And if you’re going to wear a hat or a helmet, just don’t. If you must, pop some clips back in when you take it off and hit it with warm air for 10 seconds. It’s a refresh circle, not a one-time deal.
What About Bangs and Fringe?
Bangs get flat and oily the fastest. You can clip your bangs too! Use one small clip right at the root of your fringe, lifting them up and forward (like a roll). Let them cool while you do your makeup.
This gives your bangs a soft, swoopy volume that looks intentional. It works perfectly with a vampire haircut or a hime cut where the fringe is a key part of the shape. They won’t stick to your forehead, and they’ll look fresh for a whole extra day. Game changer for anyone who battles greasy bangs.
Nighttime Prep for Morning Volume
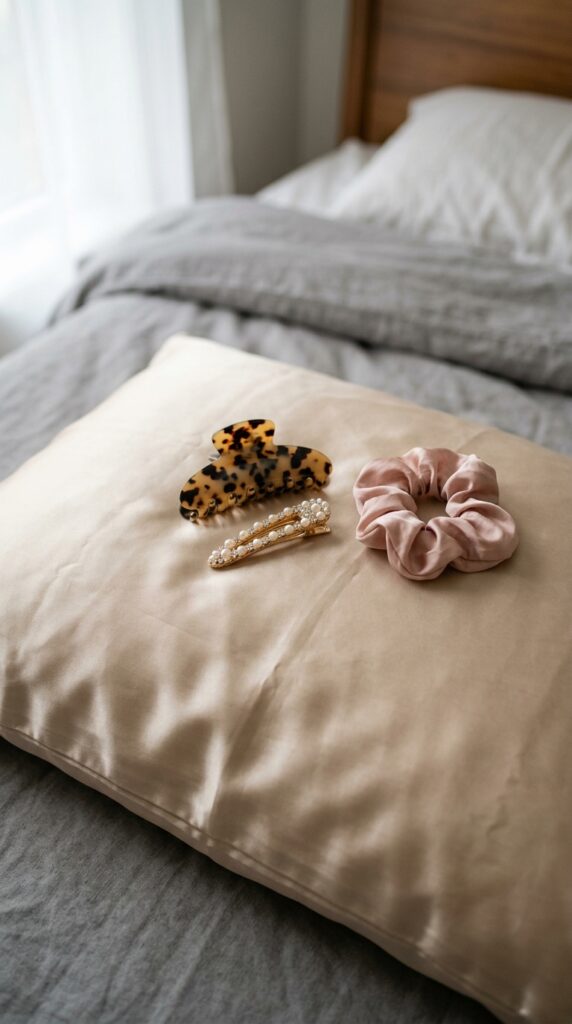
You can actually do this clip trick the night before for even easier mornings. Before bed, section your crown hair and put the clips in. Sleep on a silk pillowcase (it reduces friction).
When you wake up, just take the clips out, shake your hair, and you have instant volume. No heat, no effort. It’s like cheating. Your hair air-sets overnight while you sleep. This is perfect for mornings when you hit snooze too many times and need to walk out the door looking like you have an old money hair budget.
When NOT to Use This Method

This isn’t a fix for everything. If your hair is drenched in sweat, dirty, or you’ve already used a ton of styling products, the clips won’t save you. They lift the root, but they don’t clean the hair.
Also, if you have very short hair (like a pixie cut), the sections might be too small for the clips to work effectively. In that case, a good texture spray and a quick blow-dry is your better bet. Know when to use the tool. It’s for day 2 or day 3 hair that just needs a pick-me-up, not a full resurrection.
Why This Fits 2026 Hairstyles Trends

Right now, hair trends are all about dichotomy. We want the polished quiet luxury bob but also the dark, textured layers of romantic goth hairstyles and the rebellious glitchy glam looks. The common thread? Volume without damage.
Root refresh clips are a zero-heat, zero-chemical way to get the structure that these modern 2026 hairstyles need. They give you the flexibility to go from a sleek, clean look to a messy, textured one in seconds. It’s the tool that bridges all these trends together without breaking the bank or your hair.
How to Clean Your Clips
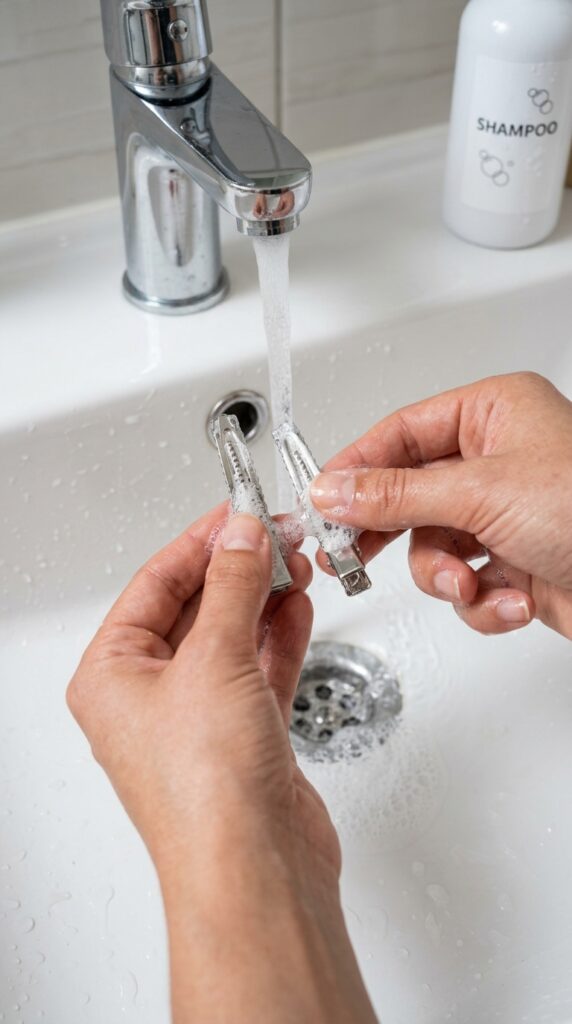
Your clips collect oils, product residue, and dust. Dirty clips won’t grip as well, and they can make your hair look greasy faster. It’s a small thing that matters.
Every two weeks, wash your clips in warm water with a little shampoo. Use an old toothbrush to scrub between the prongs. Rinse well and let them dry completely on a towel. Clean clips = better grip = better volume. It’s a two minute job that keeps your hair looking its best. Plus, it just feels good to have clean tools.
The “One Clip” Emergency Fix

In a rush? You don’t need to do all five sections. One clip, placed right at the front of your crown (where your part starts), can make a huge difference.
Just lift that one front section, clip it, and leave it in while you drive to work or finish your morning. Take it out right before you walk in the door. That single lifted piece changes the entire silhouette of your face and makes you look instantly more awake. It’s the ultimate survival hack for busy mornings.
Final Thoughts (But More Like A Hug For Your Hair)
Here’s the thing—great hair isn’t about having a perfect wash day every single day. It’s about knowing the little tricks that make the days in between look just as good. Root refresh clips are one of those tricks that feel like you’re getting away with something. You’re not washing, you’re not blow-drying, and yet your hair looks full of life.
Whether you’re rocking the clean lines of a quiet luxury bob or the dark drama of romantic goth hairstyles, this method gives you that extra day of confidence. It’s simple, it’s cheap, and it works. Your hair will thank you for the break from heat and product. And you’ll love the extra 20 minutes you get back in your morning.
Save this post to Pinterest so you never forget this trick. And seriously, tell me in the comments—what’s your go-to hack for surviving day three hair? I’m always looking for new secrets to try.