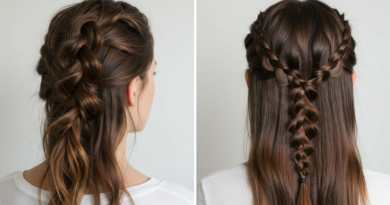
Challenge 13 Scalp Yeast Treatments Clearing Before New Installs
Let’s be real for a second: few things are more frustrating than planning a fresh install—whether that’s braids, a sew-in, or even a sleek wig—only to realize your scalp is throwing a party for yeast. It’s itchy, flaky, and honestly, a little embarrassing. But guess what? You are not alone, and this is totally fixable.
I’ve been there. Maybe you’ve been slacking on drying your scalp after a workout, or you left that protective style in a little too long. Whatever the case, we need to clear things up before we put in new hair. Because tucking yeast under a new install is like painting over moldy drywall—it will only get worse.
Today, I’m walking you through Challenge 13: getting your scalp truly clean and healthy before your next install. This isn’t complicated, but it takes a little patience. By the end of this post, you’ll know exactly what to do, what products actually work, and how to keep your scalp happy while you rock your next look—whether that’s a quiet luxury bob or a bold vampire haircut.
Why This Challenge Matters for Your Next Install
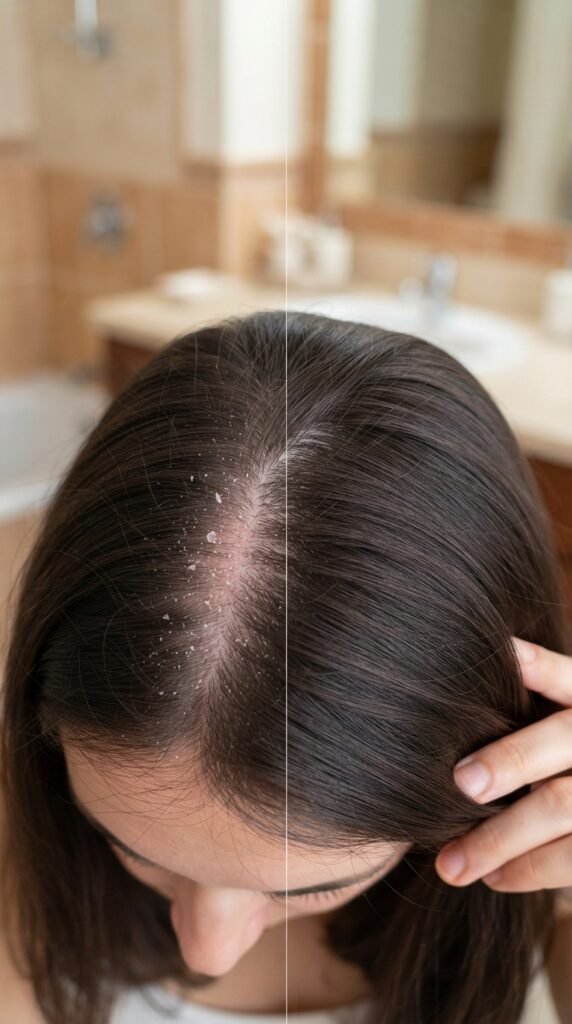
When you put new hair over an active yeast issue, you create a warm, moist environment—yeast’s dream home. The itch gets worse, the flakes multiply, and you might even lose some of your own hair from scratching and inflammation.
Think of this as a reset week. You’re not just prepping your scalp; you’re protecting your edges, your length, and your peace of mind. A clear scalp means your install will last longer and look better.
Plus, a healthy scalp is the foundation for all the 2026 hairstyles we’re already dreaming about—like romantic goth hairstyles or a sleek asymmetrical lob.
First Thing: Identify the Signs of Yeast Overgrowth
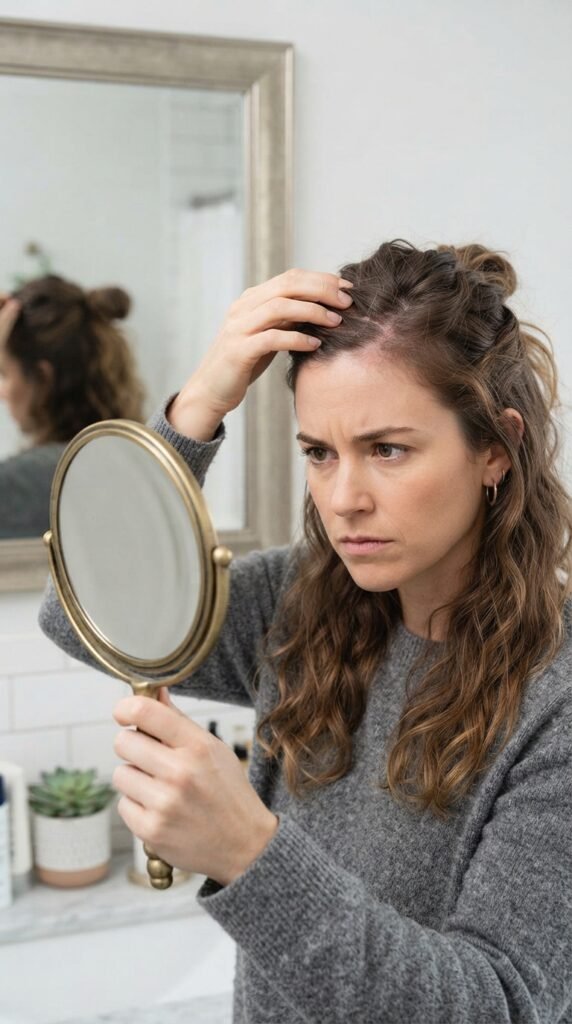
Not every itch is yeast. But if you notice yellow-ish flakes, redness, or a stubborn itch that doesn’t go away with regular shampooing, it’s probably yeast (medically called seborrheic dermatitis).
Here’s what to look for:
- Greasy-looking yellow or white flakes
- Red patches that feel warm or tender
- Intense itching, especially behind the ears or at the crown
- Flakes that stick to the hair shaft
If this sounds familiar, don’t panic. We have a simple plan to fix it.
The 7-Day Reset Plan: Your Step-by-Step Guide
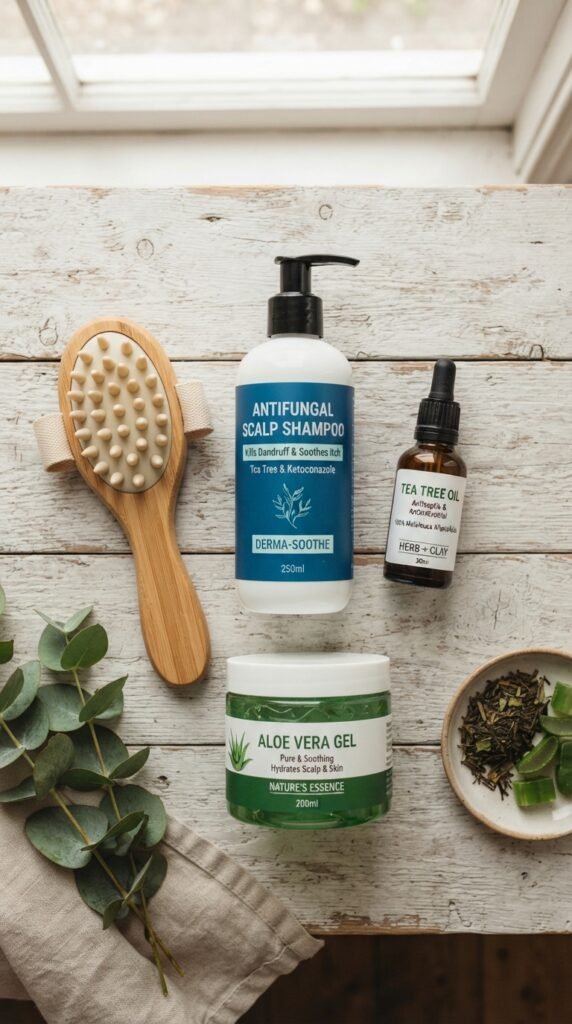
Here’s the part I love—a clear, doable plan. You’ll spend 7 days treating your scalp before any new install.
- Day 1-3: Wash with an antifungal shampoo (look for ketoconazole or zinc pyrithione).
- Day 4-5: Use a gentle exfoliating scalp scrub to lift dead skin.
- Day 6-7: Apply a soothing treatment like aloe vera or tea tree oil at night.
By day 7, your scalp should feel calm, clean, and ready for new hair. No shortcuts—promise yourself this one week.
The Best Antifungal Shampoos That Actually Work
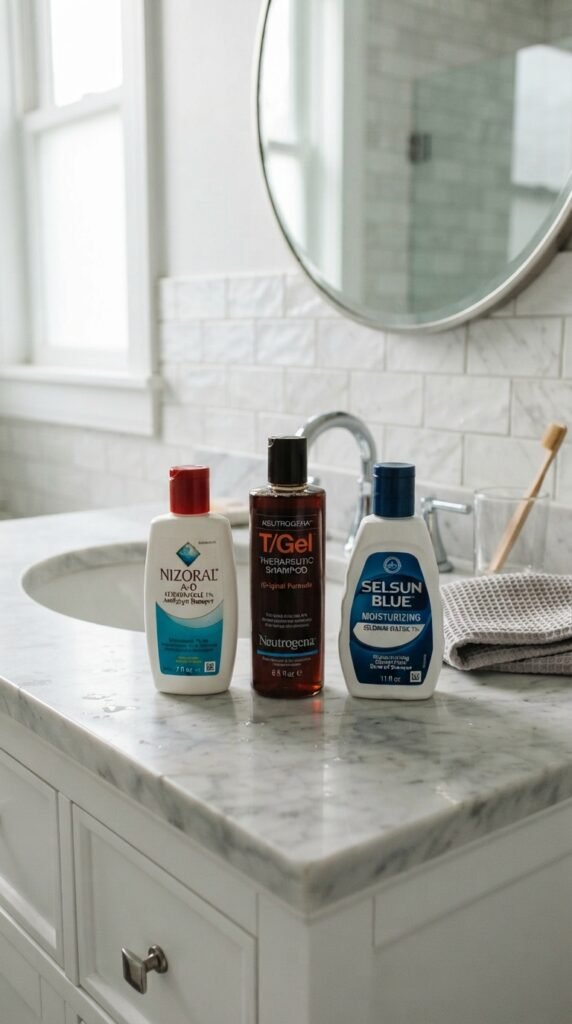
You don’t need a prescription for most of these. Drugstore brands work great if you use them correctly.
- Nizoral (1% ketoconazole): My go-to for stubborn yeast. Leave it on for 5 minutes.
- Neutrogena T/Gel (coal tar): Great for heavy flaking, but it smells a bit medical. Use it every other wash.
- Vanicream Dandruff Shampoo: Gentle and fragrance-free for sensitive scalps.
Rotate these with a gentle sulfate-free shampoo to avoid stripping your hair. Remember, we want a healthy scalp, not a dry one.
Don’t Skip the Apple Cider Vinegar Rinse
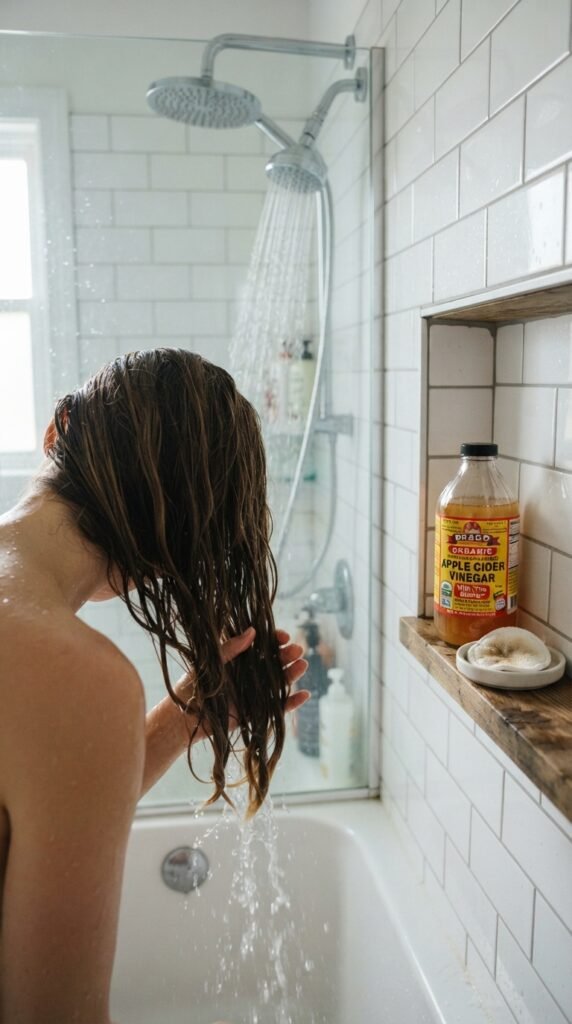
I know this sounds like an old wives’ tale, but ACV is legit. Its mild acidity helps balance your scalp’s pH and fights off yeast.
How to do it right:
- Mix 1 part ACV with 3 parts water.
- After shampooing, pour over your scalp.
- Massage for 30 seconds, then rinse with cool water.
Do this every other day during your reset week. It won’t replace your antifungal shampoo, but it works beautifully together. Plus, it adds shine—perfect for that old money hair aesthetic.
Tea Tree Oil: Nature’s Antifungal Hero

Tea tree oil is my secret weapon. It’s a natural antifungal that’s gentle enough for regular use—if you dilute it.
Never put pure tea tree oil on your scalp. Mix 2-3 drops with a carrier oil like jojoba or coconut oil. Massage it into your scalp at night, and wash it out in the morning.
Do this on days 4 and 5 of your reset. It will calm redness and stop the itch. And trust me, your scalp will thank you when you’re rocking that glitchy glam hair or a sleek hime cut later.
What About Apple Cider Vinegar + Tea Tree Together?
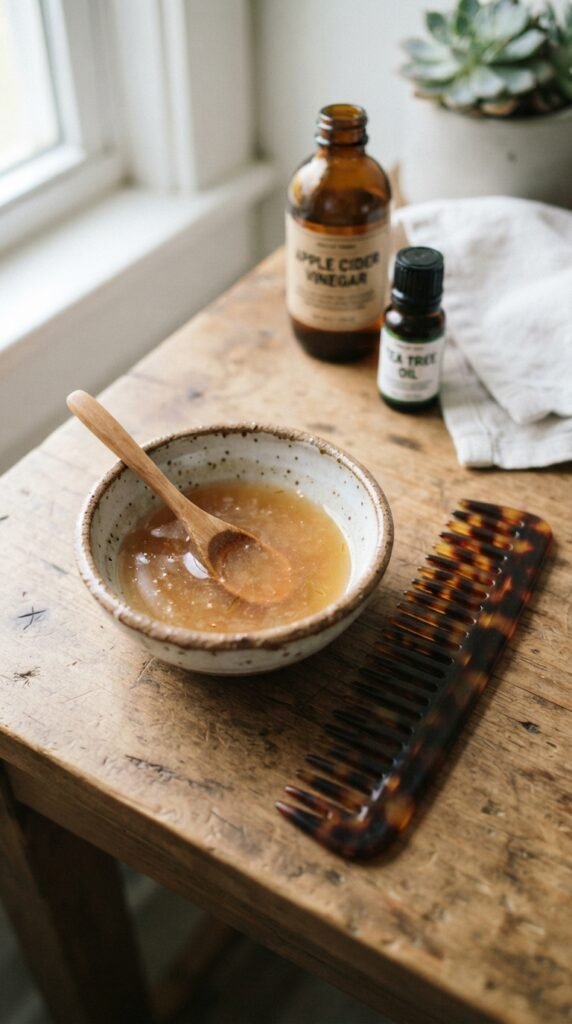
Yes, you can use both—but not at the same time. I’ve made that mistake, and it was too drying.
Here’s my rhythm:
- Morning: ACV rinse after shampoo
- Night: Tea tree oil massage (leave in until morning wash)
This combo is powerful but gentle enough for most hair types. If you have a sensitive scalp, start with only tea tree first. A happy scalp is the goal, not a burn.
The Low-Down on Sulfates and Silicones
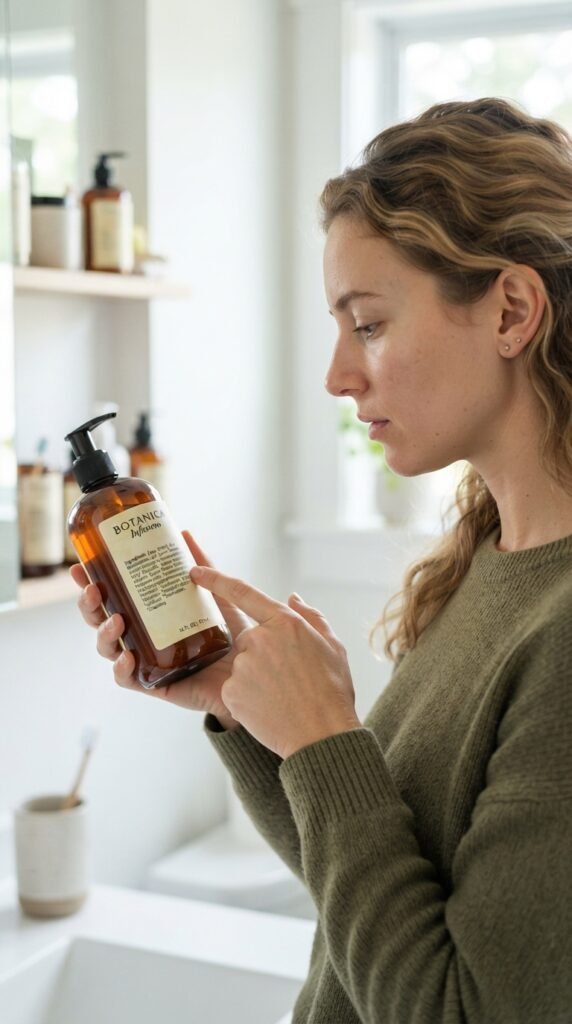
During your reset week, avoid heavy silicones and sulfates. They coat the hair and scalp, trapping yeast and flakes underneath.
Stick to clarifying or antifungal shampoos that are sulfate-free. Look for words like “clarifying” or “balancing” on the label.
This also helps your new install slide in cleanly. When you’re finally ready to try quiet luxury bob or asymmetrical lob styles, your natural hair will look smoother and healthier underneath.
How Often Should You Wash During the Reset?
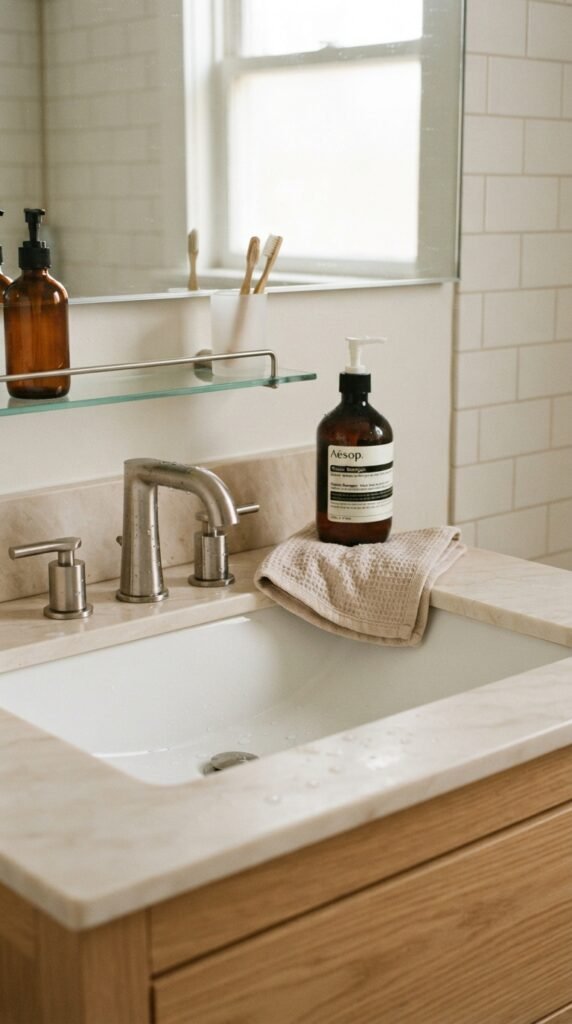
This is the part most people get wrong. You need to wash your scalp daily or every other day during the reset week.
Yes, I said daily. Yeast loves oil and sweat, so keeping your scalp clean is non-negotiable. Use a gentle antifungal shampoo each time.
If daily washing dries out your hair ends, apply a light oil to your lengths before shampooing. This protects the hair while you focus on your scalp.
Don’t Forget to Exfoliate—Gently
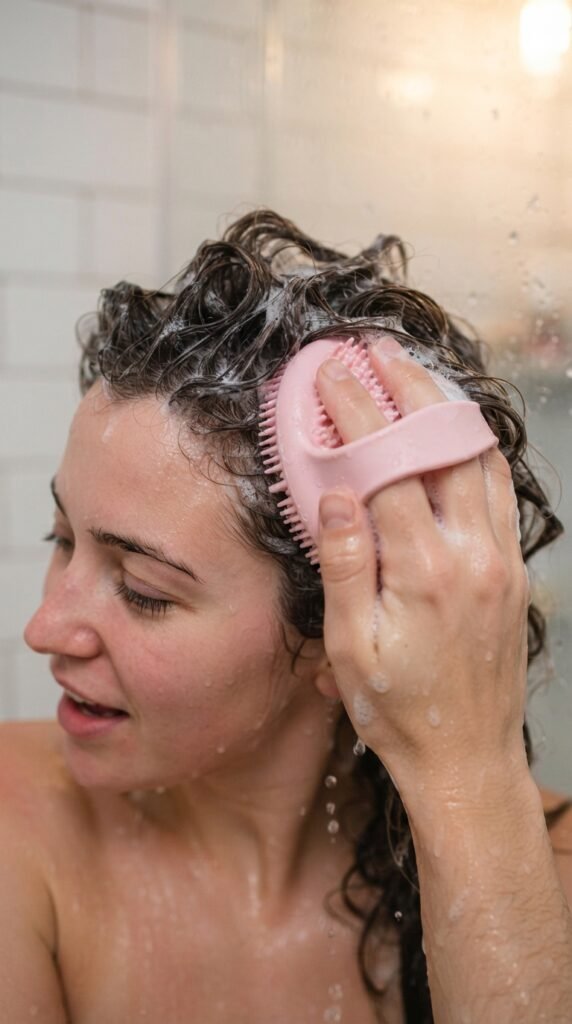
Flakes are dead skin, and they need to be removed physically, not just chemically. A silicone scalp brush is your best friend here.
Use it in the shower with your antifungal shampoo. Gently circular motions for 2 minutes. Don’t scrub hard—we’re not scrubbing a dirty pan.
This lifts loose flakes and increases blood flow, which helps your scalp heal faster. Do this on days 3 and 5 for best results.
The Drying Rule You Can’t Ignore

Yeast thrives in moisture. So after every wash, you must dry your scalp completely—no dampness allowed.
Use a microfiber towel to gently blot (don’t rub) your scalp. Then let your hair air dry fully before you put on a bonnet or sleep on it.
If you’re short on time, a cool blow-dry on your scalp for 2-3 minutes works wonders. A dry scalp is a happy scalp, and it makes installing new hair so much easier.
What About Oils? Please Use Them Wisely

I know we love oils, but some oils feed yeast. Avoid coconut oil during the reset week—it’s actually a food source for yeast.
Safe options: jojoba oil, grapeseed oil, or MCT oil (the latter is antifungal).
Use a few drops mixed with tea tree oil for your nighttime treatments. This keeps your scalp moisturized without feeding the problem. And bonus—your hair will be soft and shiny for your next style.
When to Add a Scalp Mask
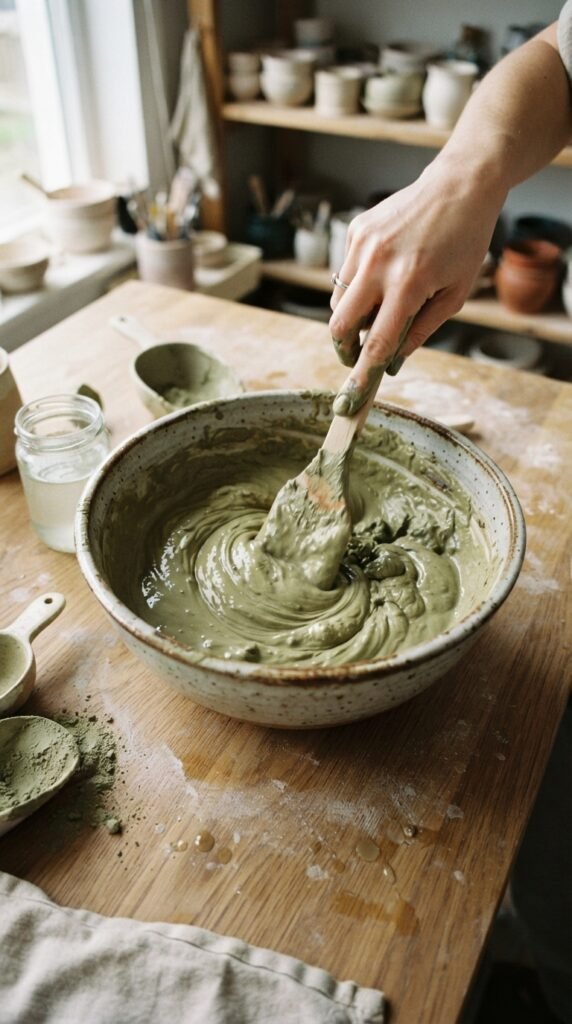
For extra cleansing, try a bentonite clay mask on your scalp once during the reset week. It pulls out impurities and reduces inflammation.
Mix clay with apple cider vinegar until it’s a smooth paste. Apply to your scalp (avoid the hair ends if they’re dry). Leave for 15 minutes, then rinse thoroughly.
Do this on day 4. It will leave your scalp feeling deeply clean and ready for a vampire haircut or any dramatic style you’ve been eyeing.
The Nighttime Routine That Changes Everything

What you do before bed matters. A clean bonnet or scarf is a must—never reuse a dirty one.
Here’s my simple nighttime checklist:
- Sleep with a clean silk or satin bonnet.
- Wash your bonnets weekly (yeast can live on fabric).
- If you used a treatment, wrap your hair loosely in a silk scarf.
This keeps your scalp breathing and free from re-infection. And honestly, it makes waking up to that romantic goth hairstyle or hime cut so much easier.
How to Know You’re Cleared and Ready for Install
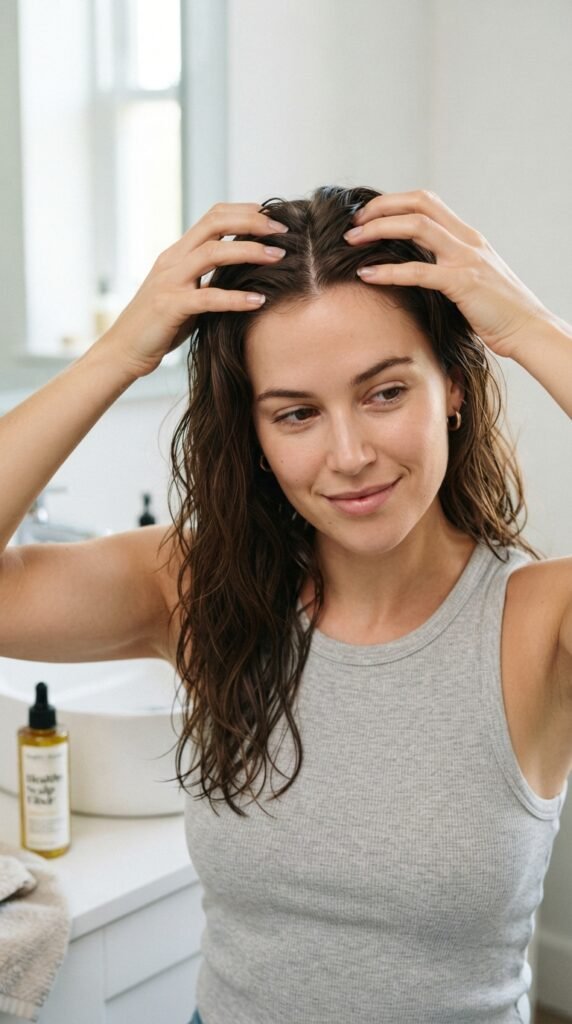
Before you book that install appointment, do a “scratch test.” Gently scratch your scalp with your nail. If you see white under your nail, you’re not ready yet.
Here are the signs you’re cleared:
- No itching for 48 hours
- No visible flakes or redness
- Scalp feels smooth, not bumpy or tender
Only proceed when you have zero symptoms. Rushing it is the number one reason people end up with ruined installs and more scalp issues.
Choosing the Right Install Style After Reset

Once your scalp is clear, you deserve a style that makes you feel amazing. This is where the fun begins.
If you love clean lines and luxury, a quiet luxury bob or old money hair flow is perfect. If you want drama, try romantic goth hairstyles with face-framing layers.
For modern edge, a glitchy glam hair look with subtle silver highlights or bold vampire haircut vibes will turn heads. And if you love tradition with a twist, the hime cut or an asymmetrical lob gives you versatility.
The key? Keep your scalp’s health in mind. Choose styles that allow easy access for washing and drying.
Maintenance During Your Install: Keep It Clean

Just because you installed new hair doesn’t mean you can ignore your scalp. You still need to wash and dry it, even with braids or a sew-in.
Here’s how:
- Use a diluted antifungal shampoo in a spray bottle.
- Gently massage your scalp with your fingers (no scratching).
- Dry your scalp thoroughly with a cool blow-dryer after washing.
Do this once a week. It will prevent yeast from coming back and keep your install fresh. Plus, your stylist will notice how clean your scalp is next time.
Your Diet and Lifestyle Matter More Than You Think

Yes, yeast feeds on sugar. So during your reset week, try to reduce processed sugars and simple carbs. Think more veggies, lean protein, and healthy fats.
Drink plenty of water. Stress also triggers yeast flares (thanks, cortisol), so try some deep breathing or a short walk each day.
Your scalp reflects what’s happening inside your body. When you feel good, your hair thrives. And that’s the ultimate foundation for any 2026 hairstyles trend you want to try.
Products I Swear By for Stubborn Cases
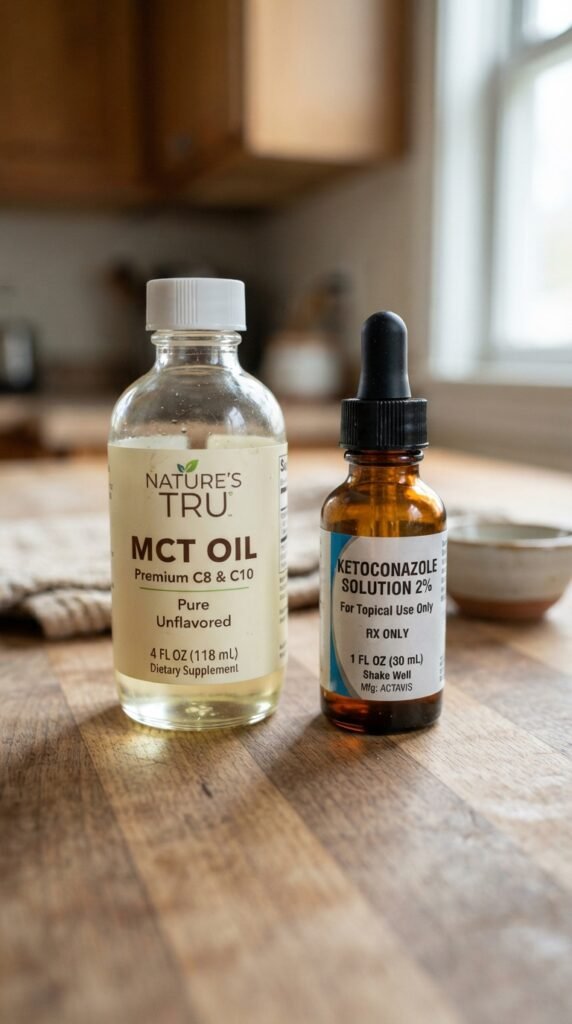
If your yeast is really stubborn, here’s my heavy-hitter lineup:
- Nizoral (1% ketoconazole): Use every wash day.
- MCT Oil (C8 only): Apply a few drops to scalp before bed, wash out in morning.
- Neutrogena T/Sal: Gentle exfoliating shampoo with salicylic acid.
Alternate these products. Don’t use all at once—you’ll dry your scalp out. A little goes a long way.
If it still doesn’t clear after two weeks, see a dermatologist. No shame in that game.
What If Your Install Is Already In? Can You Still Treat Yeast?
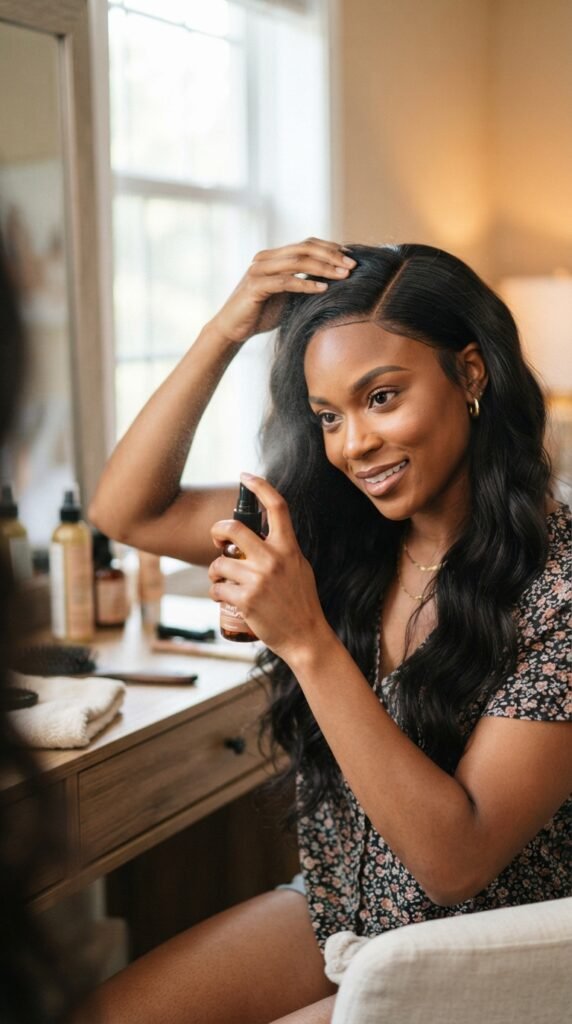
Yes, you can still treat your scalp with an install—but you have to be careful. Use a spray or dropper to target the scalp directly.
Apply a diluted tea tree or MCT oil mixture to your scalp. Gently massage. Avoid getting the treatment on the installed hair (especially if it’s synthetic).
Wash your scalp with a diluted antifungal shampoo, using a small bottle with a nozzle. Rinse well and dry thoroughly. It’s a bit of extra work, but it’s worth it to avoid losing your install early.
The Big Mistake: Using Too Many Products at Once
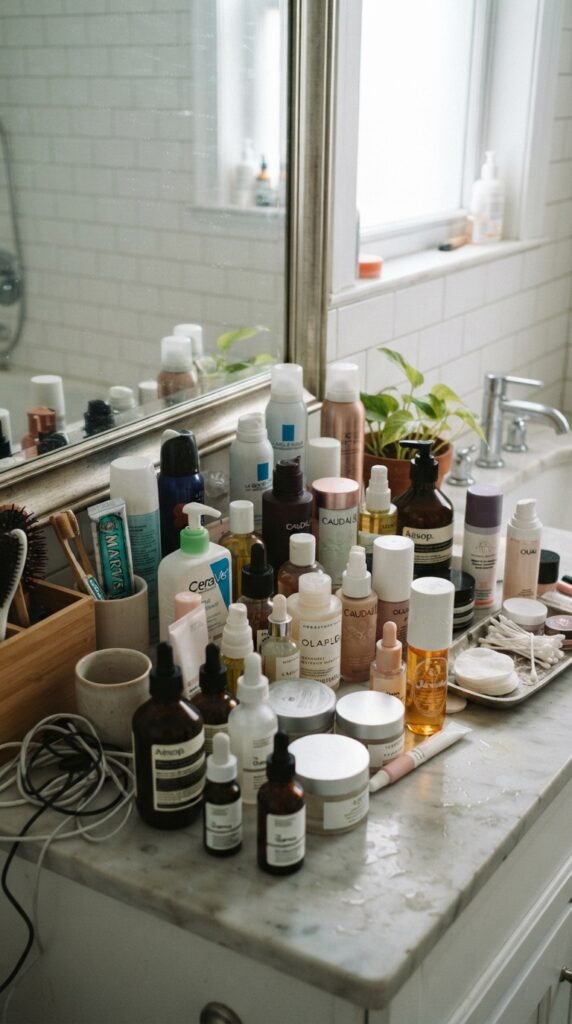
I know the feeling—you want to fix it fast, so you grab everything. But using too many treatments can strip your scalp’s natural barrier and make things worse.
Stick to 2-3 products maximum. Choose one shampoo, one treatment (like tea tree or MCT oil), and maybe an exfoliating brush. That’s it.
Let your scalp breathe. Sometimes the best treatment is consistency and patience. Your scalp will thank you when you finally get that asymmetrical lob or glitchy glam hair you’ve been dreaming about.
A Quick Word on Professional Help
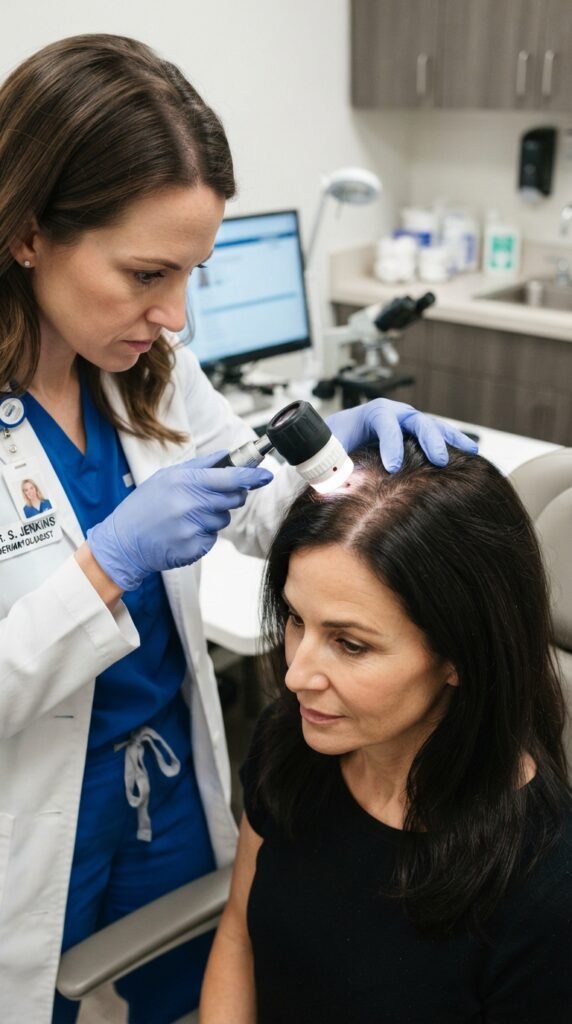
If your scalp is painful, has open sores, or if the yeast keeps coming back despite your best efforts, please see a doctor. You might need a prescription antifungal or a different diagnosis.
There is no shame in needing extra help. I had to go to a dermatologist once, and it was the best thing I did. They gave me a medicated shampoo that cleared me in a week.
Your health comes first. A clear scalp is non-negotiable for any install, no matter how trendy the style.
Let’s Talk About That New Style You Deserve

When your scalp is finally clear, you deserve to celebrate with a haircut or install that makes you feel like a million bucks. So let’s talk ideas.
For a classy upgrade, you can never go wrong with quiet luxury bob—polished, smooth, and timeless. If you want to lean into 2026’s darker vibes, romantic goth hairstyles with soft waves and deep berry tones are stunning.
Or go bold with a vampire haircut (sharp layers, messy texture) or glitchy glam hair (with holographic highlights). And for the classic lovers, a hime cut or asymmetrical lob will never go out of style.
The world is your oyster—your healthy scalp is just the canvas.
How to Keep the Yeast Away Long-Term
Once you’ve cleared it, don’t let it come back. Prevention is easier than treatment.
Wash your scalp at least once a week, even if you have a protective style. Alternate between your regular shampoo and an antifungal shampoo once a month. Don’t skip drying your scalp thoroughly.
And please, don’t go more than 8 weeks between installs. The longer you keep hair in, the more buildup and moisture issues you risk. Your scalp needs to breathe.
A clear scalp means you get to enjoy all the 2026 hairstyles trends with confidence.
Alright, friend, we’ve covered a lot. The bottom line is that your scalp health comes before any hairstyle—no matter how cute that vampire haircut or old money hair looks on Pinterest. Taking one week to reset is a small price to pay for months of healthy, itch-free installs.
You’ve got this. Be patient with yourself, stick to the plan, and you’ll be rocking your next install with zero worries. And when you do, I’d love to see it.
Save this post to Pinterest so you can come back to it next time you need a scalp reset. And drop a comment below—what style are you planning to install after your scalp is cleared? I want to hear all about it.