Choppy Ends: Rough-Cut Tips for Texture
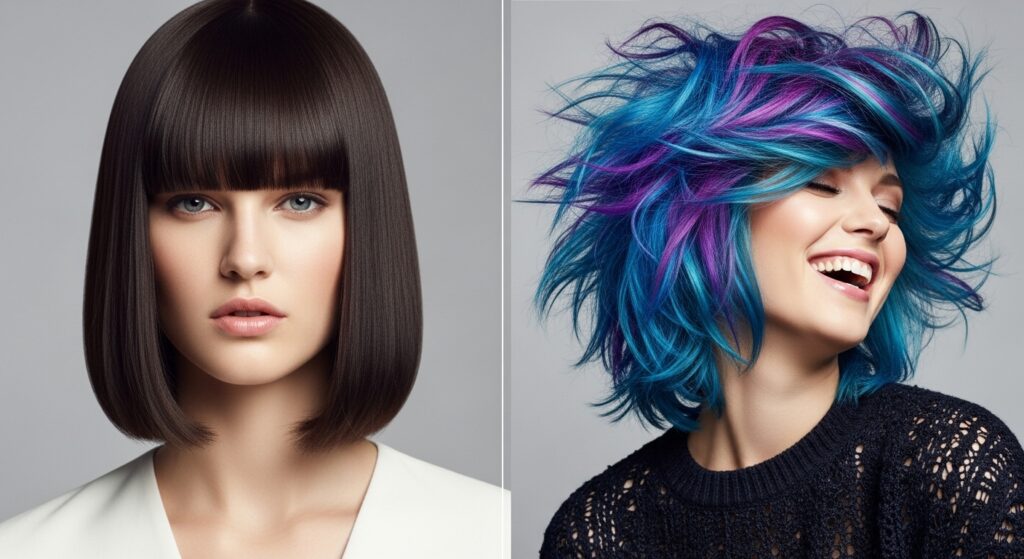
Forget everything you know about perfectly blunt, symmetrical haircuts. In the world of modern hairstyling, it’s the imperfect, the undone, and the intentionally textured that reigns supreme. At the heart of this aesthetic lies a powerful technique: choppy ends. More than just a cut, it’s a philosophy—a way to inject movement, personality, and a shot of effortless cool into any hairstyle, from long layers to chic bobs.
What Are Choppy Ends, Really? Deconstructing the Look
Let’s clear up a common misconception. Choppy ends are not synonymous with damaged, split ends. Where damaged hair is weak, brittle, and uneven from breakage, professionally crafted choppy ends are strategically placed points of varied length created to build volume, remove weight, and create a silhouette full of separation and swing. Think of it as pointillism for your hair—individual points that, together, create a soft, feathered, and incredibly dynamic whole.
The magic happens in the interior layers and ends of the hair. Instead of a straight-across line, your stylist will use techniques like point cutting, notching, and slide cutting to carve out tiny sections at different lengths. This breaks up any solid, heavy lines and allows the hair to fall in a piece-y, separated manner. The result? Hair that looks thicker, moves freely, and has a natural, lived-in vibe from day one.
The Texture Toolkit: Essential Techniques for the Perfect Rough Cut
Asking for “choppy ends” is a great start, but speaking the language of texture will get you exactly what you envision. Here are the key techniques your stylist might use to create that coveted undone finish.
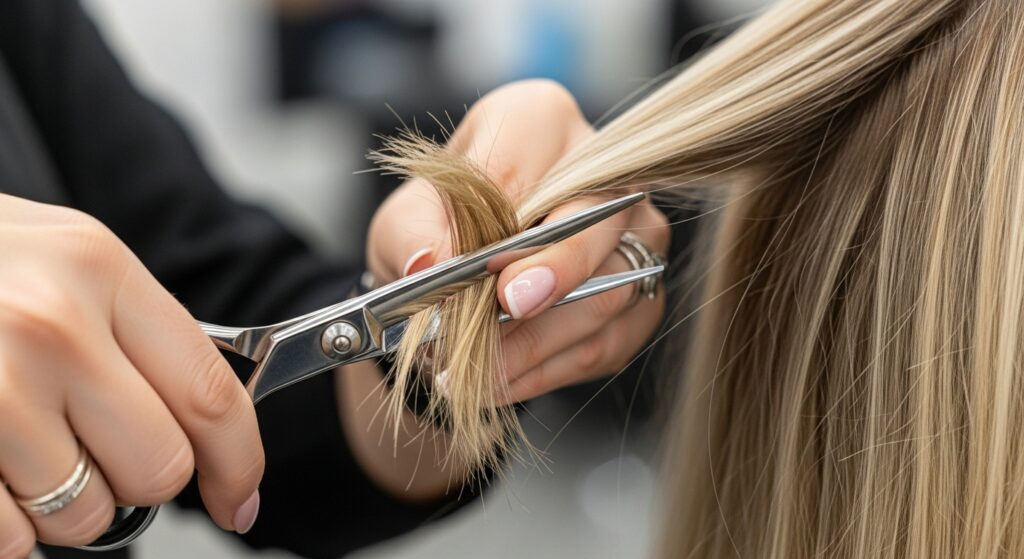
Point Cutting: This is the cornerstone. Instead of cutting straight across, the shears are held vertically and used to snip into the hair shaft at various points. This creates those soft, diffused ends that eliminate harsh lines and promote blending.
Notching: A more aggressive cousin to point cutting, notching involves taking small, vertical sections and making deeper, more pronounced cuts into them. This creates stronger, more defined texture and is excellent for removing bulk in thick hair or adding edge to a shag.
Slide Cutting (Slithering): Here, the stylist opens the shears, places a section of hair between the blades, and then slides them down the length while gently closing. This technique removes weight seamlessly from the interior, enhances movement, and creates incredible, fluid layers without obvious lines.
Razor Cutting: Using a straight razor, the stylist can slice into sections of hair to fray the ends and create a supremely soft, wispy texture. It’s ideal for fine hair that needs lightness but can be too softening for very coarse textures.
Face Shape & Hair Type: Finding Your Choppy Match
Choppy ends are remarkably versatile, but tailoring them to your specific features and hair texture is the key to a flattering, hate-proof result.
For Face Shapes: The golden rule is to create balance. If you have a round face, longer choppy layers that frame the chin and below can help elongate. For a square jaw, textured ends that start at the jawline soften angles. Heart-shaped faces shine with choppy, piece-y ends around the cheekbones and chin. Oval faces? You have the luxury to experiment with everything from choppy pixies to long, textured waves.
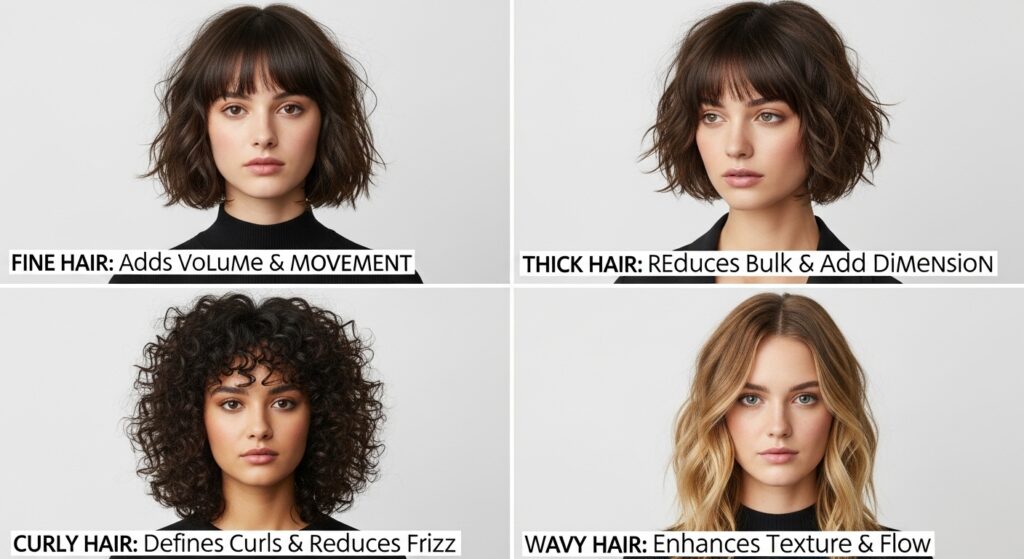
For Fine Hair: Choppy ends are a game-changer. Strategic point cutting and interior slide cutting remove weight without sacrificing length, creating the illusion of fullness and body. Avoid over-layering, which can make hair look thinner.
For Thick/Coarse Hair: Texture techniques are your best friend for manageability. Notching and deep point cutting can remove the bulk that causes triangular shapes, allowing your hair to fall with more shape and less poof. Embrace the separation!
For Curly/Wavy Hair: A light-handed choppy approach can enhance your natural pattern by removing density and encouraging curls to spring up at different lengths. The goal is definition and reduced bulk, not a frizzy free-for-all. Dry cutting is often a wizard’s trick here.
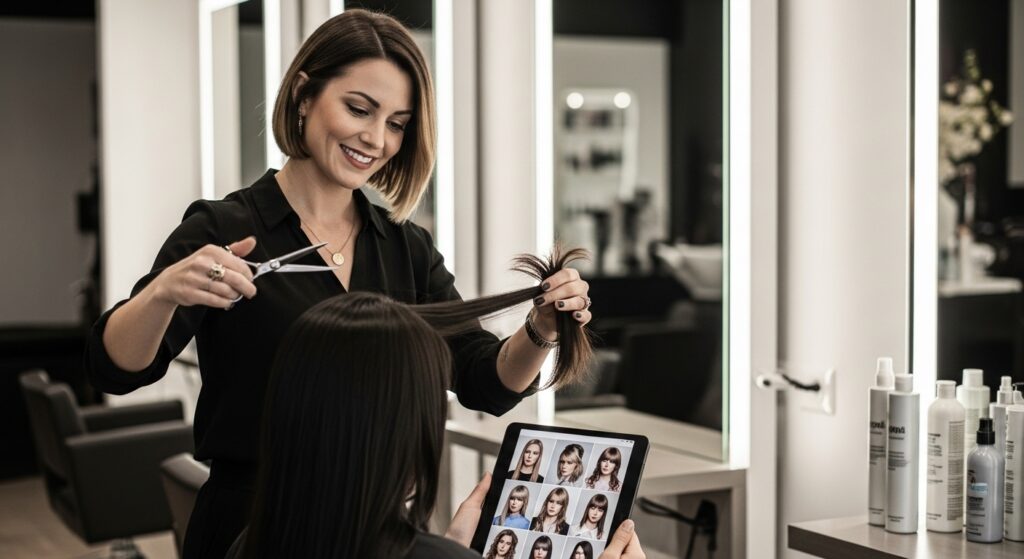
The Consultation Conversation: How to Ask Your Stylist for Choppy Ends
Walking into the salon and saying “give me texture” can lead to misunderstandings. Be specific. Bring photos—but not just one. Bring a collection that shows the type of texture you like. Say things like: “I love the piece-y ends in this photo, but I want to keep my overall length like this one,” or “Can we use point cutting to break up the bulk around my face without adding a lot of layers on top?”
Use the terminology you’ve learned. Ask: “Do you think slide cutting would help remove weight from my thick hair?” or “Can we use notching just around the front pieces to frame my face?” This shows you’re informed and helps your stylist understand the precise finish you’re after. A great stylist will also assess your hair’s density, wave pattern, and daily routine to recommend the best texture approach for your real life.
Styling Your Choppy Masterpiece: Products and Techniques
The beauty of a great rough cut is that it should look good air-dried. But with a few tricks, you can amplify that texture into a style statement.
The Wash & Go: For wavy or curly hair, apply a curl-defining cream or mousse to damp hair. Scrunch and let it air dry. As it dries, gently separate the choppy ends with your fingers to enhance the piece-y look.
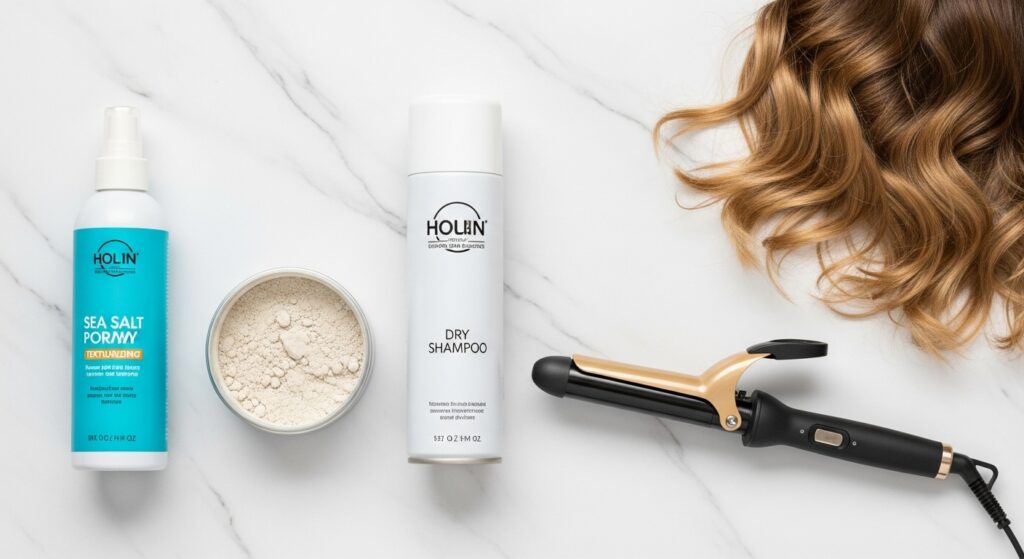
Texturizing Products are Key: Sea salt sprays, texturizing powders, and dry shampoos are your new best friends. Spray a texturizing spray onto mid-lengths and ends, then twist small sections and scrunch. A light dusting of texturizing powder at the roots adds instant lift and grip.
Heat Styling for Edge: Use a flat iron with a twisting motion. Instead of just clamping and pulling down, twist small sections before clamping. This creates irregular bends and enhances the choppy effect. For waves, use a small-barrel wand and alternate the direction of your curls—some towards your face, some away. Never brush them out completely; just finger-comb.
Maintenance: Keeping the Choppy Magic Alive
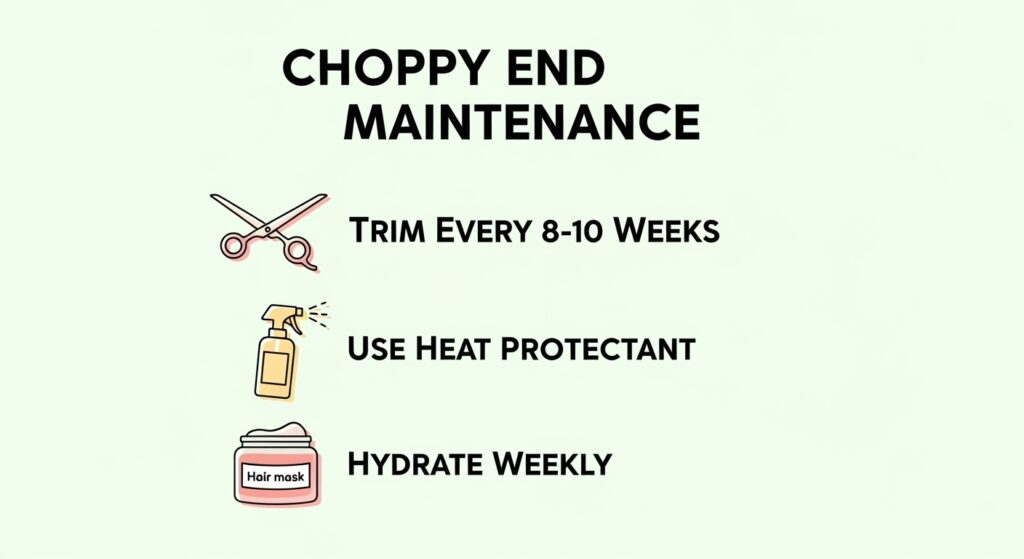
Choppy ends grow out beautifully, but to keep them looking intentional and fresh, regular trims are crucial. Plan for a trim every 8-10 weeks. This isn’t about removing length, but about re-texturizing the ends before they start to look frayed or weighed down.
At home, protect your investment. Use a heat protectant whenever you style. Incorporate a weekly hydrating mask to keep ends feeling soft, not dry. And remember, the health of your hair is what makes the texture look cool, not damaged. If your ends start to feel brittle or look see-through, it’s time for a dusting.
Embrace the Imperfect: Your Texture Journey Awaits
Choppy ends represent a liberation from rigid beauty standards. They are a celebration of individuality, movement, and easy style. Whether you’re taking the plunge with a textured pixie or simply asking your stylist to point-cut your long layers, you’re choosing a cut that lives, breathes, and adapts with you.
Armed with these rough-cut tips, you’re no longer just a client—you’re a collaborator in creating your signature look. So book that appointment, have that detailed consultation, and get ready to shake your head with a newfound sense of swing. The perfect imperfection of choppy ends is calling.