Everywhere 28 Scalp Scrub Recipes Exfoliating Gently Before Braiding
Hey friend. Let’s talk about something we all do but maybe don’t think about enough: prepping our scalp before a new style. Especially before braiding, whether you’re aiming for a chic, sleek look or something more intricate for those 2026 hairstyles you’ve been saving on Pinterest.
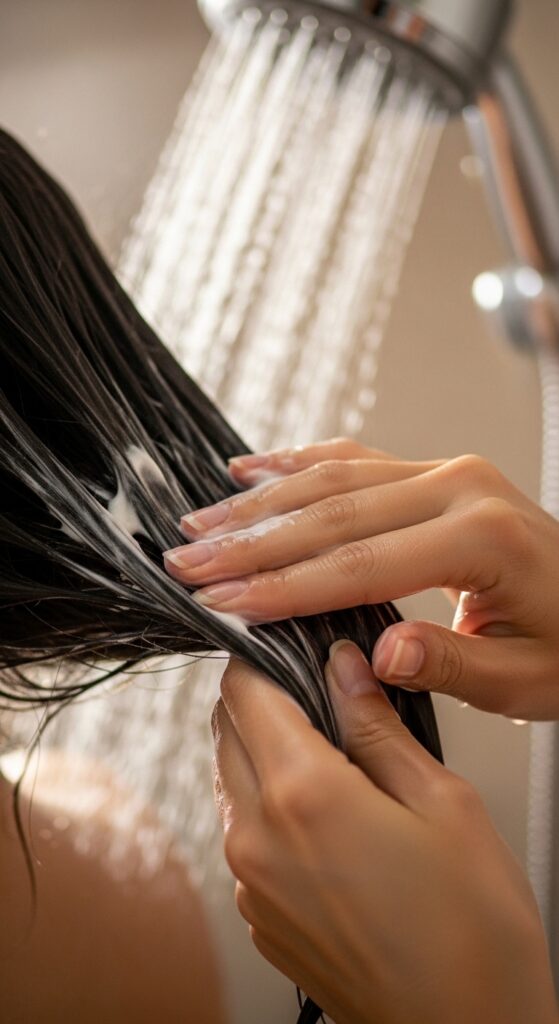
If you’ve ever dealt with itchiness, flakiness, or just a general feeling of “heaviness” after a few days in braids, the secret fix starts before you even pick up a comb. It’s all about a good, gentle scalp exfoliation.
Think of it like prepping a canvas before you paint. A clean, flake-free, happy scalp means your braids look better, feel better, and your hair is healthier underneath. And the best part? You can whip up an effective scrub with things already in your kitchen.
I’ve gathered the simplest, most effective DIY scalp scrub recipes that actually work. No complicated steps, just quick mixes to give your scalp the fresh start it deserves. Let’s get into it.
Why Your Scalp Needs a Scrub Before Braids
Braids, while gorgeous, put your scalp under a bit of stress. They can trap product buildup, dead skin, and natural oils close to the skin for days or weeks. This can lead to irritation, clogged follicles, and even hinder hair growth.
A gentle scrub sloughs away all that gunk. It clears the way for your natural oils to flow and creates a clean, balanced base. This means your braids will be more comfortable from day one and your scalp can breathe easier throughout the style’s life.
The Golden Rules of Scalp Exfoliation
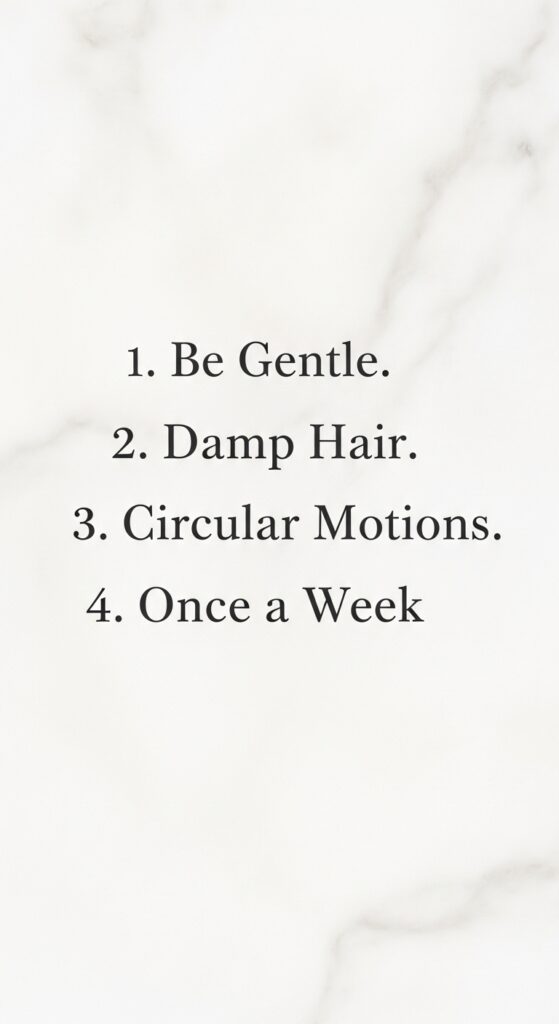
First rule: be gentle. Your scalp is sensitive! We’re not scrubbing a kitchen floor. Second, always do this on damp, not soaking wet, hair. It helps the scrub spread evenly without tugging.
Use the pads of your fingers, not your nails, in small circular motions. Limit this to once every week or two, max. Over-exfoliating can strip your scalp and cause more oil production. Listen to your skin.
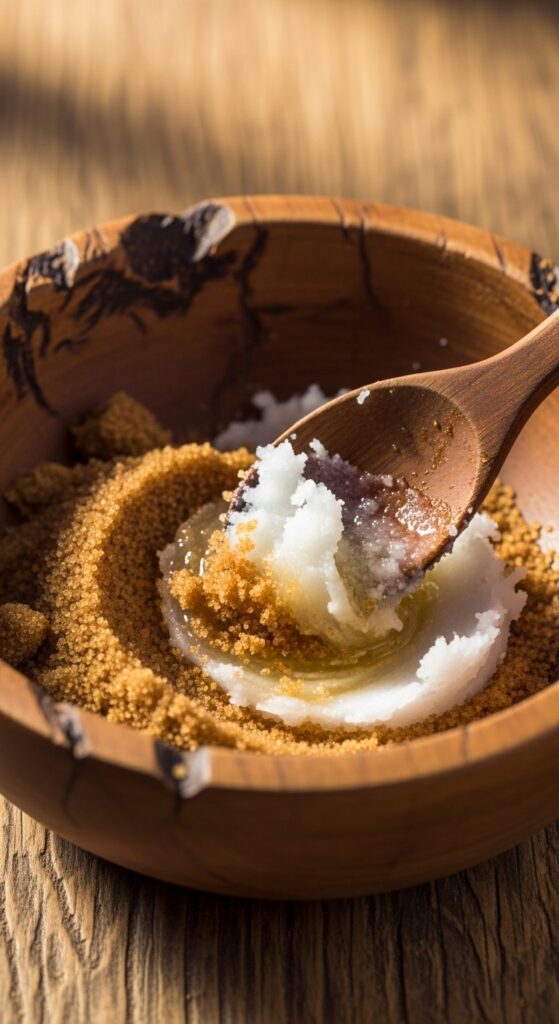
Basic Brown Sugar & Coconut Oil Scrub
This is my desert-island, always-have-it recipe. Brown sugar is a perfect, gentle physical exfoliant that dissolves easily. Coconut oil is moisturizing and has antimicrobial properties.
Mix two tablespoons of brown sugar with one tablespoon of melted coconut oil. If your coconut oil is solid, just warm it slightly. That’s it! The consistency should be like wet sand. Apply to your damp scalp, massage for 3-5 minutes, then rinse thoroughly.
Soothing Oatmeal & Honey Scrub for Sensitive Skin
If your scalp is easily irritated or you feel any tingling with sugar scrubs, this one is for you. Finely ground oatmeal (use a coffee grinder or food processor) is incredibly soothing.
Mix two tablespoons of finely ground oatmeal with one tablespoon of raw honey and a teaspoon of water or aloe vera gel. Honey is a natural humectant and has soothing properties. This scrub calms the scalp while it cleanses.

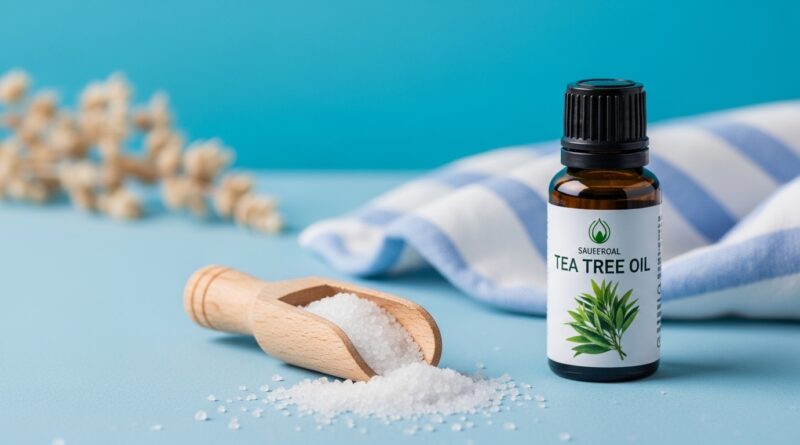
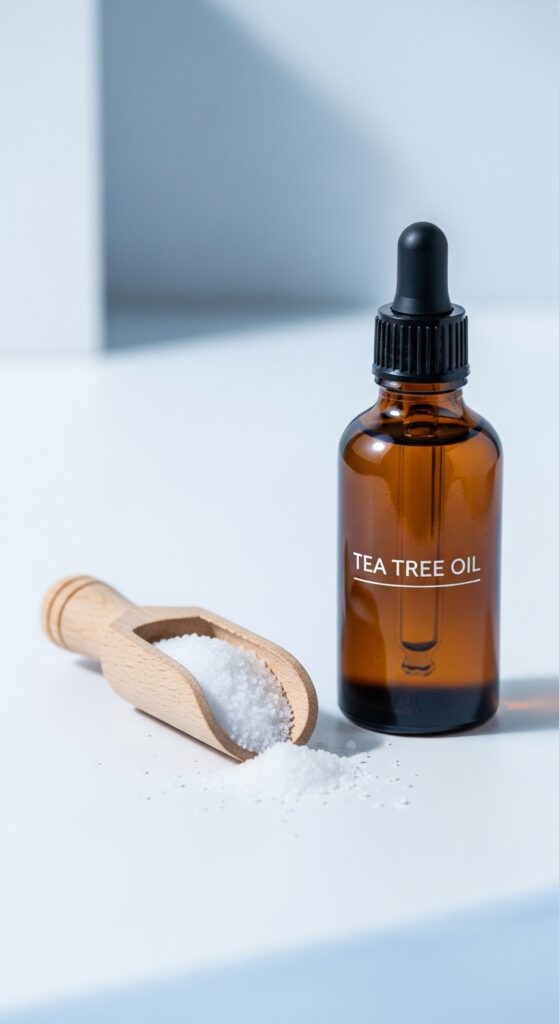
Invigorating Sea Salt & Tea Tree Scrub
For an ultra-deep clean or if you’re prone to oiliness, sea salt is fantastic. It’s more exfoliating than sugar, so be extra gentle. Tea tree oil is a powerhouse for clarifying and has a refreshing, clean scent.
Mix two tablespoons of fine sea salt with two tablespoons of olive or jojoba oil. Add 3-5 drops of tea tree essential oil. Massage gently and rinse well. This is great before a bold style like an asymmetrical lob or a vampire haircut to ensure ultimate freshness.
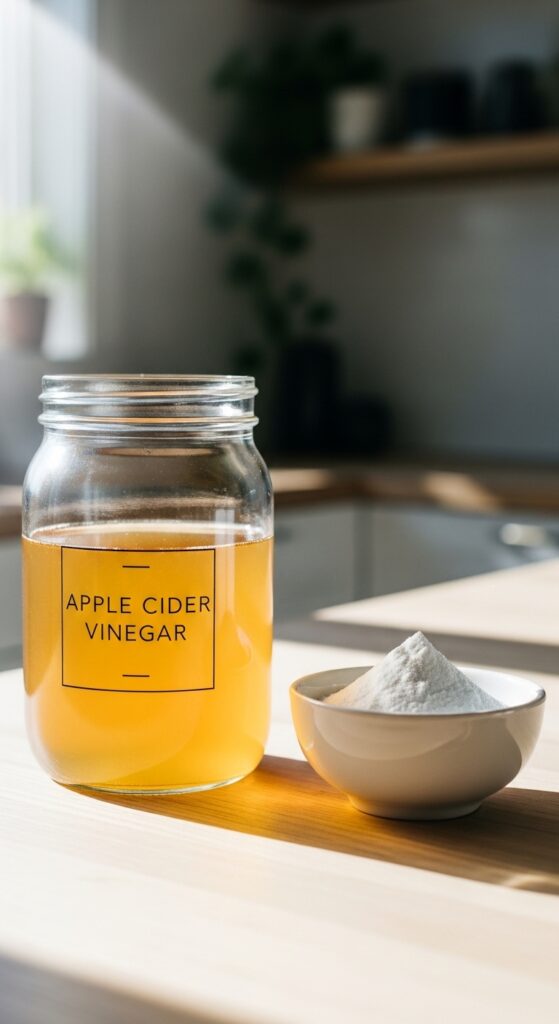
Clarifying Apple Cider Vinegar & Baking Soda Paste
Use this one sparingly—maybe once a month—for a major reset. Baking soda helps break down stubborn product buildup, while ACV balances pH. It’s a dynamic duo for a truly clean slate.
Mix one tablespoon of baking soda with enough raw apple cider vinegar to make a loose paste (about a tablespoon). Apply immediately, as it will fizz. Massage gently for 1-2 minutes only, then rinse extremely well. Follow with a conditioner on your ends.
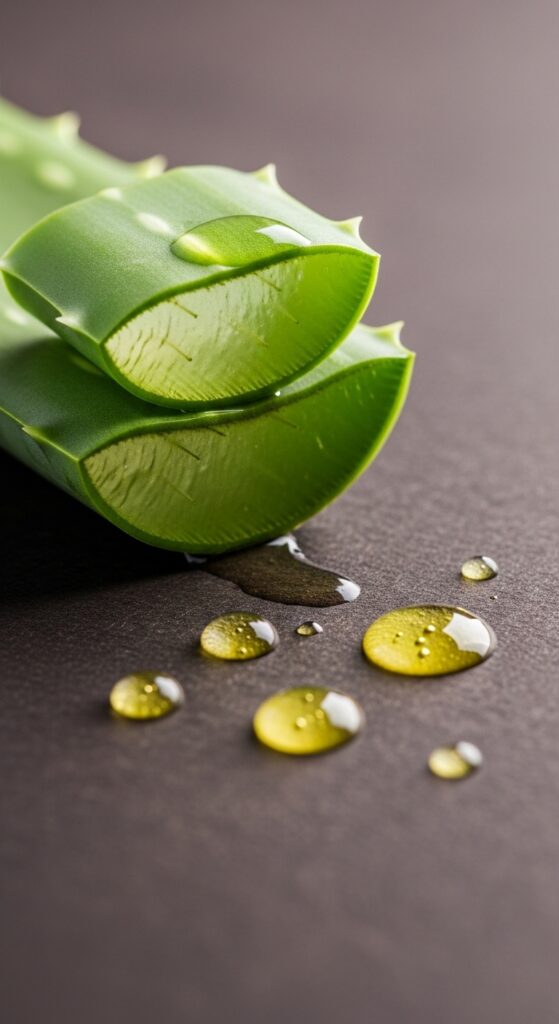
Hydrating Aloe Vera & Jojoba Scrub
Aloe vera is pure magic for hydration and cooling. Jojoba oil mimics the skin’s natural sebum, making it perfect for balancing oil production without clogging pores. This scrub feels like a drink of water for your scalp.
Scoop out two tablespoons of fresh aloe vera gel (or use pure store-bought gel). Mix with one tablespoon of jojoba oil and one tablespoon of fine sugar or salt. It’s incredibly refreshing and perfect for a pre-braid treat.
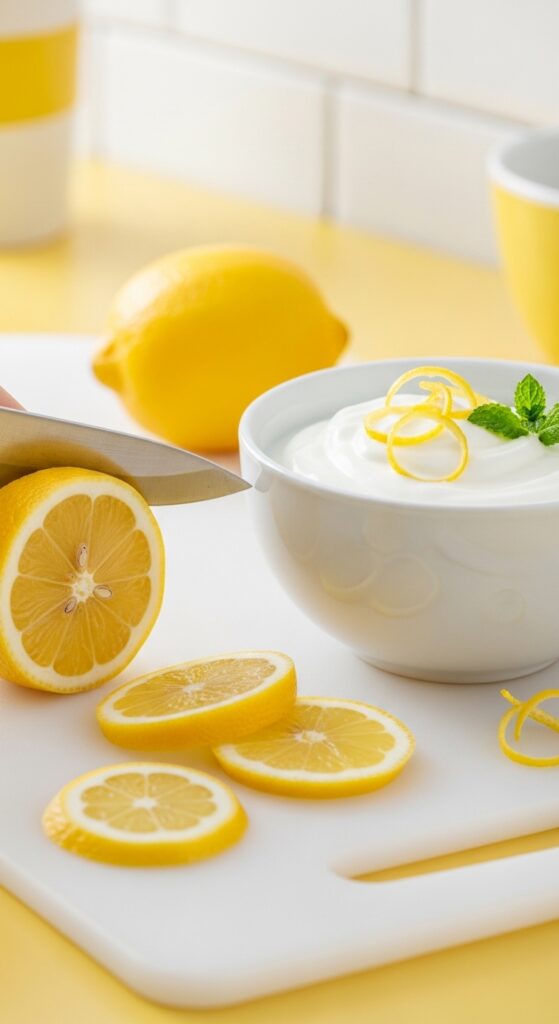
Brightening Lemon & Yogurt Scrub
Lemon juice has natural brightening and clarifying properties, while the lactic acid in plain yogurt offers gentle chemical exfoliation. This combo is fantastic for lifting away dullness.
Mix two tablespoons of plain, full-fat yogurt with the juice of half a lemon and one tablespoon of sugar. Apply quickly and rinse after 3-4 minutes. Avoid if you have any cuts or scrapes, as the lemon may sting.
Coarse Hair Friendly Coffee Grounds Scrub
Used coffee grounds are a fantastic, coarse exfoliant that can help stimulate blood flow. They’re also great for adding subtle shine. This scrub has an amazing, energizing scent to wake you up in the shower.
Mix two tablespoons of used, cooled coffee grounds with one tablespoon of your favorite hair oil (coconut, olive, or almond work well). The grounds provide a deeper exfoliation that thicker, coarser hair types often appreciate.

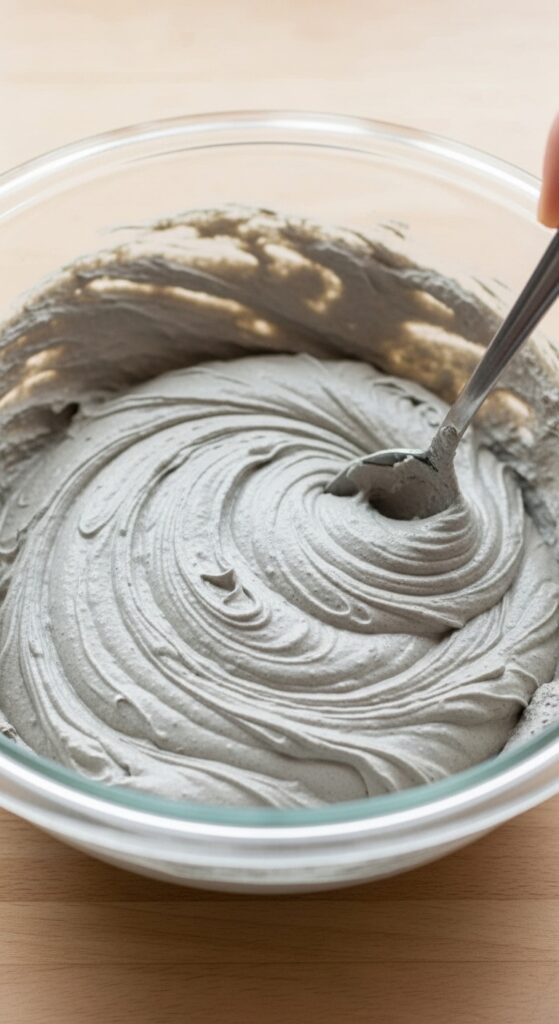
Detoxifying Bentonite Clay & ACV Scrub
Bentonite clay is known for drawing out impurities and toxins. When mixed with apple cider vinegar, it creates a powerful, detoxifying treatment that can help with excessive oiliness.
Mix two tablespoons of bentonite clay with enough raw apple cider vinegar to form a smooth paste (never use metal utensils with clay). Apply to your scalp and let it sit for 5-7 minutes before rinsing. It has a tightening, deep-cleaning feel.
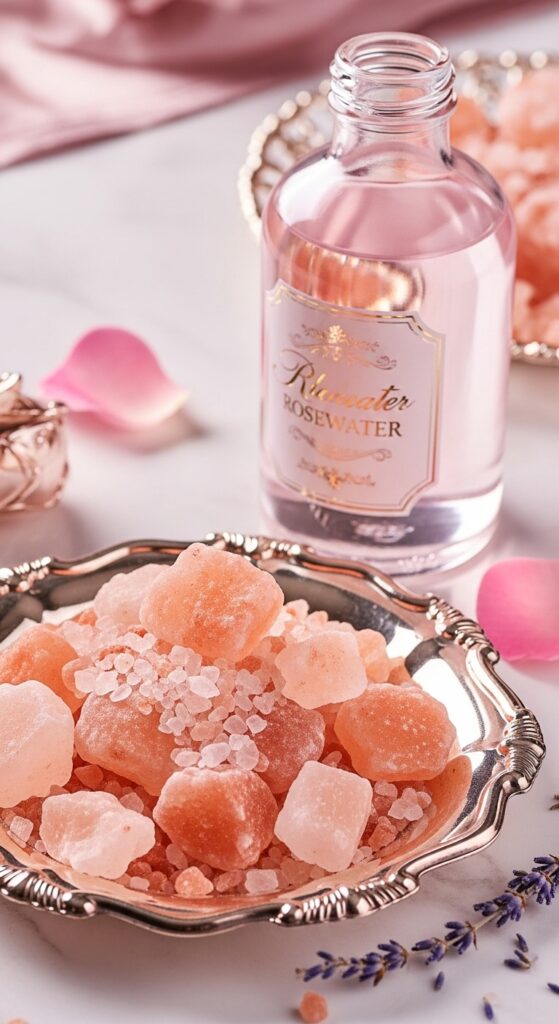
Luxurious Pink Himalayan Salt & Rosewater Scrub
For a moment of pure quiet luxury in your haircare routine, this is it. Pink Himalayan salt is rich in minerals, and rosewater is soothing and smells divine. It feels like a spa treatment.
Grind two tablespoons of pink Himalayan salt slightly if the crystals are large. Mix with one tablespoon of rosewater and one tablespoon of argan oil. This scrub is perfect when you’re prepping for a special style, like an old money hair updo.
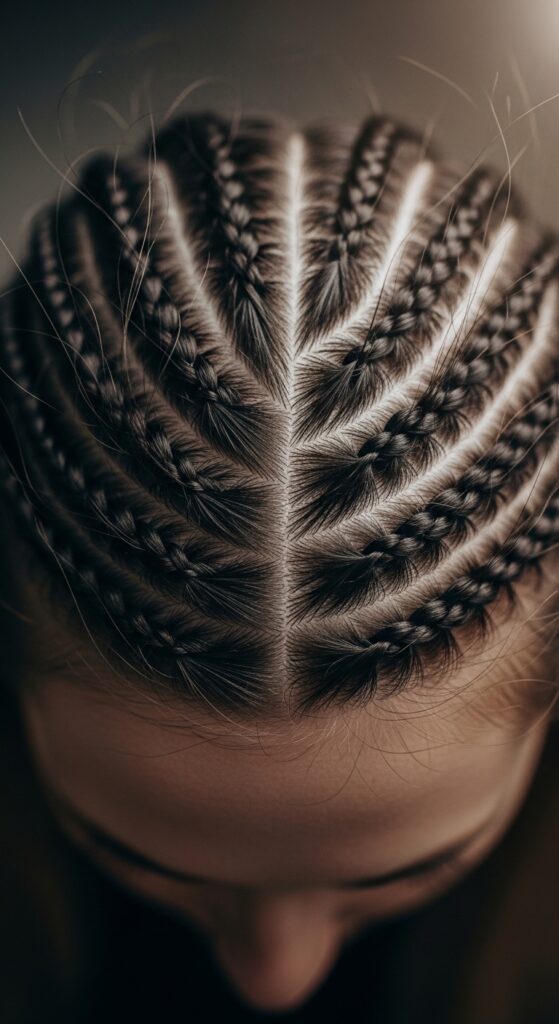
Exfoliating for Protective Styles (Box Braids, Cornrows)
Before any long-term protective style, a thorough scrub is non-negotiable. You want to remove every bit of buildup to ensure your scalp stays healthy for the 4-8 weeks the style will be in.
Focus on a scrub with both exfoliating and moisturizing properties, like the brown sugar and coconut oil or the aloe vera scrub. Pay extra attention to your hairline and parts. A clean base is the key to longevity and comfort.
Prepping for a Sleek, Straight Style
Planning a sleek quiet luxury bob or a pin-straight look? Exfoliation removes the tiny flakes that can make straight hair look dusty or dull at the roots. It creates a perfectly clean canvas for smooth styling.
Opt for a very gentle scrub like the oatmeal or aloe vera version. You want clarity without any residue. This ensures your blow-dry or flat iron glides over a smooth scalp, giving you that flawless, glossy finish.

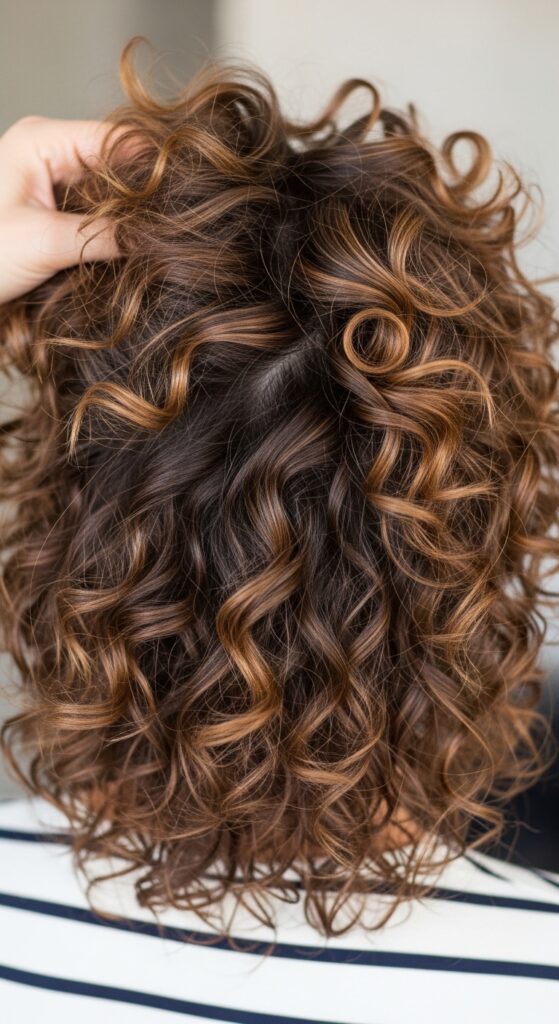
Scalp Care Before Voluminous Curls
Big, bouncy curls or a glitchy glam hair look need a healthy, unobstructed scalp to spring from. Buildup can weigh down roots and make curls fall flat faster.
A clarifying scrub, like the sea salt or lemon yogurt option, can help lift away anything that might inhibit volume. Follow with a light conditioner only on your ends to keep your roots buoyant and ready for lift.
For Edgy Cuts: Asymmetrical Lob & Vampire Hair
Edgy cuts like the asymmetrical lob or the textured vampire haircut often show off your scalp and hairline. You want that skin to look fresh and flake-free.
A scrub with a bit of extra oomph, like the coffee grounds or pink salt, can define the canvas for these statement cuts. Pay special attention to the areas that will be most visible—around the ears and along sharp part lines.

Prepping for Romantic & Goth Styles
Whether you’re going for soft romantic goth hairstyles with tendrils or a more dramatic look, a healthy scalp contrast is key. It makes dark hair look richer and intricate styles look more deliberate.
A soothing, non-irritating scrub is best. The oatmeal or rosewater recipes are perfect. They ensure any visible scalp (like in deep parts) looks pristine and healthy, not red or irritated, which is essential for the romantic goth aesthetic.
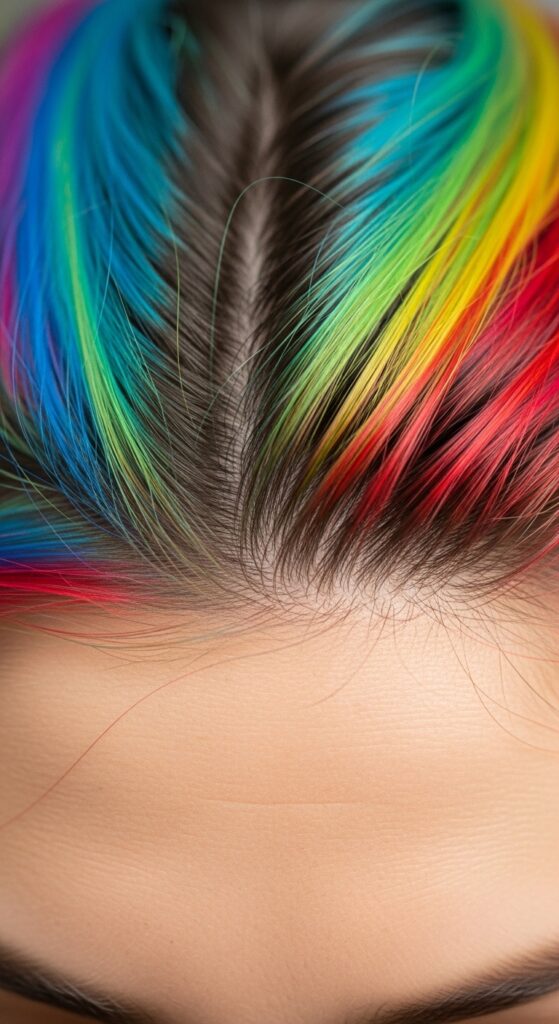
Scalp Health for Bold Colors & Glitchy Glam
If you’re prepping for a bold color or a glitchy glam hair transformation with multiple tones, a clean scalp helps with even color application. It also makes regrowth look neater and more intentional.
Use a detoxifying scrub like the bentonite clay or ACV mix about a week before your color appointment. This removes barriers so the color can adhere evenly, giving you the most vibrant, true-to-tone results possible.
For Straight-Across Bangs & Hime Cuts
Styles with heavy, straight-across bangs like the hime cut or any blunt fringe place a spotlight on your forehead and front scalp. Flakes or oiliness here are immediately noticeable.
Be meticulous with your scrub along the front hairline. A gentle, balancing scrub like the aloe or jojoba mix is ideal. It keeps the area under your bangs clear and comfortable, preventing breakouts or itchiness.

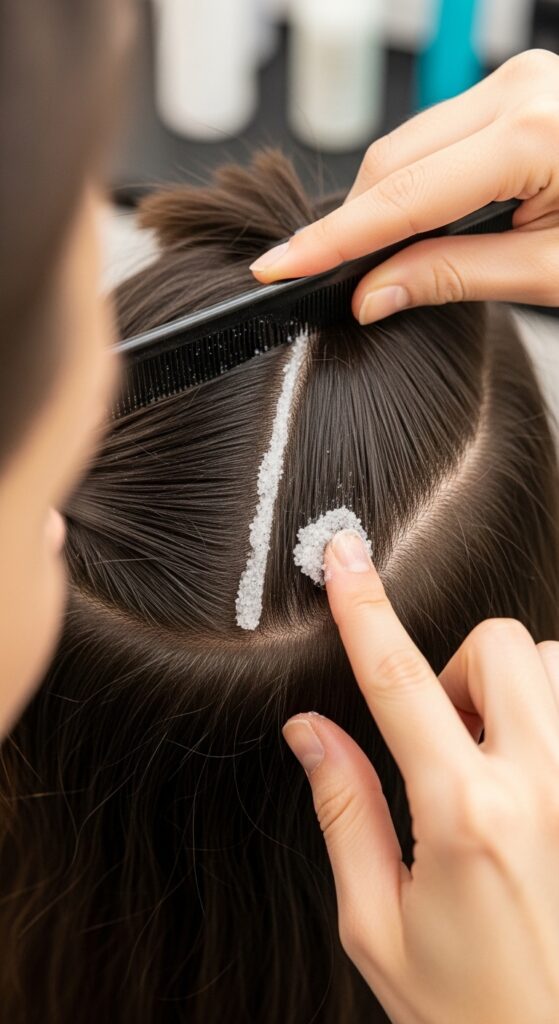
The Step-by-Step Scrubbing Process
- Start with damp, towel-dried hair. Your hair should be about 80% dry.
- Section your hair into 4 parts using clips. This ensures you cover every inch of your scalp.
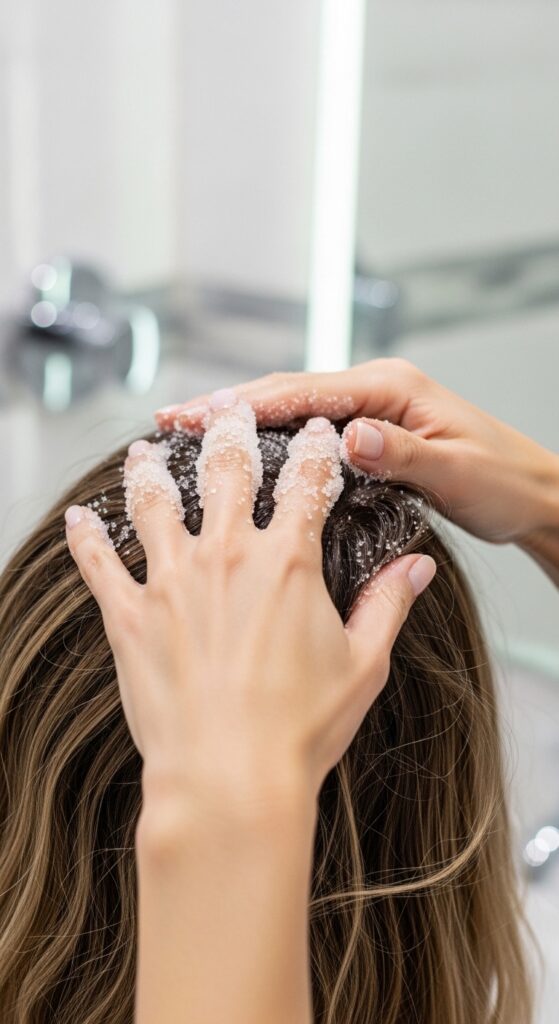
- Take a small amount of scrub and apply directly to one section of your scalp.
- Using the pads of your fingers, massage in small, firm circles for 3-5 minutes per section.
- Rinse thoroughly with lukewarm water. You may need to gently comb under the water to ensure all granules are out.
- Follow with your regular shampoo and conditioner routine, focusing conditioner only on your mid-lengths and ends.
What to Do Immediately After Scrubbing
After rinsing out all scrub granules, you can shampoo as usual. I recommend a gentle, clarifying shampoo to wash away any last bits of oil or residue from the scrub itself.
Then, apply a moisturizing conditioner or hair mask ONLY from your ears down. Avoid the scalp area to prevent weighing down your fresh, clean roots. Style as desired, enjoying that incredible lightweight feeling.
Common Scalp Scrub Mistakes to Avoid
- Scrubbing too hard: This can cause micro-tears and irritation. Gentle pressure is enough.
- Using it too often: Once a week or every other week is plenty. Overdoing it disrupts your scalp’s natural balance.
- Not rinsing thoroughly: Leftover granules can cause itching and flaking—the exact problems you’re trying to solve!
- Applying to dry hair: This causes tugging and doesn’t allow the scrub to spread properly.
When to Skip the DIY Scrub
If you have any open cuts, sores, sunburn, or a diagnosed scalp condition like severe psoriasis or eczema, skip the DIY scrub. The physical exfoliation or natural acids could aggravate it.
In these cases, consult a dermatologist. They can recommend medicated treatments or extremely gentle chemical exfoliants that will be more effective and comfortable for your specific needs.
How to Store Your Leftover Scrub Mix
DIY means no preservatives, so you must store these scrubs properly. Always mix a fresh batch for each use if you can. If you must store it, use a very small, airtight glass jar in the refrigerator.
Any scrub with fresh ingredients like lemon, yogurt, or aloe should be used immediately. Oil-based sugar or salt scrubs can last up to a week in the fridge. Always smell it before using—if it’s off, toss it.
And that’s it, friend! Twenty-eight ways to give your scalp the fresh start it’s been craving. The real magic is in the consistency. Adding a gentle scrub to your routine every week or two can completely transform how your hair feels and how your styles hold up.
Whether you’re rocking braids, a bold cut, or just want healthier hair days, it all starts at the roots. A little prep goes such a long way. I promise your scalp will thank you.
Save this post to Pinterest to keep these recipes handy for your next hair prep day! Which recipe are you most excited to try? Tell me in the comments below—I read every single one.
Xoxo, Hailey & Team