Fast 27 Quick-Release Sectioning Clips Speeding Complex Styling Tasks
Hey friend. Let’s be real for a second. How many times have you started a gorgeous, intricate hairstyle—thinking this is finally the day you master that asymmetrical lob or romantic goth braid—only to have it all fall apart because your regular clips just can’t hold the sections?
You’re wrestling with slippery hair, your arms are getting tired, and the whole process feels way more complicated than the tutorial made it look. I’ve been there so many times. It’s frustrating!
But what if I told you there’s one simple, under-$20 tool that can completely change your styling game? I’m talking about quick-release sectioning clips. They’re the secret weapon my hairstylist friends and I swear by for 2026 hairstyles that require precision.
Stick with me, and I’ll show you exactly how these little wonders speed up every complex task, from a quiet luxury bob to the edgiest vampire haircut. Let’s get into it.
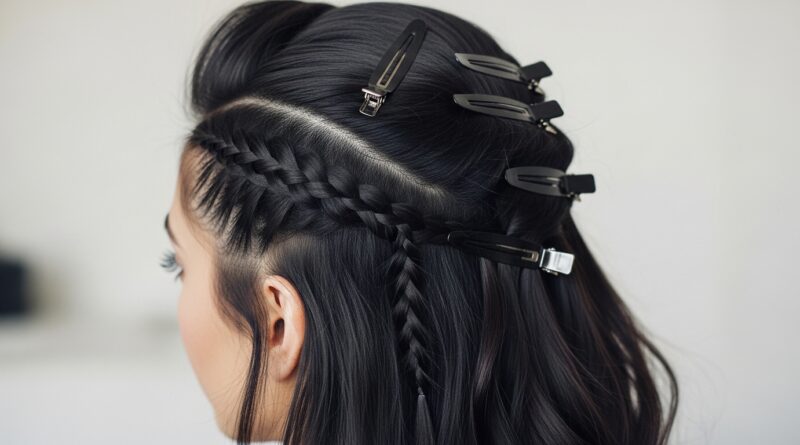
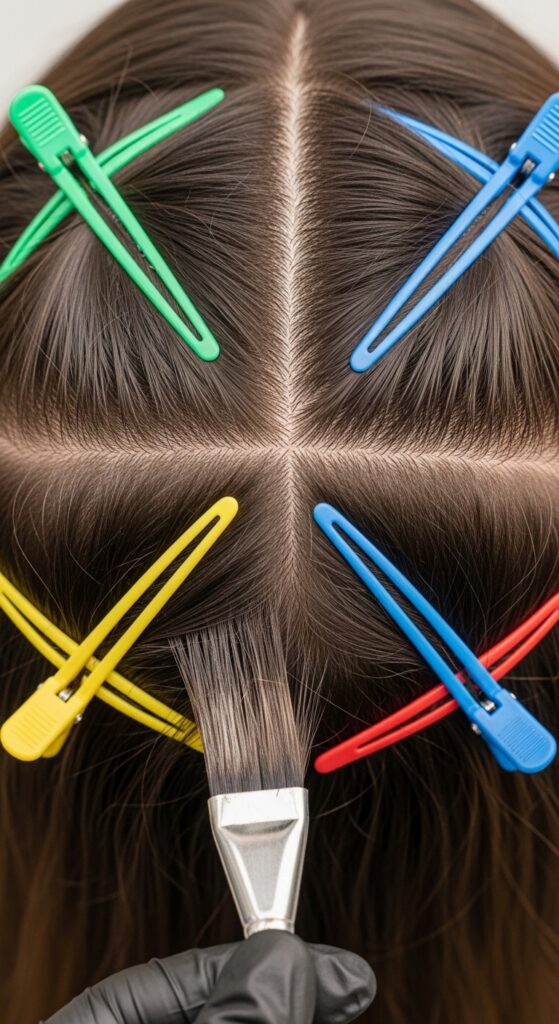
What Are Quick-Release Sectioning Clips?
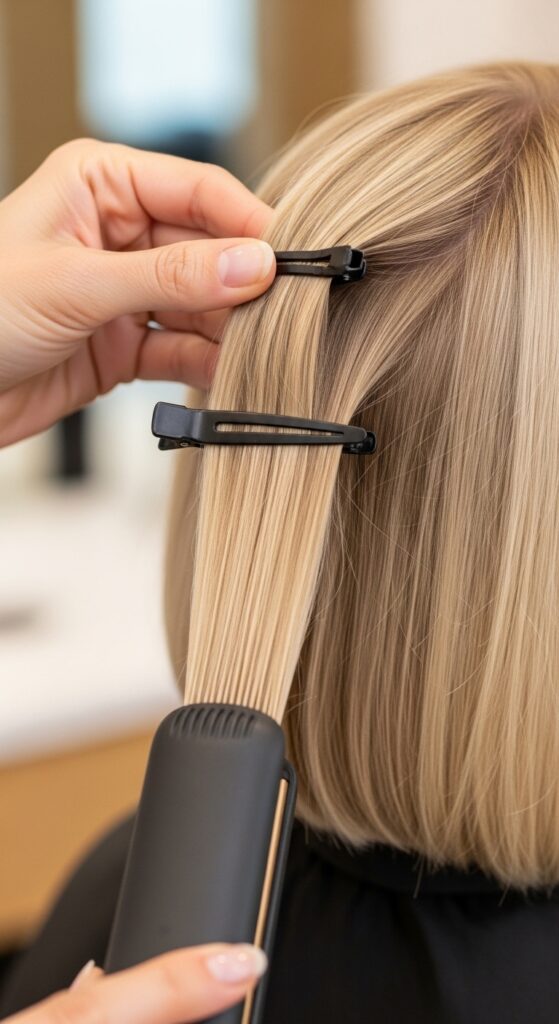
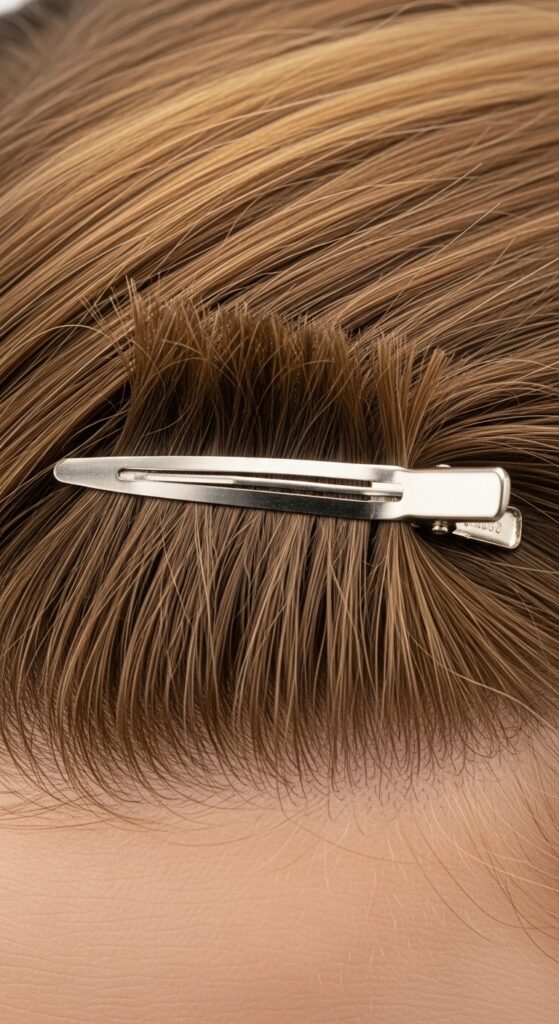
You know those classic butterfly clips? These are their smarter, stronger, and way more efficient cousin. Quick-release clips have a smooth, spring-loaded mechanism that opens and closes with one easy press.
They grip hair firmly without snagging or slipping, and they lay flat against your head. This means you can clip a section out of the way and completely forget about it—it won’t budge until you’re ready for it.
- Strong Hold: They lock hair in place, even thick, slippery, or layered hair.
- One-Handed Operation: Just press the lever to open and close. It’s a game-changer when your other hand is holding a curling iron.
- Flat Design: They don’t create bulky bumps, so you can style right over them.
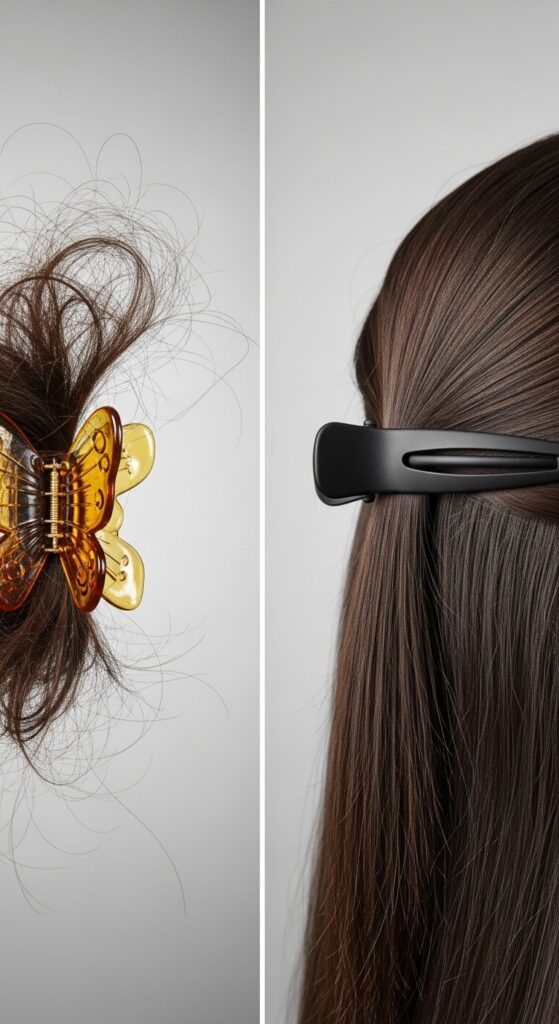
Why They Beat Every Other Clip
I used to think all clips were created equal. I was wrong. Regular clips pinch, slip out, and often leave dents or creases in your style. They’re fine for basic tasks but fail miserably for detailed work.
Quick-release clips distribute pressure evenly. The wide, smooth jaws hold without damaging your hair’s cuticle. This is crucial for achieving that sleek, old money hair look where every strand lies perfectly.
Their design is pure genius for sectioning. You can clearly see where each section begins and ends, making complex color work or precision cuts at home actually possible.
The Secret to Faster Blowouts
Want a salon-quality blowout at home? The key is working in perfectly isolated, damp sections. This is where these clips shine. After applying your heat protectant, start at the nape of your neck.
Take a horizontal section about two inches thick, blow it out smooth, and then immediately clip it up and out of the way with a quick-release clip. It will stay put, fully dried, while you work on the next lower section.
- This method prevents you from repeatedly brushing through already-dried hair, which causes frizz.
- It ensures every single root gets direct airflow for maximum volume.
- Your arms get less tired because you’re not fighting to keep hair separated.
Mastering the Quiet Luxury Bob
That perfectly smooth, glass-like bob you see everywhere? It’s all about impeccable sectioning. To get that sharp, clean line and zero frizz, you need to flat iron in tiny, horizontal sections.
Use your clips to separate the bottom half of your hair from the top. Then, work through the bottom layer inch by inch. Clip the finished pieces up so they don’t mix with the unfinished ones.
For the top layers, take vertical sections. Clip the bulk of the hair on one side of your part away while you work on the other. This gives you total control to get that chic, polished finish that defines the quiet luxury bob.
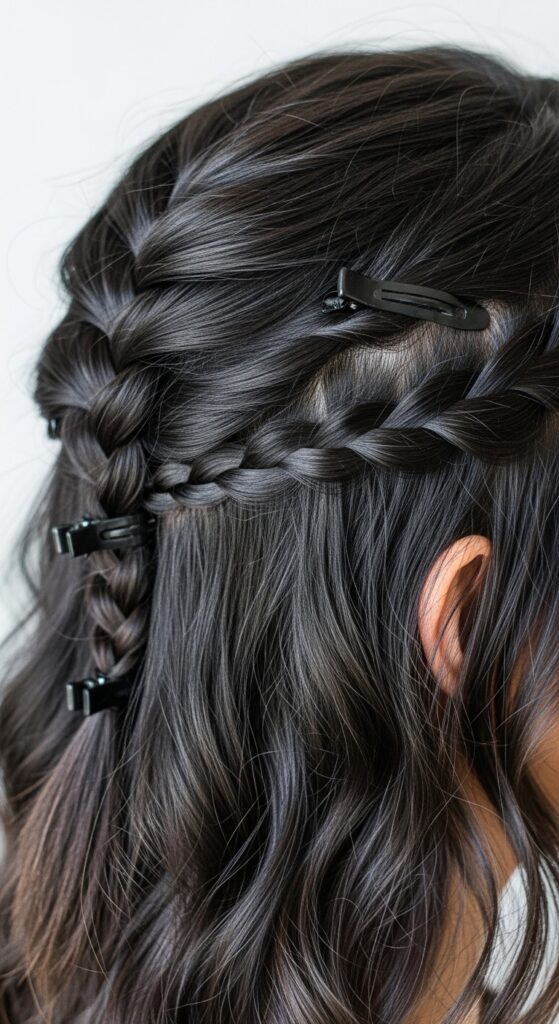
Creating Romantic Goth Hairstyles
Think intricate braids, soft tendrils, and dramatic volume. Romantic goth hairstyles are beautiful but can be a sectioning nightmare. You need to hold large portions of hair securely while you craft delicate details.
Let’s say you’re doing a braided crown. Quickly clip all the hair you’re not immediately working with into separate, organized sections around your head. This keeps hair from getting tangled and lets you focus on one braid at a time.
When creating loose, face-framing tendrils, clip the rest of your hair back so you can gently curl or backcomb just those few pieces for a soft, ethereal effect.
Taming Thick or Curly Hair for Styling
If you have a lot of hair, you know the struggle is real. Regular clips pop open. These clips are built for the job. Their strong spring can hold a substantial amount of hair without straining.
For curly hair, they’re perfect for “styling in the cast.” Apply your curl cream or gel, then use clips to section hair for diffusing. You can even use them to clip curls up at the root while they dry for extra lift and volume.
They make detangling and styling manageable by letting you conquer one small, well-held section at a time, reducing overwhelm and saving so much time.
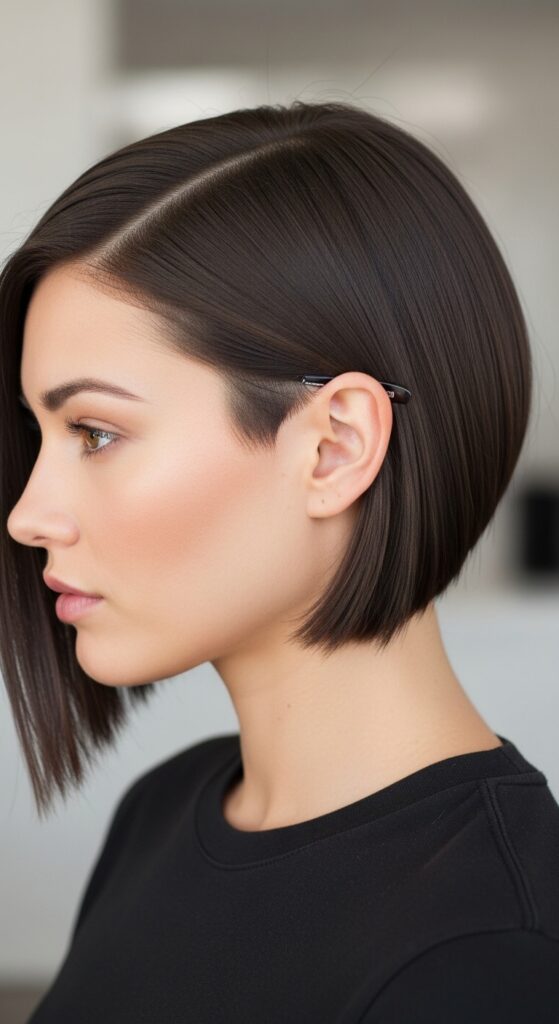
Precision for the Asymmetrical Lob
The asymmetrical lob is all about sharp angles and deliberate lines. Whether you’re styling it or even doing a DIY trim (brave!), precise sectioning is non-negotiable.
Use your clips to isolate the longer side from the shorter side completely. Then, within each side, create clean horizontal partings. This allows you to curl or straighten each section in the direction needed to enhance the angular shape.
When styling, always clip the finished hair away so the distinct lengths don’t blend and soften the edgy look you’re going for.
Building Volume for Old Money Hair
Old money hair isn’t about obvious teasing. It’s about lush, natural-looking volume from the roots. Here’s the trick: after blow-drying, create a deep side part.
Take a vertical section on the top of your head. Lightly backcomb the root area, then smooth the top layer over it. Now, use a quick-release clip to pin that section *slightly* over toward the opposite side of your head.
Let it cool completely while you do your makeup. When you remove the clip, you’ll have incredible, undetectable volume that looks inherited, not constructed.
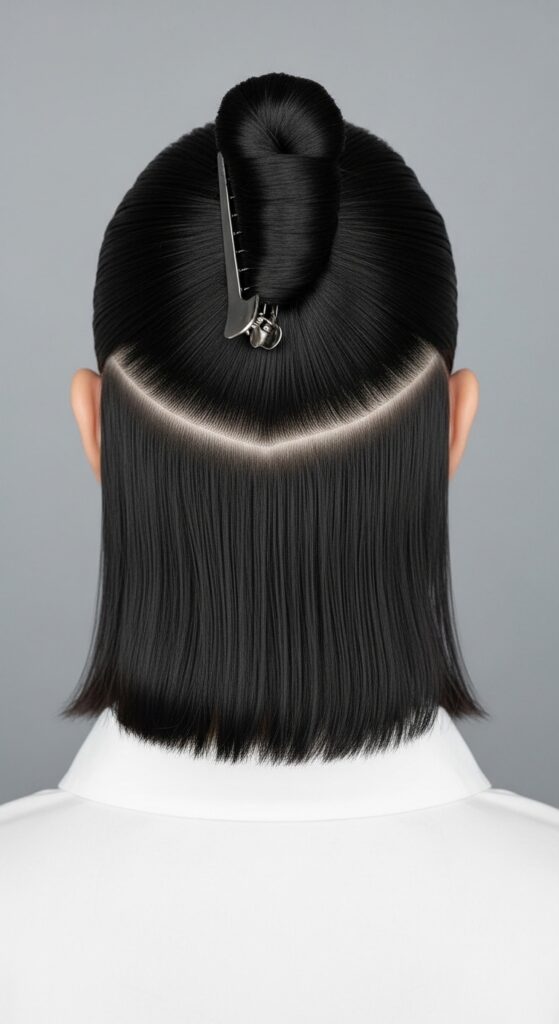
Sectioning for the Hime Cut
The hime cut, with its dramatic front strands and blunt perimeter, requires surgical precision. To style it, you must treat the front, cheek-length strands completely separately from the back hair.
Start by clipping all the back hair up and out of the way. Focus on straightening or curling the two front panels perfectly. Then, clip those finished front pieces forward over your shoulders.
Now, release the back hair. Style it as one solid, blunt unit. The clips prevent the different textures and lengths from mixing, which is crucial for this striking look.
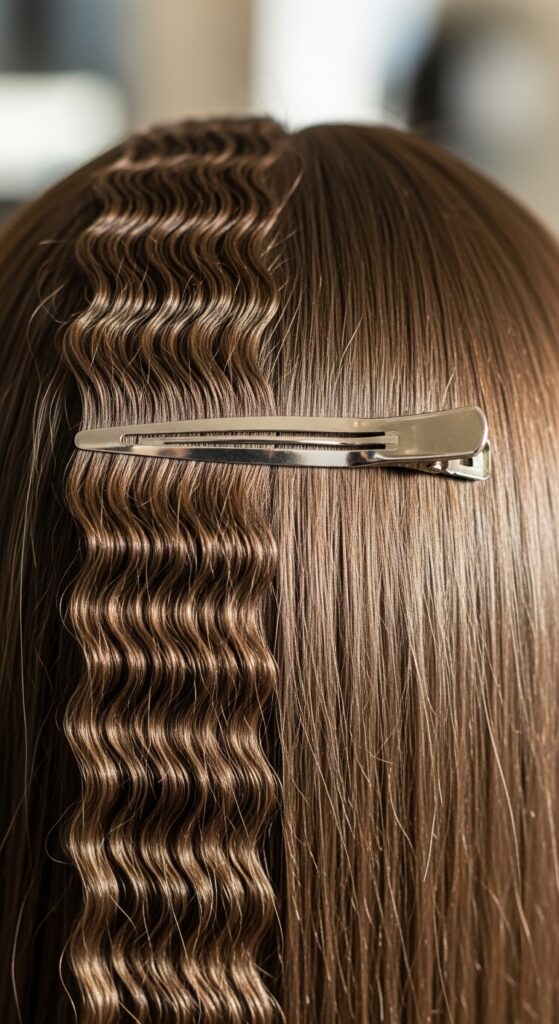
Executing Glitchy Glam Hair
Glitchy glam hair is a fun mix of textures and intentional “mistakes.” It might involve a perfectly smooth section next to a wildly crimped one. To avoid a tangled mess, you need to compartmentalize.
Decide which sections will be which texture. Use your clips to aggressively isolate the “smooth” sections, protecting them while you crimp or backcomb the “glitchy” parts.
You can even use the clips to create hard-set waves or bends by clamping a section of hair into a zig-zag pattern while you hit it with hot air from your dryer.
Styling the Modern Vampire Haircut
The vampire haircut is all about textured, shattered ends and a lived-in feel. To style it without losing the shape, sectioning is your best friend. Work from the bottom layers up.
Clip the top half of your hair up. Use a texturizing spray on the bottom layers and twist small sections, pinning them with clips while they set to create piece-y separation.
For the top layers, use a curling wand on random sections, leaving others straight. Clip each curled piece as it cools to set the shape, building that effortless, just-awoken look.
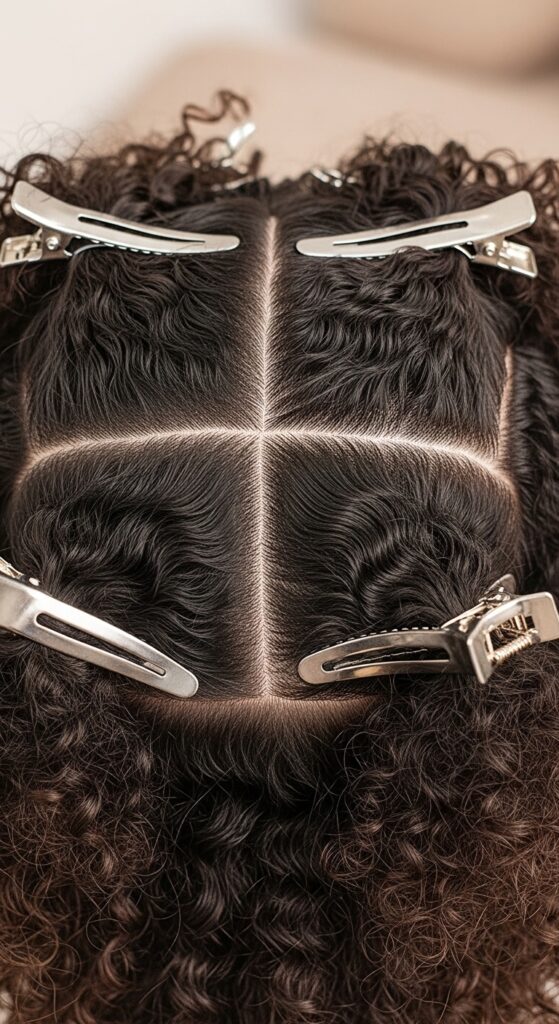
Organizing Hair for Color Touch-Ups
Doing your own roots or face-framing highlights? These clips are a safety net. They keep colored hair strictly separated from non-colored hair, preventing smudging and overlap.
Use them to part off your hair into four quadrants first. Then, within each quadrant, take fine, horizontal partings. Clip the hair you’re not applying color to securely up and away.
This organized method means you won’t miss spots or accidentally dye over already-processed hair, giving you a much cleaner, more professional result.
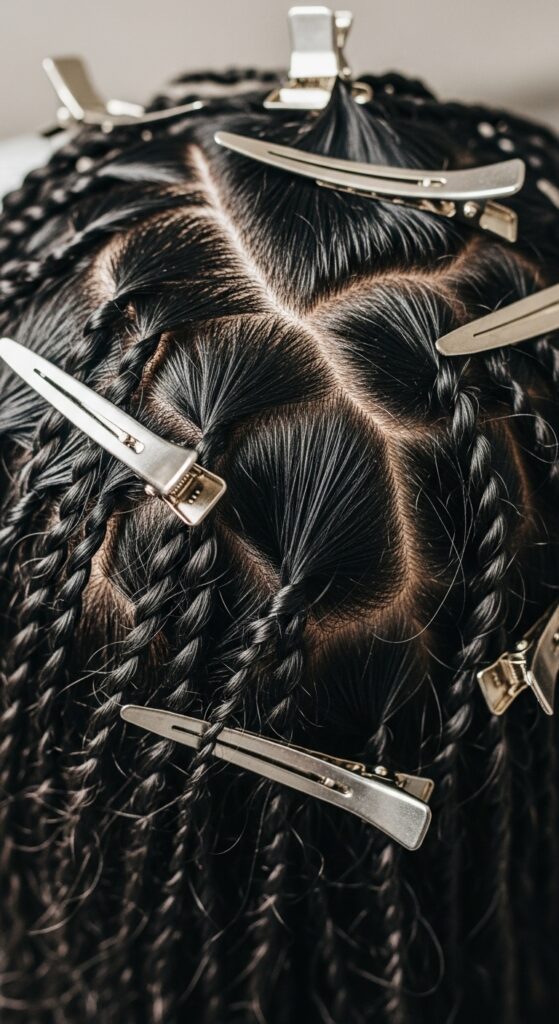
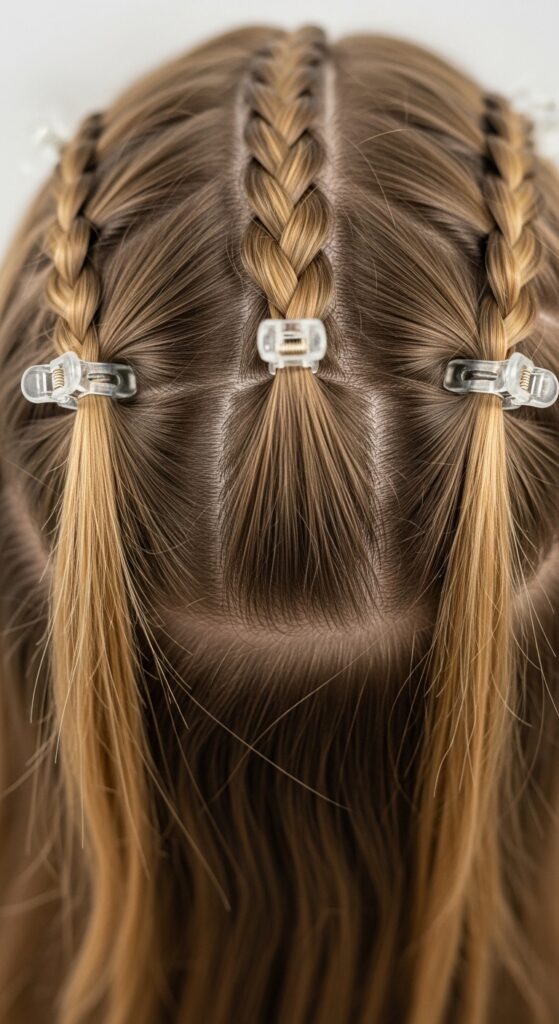
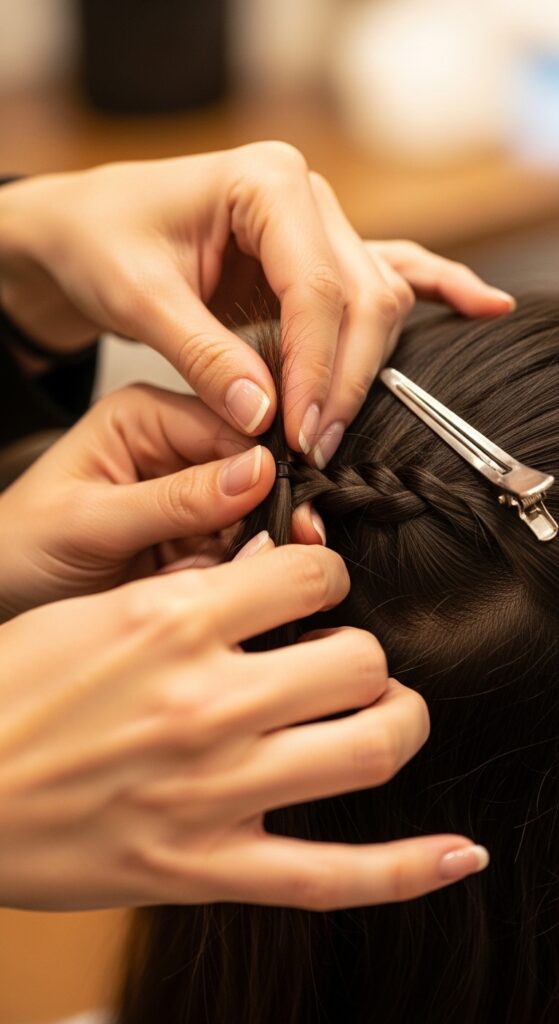
Holding Hair for Perfect Braids
Any complex braid starts with good sectioning. For a Dutch or French braid, use clips to hold the three initial sections apart before you begin. This gives you a clean start.
As you braid down, use another clip to temporarily hold the completed portion of the braid against your head so it doesn’t loosen while you gather new hair to add in.
For twin braids or pigtails, clip one entire side of your hair away while you perfectly braid the other side, ensuring both sides are even and separate.
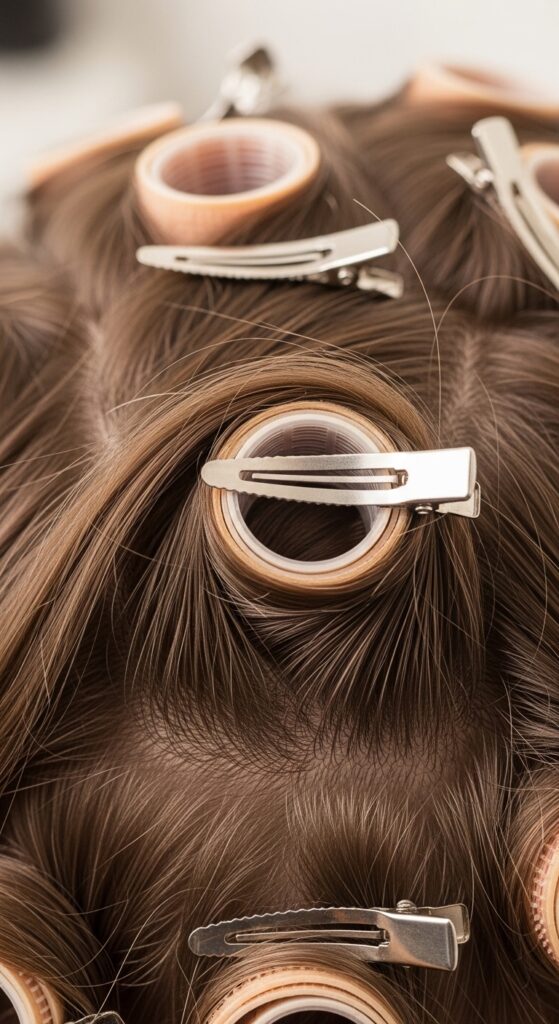
Setting Pin Curls and Waves
Want vintage-inspired waves without heat? Try pin curls. After applying mousse or setting lotion to damp hair, roll a section into a curl, flatten it against your head, and secure it with a quick-release clip.
Their flat, wide grip holds the pin curl securely without leaving a mark. You can set your entire head this way. Sleep on them or let them dry fully.
When you take them out, you’ll have beautiful, set waves. The clips make the process faster and more secure than traditional bobby pins.
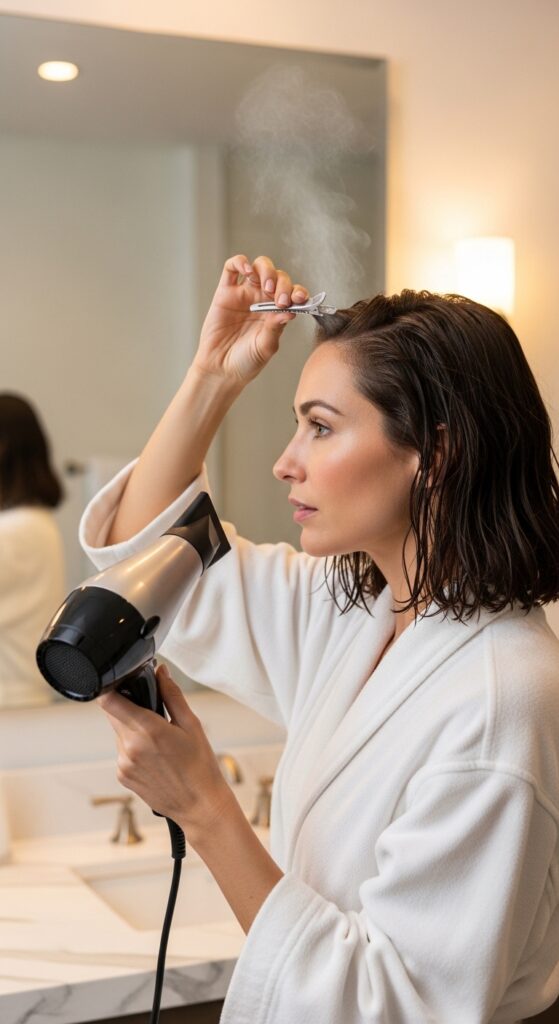
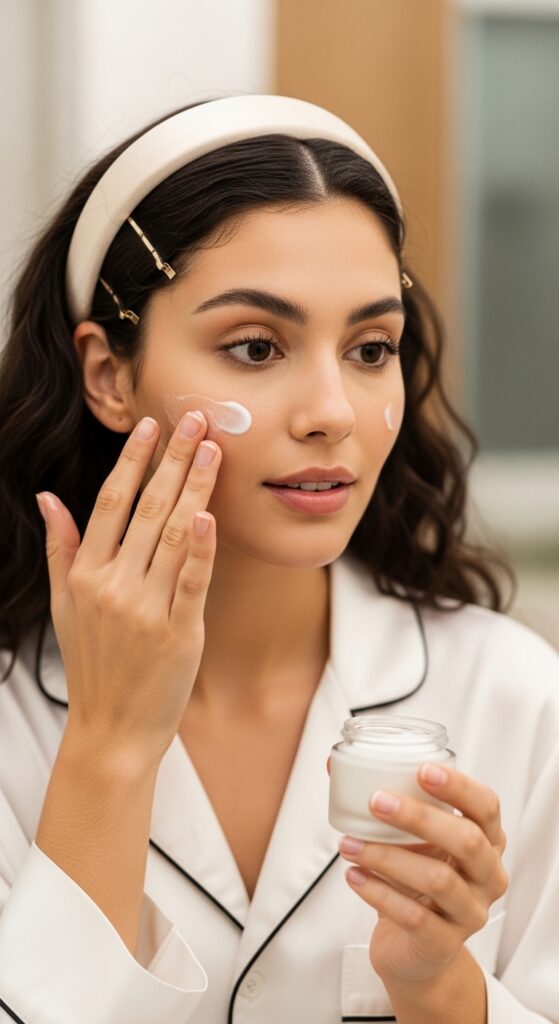
Managing Hair During Skincare
This is my favorite little hack. Doing your skincare or makeup with hair down is a recipe for greasy strands and product transfer. But a tight ponytail gives you face-lift.
The solution? Gently pull the front sections of your hair back and secure them with a few light-hold quick-release clips. It keeps hair totally off your face but without any tension on your hairline or style.
It’s the perfect way to maintain a blowout while still taking care of your skin. Just pop them in, do your routine, and remove them—your style stays perfect.
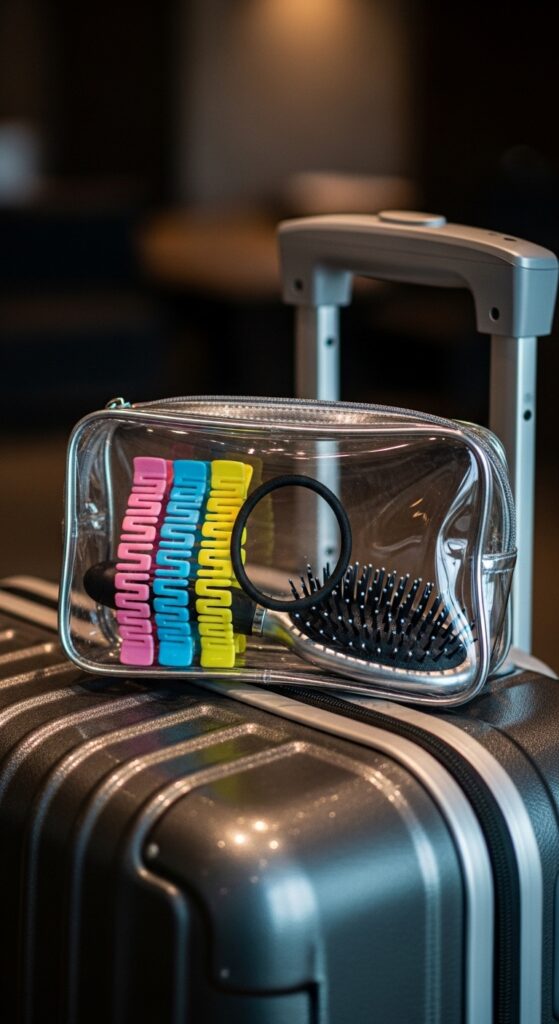
Travel Must-Have for Style Maintenance
Never check a bag without a few of these clips. They’re lightweight and unbreakable. On the plane, use them to section hair for a quick braid or updo to avoid tangles.
In a hotel, they help you recreate your home styling routine by giving you the same control, even with a subpar mirror. They’re also perfect for holding your hair up and out of the way while the deep conditioner treatments.
They take up zero space but can salvage a bad hair day on vacation, making them the ultimate travel hero.
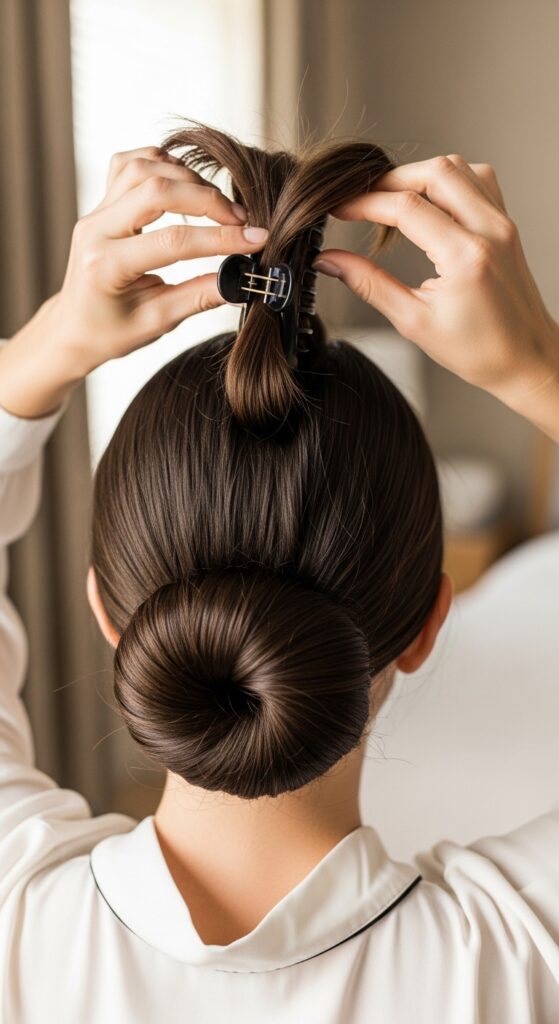
Quick Updos in Minutes
Need a chic updo fast? Sectioning is the shortcut. First, use a clip to hold the top half of your hair up. Twist the bottom half into a low bun and secure it.
Then, release the top half. Twist or loosely braid it, then wrap it around the base of the bun, using the clips to secure the ends underneath. The initial sectioning with the clip makes the whole process orderly and quick.
You can create a messy bun, a sleek chignon, or a Gibson tuck with this same principle—isolate, style, and combine.
Teaching Kids or Friends Hairstyling
Trying to braid your niece’s hair or help a friend with a style? Give them a few clips! Teaching someone is easier when they can see the sections clearly marked.
Have them hold the clips and hand you sections as you need them. Or, clip the hair for them into the main sections before they start, so they’re not overwhelmed.
It turns a potentially frustrating experience into a fun, organized activity. The clips do the “remembering” for you, so everyone can focus on the technique.
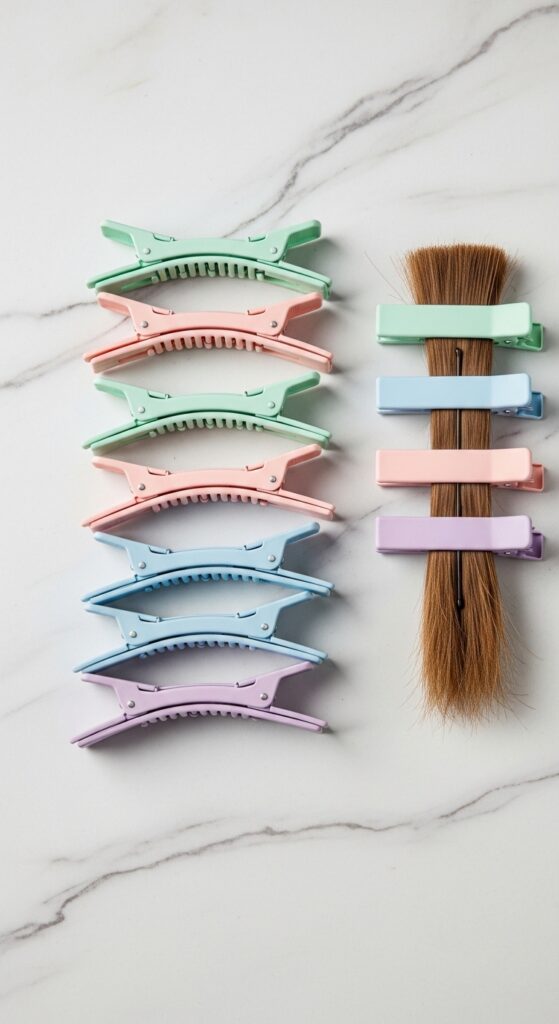
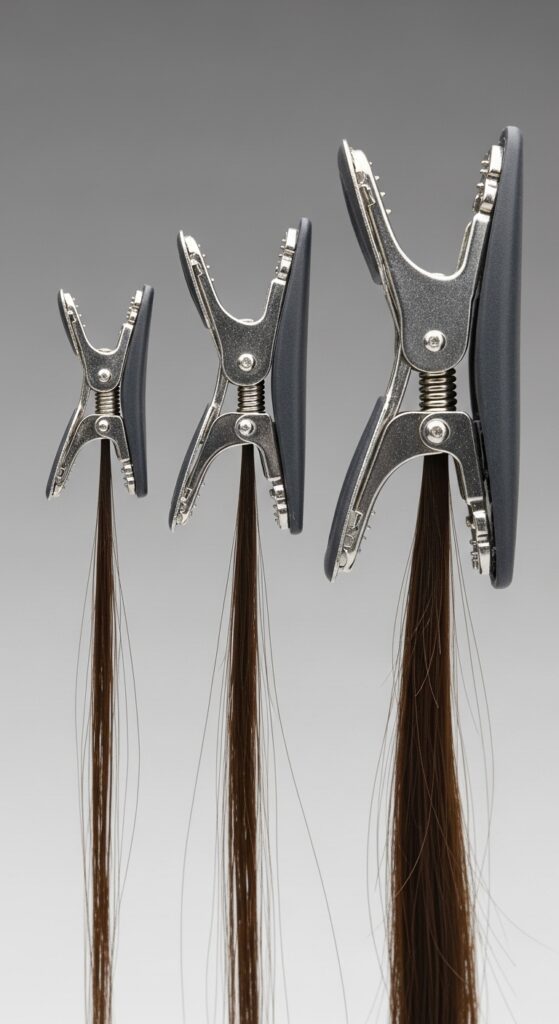
Choosing the Right Size & Material
Not all quick-release clips are the same. For fine to medium hair, standard 2-inch clips are perfect. For thick, curly, or very long hair, opt for the 3-inch or “jumbo” size for a stronger hold.
Look for clips with a smooth, seamless finish to prevent snagging. Some have a matte coating for extra grip on slippery hair. I prefer a mix of sizes in my kit.
- Small (1.5″): For baby hairs and tiny sections.
- Medium (2″): The all-purpose workhorse.
- Large (3″): For holding massive sections of thick hair.
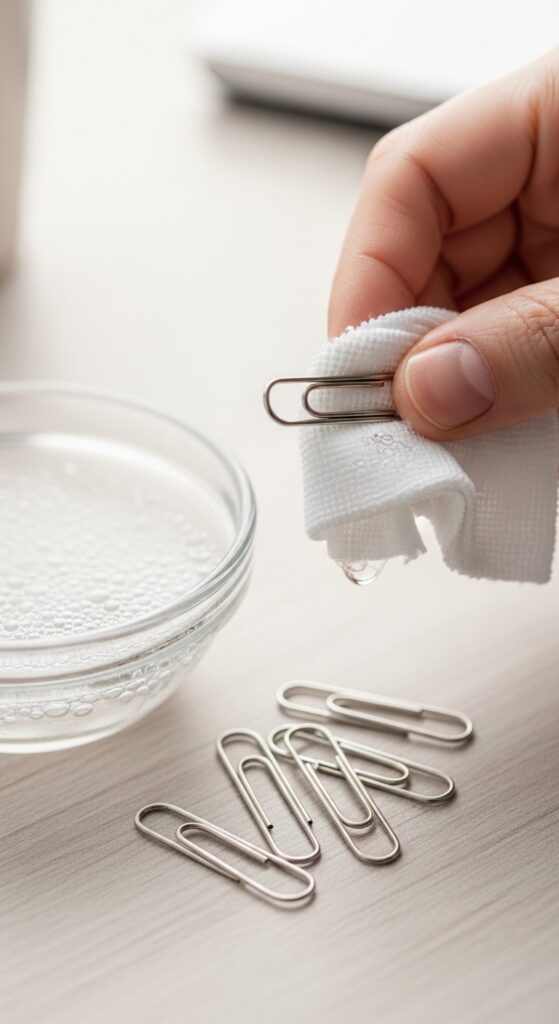
Cleaning and Caring for Your Clips
To keep them working smoothly, give them a quick wipe down with a damp cloth or alcohol wipe after each use to remove any product buildup. Don’t soak them, as water can get into the spring mechanism.
If the spring starts to feel loose, you can sometimes gently bend the metal arms inward to restore tension. Store them in a small pouch or container so they don’t get lost or crushed in your drawer.
With just a little care, a good set of clips will last for years, making them one of the best investments in your styling toolkit.
Where to Buy the Best Ones
You can find these clips at beauty supply stores, big-box retailers, and of course, online. I recommend starting with a multi-pack that has different sizes to see what you like.
Brands like Kitsch, Scünci, and Goody make reliable versions. Look for packs that are labeled “sectioning” or “styling” clips. They’re incredibly affordable—a pack of 10-12 usually costs less than a fancy coffee.
Trust me, once you try them, you’ll wonder how you ever styled hair without this simple, brilliant tool holding everything together for you.
So, there you have it. My not-so