Finger Coil Curly Ends for Defined Bouncy Texture
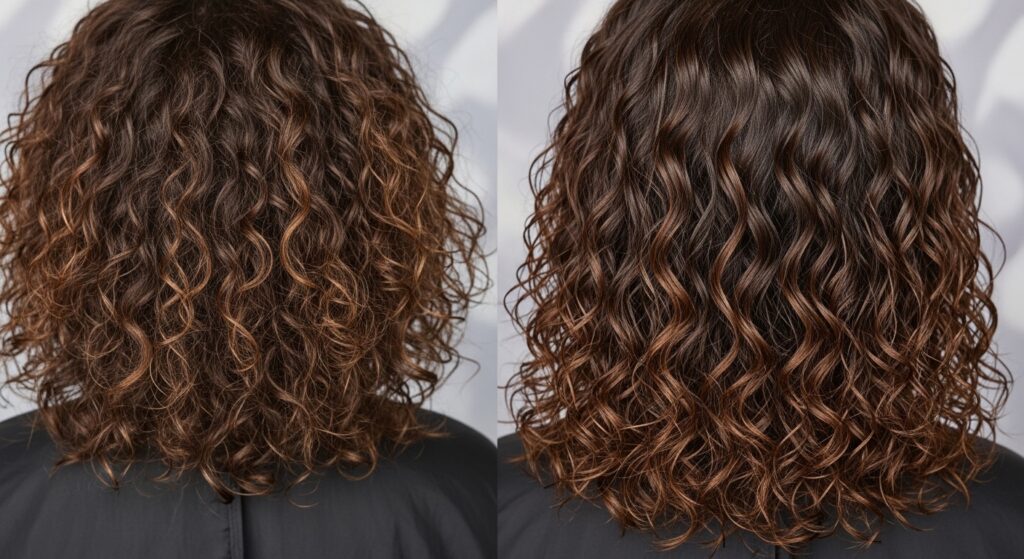
Hey friend. Let’s talk about that moment when you’re scrunching your curls and just feel like something’s missing. The top is great, but the ends? They’re a bit frizzy, maybe a little undefined, and they just don’t have that bounce you see in pictures. I get it. I was there for years.
That’s why I became obsessed with the finger coil method for my ends. It’s not about changing your curl pattern. It’s about giving your natural texture a little extra help exactly where it needs it—right at the bottom. The result is definition, bounce, and a finish that looks like you just left the salon.
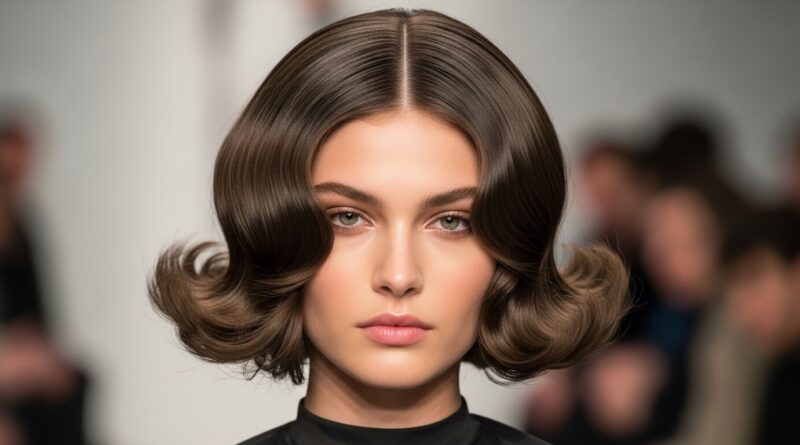
This technique is a game-changer, and it’s way simpler than you think. It works whether you’re rocking a big curly mane, an asymmetrical lob, or even a sleek quiet luxury bob. Ready to get those perfect ends? Let’s dive in.
What Are Finger Coils, Really?
At its core, finger coiling is a styling technique. You take a small section of hair, wrap it around your finger, and let it set. This encourages your natural curls to clump together and dry in a perfectly defined spiral.
While some people coil their entire head, we’re focusing just on the ends today. This targeted approach saves so much time. It solves the wispy, frayed ends that can make even the most beautiful curls look a bit tired.
Why Your Ends Need Extra Love
The ends of your hair are the oldest part. They’ve been through every wash, every brush, every bit of sun and heat. They get dry first and lose definition quickly. This can make your whole style look less polished.
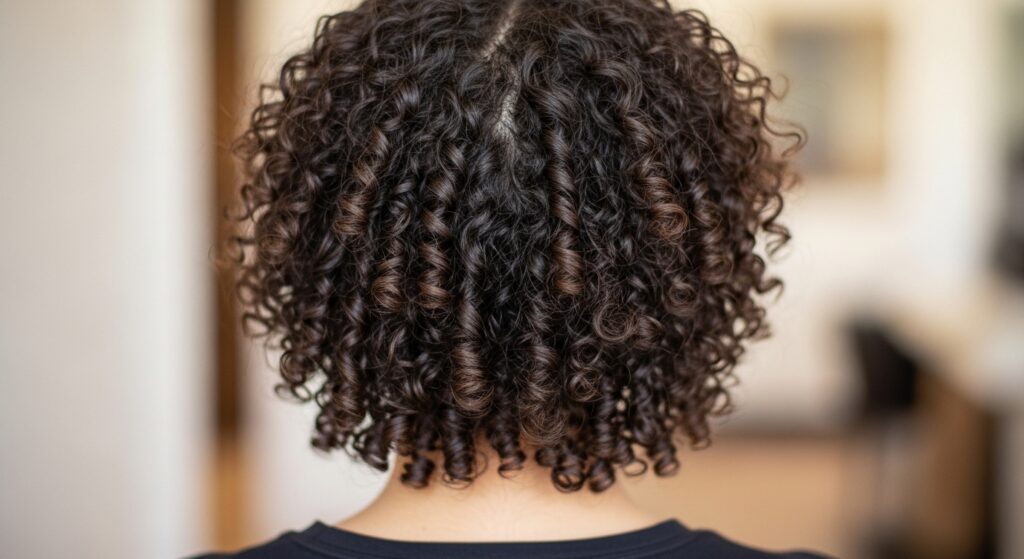
By focusing your finger coils on the last few inches, you’re giving the most vulnerable part of your hair a blueprint. You’re telling it exactly how to curl, resulting in a uniform, bouncy texture from root to tip. It’s the secret to that “fresh cut” look every day.
The Absolute Best Hair Type for This
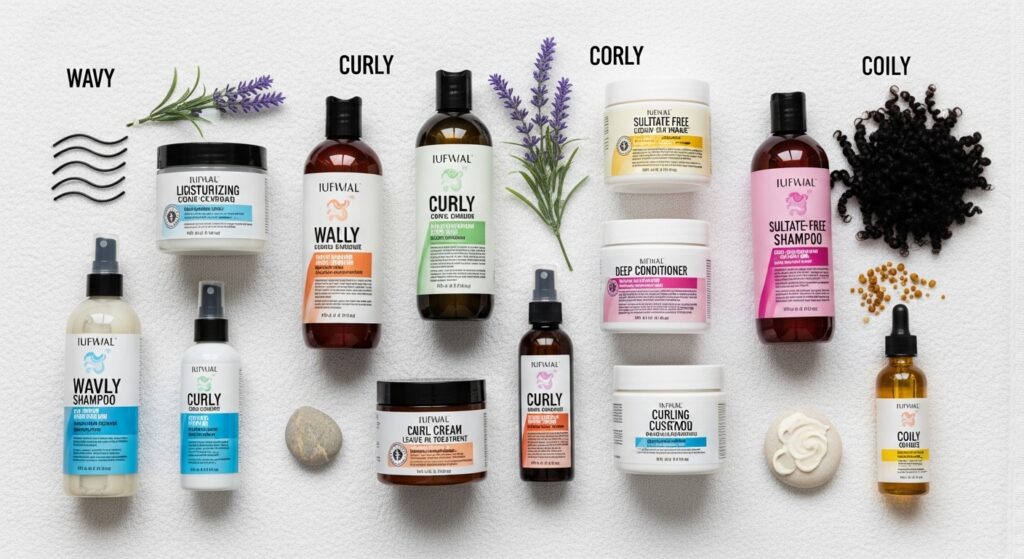
This method is a dream for wavy, curly, and coily hair types. If your hair has any natural texture or wave at all, finger coiling will enhance it. It works on both loose waves and tight coils, creating definition that looks natural.
Even if you have straighter hair but want a more romantic goth or textured look at the ends, you can try this with a strong hold product. The key is that your hair needs to be able to hold a shape when it dries. Most textures can!
Gathering Your Simple Toolkit
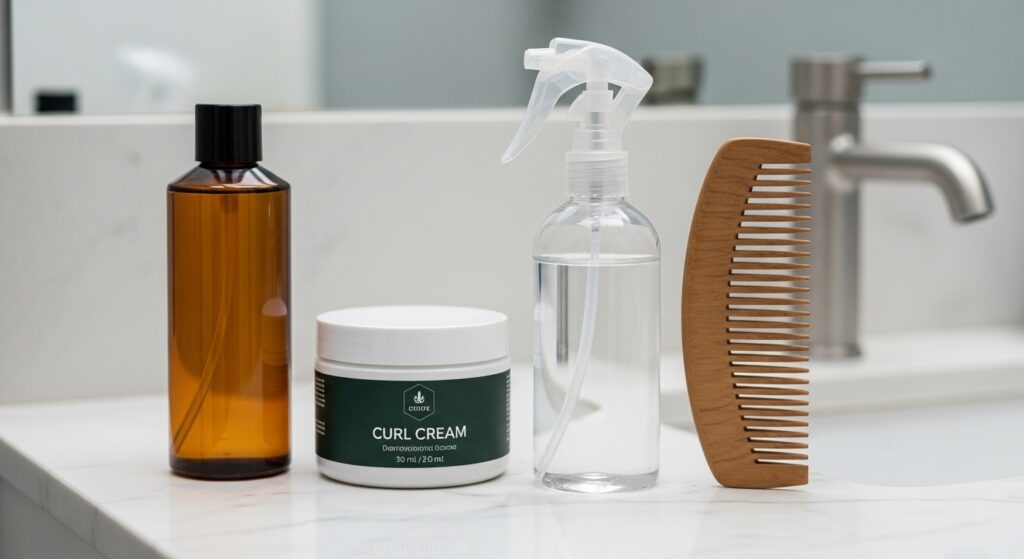
You don’t need much. Really. Here’s my go-to list for perfect end coils:
- A good leave-in conditioner or curl cream.
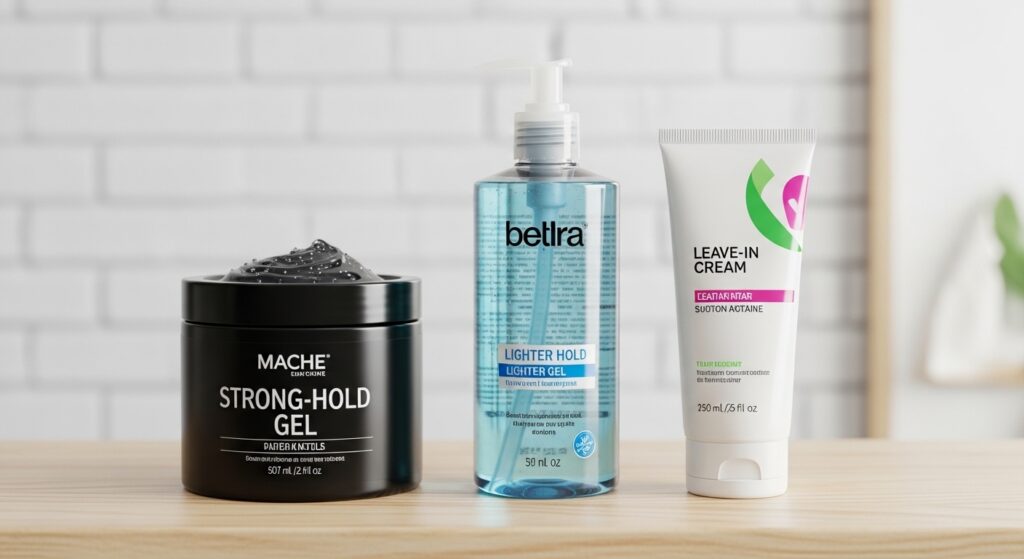
- A strong-hold gel or styling mousse. This is non-negotiable for hold.
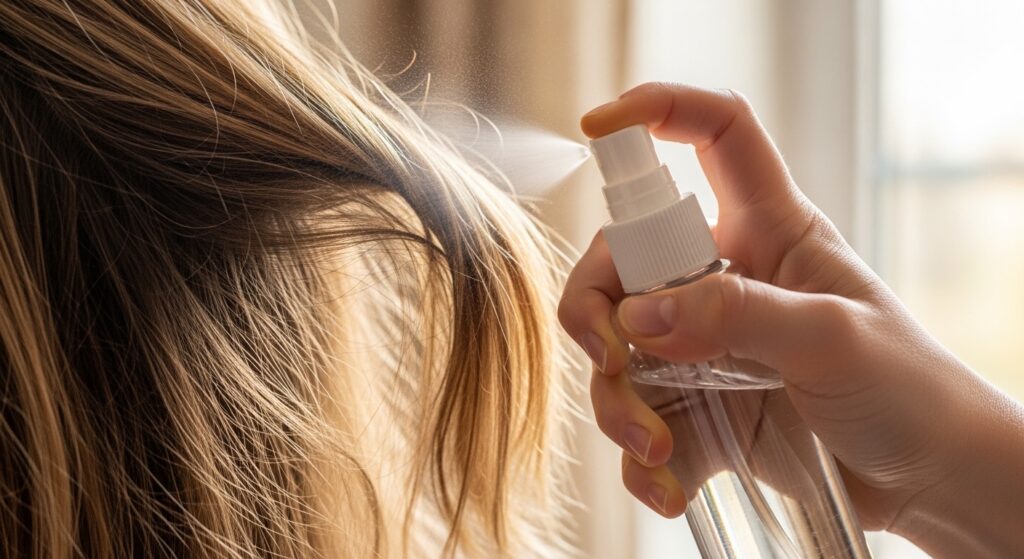
- A spray bottle with water for re-wetting sections.
- A wide-tooth comb or detangling brush.
- Your two hands. That’s it!
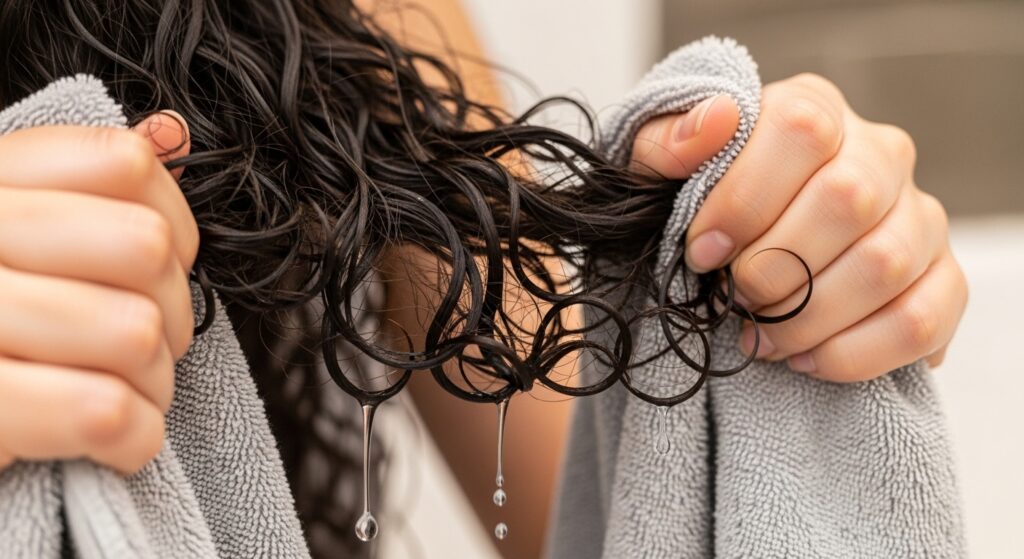
Step 1: Start With Damp, Not Soaking, Hair
This is the foundation. Your hair should be towel-dried or mostly dried from a wash. It needs to be damp enough to absorb product and be shaped, but not so wet that the product slides off or takes forever to dry.
I usually wash, gently squeeze out water with a microfiber towel, and then apply my leave-in. By the time I’m ready to coil, it’s at that perfect damp stage. If a section dries, just mist it lightly with your water bottle.
Step 2: Apply Your Cream & Gel Combo
Work in small sections. Take a section about the width of two fingers. First, rake a small amount of curl cream through from mid-lengths to ends. This moisturizes and preps.
Next, take a quarter-sized amount of gel (adjust for your hair thickness) and smooth it over the same section, focusing on the ends. This “gel cast” is what will lock in the perfect coil shape as it dries. Don’t be scared of the gel!

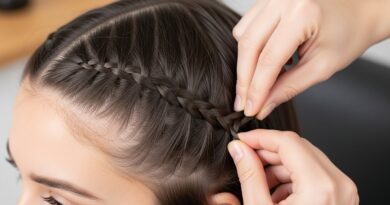
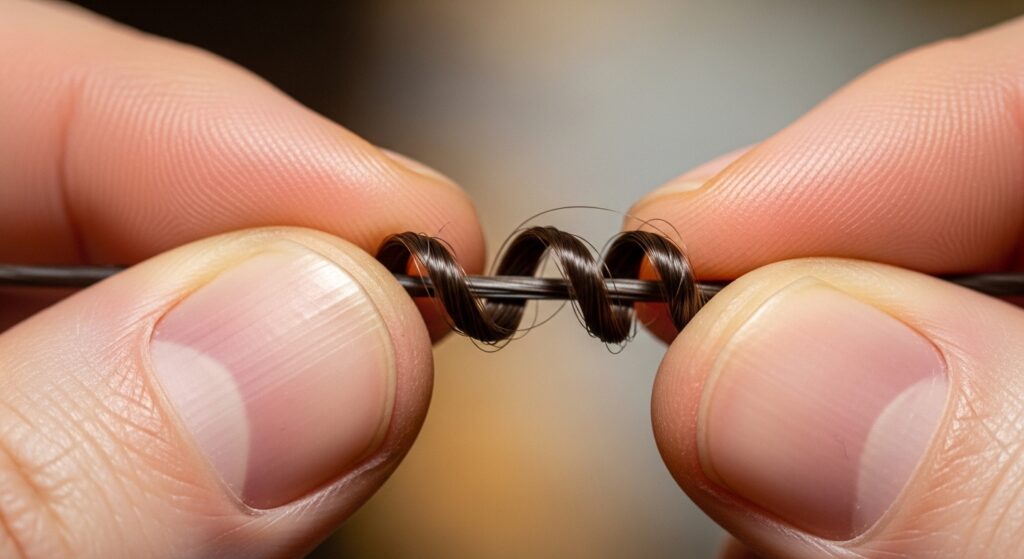
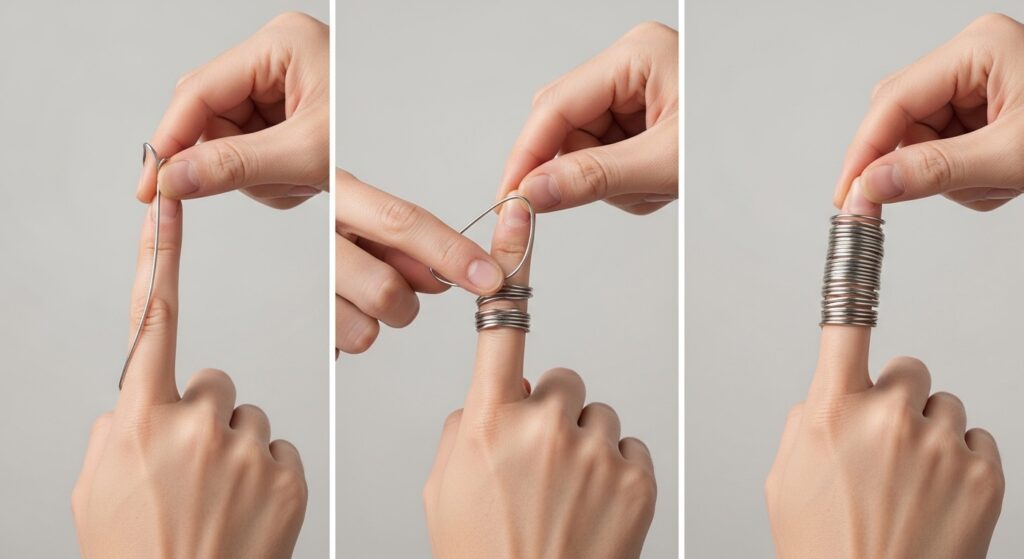
Step 3: The Actual Finger Coiling Motion
This is the magic part. Take the product-coated section. Place your index finger at the very end of the strand. Now, slowly and gently wrap the hair around your finger, moving upward toward your scalp.
You’re creating a little spring. Wrap it neatly, keeping tension even. Once it’s coiled up to where you want the definition to start (usually just the last few inches), gently slide your finger out. The hair should hold the coiled shape.
Step 4: Repeat Section by Section
Don’t try to coil your whole head. We’re only doing the ends! Work your way around your head, focusing on the bottom layer and your face-framing pieces. These are the most visible areas.
For the back, you can use a mirror or just go by feel. The goal isn’t perfection on every single hair underneath. It’s about the overall effect when you look in the mirror or shake your head.
Step 5: Let It Dry Completely (The Hardest Part!)
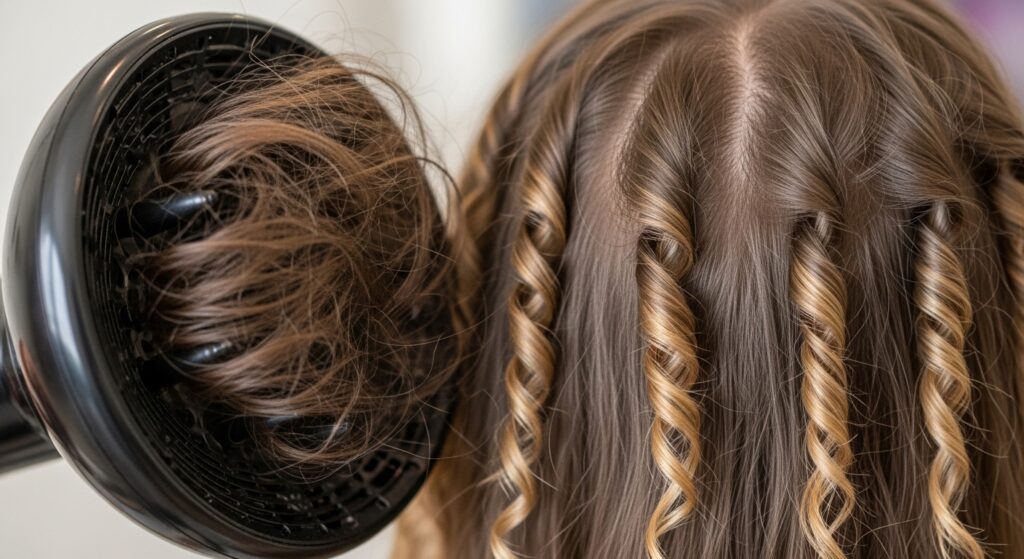
Patience is key. You must let your hair dry 100% naturally, or use a diffuser on low heat and low speed. If you touch it or sleep on it while it’s damp, you’ll ruin the cast and get frizz.
I like to coil my ends in the morning and let them air dry while I work. If you’re diffusing, hover the diffuser around the coiled ends until they’re completely dry and hard to the touch.

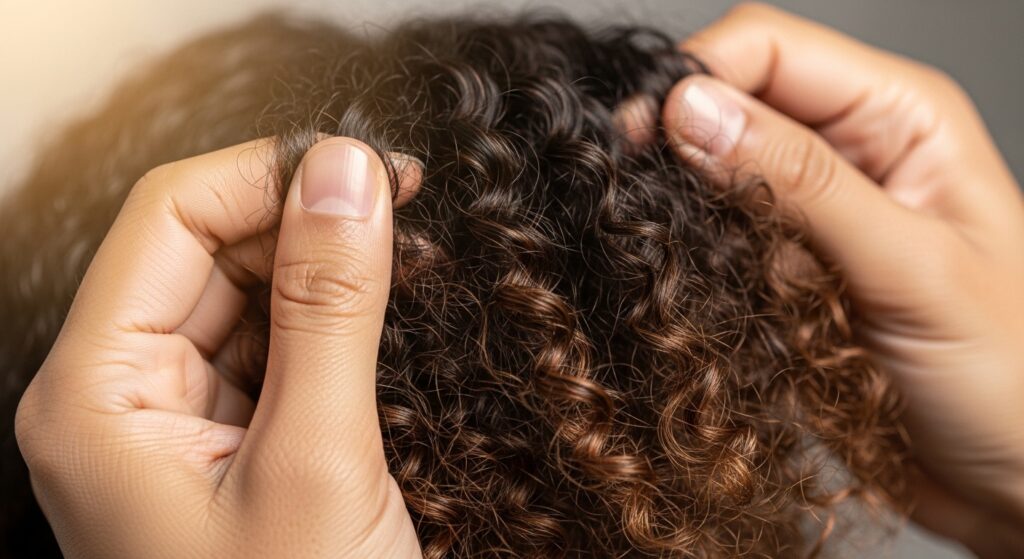
Step 6: Scrunch Out the Crunch for Heaven
Once your hair is bone dry, you’ll have a crispy gel cast. This is good! Now, take a tiny drop of hair oil or serum on your palms, rub them together, and gently scrunch your coiled ends upward toward your scalp.
Keep scrunching until all the hard crunch is gone. What’s left? Unbelievably soft, defined, bouncy curls at your ends. The transformation is instant and so satisfying.
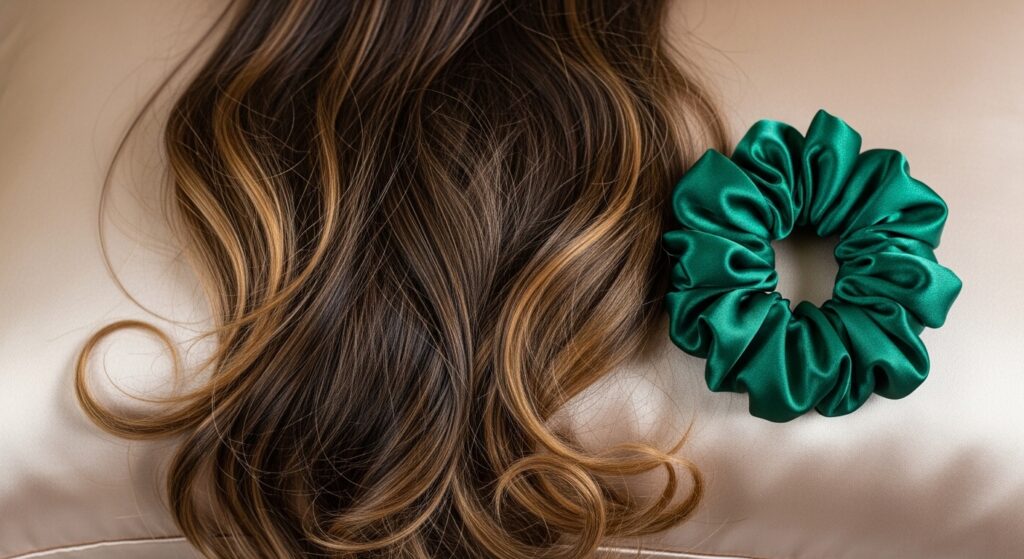
How to Make This Last For Days
To preserve your defined ends overnight, sleep on a satin or silk pillowcase. Even better, put your hair in a loose pineapple (a high ponytail on top of your head) with a satin scrunchie.
In the morning, just take it down, shake your head lightly, and maybe refresh a few face-framing pieces with a dab of water and gel. This style gets better on day two and three!
Common Mistakes & How to Fix Them
The biggest mistake is using too much product. A little goes a long way, especially on just the ends. Too much will leave your hair feeling heavy and sticky, even after scrunching.
Another error is coiling hair that’s too dry. It will frizz immediately. If a section starts to dry, re-wet it before applying product and coiling. Always work on damp hair for the smoothest result.
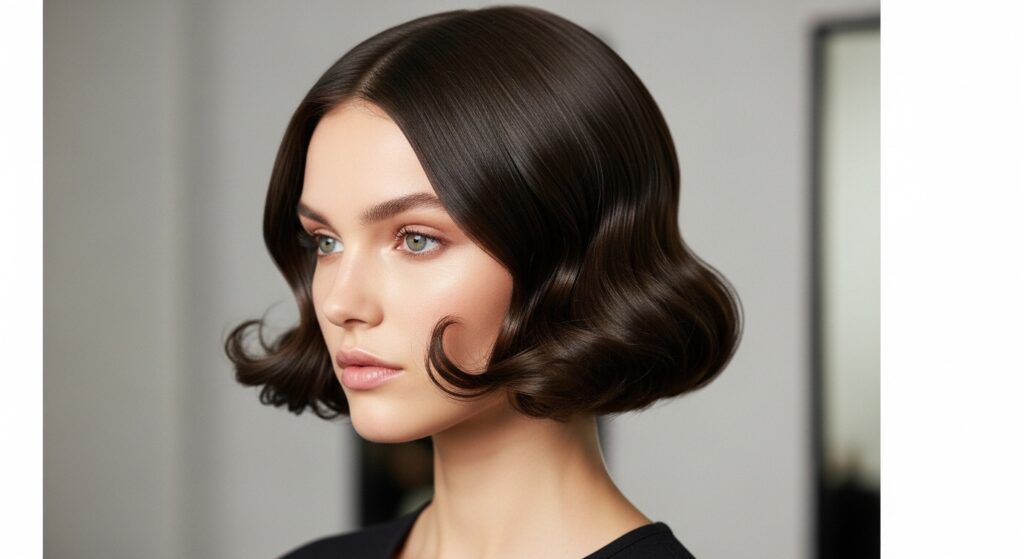
Finger Coils on Short Hair & Bobs
This technique is amazing for short hair! If you have a quiet luxury bob or an asymmetrical lob with texture, coiling just the very ends adds incredible movement and shape.
It gives that “lived-in but expensive” look that’s so popular. It adds body and prevents short hair from looking flat or triangular. Just coil smaller sections for a more piece-y finish.
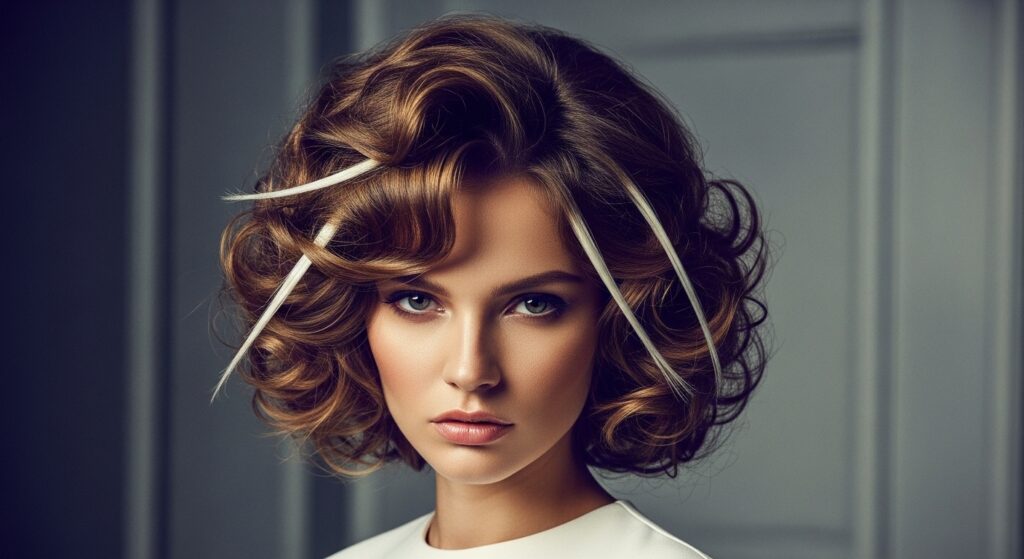
Mixing This Technique with 2026 Trends
Think of finger-coiled ends as your texture secret weapon for any trend. For glitchy glam hair, combine perfectly coiled ends with a few strategically straight pieces.
It adds to that imperfect, edgy-but-polished vibe. For old money hair or quiet luxury styles, the defined ends look incredibly healthy and intentional, like you’ve had perfect curls your whole life.
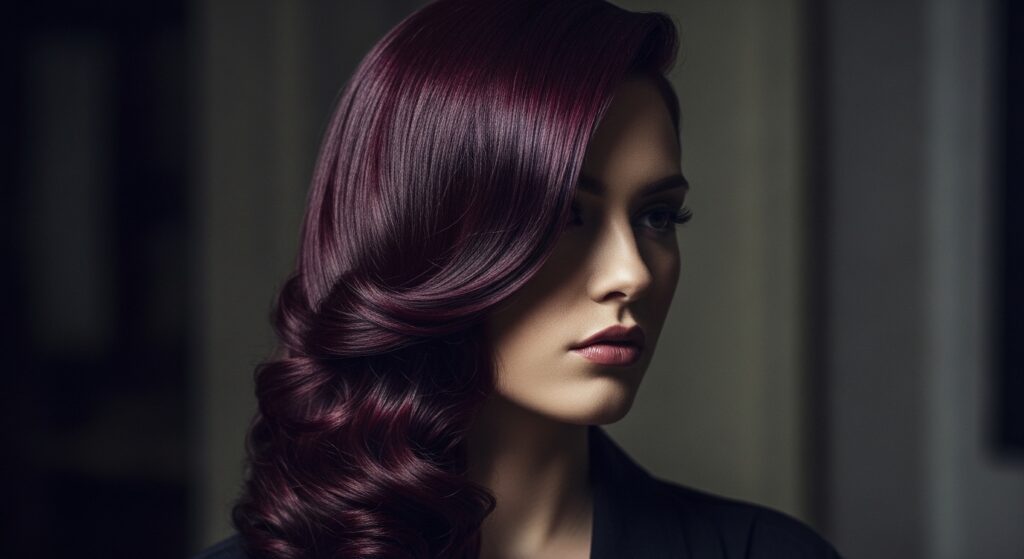
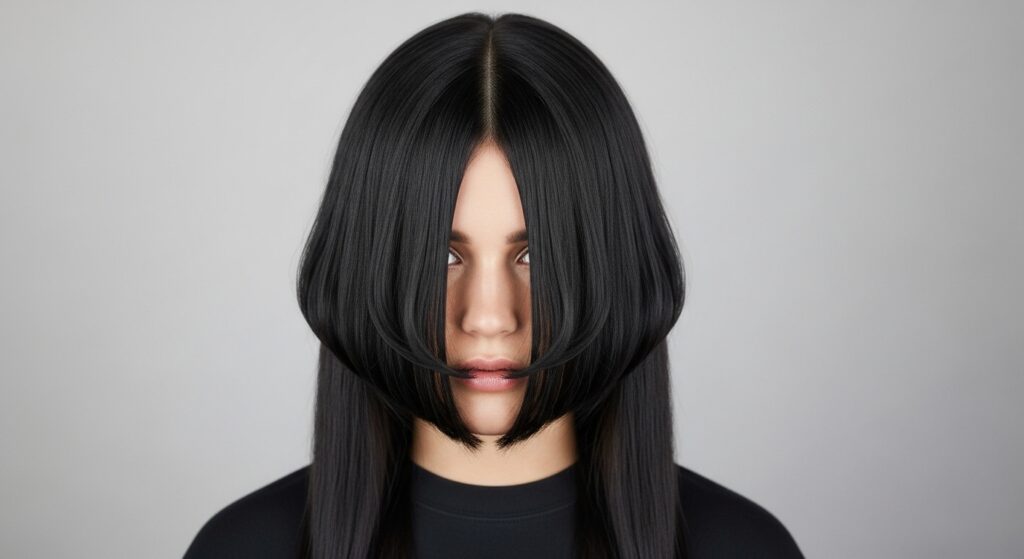
For a Romantic Goth or Vampire Vibe
Want that romantic goth hairstyles or vampire haircut texture? Defined, coiled ends are essential. They add that dramatic, touchable texture without looking messy.
Pair your dark coils with deep side parts or face-framing layers. The contrast between sleek roots and defined, bouncy ends is pure vampire romance. It’s all about controlled, beautiful texture.
Adapting It for Hime Cuts & Strong Shapes
The hime cut is all about strong, blunt shapes. If your hair has texture, finger coiling the ends of the long front strands and the shorter blunt sections can soften the look beautifully.
It adds a soft, textured finish to a very geometric cut. The coils prevent the ends from looking too sharp or heavy, adding movement and youthfulness to the style.
My Favorite Products for Maximum Hold
After testing dozens, I always come back to a few heroes. For a firm, long-lasting hold, I love a strong-hold gel like the ones from Ouidad or Uncle Funky’s Daughter.
For a lighter hold but great definition, the Curlsmith Shape Up Aqua Gel is amazing. For my cream, I use something moisturizing but not heavy, like the Briogeo Curl Charisma Rice Amino + Avocado Leave-In.
Quick Refresh Routine for Day 2 & 3
Your coiled ends will last! On day two, just flip your head over and shake. If some ends have lost shape, mix a drop of water and a tiny bit of gel in your palms.
Then, take the frizzy end, re-coil it around your finger, and let it dry. This spot-treatment is so much faster than re-wetting your whole head. It keeps the style fresh for days.
Why This Beats a Diffuser-Only Routine
Diffusing is great for volume, but it doesn’t always give that salon-perfect definition at the ends, especially if you’re rushing. Finger coiling gives you control.
You’re manually creating the perfect curl pattern exactly where you want it. You can then diffuse for speed, but the shape is already set. It’s a foolproof method for defined results every single time.
Your Questions: Does It Cause Damage?
This is a zero-heat, gentle styling method. You are not using chemicals or hot tools. You’re simply guiding your hair into its natural curl pattern with your hands and a styler.
As long as you’re gentle when wrapping and scrunching, and you keep your hair moisturized, this technique is actually protective. It minimizes daily manipulation and friction that leads to frizz and breakage.
Final Pep Talk: You Can Do This
I know trying a new technique can feel daunting. But trust me, this one is worth it. The first time might take 20 minutes, but soon you’ll be doing it in 10. It becomes second nature.
The payoff—defined, happy, bouncy ends that tie your whole look together—is incredible. It elevates your natural hair and makes you feel put-together with minimal effort. That’s a win in my book.
So, that’s my not-so-secret secret for ends that look and feel amazing. It’s one of those small shifts in your routine that makes a huge difference in your confidence. No more hiding your ends or feeling like your style is almost-there.
With a little practice, you’ll have this down pat. And remember, good hair is about what makes you feel good. If defined, bouncy ends make you smile, then this technique is for you.
Save this post to Pinterest to keep this guide handy for your next wash day! And tell me in the comments—what’s your biggest hair end struggle? I read every single one.