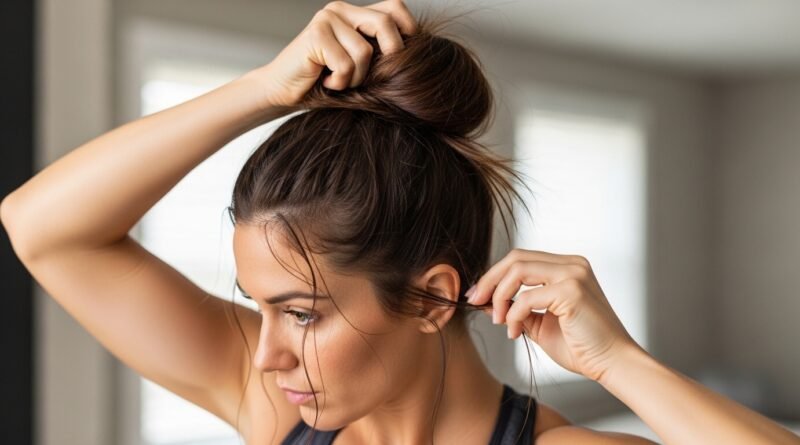
Bun Messy Mastered in Under Five Minutes Daily
Okay, let’s be real. The clock is ticking, you’ve hit snooze one too many times, and your hair is… well, it’s a situation. The idea of a perfect, polished bun feels like a luxury you don’t have time for. I get it. I’ve been there more mornings than I can count.
But what if I told you the secret isn’t a perfect bun, but a perfectly imperfect one? The messy bun is a lifesaver, but mastering it so it looks chic, not chaotic, is the real goal.
This is your five-minute-or-less guide to nailing that “I woke up like this” bun every single day. It’s easier than you think, and I promise it will become your go-to. Let’s ditch the hair stress and get that effortless look mastered.
Why The Messy Bun Is Your Best Friend

This isn’t just a hairstyle; it’s a survival tool. The messy bun works for the gym, the grocery store, a work call, or even a casual dinner. It’s the ultimate versatile look.
It signals a kind of easy confidence. Unlike the precise old money hair or a sharp quiet luxury bob, the messy bun is relatable and cool. It says you have better things to do than fuss, but you still look pulled together.
The One Tool You Absolutely Need
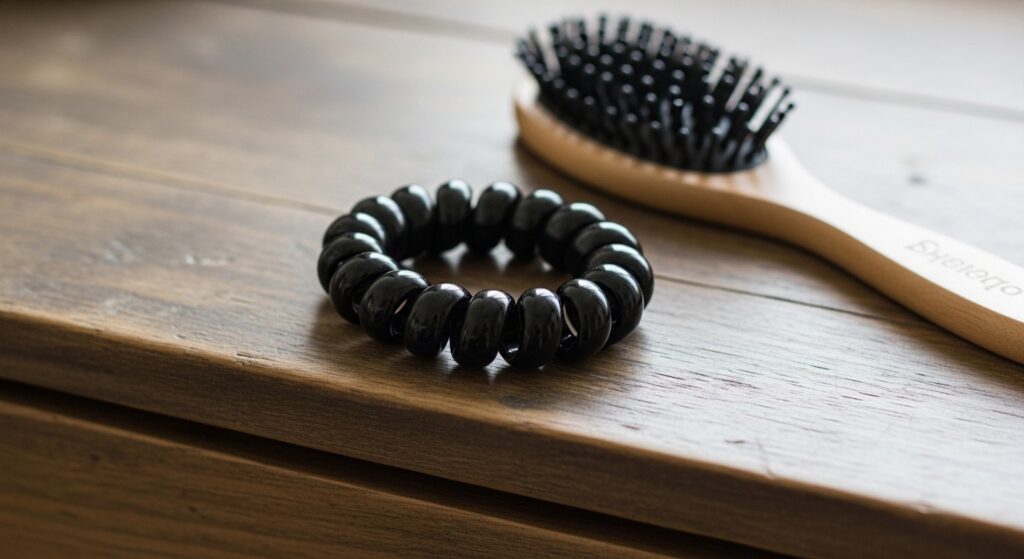
Forget fancy gadgets. The hero of this look is a good, strong, fabric-covered coil hair tie. The kind that looks like a telephone cord. It grips without snagging and creates that perfect, lived-in volume.
Regular elastics can create dents and are too tight for this look. The coil tie gives you hold while letting pieces fall out naturally. Trust me, invest in a pack of these. They’re a game-changer for any updo.
Step 1: Start With Day-Old Hair
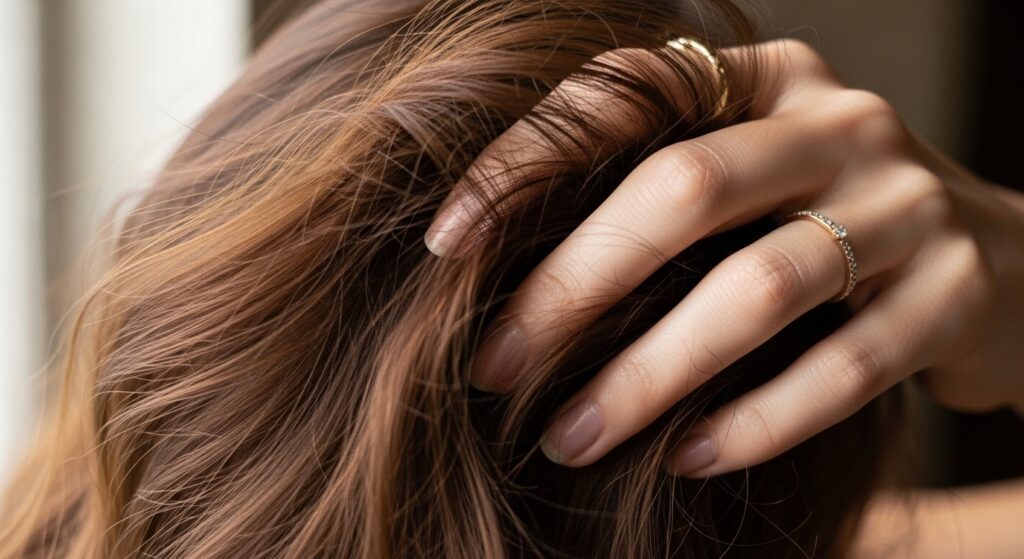
Freshly washed, slippery hair is the enemy of a good messy bun. You want a little natural oil and texture for grip. If your hair is clean, spray a bit of dry shampoo or texturizing spray at the roots.
This gives your hair some grit and volume, making it easier to shape and helping the bun stay put. Think of it as creating a foundation. This texture is what makes the bun look full and piecey, not slick and flat.
Step 2: The Perfect Pony Placement
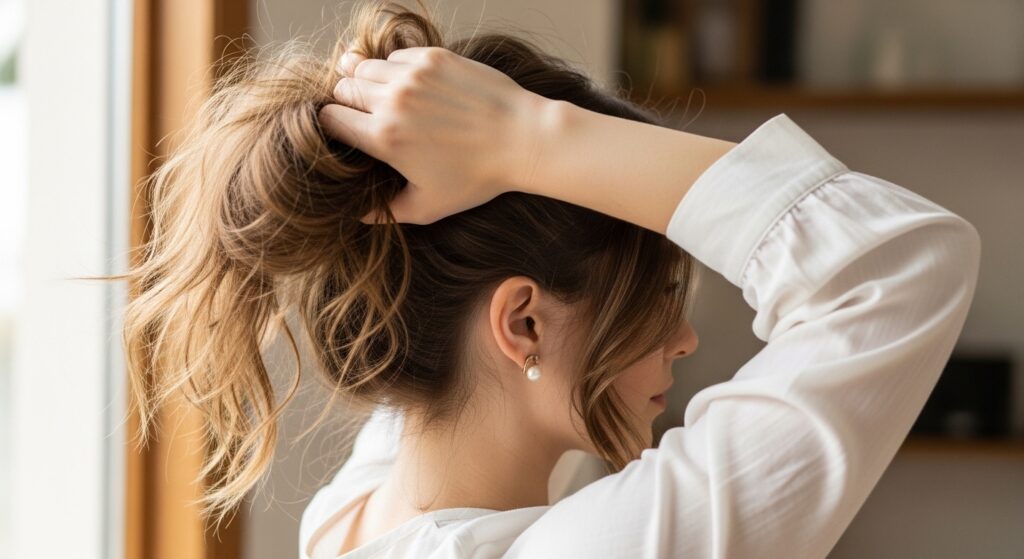
Where you place the base pony is everything. Too high can feel too cheerleader. Too low can feel too formal. I aim for the crown of my head.
This is the sweet spot. It feels modern and keeps the bun from dragging your face down. Don’t pull the hair too tight here. Keep it loose and relaxed as you gather it. We’re going for ease, not tension.
Step 3: The Twist & Loop Technique
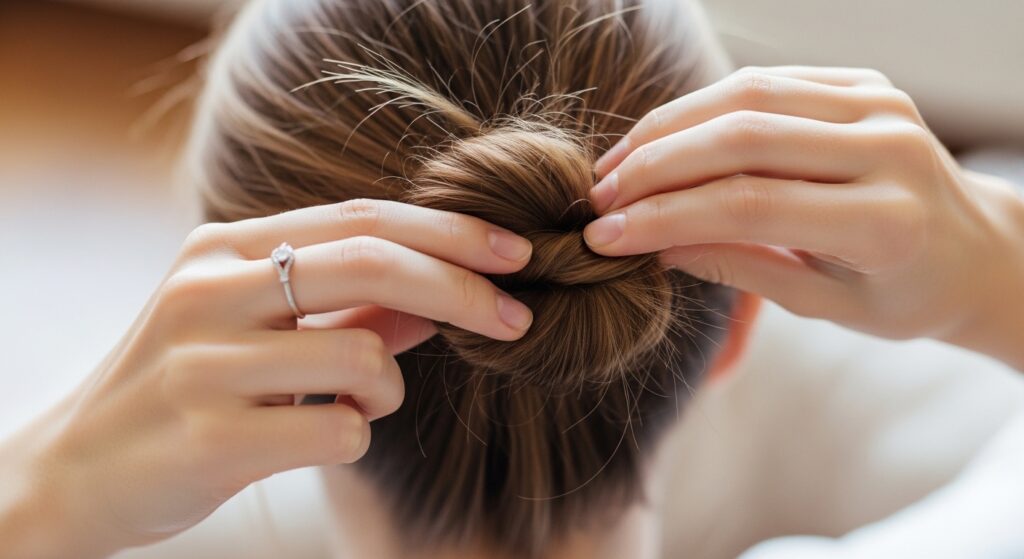
Now, don’t just wrap the hair tie around a million times. Instead, twist your ponytail just one single time. Then, start looping the hair around the base.
This one simple twist adds instant texture and prevents a smooth, doughnut-like shape. As you loop, let the ends of your hair stick out freely. We are not tucking anything in neatly. The mess is the point.
Step 4: Secure With The Coil Tie
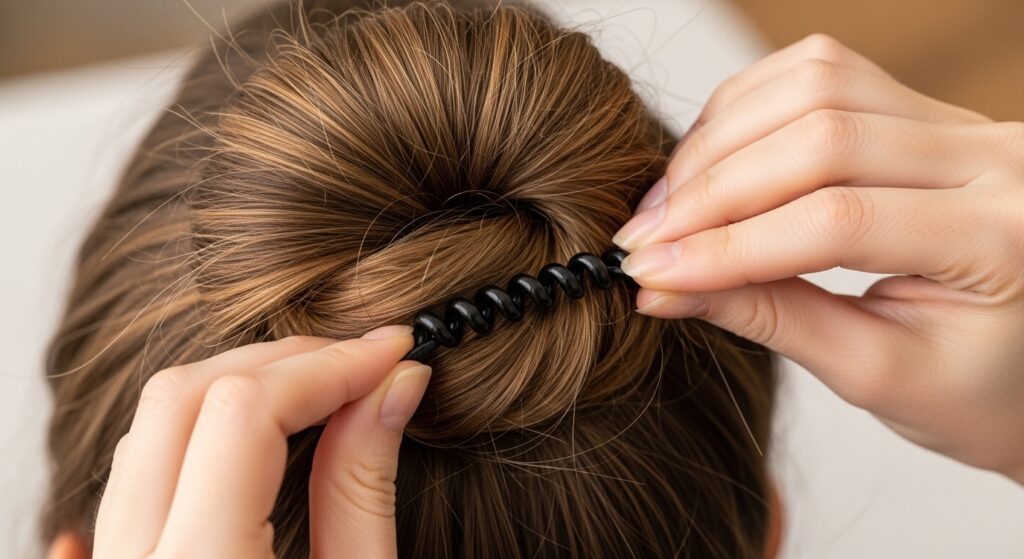
Wrap your coil tie around the base of the bun two or three times. You want it to feel secure but not strangling. The beauty of this tie is it holds without flattening.
Once it’s on, don’t touch it yet. Let it sit for a second. The goal is a rounded, full shape that looks almost accidental. If it’s too tight, gently pull the tie to loosen it a notch.
Step 5: The Art of The Pull & Tug
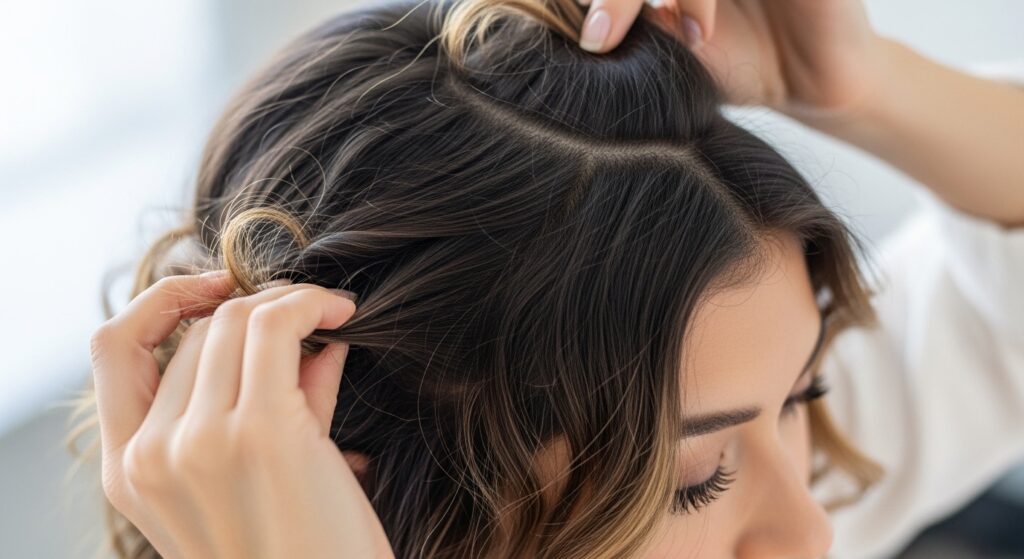
This is where the magic happens. Look in the mirror. See how solid it looks? We’re going to fix that. Start at the front: gently pull out a few face-framing pieces.
Then, move to the bun itself. Gently tug on small sections all around it to create volume and a softer, bigger shape. Pull a few pieces from the bottom near your neck. Keep going until it looks balanced and effortless.
Step 6: Lock It In Place
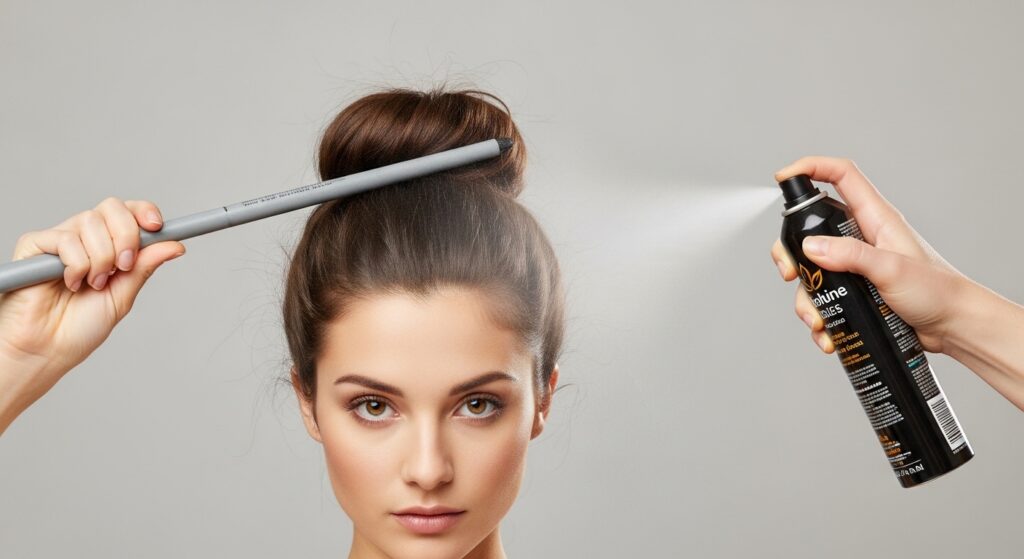
To keep all that beautiful mess from falling apart, you need a light touch. Use a flexible-hold hairspray or a texturizing spray. Hold the can about a foot away and give it one quick mist.
This just sets the flyaways and the shape without making it crispy or stiff. You want movement, not helmet-head. A quick spray is the final seal on your five-minute masterpiece.
Make It Last All Day Long

A good messy bun should survive your day. If you feel it slipping, don’t redo it! Just gently tighten the coil tie by giving it one more loop. You can also re-fluff the sides with your fingers.
Keep a spare coil tie in your bag just in case. Sometimes, taking it down and quickly re-doing it at the crown takes 30 seconds and feels like a refresh. It’s the most forgiving style.
Messy Bun For Thin Hair
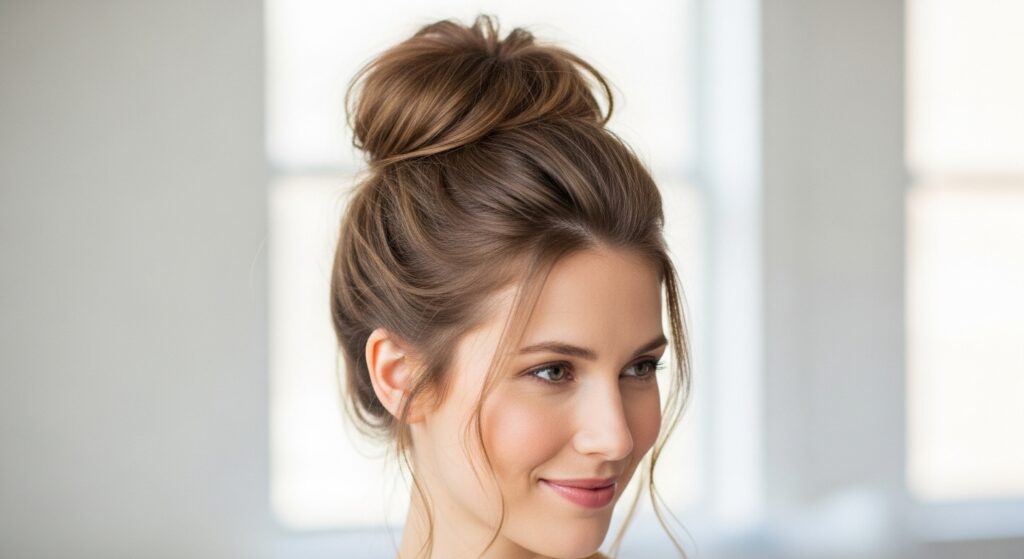
If you have fine or thin hair, texture is your best friend. Use a volumizing powder or dry shampoo at the roots before you start. When you make your initial pony, tease the hair at the crown slightly.
Consider a “sock bun” or a small, mesh donut for instant fullness. Place it over your ponytail before you twist and wrap. It gives you that coveted full, messy shape without needing a lot of hair.
Messy Bun For Thick Hair
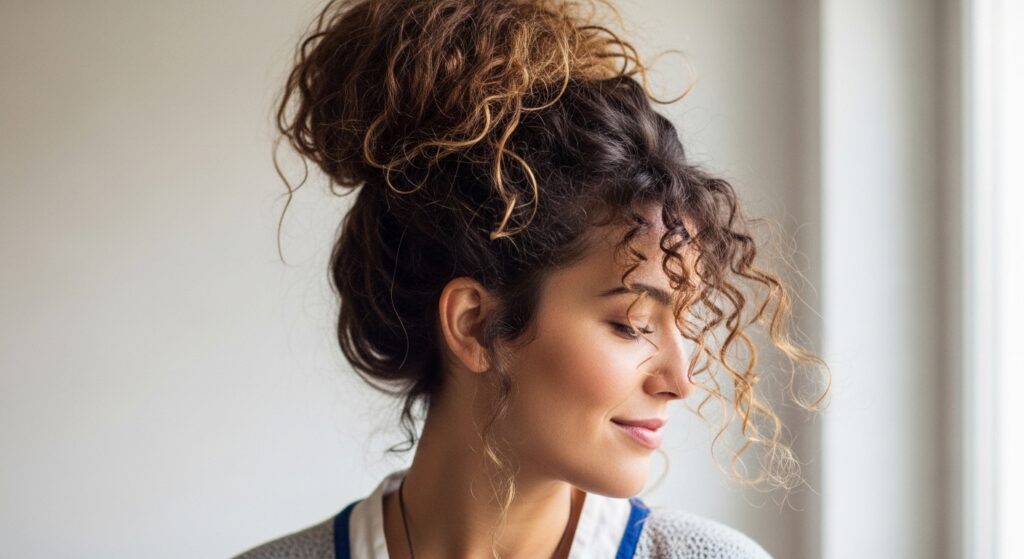
Your challenge is weight. A strong coil tie is non-negotiable. Before you start, lightly braid your ponytail or twist it tightly, then wrap it. This helps control the bulk and prevents a heavy, droopy bun.
Don’t be afraid to use two coil ties for extra security. The pull and tug step is crucial for you—distribute the volume evenly so it doesn’t look like one solid mass on your head.
From Gym To Dinner: Styling Transitions

Your day-to-night upgrade is simple. Take your existing bun and dress up the base. Slide in a few pretty hair pins or a decorative clip. Wrap a silk scarf around the base and tie it in a small knot.
Swap your casual studs for a statement earring. This draws the eye and makes the whole look feel intentional. In two minutes, you’ve gone from errands to elegant.
Accessorize Your Bun Instantly
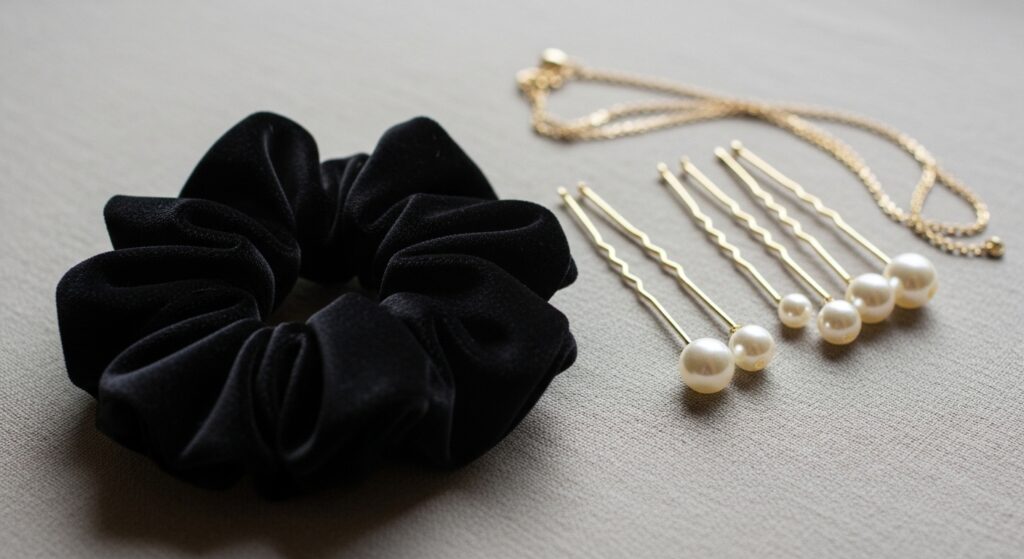
Accessories are the fastest way to change your bun’s vibe. Try a velvet scrunchie instead of a coil tie for a softer, quiet luxury feel. Add a few pearl-encrusted bobby pins for a romantic touch.
A thin chain headband or a ribbon woven under the bun can make it feel special. This is where you can play with trends, like a touch of glitchy glam hair with a metallic, crinkled clip.
The “Not So Messy” Bun For Work
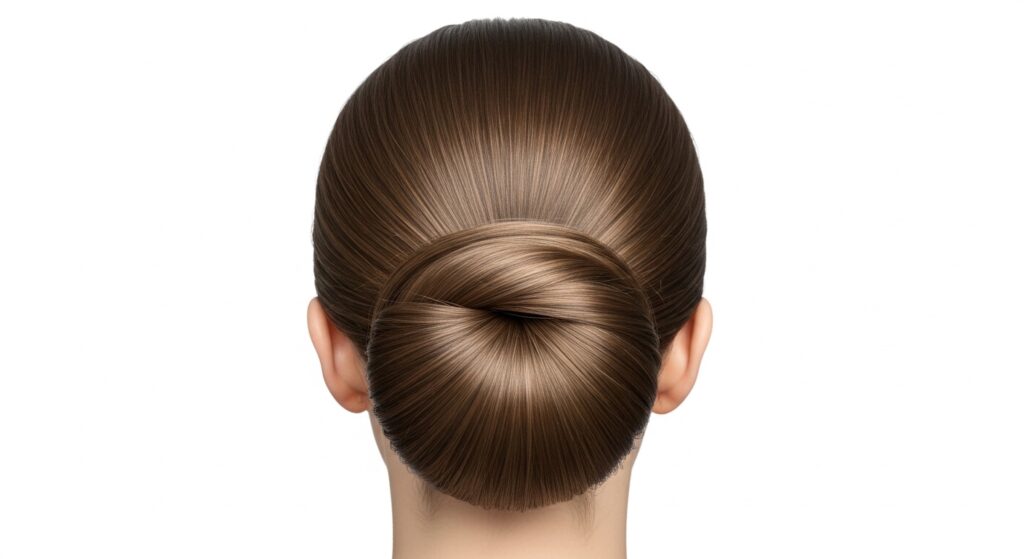
Need a more professional version? Follow the same steps, but be minimal with the pull and tug. Keep the face-framing pieces subtle and smooth any major flyaways with a little gel on a toothbrush.
Place the bun a little lower, near the nape of your neck. It feels more refined and pairs perfectly with the old money hair aesthetic of being polished but never overdone.
Weekend Vibes: The Top Knot

For the ultimate weekend feel, take the bun to the top. Gather your hair at the highest point on your crown. The steps are the same, but you can be even messier.
Pull out more pieces, let it be a little lopsided. This look is pure comfort and pairs perfectly with coffee and a good book. It’s the hairstyle version of your favorite sweatshirt.
Half-Up Messy Bun Magic
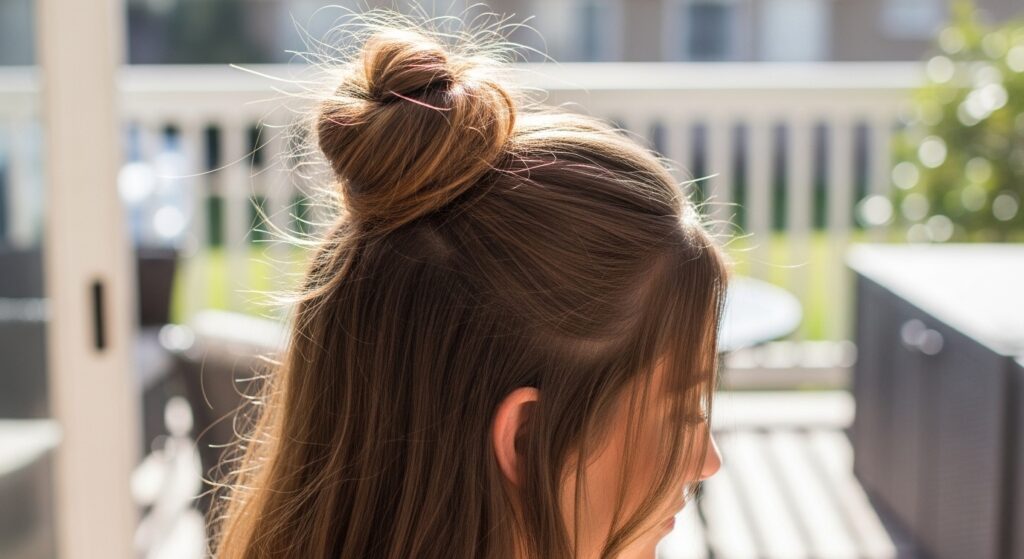
Can’t commit to all up? Do a half-up version. Take just the top section of your hair, from your temples back. Gather it and make a small, mini messy bun at the crown.
This gives you the cute vibe of the bun but lets you show off your length. It’s a great way to mix styles, offering a nod to romantic goth hairstyles or the vampire haircut when paired with darker makeup.
Pairing Your Bun With 2026 Trends
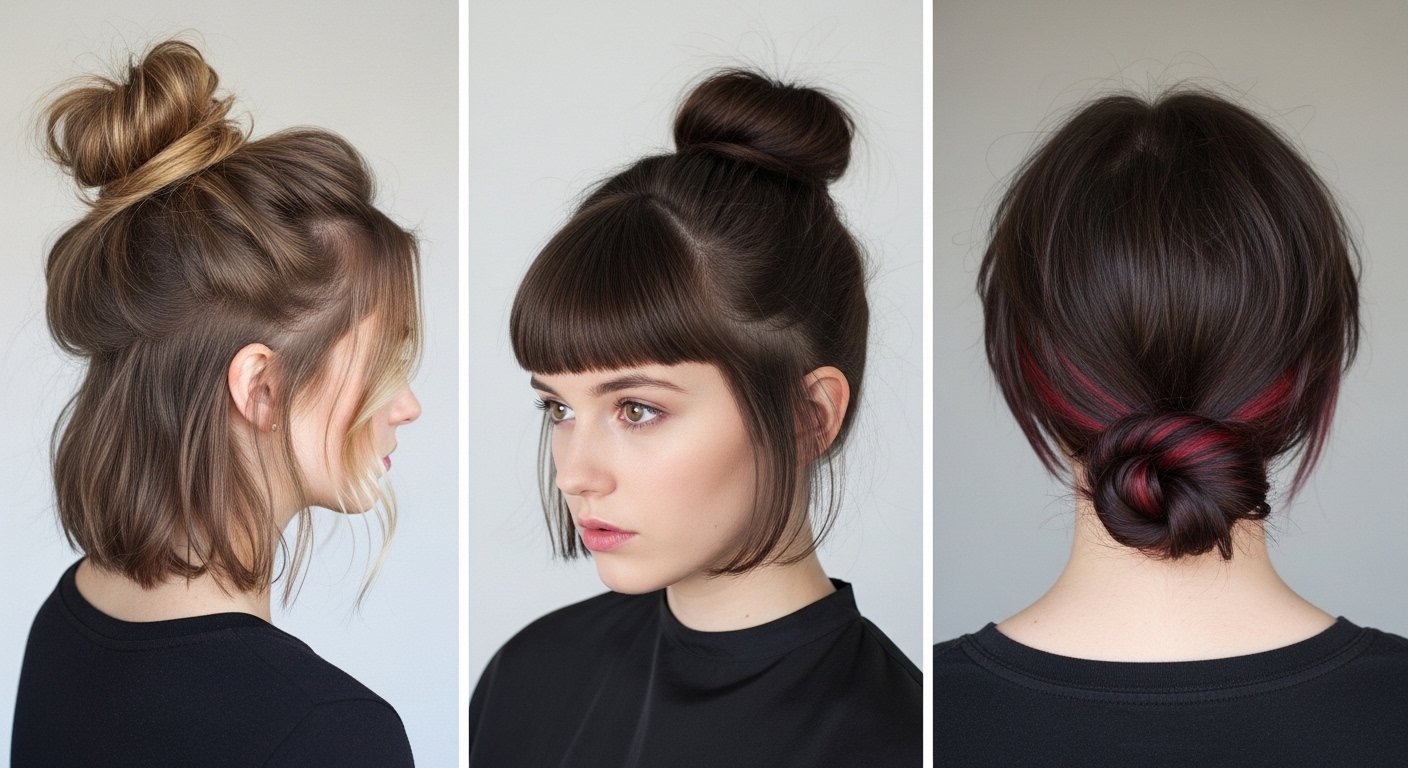
Your messy bun is the perfect base for trending cuts. Got an asymmetrical lob? A bun shows off that sharp line. Growing out a hime cut? The bun lets those dramatic front pieces shine.
It complements the growing-out phase of a vampire haircut and adds an effortless contrast to more structured 2026 hairstyles. It’s your classic canvas for trendier details.
Common Messy Bun Mistakes To Avoid
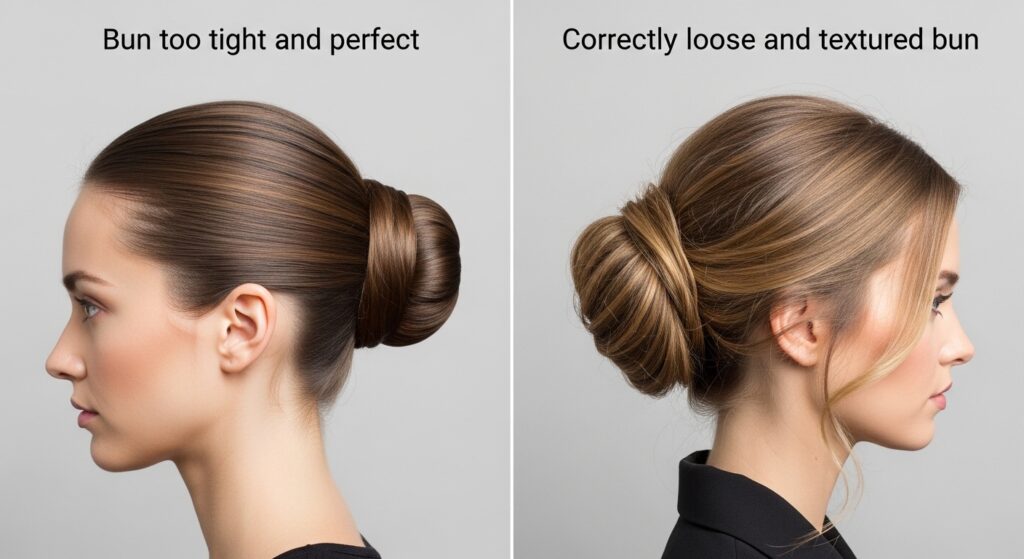
- Pulling too tight: This is the biggest error. Tight = severe, not messy.
- Using the wrong hair tie: A thin elastic will dent and hurt.
- Over-gelling flyaways: A few wispies are good! They create the look.
- Placing it too low: Unless you want that formal look, stick to the crown.
Quick Fixes For A Bun Failing
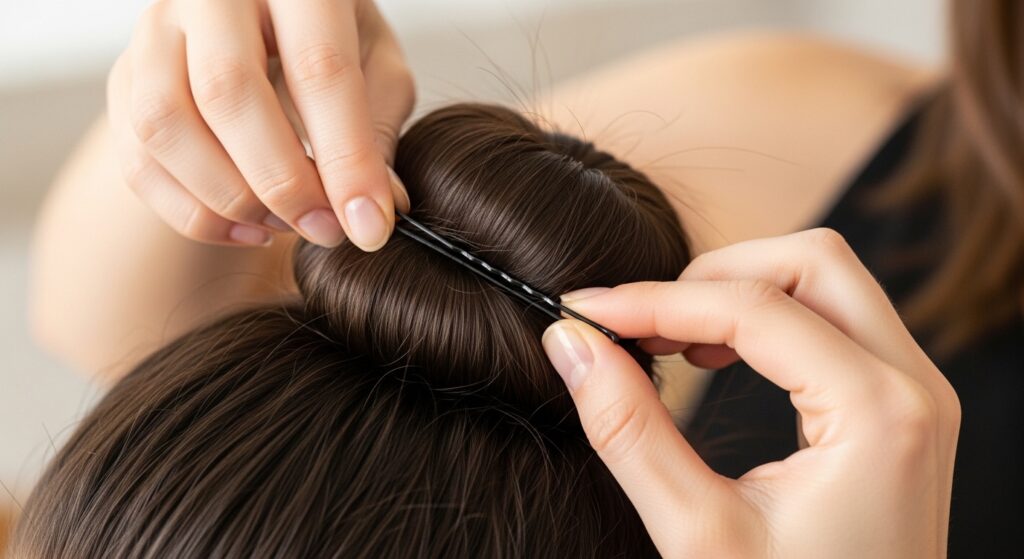
Is one side drooping? Slide a bobby pin vertically into the base of the bun on the weak side, catching some scalp hair for anchor. Is it looking flat? Take it down, tousle your roots, and re-do it. It takes one minute.
Always have a few bobby pins and an extra coil tie in your bag. These are your emergency kit for any updo disaster. A failing bun is a quick fix, not a day-ruiner.
Your Hair Health & The Messy Bun
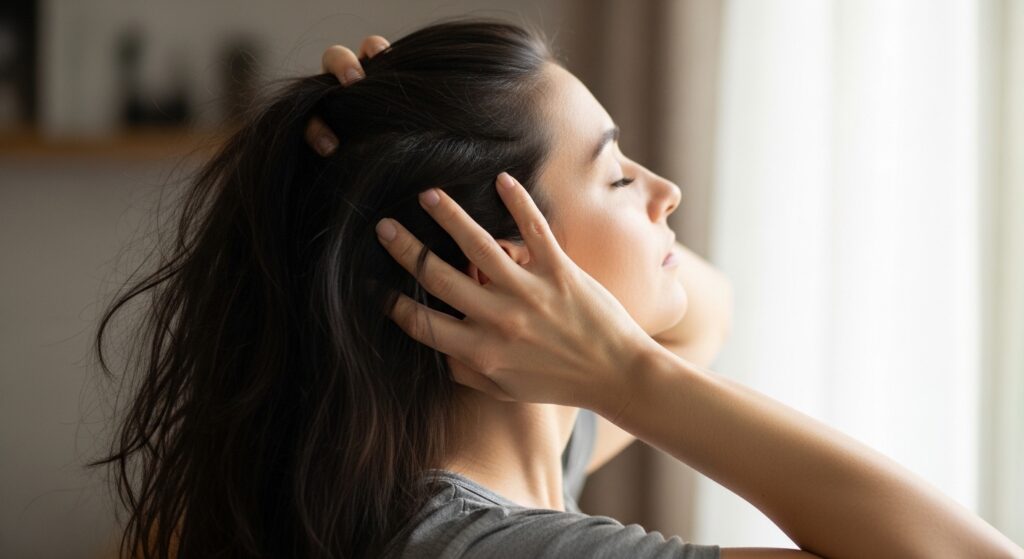
To avoid breakage, never sleep in a tight bun. Vary the placement day-to-day. When you take it down, give your scalp a gentle massage to stimulate blood flow.
Use a leave-in conditioner or oil on your ends if you wear buns often to keep them hydrated. Loving your hair means being gentle, even with a low-maintenance style.
Inspiration: Buns Across Styles
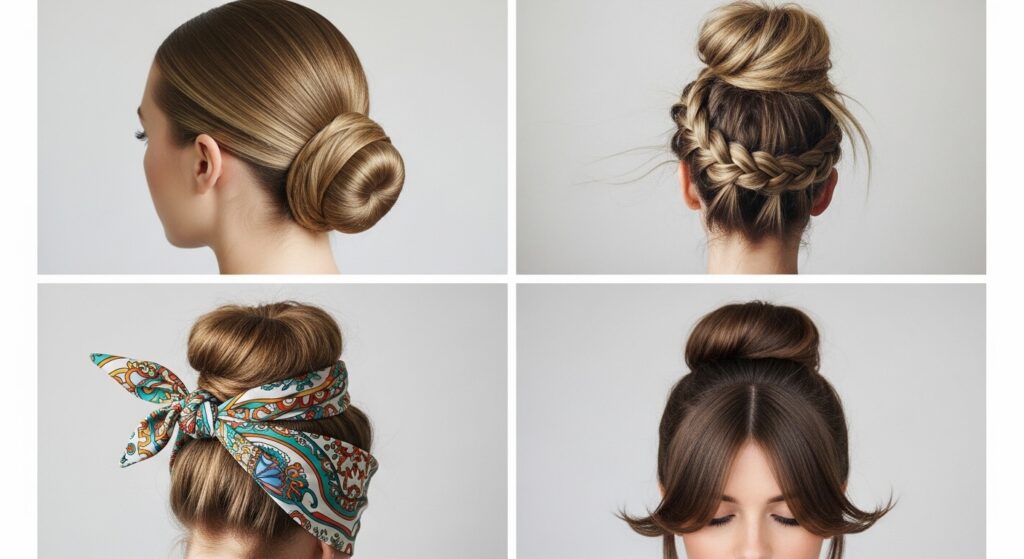
Look everywhere for inspiration. A romantic goth bun might be darker, with deep velvet accessories. A glitchy glam version could have a few strategic, glitter-coated strands.
Even the quiet luxury bob can be twisted into a chic, small bun at the nape. Let different aesthetics inspire how you accessorize and shape your daily bun.
The 30-Second Overnight Prep For Morning Success

Before bed, gather your hair into a very loose, high ponytail at the very top of your head (the “pineapple”). Use a satin scrunchie. In the morning, you’ll have root volume and texture already built in, cutting your bun time in half.
The “No Mirror” Messy Bun (For True Multitaskers)
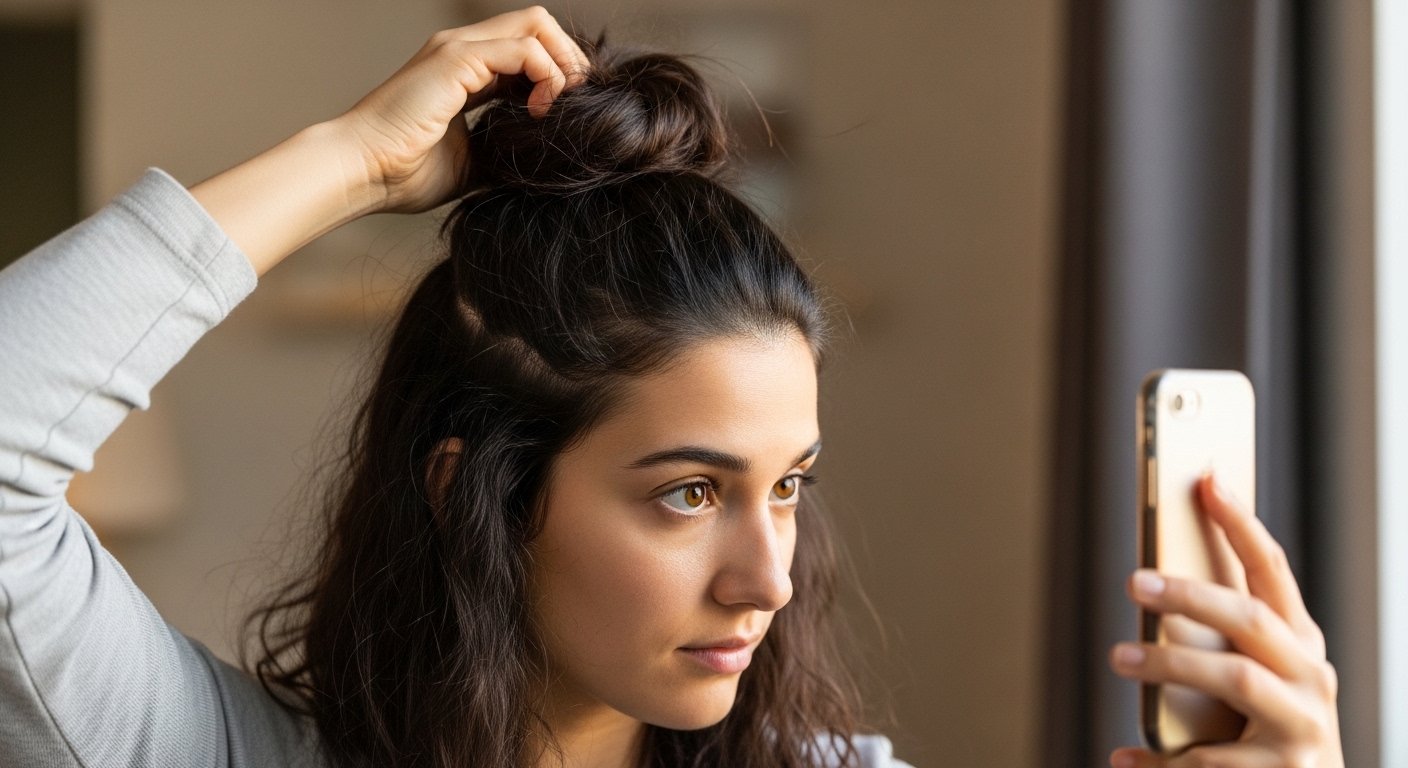
Flip your head upside down. Gather all hair at the crown. Twist the entire length once. Wrap into a bun and secure with a coil tie. Flip back up. This technique requires zero mirror and takes 20 seconds once you practice it three times.
The Secret Second Elastic (Double Security Hack)
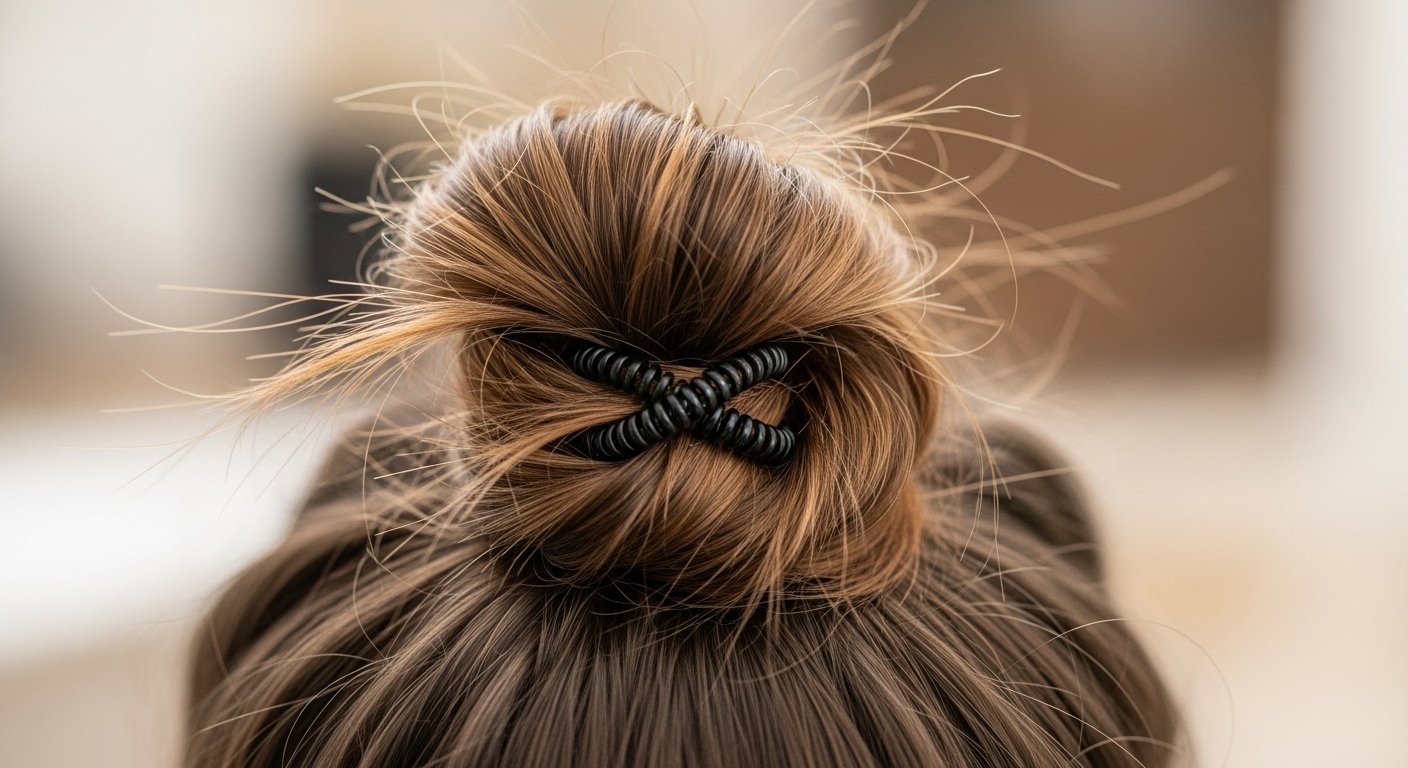
For intense days (windy commutes, workouts, dancing), use two coil ties. Wrap the first normally. Then wrap the second in the opposite direction (crossing them). The double grip will survive a hurricane.
The Bobby Pin Anchor (For Thick or Heavy Hair)
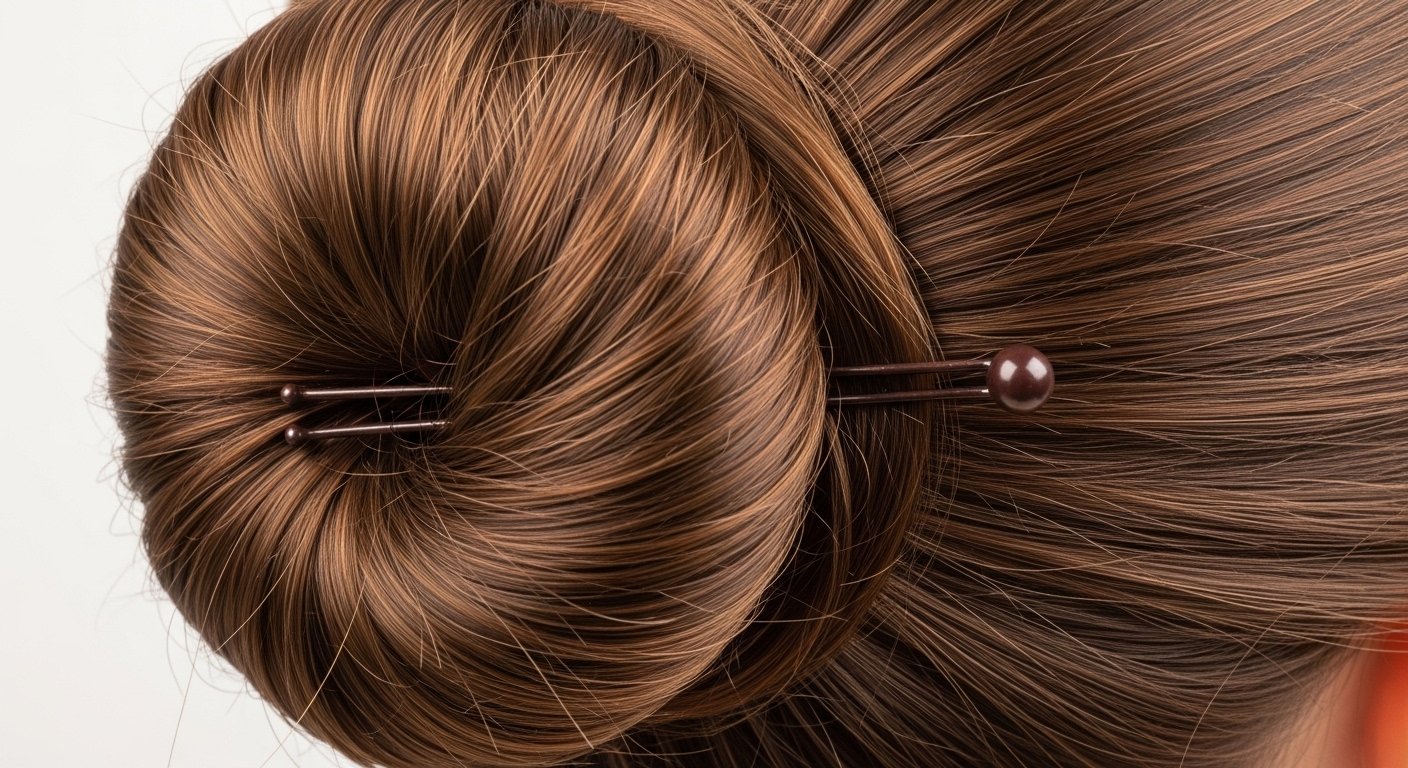
After securing your bun with a coil tie, slide two bobby pins vertically from the bottom edge of the bun into the hair against your scalp. These invisible anchors prevent any drooping, even on the heaviest hair.
The Dry Shampoo Refresh (Mid-Day Bun Revival)
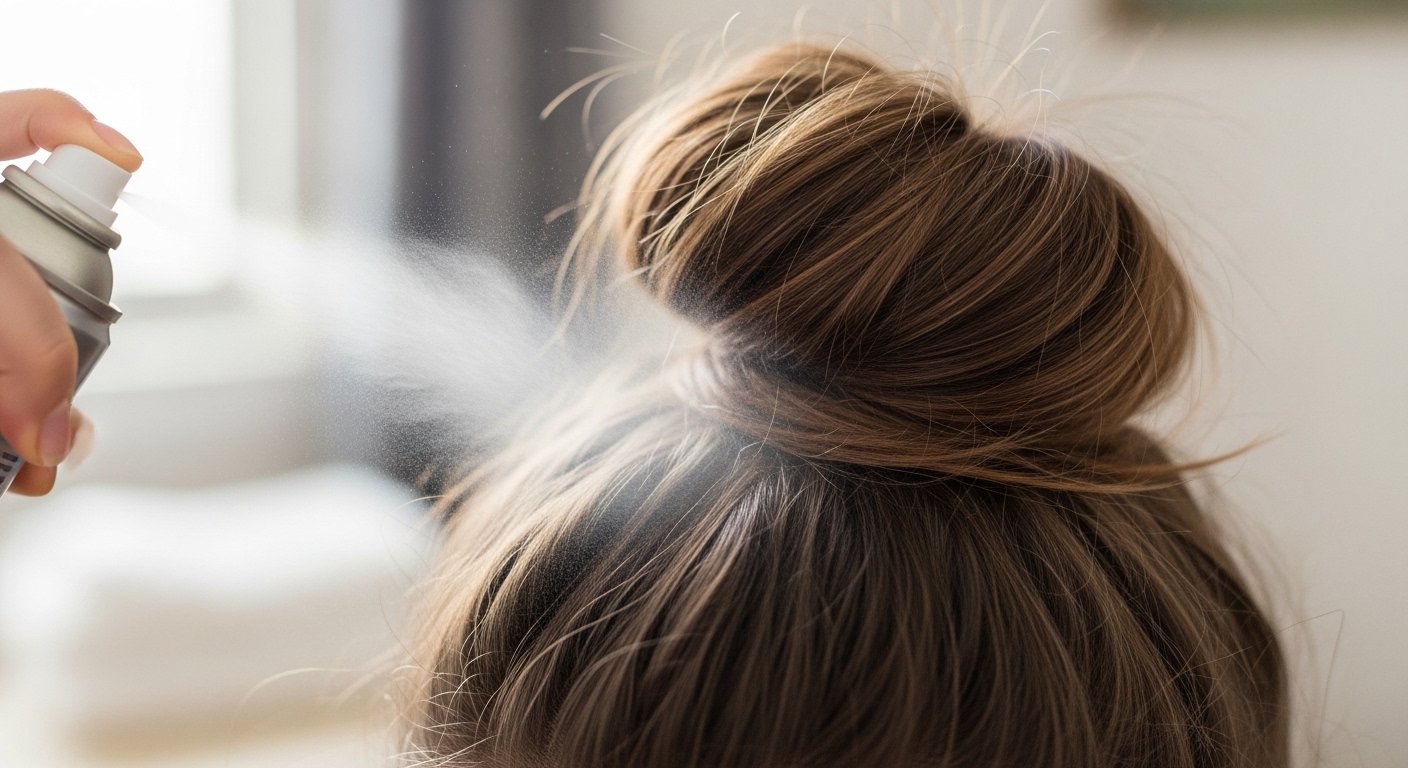
If your bun looks flat by 2 PM, spray dry shampoo directly onto the bun itself (not just roots). Massage gently. The bun will instantly look fuller and more textured. This trick revives any drooping style in 10 seconds.
The Water Spritz Re-Set (For Second-Day Buns)
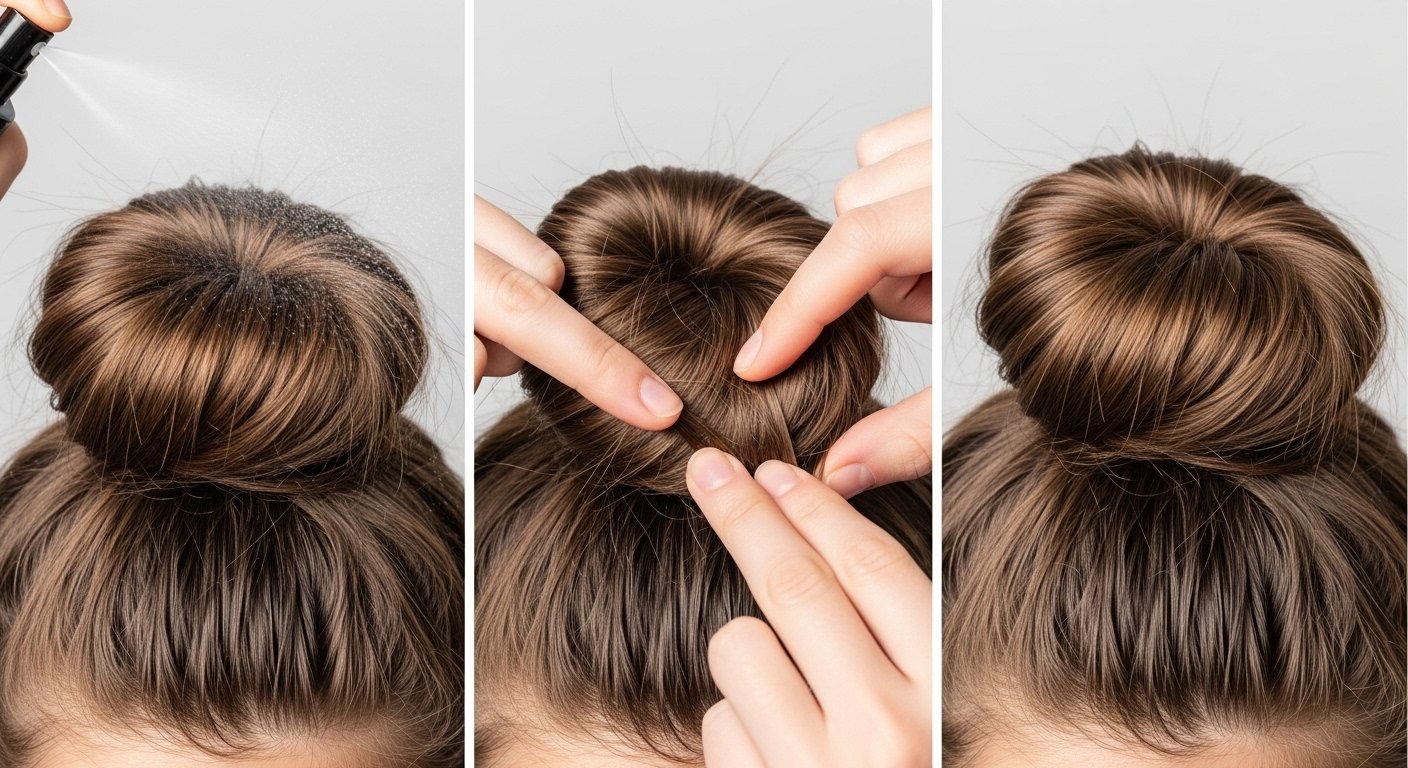
Lightly mist your bun with water from a spray bottle. The water reactivates any product in your hair. Gently reshape the bun with your fingers. Let air dry for 60 seconds. Your bun will look freshly made.
The Satin Scarf Wrap (Overnight Bun Protection)

If you want to sleep in your bun (not recommended often), wrap a satin scarf completely over it before bed. The scarf prevents friction and frizz. In the morning, remove the scarf and fluff. Your bun will survive the night.
The Texturizing Powder Boost (For Fine Hair Buns)
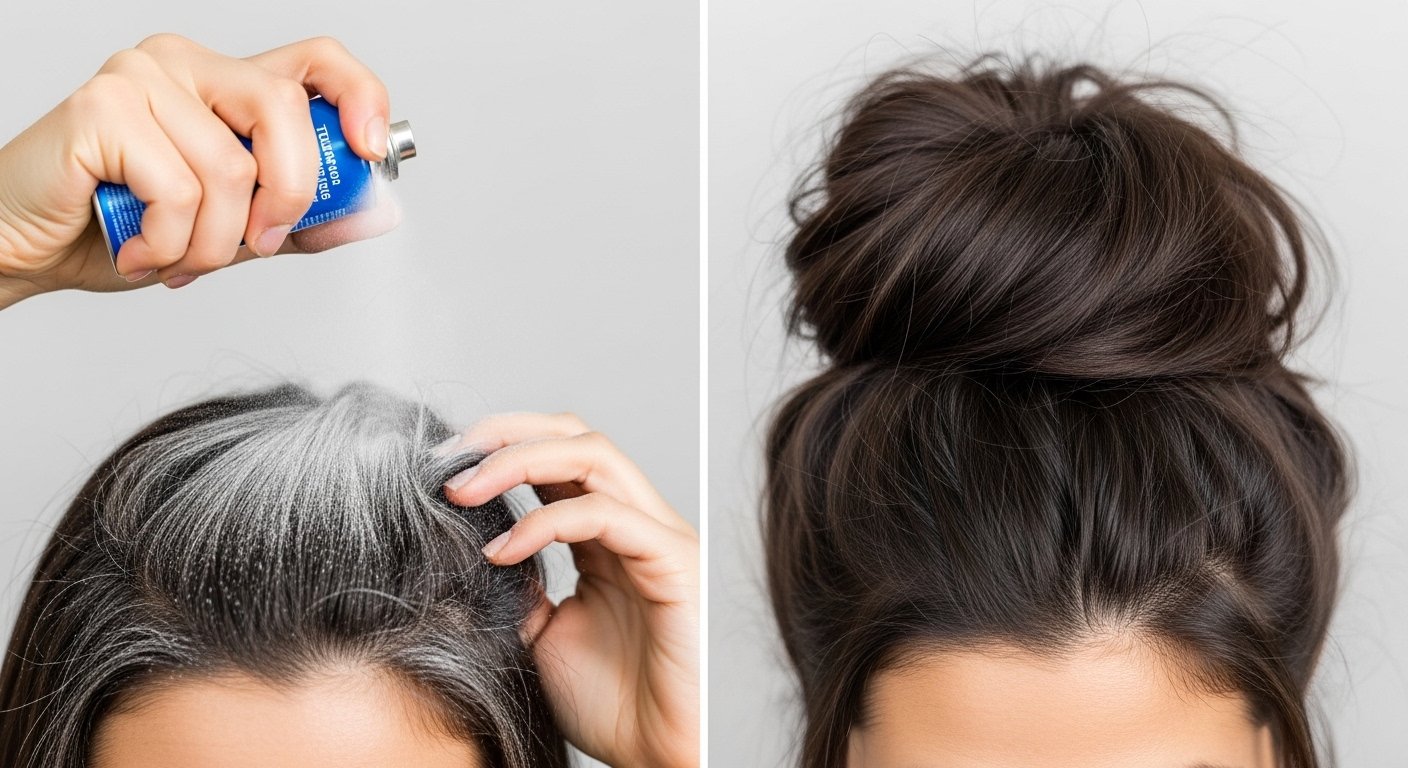
Sprinkle texturizing powder directly onto your roots at the crown BEFORE gathering your hair. The powder adds invisible grip and volume. Your bun will look twice as full and stay put twice as long.
The Low Messy Bun Variation (For Professional Settings)

Follow the same steps, but gather your ponytail at the nape of your neck instead of the crown. Keep the front sleek (use a tiny bit of gel). The bun itself can still be messy and piecey. This is the boardroom-approved messy bun.
The Side Messy Bun (For Asymmetry Lovers)
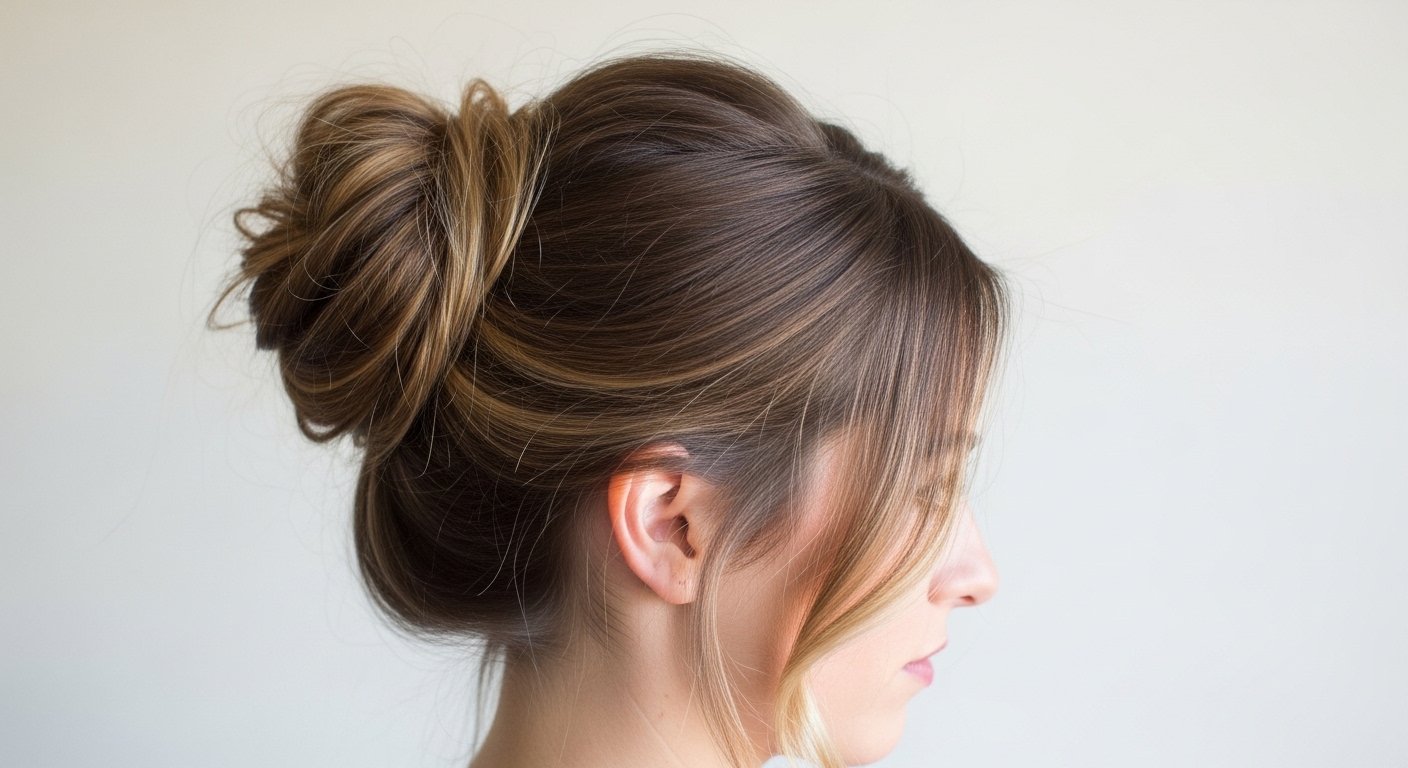
Gather your ponytail just above your left or right ear, then twist and loop into a bun. Sweep any loose pieces to the same side. This asymmetrical variation feels fresh, modern, and incredibly flattering for oval and heart-shaped faces.
The Ribbon-Weave Bun (For Special Occasions)
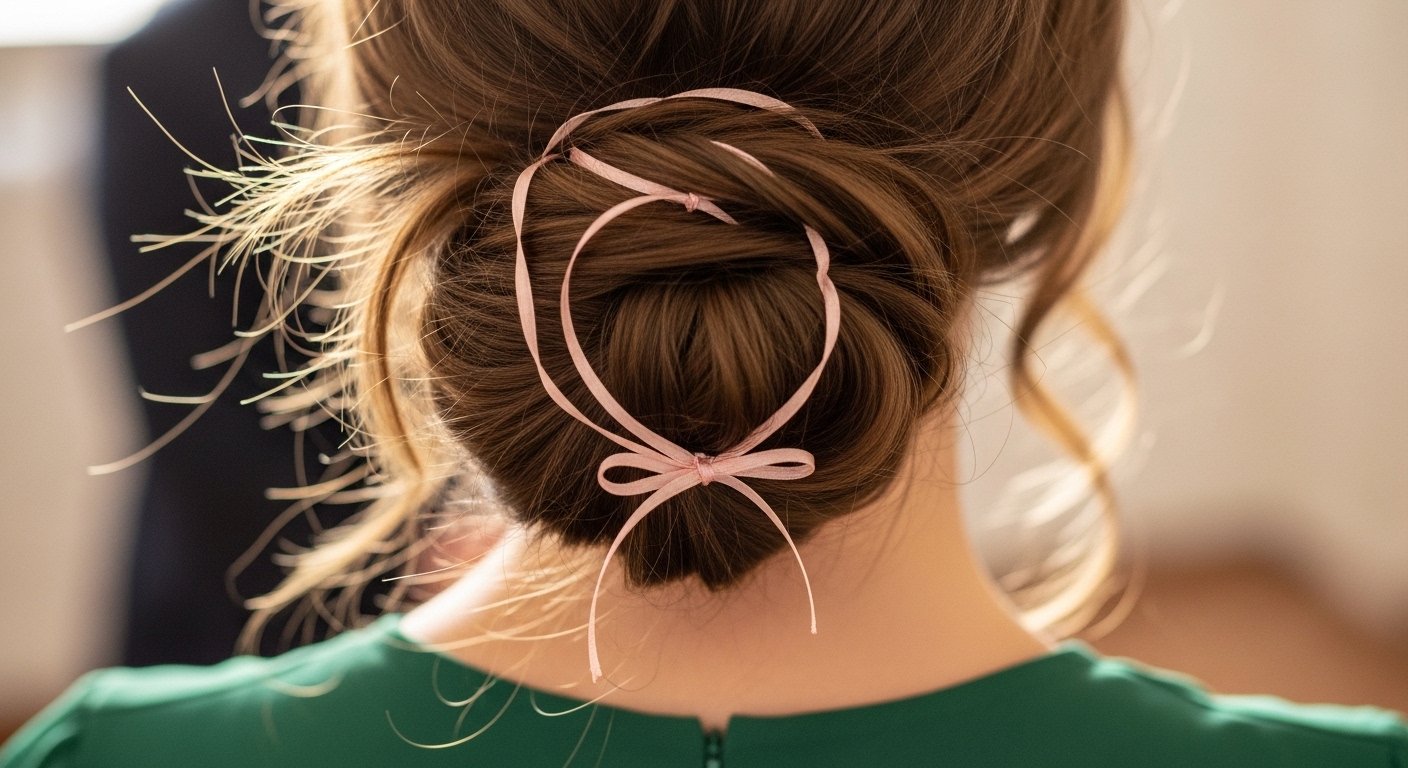
After making your messy bun, take a thin satin ribbon (36 inches long). Weave it through the bun using a bobby pin, then tie a small bow. This elevates a five-minute bun into a wedding-guest or date-night style instantly.
The Pearl Pin Cascade (Bridal-Ready Bun)
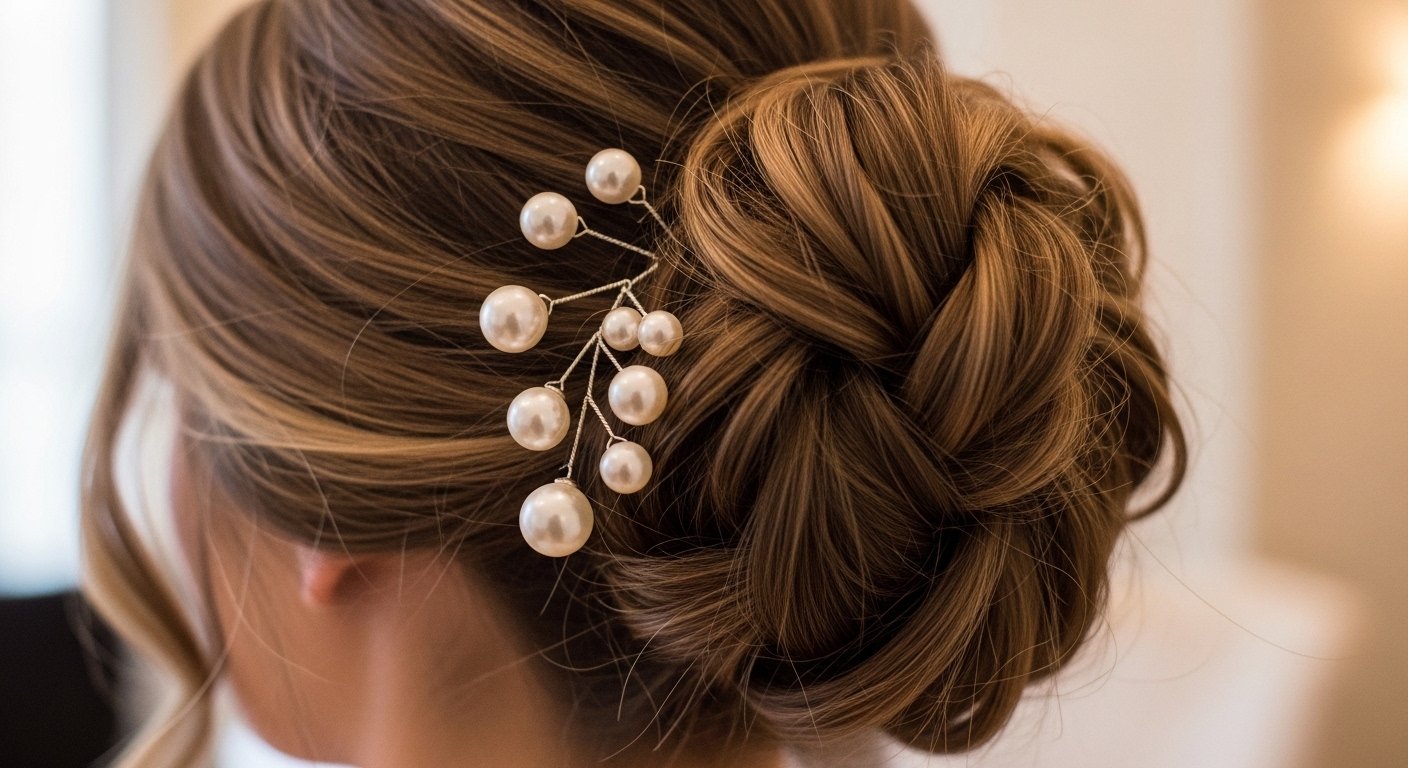
Insert three pearl pins in a cascading row from the top of your bun down toward your ear. The pearls catch light and add a sophisticated, bridal touch. Works beautifully for formal events where you need to look polished but not stiff.
The Velvet Scrunchie Swap (Quiet Luxury Upgrade)

Instead of a coil tie, secure your messy bun with a large velvet scrunchie. The velvet adds texture and a quiet luxury feel. Choose jewel tones (emerald, burgundy, navy) for a rich, expensive look that takes zero extra effort.
The Chain Headband + Bun Combo (Trendy Edge)
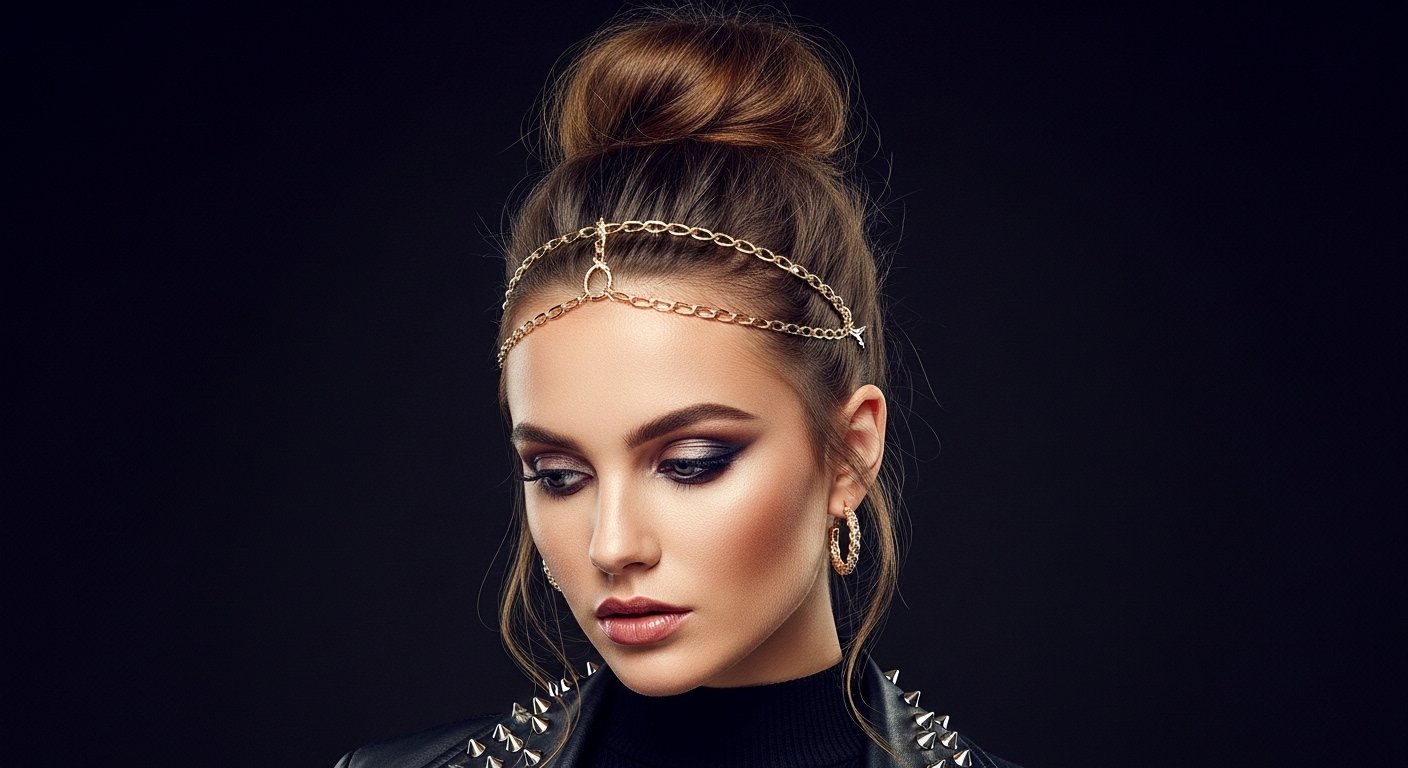
Place a thin chain headband over your head before making your bun. The chain should sit about an inch behind your hairline. Then make your messy bun as usual. The chain peeks through the mess, adding a trendy, slightly edgy detail that feels very 2026.
The Mini Claw Clip Cluster (For Shorter Hair)
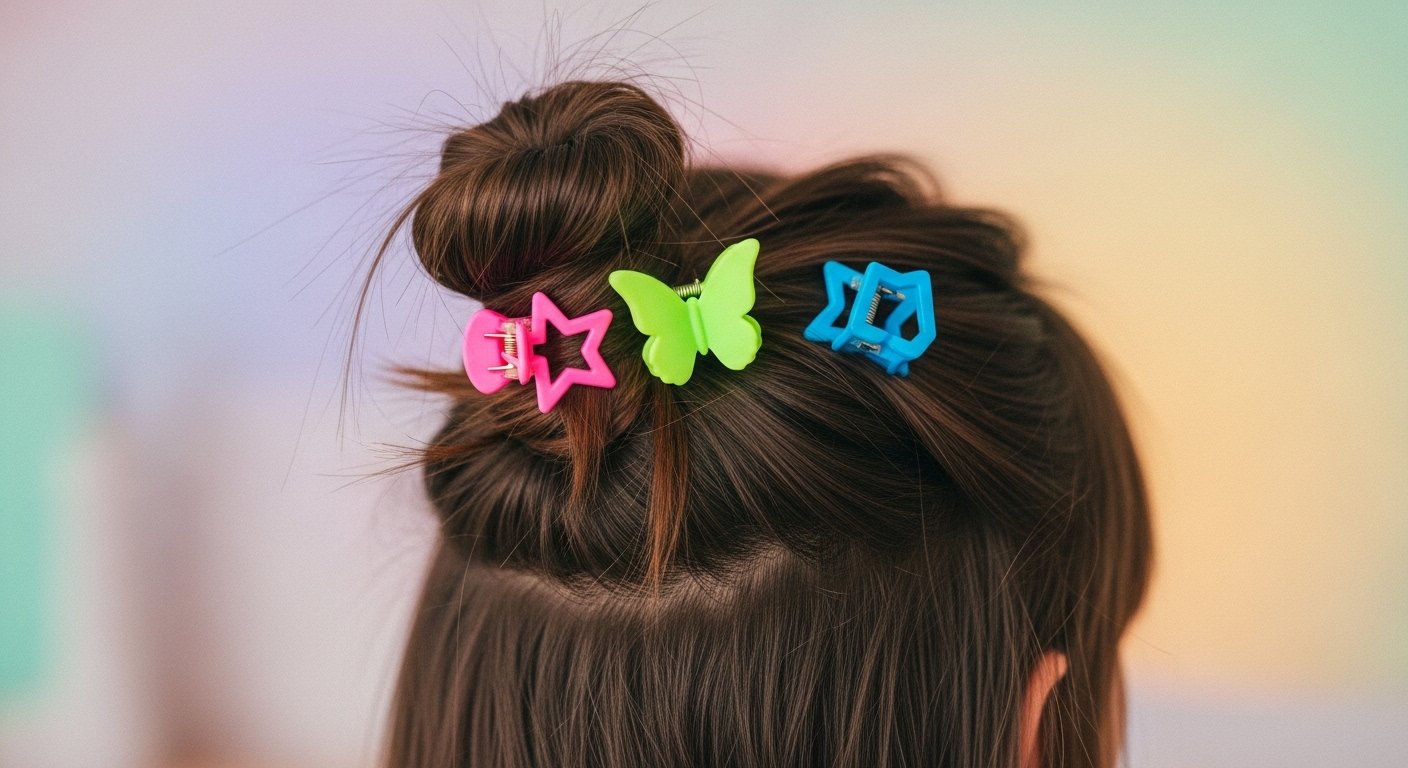
If your hair is too short for a coil tie to hold, use three mini claw clips. Twist your hair into a bun shape, then secure with mini clips placed at 12 o’clock, 4 o’clock, and 8 o’clock. The clips become part of the style.
The Braided Accent Bun (Textural Contrast)
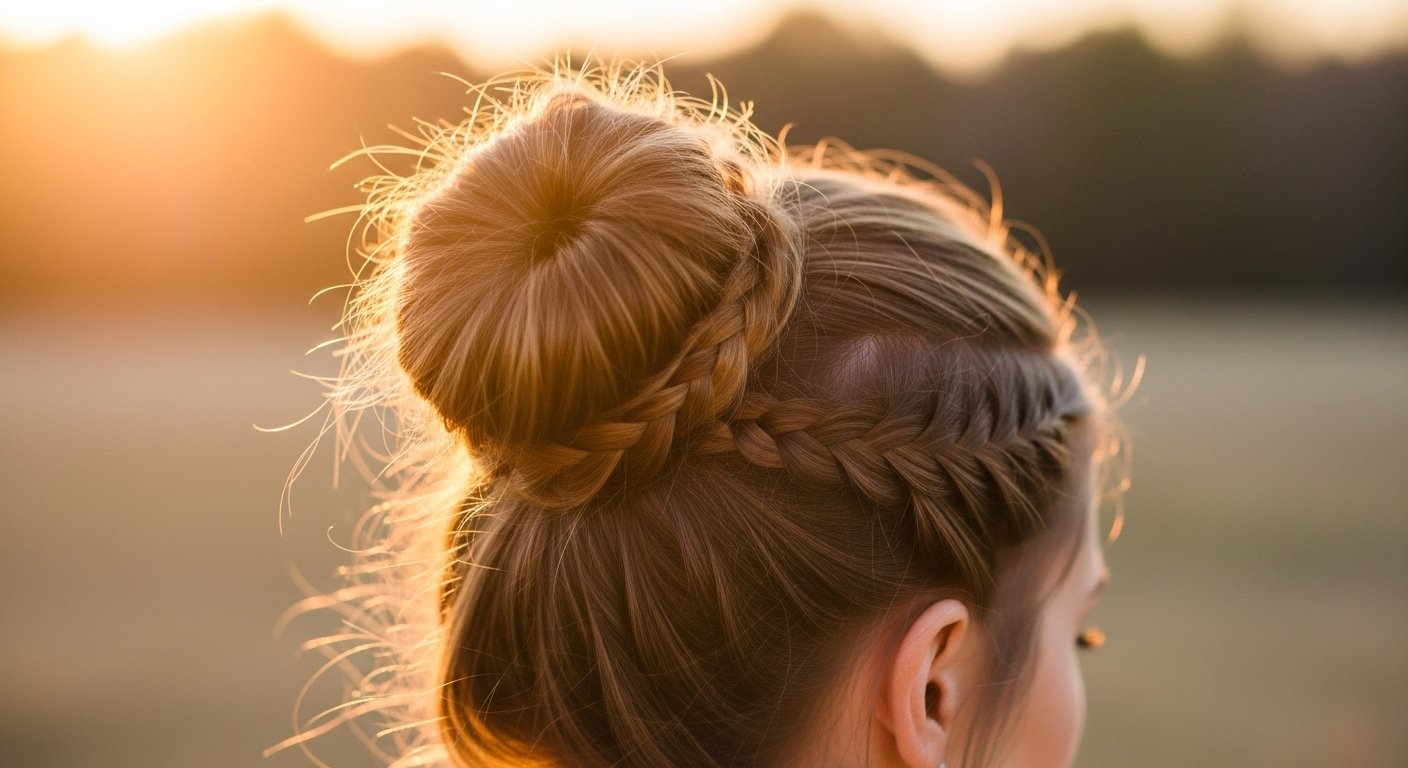
Before gathering your hair, take a one-inch section from your temple. Braid it loosely. Then gather that braid into your main ponytail before making the bun. The braid adds textural contrast and makes your bun look intentionally crafted.
The Five-Second Tug Test (Pre-Departure Essential)
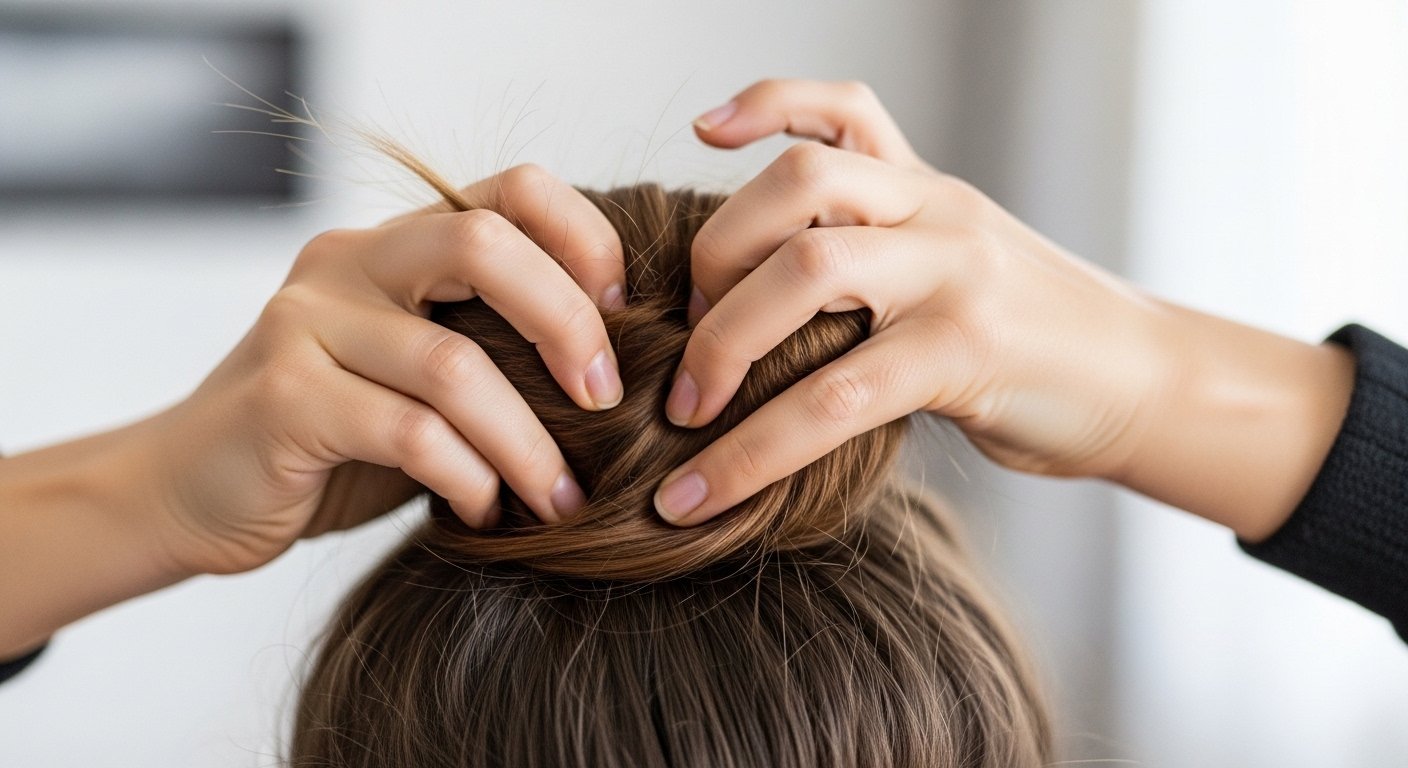
Before you walk out the door, tug your bun firmly in three directions: up, down, and side to side. If anything moves, spend 10 seconds adjusting. This simple test saves you from mid-day bun failures 100% of the time.
The Humidity-Proof Bun Seal (For Rainy Days)

If you live in a humid climate or it’s raining, finish your bun with an anti-humidity hairspray. These sprays create a light seal that prevents frizz without making your hair stiff. Your bun will survive the weather.
The Travel Bun (For Flights and Long Car Rides)
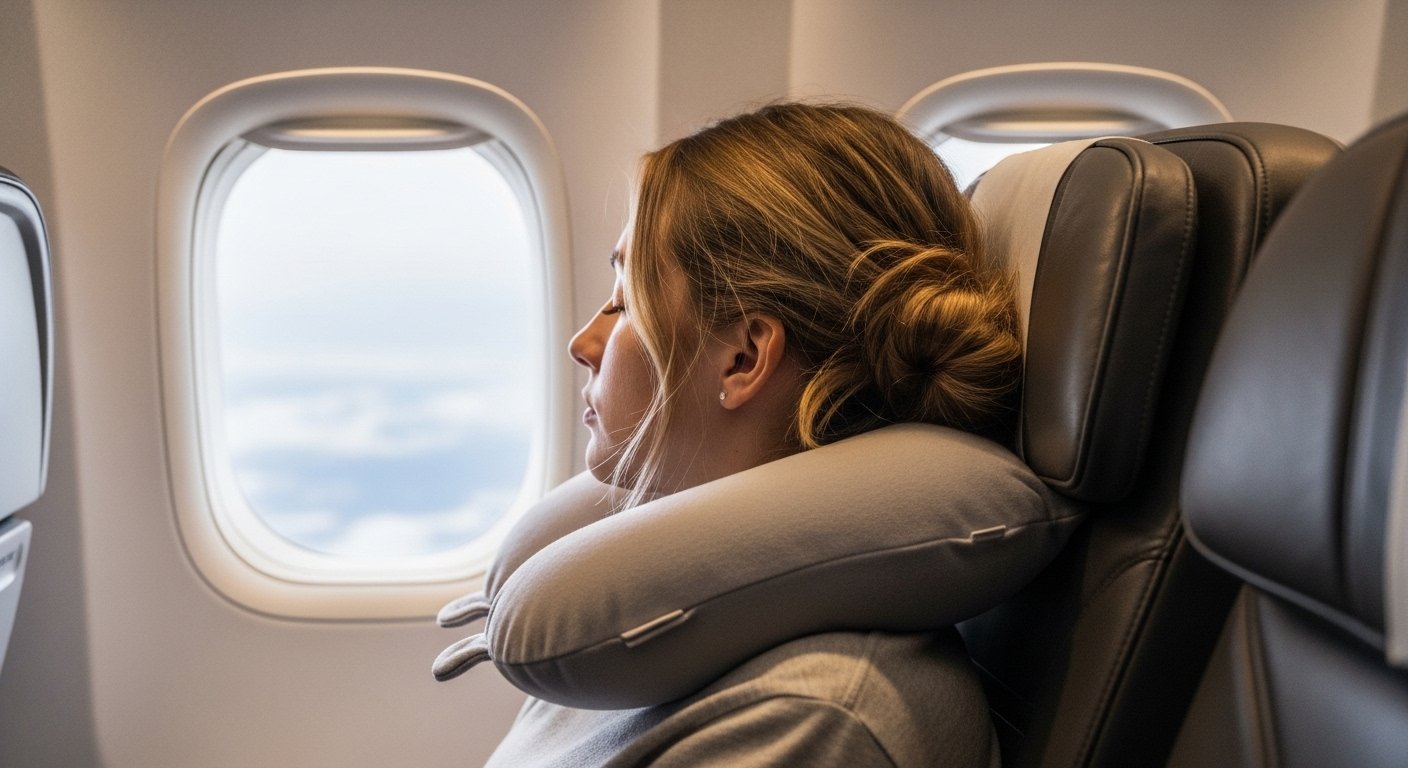
Make a low messy bun at the nape of your neck. Use an extra coil tie for security. This bun won’t interfere with your headrest, and you won’t get that dreaded “headrest dent” in your hair upon arrival. Perfect for travel days.
The Post-Workout Bun Refresh (Gym to Street)
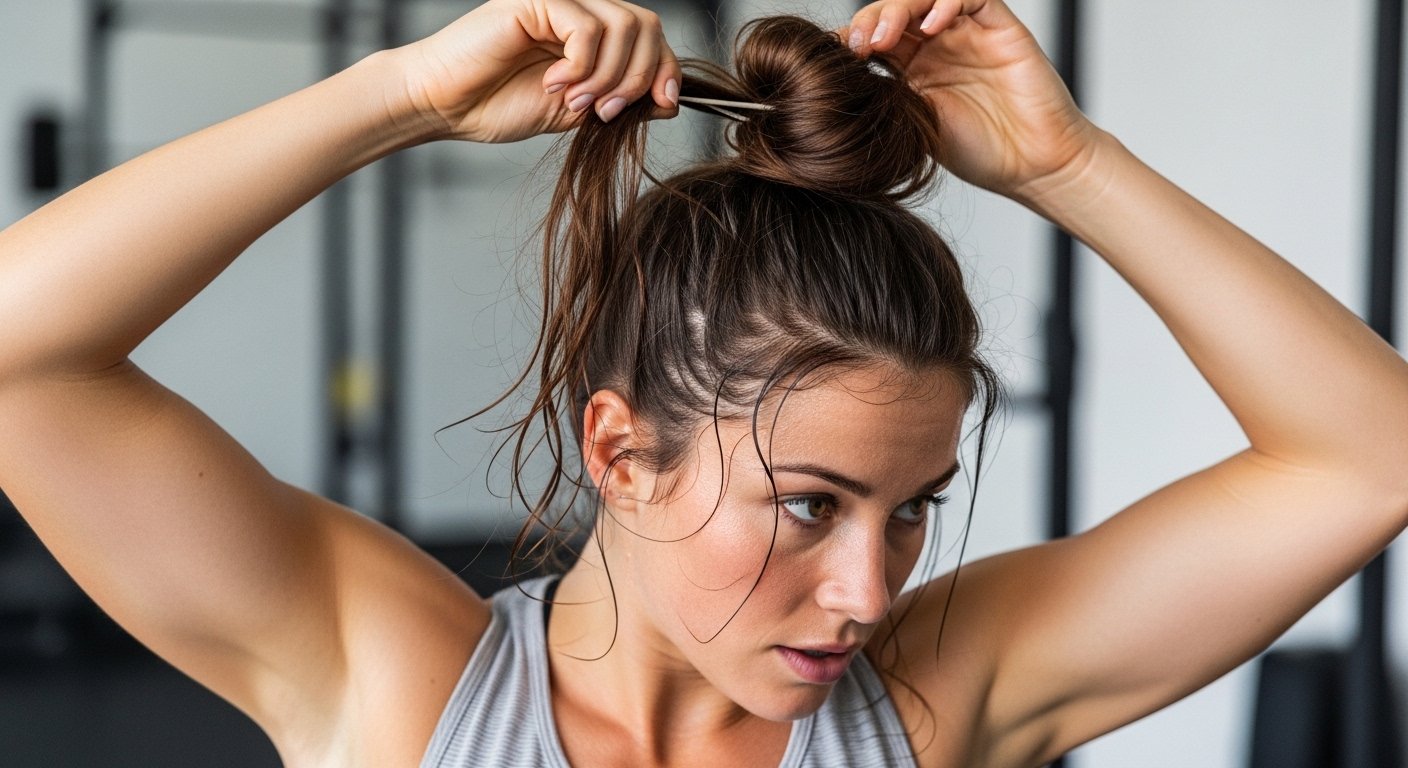
After a workout, take your bun down completely. Spray dry shampoo at the roots. Flip your head upside down and re-make the bun using the same steps. Your post-gym bun will look intentionally messy, not just sweaty. This takes 90 seconds.
The Double-Bun Space Buns Variation (Playful and Trendy)

Part your hair down the middle. Make two high ponytails (one on each side). Twist and loop each into a messy bun. The double-bun (space buns) look is playful, trendy, and surprisingly secure. Perfect for festivals, concerts, or any day you want to be fun.
The Three-Minute Bun Challenge (Once You’ve Mastered It)
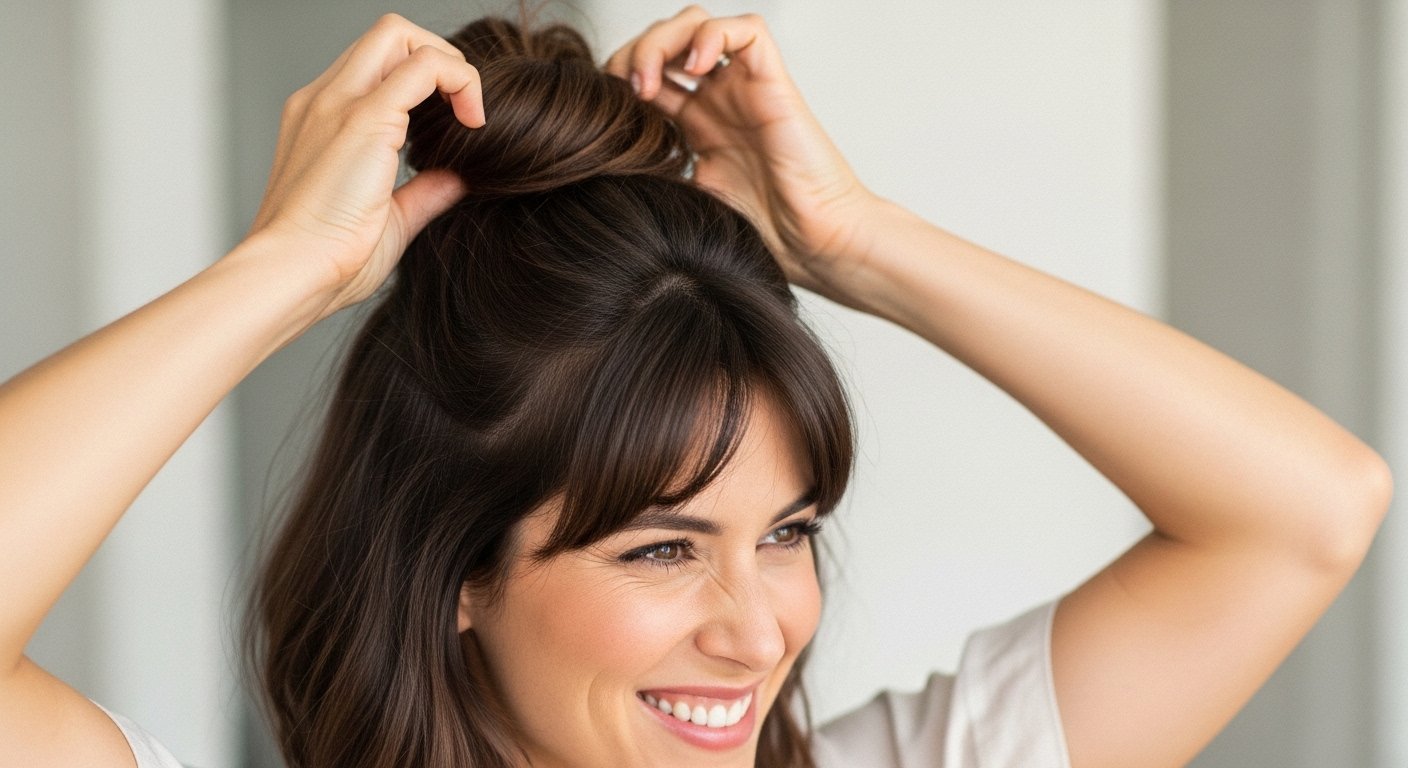
After three days of practice, time yourself. I bet you can go from wet hair or bedhead to a perfect messy bun in under three minutes. The steps become muscle memory. Soon, you’ll be making buns while brushing your teeth or waiting for coffee to brew.
The Emergency Bobby Pin Stash (Hidden on Your Bra)
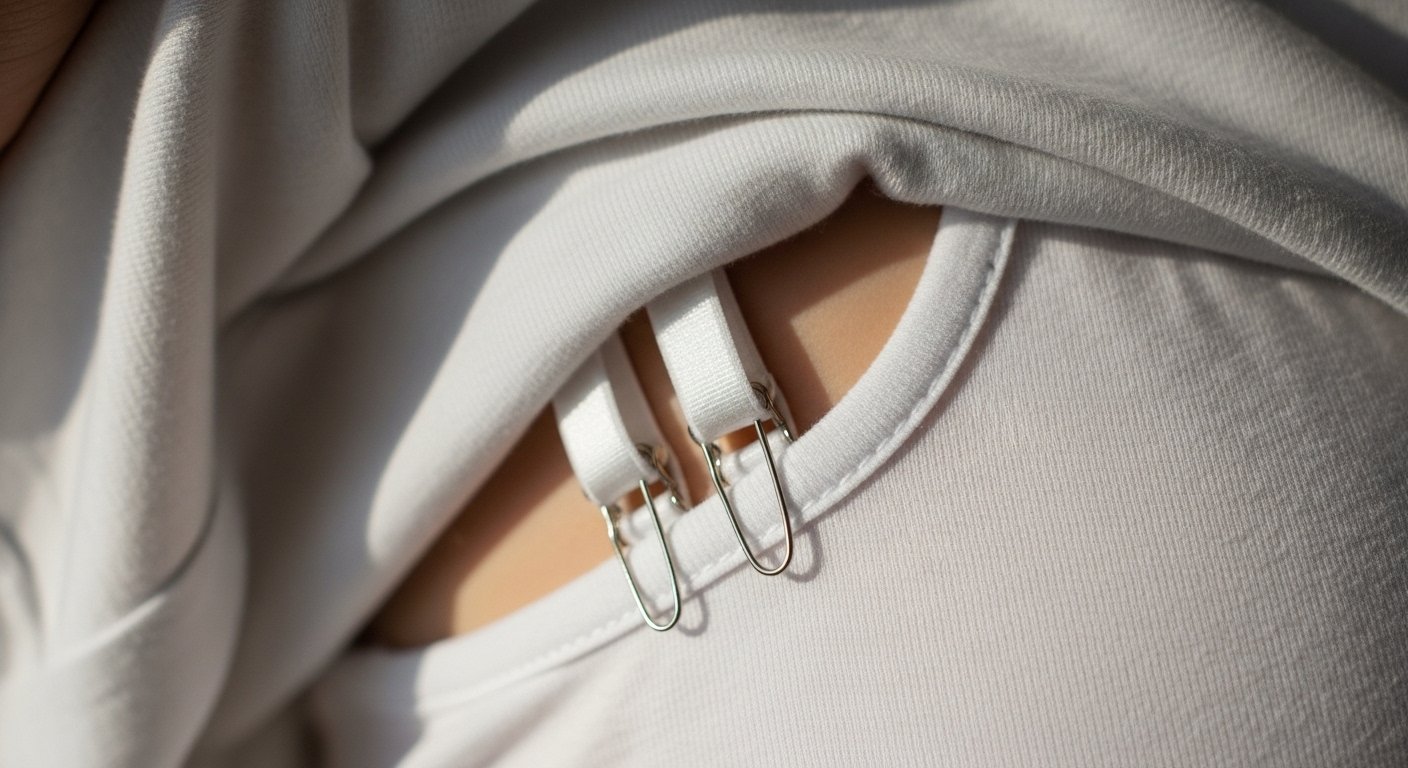
Clip two bobby pins onto your bra strap (or the inside of your waistband). You’ll forget they’re there until you need them. When a bun emergency strikes, you have pins instantly. This is the oldest hair stylist trick in the book.
The Ponytail-First Method (For Beginners)
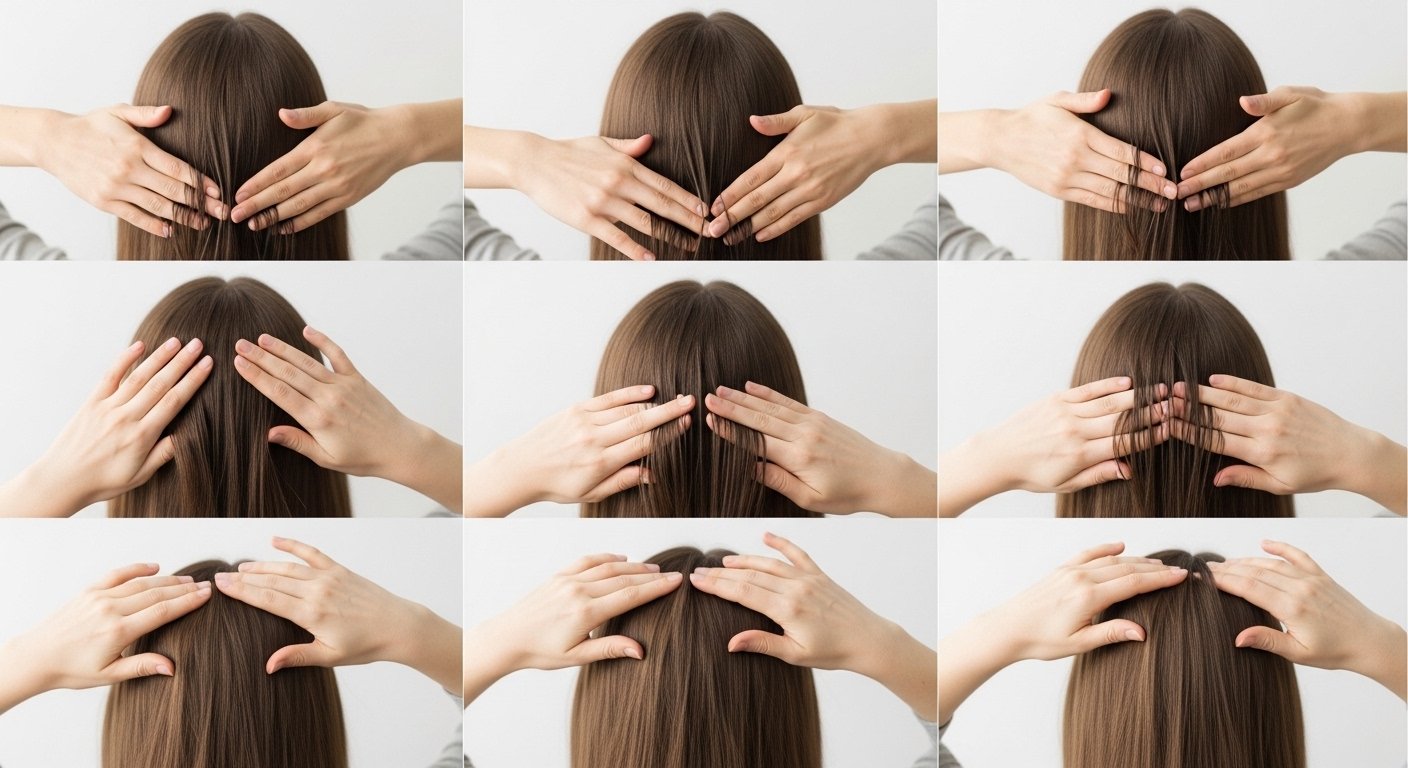
If the twist-and-loop method feels tricky, start with a simple ponytail. Secure your ponytail with a coil tie. Then, twist the ponytail and wrap it around the base. Secure with a second coil tie. This two-step method is easier for beginners and still looks great.
The Scalp Health Check (Don’t Wear the Same Bun Daily)
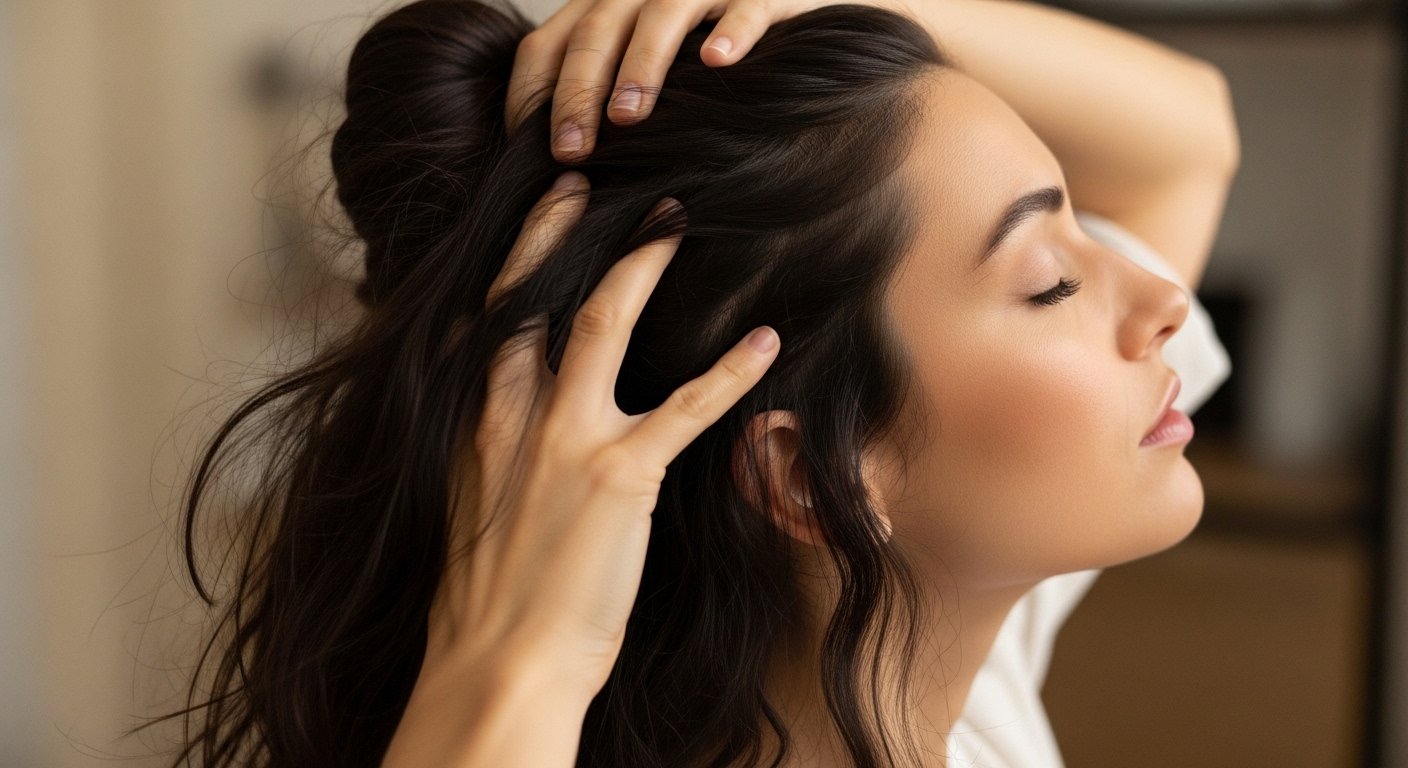
Wearing your bun in the exact same spot every day can lead to tension breakage. Alternate placement: Monday (crown), Tuesday (low), Wednesday (side). Give your scalp a break on rest days. Healthy hair makes every bun look better.
The Dryer Sheet Trick (Static-Free Bun)
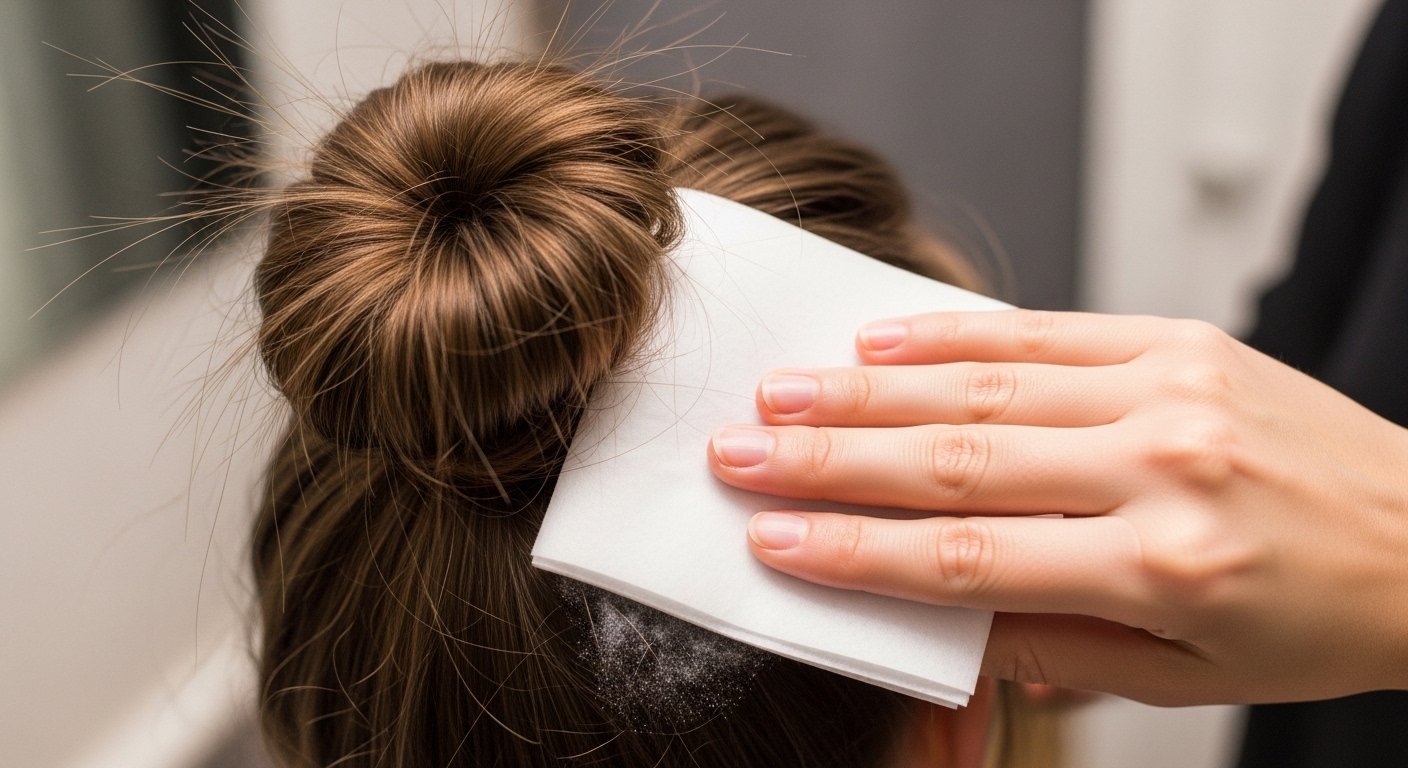
In dry winter months, static can make your bun look frizzy and chaotic (not in a good way). Gently rub a dryer sheet over your finished bun. The anti-static properties smooth flyaways instantly without adding product buildup.
The Lazy Girl’s Overnight Bun (Wake Up Styled)
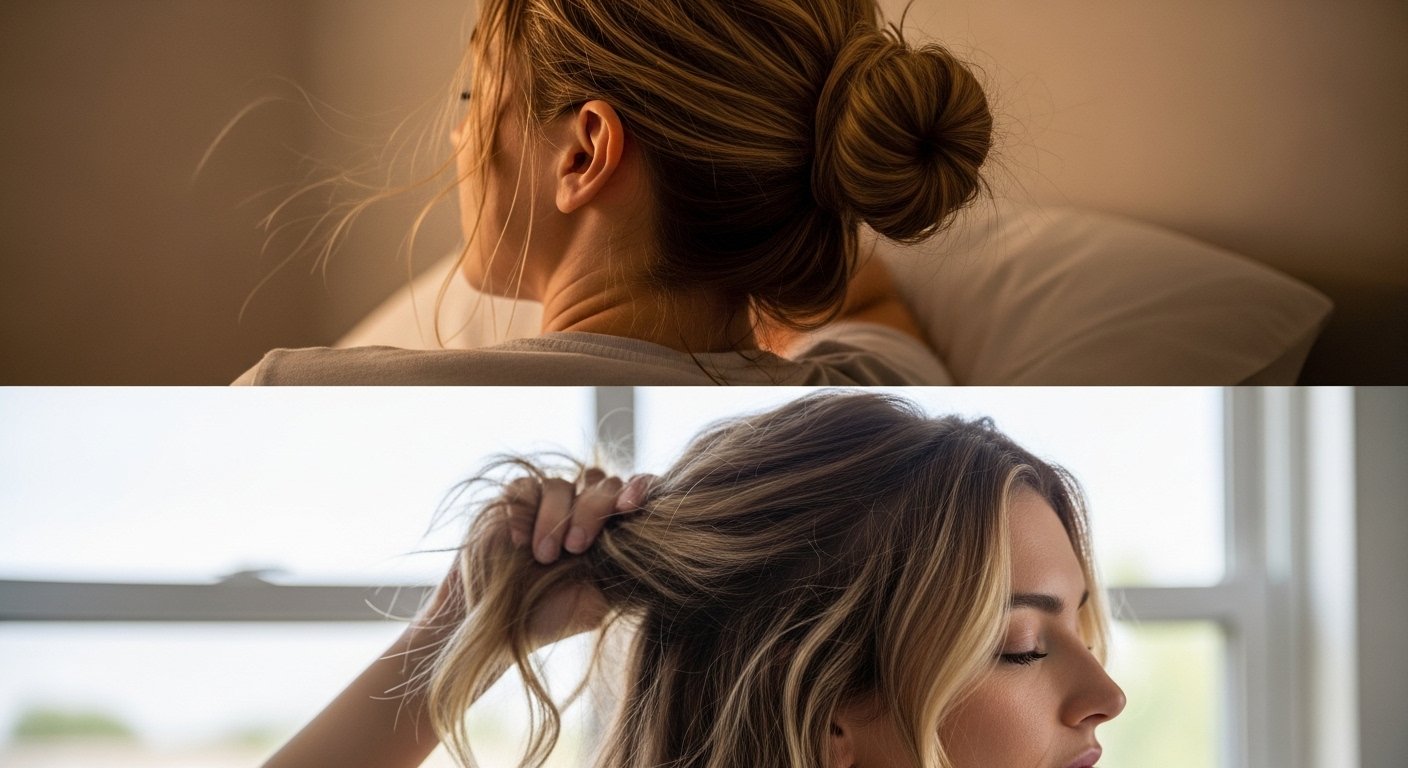
On damp hair before bed, make a very loose, low messy bun (not tight). Sleep in it. In the morning, take it down. You’ll have soft, heatless waves. Then re-make your bun for the day. This is two styles for the price of one sleep.
The Hat-Over-Bun Hack (Windy Day Solution)
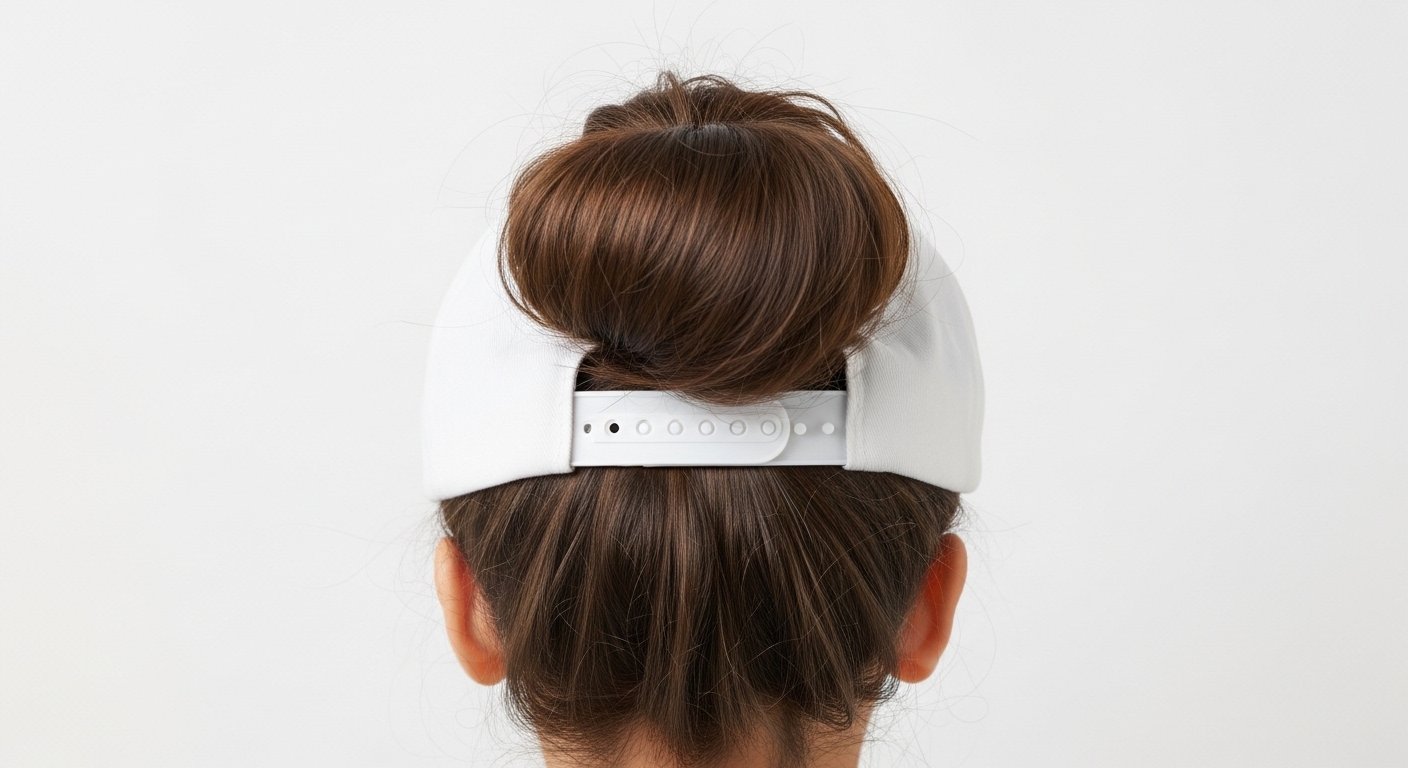
On windy days, make your messy bun as usual. Then put a baseball cap on over it, pulling the ponytail/bun through the back opening. The cap acts as a wind anchor. Your bun won’t move, and you look sporty-chic.
The Silk Pillowcase Partnership (Morning-Ready Texture)

Switch to a silk pillowcase. In the morning, your hair will have less friction, fewer tangles, and more natural texture. A silk pillowcase is the ultimate passive messy bun prep. You do nothing, and your hair thanks you.
You’ve Got This Down

Seriously, that’s it. Five minutes, one great hair tie, and a willingness to pull things a little loose. You now have a tool in your style toolkit that will never fail you.
It gets faster every time you do it. Soon, you’ll be able to do it without a mirror, while making coffee, or answering a work email. That’s the true mastery.
And just like that, you’re a messy bun pro. No more frantic mornings staring at a brush, no more settling for a boring ponytail. You have a go-to style that works for 99% of what your day throws at you.
It’s the little wins, like mastering a hairstyle in under five minutes, that make the daily routine feel easier and more stylish. I hope this takes one thing off your plate and gives you a boost of confidence instead.
Save this post to Pinterest so you always have the steps handy! And tell me in the comments—what’s your biggest hair struggle in the morning? Is it volume, time, or just finding a style that sticks? Let’s chat!