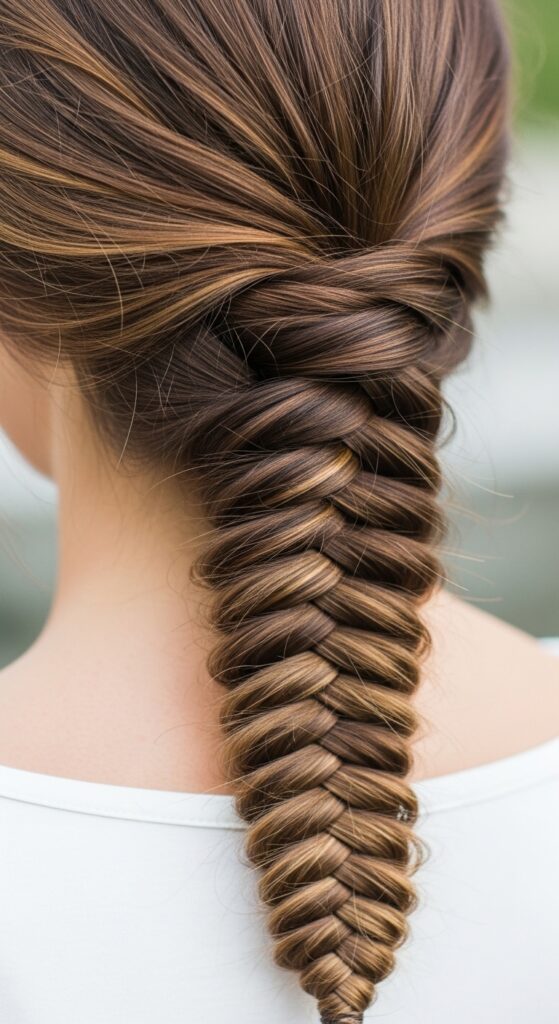
Fishtail Braid Tutorial for Beginners That Actually Turns Out Right
Okay, let’s be real. The fishtail braid looks like it was invented by a fairy godmother. It’s so elegant, so intricate, and seems impossible to do on yourself. I spent years watching tutorials, ending up with a lopsided, messy rope that looked nothing like the picture. Sound familiar?
I almost gave up, thinking I just didn’t have the braiding gene. But then I figured out the one simple trick that changes everything. It’s not about magic fingers—it’s about understanding the basic move.
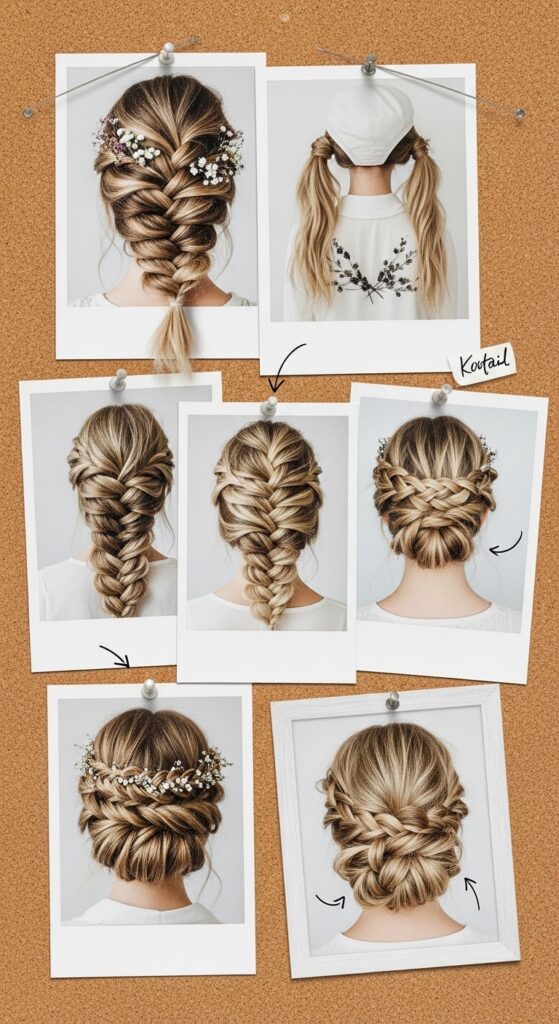
This tutorial is for the true beginner. No fancy terms, no speed-demon hands. We’re going slow, step-by-step. I promise, by the end of this, you’ll have a real, beautiful fishtail braid. And once you master this, you can add it to any look, from 2026 hairstyles previews to that effortless old money hair vibe.
Grab your hairbrush and two hair ties. We’re doing this.
Why the Fishtail Braid is a Skill Worth Having
Beyond just being pretty, this braid is incredibly versatile. It’s the foundation for so many looks. Once you get it down, you can dress it up or down for any occasion.
It works on almost all hair types and lengths (yes, even shorter layered hair with a little practice). It’s also a savior for second or third-day hair, giving you that “I tried, but not too hard” elegance. Think of it as a building block for everything from a romantic goth hairstyles twist to a refined quiet luxury bob accessory.
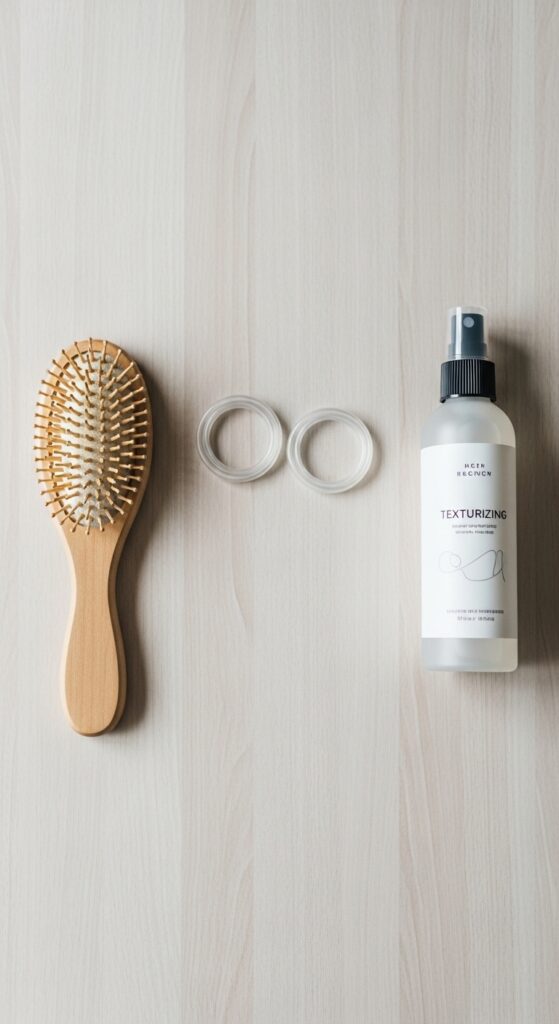
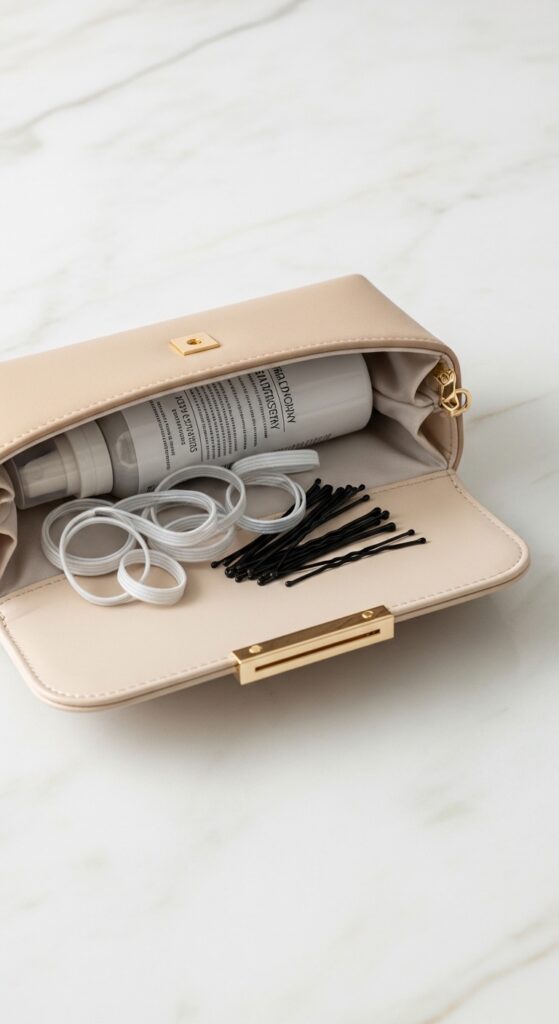
What You Actually Need (Spoiler: It’s Not Much)
You don’t need special tools. This isn’t a glitchy glam hair look requiring a ton of product. We’re keeping it simple and pure.
- A fine-tooth comb or brush for smoothing.
- Two clear or matching hair elastics.
- A small clip or hair tie to temporarily section hair.
- Optional: A light-hold texturizing spray or mousse if your hair is very slippery.
The Golden Rule: Start With a Ponytail
This is the biggest beginner hack. Do NOT try to braid loose hair at your nape. It’s a fast track to frustration. Securing it first gives you total control.
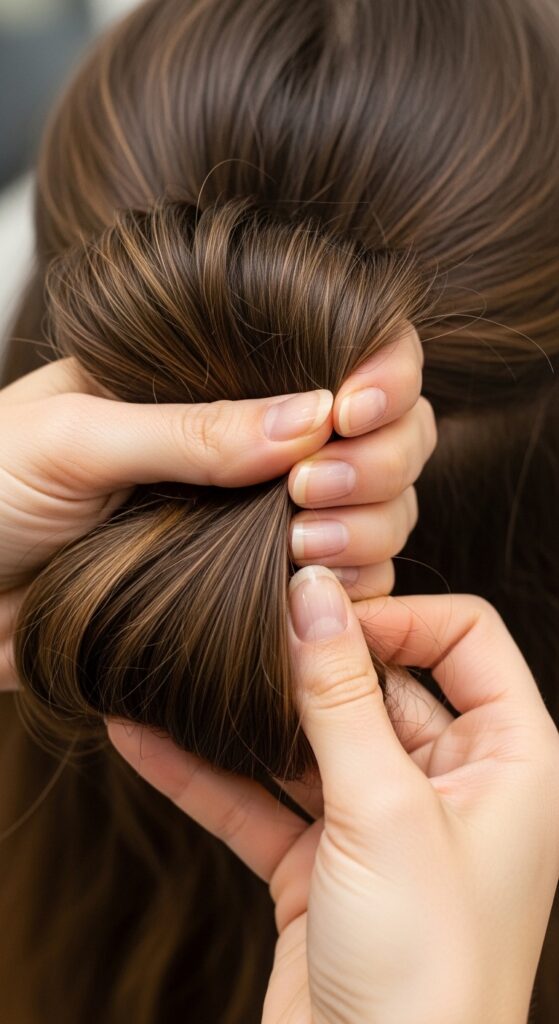
Make a low, loose ponytail at the nape of your neck with your first elastic. Don’t make it super tight. We want this to be comfortable and easy to work with. This ponytail is your training wheels.

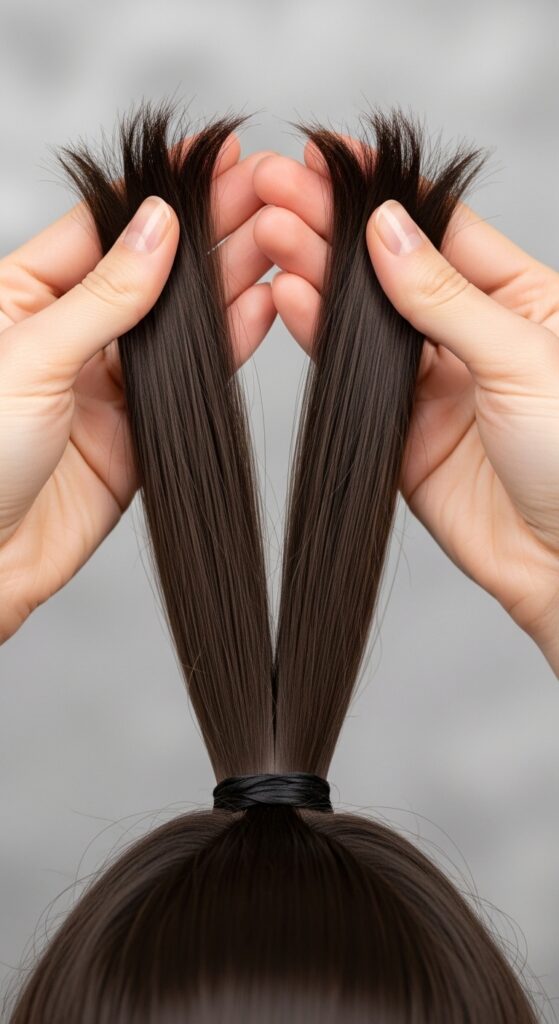
Step 1: Split Your Ponytail in Two
Divide the ponytail into two equal sections. Hold one in each hand. Let them fall naturally. This is now your “Right” section and your “Left” section. Keep a gentle but firm grip.
Make sure the split is clean and even. If you have a lot of shorter layers, gently smooth them into the main sections. The goal is two distinct chunks of hair.
Step 2: The One Move You Must Master
Here is the entire secret: You are only ever taking a tiny, pinky-finger-sized piece from the outside of one section and adding it to the inside of the opposite section.
That’s it. You are not crossing whole sections over each other like a regular braid. You are just transferring little pieces. Say it with me: “Little outside piece to the opposite inside.”
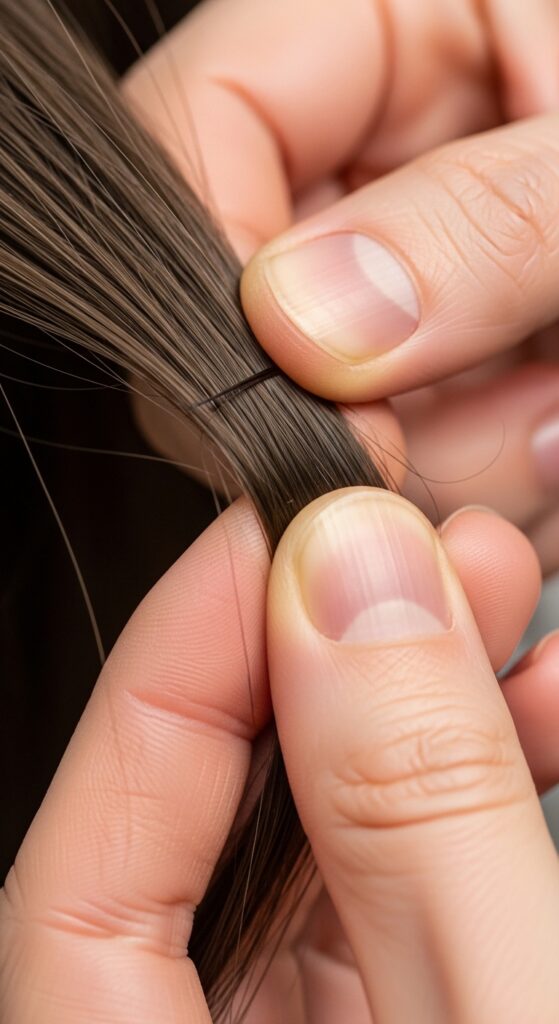
Step 3: Take Your First Tiny Piece
With the two main sections in your hands, look at your Left section. Using your right hand, pinch a tiny strand of hair from the very outside edge (the part farthest from your Right section).
This piece should be small—about the width of your pinky finger. We’re building detail here. Pull this tiny piece away from the main Left chunk.
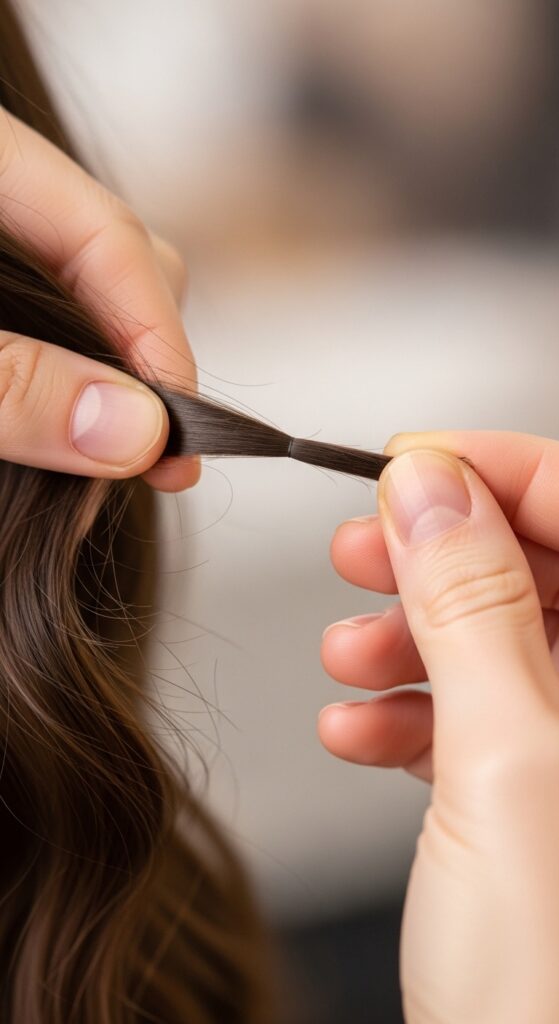
Step 4: Cross It Over to the Other Side
Now, take that tiny piece from the Left section and cross it over in front of the Left section. Bring it all the way to the Right section.
Place this tiny piece into your left hand, merging it with the inside of the Right section (the part of the Right section that faces the Left). Your left hand now holds the Right section plus the new tiny piece.
Step 5: Tighten and Adjust Your Grip
After that first transfer, gently pull both main sections away from each other, slightly downward. This tightens the weave and creates the classic fishtail “V” shape.
Now, re-establish your grip. Your left hand holds the Right section (which now has an extra piece). Your right hand holds the Left section (which is now slightly smaller).
Step 6: Repeat From the Other Side
Mirror the move. Now look at your Right section (the one in your left hand). With your right hand, pinch a tiny piece from its outside edge.
Pull this piece away, cross it over in front of the Right section, and add it to the inside of the Left section (held in your right hand). Transfer your grip accordingly.

Step 7: The Rhythm: Left, Right, Left, Right
And that’s the rhythm! Left piece to right. Right piece to left. Always taking from the outside, always adding to the inside of the opposite side. Tighten gently after every one or two transfers.
Don’t worry about speed. Focus on keeping your pieces small and even. The smaller the pieces, the more intricate and “fishtail” your braid will look. This is the calming, repetitive part.
Step 8: What to Do With Your Thumbs
A common question! Your thumbs are mainly for stability. I like to use my thumbs to anchor the main sections against my palms while my fingers pick out the tiny pieces.
Alternatively, you can let your thumbs help guide the tiny pieces across. There’s no single right way. Do what feels natural and gives you control over those small strands.
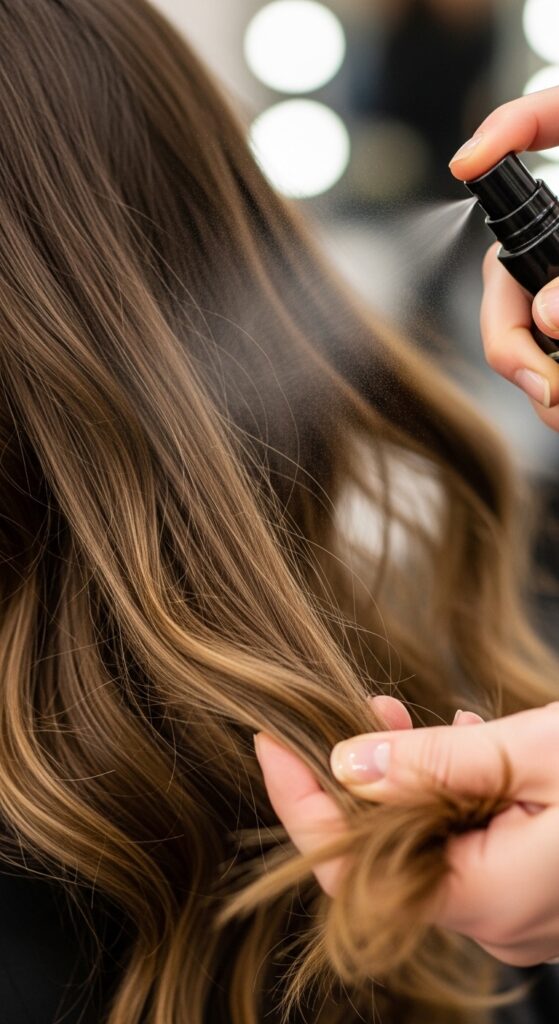
Step 9: Dealing With Slippery Hair
If your hair is very silky, braiding on day-old hair or using a texturizing spray first is a game-changer. It gives the hair a tiny bit of grip so the pieces don’t slide out.
You can also slightly dampen your hands with water. The light moisture adds tension. Don’t use too much product or your braid will look crunchy. We want soft, touchable waves.
Step 10: How Far Down to Braid
Braid all the way down until you have just about 2-3 inches of hair left unbraided. You want enough tail to secure it without the braid immediately unraveling.
If you have shorter layers that fall out, don’t stress. That’s part of the boho, lived-in charm. Just gently coax them back into the nearest section as you go.
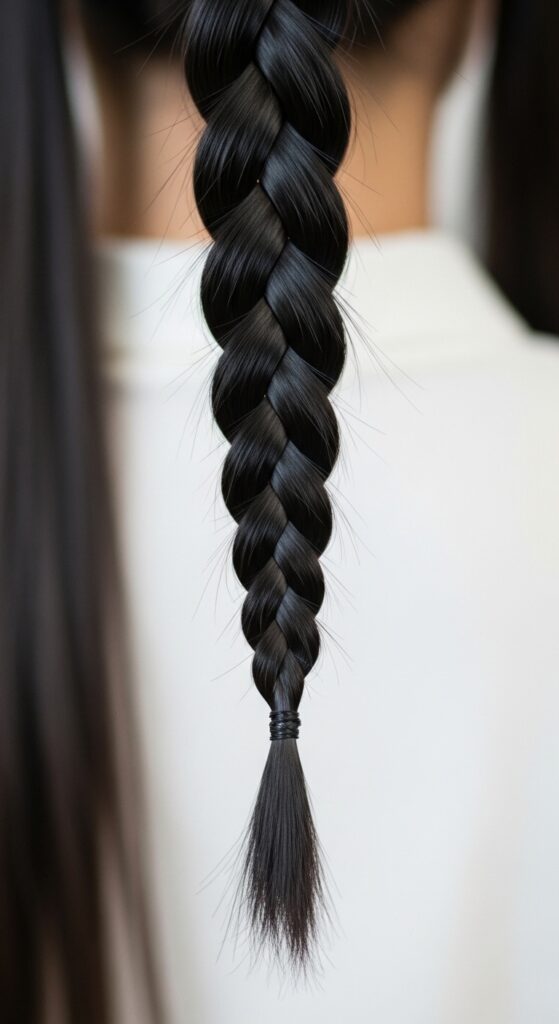
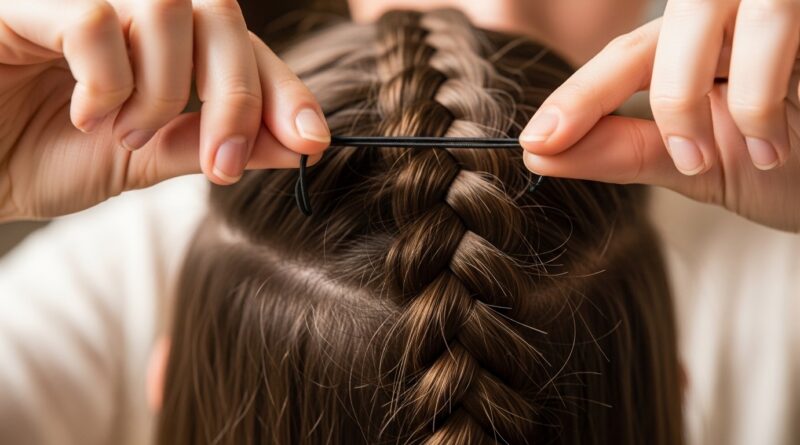
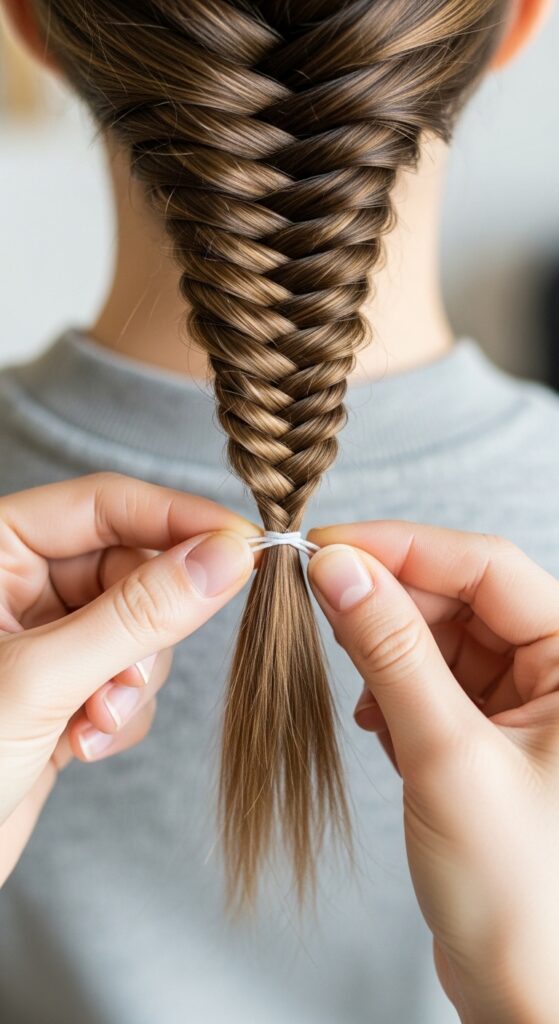
Step 11: Securing the End
Once you’re at the end, gather the two final sections together. Use your second hair elastic to secure the very end of the braid, just like you would a regular ponytail.
Make it snug, but not painfully tight. Give the elastic a little twist and wrap it around a second time for extra security if your hair is thick.
Step 12: Removing the Top Ponytail Elastic
This is the magic moment. Carefully reach up and slide out the first elastic you used (the one holding the original ponytail). Do this slowly so you don’t disturb the top of the braid.
Once it’s out, you can gently pinch the very top of the braid and give it a slight tug to loosen it for a softer, less “schoolgirl” look. This blends the start seamlessly.

Step 13: The Perfect Loosening Technique
To get that full, romantic braid, you need to “pancake” it. Gently pull on the outer loops of the braid, working from the top down. Pull each little V shape outward to widen the braid.
Do this evenly on both sides. Don’t pull straight down, pull sideways and out. This makes the braid look thicker, softer, and hides any unevenness in your pieces.

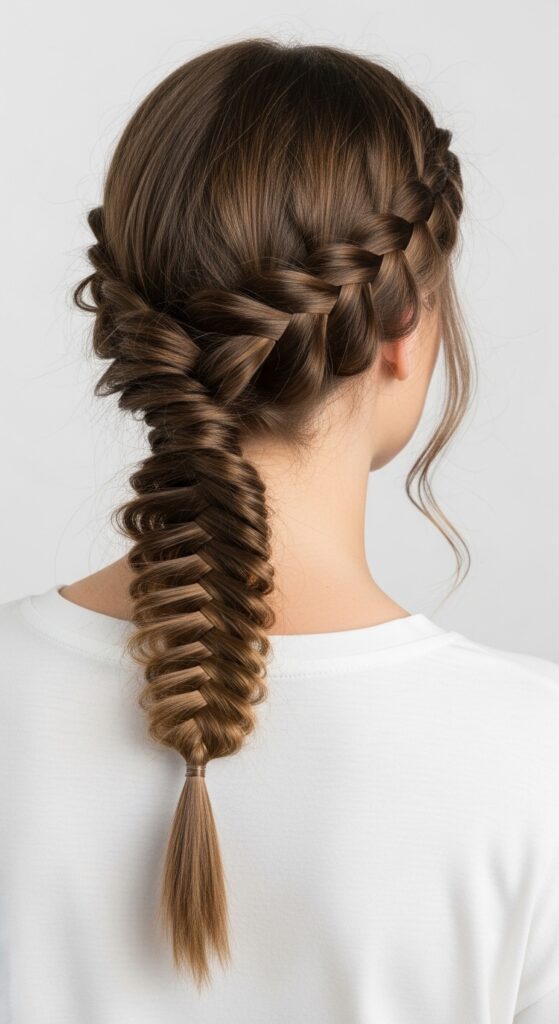
Step 14: Styling Your Fishtail Braid
Now for the fun! You can leave it as a classic braid. Or, wrap it into a low bun for an elegant updo. You can also pull out a few face-framing pieces for a softer look.
This braid pairs perfectly with a chic headband for a quiet luxury bob accessory, or with darker accents for a vampire haircut influence. It’s your canvas.
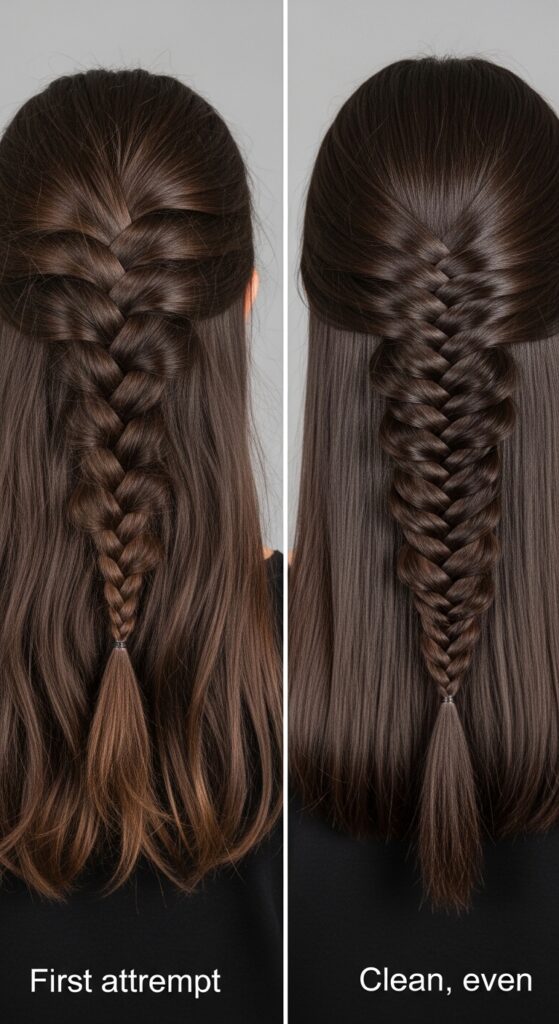
Common Mistakes & How to Fix Them
- Braid looks skinny: Your pieces were too big. Next time, take half the size you think you need.
- Braid is lumpy: You forgot to tighten gently after each transfer. Remember to pull sections apart slightly.
- Hair keeps falling out: Your starting ponytail was too loose, or you need a bit of texture spray.
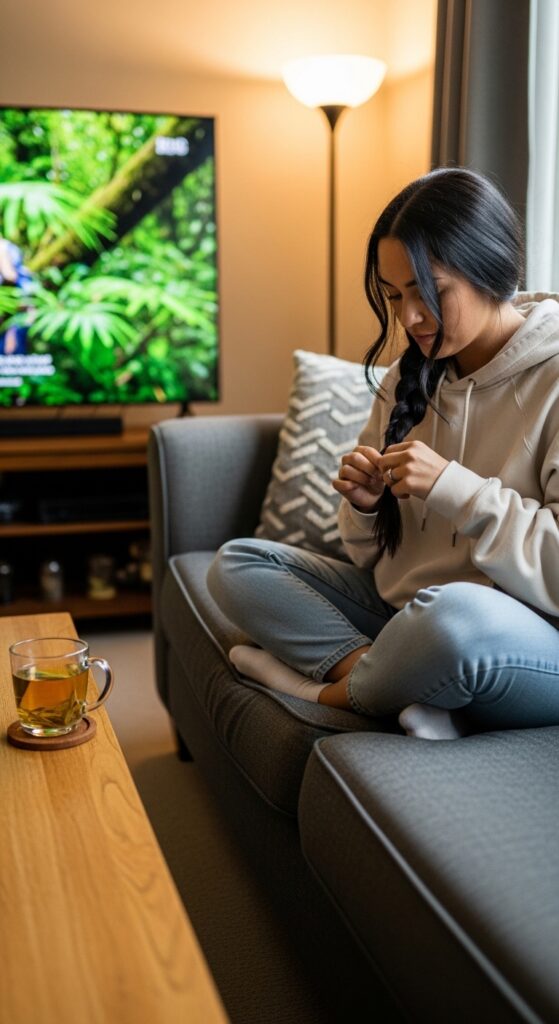
Practicing for Consistency
Your first braid might take 10 minutes. That’s normal! Do it three times in a row one evening while watching TV. Muscle memory is real.
By the third try, your hands will know the motion. Consistency in piece size is what separates a good braid from a great one. Practice builds that.
From Fishtail to Other Trendy Looks
Master this, and you unlock so many trends. A fishtail can be the base for a single side braid with glitchy glam hair accessories. It can edge up an asymmetrical lob.
Try two fishtail pigtails for a different take on romantic goth hairstyles. Or, incorporate it into the front sections of a hime cut for a modern twist.
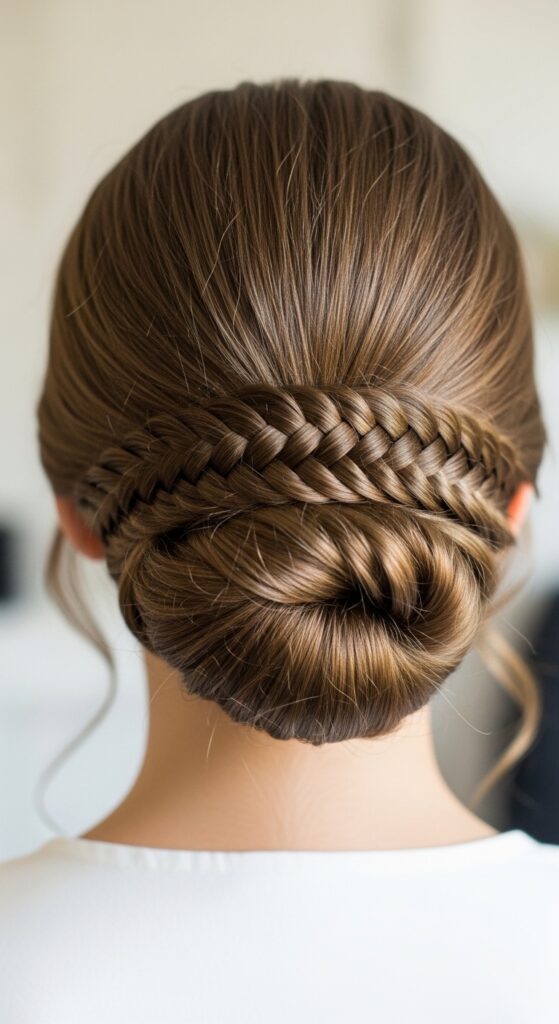
Quick Updo: The Fishtail Bun
- Create your fishtail braid as learned.
- Instead of securing the end with an elastic, gently twist the braid into a coil at your nape.
- Secure the coil with bobby pins, tucking the end under. Pull the braid looser for a bigger, softer bun.
Maintaining Your Braid All Day
A light-hold hairspray sprayed from a distance can lock in style without stiffness. Focus on the mid-lengths to ends.
Carry an extra clear elastic and a couple of bobby pins in your bag for mid-day touch-ups. If a piece comes loose, just twist it back in and pin it at the underside of the braid.
You Did It! Now Make It Your Own
Seriously, give yourself a pat on the back. This is a technical skill, and you learned it. Wear it with pride.
The best part now is experimentation. Try it on wet hair for a sleeker look, or on super-dry hair for a wild, textured vibe. Add ribbons, clips, or charms. It’s your signature now.
See? I told you you could do it. That fairy-godmother braid is now firmly in your repertoire. It might have felt fiddly at first, but now you know the simple, repeatable motion that makes it all work.
The beauty of this braid is its versatility. On Monday, it can be part of your polished, old money hair aesthetic. By Friday, with a few strategic pulls and some edgy accessories, it can fit right into a 2026 hairstyles mood board. It’s all in how you style it.
I want to see your success! Did your first attempt turn out amazing? What’s your next braid goal? Let me know in the comments below—I read every single one. And if this guide finally unlocked the fishtail for you, do me a favor? Save this post to Pinterest so you can always find it, and maybe you’ll help another frustrated beginner finally get it right, too.