From Virgin Hair To Vivid Color With This Process That Minimizes Damage
I remember staring at my own reflection in the bathroom mirror, feeling that familiar itch to completely transform my look. My hair had been virgin for years—healthy, shiny, and honestly, a little boring. I wanted vivid color, but I was terrified of the straw-like texture and breakage I saw on so many girls’ social media feeds. I knew there had to be a smarter way to get the vibrant hue I craved without sacrificing the integrity of my strands.
Here is the truth: you don’t have to choose between stunning color and healthy hair. There is a specific, calculated process that allows you to achieve those dreamy, saturated tones while keeping your hair feeling silky. It requires a shift in mindset from “just bleach it” to “strategically lift and tone.” We are going to break down exactly how to navigate this journey, from the initial consultation to the maintenance routine that keeps your color looking expensive and your hair feeling untouched.
Think of this as your ultimate roadmap to vivid color. I am sharing the exact techniques and product philosophies that pros use to protect your hair during a major transformation. Forget the horror stories; we are focusing on a process that prioritizes bond builders, smart lighting techniques, and patience. By the end of this post, you will have a clear, actionable plan to get that head-turning color you have been dreaming of, without the regret. Let’s get started.
Why Virgin Hair Needs a Different Approach
Virgin hair is a blank canvas, which is amazing, but it is also deceptively fragile when it comes to chemical processes. Because it has never been colored, the cuticle is tightly closed and resistant to opening up. This means products can’t penetrate easily, which often leads to a stylist using a higher volume developer to force the color in. That is a recipe for disaster.
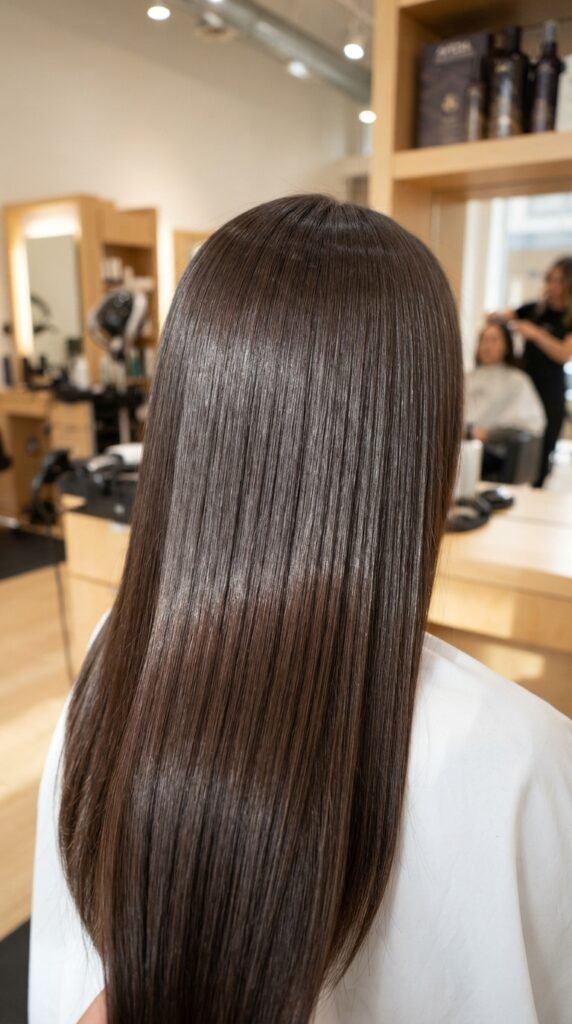
The goal here is to respect that natural strength. We aren’t trying to blast the cuticle open with aggression. Instead, we are using a slower, more controlled process that gently swells the hair to accept color. This prevents the “mushy” feeling that happens when the hair’s protein structure is compromised. Patience is your best friend here.
The Initial Consultation: Be Honest About Your Hair History
Before we even think about mixing color, we need to talk. If you are going to a professional, you absolutely must be honest about everything you have done to your hair—including that box dye from two years ago. If you are doing it yourself, be brutally honest with your mirror about the current condition of your ends versus your roots.

This step is crucial because it dictates the strategy. If your hair is fragile, we might decide to only do a “color melt” rather than a global bleach. If you have previous color, we need to do a strand test to see how it will lift. The plan always starts with an honest assessment, not wishful thinking. This prevents unexpected banding or breakage down the line.
Bond Builders Are Non-Negotiable
If you take one piece of advice from this entire post, let it be this: invest in bond builders. These are additives mixed directly into the bleach or color, and they work by reconnecting the broken disulfide bonds in your hair. They do not prevent all damage, but they significantly reduce the swelling and breakage that occurs during lifting.
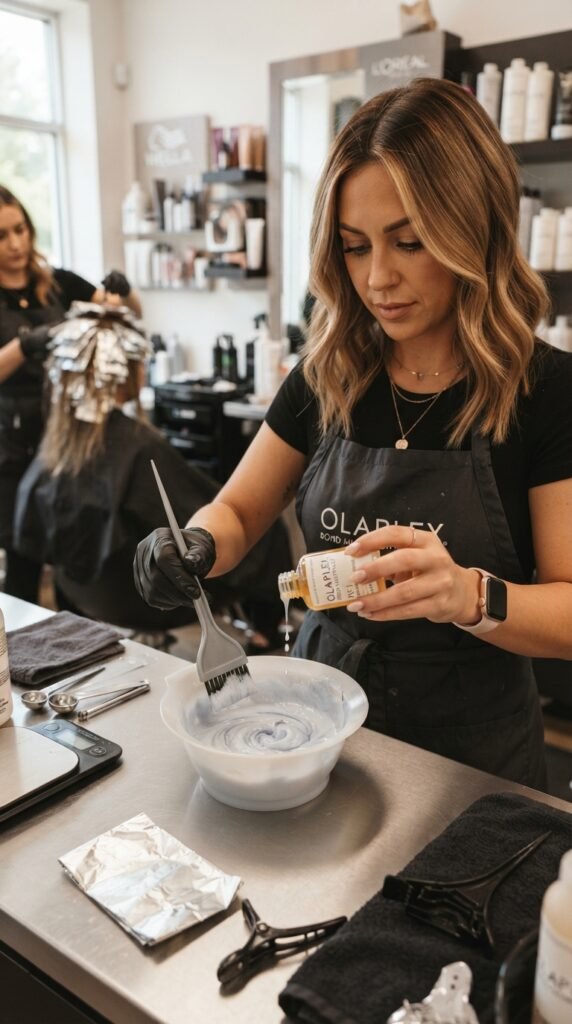
Think of it like a safety net for your strands. Brands like Olaplex, K18, and Ecoslay are game-changers. Whether you are using a liquid or a powder additive, this is not the step to skip for a budget-friendly price. It is the insurance policy that keeps your hair feeling like hair after you rinse out the lightener.
Skip the Traditional Bleach: Use a High-Lift Color
This is the insider secret that changes everything. For virgin hair, you often don’t need a harsh bleach powder to get to a lighter canvas. A high-lift permanent color can lift several levels while depositing tone at the same time. It uses a higher volume developer (usually 40 volume) but contains conditioners that bleach does not have.

This process opens the cuticle just enough to lift the natural melanin. It is a much friendlier option for getting to a “level 8” or “level 9” before you slap on that vivid pink or blue. It is especially perfect for those “2026 hairstyles” that lean towards glossy, dimensional colors rather than matte pastels. Ask your colorist if this is an option for your target shade.
The Magic of Foils vs. Balayage for Vivid Color
How you apply the lightener matters just as much as the product itself. For a full vivid color, you might think we need to saturate everything. But a smarter way is to use fine or medium foils. This creates dimension and prevents the “hot roots” effect where your scalp processes faster due to body heat.
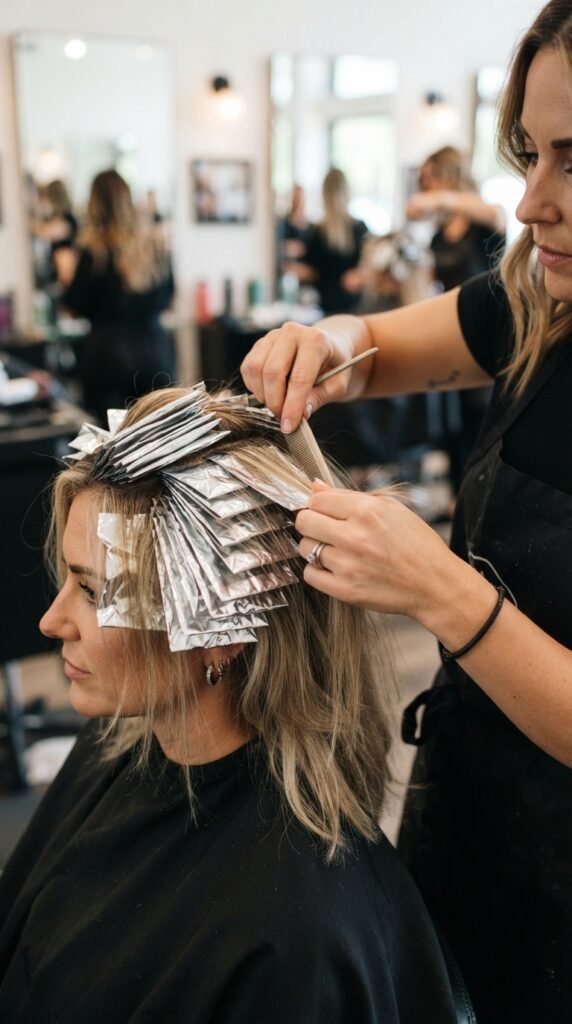
Foils allow for a more controlled lift than a freehand balayage. They keep the heat contained, which allows the lightener to work more efficiently. This is also a great time to mention the “asymmetrical lob” trend—that cut looks incredible with subtle, face-framing foils that get brighter toward the ends, giving a “glitchy glam” effect of light and shadow that feels very 2026.
Why “Old Money Hair” Is About Toning, Not Just Lifting
The “old money hair” aesthetic is all about richness and depth. It’s not just about being blonde; it’s about the *right* shade of blonde. Once you have lifted your hair to the pale yellow stage, the real magic happens in the toning phase. This is where we neutralize brassy undertones and customize your perfect base.
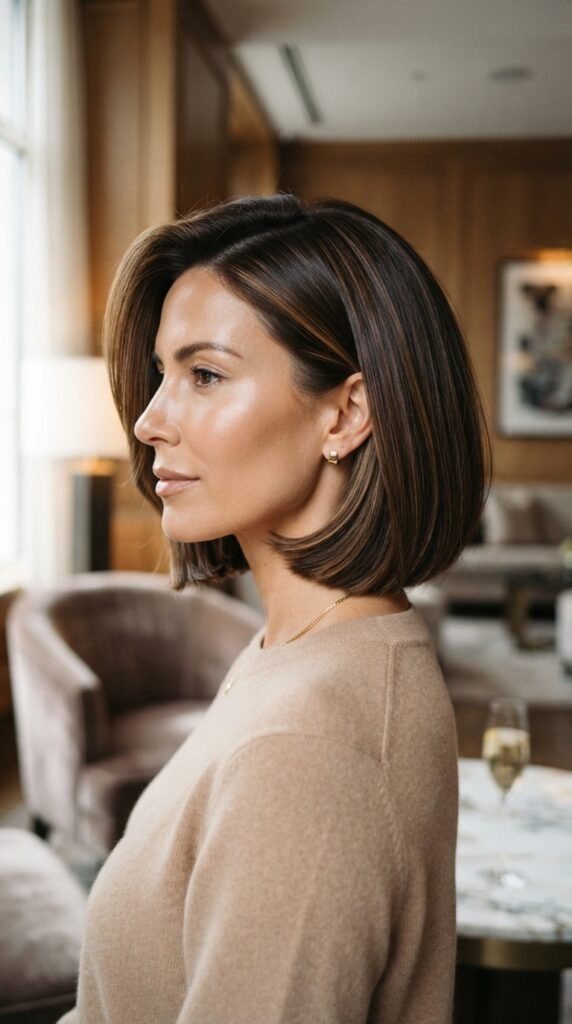
If you are going vivid, you might not even need that pale yellow. For a “romantic goth” vibe, you might stop at an orange level and then put a deep, dark red over it. The tone decides the mood. Whether you want a “vampire haircut” with black cherry depth or a buttery golden bronze, toning is where you achieve that expensive, polished finish.
Pigment Saturation: The Secret to Long-Lasting Vivids
Now for the fun part—the actual color! To get that “vivid” look, it is not enough to just slap on a standard tube of dye. We need to pre-soften or apply a “fashion shade” over a trained canvas. The consistency of the formula matters more than you think.
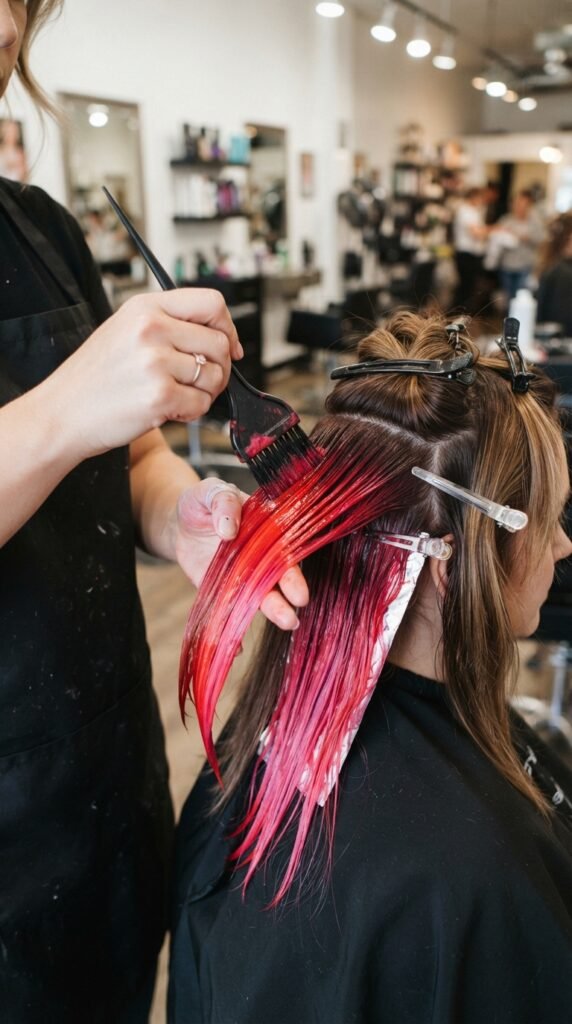
For the most intense results, your colorist might use a technique called “pre-filling.” This involves applying a diluted form of the target color to the hair before the final vivid shade. This ensures the color grabs evenly and doesn’t look patchy when it fades. It is an extra step, but it is the difference between a “lived-in” fade and a splotchy mess that looks bad in a week.
Water Temperature: The Cold Water Rule
You survived the salon session, and your hair looks like a masterpiece. But the process isn’t over; the maintenance begins immediately. The very first thing you do when you get home matters. You should wash your hair in cool to lukewarm water, never hot. Hot water lifts the cuticle and pushes the color right out.
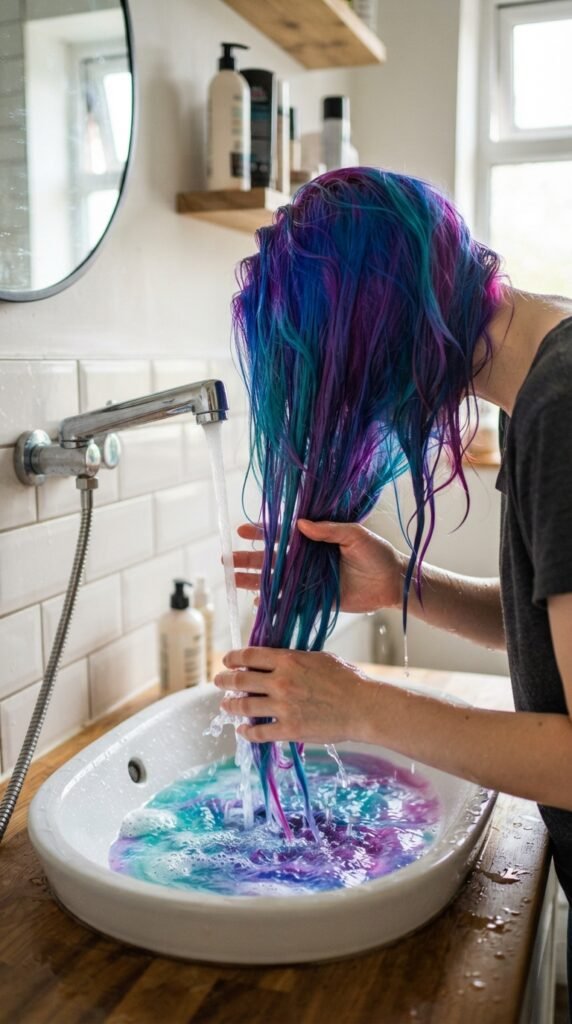
I know, cold showers are not fun. But you can compromise by washing your body in warm water and just doing a final cold rinse on your hair. Think of the cuticle like roof shingles. When they lie flat, the color stays locked in. When they are fluffed up by heat, the color escapes. Cold water keeps those shingles sealed.
Sulfate-Free Cleansers for the Win
You need to immediately swap out your standard shampoo. Sulfates are harsh detergents that strip away natural oils and your fresh color. You need a sulfate-free cleanser that is gentle enough for chemically treated hair. This will make your color last significantly longer and keep your hair from feeling dry.
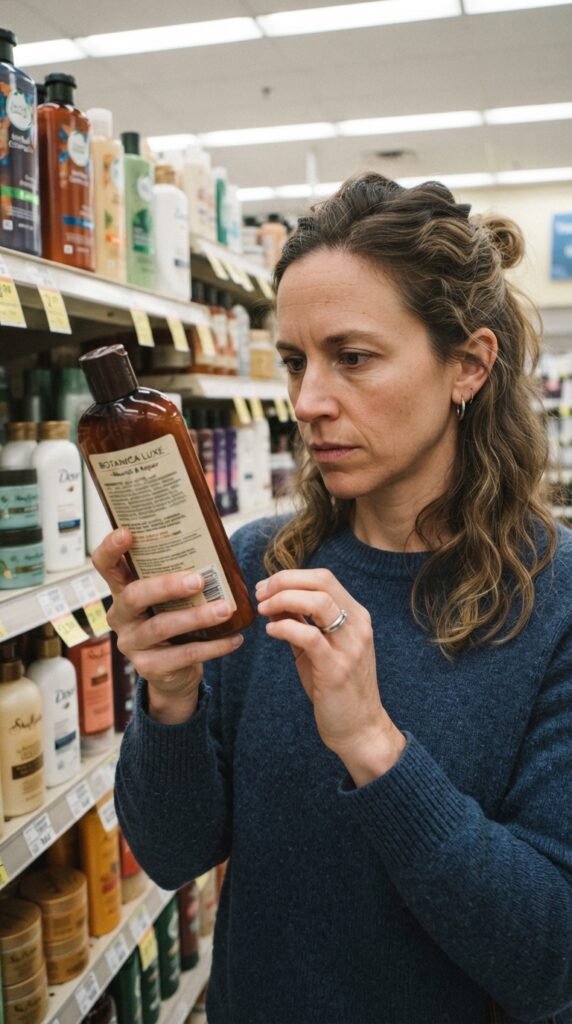
Look for words like “color-safe,” “hydrating,” or “gentle” on the front label. Think about products that are specifically designed for keratin-treated or colored hair. They tend to have a lower pH balance, which helps to close the cuticle. This is the easiest swap you can make, yet it has the highest impact on color longevity.
The Pre-Wash Conditioning Mask
Here is a trick that is a total game-changer for vivid hair. Before you even get your hair wet in the shower, apply a deep conditioning mask to the ends of your hair. This acts as a barrier. It prevents the water from flooding into your hair and washing away the color molecules.
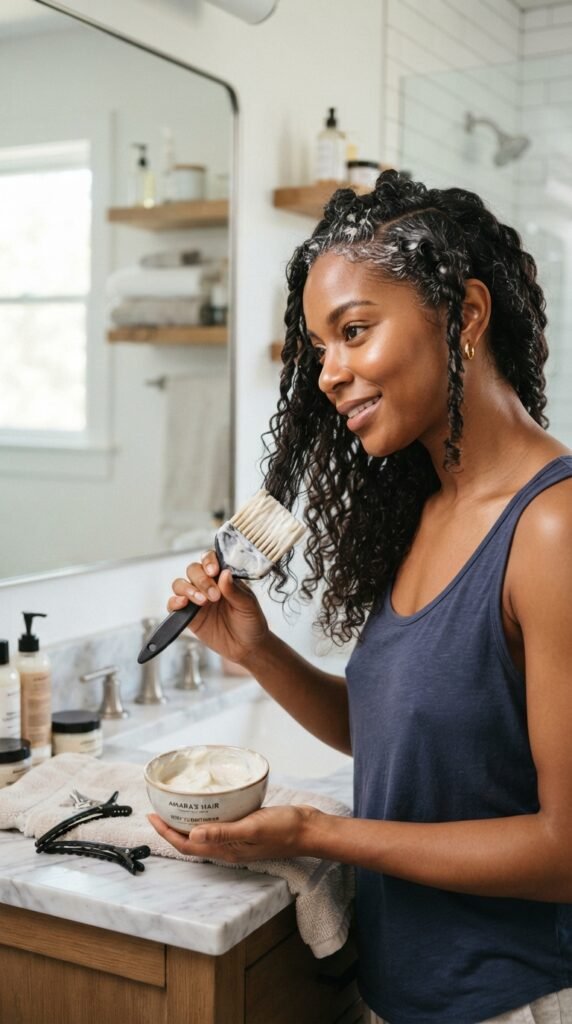
It also adds a layer of slip, which prevents tangling and breakage when you do massage the shampoo in. This is an incredible step for the “quiet luxury” look because it keeps your hair looking nourished and expensive, rather than dry and brittle. It is a ten-minute addition to your routine that literally saves your color.
How to Wash Your Hair to Minimize Fading
It sounds silly, but there is a proper way to shampoo colored hair. You should never pile your hair on top of your head and scrub. This forces the color to rub against itself, causing friction and fading. Instead, focus the shampoo only on your scalp. Let the suds rinse down through the ends.
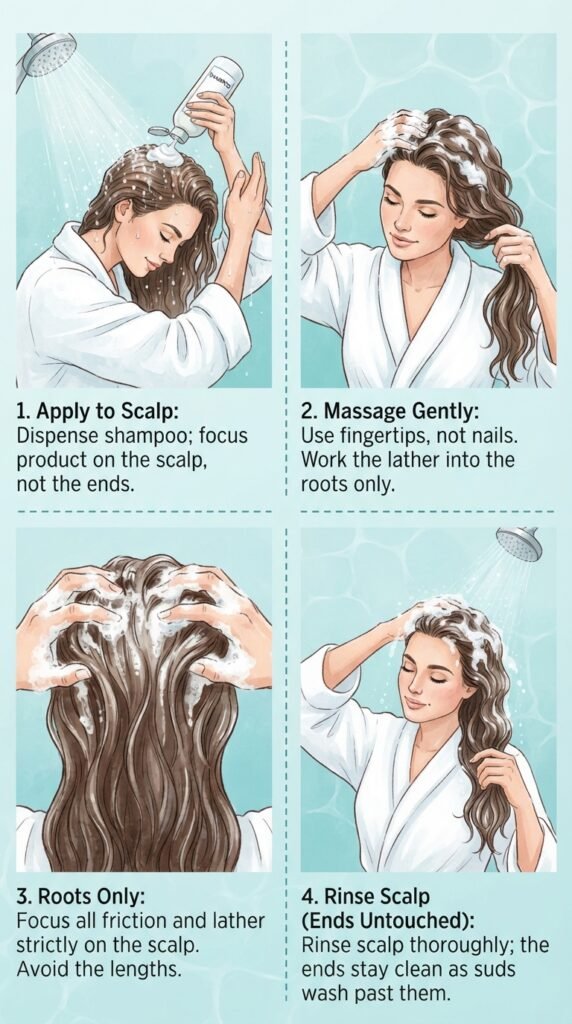
The ends of your hair are the oldest and most porous, meaning they hold onto color differently. They don’t produce natural oils like your scalp does. When you wash the ends directly, you are stripping them. So, lather the roots, then squeeze the mixture through the lengths gently as you rinse. It is a gentler process that keeps the pigment where it belongs.
Drying Techniques: The Microfiber Towel Switch
I need you to go into your bathroom and throw away your rough cotton towel right now. Okay, maybe just put it in a drawer. Cotton towels are rough and create friction that causes the hair cuticle to snag and lift. This leads to frizz and faded color. You need a microfiber towel or an old t-shirt.

The smoother the fabric, the less friction. When you get out of the shower, do not rub your hair vigorously. Pat it dry and squeeze out the excess moisture. This reduces split ends and preserves the integrity of the color, especially if you have a trendy “hime cut” or a blunt “quiet luxury bob” where the edges need to look razor sharp.
Heat Styling: The 180-Degree Rule
Vivid color and heat styling have a love-hate relationship. You can absolutely style your hair, but the heat must be managed protocol. High heat will literally boil the color molecules out of your hair. You need to invest in a good heat protectant and keep your tool’s temperature under 350 degrees Fahrenheit.
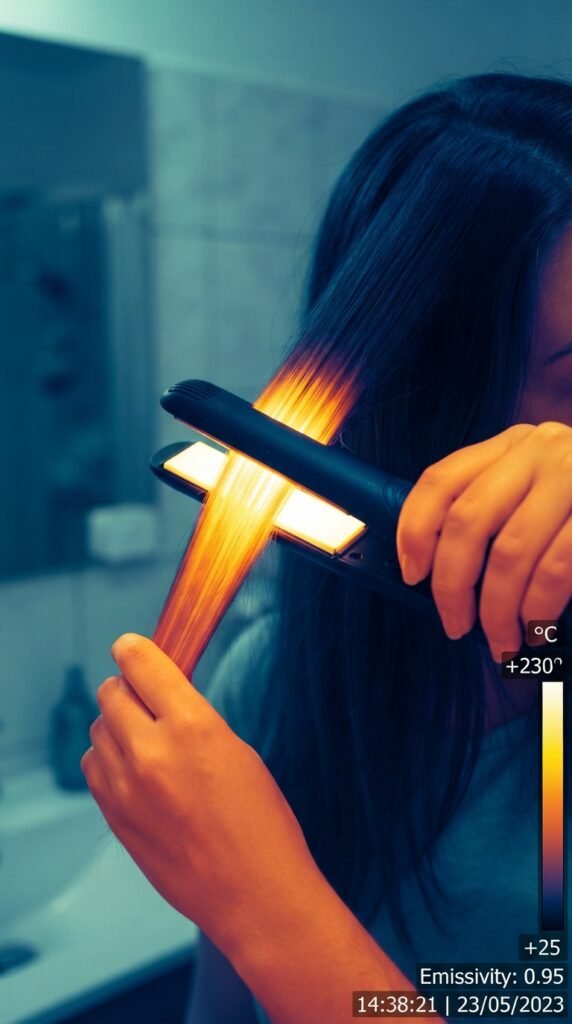
Think of the hair shaft like a straw. If you heat it too high, the cuticle cracks and the color falls out. If you use a lower setting, the cuticle just flexes but stays intact. If you are rocking a “glitchy glam” look with sharp waves, use a low setting and hold the tool for a shorter time. Your color will stay vibrant much longer.
Dry Shampoo: Your Vivid Color Survival Kit
Let’s be realistic—you do not need to wash your hair every day. In fact, washing is the enemy of vivid color. The more you wash, the faster it fades. This is where dry shampoo becomes your absolute best friend. It absorbs oil at the root and adds volume to keep your color looking fresh for days between washes.
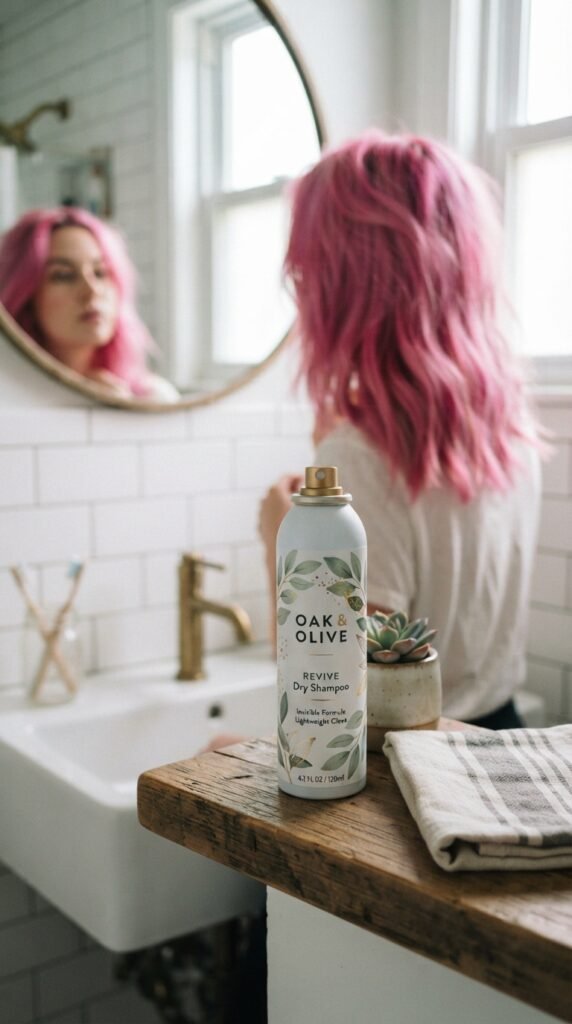
Using dry shampoo is also a great way to maintain the shape of a “vampire haircut” or a layered “asymmetrical lob” without having to manipulate them with water. It allows you to stretch your styling sessions. You hair will be happier, your color will be brighter, and you will save a ton of time in the morning. It is a win-win-win.
The “Glaze” Treatment Between Full Colors
So, you are three weeks in, and your vivid color is starting to look a little muted. Do not panic! This does not mean you need a full, expensive color service immediately. You need a “glaze.” This is a demi-permanent color treatment that boosts shine and adds a deposit of transparent color.
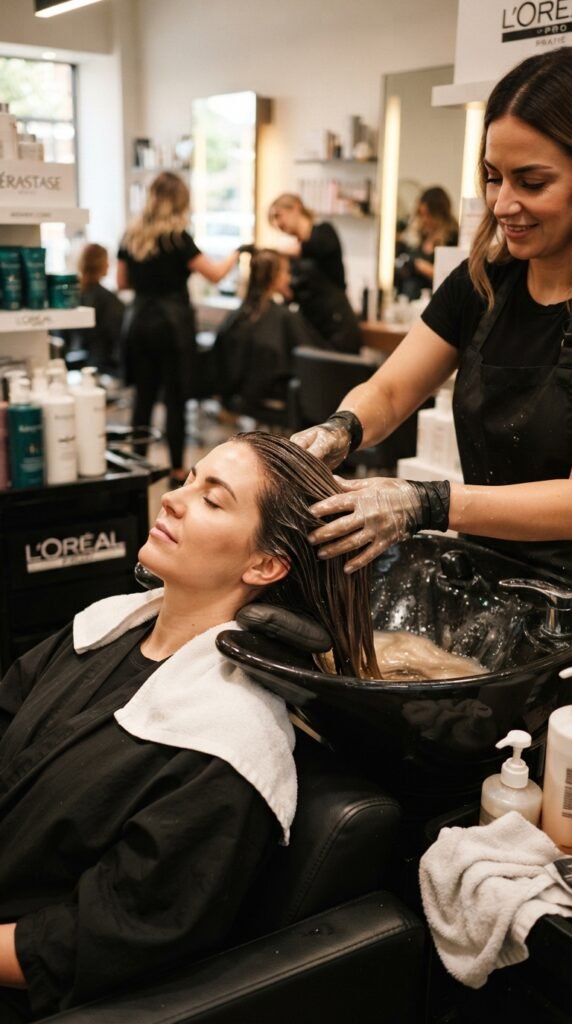
It is like lip gloss for your hair. It doesn’t lift anything, so it causes minimal damage. It just fills in the gaps where the color has washed away and adds a mirror-like shine. This is the secret weapon to keeping “old money hair” looking moneyed. It makes your color look freshly done even weeks later.
Avoid Chlorine and Hard Water at All Costs
This is a scenario many of us deal with in the summer. If you are jumping into a pool, chlorine is going to strip your color and turn it green. But it is not just pools. Hard water—which is water packed with minerals—can also cause a film to build up on your hair, dulling your color and making it feel sticky.
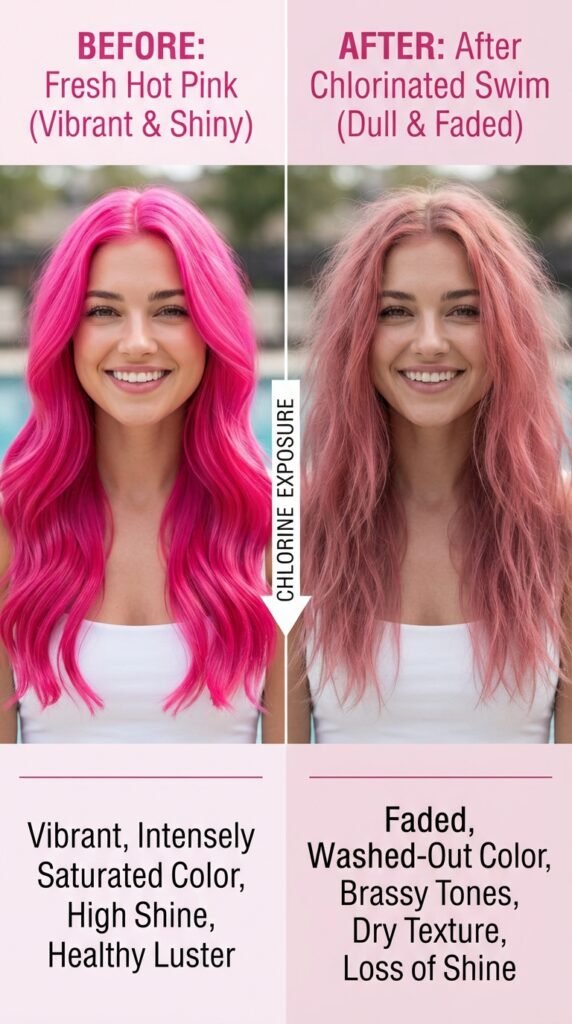
If you plan on swimming, wet your hair and apply a leave-in conditioner before you dunk your head. This clogs the hair shaft so the chlorine can not get inside. You should also invest in a clarifying shampoo, but use it sparingly, only once every two weeks if you have hard water buildup. It resets the canvas.
Haircuts: The Secret to Preserving Color
Dead ends ruin the look of vivid color. When the ends are split, they don’t hold color well, and they look dull and frizzy. This ruins the entire illusion of a healthy, vibrant mane. Keeping your hair trimmed is a necessary evil that actually makes your color last longer in the areas that are healthy.
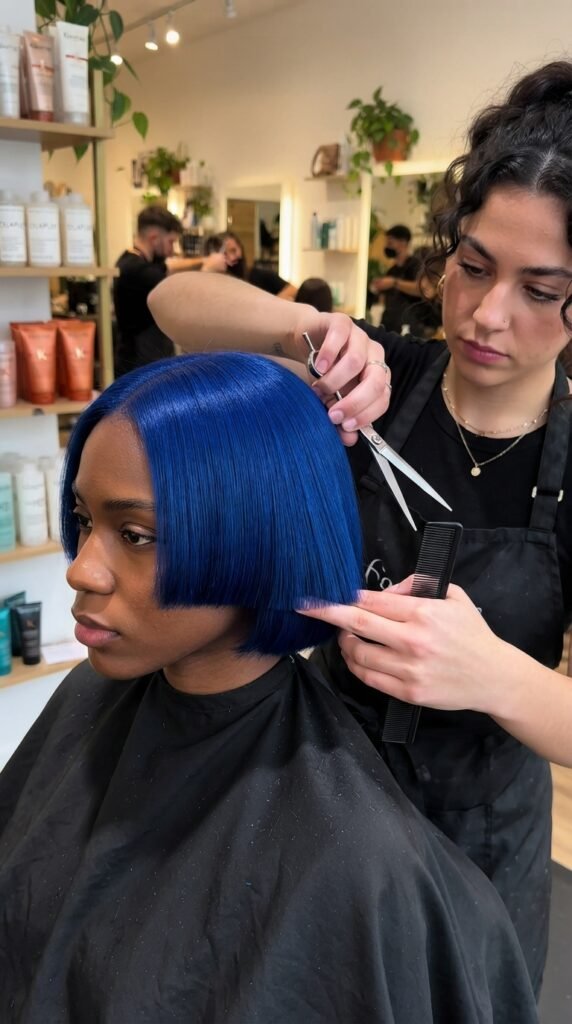
If you are growing out a “hime cut” or trying to maintain a structured “quiet luxury bob,” you need this. The bluntness of the cut reflects light, which intensifies the color payoff. Think of it like painting a wall—you need to patch the holes before you paint over it. The same applies to hair.
Nighttime Routine: Pineapple Up-Do
Your pillowcase is another culprit in the fight against color fading. At night, while you toss and turn, you are literally rubbing the color out of your hair. The friction between your hair and the cotton is damaging. You have two solutions: a silk or satin pillowcase, or the “pineapple” method.

To “pineapple” your hair, just put it in a very loose, high ponytail on the very top of your head. This prevents the length from rubbing against the pillow. It is a game-changer for curls and waves, but it also works for straight hair if you want to preserve a blowout. It minimizes movement, keeps your hair smoother, and stops the color from bleeding onto your sheets.
Product Buildup: The Silent Killer of Vibrancy
We love using styling products—oils, mousses, and heat protectants—but they build up quickly. This buildup coats the hair shaft and blocks the light from reflecting off the color. It makes your hair look dull and weighed down, even if the color is still perfectly intact underneath.
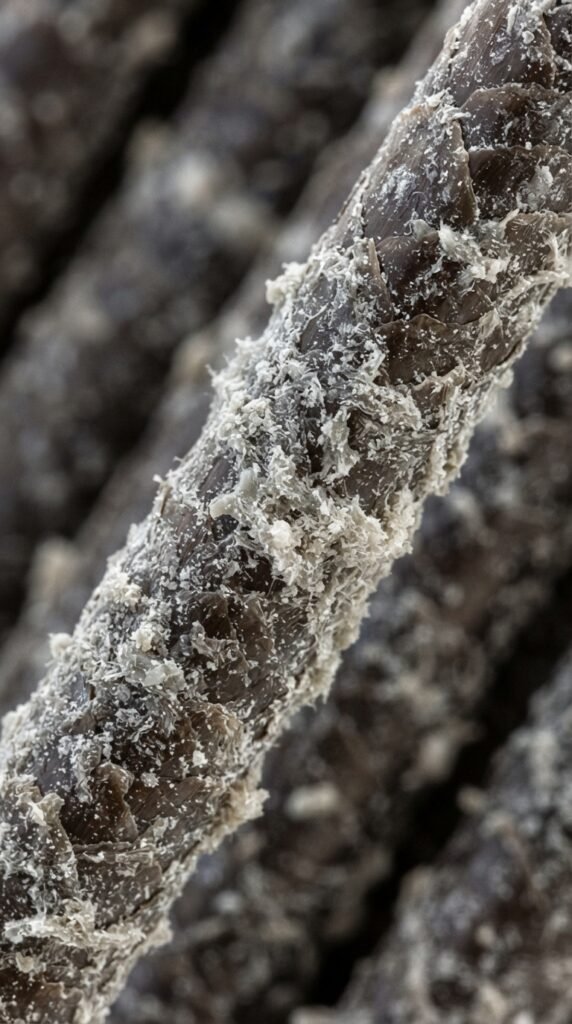
This is why those occasional clarifying washes are necessary. It is the “reset” button for your hair. However, after you use a clarifying shampoo, you must follow up with a deep conditioning mask. This ensures you are removing the junk but replacing the moisture. Your vivid color will pop again because the light can actually bounce off the pigment.
Protecting Color from the Sun
The sun is a natural bleaching agent. If you are spending long days in the sun, your beautiful vivid color is going to fade. You wouldn’t go out in the sun without applying SPF to your face, so why would you ignore your hair? There are specific hair sunscreens and UV protectant sprays available.
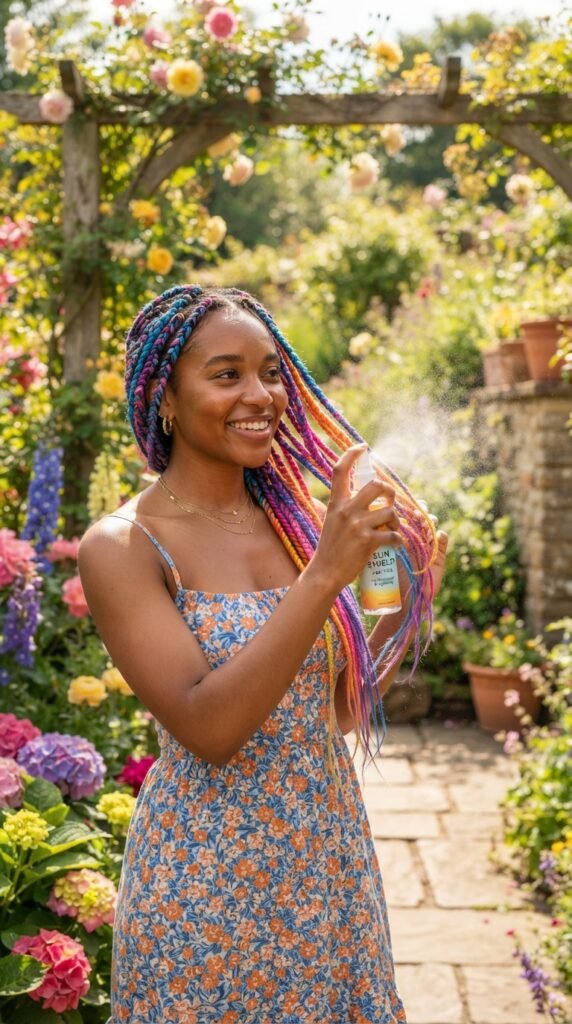
This is especially important for the top layers of your hair, which get the most sun exposure. These products are lightweight, so they won’t weigh your hair down. They also add a beautiful, glossy sheen. When you are thinking about “2026 hairstyles,” consider the longevity—protecting your investment from the sun is a whole vibe.
Knowing When to Say Goodbye
Even with the most careful maintenance, there is going to be a time when you need to retire the vivid color. It is called “regrowth.” Your roots will grow out, and you will have a line of demarcation. It is at this moment that you have a choice—you can go for a touch-up or you can transition.
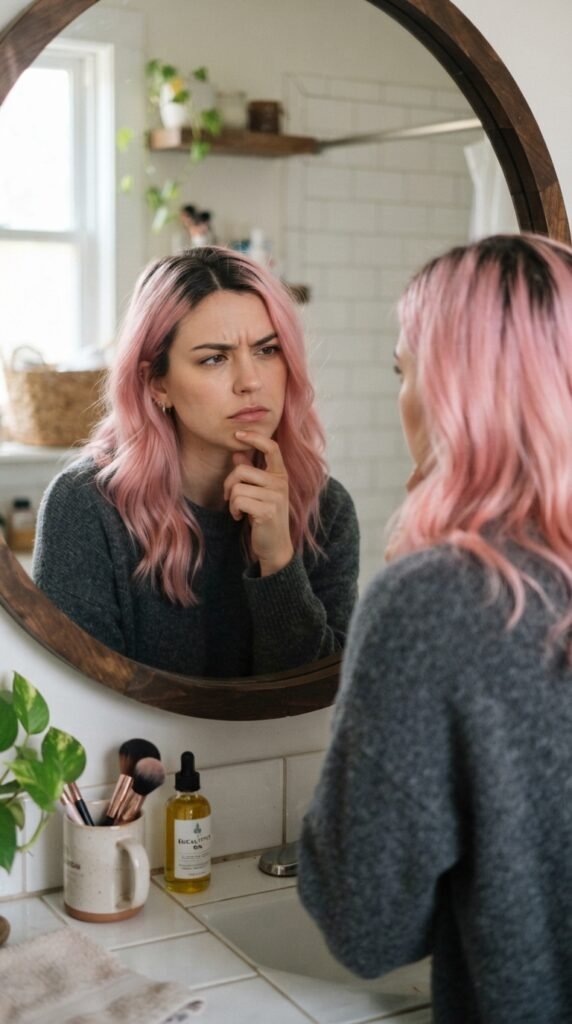
Do not try to color over the regrowth without doing the roots first. If you do, you will get hot roots and mismatched tones. This is the time to call your stylist if you want to keep the look. If you want to go back to a natural color, please do not use a box dye. Let a professional fill the hair with a base color to prevent that weird gray-green cast.
The “Big Chop” Transition
If you have been through the wringer and your hair is just too damaged to continue the vivid color journey, it is okay to start over. There is a huge trend towards the “big chop” or dramatic cuts. This is where the “vampire haircut” and the sharp “hime cut” shine. They turn a transition into a statement.
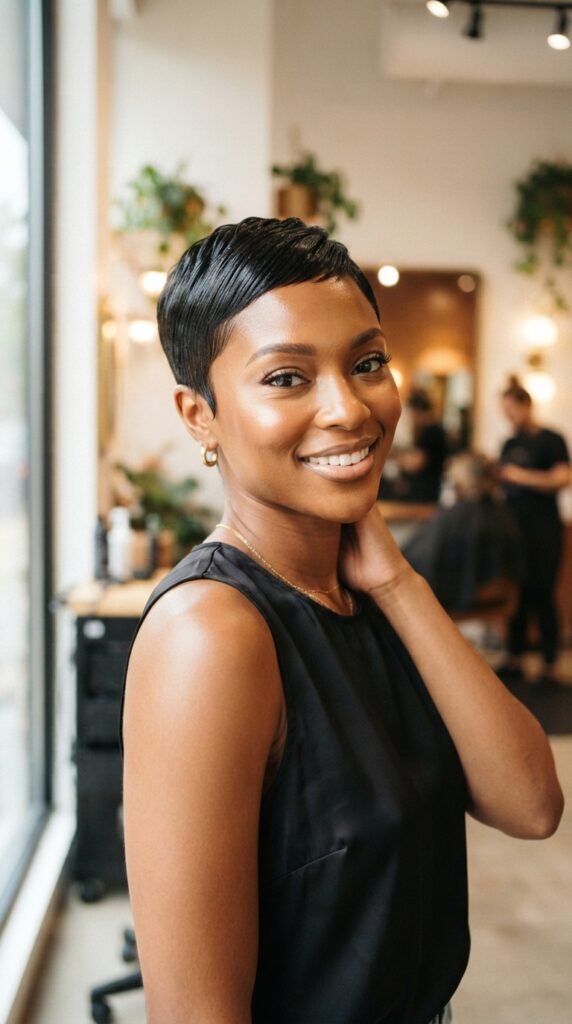
Cutting off the damaged ends and starting fresh is liberating. It allows you to go back to your natural color perfectly and grow out the healthiest hair you have had in years. Sometimes, the most damage-minimizing process is accepting when to stop chemically treating it.
Embrace the Low-Maintenance Fade
Eventually, you will not want to spend the time and money to keep your vivid color at a hundred percent. This is when you design your color to fade gracefully. This is where techniques like the “color melt” or “shadow root” come into play. The root is darker, so you don’t have harsh regrowth lines.

This is a smart strategy for the “romantic goth” or “quiet luxury” aesthetics. You accept that the ends will be lighter and pastel, while the root stays deep and rich. This means you can go much longer between appointments with zero stress. It is effortlessly stylish and practical.
A Final Word on Your Color Journey
I hope this guide has made you feel so much more confident about taking the plunge into vivid color. It is not about being fearless; it is about being smart. With the right prep, the right products, and a bit of patience, you can absolutely have the hair of your dreams without compromising its health. Your hair is resilient, but it needs a partner in the process.
This entire journey is about balance. It is about knowing when to push the envelope and when to give your hair a break. Now that you have all these tips, you are in complete control. Whether you are aiming for a bright “glitchy glam” moment or a subtle “old money” glow, your hair will thank you for caring enough to learn the process.
**Save this post to Pinterest** so you can come back to it when you are sitting in the salon chair unsure of what to ask for. And tell me, what is the vivid color you are dreaming of right now? Let me know in the comments below—I would love to hear your plans!