Goddess 27 Braid Installation Guide Avoiding Tension on Edges
Hey gorgeous! So, you’re thinking about getting a Goddess 27 braid install? I get it. It’s the ultimate blend of romantic, intricate style and that “effortlessly chic” vibe we all love. But let’s be real for a second. The biggest worry with any protective style is the tension on our precious edges. I’ve been there, wincing during an install or seeing thinning weeks later.
That’s why I’m so excited to walk you through this. This isn’t just another braid tutorial. This is your complete guide to achieving that stunning, goddess-level look while actively protecting your hairline. Consider this your best friend’s playbook for a flawless, healthy install.
We’re going to cover everything from prep to maintenance, with a major focus on technique. By the end, you’ll have all the practical tips you need to walk out with a gorgeous style and total peace of mind. Let’s get into it!
What is the Goddess 27 Braid Style?
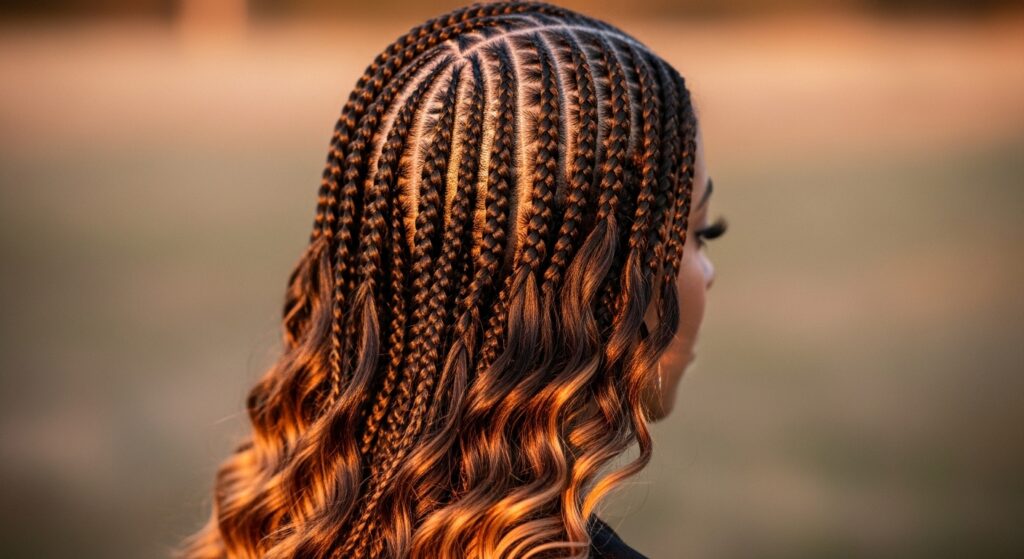
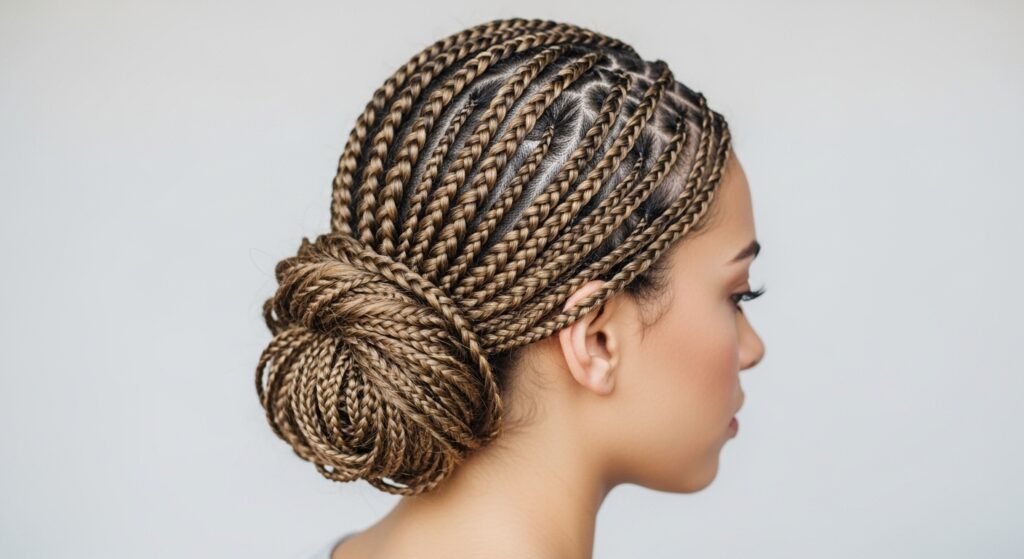
The Goddess 27 is a showstopper. It typically features 27 individual braids—though the count can vary—that are then styled into beautiful, cascading waves or curls. The magic is in the details: often, the braids are feed-in or knotless at the base to reduce bulk, and the ends are left out or curled for a soft, romantic finish.
It sits perfectly at the intersection of protective styling and high fashion. It gives off major “old money hair” energy but with a touch of bohemian romance. Think less “tight and sleek” and more “I woke up like this, but make it goddess.” The goal is volume, movement, and a gentle, flattering frame for your face.
Why Tension on Edges is a Serious Problem
We have to talk about this because it’s so important. Traction alopecia is real, and it’s caused by consistent pulling on the hair follicles. Our edges are the most delicate hair we have, and they’re often the first to show damage from styles that are too tight.
Signs of too much tension include redness, bumps, headaches immediately after installation, itching, and of course, thinning or breakage over time. It’s not just about comfort; it’s about the long-term health of your hairline. Protecting your edges means you can enjoy beautiful styles for years to come.
Pre-Installation: The “Prep Talk” for Your Scalp
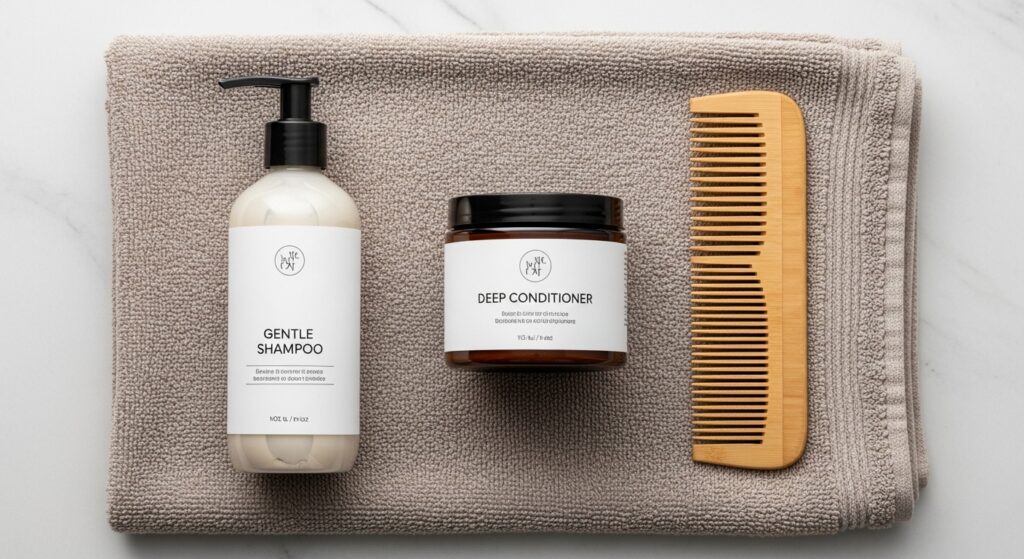
Great hair starts with a great foundation. At least 24-48 hours before your appointment, give your scalp some love. Wash and deep condition your hair. This ensures your natural hair is strong, moisturized, and less prone to breakage under the added weight.
Most importantly, do not get a tight braid-down or cornrows underneath. Ask your stylist for a loose, comfortable braid pattern or simply have your hair blown out smoothly. A tight base is the first step toward a tense install. Come with a clean, product-free scalp for the best grip.
Choosing the Right Braiding Hair
The hair you choose matters more than you think. Avoid super heavy, bulky braiding hair. Opt for lightweight synthetic or human hair blends. Kanekalon and Toyokalon fibers are popular for their softness and manageability.
Consider the length and thickness too. Extremely long, thick braids add significant weight, which pulls directly on your roots. For a first-time Goddess 27, a medium length and a moderate thickness are your safest, most comfortable bets. You can always go bigger later!

The Golden Rule: Communicate With Your Stylist
This is the most critical step. You must speak up! Before she even picks up a comb, have a conversation. Say something like, “My edges are very sensitive, so please keep the tension light, especially around my hairline.” A good stylist will listen and appreciate the guidance.
If you feel a braid is too tight during the process, say so immediately. It’s much easier to fix in the moment. Remember, you are the client. Your comfort and hair health are the top priority. Don’t be shy about advocating for yourself.

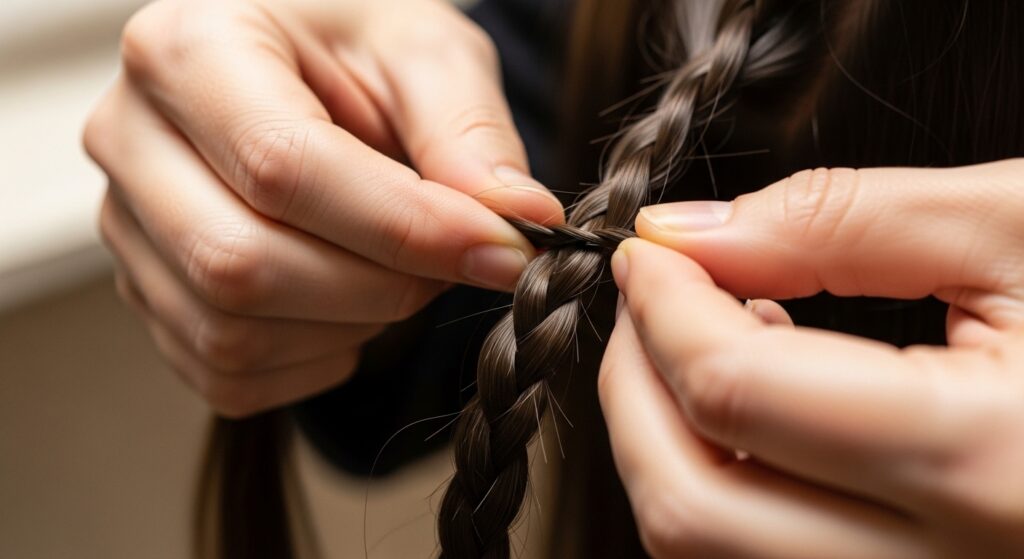
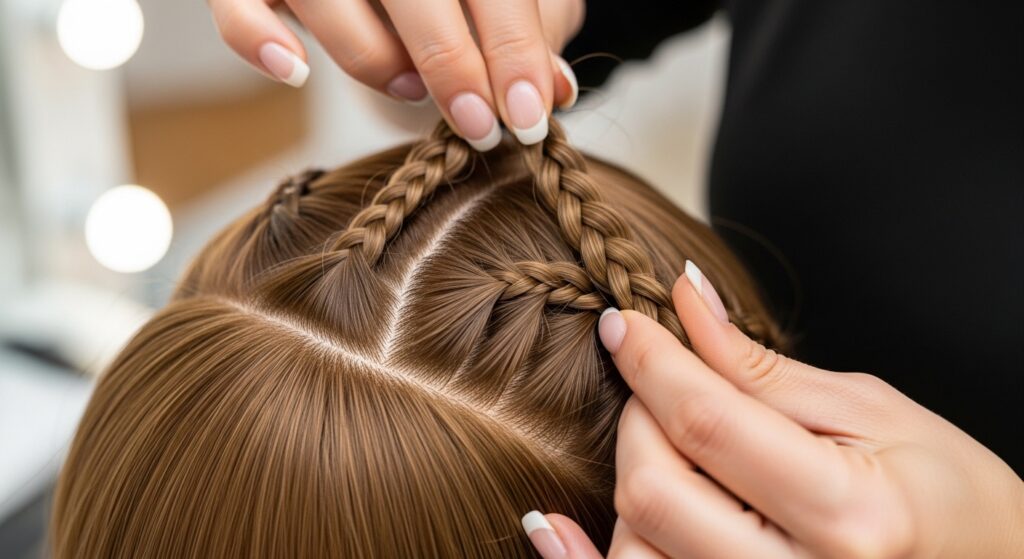
Request the Knotless Braid Technique
For the Goddess 27, insist on a knotless or feed-in braid technique at the base. This method starts with your own hair and gradually feeds in the extensions, creating a seamless, flat, and much less bulky start compared to traditional braiding that knots the hair at the root.
The knotless method significantly reduces tension and pulling at the scalp. It eliminates those little bumps and knots that dig into your skin. This is the #1 technique for protecting your edges and achieving a more natural, elevated look, perfect for that quiet luxury bob vibe but in braid form.
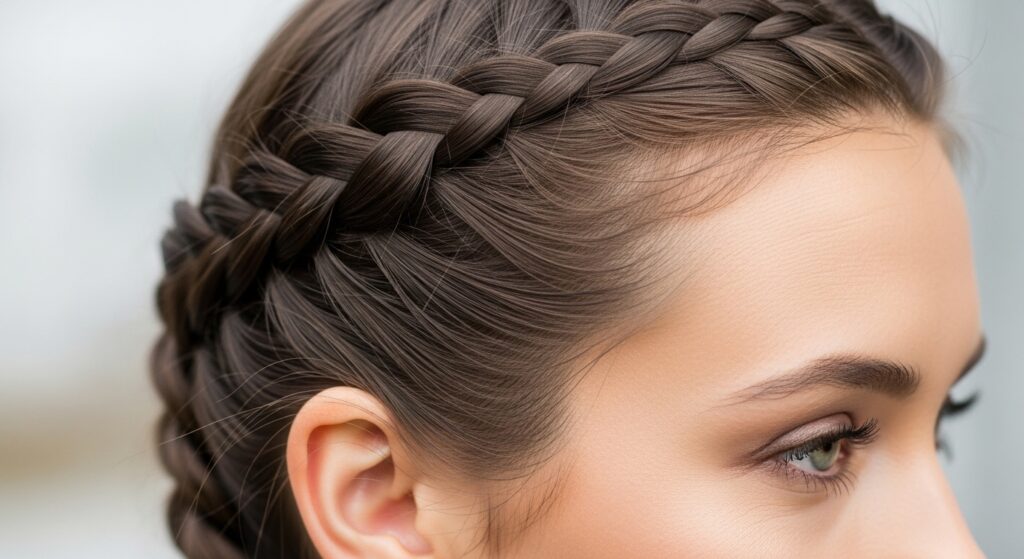
Keeping Braids at the Hairline Loose & Larger
Pay special attention to the braids that frame your face—your temples and nape. Explicitly ask your stylist to make these braids slightly larger in size and to braid them with minimal tension. They should feel secure but not taut.
These perimeter braids bear the most stress from styling (like pulling into ponytails) and from daily movement. Giving them a little extra room literally takes the pressure off. This simple request can make all the difference in preserving your hairline.
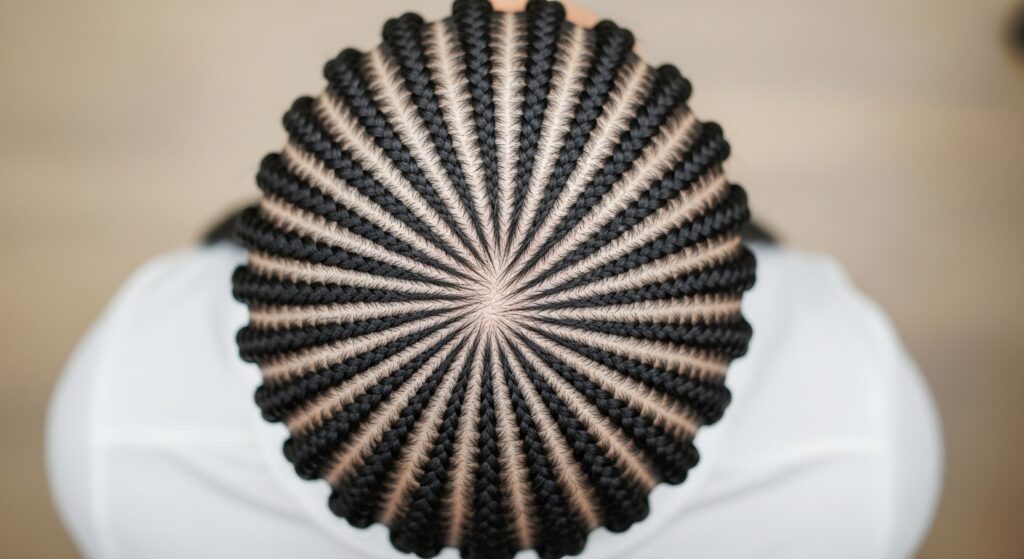
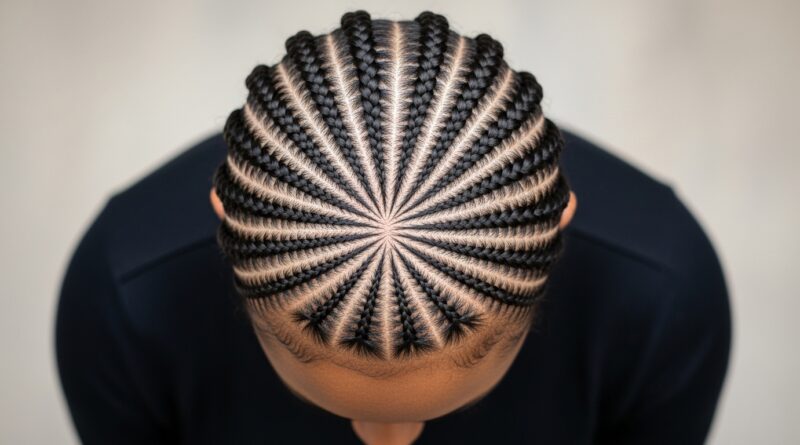
The “No-Part” or Soft-Part Advantage
Consider a style without a sharp, defined part. A no-part installation, where braids are installed in a circular or radial pattern from the crown, distributes tension evenly across the entire scalp instead of concentrating it on one line.
If you prefer a part, ask for a soft, slightly zig-zagged or curved part rather than a razor-straight one. This also helps distribute tension and is a trick you see in many 2026 hairstyles previews for a more effortless feel.
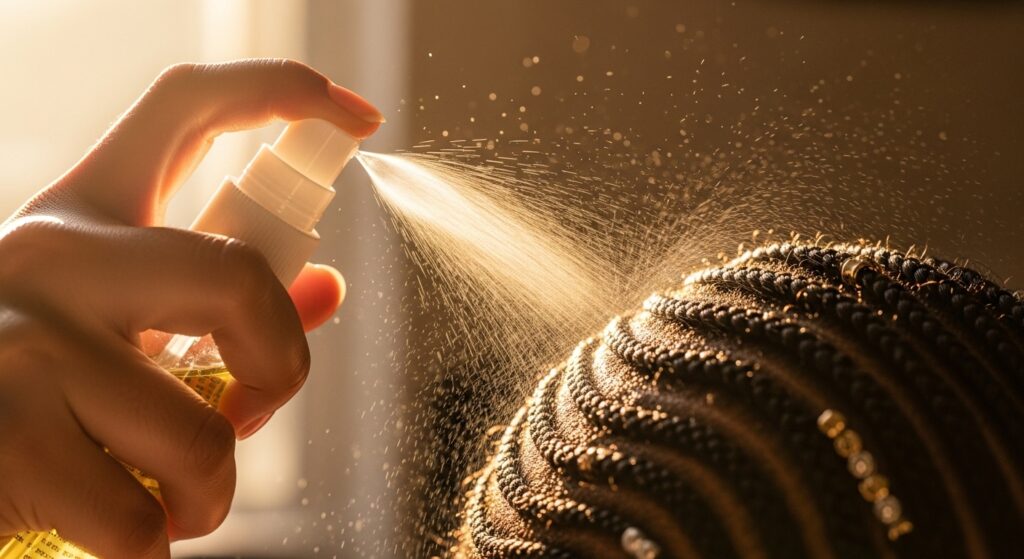
Moisturizing Your Scalp & Edges Daily
Once your braids are in, your job is maintenance. A dry, itchy scalp leads to scratching, which can loosen braids and cause friction. Use a lightweight, alcohol-free moisturizing spray or a light oil blend (like jojoba and tea tree) directly on your scalp every other day.
For your edges, use a tiny amount of edge control or a light butter only when needed for styling. Don’t cake it on daily, as product buildup can clog follicles and weigh hairs down. The key is light, consistent hydration.
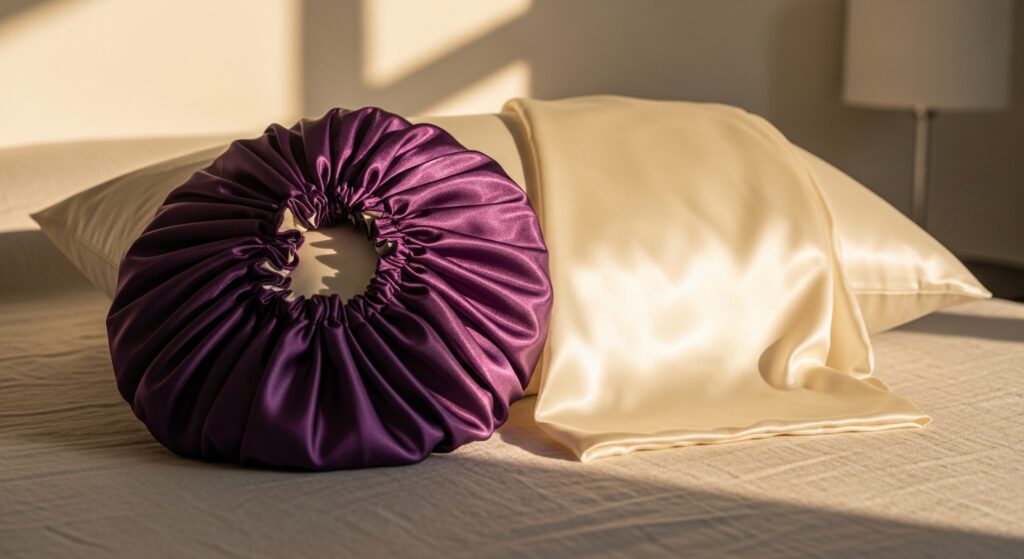
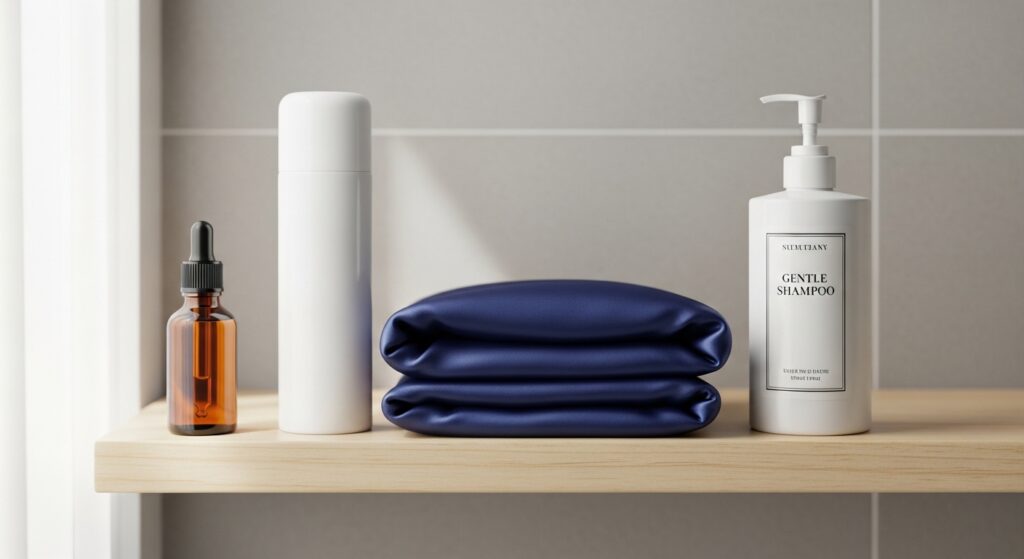
Nighttime Care: Satin is Non-Negotiable
You’ve heard it a million times, but I’ll say it again: sleep on a satin or silk pillowcase, or wear a satin bonnet or scarf. Cotton creates friction, sucks moisture from your hair, and can cause braids to frizz and pull at the roots as you toss and turn.
This simple switch reduces breakage dramatically and helps your style last longer. It keeps your edges smooth and prevents those baby hairs from getting roughed up every night. It’s the easiest form of hair care you can do.
Styling Without Stress: Avoid Tight Pull-Backs
One of the joys of the Goddess 27 is its versatility. But be mindful of how you style it. Avoid pulling all your braids back into a tight, high ponytail or bun for extended periods. This places constant stress on your front and side edges.
Opt for loose, low ponytails, half-up styles, or simply let them flow. If you do an updo, make it soft and loose. This is where that romantic, glitchy glam hair aesthetic shines—it’s all about intentional, artful messiness, not severe tension.
Washing Your Braids the Safe Way
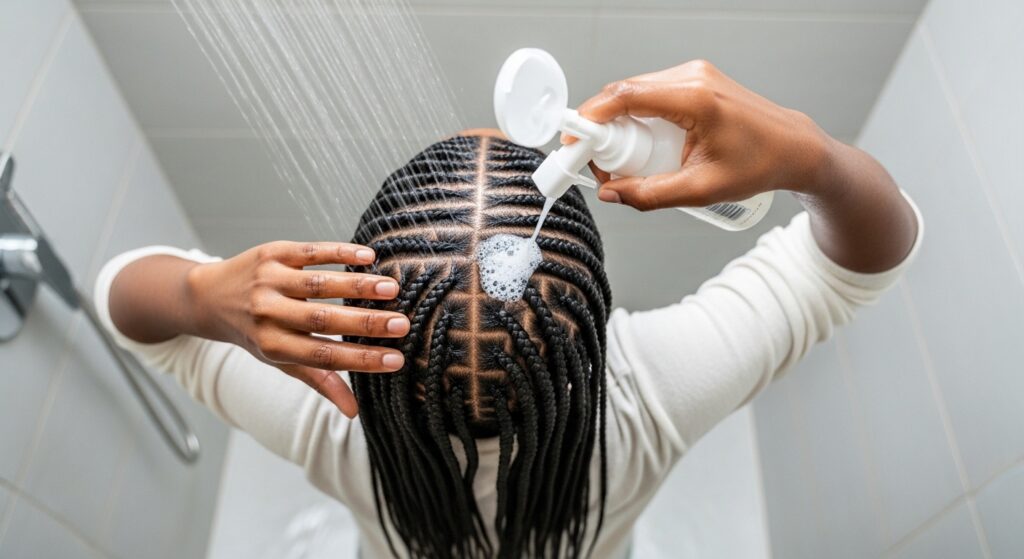
Yes, you should wash your braids! Every 2-3 weeks, a gentle cleanse removes buildup and keeps your scalp healthy. Dilute a clarifying shampoo with water in an applicator bottle and apply it directly to your scalp, massaging gently with your fingertips (not nails).
Rinse thoroughly. Follow with a diluted conditioner on the length of the braids if they feel dry. The key is to focus on the scalp and avoid excessive rubbing that can cause frizz. Always let your braids air-dry completely—never go to bed with a damp scalp.
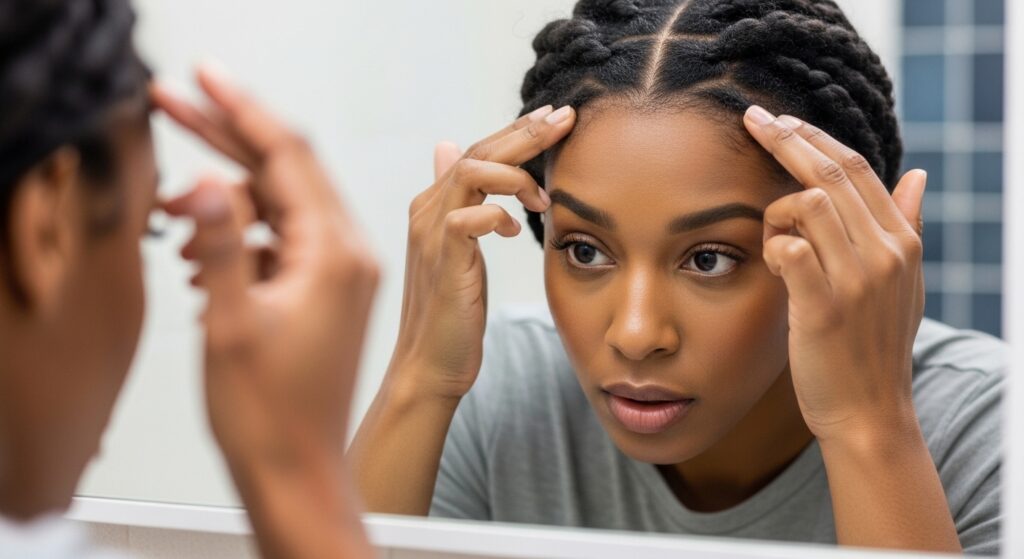
Listening to Your Body: The “Touch Test”
Your body will tell you if something’s wrong. Do the “touch test” daily, especially for the first week. Gently run your finger along your edges and parts. If you feel soreness, throbbing, or intense itching, it’s a sign of excessive tension.
Don’t ignore headaches. While some mild discomfort is normal on day one, persistent pain is not. Listening to these signals early allows you to take action, like applying a cool compress or, if necessary, having a stylist adjust a specific braid.
When to Take Them Down: Don’t Overstay
Even with perfect installation, all good things must come to an end. A protective style like this should not stay in longer than 6-8 weeks maximum. After this time, natural growth creates a different kind of tension (from the weight of the extensions on new growth), and buildup becomes harder to manage.
Overstaying can lead to matting, tangling, and breakage of your own hair when you finally take it down. Mark your calendar. Giving your hair a break between styles is crucial for long-term health, whether you’re into the asymmetrical lob or vampire haircut next.

The Take-Down Process: Patience is Key
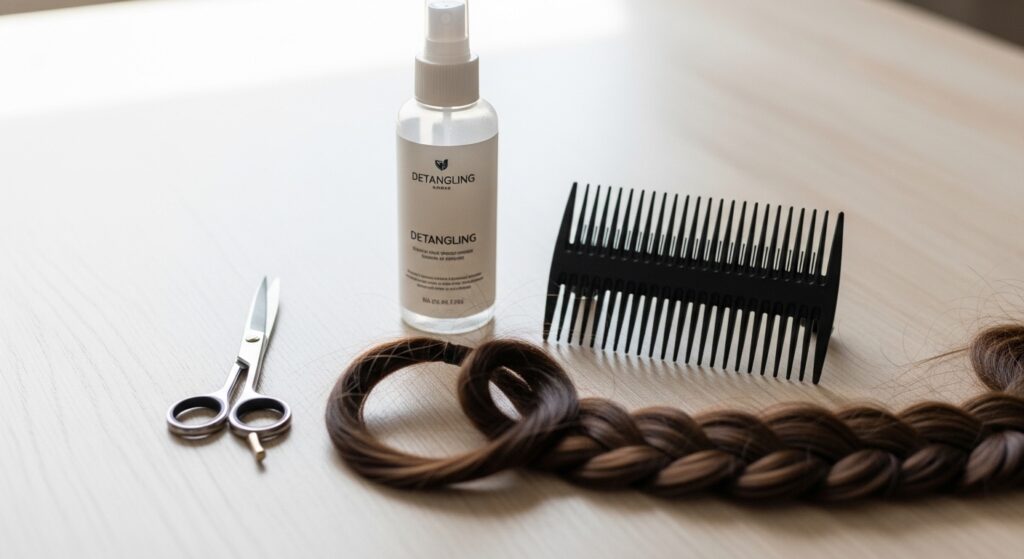
Do not, I repeat, do not rush the take-down process. This is where many people cause the most damage. Get a good detangling spray or conditioner and small, sharp scissors specifically for cutting the braiding hair. Work in small sections.
Carefully cut the braiding hair away from your own hair, then slowly unravel. Never pull. If you encounter a knot, apply more conditioner and use your fingers to gently work it apart. This process may take hours—put on a movie and be kind to your hair.
Post-Installation Hair Care: The Recovery
Once your braids are out, your hair needs TLC. Start with a thorough, gentle shampoo and a protein-rich or moisturizing deep conditioner. Follow with a light leave-in. This is the time to assess your hair’s needs—does it feel mushy (needs protein) or straw-like (needs moisture)?
Give your hair and scalp a rest. Avoid heat and tight styles for at least a week. Massage your scalp with a nourishing oil to stimulate blood flow. This recovery phase is just as important as the protective style itself for maintaining strong, growing hair.
Alternate Styles for Edge-Conscious Queens
Love the look but want to give your edges a longer break? There are amazing alternatives that offer similar vibes. Consider a chic hime cut or a wavy blunt bob with clip-in extensions for volume. These styles give you dramatic impact without any tension on your roots.
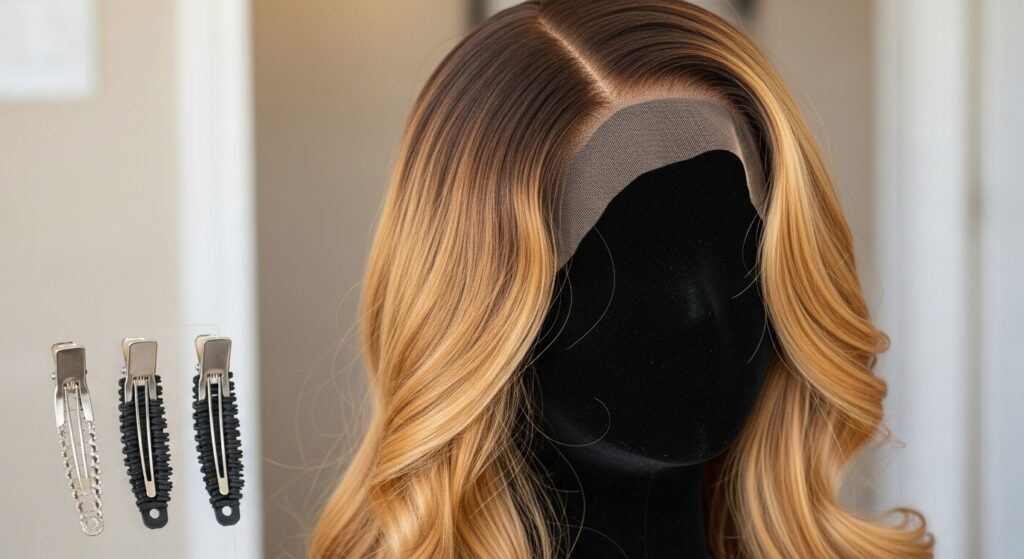
You can also explore wigs in the Goddess 27 style! A glueless, lace-front wig lets you achieve the exact look while letting your natural hair breathe underneath. It’s the ultimate in versatility and protection, perfect for switching between romantic goth hairstyles and clean-girl looks.
DIY vs. Professional: My Recommendation
If you are a braiding novice, the Goddess 27 is a complex style to self-install, especially if tension is your concern. It’s very hard to braid the back of your own head with consistent, light tension. I highly recommend seeing a professional stylist who specializes in protective styles for your first time.
If you are experienced, ensure you have multiple mirrors and take frequent breaks to check your tension. Do not braid when you’re tired or rushed. The investment in a professional install is often worth it for the health of your edges and the polish of the final look.
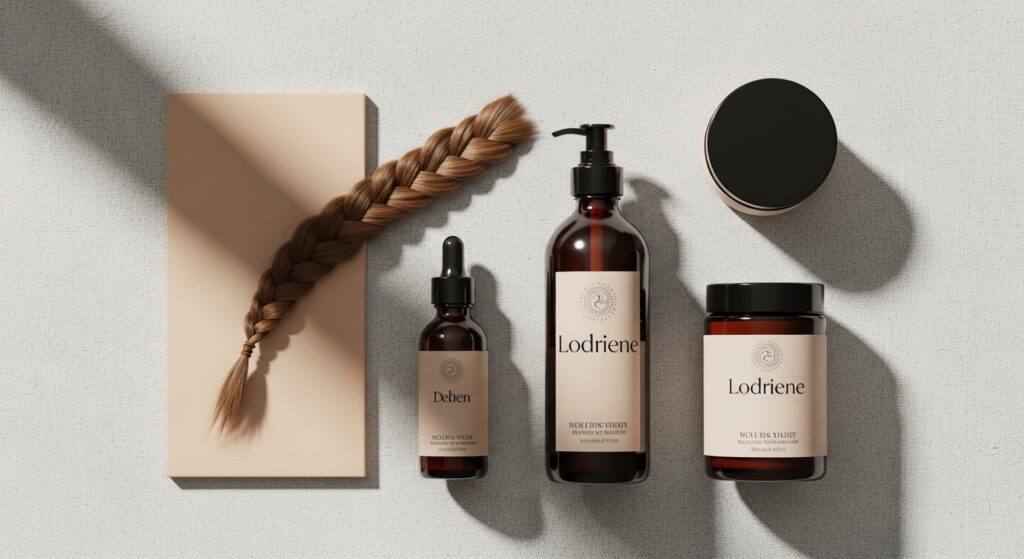
Essential Products for Your Braid Journey
Having the right products on hand makes maintenance a breeze. Here’s a quick list of what you’ll need:
- Lightweight Scalp Oil: Jojoba or Grapeseed oil mixed with a few drops of tea tree oil.
- Alcohol-Free Moisturizing Spray: For daily or every-other-day hydration.
- Edge Control (for occasional use): Look for nourishing formulas.
- Satin Bonnet/Pillowcase: The holy grail for protection.
- Gentle Shampoo: For your mid-installation wash.
Your Quick-Start Checklist for Appointment Day
Feeling overwhelmed? Let’s simplify. Here’s your go-to checklist for the day of your install:
- Arrive with clean, dry, product-free hair.
- Have a reference photo of the Goddess 27 style you want.
- Communicate your sensitivity and request a knotless/feed-in technique.
- Ask for larger, looser braids at the hairline.
- Do a tension check during and after the install.
- Schedule your take-down appointment for 6-8 weeks out.
Final Thoughts on Embracing Your Style
Getting a Goddess 27 should be an exciting, empowering experience, not a stressful one. When done correctly, it’s a beautiful way to express yourself while giving your natural hair a rest. The key is always prioritizing health over aesthetics—because the healthiest hair is always the most beautiful.
Remember, trends like 2026 hairstyles, old money hair, and quiet luxury bob are all about an air of ease and health. That starts at the root, literally. By following these steps, you’re investing in your hair’s future, ensuring you can rock any style you want, from an asymmetrical lob to intricate braids, for years to come.And there you have it, friend! Your complete, no-stress guide to getting the Goddess 27 braids of your dreams without sacrificing the health of your edges. It might seem like a lot of steps, but once you get the hang of it, it becomes second nature. The most important thing is that you feel amazing and your hair stays strong.
I hope this guide gives you the confidence to walk into that salon (or sit at your home station) and get the gorgeous, gentle style you deserve. Remember, beautiful hair is healthy hair first.
Save this post to Pinterest to keep this guide handy for your next appointment! And I’d love to hear from you—what’s your biggest worry when getting braids? Or do you have a tension-saving tip of your own? Share it with everyone in the comments below!


