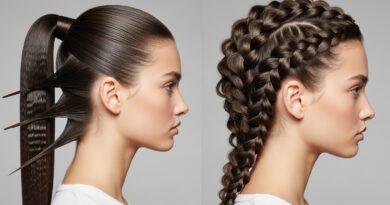
Hacks 12 Interval Braid Locks Alternating Tension Evenly Distributed
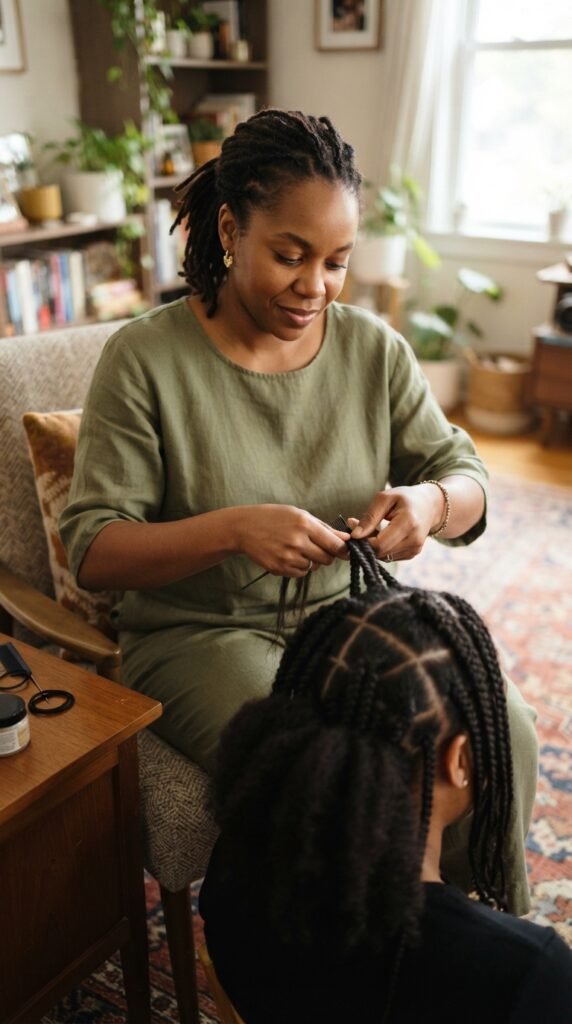
I know the struggle of wanting braids that actually stay put and look even, but without spending an hour on them. The 12 interval technique is my secret for braids that last all day and feel super balanced, and I promise it’s way easier than it sounds.
Think of it like this: we are just giving your hair a little roadmap so the tension is the same from start to finish. No more one side feeling tight while the other is already loose. It is a simple trick that makes a huge difference for everything from 2026 hairstyles to a quick gym look.
Today, I am sharing the simple, practical hacks to nail this method. You will feel like a pro after the first try, and your hair will thank you for the even love.
What Exactly is 12 Interval Braiding?
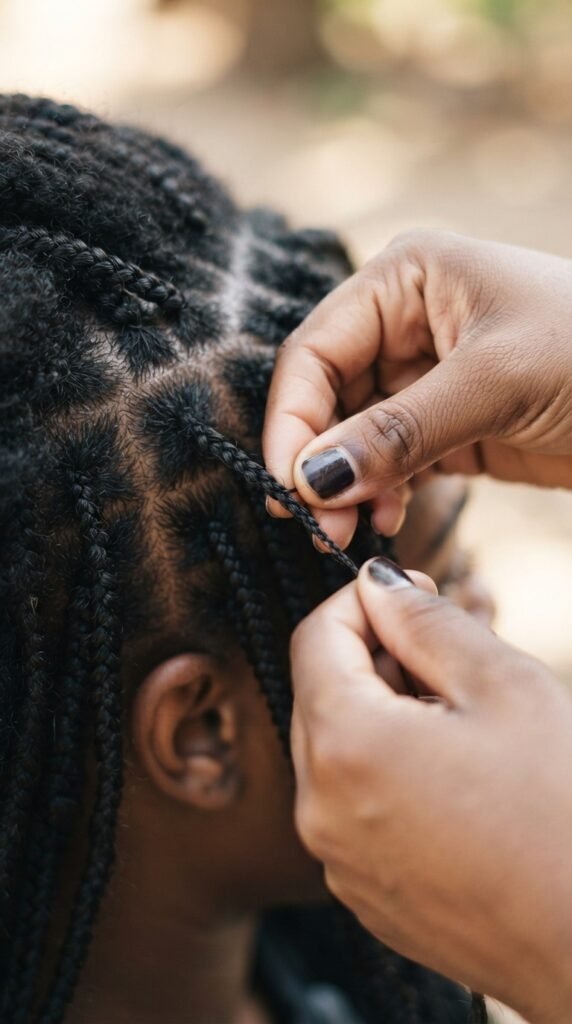
It sounds more complicated than it is. Basically, instead of just grabbing random chunks, you split each braid section into 12 smaller, even pieces of tension.
You do not actually count every strand. You just focus on keeping the pull and the size of each piece the same. It is like setting a rhythm for your fingers.
This stops the braid from getting lumpy or loose at one end. It is the same logic used for a beautiful quiet luxury bob—everything has its place, and nothing is rushed.
Why Evenly Distributed Tension Matters

When tension is uneven, your braid pulls on your scalp in weird spots. That can lead to headaches, breakage, or even a lopsided look.
Even tension makes the braid look thicker and more polished. It also means your style lasts longer because the hair is not fighting against itself.
This is a game changer for subtle styles like the asymmetrical lob or even a heavy hime cut. You get a smooth, intentional finish every single time.
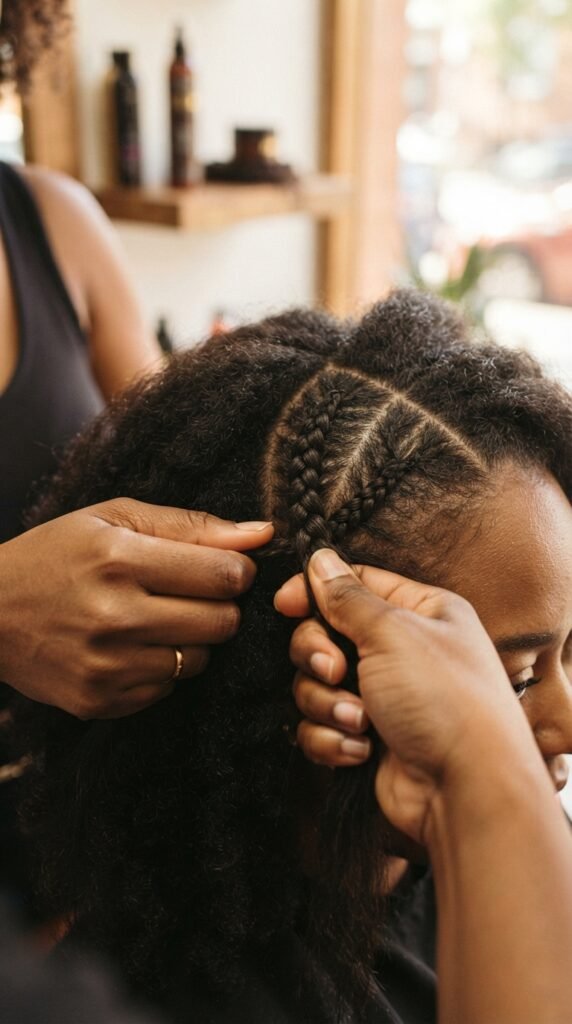
Hack 1: Pre-Section with Elastic Bands
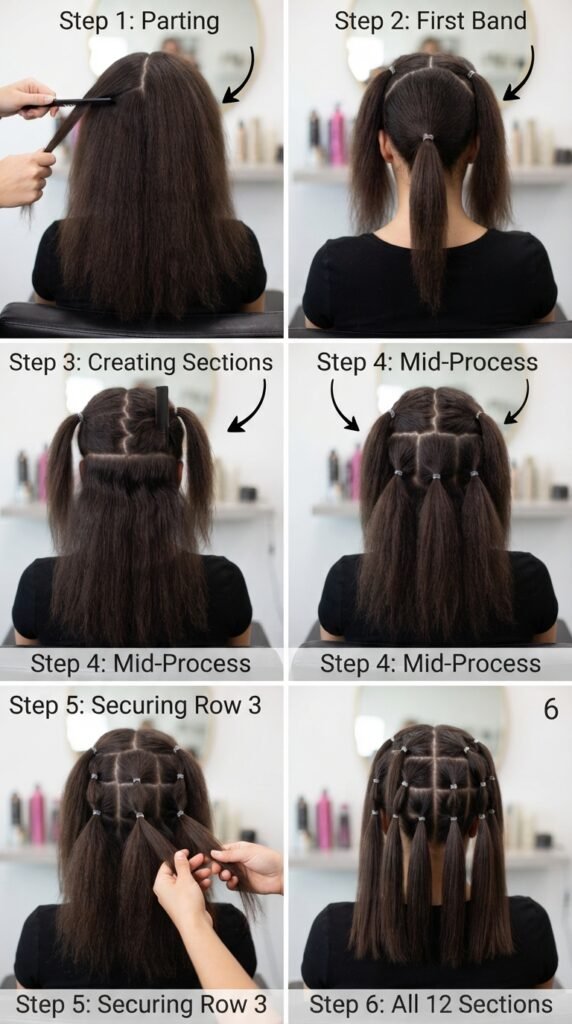
Before you even start braiding, use little clear elastics to mark where each of your 12 intervals will be. Do this on both sides for balance.
Work from the nape of your neck up to the crown. Keep each section about the same thickness—use your fingers as a guide.
- It stops you from panicking mid-braid.
- It gives you a visual roadmap so you do not miss any spots.
- It also helps with seeing the final form before you commit.
Hack 2: Use a Lightweight Styling Spray
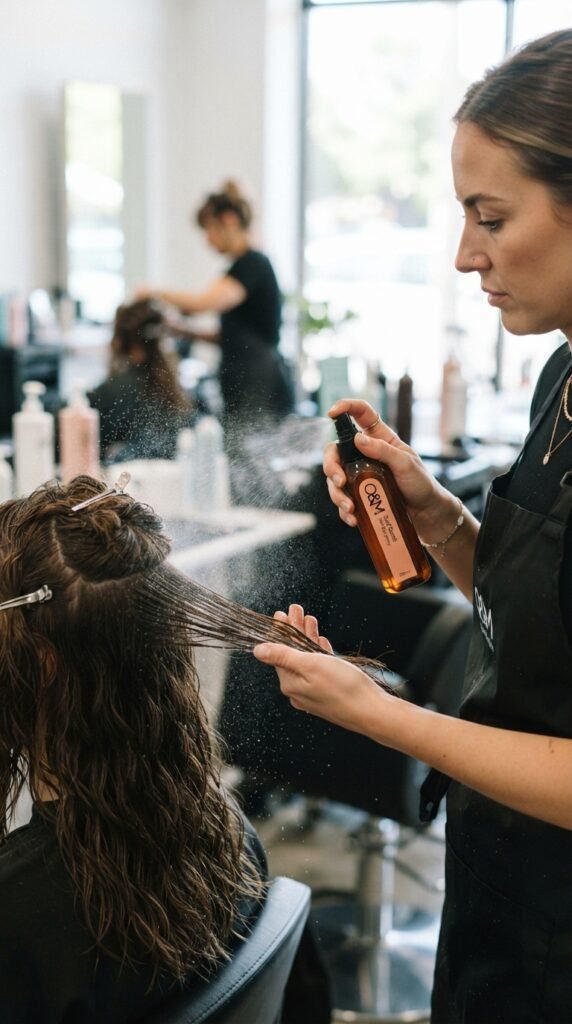
Dry hair is slippery and unpredictable. A quick spritz of a lightweight texturizer or salt spray gives your fingers the grip they need to keep tension even.
Do not soak the hair. Just a light mist so each strand feels the same. This works perfectly for romantic goth hairstyles that need a little texture without being crunchy.
It also helps the braid hold its shape longer. You can even use a tiny bit of water if you are in a rush.
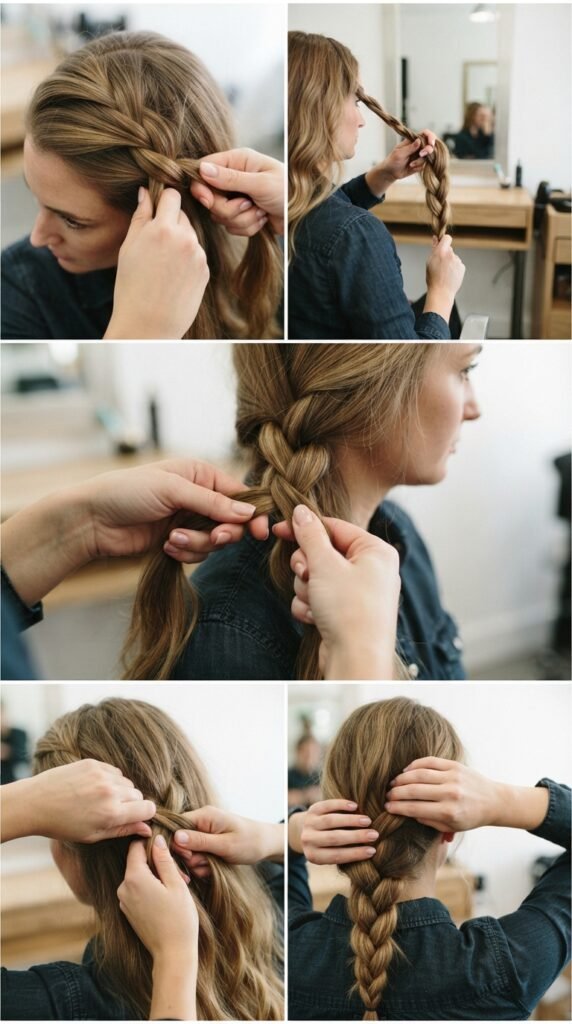
Hack 3: The “Three-Finger” Pull Test

As you braid, pause every few links and give the entire plait a gentle three-finger tug from top to bottom. This redistributes any uneven spots.
Think of it like smoothing out a blanket. If you feel a tight spot, loosen it slightly by pulling outward. If a part feels too loose, tighten it from the next section.
This trick is used by stylists for 2026 hairstyles to make sure the final look is as perfect as the start. It is a quick check that saves you from unraveling everything.
Hack 4: Alternate Your Starting Point
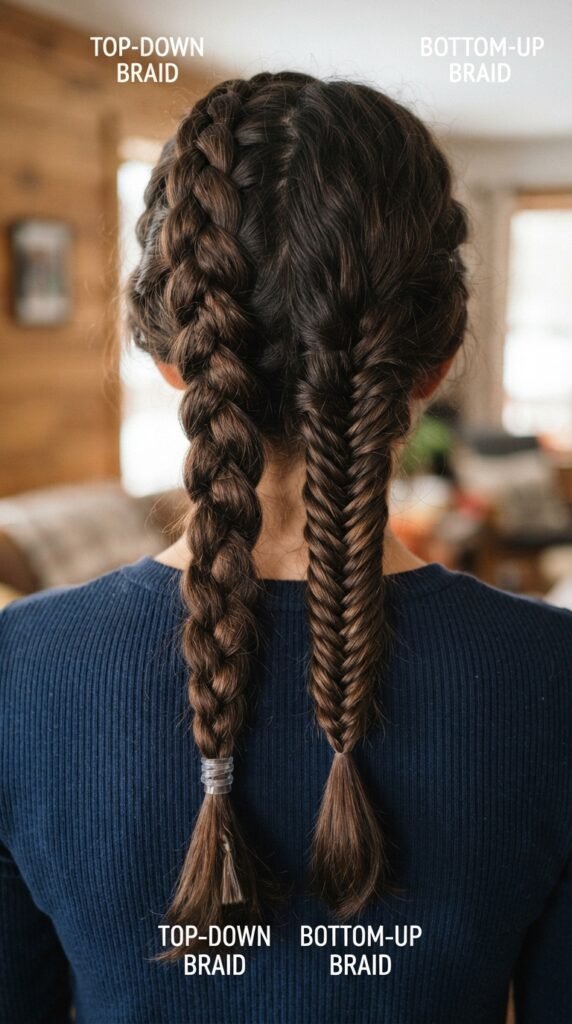
Instead of always starting from the top of your head, sometimes start your braid from the middle or the bottom on the second side. This changes the tension pattern.
For symmetrical styles like the quiet luxury bob variation, this makes both sides mirror each other better. It prevents the classic problem of one braid being tighter than the other.
Experiment with it. It feels weird at first, but you will notice a major difference in how your hair lays around your face.
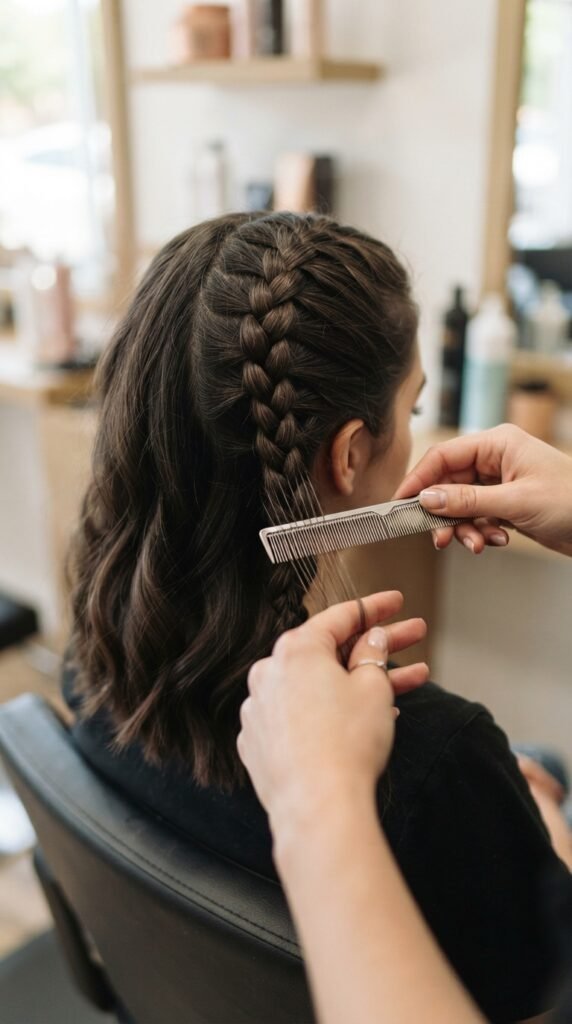
Hack 5: Section with a Tail Comb, Not Your Fingers
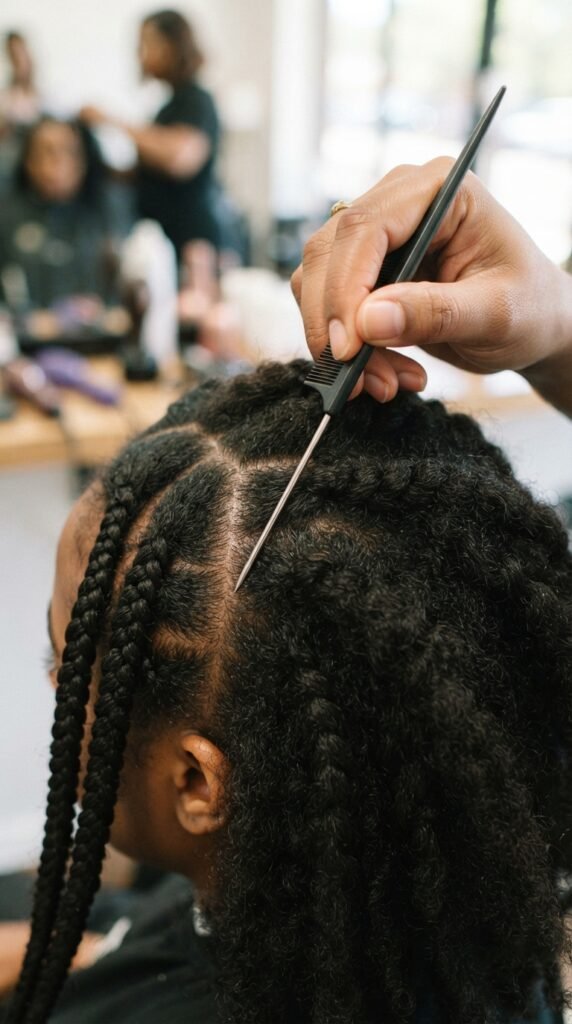
Your fingers are good for rough work, but a tail comb gives you clean, precise sections. It makes your intervals actually equal.
Use the metal end to draw straight lines. This is especially important for a vampire haircut or hime cut style where the lines need to be sharp.
Clean sections mean the braid will sit flat and not bunch up. It takes an extra thirty seconds, but it saves you from redoing the whole thing later.
Hack 6: The “Finger Pulley” Technique
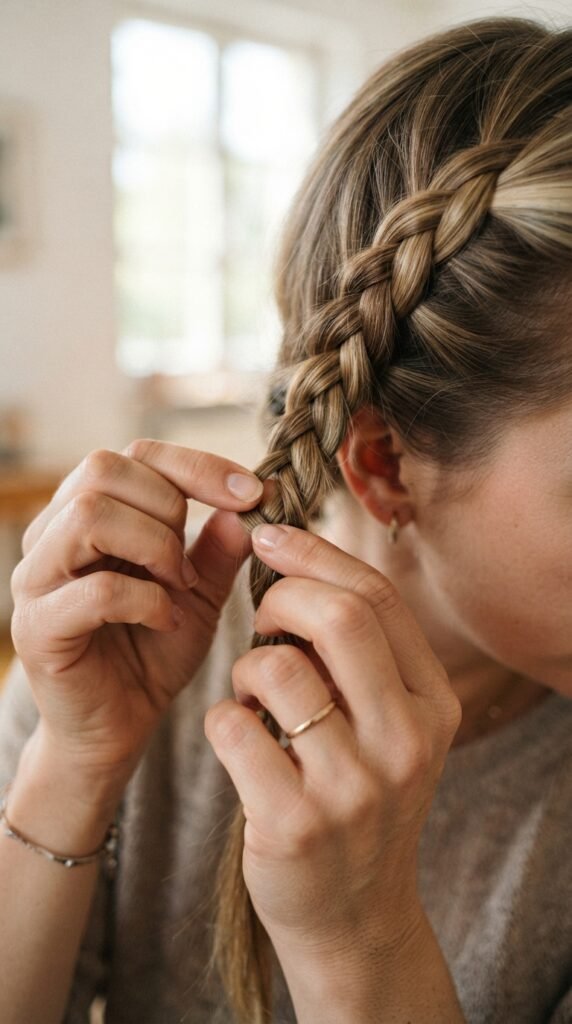
As you cross each strand, use your thumb and forefinger to gently slide down the link you just made. This sets the tension right there.
Do not yank it. Just a smooth, firm slide. It feels like you are locking the hair in place without pulling on your roots.
This is the trick behind the most polished glitchy glam hair looks. Every single loop is placed with intention, and the final braid looks almost painted on.
Hack 7: Work in Damp Hair for Better Control
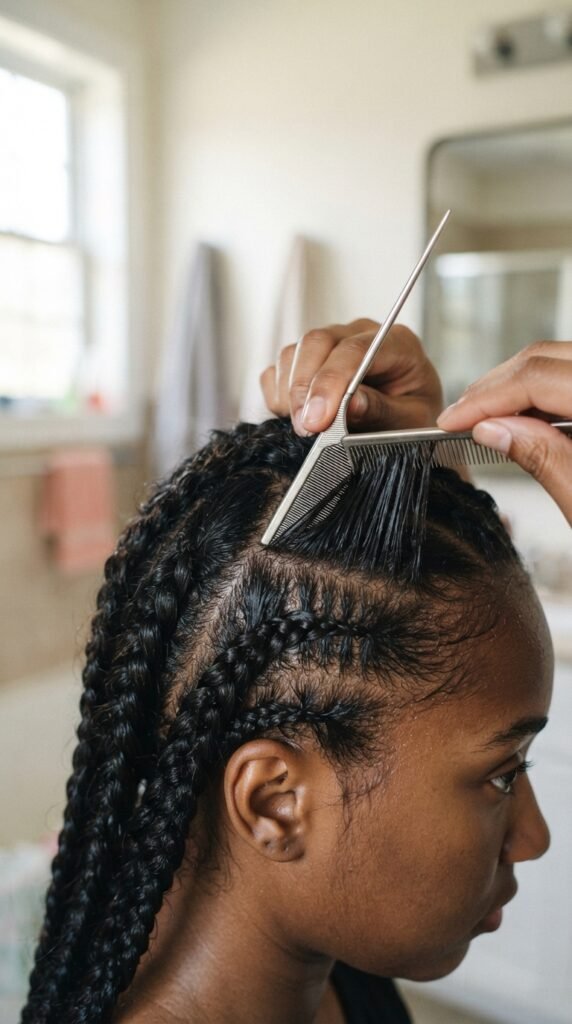
Damp hair is way more cooperative. It sticks together better, and you can feel the tension more easily because it is not sliding everywhere.
Spray your hair with water until it is just damp, not dripping. Then apply a little leave-in conditioner for slip. This is a lifesaver for thick hair.
Romantic goth hairstyles often work best on damp hair because the texture holds better. Plus, it dries into a softer, more relaxed wave later.
Hack 8: Use a Mirror Behind You

You need to see the back of your head to check tension. A second mirror or a phone camera facing you lets you see both sides at once.
Check your braid every few inches. Look for spots where the braid is thicker or thinner. Adjust the tension by pulling on the outside loops.
This is how professionals nail an asymmetrical lob that looks good from every angle. It is not magic, it is just checking your work.
Hack 9: Keep Your Elbows Down
When your elbows are up by your ears, you are using shoulder muscles that make your grip uneven. Tuck your elbows into your sides.
This keeps your hands steady and your tension consistent. It also prevents your arms from getting tired too fast.
It is a small posture change, but it makes your braiding way smoother. You will feel the difference in how even the links are from root to tip.
Hack 10: The “Mini-Section” Secret
Instead of picking up a big chunk of hair for each cross, grab tiny subsections. This gives you more control over the tension.
Think of it like writing with a fine pen versus a thick marker. Smaller pieces let you be more detailed and even. Each piece gets equal attention.
This is perfect for a hime cut where the layers are already defined. You are just reinforcing the shape with your braid.
Hack 11: Braid with Slightly Tilted Head

If you tilt your head a little to the side you are braiding, gravity helps the hair hang evenly. It stops your arms from fighting against the weight.
It also gives you a better angle to see what you are doing. Your hands move more naturally this way.
You will notice your braid feels looser and more comfortable. It is a simple body hack that makes the whole process much less awkward.
Hack 12: Use a Hair Clip to Hold Completed Links
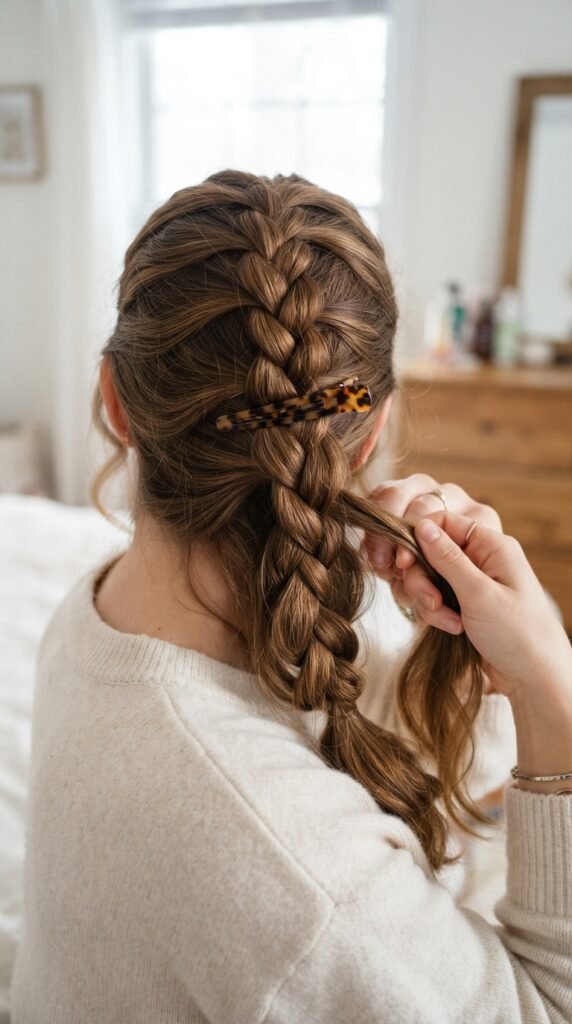
Once you finish a few inches of braid, clip the end to your shirt or a nearby section. This keeps the finished part from unraveling while you work on the rest.
It also lets you go back and check your tension without holding everything in your hand. You can focus on the tricky parts.
This is a pro move from stylists who work on 2026 hairstyles like the soft bob. It keeps everything organized and stress-free.
Hack 13: The “Palm Press” Smoothing Motion
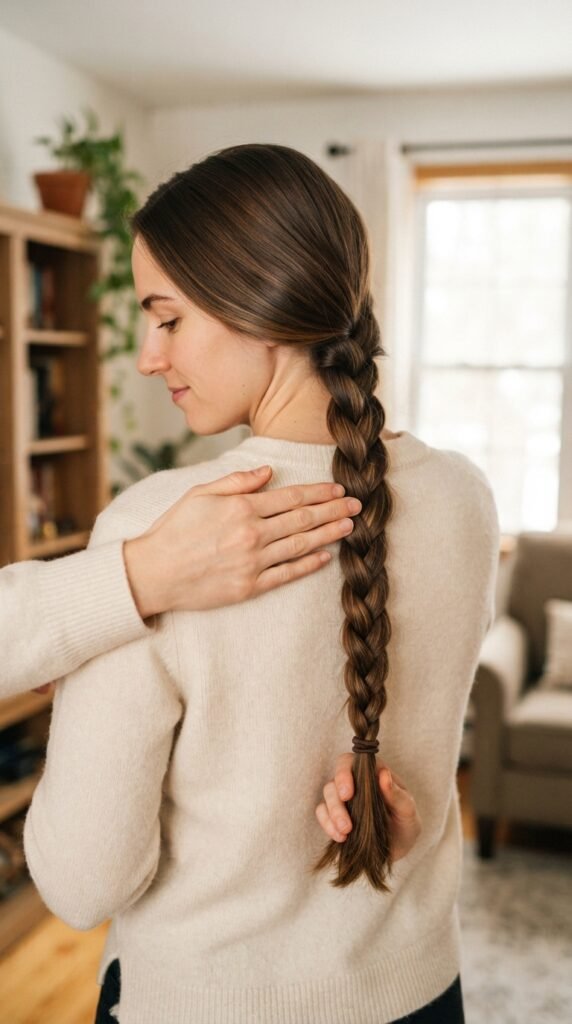
After you finish a braid, press your palm firmly but gently from the top down to the ends. This flattens any bumps and sets the tension.
It is like ironing your hair without heat. It melds all the sections together so the braid looks like one continuous piece.
For a quiet luxury bob that needs a sleek finish, this is a must-do step. It gives that perfectly pressed look in seconds.
Hack 14: Braid in Three Different Directions
Instead of always braiding straight down, try braiding slightly to the left, then straight, then slightly to the right. This alternates the pull on your scalp.
It sounds weird, but it distributes the tension across different points of your scalp. This reduces pressure and makes the braid feel lighter.
This is a great hack for romantic goth hairstyles that are meant to be worn all day or overnight. Your scalp will thank you.
Hack 15: The “Count to Three” Rhythm
Set a mental rhythm. Every time you cross a strand, count “one, two, three.” This paces your hands so you do not rush.
Rushing is the number one cause of uneven tension. By counting, you force yourself to be deliberate with every movement.
It feels a little silly, but it works. You will notice your braids are more consistent and look cleaner. It is a good trick for beginners and pros alike.
Hack 16: Pre-Detangle Before Sectioning

This seems obvious, but do not skip it. Knots will cause uneven tension because the hair gets stuck and pulls harder in one spot.
Use a wide-tooth comb or a detangling brush. Start at the ends and work your way up. Your hair should be completely smooth.
This step is critical for a vampire haircut or hime cut where the braid sits close to your face. Any tangle will be very obvious.
Hack 17: Finish with a Lightweight Hair Spray
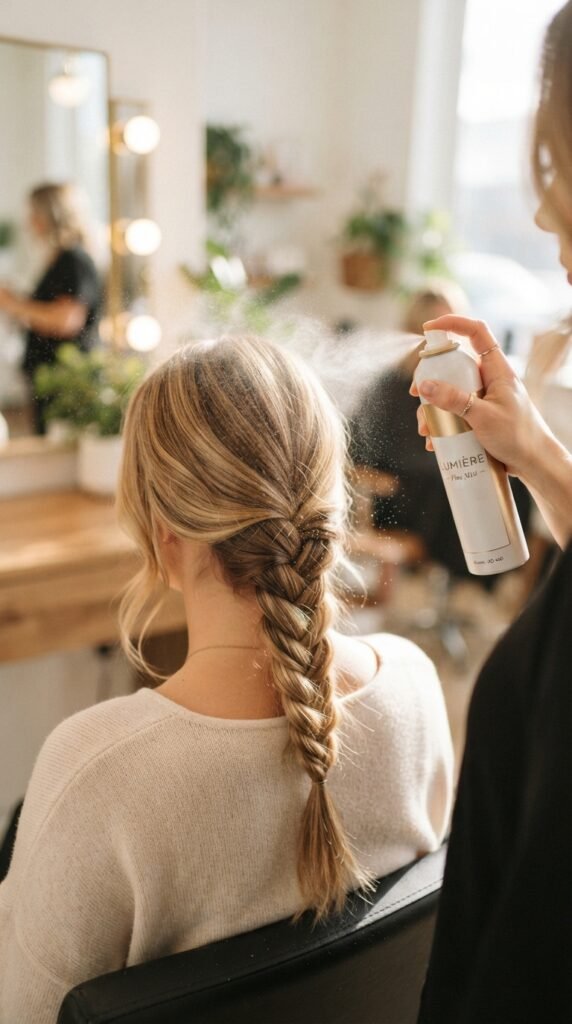
Once your braid is done and the tension feels perfect, give it a very light mist of hairspray. This locks everything in without making it stiff.
Hold the can about a foot away. You just want a whisper of hold. This helps the braid keep its shape through wind or movement.
Glitchy glam hair often uses this trick for a textured but held finish. It is the final seal on your hard work.
Hack 18: Use a Satin Scarf Overnight

If you want your 12 interval braid to last for days, wrap it in a satin scarf before bed. This prevents friction and keeps the tension intact.
It also stops frizz and flyaways from forming around the edges. Your braid will look fresh in the morning with zero effort.
This is a total lazy girl win. You wake up, take off the scarf, and your braided style is good to go for another day.
Hack 19: Monitor Your Scalp Sensitivity

Pay attention to how your scalp feels while you braid. If it hurts, your tension is too tight somewhere. Loosen the last few links.
Even distribution does not mean super tight. It means the same pressure everywhere. Your scalp should feel comfortable, not strained.
This is especially important for 2026 hairstyles that focus on health and longevity. You want the braid to look good, but you also want your hair to stay healthy.
Hack 20: Practice on a Friend or Mannequin Head
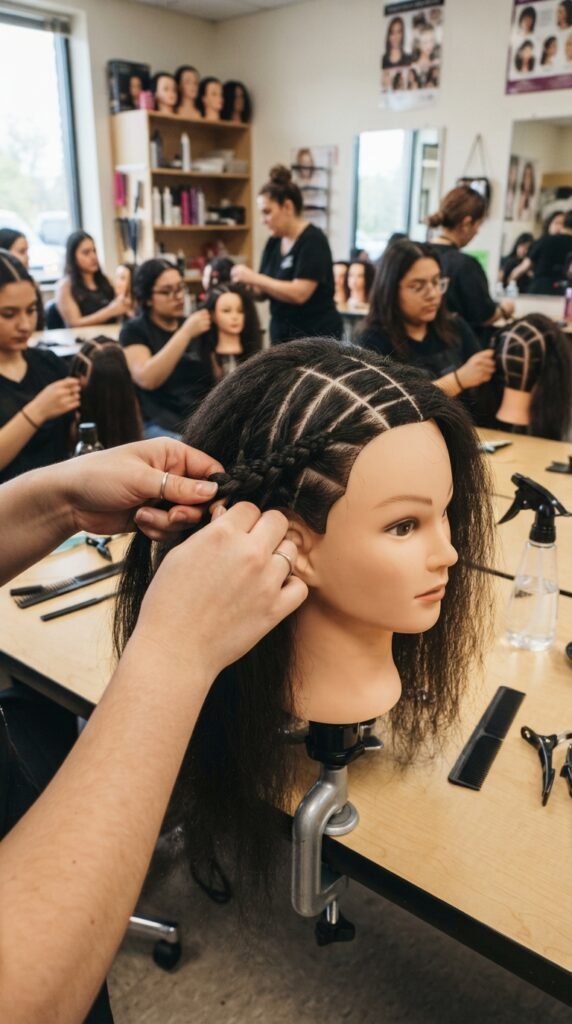
If you are struggling to get even tension on yourself, practice on someone else or a cheap mannequin head. It takes the angle guesswork out.
You can see exactly what your hands are doing from the side. This helps you understand the rhythm and pressure better.
Once you get it down, it becomes muscle memory. Then you can do it on your own head with your eyes closed. It is worth the practice time.
A Few Extra Words
You absolutely do not need to be a hair wizard to get this right. It is just a matter of slowing down and listening to how your hair feels under your fingers.
Every time you practice, you will get a little faster and a little more even. And honestly, even a less-than-perfect braid still looks beautiful because it has your personal touch.
So give these hacks a try on your next wash day, or even just for a fun night in. Your hair will look intentional, balanced, and honestly, like you spent way more time on it than you did.
If this post helped you finally nail that even braid, I would love for you to save it to Pinterest so you can find it again later. And drop me a comment below—do you prefer a tight or loose braid finish? I always love hearing what works for you.