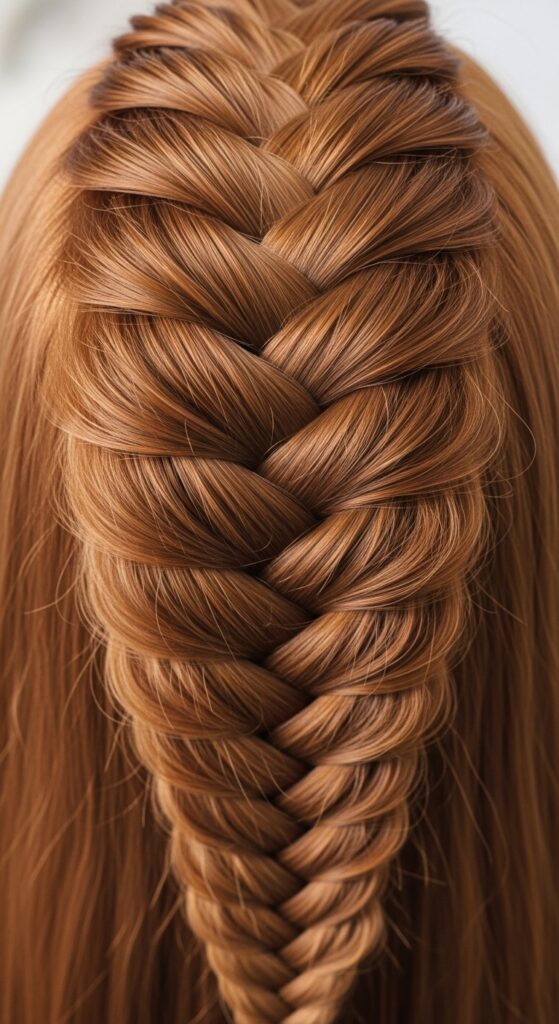
Hacks 12 Interval Braid Locks Alternating Tension Evenly Distributed
Okay, let’s be real. How many times have you started a braid feeling like a hair goddess, only to finish with a weird, lumpy, uneven mess? The sections are all different sizes, the tension is a disaster, and it just looks… off. I’ve been there more times than I can count, especially when trying those intricate 2026 hairstyles or romantic goth looks that demand perfection.
It all comes down to one sneaky little detail: how you pick up and lock your sections. If that foundation is shaky, the whole style falls apart. But what if I told you there’s a simple, game-changing hack?
It’s called the 12-Interval Braid Lock method. It sounds fancy, but I promise it’s just a smart way to alternate your tension so your braid is perfectly even from top to bottom. No more bulky top and skinny ends. Let me break it down for you.
Why Your Braids Get Lumpy & Uneven
We usually grab hair without thinking. We take a thick chunk here, a thin strand there, based on what’s easy to reach. This inconsistency is what creates those annoying bumps and weak spots.
Your brain and hands need a clear, repeatable rule to follow. Without it, every section is a guess. This method gives you that rule, turning guesswork into muscle memory for braids that look professionally done.
The Core Idea: Alternating Tension is Everything
Think of it like knitting. If you pull every stitch with the same force, the fabric curls and warps. You need variation to keep it flat and balanced. Braiding is the same!
True, salon-quality texture comes from controlled variation, not constant, straining tightness. This hack teaches you to intentionally alternate your pull, which distributes the hair evenly and creates a seamless, fluid shape.
What Are “Interval Braid Locks”?
Don’t let the term scare you. An “interval” is just a space. We’re dividing your braiding path into 12 imaginary checkpoints, from the crown to where your braid ends.
A “lock” is the act of securing a section by crossing it over. So, “Interval Braid Locks” simply means locking your sections at these 12 specific points. This forces you to be consistent and aware with every move you make.
Gathering Your Tools (You Don’t Need Much)
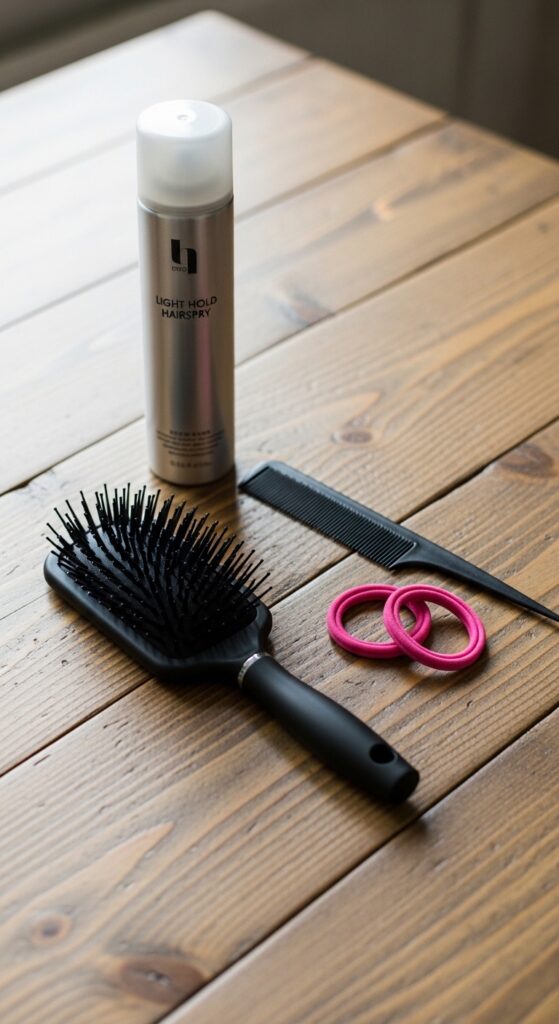
You can do this on any hair type, but a few tools make it easier. Start with brushed, tangle-free hair. A light-hold spray or mousse on damp hair gives great grip.
- A fine-tooth comb for precise sectioning.
- Two hair elastics (one for practice, one for the finish).
- Hair clips to hold unused sections.
- That’s it! Fancy tools won’t help more than this technique.
Step 1: Section Your Hair Cleanly
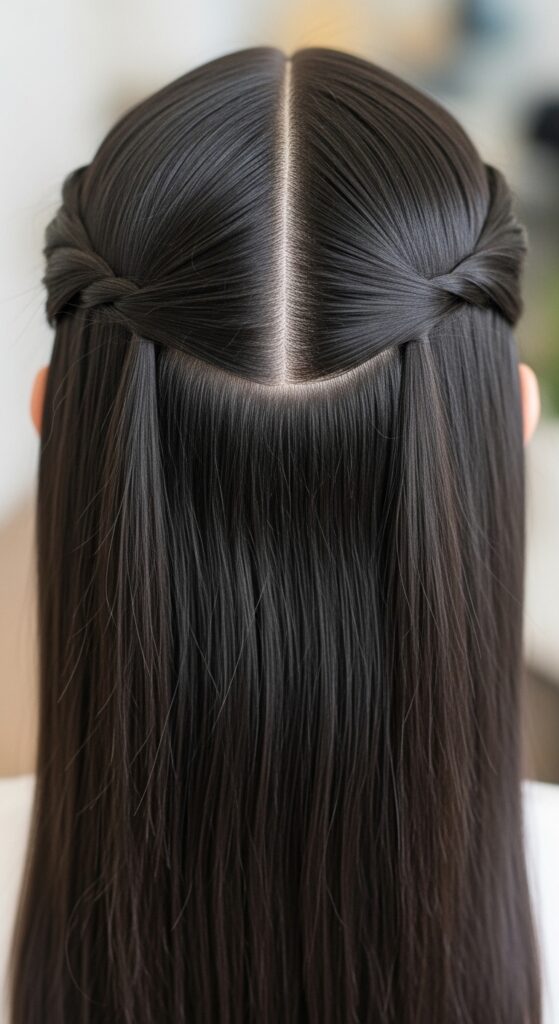
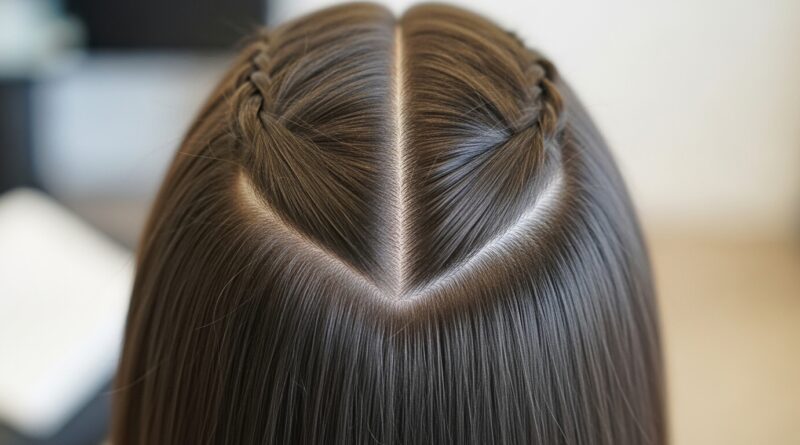
Begin with a clean center or side part. For a single braid, gather all your hair. For two, part it evenly. This initial neatness is crucial for that polished, old money hair vibe.
Use the end of your comb to draw a straight line. Clip one side away. We’re focusing on one braid at a time to train your hands. Precision here sets the stage for everything.
Step 2: Divide Into Your First Three Sections

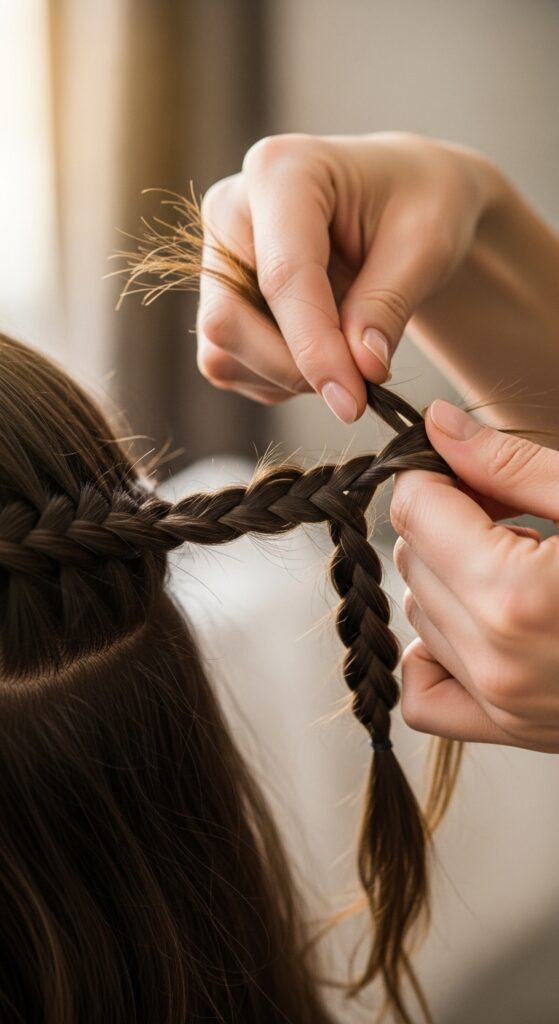
At the very top of your head, take the front-most section. Use your comb to separate a rectangle about two inches wide and one inch back. This is Section A.
Directly behind it, create an identical-sized Section B, then Section C. They should look like three equal blocks. This is the most important step—don’t rush it!
Step 3: Begin Your First “Lock”
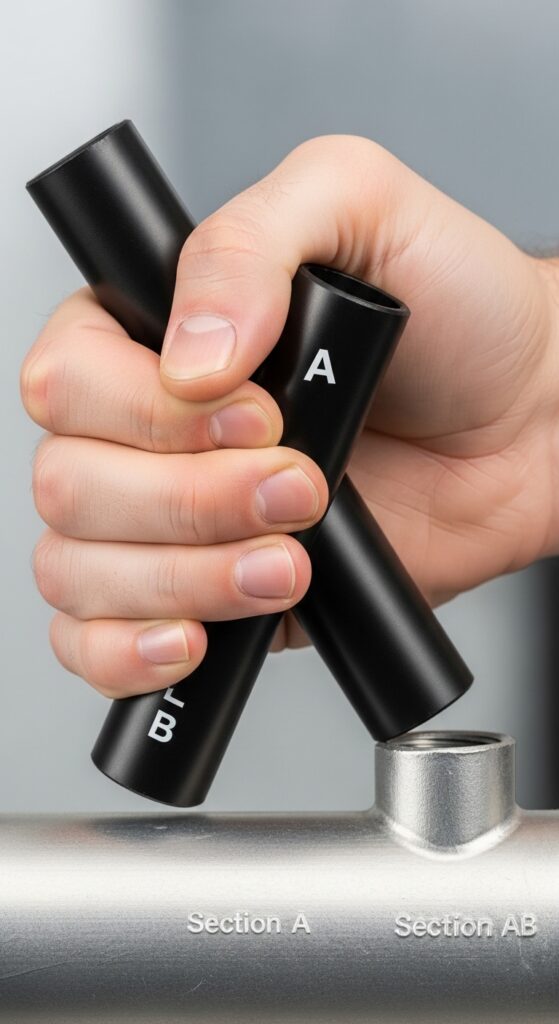
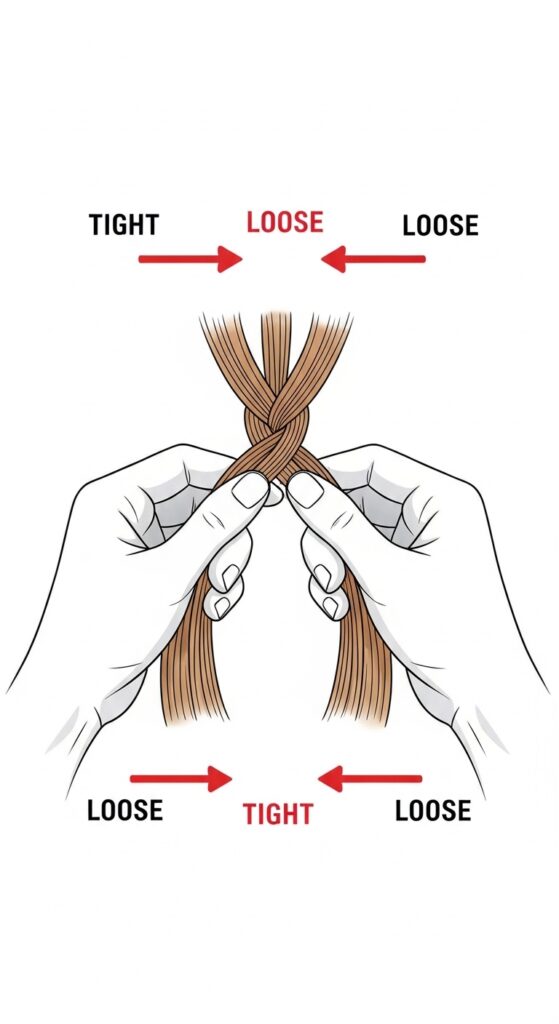
Start a normal three-strand braid: Section A goes over Section B. Now, here’s the key. As you cross it, apply firm tension. Pull this first lock snug against your scalp.
This is “Interval 1.” Mentally note it. That firm pull anchors the braid. We’re building the foundation, which needs to be strong, especially for heavy styles like a vampire haircut.
Step 4: The Second Lock & The First “Release”

Now, take Section C and cross it over the new Section A (which was originally B). For this second lock, at “Interval 2,” you will consciously use less tension. Pull it gently, letting it sit a bit softer.
This is the “release” in our alternating pattern. You’ve done a firm lock, now a soft lock. This variation is what starts to distribute the bulk.
Step 5: Adding Hair & Hitting Interval 3

Now you add hair. Pick up a thin strand from the front of your hairline and add it to Section B before you cross it. This is a Dutch or French braid technique.
As you cross this now-thicker Section B over, return to firm tension. This is “Interval 3.” Firm, soft, firm. See the pattern? The added hair gets locked in place securely.
Step 6: The Rhythm: Firm, Soft, Firm, Soft
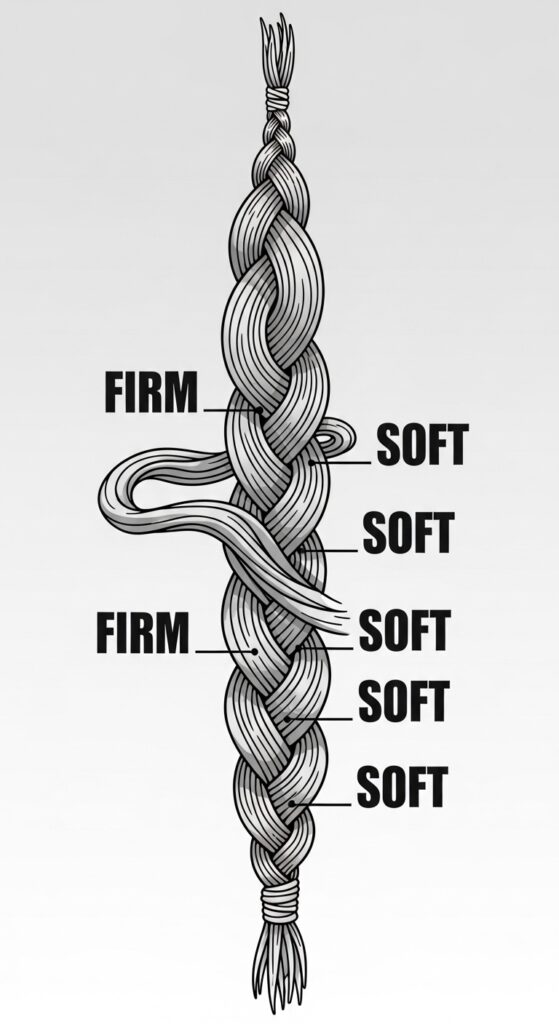
Continue down your head. Add hair to the next section, then cross it with soft tension (Interval 4). Then add hair to the following section, and cross it with firm tension (Interval 5).
This rhythm does the work for you. Your focus isn’t on “how much hair do I grab?” but on “what’s my tension on this lock?” It becomes meditative and flawless.
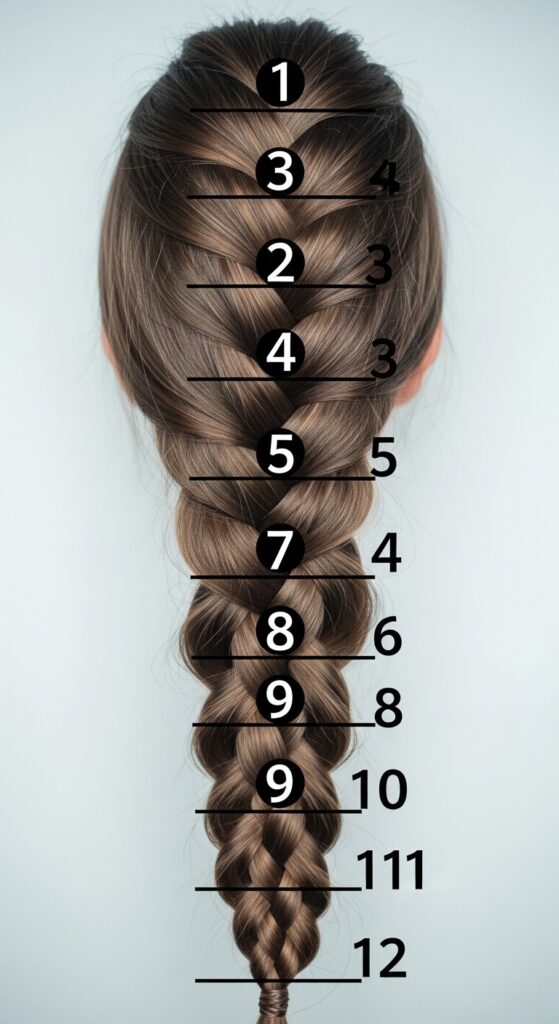
Step 7: Counting Your Way to Perfection

Your goal is 12 intervals total. The first 6-8 will involve adding hair from the sides of your head. Count them out loud. “Firm one, soft two, firm three, soft four…”
Counting keeps you on track and prevents you from zoning out and reverting to old habits. By Interval 6, you’ll already see a difference—smoother, more uniform.
Step 8: Transitioning Off the Head
Once you’ve picked up all the loose hair from the sides (usually by the nape of your neck), you’ll continue the braid without adding more hair. But don’t stop the pattern!
The next lock (maybe Interval 9) is firm. The one after (Interval 10) is soft. You’re continuing the alternating tension all the way to the ends, which prevents the braid from tapering too sharply.
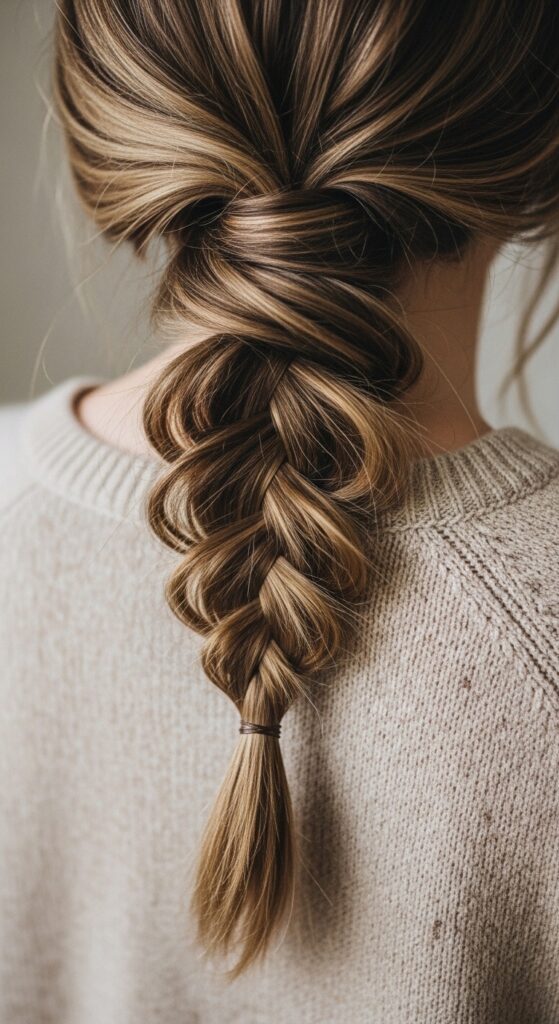
Step 9: Securing the End with Your 12th Lock
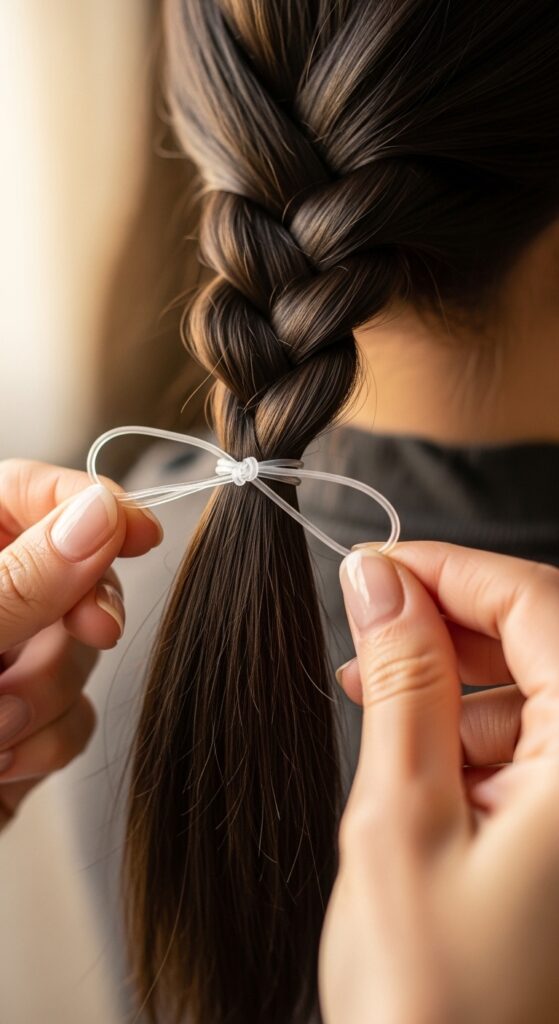
Aim to finish your final, 12th lock right where you want the braid to end. Secure it immediately with an elastic. Don’t braid further and then backtrack.
That 12th lock is your finish line. Whether it’s firm or soft depends on your count, but securing it right then locks in all that perfect, alternating tension you just created.
Why This Works for Thick Hair
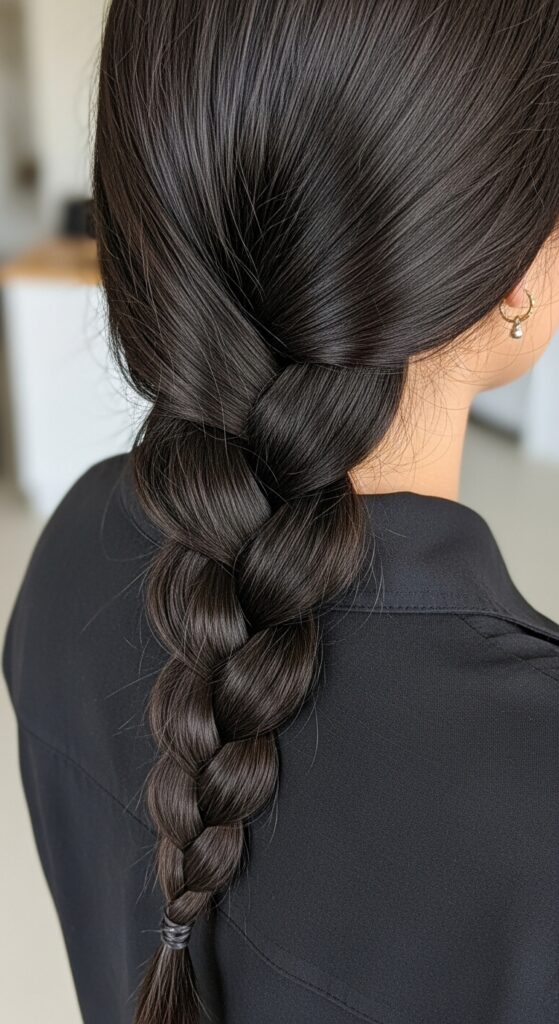
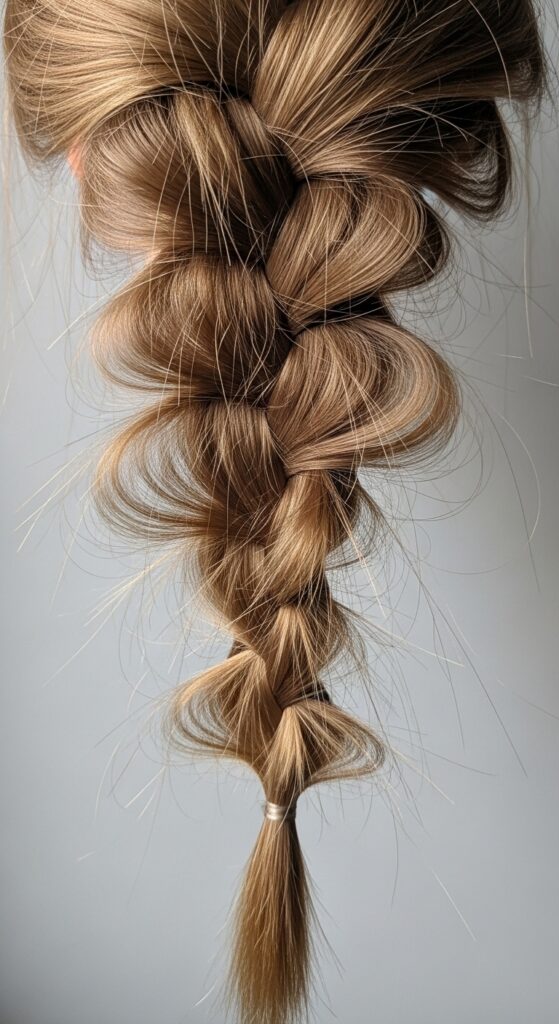
Thick hair can become a heavy, bulky rope. This method manages the volume by dispersing it. The “soft” locks create tiny, intentional pockets of ease that balance the firm pulls.
The result is a braid that has weight and presence but feels light and looks consistent in width. It’s a game-changer for glamorous, glitchy glam hair styles that need structure.
Why This Works for Thin or Slippery Hair
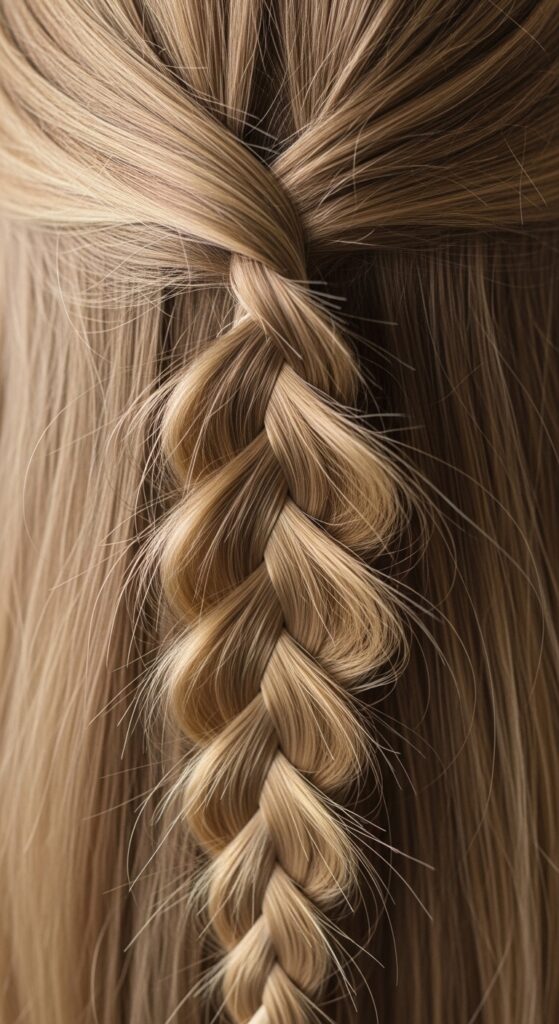
Thin hair often braids into a sad, wispy string. The alternating tension hack builds body. The firm locks pack hair densely, while the soft locks allow it to fluff out slightly, creating the illusion of more volume.
It keeps every hair in place, reducing slip-out. You get a braid that looks fuller and more textured from root to tip, perfect for an elegant asymmetrical lob.
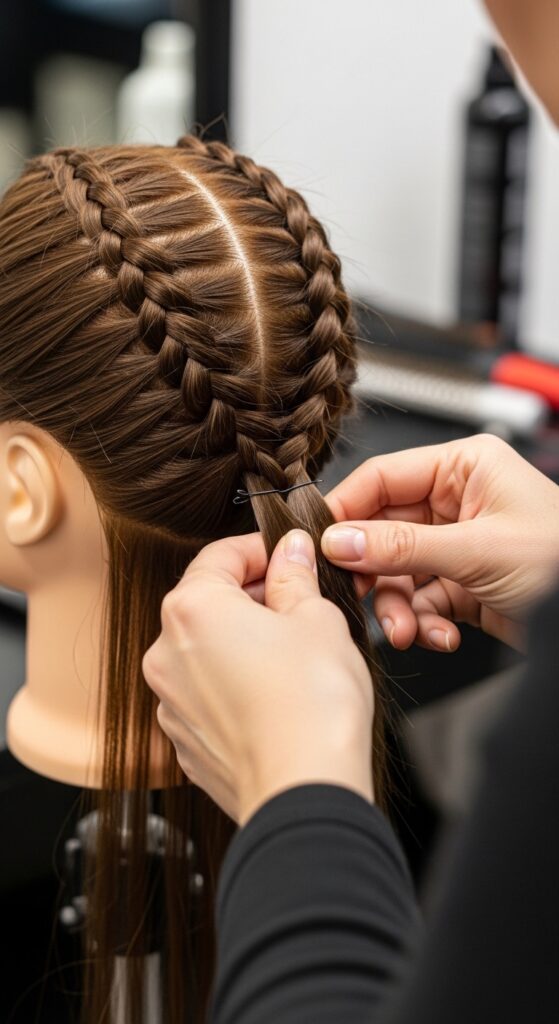
Applying This to a Dutch Crown Braid

A crown braid is just a French/Dutch braid that goes around your head. Use the 12-interval rule here. Start at one temple: first lock firm, second soft, and so on as you add hair.
Counting ensures you don’t pull too tight on the curves (which can cause lifting) or too loose on the straightaways. You’ll get a regal, even crown fit for a hime cut inspiration.
Applying This to a Fishtail Braid
The principle translates! For a fishtail, you’re working with two sections, not three. Your “lock” is when you take a thin strand from one section and cross it over to the other.
Make that transfer with firm tension. Then, take a strand from the other side and transfer it with softer tension. Alternate. You’ll get a stunning, even fishtail with zero wispy gaps.
Creating “Quiet Luxury” Texture
That “I woke up like this” chic of quiet luxury hair isn’t accidental. It’s crafted ease. This braiding method creates that perfectly imperfect texture.
The slight variation in tension gives the braid a soft, lived-in, but still impeccable look immediately. No need to pull at it for hours. It’s the secret to an old money hair braid.
Getting Romantic Goth Volume

Romantic goth hairstyles need drama and volume without frizz. The firm locks in this method create sharp, defined lines, while the soft locks allow for a little poetic release and fullness.
It gives you control over the silhouette. You can make it tighter for a severe look or softer for a more ethereal, romantic goth vibe. It’s all in your tension choices.
Fixing a Braid Halfway Through

Already mid-braid and see a problem? Don’t undo it all. Gently pinch and loosen the braid just below the lump or skinny spot. Work your fingers up to slightly release the locks in that area.
Then, re-tighten from that point down using the firm-soft pattern. It’s like editing a sentence instead of rewriting the whole page. A total lifesaver.
Practice Makes Permanent
Do this three times in a row. The first time will be slow as you count. The second, you’ll feel the rhythm. The third, your hands will start to do it automatically.
Practice on slightly damp hair for more grip. Muscle memory is real. Soon, you won’t need to count; your hands will just know the dance of alternating tension.
Your New Braiding Mindset

Throw out the idea that a tight braid is a good braid. A good braid is an evenly tensioned braid. It has flow, consistency, and intention.
This method gives you the framework to execute any braid-based 2026 hairstyles you see. You’re not just copying a look; you’re understanding the engineering behind it. That’s real skill.
Sharing Your Wins with Me
I want to see what you create! Tag me on Instagram or Pinterest when you try this. Did it work for your hair type? Which style did you try it on first?
We’re all in this together, figuring out these beauty hacks. Your success story might be the nudge another reader needs to finally master their dream braid.
So, there you have it. What seemed like a mysterious, professional secret is really just a simple pattern of paying attention. It’s about working with your hair, not forcing it into submission. That’s where the real magic happens—when a style looks great but also feels good, like it’s just a natural part of you.
This little hack has saved me from so many last-minute hair meltdowns, especially when I’m trying to recreate a complex look I saw online. Now, I know I can trust the foundation. I hope it gives you that same confidence to play with all the beautiful styles out there.
Save this post to Pinterest so you can easily find it next time you’re ready to braid! And tell me in the comments—what’s the one braid style you’ve always wanted to nail but haven’t yet? Let’s troubleshoot it together.