Heat Damage Repair: How to Fix Fried Hair Without Cutting It Off
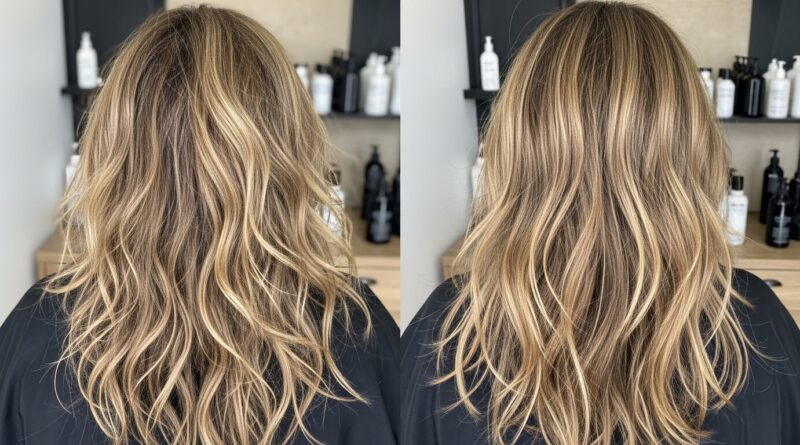
You know the feeling. You reach for your trusty flat iron or blow dryer, aiming for a sleek, salon-fresh look, but you end up with a head full of straw. Your hair feels brittle, looks dull, and the ends are a frizzy, split-ended mess. The immediate panic sets in: Is my only option a drastic haircut? Before you mourn the loss of your length, take a deep breath. All hope is not lost.
Fried hair is a cry for help, not a death sentence. With the right knowledge, a shift in your routine, and a heavy dose of TLC, you can nurse your strands back to health. This comprehensive guide is your roadmap to repairing heat damage, restoring shine and strength, and reclaiming the beautiful hair you deserve—without ever picking up the scissors.
Understanding the Enemy: What Heat Actually Does to Your Hair
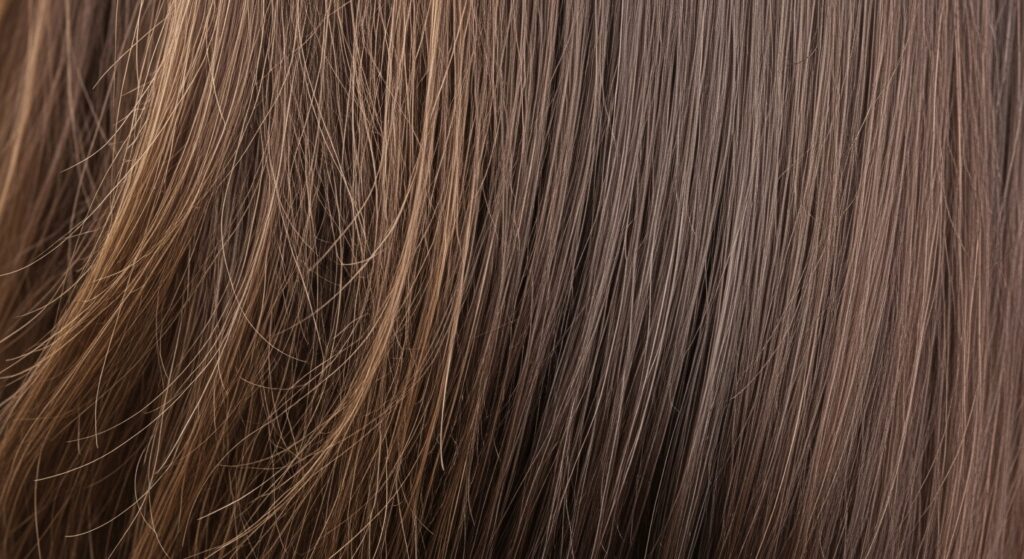
To fix the problem, you first need to understand what you’re up against. Your hair is primarily made of a protein called keratin, arranged in overlapping scales that form the hair cuticle. Beneath that lies the cortex, which gives your hair its strength and elasticity. Heat styling tools work by breaking down the hydrogen bonds that give your hair its natural shape, allowing you to reform it straight or curly.
The damage occurs when excessive heat, or heat applied without protection, literally cooks the moisture and protein right out of your hair shaft. This leads to:
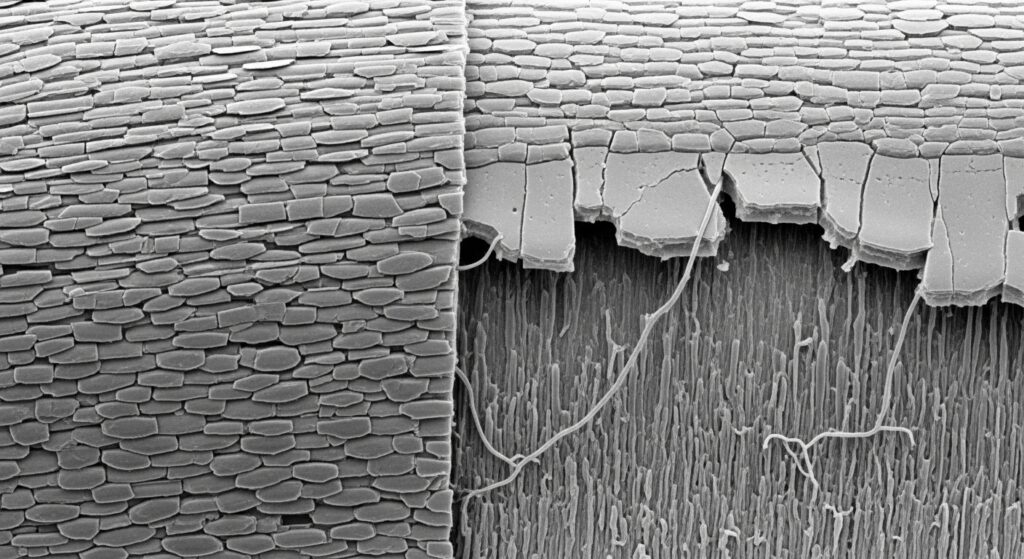
Lifted Cuticles: The protective outer layer of your hair lifts and cracks, like shingles on a damaged roof. This is what causes frizz, dullness, and tangles.
Weakened Cortex: The inner structure becomes compromised, leading to a loss of strength and elasticity. Your hair becomes brittle, snaps easily, and won’t hold a style well.
Moisture Loss: The internal water content evaporates, leaving your strands parched and desperate for hydration.
In severe cases, you might see bubbles forming on the hair shaft—a surefire sign of extreme heat damage that requires immediate and intensive care.
The Golden Rule: Prevention and Immediate First Aid
Before we dive into repair, let’s talk about stopping the bleeding. The single most important step in fixing heat damage is to stop causing more damage. This means giving your hair a break from hot tools. Embrace air-drying, heatless curls (think robe ties or silk rollers), and protective styles for a few weeks.
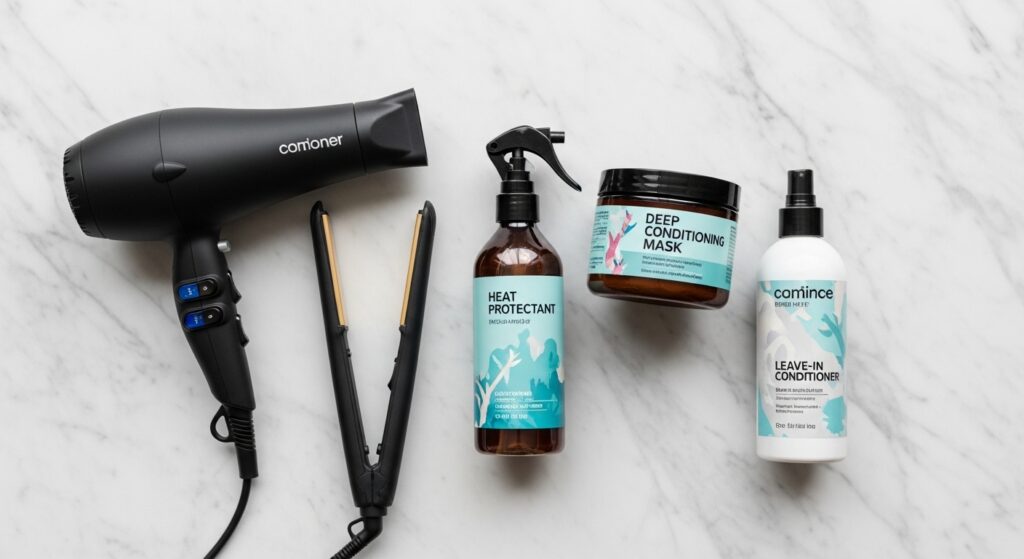
When you absolutely must use heat, a heat protectant is non-negotiable. Think of it as sunscreen for your hair. It creates a protective barrier that minimizes direct heat exposure and helps seal the cuticle. Look for products containing ingredients like dimethicone, cyclomethicone, or plant-based oils that can withstand high temperatures.
Your immediate first aid kit should include a deep conditioning mask and a leave-in conditioner. In the first week of realizing the damage, you’ll want to be intensely proactive about reintroducing moisture and slip back into the hair to manage tangles and prevent further breakage.
Your Repair Regimen: The Step-by-Step Process to Salvation
Repairing fried hair is a marathon, not a sprint. It requires consistency and a multi-pronged approach. Integrate these steps into your weekly routine for the next few months to see a dramatic transformation.
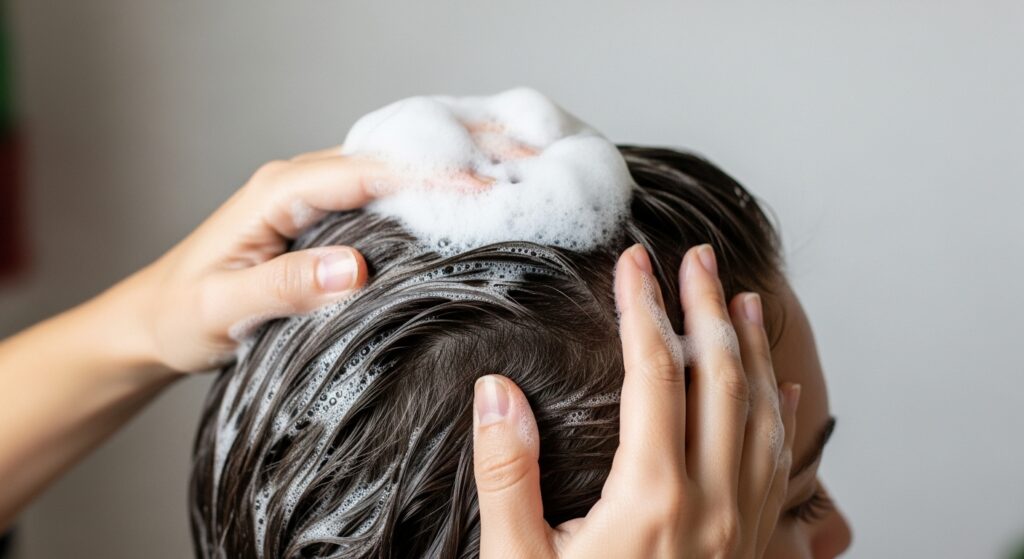
Step 1: The Cleansing Shift
Your regular shampoo might be too harsh for your compromised strands. It’s time to switch to a sulfate-free, moisturizing shampoo. Sulfates are aggressive cleansing agents that strip away your hair’s natural oils, further drying out damaged hair. A gentle, hydrating shampoo will clean your scalp without exacerbating the dryness of your lengths.
Also, consider washing your hair less frequently. Every time you wet your hair, the shaft swells and the cuticle lifts, making damaged hair even more vulnerable. On non-wash days, use a dry shampoo to refresh your roots.
Step 2: The Power of Deep Conditioning
This is the cornerstone of your repair journey. Deep conditioners are richer and more penetrating than regular conditioners. They are designed to infuse moisture and nutrients into the cortex, helping to temporarily patch up the damaged cuticle.
How to do it right: After shampooing, wring out excess water from your hair. Apply a generous amount of deep conditioner, focusing on the mid-lengths and ends—the oldest and most damaged parts of your hair. Use a wide-tooth comb to distribute it evenly. For an extra boost, cover your hair with a shower cap and apply gentle heat (like a warm towel or sitting under a hooded dryer for 15-20 minutes). The heat helps open the cuticle, allowing the conditioning agents to penetrate deeper. Do this at least once a week, but don’t be afraid to do it twice if your hair is extremely parched.

Step 3: The Protein-Moisture Balance
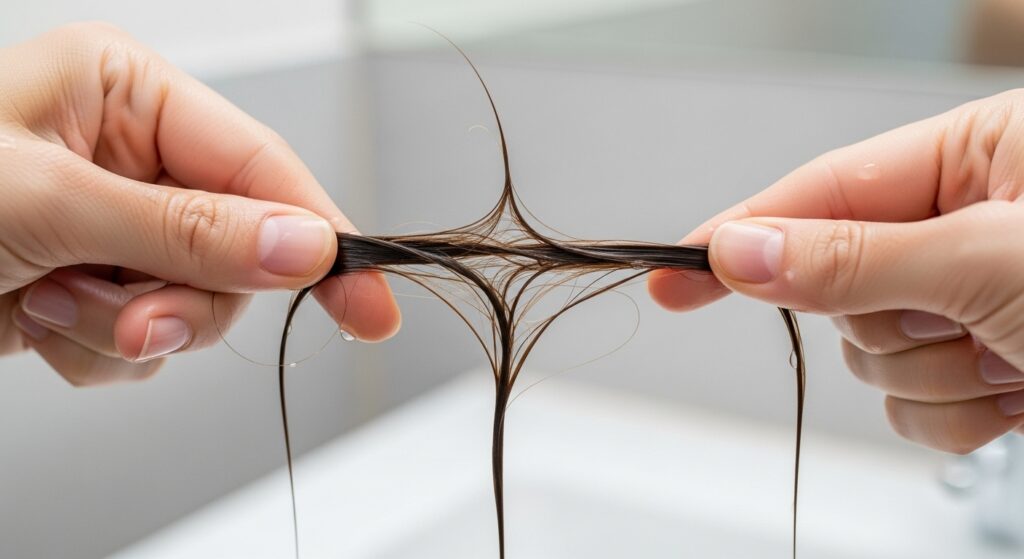
Damaged hair has often lost significant protein. Protein treatments work by filling in the gaps in the damaged hair shaft, temporarily reinforcing its structure and adding strength. However, too much protein can make hair stiff and brittle. The key is balance.
If your hair feels gummy when wet and stretches too far before snapping, it needs protein. If it feels stiff, rough, and brittle, it needs moisture. A good rule of thumb is to follow a schedule: use a moisturizing deep conditioner weekly, and a protein treatment every 4-6 weeks, adjusting based on how your hair feels. Look for ingredients like hydrolyzed wheat protein, keratin, or silk amino acids in your protein treatments.
Step 4: Locking in the Goodness
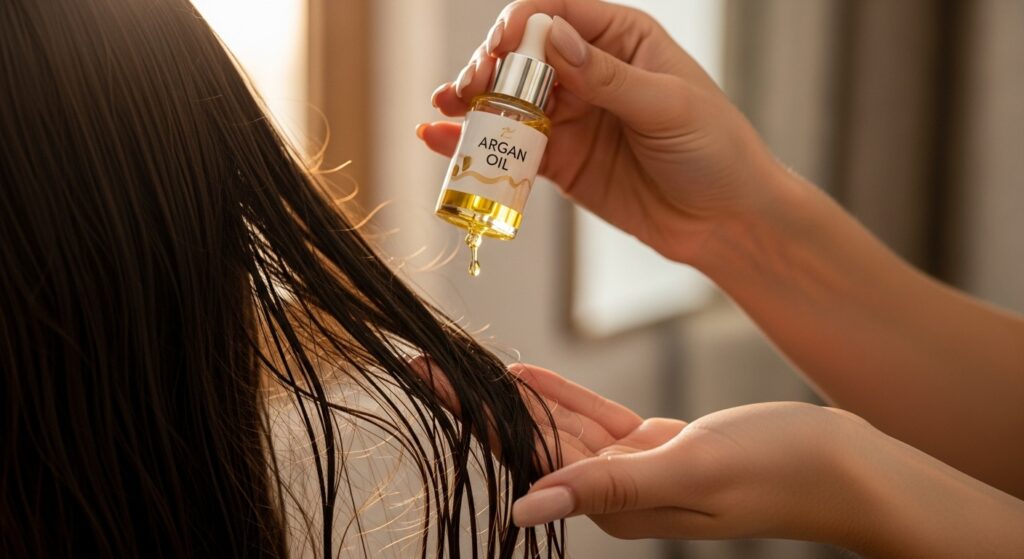
After washing and conditioning, your work isn’t done. You need to seal all that moisture in. This is where leave-in conditioners and hair oils come in.
Apply a leave-in conditioner to damp hair to provide ongoing hydration and detangling benefits. Then, follow up with a few drops of a natural oil, like argan, jojoba, or marula oil, focusing on the ends. These oils are occlusive, meaning they create a seal over the hair shaft, preventing the moisture you just worked so hard to put in from escaping.
Advanced Repair Strategies and Lifestyle Tweaks
For hair that needs an extra rescue mission, consider these powerful strategies.
Hair Oiling Pre-Shampoo: Before you even step into the shower, massage a lightweight oil (like coconut or olive oil) into your dry hair and scalp. Leave it on for at least 30 minutes, or even overnight. This pre-poo treatment protects the hair from the drying effects of shampoo and provides deep nourishment.
Regular Trims: We promised no big chop, and we meant it. However, getting regular micro-trims (cutting off 1/4 inch) every 8-10 weeks is crucial. This doesn’t sacrifice length but systematically removes the oldest, most split ends, preventing the splits from traveling up the hair shaft and causing more breakage. You’re preserving the health of the length you have.
Protect Your Hair 24/7: Your pillowcase matters. Switch to a silk or satin pillowcase. Unlike cotton, which creates friction and saps moisture, silk and satin allow your hair to glide smoothly as you sleep, reducing breakage, frizz, and tangles. Also, always use a wide-tooth comb on wet hair, never a brush, to avoid snapping your fragile strands.
What to Realistically Expect
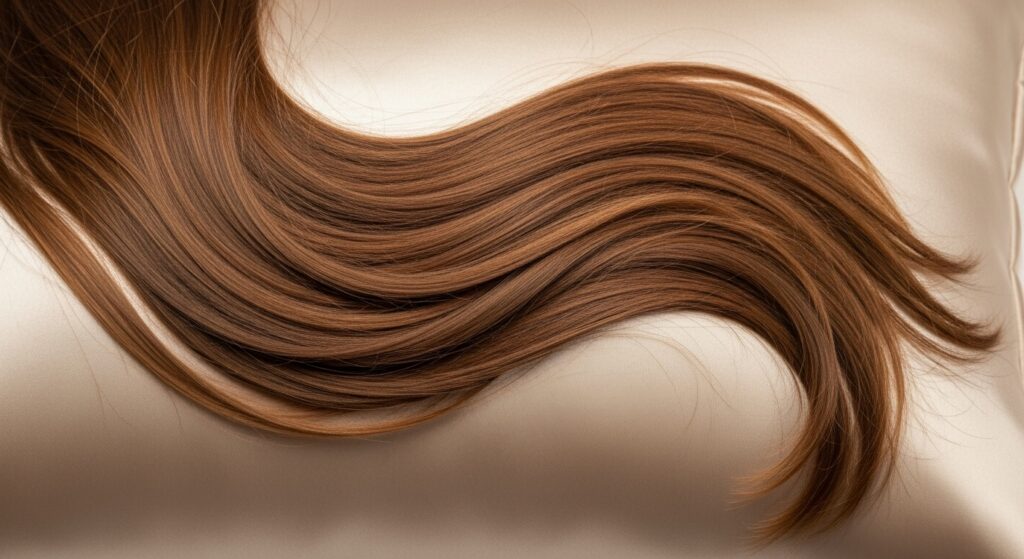
It’s important to manage your expectations. You can repair the appearance and feel of heat-damaged hair significantly. You can restore shine, softness, and manageability. You can drastically reduce breakage and make your hair strong and healthy from the new growth outward.
However, it is impossible to permanently “heal” a hair shaft that is already structurally damaged. The hair that grows out of your scalp is new and healthy; the damaged hair from the past remains. The goal of this entire process is to nurture the damaged hair so well that it remains on your head as healthy, strong length until you are ready to trim it away gradually over time. Patience and consistency are your most powerful tools.
Your Hair’s Second Chance Starts Now
Fried hair doesn’t have to mean goodbye to your long locks. By embracing a gentler hair care philosophy, prioritizing intense moisture and balanced protein, and protecting your strands around the clock, you can reverse the visual signs of damage and foster a healthy environment for new growth. Your journey to revived, resilient, and radiant hair begins with the first step of putting down the hot tools and reaching for that deep conditioner. Your hair can recover, and with this guide, you have everything you need to make it happen.