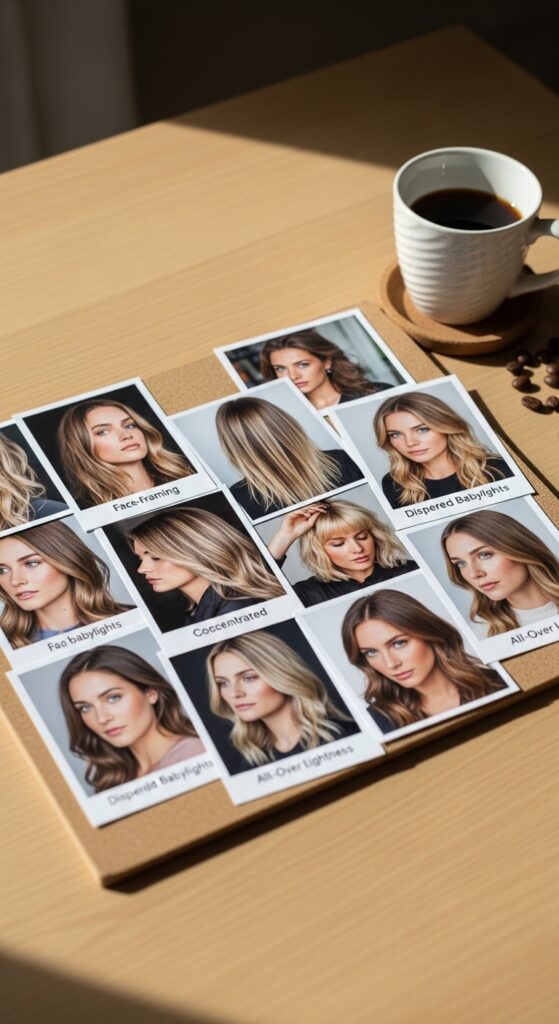
Highlight 18 Babylight Placement Maps Guiding Even Face Framing
Okay, let’s be real. You walk into the salon, you say “babylights,” and you pray. You pray they don’t come out too stripey, too chunky, or just… off. The secret isn’t just the color—it’s the placement. It’s the map your colorist follows to make those tiny, delicate lights actually work for your face.
That’s why I’m obsessed with placement maps. They’re the blueprint for that perfect, sun-kissed, grew-up-like-this look. Whether you’re dreaming of old money hair or a face-framing asymmetrical lob, it all starts here.
This is your no-stress guide. We’re breaking down 18 babylight placement strategies, from basic to genius-level. Think of it as your cheat sheet to getting the highlights you actually want. Let’s get into it.
1. The Classic All-Over Babylight Map
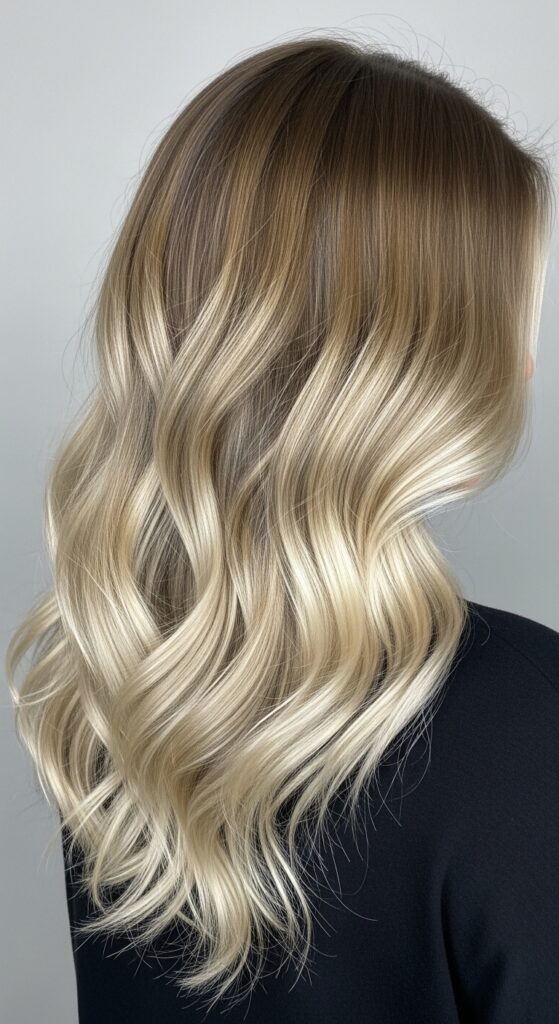
This is your foundational, never-fails map. The goal is an even, overall brightening that mimics how the sun naturally lightens hair. It’s perfect for a first-time highlight client or anyone wanting a low-maintenance, all-over glow.
The technique focuses on fine, alternating sections throughout the entire head, with a slightly heavier concentration around the face. It creates dimension without a stark regrowth line.
2. The “Money Piece” Focus Map
You’ve seen this everywhere. This map concentrates the lightest, brightest babylights exclusively on the front two sections of hair that frame your face. It’s the ultimate brightening trick.
This placement is incredibly flattering and works with virtually every cut, from long layers to a blunt quiet luxury bob. It makes your eyes pop and gives an instant lift.
3. The Perimeter Brightening Map
This strategy places babylights mainly around the hair’s outer perimeter—the hairline, temples, and ends. It creates a beautiful “halo” effect, making your hair look lit from the edges.
It’s fantastic for adding lightness to darker bases without making the overall color feel too light. It gives a soft, ethereal finish that pairs beautifully with 2026 hairstyles leaning into softer dimensions.

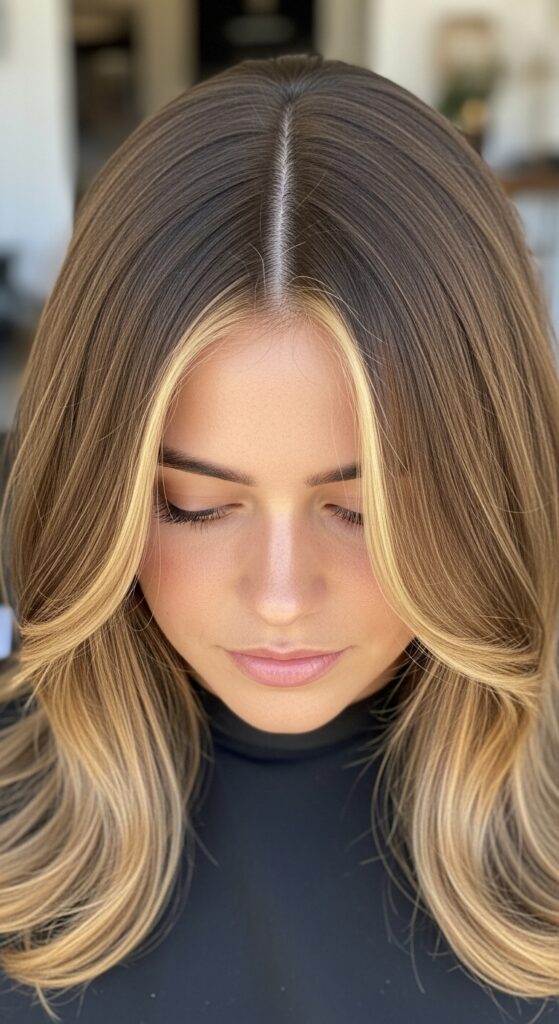
4. The Center-Part Framing Map
Designed for those who live with a center part, this map places the most strategic babylights along the part line and the sections that fall directly forward. It ensures brightness exactly where it’s seen.
This prevents the “dark curtain” effect a center part can sometimes create. The light follows the natural fall of your hair, making the look intentional and modern.
5. The Deep Side-Part Adaptation
If you rock a deep side part, your map needs to adapt. The heaviest placement shifts to the side with more hair, following the direction of your part. This keeps the balance perfect.
The smaller side gets softer, finer babylights to connect the look. This technique ensures your highlights look dynamic and natural from every angle, not just when your hair is perfectly placed.
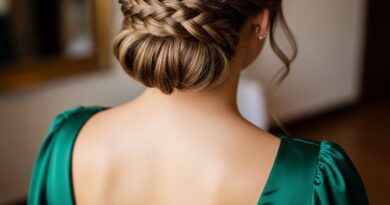
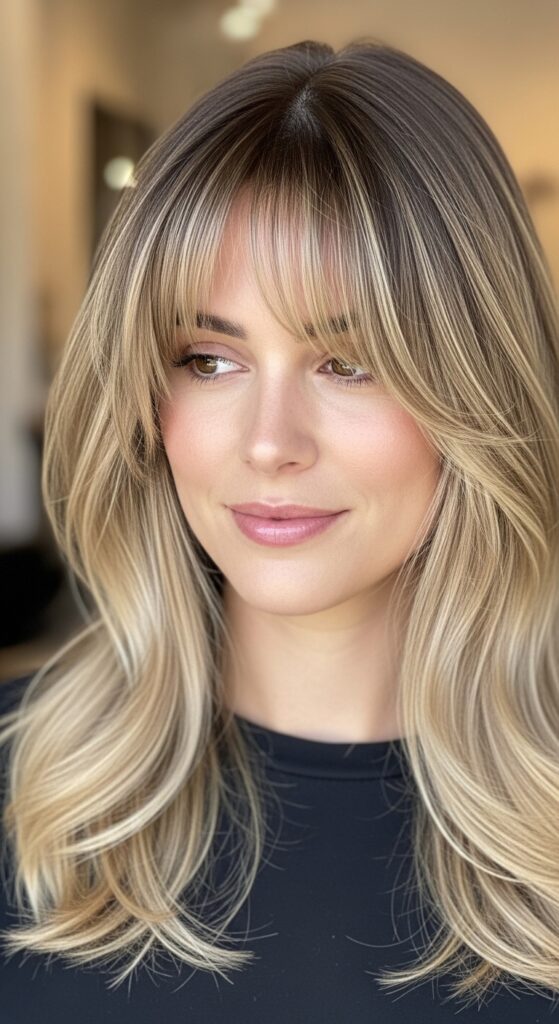
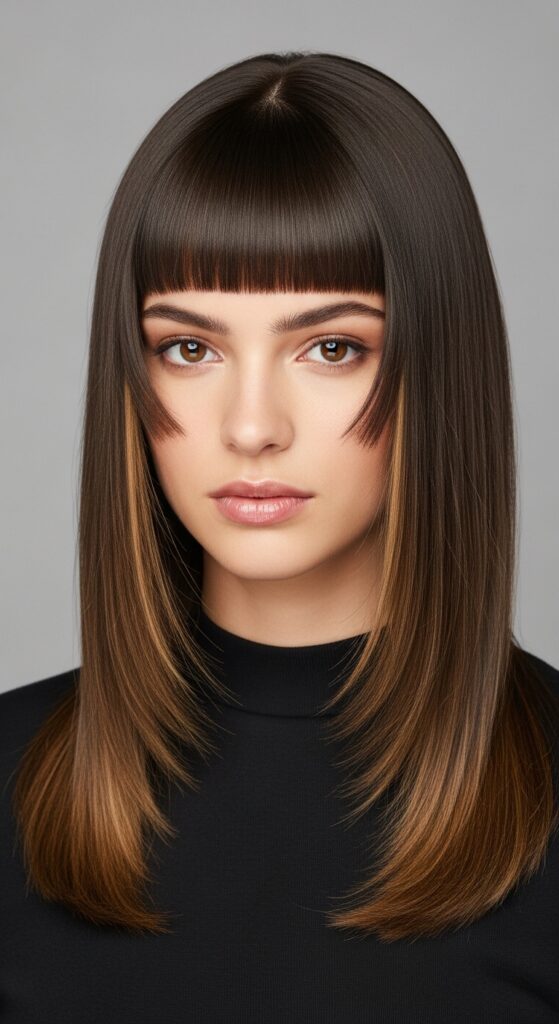
6. The Curtain Bangs Companion Map
Curtain bangs demand their own highlight strategy. The map focuses on creating a seamless blend from the bangs into the longer face-framing pieces. The babylights are placed in a V-shape around the face.
This placement accentuates the swing of the bangs and adds movement. It prevents the bangs from looking like a separate, solid block of color.
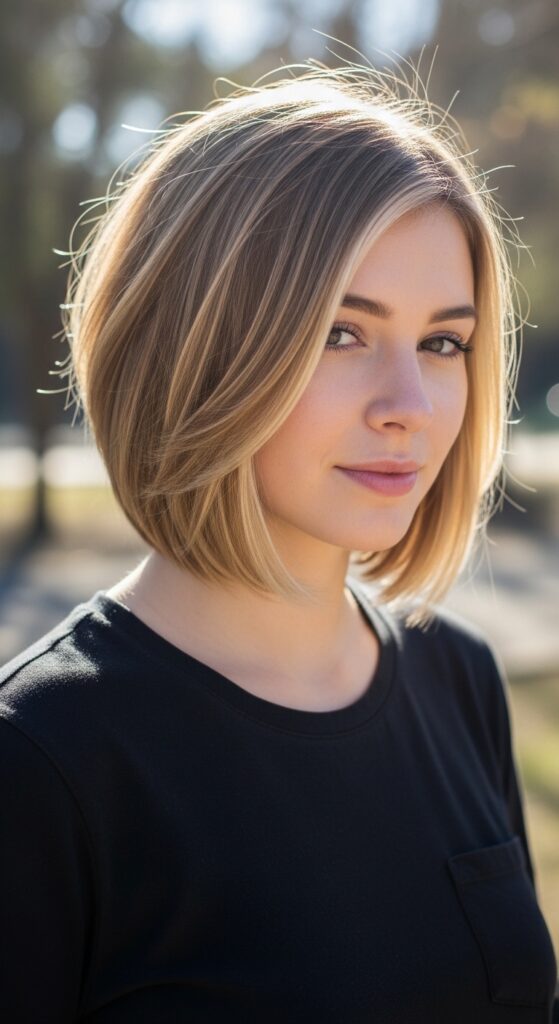
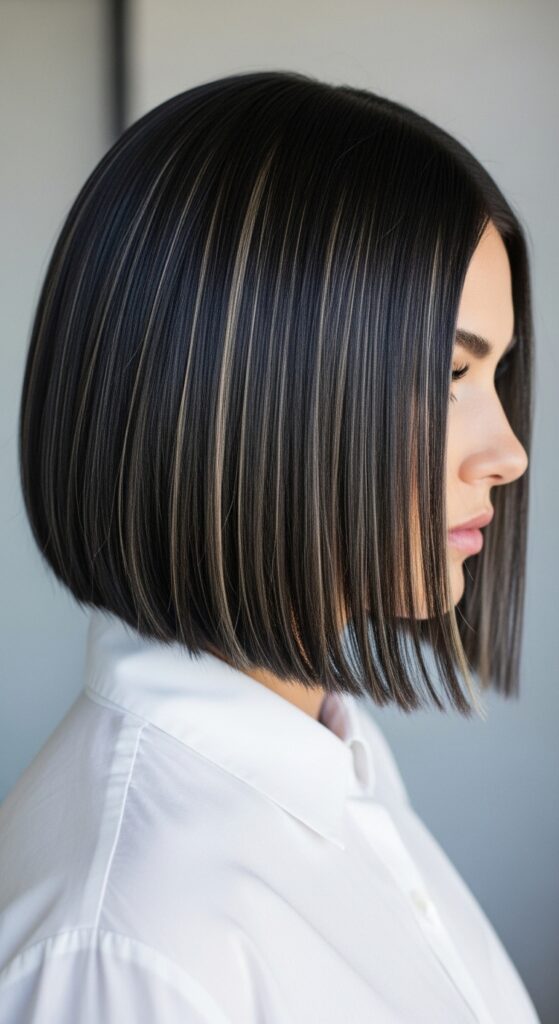
7. Mapping for a Blunt Bob
A blunt cut needs careful placement to avoid a “helmet” of solid color. The map uses babylights to create internal movement and texture within that sharp shape.
Focus is placed on the ends and the interior layers you see when hair moves. This adds a modern, piece-y feel to a classic quiet luxury bob, making it look expensive and lived-in.
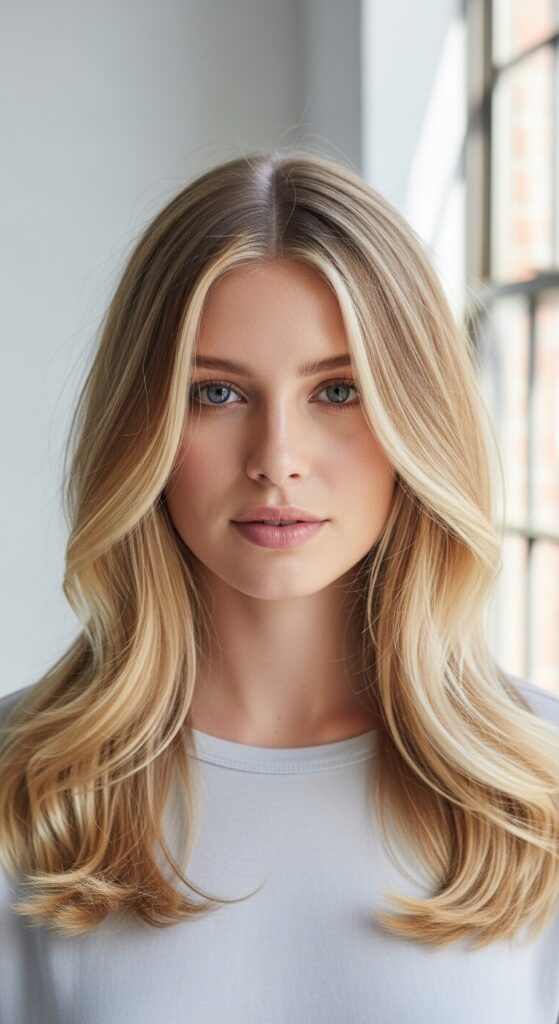
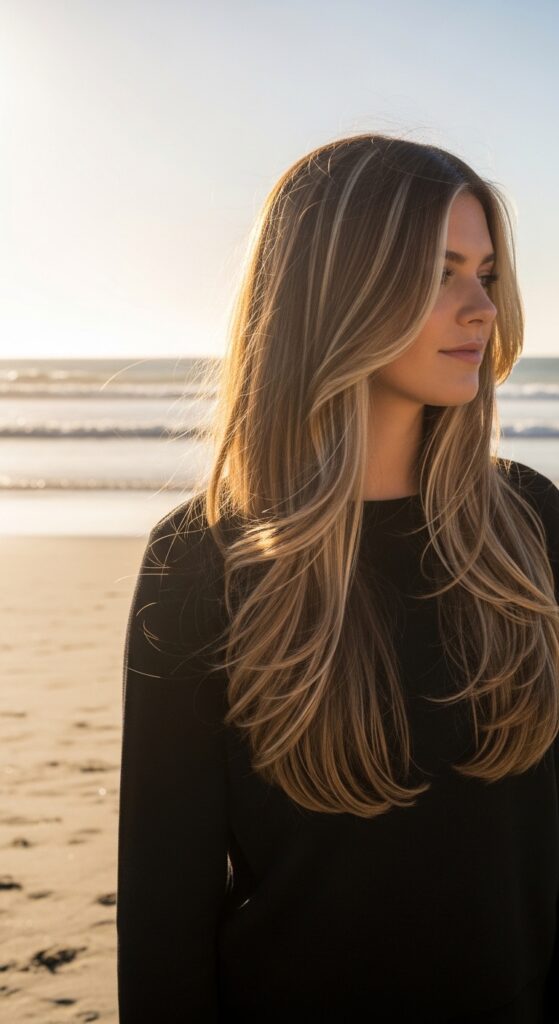
8. Mapping for Long, Layered Hair
On long hair, the goal is to guide the eye down the length. This map uses babylights in vertical sections, following the layering. It creates ribbons of light that enhance the hair’s swing.
Placement is often slightly heavier from the mid-lengths to ends to mimic natural sun lightening. This adds incredible depth and prevents the color from looking top-heavy.
9. The Face-Framing Only Map
Sometimes, you just want the focus on your face. This super-targeted map places babylights only in the immediate front sections—from about the temples forward. The rest of the hair is left natural.
It’s a low-commitment, high-impact option. It’s perfect for dark-haired beauties who want a peek of brightness without a full head of highlights. It screams effortless cool.
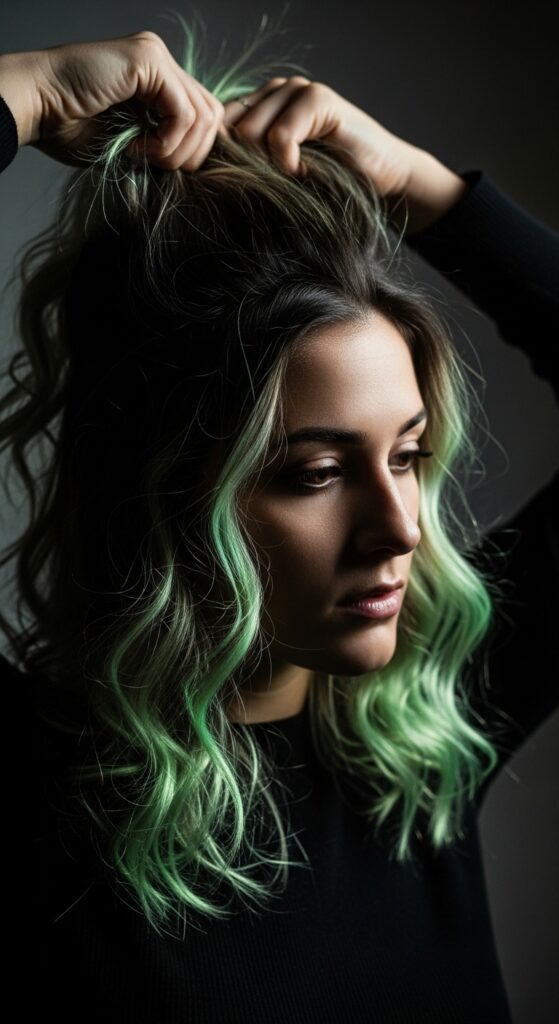
10. The “Hidden Surprise” Underlayer Map
This is a fun, edgy approach. The brightest babylights are concentrated on the bottom layers of hair. When your hair moves or is tucked behind an ear, flashes of brightness appear.
It’s a signature look for romantic goth hairstyles and vampire haircut trends, adding a mysterious contrast. It also works amazingly with half-up styles.
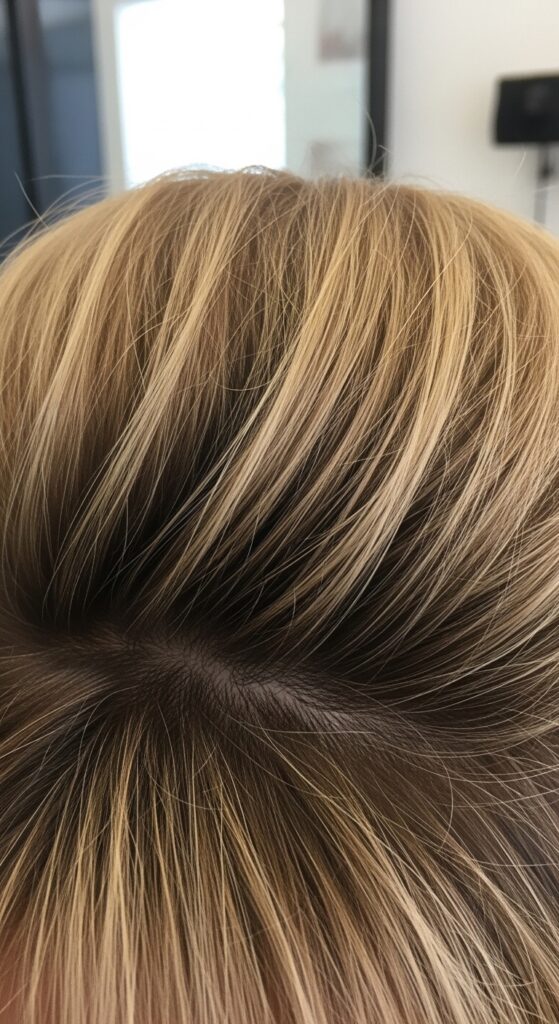
11. The T-Section Concentration Map
The T-Section is the area across the top of the head and down the part line. Concentrating babylights here instantly brightens your overall look and adds lift at the roots where hair often naturally darkens.
It’s a brilliant map for those with finer hair, as it creates the illusion of volume and thickness right at the crown. It’s a classic technique for a reason.

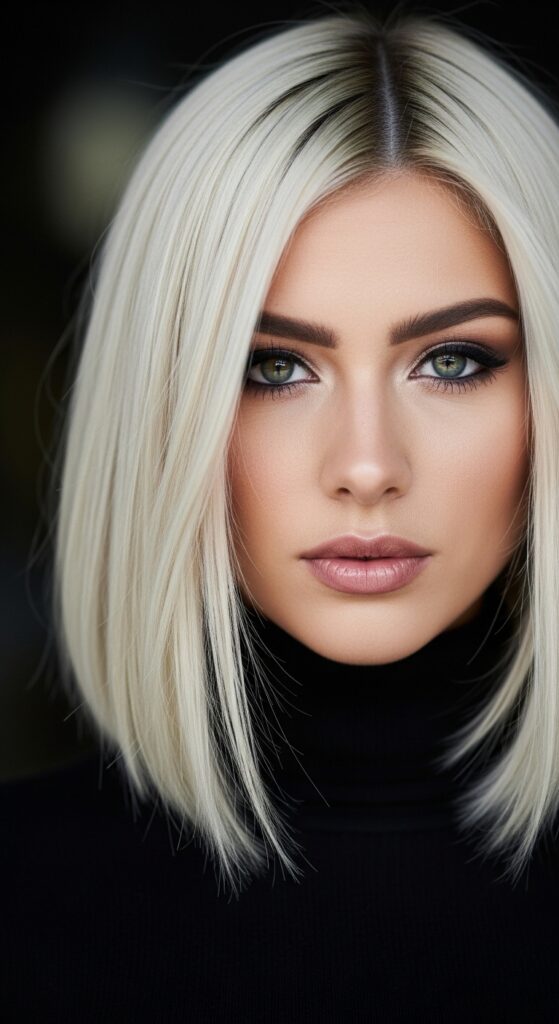
12. Mapping for an Asymmetrical Lob
An asymmetrical lob has different lengths, so your highlights should too. The map is weighted to follow the longer side, with babylights placed to accentuate the angular cut.
The shorter side gets softer, blended highlights to maintain balance. This thoughtful placement makes the cut itself look more dynamic and intentional.

13. The Hime Cut Accent Map
The dramatic hime cut features straight-across bangs and long, straight side locks. The babylight map should highlight these distinct sections without overpowering them.
Focus is placed on brightening the long, front-facing side locks to frame the face, while the bangs may get just a few subtle lights for texture. It honors the cut’s graphic nature.
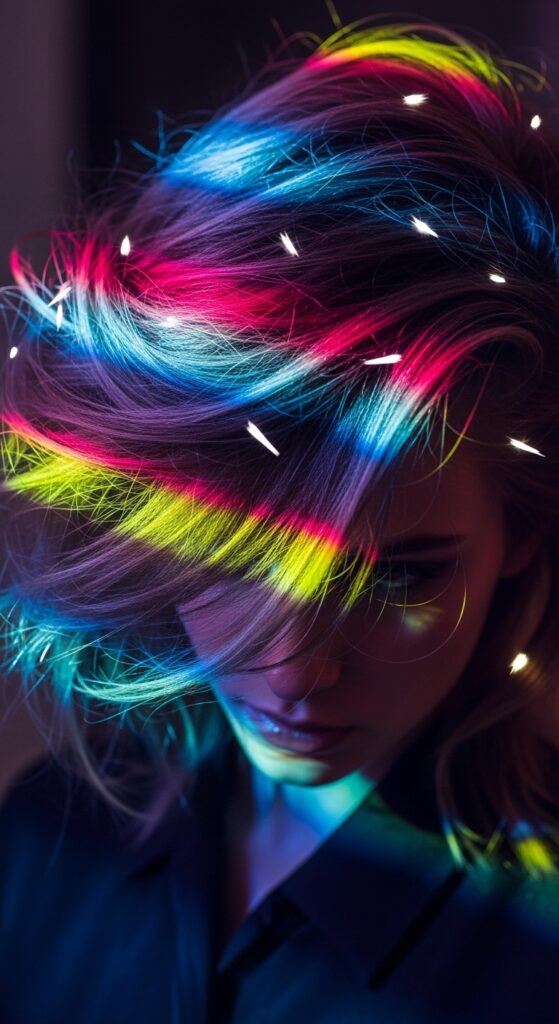
14. The “Glitchy Glam” Textured Map
For the glitchy glam hair trend, placement feels almost random or digital. The map uses unexpected, broken-up sections of babylights, sometimes placing brighter pieces underneath or in sporadic clusters.
It breaks traditional highlighting rules to create a textured, modern, and slightly undone effect. It’s all about intentional imperfection.
15. The Sombre Transition Map
Sombre is a soft, shadowy gradient. The babylight map for this look is heavily concentrated at the mid-lengths and ends, with a very sparse, fine placement at the roots to create a seamless blend.
The goal is no obvious lines, just a gentle melt from a darker root to lighter ends. The babylights are the tool that creates that perfectly diffused transition.
16. Mapping for Volume & Texture
This map is a volume secret. Babylights are placed specifically around the crown and in interior layers that, when lifted, create the illusion of depth and thickness. It’s like contouring for your hair.
By alternating light and dark in strategic places, you force the eye to see more dimension. This is a game-changer for fine or flat hair.
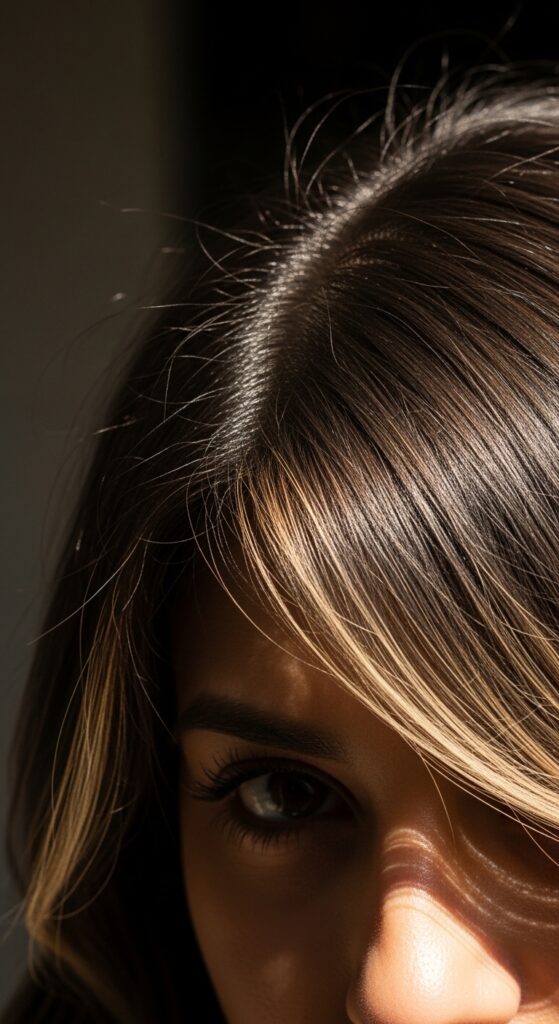
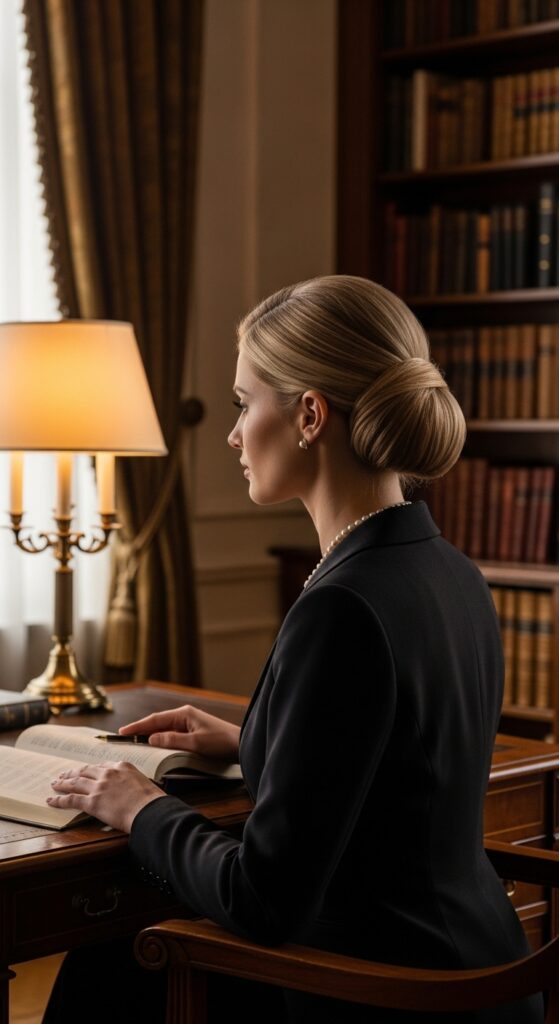
17. The “Old Money Hair” Subtlety Map
Old money hair is never obvious. This map uses the finest, most subtle babylights placed only where the sun would naturally hit—the very top layer around the face and the very ends.
The contrast is minimal. The result is a polished, expensive look that seems utterly natural and well-kept, not salon-made. It’s whisper-light.
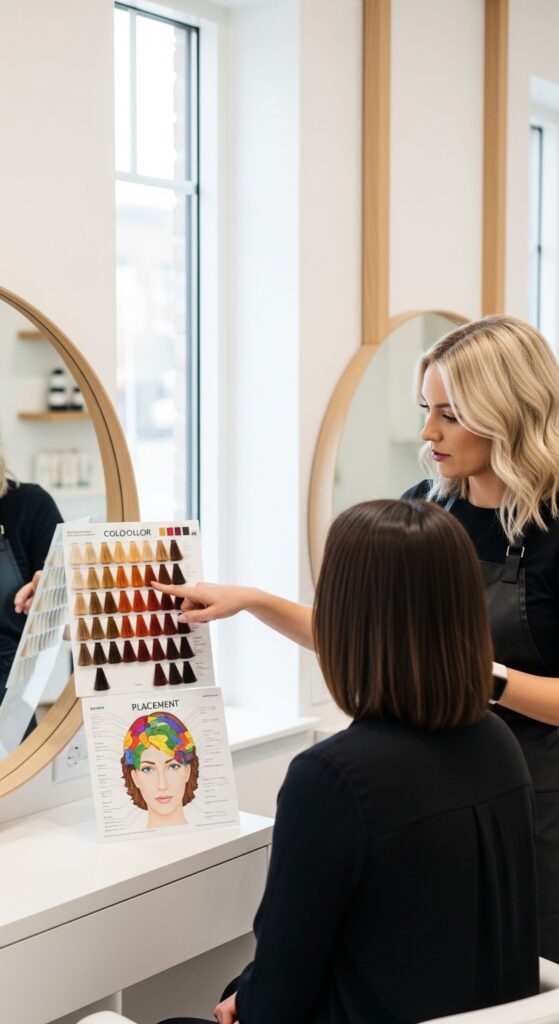
18. The Personalized Consultation Map
The most important map of all. This is the custom plan you build with your colorist by considering your cut, part, face shape, and lifestyle. It combines elements from all the other maps.
Bring inspiration photos, but be open to their professional advice on what placement will truly work for your unique hair. This collaboration is the key to your best color ever.
How to Talk to Your Colorist
Walking in with the right words makes all the difference. Don’t just say “babylights.” Say, “I’d like fine, delicate babylights with a focus on [mention your goal: face-framing, all-over glow, etc.].”
Bring photos that show the *placement* you like, not just the color. Mention your usual part and styling habits. This gives your colorist the full picture to create your perfect map.
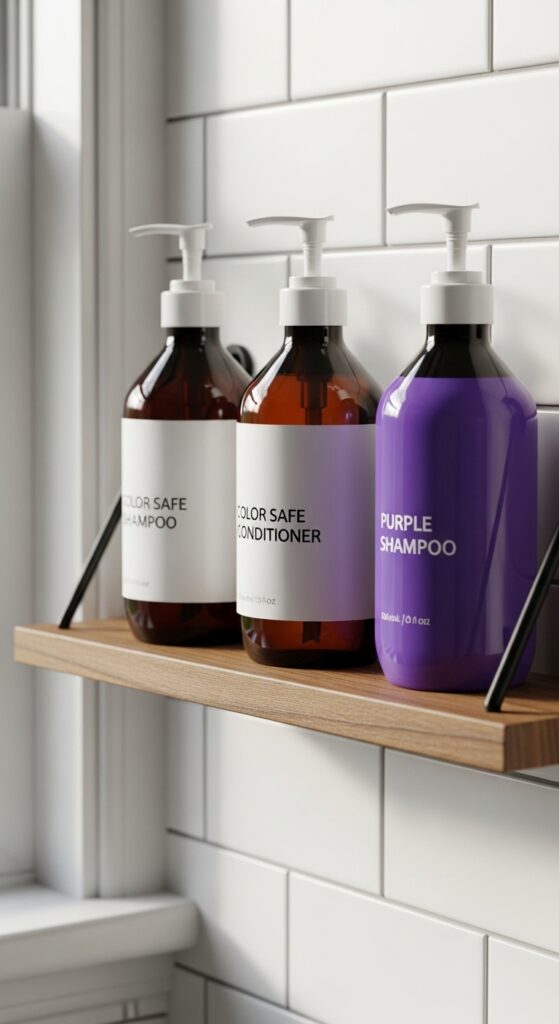
Maintaining Your Babylight Placement
Great placement lasts. Use a color-safe, sulfate-free shampoo and a good conditioner. A purple shampoo once a week can keep blonde tones bright and brass-free.
Touch-ups are typically needed every 3-4 months. Because babylights are so fine and blended, the regrowth is soft, making maintenance less stressful than with chunkier highlights.
Your Final Takeaway
Think of babylight placement as the architecture of your color. It’s what makes the difference between “nice” and “wow.” It’s the reason some highlights look naturally gorgeous and others feel a bit off.
You now have the insider knowledge. Whether you’re craving that soft quiet luxury vibe or an edgier vampire haircut contrast, you know it starts with the map. You’re totally ready for your next salon visit.So, there you have it—your behind-the-scenes look at what makes those perfect, seamless highlights actually happen. It’s less about magic and more about a really smart plan. I hope this takes the mystery out of the process and empowers you to get exactly what you want.
Remember, the best hair color feels like *you*, just a bit brighter and more confident. It’s those tiny, well-placed lights that can totally refresh your look without a drastic change.
Save this post to Pinterest to keep your favorite placement maps handy for your next appointment! And tell me in the comments—which placement strategy are you most excited to try? Is it the classic all-over or something more like the “hidden surprise” underlayer? Let’s chat!