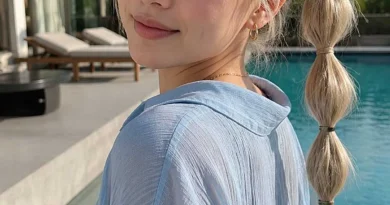
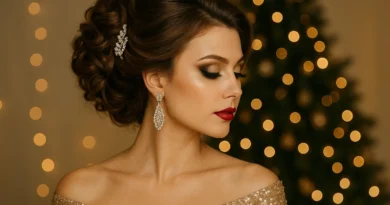
Trail-Ready Hair: 31 Hiking Hairstyles for Women That Stay Put From Trailhead to Summit
There is a moment on every hike when you realise your hair has betrayed you. You are an hour up the trail, the wind has picked up on the ridge, sweat is running down the back of your neck, your backpack straps are rubbing against the same loose pieces again and again, and you have just walked straight into a low branch that has somehow deposited a twig, two leaves and a very determined fly in your ponytail. The hairstyle that looked perfect in the car park mirror is now a tangled, sweaty mess — and there is no bathroom, no mirror, and no flat iron for the next six hours. Trail hair is not salon hair. It has real constraints: wind, sweat, a heavy pack, a hat, branches at head height, and a whole day of movement.
This guide gathers 31 hiking hairstyles for women, chosen for exactly that test. Every style here is judged by the same questions: does it stay put on a steep climb, does it fit under a hat or a helmet, does it survive the wind on an open ridge, and can you fix it by feel, sitting on a rock, with no mirror? Four guides first cover the on-the-trail essentials — hat- and helmet-compatible styles, sweat-proof hold, wind-proof hair, and keeping branches and bugs out — then the 31 styles themselves, from braids and buns to short cuts that need nothing at all. After the styles, four more guides cover the after-the-hike side: campfire hair, a no-shower refresh, washing your hair on the trail, and a multi-day hair plan for a week on the trail. Whether you are out for a morning walk or a week in the mountains, there is a style here that will still look good at the summit.
Hat- and Helmet-Compatible Hairstyles: Styles That Fit Under a Brim
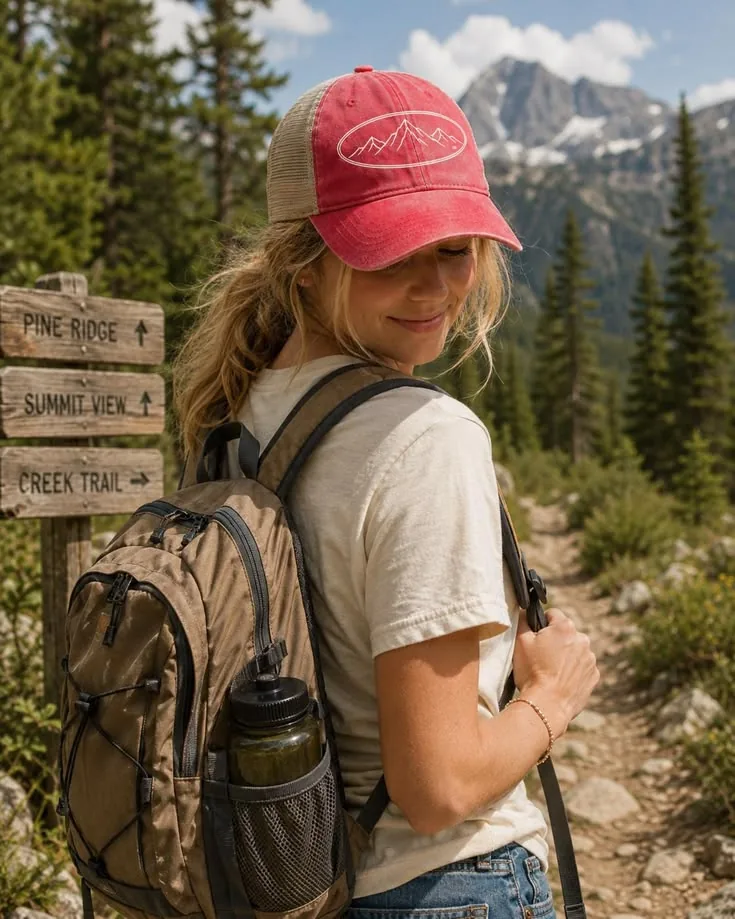
The first thing a hiking hairstyle has to do is fit under whatever is on your head — and on a real trail, that is a lot of things. A baseball cap in the morning sun, a wide-brim sun hat at midday, a beanie when the wind turns cold at altitude, and, on a scramble or a via ferrata, a climbing helmet that sits low on the forehead and leaves no room at all for bulk at the back of the head. The styles that work under all four are the low ones: a low ponytail, a low bun at the nape, a braid worn down the back, or two low braids. Anything piled on top of the head — a high top knot, a high bun — will fight with the brim, push the hat forward onto your forehead, and leave a dent in your hair that no amount of shaking out will fix.
The helmet test is the strictest one. A climbing helmet needs to sit level and snug, and a high ponytail or a bun at the crown lifts the back of the helmet and ruins the fit — which is a safety problem, not just a style problem. A low braid or a low bun sits below the helmet’s rim and changes nothing about the fit. The same goes for a beanie: pull it on over a low style and it stays put; pull it on over a high knot and it slides backwards within ten minutes. Pros and cons: low styles are less dramatic in photos, but they are the only ones that work with everything on your head. Quick verdict: if it sits above the ears, it will fight your hat. Wear it low.
Sweat-Proof Hold: Keeping Your Style Put on a Long Climb
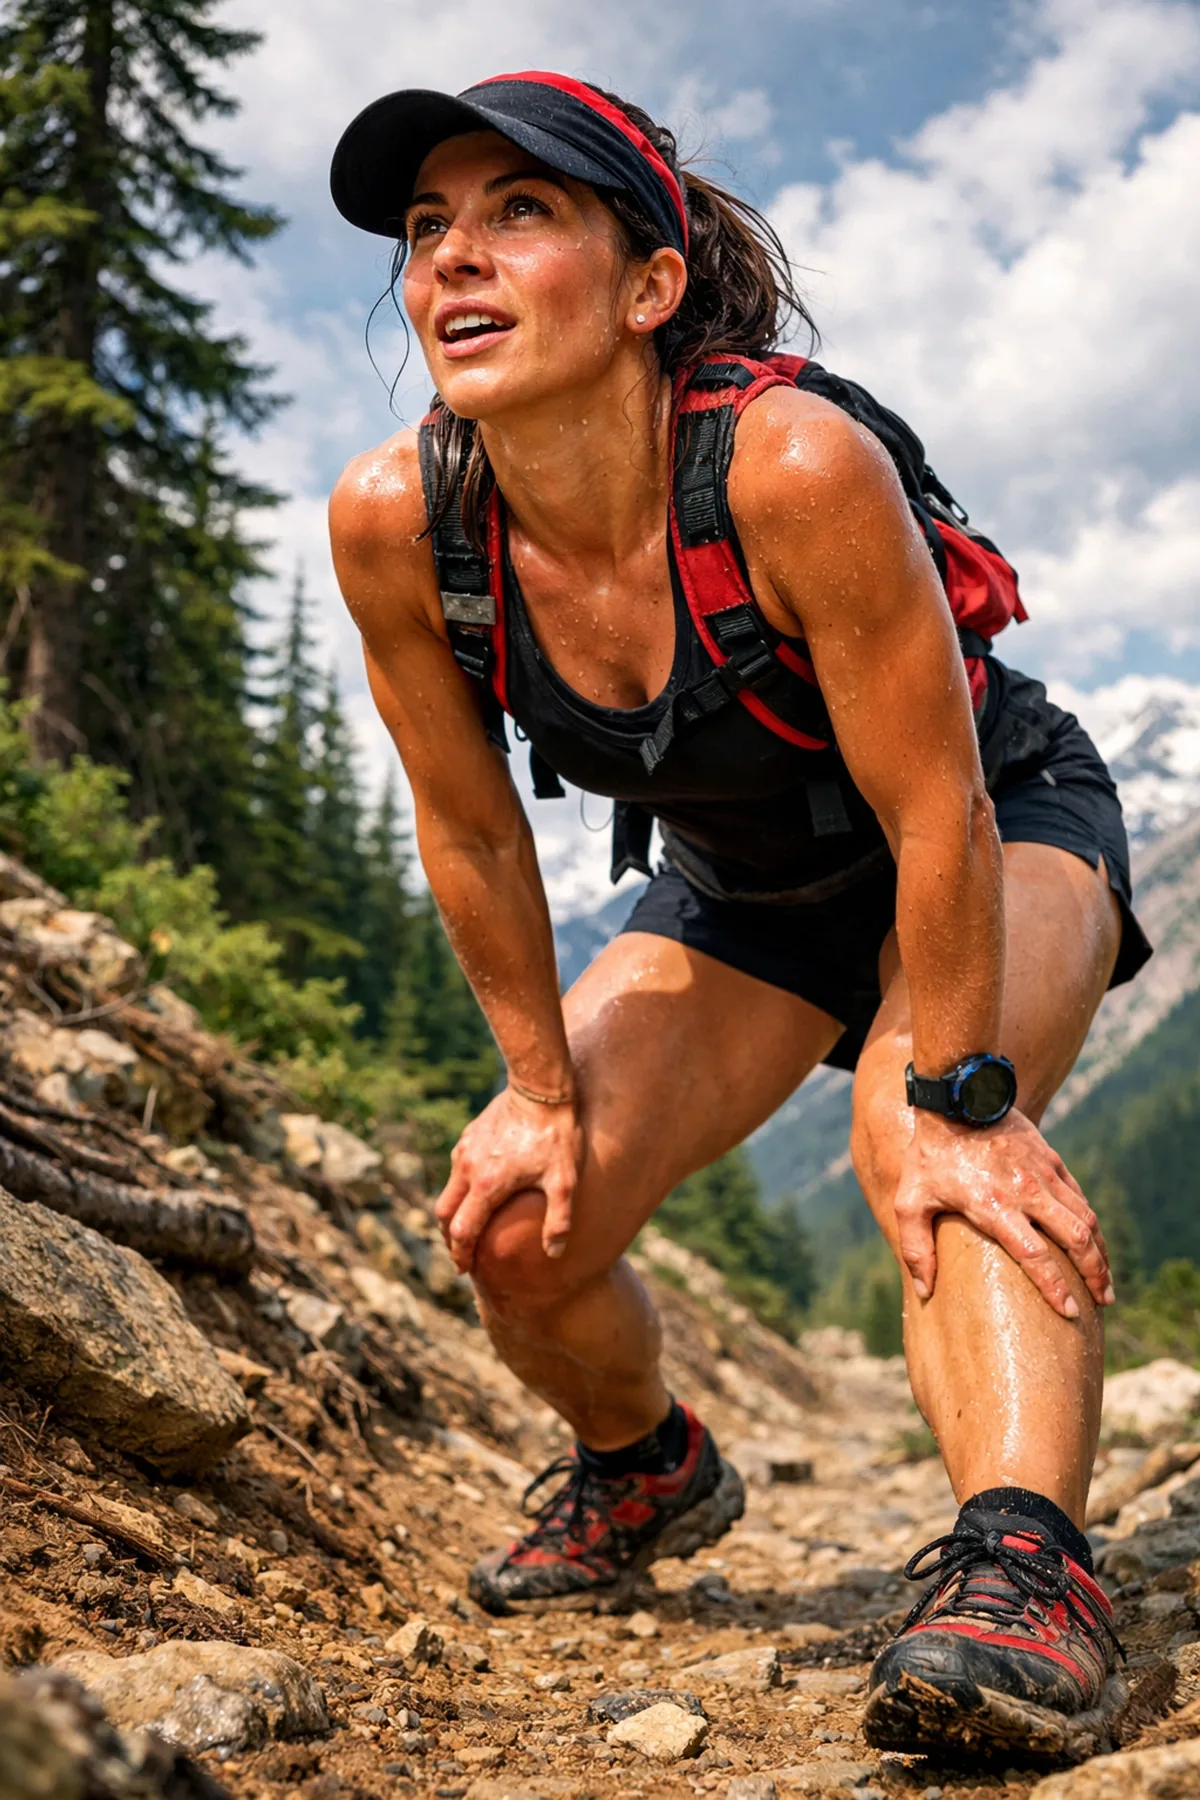
A long climb is the hardest test a hairstyle can face, because sweat is the enemy of hold. It starts at the hairline and the nape, loosens the elastic, flattens the roots, and turns a neat style into a damp, slipping mess by the first rest stop. The fix is not more hairspray — it is the right style, built the right way. Braids are the most sweat-proof style there is, because the hair is woven together and the hold comes from the structure, not from a single elastic. A French braid or two Dutch braids will still be intact at the summit, even after hours of climbing, because sweat cannot undo a weave. A bun or a ponytail, by contrast, depends entirely on its elastic — and once that elastic is wet, it slips.
The second half of sweat-proofing is what you put in your hair before you leave. A little dry shampoo at the roots before you start absorbs sweat before it begins, and a light texturising spray gives fine hair the grip it needs to hold a braid. Skip the heavy gel and the strong-hold hairspray: they go sticky with sweat and flake by lunchtime, and they attract dust on a dry trail. Pack a spare elastic in your pocket, not in your pack — when a ponytail slips on a climb, you need it in ten seconds, not at the next rest stop. Maintenance: if a braid loosens, re-braid just the loose section by feel; it takes a minute and holds for the rest of the day. Quick verdict: braid it, dry-shampoo the roots, and carry a spare elastic in your pocket.
Wind-Proof Hair: Styles That Do Not Blow Apart on a Ridge
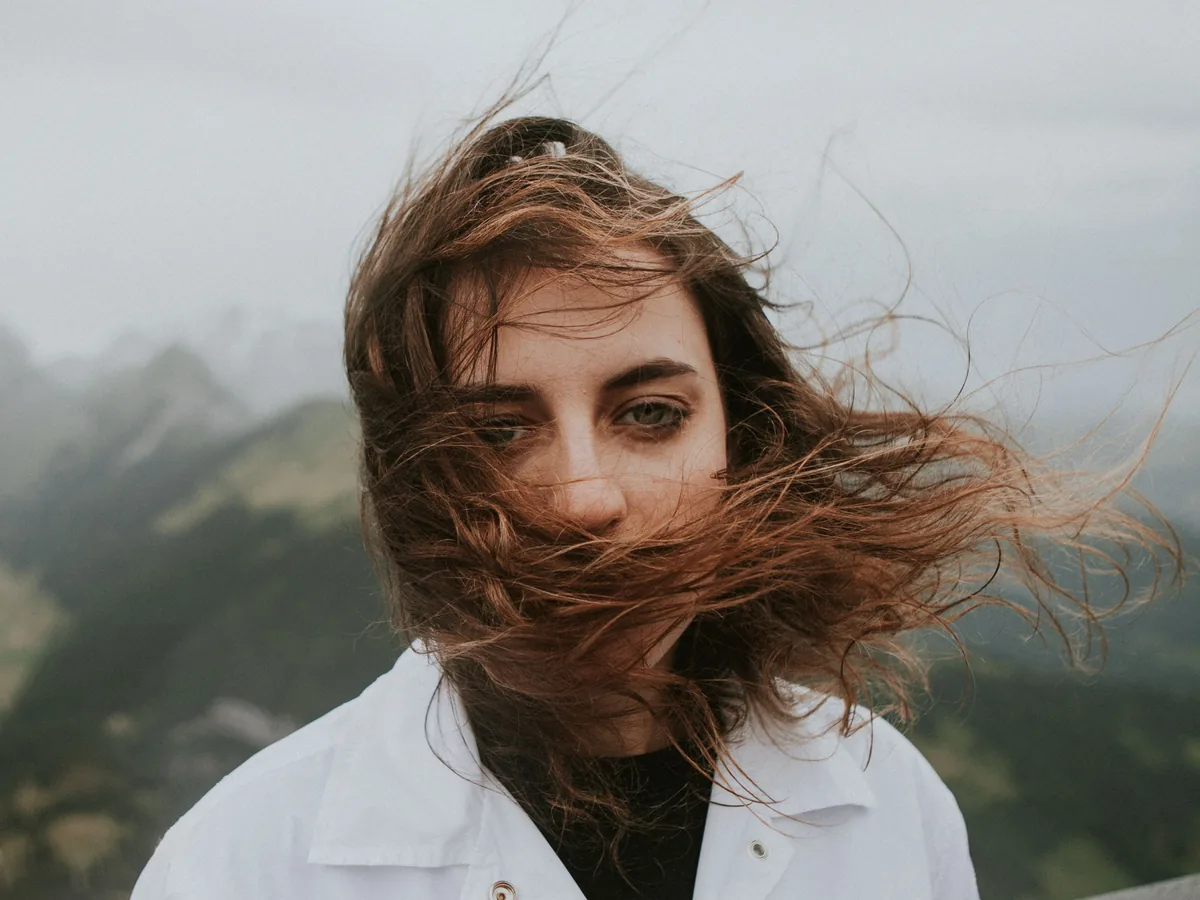
An open ridge is a wind tunnel with a view, and the wind up there is nothing like the breeze at the trailhead. It comes from every direction, it gusts hard enough to sting your eyes, and it will find every loose piece of hair you own within minutes. The styles that survive a ridge are the ones with the most anchoring: a French braid pinned at the nape, a braided bun, two low braids, or a low bun pinned at three points. Loose hair does not survive a ridge at all — not even textured waves, which the wind turns into a knot within the hour. If the route crosses an exposed ridge, wear your hair up and anchored, and let it down again when you drop back into the trees.
The practical trick is to anchor the front first. Two small braids from the temples, a twisted section pinned behind each ear, or a bandana tied at the hairline will keep the hair out of your eyes while you are watching your footing — and on a ridge, watching your footing matters more than looking pretty. A silk scarf or a bandana does double duty here: it holds the front down and it keeps the wind off your ears. Common mistake: a claw clip as your only anchor on a windy ridge. Clips pop open in a gust; a braid and two pins do not. Who should avoid loose styles on a ridge: anyone with fine, flyaway hair — the wind will knot it beyond saving. Quick verdict: on a ridge, anchor everything, and let it down again in the trees.
Keeping Branches, Twigs and Bugs Out of Your Hair
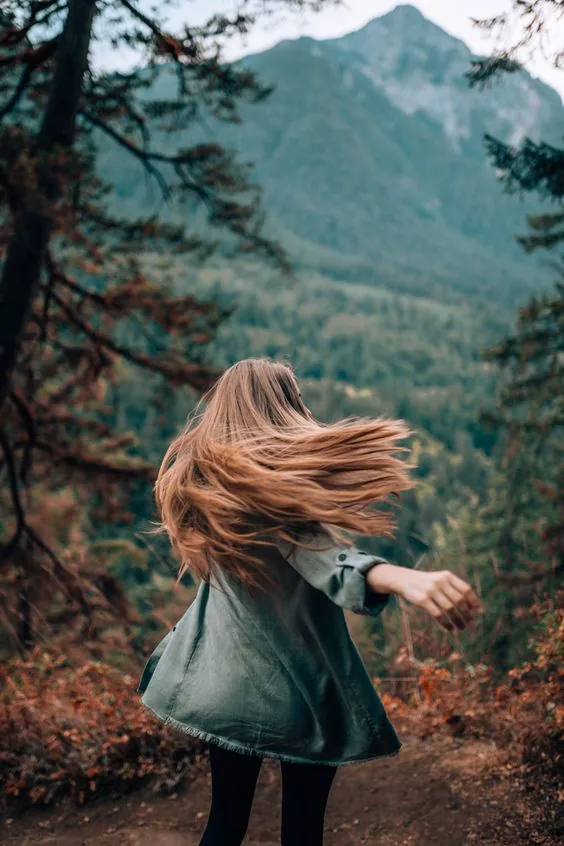
A forest trail is the one place where loose hair is a genuine nuisance, not just a style problem. Low branches catch it, twigs snag it, and by the end of a wooded stretch you will be picking leaves out of your hair at every rest stop. The styles that survive a forest are the ones that keep the hair close to the head: a braid, a low bun, or a ponytail worn tight and high enough that it does not swing into the branches. A low ponytail that swings is worse than a bun, because every swing is a chance to catch a twig. A braid, tucked down the back and out of the way, is the forest winner — nothing sticks out for a branch to grab.
Bugs are the smaller problem, but they are the one that ruins a photo: a fly in the hair on a forest trail is a matter of time. Heavy perfume and strong hairspray attract them, so go light on both, and a braid or a bun gives them far less to land in than loose, flyaway hair. The other half of the fix is what you wear: a bandana or a buff over the hair on a buggy stretch keeps insects off your scalp and the hair out of your face at the same time. What to avoid: a style that needs a mirror to fix, like a perfect blowout — if a branch undoes it in the woods, you cannot rebuild it. Quick verdict: braid it close, cover it on buggy stretches, and go light on the spray.
1. The Low Braided Ponytail for Long Climbs
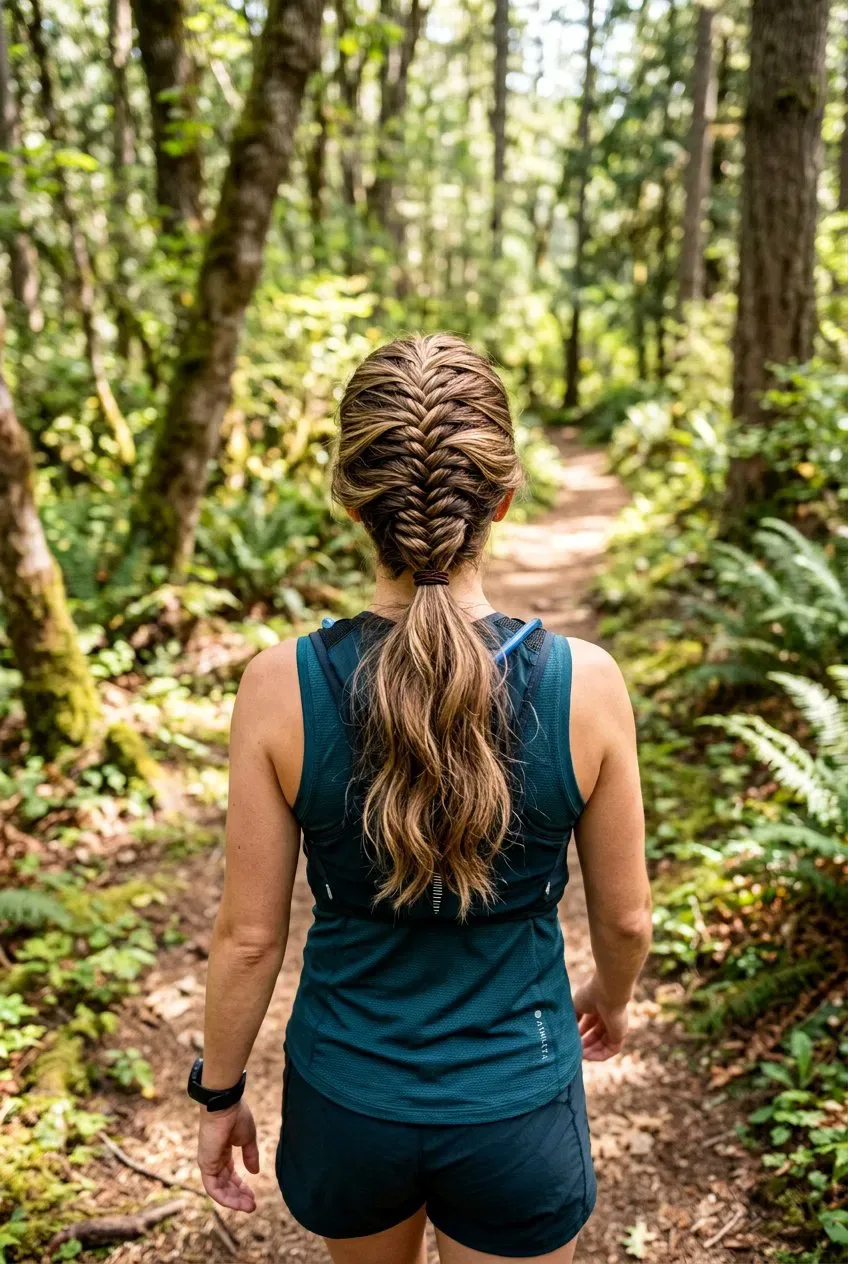
A low braided ponytail is the hiking hairstyle that solves the two biggest trail problems at once: a plain ponytail swings, tangles, and catches on branches, while a braid on its own can feel too neat for a casual day out. Put them together — a low ponytail with the length braided — and the hair is anchored at the nape, the length is woven so it cannot tangle, and the whole style survives a steep climb, a windy ridge, and a low branch without a single fix. It is the style to choose when you want your hair completely out of the way and you do not want to think about it again until the summit.
Best for: long hair, and steep, all-day hikes. How to style it: gather the hair low at the nape, secure it with a strong elastic, then braid the length and tie the end. Pros and cons: it is the most secure ponytail there is, but it takes five minutes instead of one — braid it at home before you leave. Maintenance: if the braid loosens, re-braid just the tail by feel in a minute. Quick verdict: the ponytail, trail-proofed.
2. The Classic French Braid for the Trail
A French braid is the trail braid that never lets you down, because it is anchored to the head from the crown to the nape, and no amount of wind, sweat, or scrambling can undo it. It keeps every strand off the face and out of the backpack straps, it looks neat in the morning and softer — but still neat — by the afternoon, and it is the style that survives a whole day outside without a single fix. On a hike, that reliability is worth more than any amount of glamour, and a French braid is the style most experienced hikers reach for without thinking.
How to style it: start at the crown, add a section of hair with every cross, and keep the braid snug but not tight, so it holds without pulling. Best for: long and medium hair, and any hike with scrambling or a ridge. What to ask your stylist: ask for face-framing layers that sit inside the braid, so nothing escapes at the front. Quick verdict: braid it once in the morning, forget about it until you get home.
3. The Dutch Braid for Windy Ridges
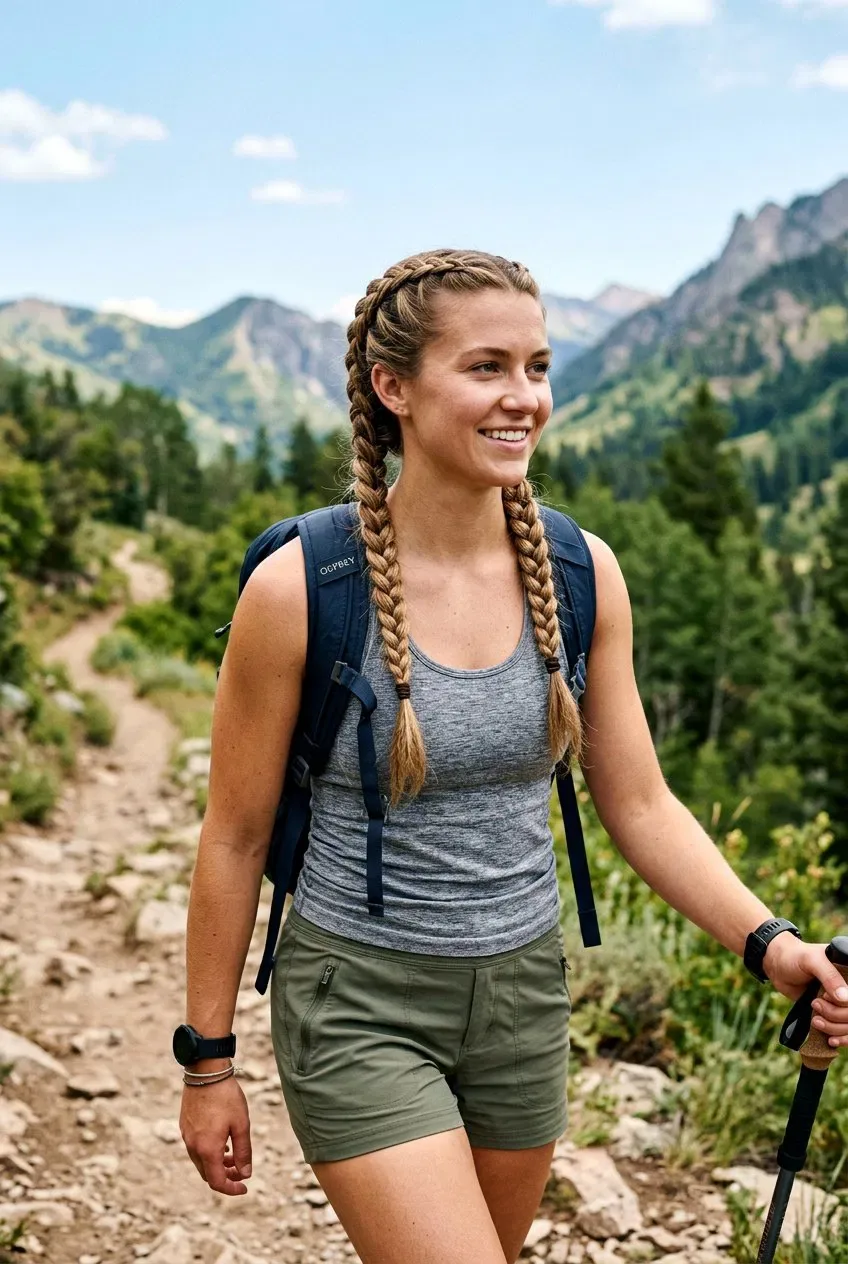
A Dutch braid is the windy-ridge hiking style, because the braid sits raised on the surface of the hair and holds its shape through gusts that would undo a looser style. It is a French braid in reverse — the sections cross under instead of over — and the result is a braid that looks bolder, holds tighter, and survives the wind on an exposed ridge better than any other single braid. It keeps the face completely clear, it fits under a hat or a helmet without a problem, and it looks like a special occasion even though it takes ten minutes and no tools at all.
Best for: medium to long hair, and windy routes or high ridges. How to style it: braid from the crown, crossing each section under the middle, keeping the sections even, and pin the tail underneath or let it fall. Pros and cons: it is the most wind-proof single braid, but it takes a little practice — do it once at home before hike day. Maintenance: a light mist of flexible-hold spray at the hairline keeps the flyaways down. Quick verdict: the ridge-proof braid.
4. Two French Braids for the Toughest Days
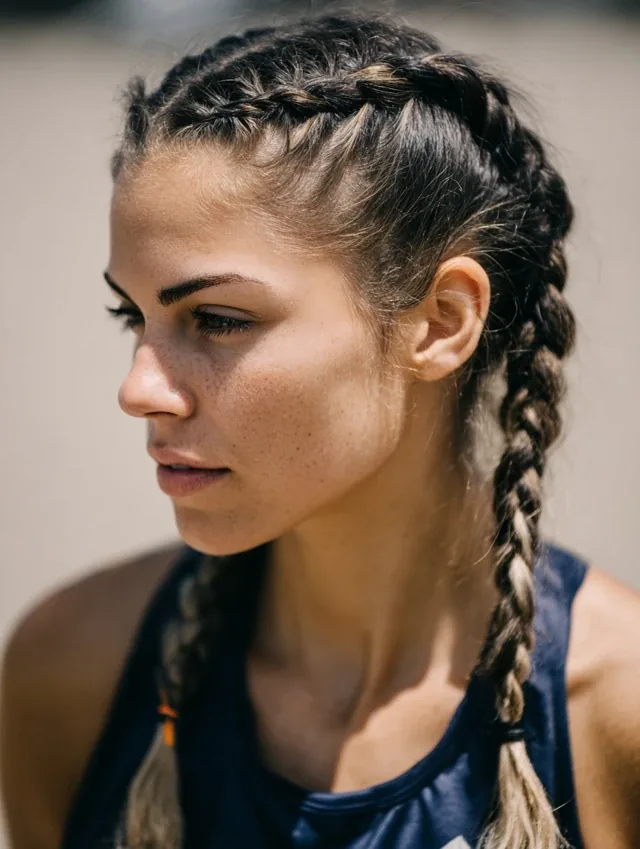
Two French braids are the toughest-day hiking style, and they are the ones to choose when the day involves a steep climb, a scramble, a river crossing, or any amount of effort that will leave you sweating. The hair is divided in two and braided tight on each side, which keeps it completely out of the face, out of the backpack straps, and out of the way — and the style holds through everything, because each braid is anchored on its own side and the weight is balanced. It is practical, it is sporty, and it looks great in summit photos, especially with a cap or a bandana.
How to style it: part the hair down the middle, braid each side from the crown to the nape, and secure with elastics. Best for: long and medium hair, and hard, sweaty hikes. Pros and cons: it is the most secure and the most balanced style here, but it reads sporty — save the braided bun for a lodge dinner. Cost and time: ten minutes and two elastics. Quick verdict: the one that survives anything the mountain throws at it.
5. The Fishtail Braid for a Long, Lazy Trail
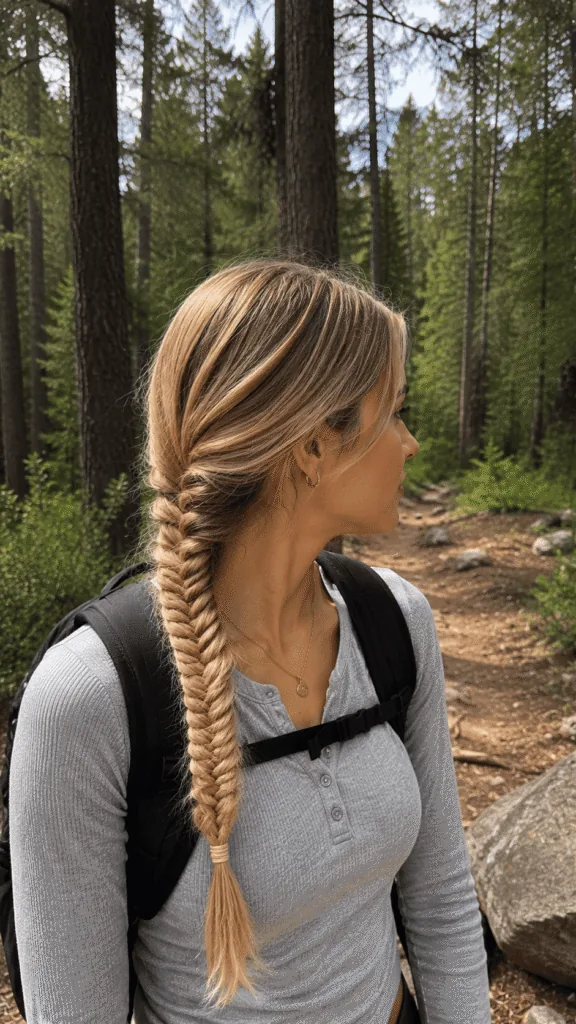
A fishtail braid is the long, lazy trail braid: it looks intricate and impressive, but it is only two sections of hair crossed over each other, and it gets better as the day goes on. The braid sits over one shoulder, out of the way of the backpack straps and the branches, and the looseness that comes with a few hours on the trail makes it look softer and more romantic, not messier. It is the braid for a hike where the plan is to take it slow, stop for photos, and enjoy the view — and to look lovely doing it.
How to style it: divide the hair into two sections, take a small piece from the outside of one section and cross it over to the other, and repeat, keeping the pieces small for a fine fishtail or large for a chunky one. Best for: long hair, and slow, scenic hikes. What to ask your stylist: ask for long layers, which give a fishtail its soft, feathered edge. Quick verdict: looks fancy, feels lazy — the perfect trail combination.
6. The Bubble Braid for a Playful Day Out
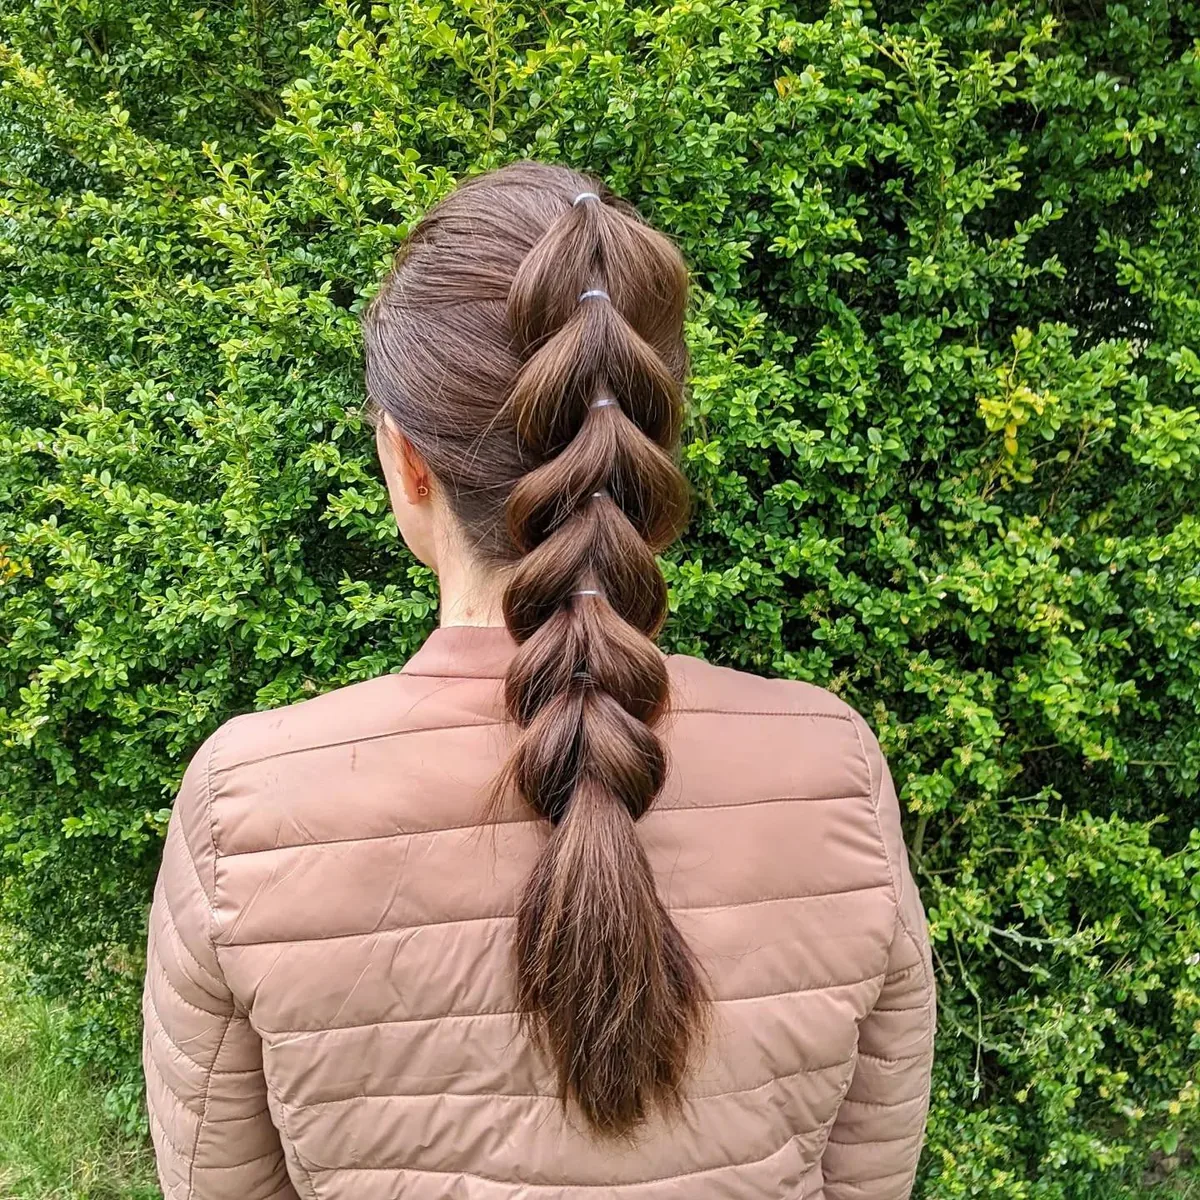
A bubble braid is the playful hiking style, and it is the one that gets the most compliments on the trail: the hair is tied at intervals down the length, and each section is puffed out into a soft bubble, so the whole style looks fun, bouncy, and completely un-bothered by wind. It holds its shape all day because every bubble is anchored by its own elastic, it never tangles the way loose long hair does on a trail, and it looks just as good after a climb as it did at the trailhead — which is more than most hiking styles can say.
Best for: long hair, and easy, sociable hikes with friends. How to style it: make a low ponytail, add elastics every few inches, and gently pull each section out into a bubble. Who should avoid it: very short or very fine hair, which will not hold the bubbles — a low bun will suit you better. Maintenance: if a bubble flattens, just pull it out again with your fingers. Quick verdict: all the charm of a braid, none of the braiding.
7. The Low Messy Bun for Hot Afternoons
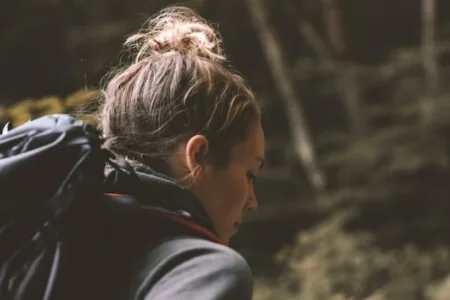
A low messy bun is the hiking hairstyle that everything else is measured against, because it solves the three biggest trail problems at once: it keeps the hair off your neck in the heat, it cannot be ruined by wind, and it looks better slightly undone than perfectly neat. The bun sits at the nape, well below where the breeze catches the hair and low enough that a backpack sits comfortably above it, and the looseness means the wind can tug at it all afternoon without leaving a dent. Pull out two soft pieces at the front and the style looks deliberate rather than accidental — pretty, cool, and completely practical.
Best for: medium to long hair, and anyone who wants one style that lasts from the trailhead to the summit. How to style it: gather the hair low, twist it loosely, wrap it into a bun, and pin it at three points so it cannot wobble. Common mistake: pulling it too tight, which turns a relaxed bun into a severe one — keep it soft. Quick verdict: the hiking default, and the one to choose when you cannot decide.
8. The High Ponytail for a Short, Steep Climb
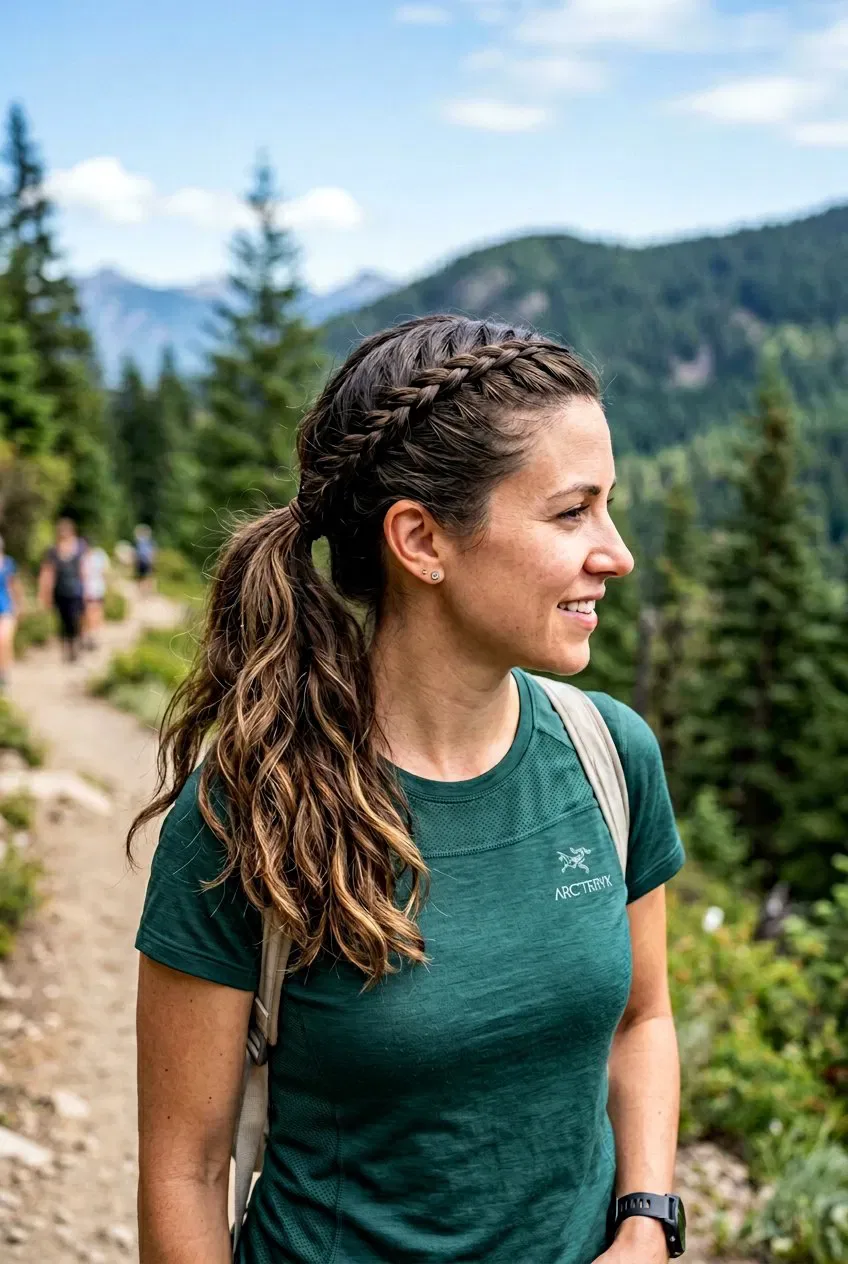
A high ponytail is the short, steep climb style: it lifts the hair off the neck, lets the air reach the nape, and keeps the whole head cool while you work hard uphill. It is cheerful, it is sporty, and it photographs beautifully against a mountain sky — and it is the style that works best when the hike turns active, because a ponytail moves with you instead of fighting you. Add a wrap of hair around the elastic and it stops looking sporty and starts looking finished, even at the summit.
How to style it: brush the hair up high, secure it firmly with a strong elastic, and wrap a strand around the base to hide the elastic. Best for: long and medium hair, and hot, steep climbs. Common mistake: a ponytail that is too tight, which pulls at the hairline and aches by the first rest stop — keep it firm, not fierce. Who should avoid it: anyone wearing a backpack with a high sternum strap, which will catch a swinging ponytail — a low ponytail will suit you better. Quick verdict: sunny, cool, and done in two minutes.
9. The Low Ponytail for All-Day Comfort
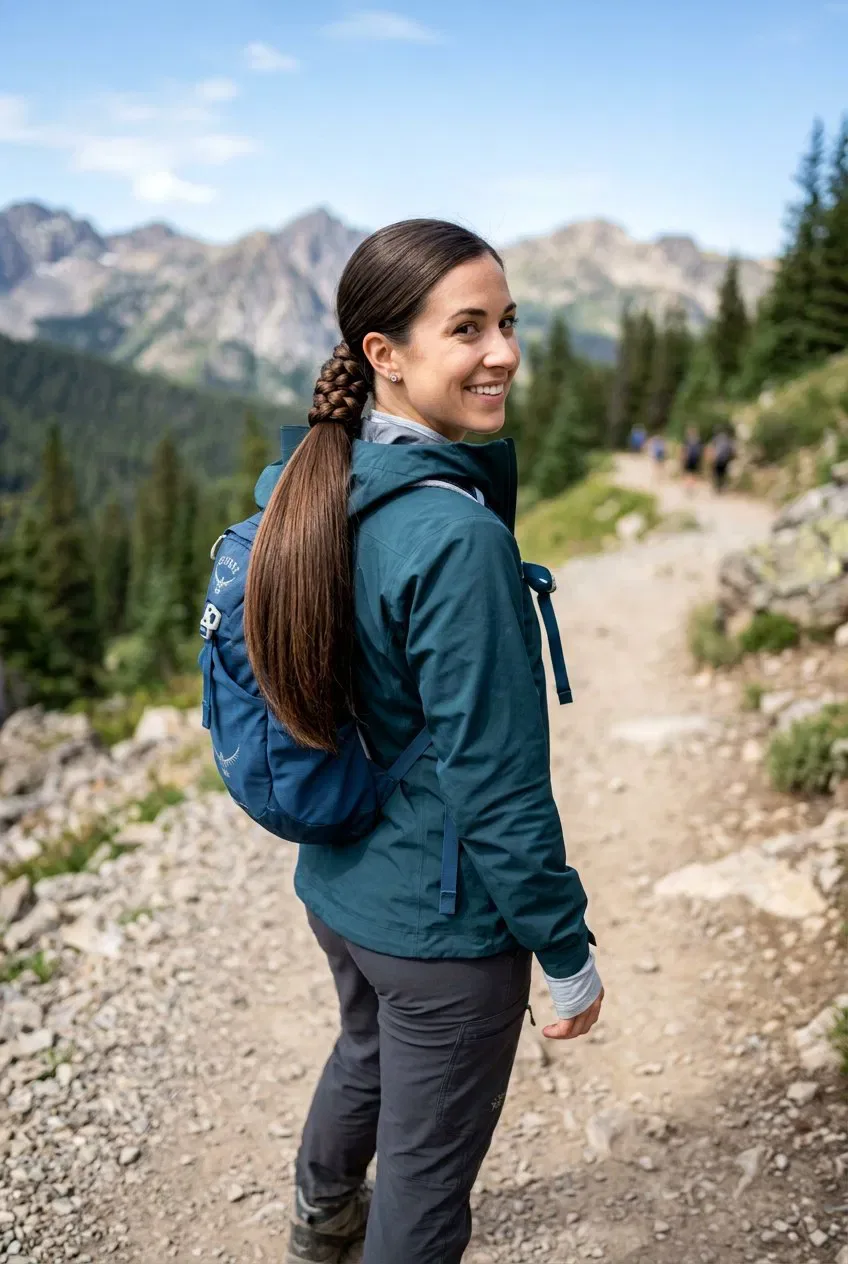
A low ponytail is the all-day comfort hiking style, and it is the one most women actually wear on a long trail, because it does everything without asking for anything. It sits at the nape, below the backpack straps and below the brim of a hat, so nothing rubs against it and nothing pushes it out of place. It keeps the hair off the shoulders so a pack sits comfortably, it holds through a climb and a descent, and it takes thirty seconds with no mirror — which leaves more time for the hike itself. Wrap the base and it looks polished; leave it plain and it looks honest.
How to style it: smooth the hair with a brush and a little serum, gather it low, secure it, and wrap a strand around the base and pin it underneath. Best for: long hair, and long, all-day hikes. Common mistake: a ponytail that is too high or too tight, which catches on the pack straps — keep it low and soft. Quick verdict: neat, comfortable, and the easiest style on the trail.
10. The Braided Bun for a Polished Trail Look
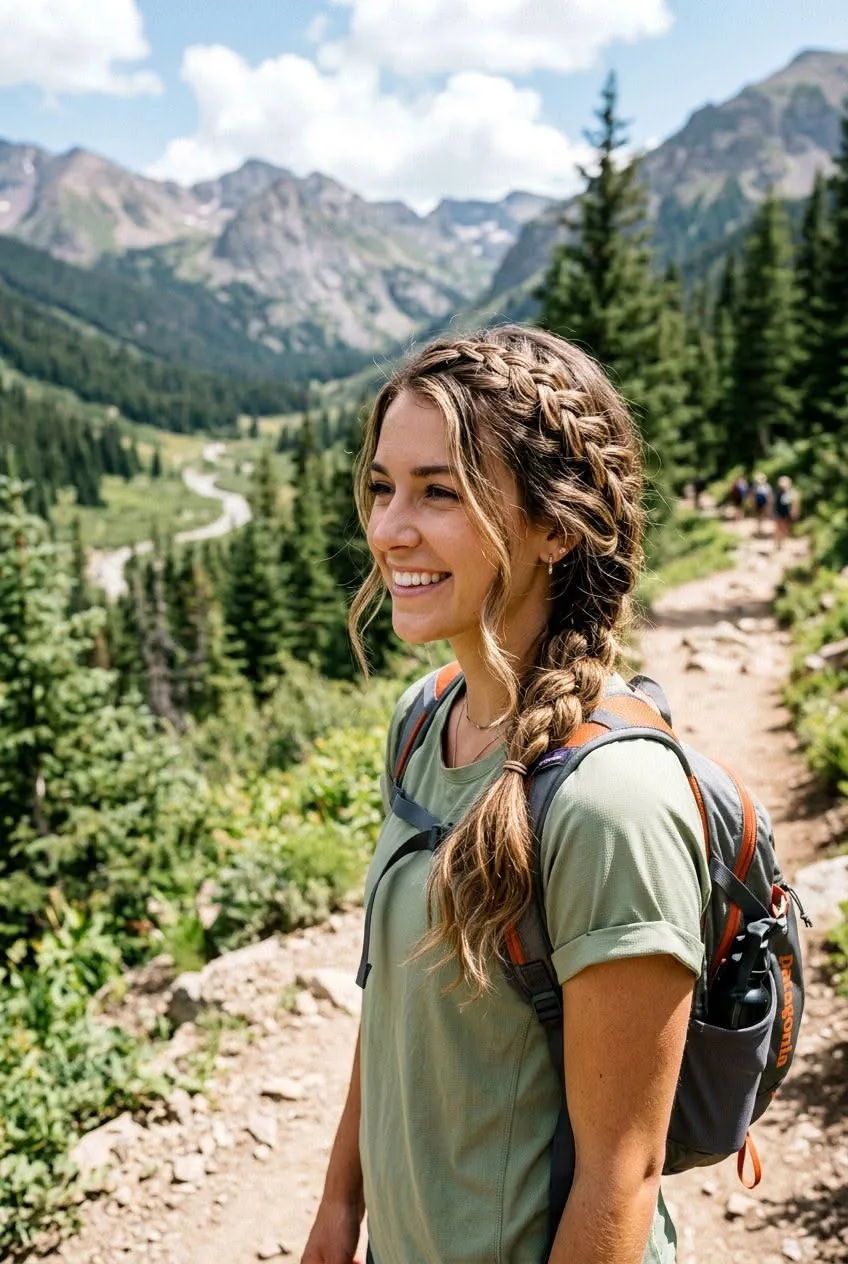
A braided bun is the polished hiking style — the one for a hike that ends at a mountain lodge, a lakeside lunch, or a photo you actually want to keep. A braid is wrapped into a low bun at the nape, which means the style is anchored twice: by the braid and by the bun. It survives the wind, it survives the climb, and it looks elegant in the summit photos, with the braid’s texture catching the light in a way a plain bun never does. It is the most finished style in this guide, and it earns its place on the trail.
How to style it: braid the hair loosely, coil the braid into a bun at the nape, and pin it at three points. Best for: medium to long hair, and hikes that end somewhere worth dressing for. What to ask your stylist: ask for a braid that starts low, so the bun sits at the nape and not at the crown. Pros and cons: it takes ten minutes instead of two, but it is the most polished style in this guide. Quick verdict: polished, secure, and worth the ten minutes.
11. The Top Knot for the Hottest Hour
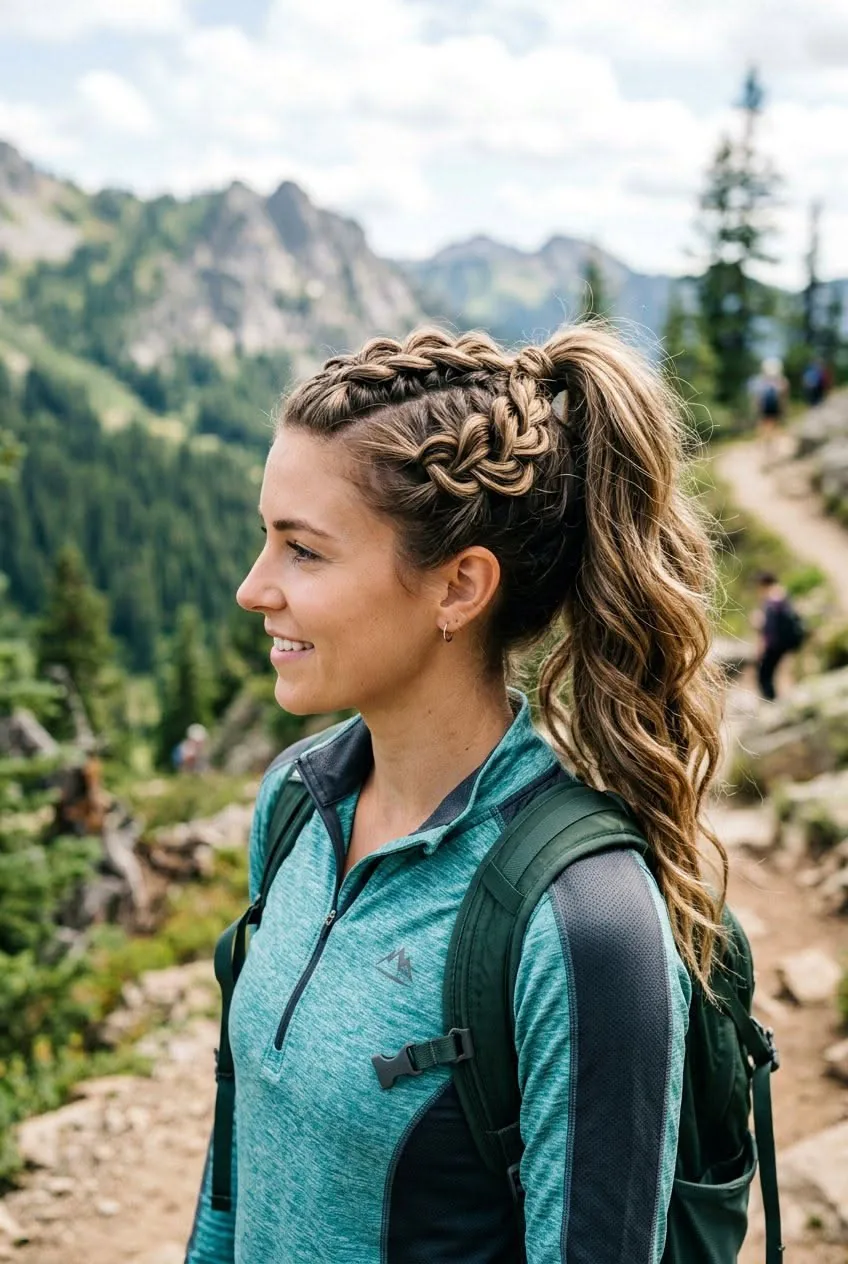
A top knot is the hottest-hour hiking style: the hair is piled loosely on top of the head, off the neck and out of the way, and the messiness is the point — the wind can tug at it, the heat can loosen it, and it only looks better. It is the style for the steepest, sunniest hour of the hike, when the sun is high and the only thing that matters is staying cool, and it takes about a minute to put up, sitting on a rock, with no mirror and no pins. Just remember the hat rule: a top knot and a sun hat do not mix, so save this one for the shady stretches or the open summit.
Best for: medium to long hair, and the hottest part of the day. How to style it: gather the hair high, twist it loosely, wrap it into a knot, and secure it with a strong elastic. Pros and cons: it is the coolest and quickest style here, but it does not fit under a hat or a helmet — switch to a low bun before you put the hat on. Maintenance: if it sags, re-tie it in ten seconds by feel. Quick verdict: the hottest-hour rescue.
12. The Half-Up Braid for Hair You Want Down
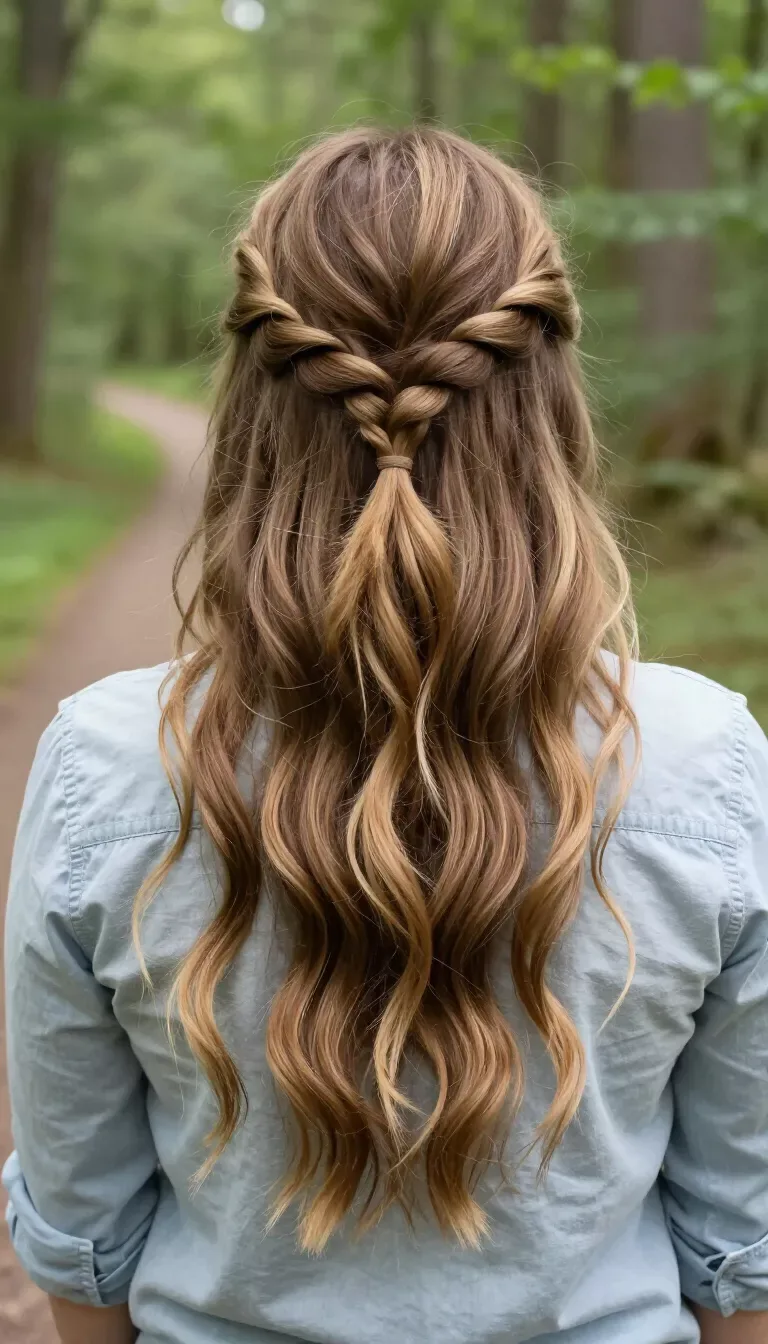
A half-up braid is the compromise for hikers who love their hair down but hate it in their face: a small braid runs back from each temple and joins behind the head, while the rest of the hair falls loose, so you get the loose-hair look without the loose-hair problems. The wind can lift the lengths all it likes — the braid holds the face clear — and the style takes about three minutes, sitting on a rock, with no mirror at all. It is the hiking style for women who want to feel the breeze in their hair and still see where they are going.
Best for: medium to long hair, and calm, sheltered trails. How to style it: braid a small section from each temple, join them behind the head, and leave the rest loose. Common mistake: braids that are too tight, which look formal — keep them soft and a little messy. Maintenance: if the braid loosens, re-pin it in ten seconds by feel. Quick verdict: half up, half down, fully trail-ready.
13. The Rope Braid for a Scramble
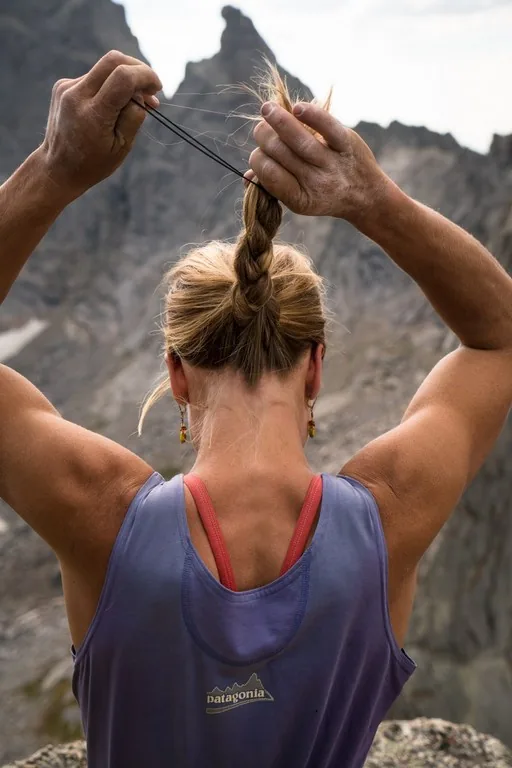
A rope braid is the scramble-day hiking style that most women have never tried — and it is the most wind-proof braid there is. The hair is divided into two sections, each twisted in the same direction, and then the two twists are wound around each other in the opposite direction, which locks them together so tightly that wind, heat, and a whole day of scrambling cannot undo them. It looks sleek and modern, it takes about five minutes once you know the trick, and it is the braid to choose when the route says scramble and you still want to look polished at the top.
How to style it: divide the hair in two, twist each section the same way, then wind the two twists around each other the opposite way and secure the end. Best for: long hair, and scrambles or exposed routes. Common mistake: twisting both sections in opposite directions, which makes the braid fall apart — same way first, opposite way second. Quick verdict: the braid that laughs at the wind.
14. The Braid Crown for a Ridge Walk
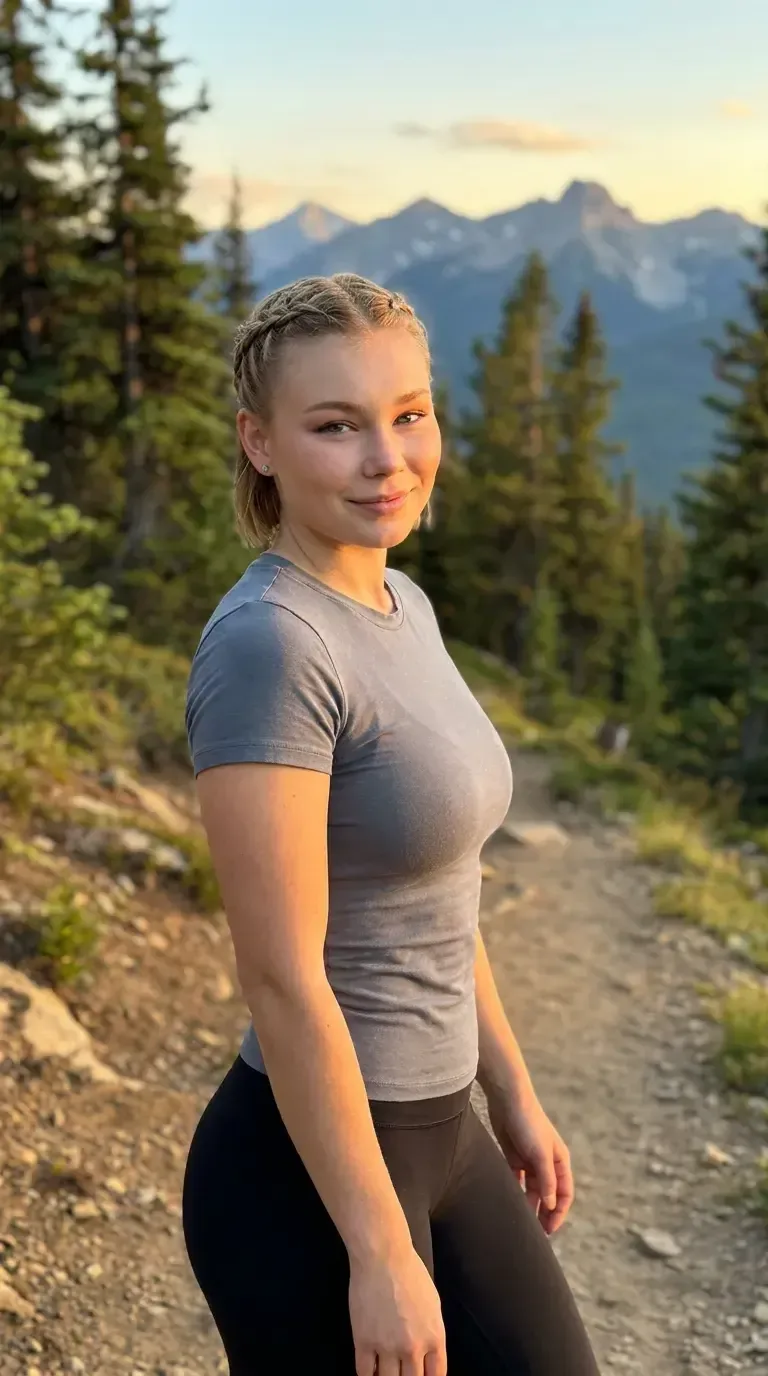
A braid crown is the ridge-walk hiking style: two braids are crossed over the top of the head and pinned in place, like a crown, and the whole look is soft, secure, and completely charming on a mountain trail. It keeps every strand off the face and out of the backpack straps, it survives the wind because it is pinned in at least four places, and it fits under a hat without a single bump. Add a few small wildflowers on a summer meadow trail and it becomes the photo of the day — but even without them, it is the most secure updo on this list.
Best for: medium to long hair, and ridge walks or windy days. How to style it: braid two low braids, cross them over the crown, and pin them flat. What to ask your stylist: ask for face-framing pieces left out at the front, so the crown does not look too severe. Maintenance: carry two extra pins, because a braid crown is only as good as its pins. Quick verdict: the crown that holds through anything.
15. The Scarf-Wrapped Bun for Sun and Style
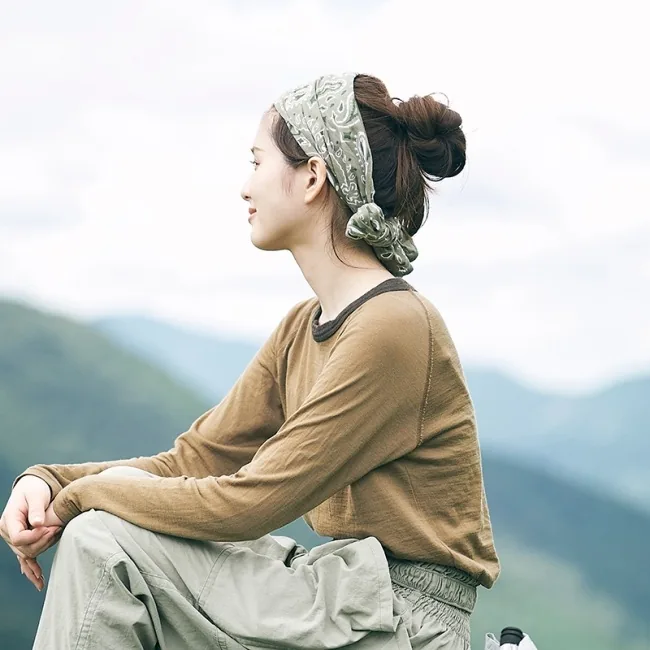
A scarf-wrapped bun is the prettiest hiking updo, and it earns its place for practical reasons as well as pretty ones: the scarf holds the flyaways down in the wind, protects the hair from the sun, and turns a simple bun into something that looks like you planned it. Choose a bright silk scarf and the whole outfit comes together; choose a linen one and it looks effortlessly outdoorsy. Either way, the bun sits low at the nape, safe from the backpack straps and the breeze, and the scarf doubles as a handy extra — a sun shade, a sweat cloth, or a trail marker in a pinch.
How to style it: make a low bun, wrap the scarf around its base, and tie it in a small knot at the side. Best for: medium to long hair, and hikes where photos matter. Pros and cons: it is beautiful and wind-proof, but the scarf can slip in a strong gust — pin it at the back for security. Cost and time: five minutes and one scarf. Quick verdict: the prettiest way to keep the wind out of your hair.
16. The Claw Clip Twist for a Five-Second Fix
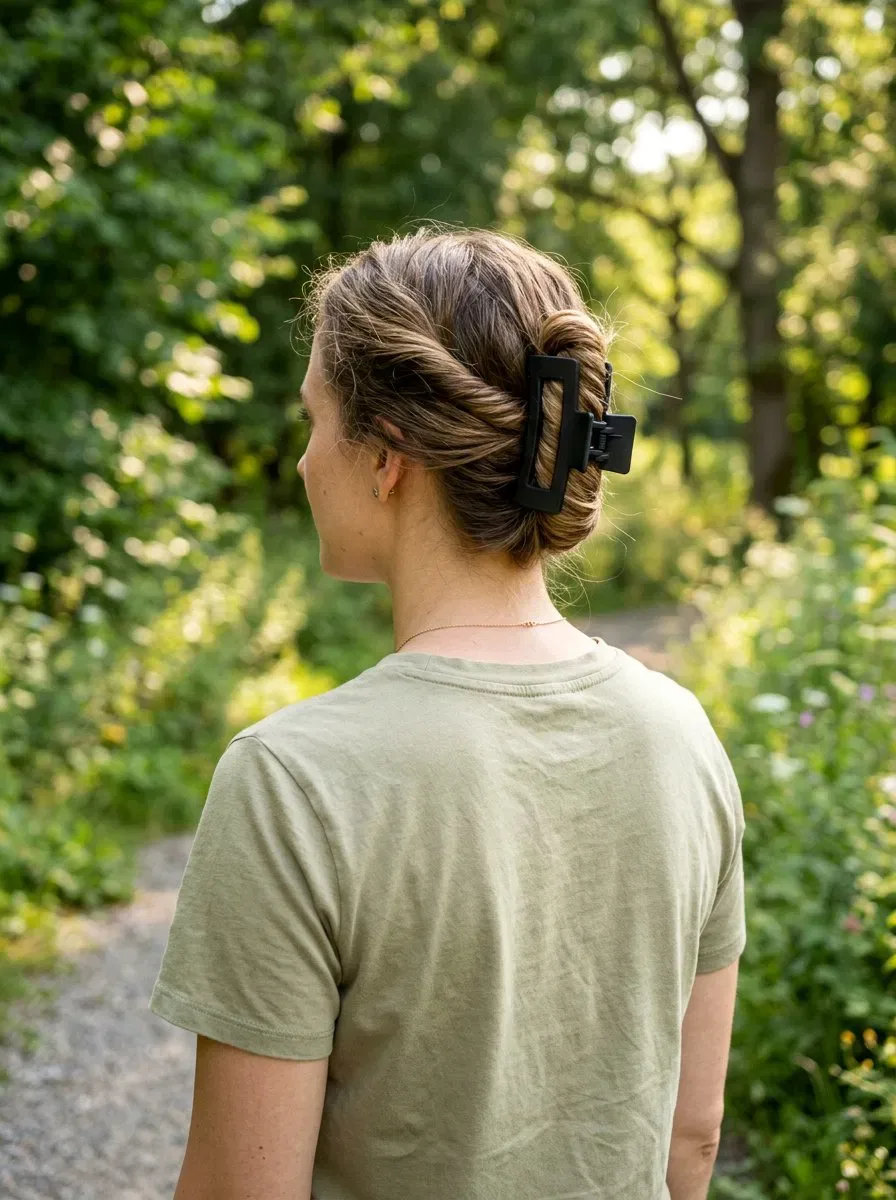
A claw clip twist is the five-second hiking fix, and it is the style to reach for when the afternoon gets hot and you want your hair up right now. The hair is twisted up the back of the head and clipped in place — no pins, no elastics, no mirror — and it stays put through a climb, a rest stop, and a walk to the viewpoint. It is the most practical style in this guide, and it looks effortlessly chic, which is a combination no other hiking style manages quite so well. Just carry a spare clip: they have a habit of disappearing into the grass at a rest stop.
How to style it: gather the hair, twist it up, and clip it at the back of the head. Best for: medium to long hair, and hot afternoons when you need your hair up fast. Common mistake: a clip that is too small for your hair, which slides out on a climb — match the clip to your thickness. Maintenance: carry a spare clip in your pocket, because the trail eats small accessories. Quick verdict: five seconds to cool, calm, and collected.
17. The Bandana Ponytail for a Sunny Trail
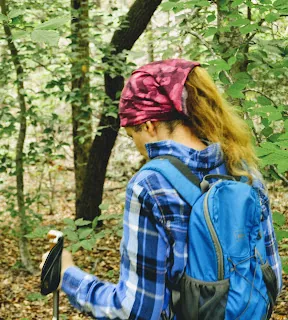
A bandana ponytail is the sunny-trail hiking style with a little vintage charm: the hair is gathered into a ponytail, a bandana is wrapped around the base and tied in a bow, and the whole look is cheerful, practical, and completely at home on a mountain path. The bandana holds the flyaways down, protects the hair from the sun, and adds a pop of colour that makes the whole outfit look considered. It is the style for a hike that feels like a summer postcard — and the bandana doubles as a sweatband when the climb gets steep.
How to style it: make a high or low ponytail, fold the bandana into a strip, wrap it around the base, and tie it in a bow. Best for: medium to long hair, and sunny trails. Common mistake: tying the bandana too loosely, so it slides down on a climb — wrap it twice and knot it firmly. Who should avoid it: anyone who hates accessories in their hair — a plain wrapped ponytail will suit you better. Quick verdict: the postcard trail style.
18. The Loose Side Braid for a Relaxed Day
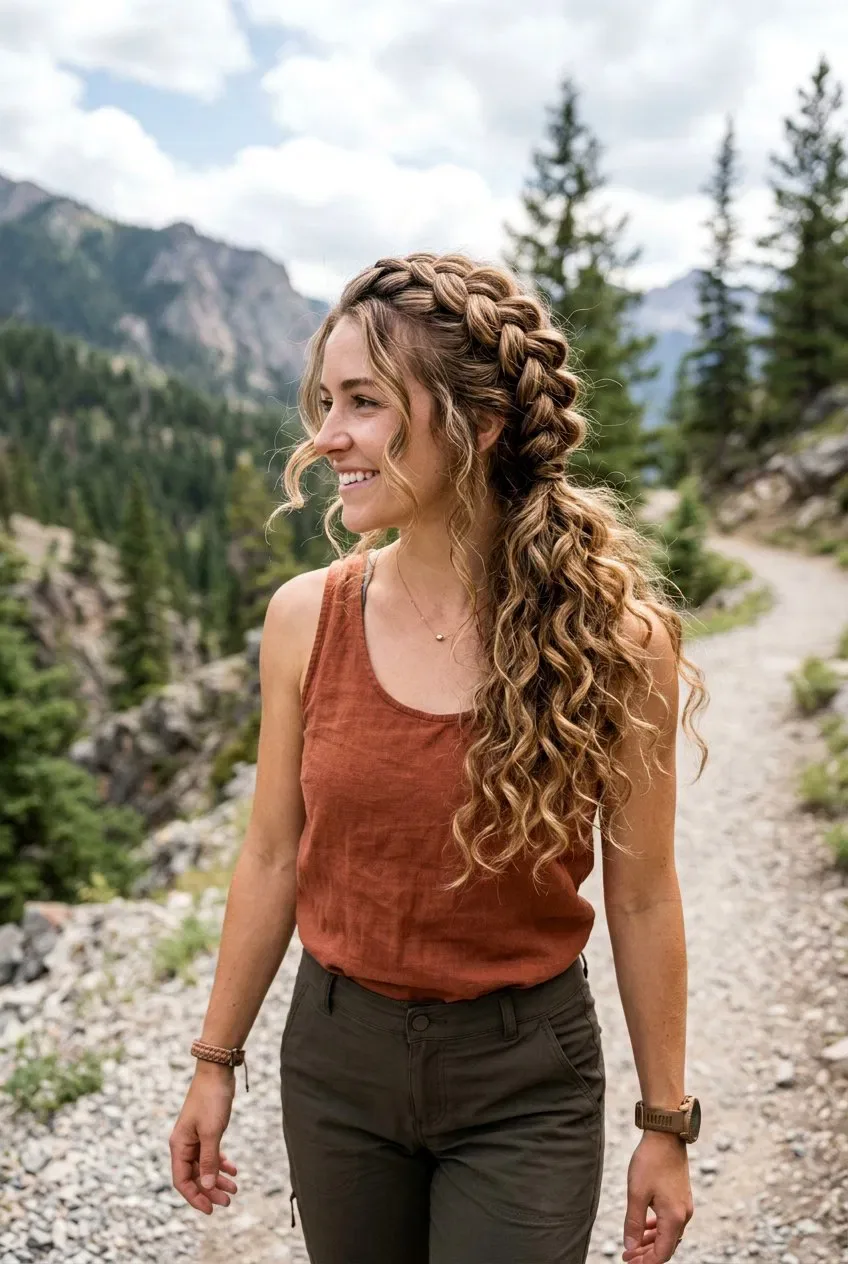
A loose side braid is the relaxed hiking braid: it falls over one shoulder, out of the way of the backpack straps and the branches, and it looks softer and more romantic than a braid worn straight down the back. The looseness is the point — a few pieces pulled out at the front frame the face, the braid moves when you move, and by the afternoon it has relaxed into exactly the soft, lived-in look that suits a day on the trail. It is the braid for a hike with no agenda, where the plan is to walk, talk, and stop whenever the view demands it.
Best for: medium to long hair, and slow hikes with friends. How to style it: sweep the hair to one side, braid loosely, and pull gently at the edges to soften it. Common mistake: braiding too tightly, which looks severe — a side braid should look like it happened, not like it was engineered. Maintenance: re-tie the end and pull out a few more pieces if it tightens up. Quick verdict: the easiest pretty braid there is.
19. Two Low Buns for a Long, Active Day

Two low buns are the long, active hiking style, and they are the ones to choose when the day involves a steep climb, a scramble, and a lot of moving around. The hair is divided in two and twisted into low buns on each side of the nape, which keeps it completely out of the face, out of the backpack straps, and out of the way — and the style holds through everything, because each bun is anchored on its own side and the weight is balanced. It is youthful, it is practical, and it looks charming in summit photos, especially with a bandana or a cap.
How to style it: part the hair down the middle, twist each side into a low bun at the nape, and pin each one at two points. Best for: medium to long hair, and hard, active hikes. Pros and cons: it is the most secure and the most youthful style here, but it reads casual — save the braided bun for a lodge dinner. Cost and time: five minutes and four pins. Quick verdict: the one that survives anything the day throws at it.
20. The French Twist for a Lodge Dinner
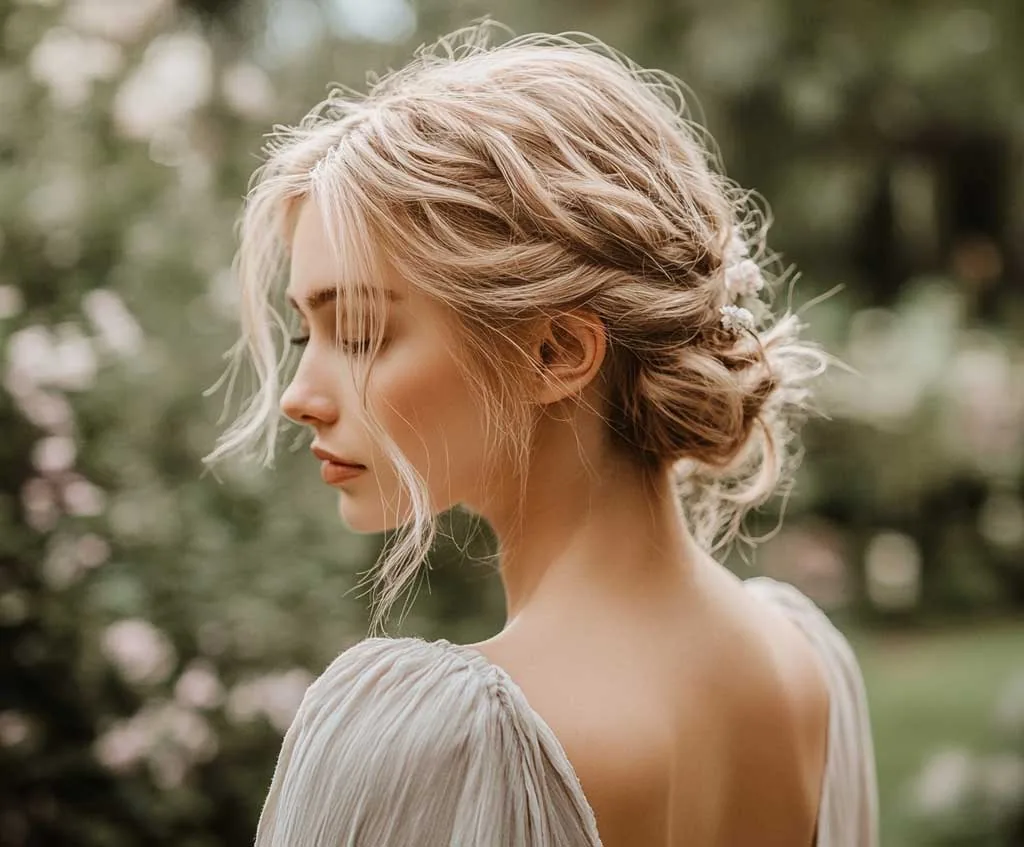
A French twist is the lodge-dinner hiking style, for the hike that ends with a proper meal — a mountain hut, a lakeside restaurant, a celebration at the end of the trail. The hair is swept up and twisted into a neat vertical roll, pinned along its length, and the whole look is polished and deliberate. It holds in the wind on the way down, it sits high enough that a backpack does not squash it flat, and it looks like you went to a salon — even though it takes ten minutes and a handful of pins. Do it at the trailhead in the morning and it will still be perfect at dinner.
How to style it: sweep the hair to one side, twist it up, fold the ends in, and pin along the twist. Best for: medium to long hair, and hikes that end with a meal worth dressing for. Pros and cons: it is the most elegant updo here, but it takes practice — try it once at home before hike day. Maintenance: a strong-hold hairspray keeps the surface smooth. Quick verdict: the occasion trail updo.
21. The Gibson Tuck for a Vintage Trail Look
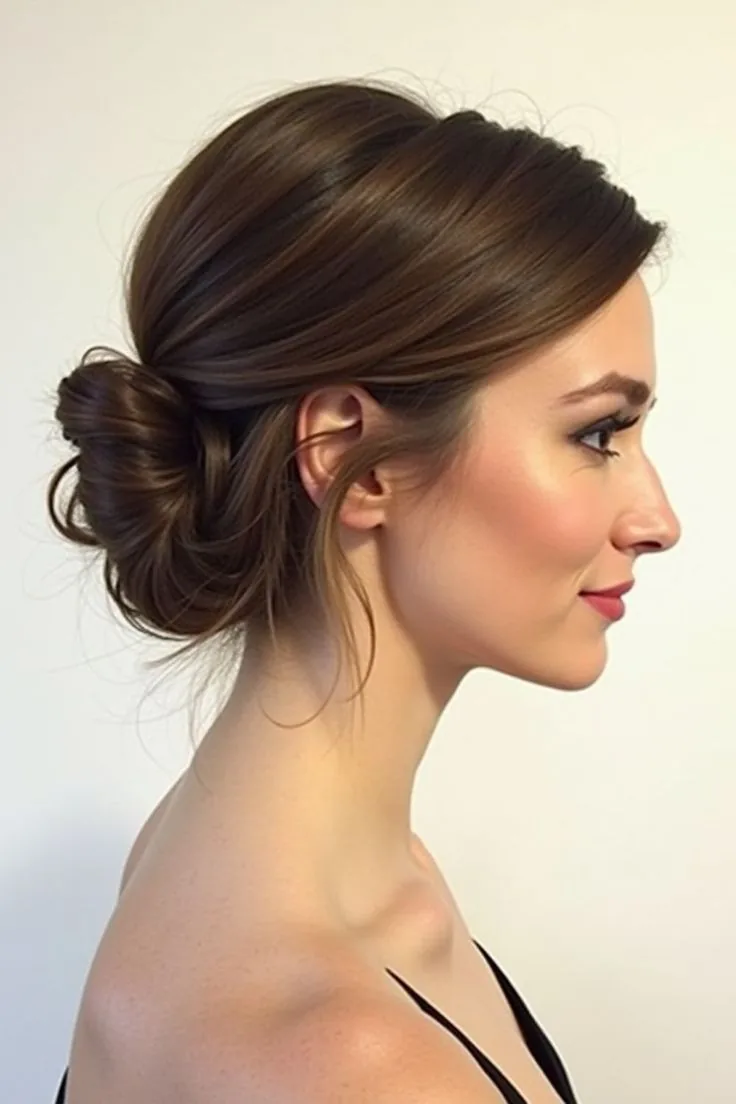
A Gibson tuck is the vintage hiking style: the hair is rolled up and tucked into a low roll at the nape, and the whole look is soft, old-fashioned, and quietly elegant — like something from a summer walk a hundred years ago. It keeps the hair completely off the neck and out of the backpack straps, it survives the wind because it is pinned along its whole length, and it looks beautiful with a wide-brim hat, which is exactly what a sunny trail calls for. It is the style for a hike that feels like a story, not a workout.
How to style it: gather the hair low, roll it up towards the head, tuck the ends in, and pin along the roll. Best for: medium to long hair, and hikes with a vintage or romantic feel. What to ask your stylist: ask for layers that tuck neatly, so no pieces escape at the nape. Common mistake: a roll that is too loose, which unravels on a climb — pin it at three points and it will hold all day. Quick verdict: the vintage trail style.
22. The Wavy Lob for Short-Hair Hikers
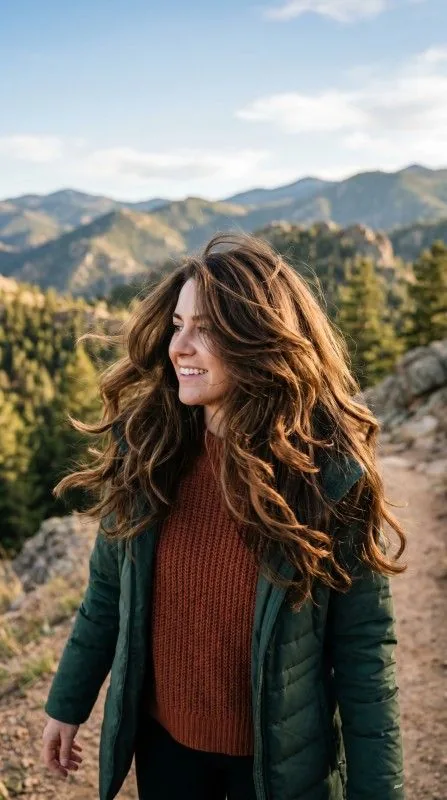
A wavy lob is the short-hair hiking hairstyle that does everything: it dries in minutes, the breeze adds exactly the texture it needs, and it never falls into your face or tangles around your neck. The waves give the lob movement and softness, the length sits just at the shoulders so the wind cannot catch it, and it looks just as good with a sun hat at the summit as it does with a fleece at the trailhead. For short hair, a hike is the easiest day out there is — and a wavy lob is why. No pins, no elastics, no fixing, all day.
Best for: medium-length hair, and women who want the lowest-maintenance hiking hair of all. How to style it: work a little sea-salt spray through damp hair, scrunch the ends, and let it dry naturally — or curl a few sections and brush them out. Pros and cons: it is effortless and cool, but it needs a trim before hiking season so the shape holds. Quick verdict: the short-hair trail winner.
23. The Textured Pixie for the Coolest Head on the Trail
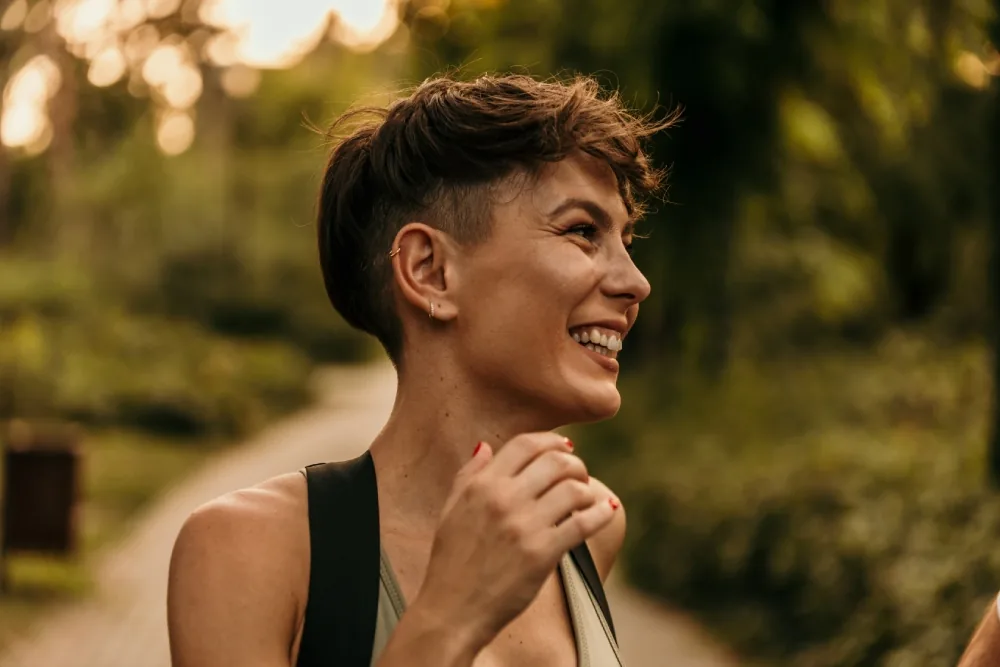
A textured pixie is the carefree hiking cut: it is short, it is cool, and it is the one style that the wind, the sun, and the branches cannot do anything to. The hair is swept to one side or pushed back, which keeps it out of the eyes and off the face, and the whole look is light and easy — no pins, no elastics, no fixing, and no worrying about it for the entire hike. It is the haircut for a trail where the plan is to climb hard, sweat freely, and eat lunch with both hands. A beanie pulls on over it perfectly, and a cap sits exactly right.
Best for: short hair, and hot, active hikes. How to style it: work a little texturising paste through damp hair and sweep it to the side with your fingers. Pros and cons: it is the lowest-maintenance style here, but it needs a regular trim to keep the shape. Who should avoid it: anyone growing their hair out — a wavy lob is the better bridge. Quick verdict: the coolest head on the trail.
24. The Half-Up Top Knot for a Breezy Ridge
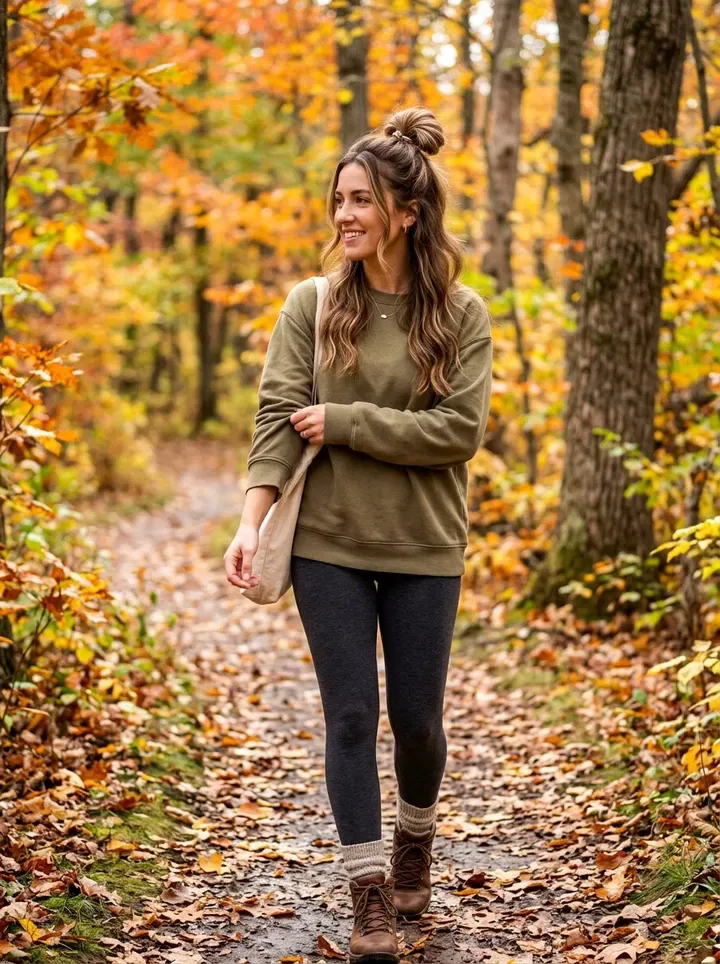
A half-up top knot is the breezy-ridge compromise: the top half of the hair is twisted into a small knot that keeps the front out of your eyes, while the rest falls loose and free, so you get the loose-hair look without the loose-hair problems. The wind can lift the lengths all it likes — the knot holds the face clear — and the style takes about two minutes, sitting on a rock, with no mirror at all. It is the hiking style for women who love their hair down but hate it in their face on a climb.
Best for: medium to long hair, and breezy days when you want hair down. How to style it: take the top section, twist it into a small knot, and pin it at the crown. Common mistake: making the knot too big, which unbalances the style — keep it small and neat. Maintenance: if the knot loosens, take it down and redo it in ten seconds by feel. Quick verdict: half up, half down, fully trail-ready.
25. The Braided Headband for Hair That Stays Off Your Face
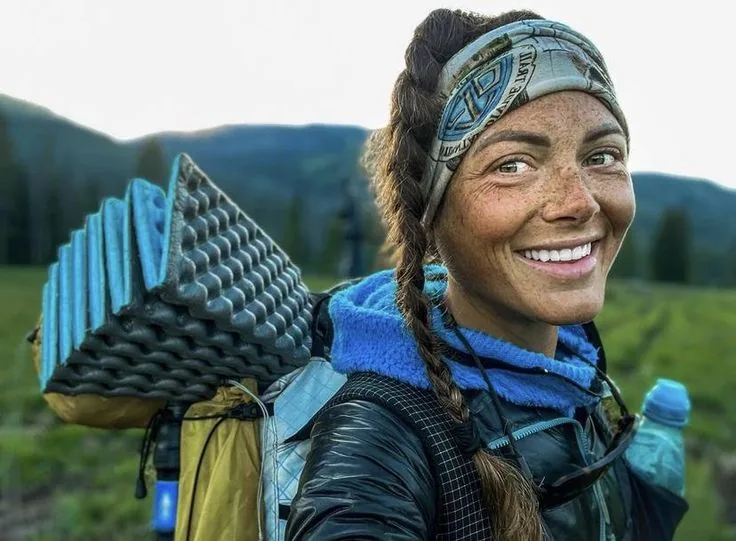
A braided headband is the hiking style for women who hate things in their hair: a small braid runs along the hairline from one ear to the other, like a headband made of your own hair, and it holds the front sections back without a single clip, band, or pin that can slip. The rest of the hair can be worn down, in a ponytail, or in a bun — the headband braid works with all of them — and it keeps the hair out of your eyes while you are watching your footing on a rocky stretch. It is the style that looks like you made an effort, even though it takes three minutes.
Best for: medium to long hair, and rocky trails where you need to see your feet. How to style it: braid a small section along the hairline from one temple to the other, pin it behind the ear, and wear the rest however you like. Pros and cons: it is quick and it never slips, but it takes a little practice to braid along the hairline — try it at home first. Quick verdict: the headband you never have to adjust.
26. The Low Chignon for an Elegant Day on the Trail
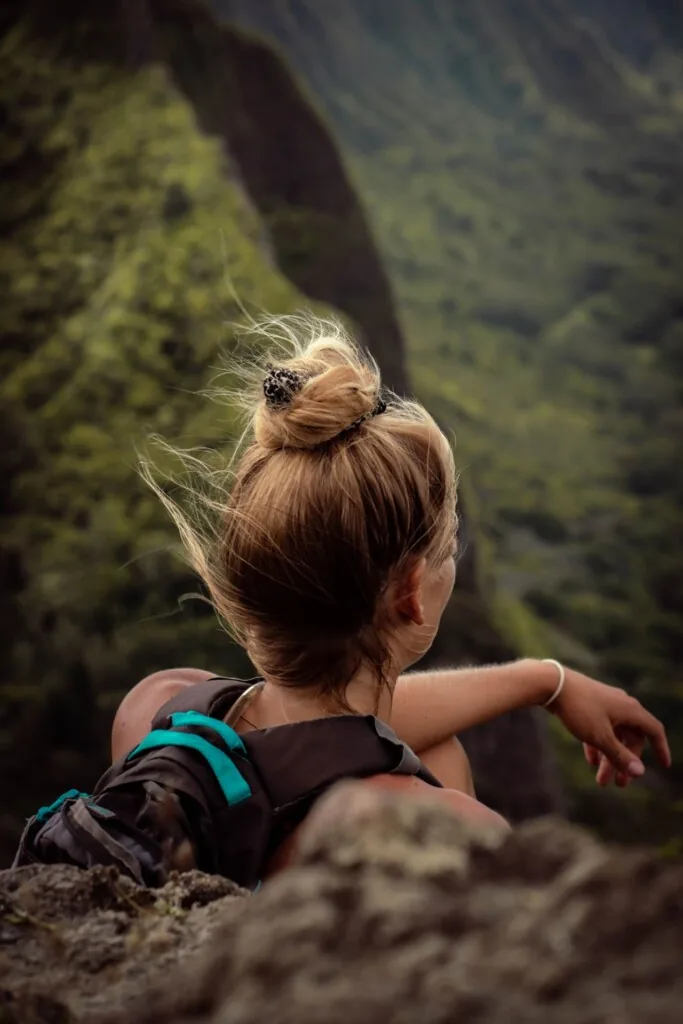
A low chignon is the elegant hiking style, for the hike that is really a celebration — a birthday on a mountain, an engagement on a viewpoint, a day that matters. The hair is swept low and smooth into a neat bun at the nape, which keeps it off the neck, out of the backpack straps, and completely unbothered by the wind, and it looks polished under any light. It is the style that says you dressed up for the trail, and the trail is better for it. A low chignon also fits perfectly under a wide-brim sun hat, which is more than most elegant styles can say.
How to style it: smooth the hair with a brush and a little serum, gather it low, twist it into a bun, and pin it neatly. Best for: medium to long hair, and special-occasion hikes. What to ask your stylist: ask for a chignon that sits at the nape, not at the crown, so a backpack does not squash it. Maintenance: a light mist of hairspray keeps the surface smooth. Quick verdict: the most elegant style on the trail.
27. The Boho Half-Up Braid for a Festival-Field Hike
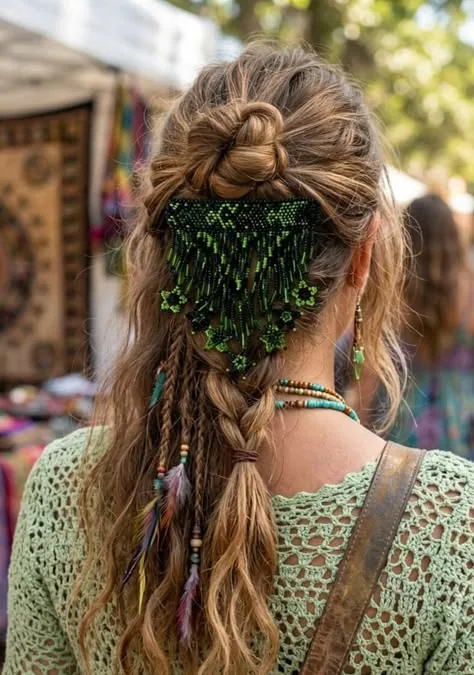
A boho half-up braid is the festival-field hiking style: a small braid runs back from each temple and joins behind the head, while the rest of the hair falls in loose waves, and the whole look is free, pretty, and completely at home on a meadow trail under a wide sky. It keeps the front out of your eyes while you walk and talk, it looks better as the day goes on and the braid loosens a little, and it is the style that makes a simple hike feel like a small celebration. Add a flower or two from the meadow and it is the photo of the day.
Best for: medium to long hair, and easy meadow or festival hikes. How to style it: braid a small section from each temple, join them behind the head, and leave the rest loose and wavy. Common mistake: braids that are too tight, which look formal — keep them soft and a little messy. Cost and time: five minutes and two small elastics. Quick verdict: the free-spirited trail style.
28. The Pinned-Back Half-Up for a Breezy Day
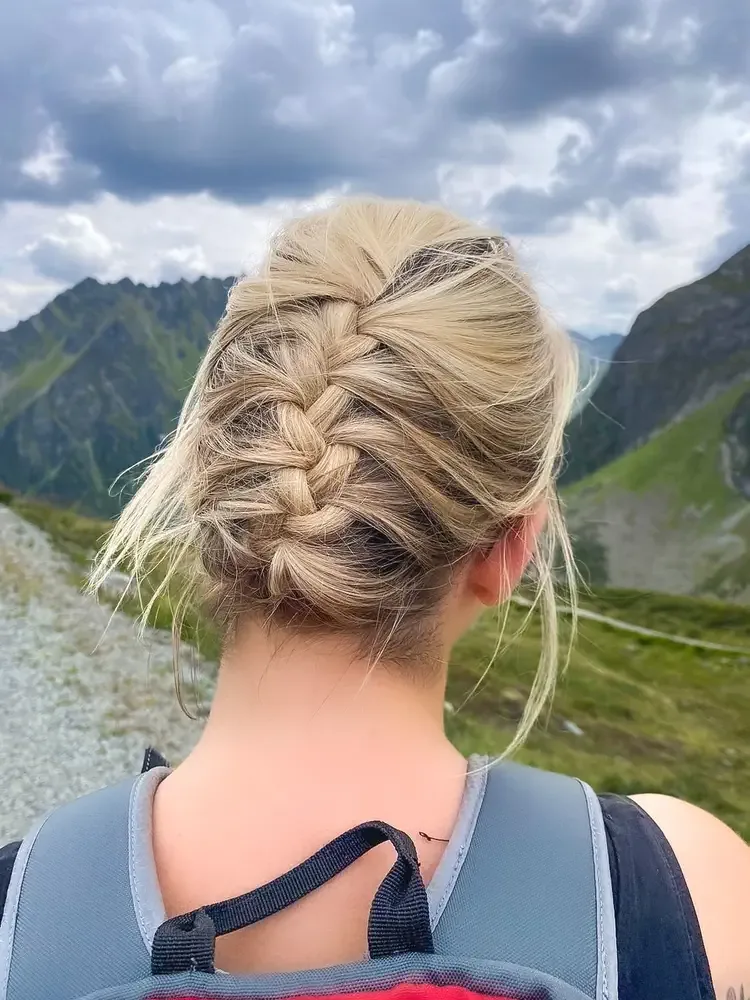
A pinned-back half-up is the breezy-day hiking style: the top sections are pulled back and pinned flat, the rest falls loose, and the face stays clear no matter which way the wind blows. It is the simplest half-up there is — no braiding, no twisting, just two sections and two pins — and it is the style to choose when you want your hair down but you are tired of pushing it out of your face on a climb. It takes a minute, it can be redone by feel at a rest stop, and it looks neat all day.
How to style it: take a section from each temple, pull them back, cross them over each other, and pin them flat. Best for: medium hair, and breezy days when you want hair down. Pros and cons: it is the quickest half-up in this guide, but it needs a pin check after a steep climb — re-pin in ten seconds. Who should avoid it: very thick hair, which may need a small elastic as well as pins. Quick verdict: the one-minute breeze fix.
29. The Waterfall Braid for a Gentle Valley Walk
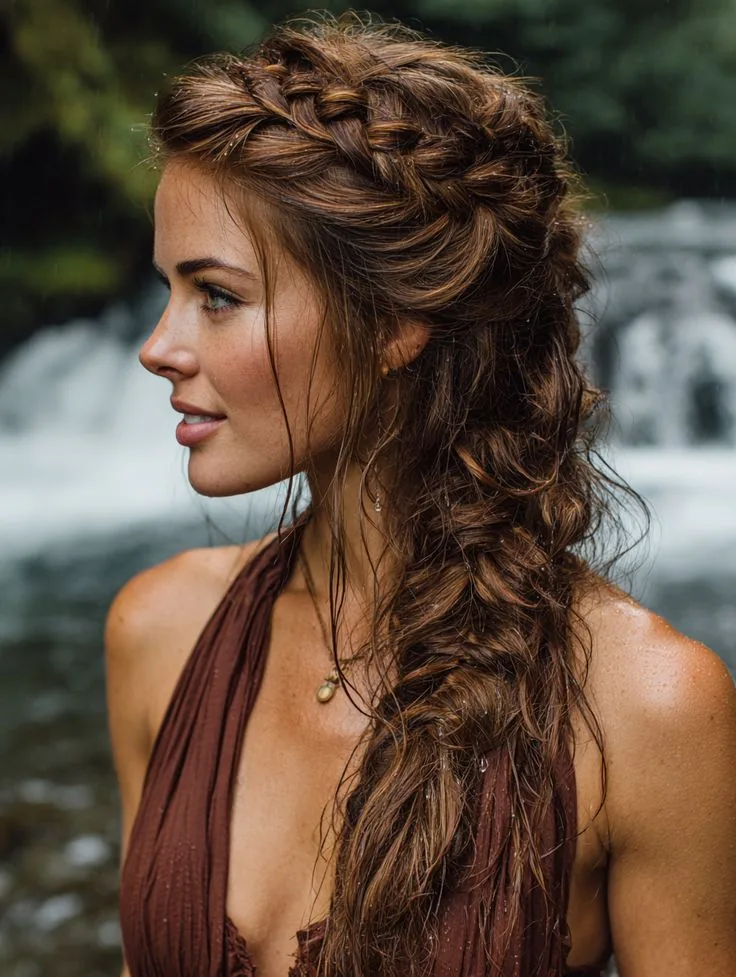
A waterfall braid is the gentle-valley hiking style, and it is the prettiest braid in this guide: the braid runs across the back of the head, and with every cross a section of hair is dropped so it falls like a waterfall through the lengths below. It is romantic, it is soft, and it looks beautiful in photos on a wooded valley trail — but be honest about it: a waterfall braid is a fair-weather style. It loosens in strong wind and it does not survive a scramble, so save it for a flat, sheltered walk, not a ridge. On the right trail, nothing looks better.
Best for: long hair, and flat, sheltered valley walks. How to style it: braid across the back of the head, dropping one section with every cross so it falls free. Pros and cons: it is the prettiest braid here, but it is the least secure — pin it at both ends and carry spare pins. Who should avoid it: anyone heading for a ridge or a scramble — a French braid will hold better for you. Quick verdict: save it for the gentle trail.
30. The Side-Swept Bob for a Carefree Climb

A side-swept bob is the carefree climbing cut: it is short, it is cool, and it is the one style that the wind, the sun, and the branches cannot do anything to. The hair is swept to one side, which keeps it out of the eyes and off the face, and the whole look is light and easy — no pins, no elastics, no fixing, and no worrying about it for the entire hike. A cap sits perfectly over it, a beanie pulls on without a bump, and it dries in minutes after a river crossing or a sudden shower. It is the haircut for a hike where the plan is to climb, play, and eat with both hands.
Best for: short hair, and hot, active hikes. How to style it: work a little texturising paste through damp hair and sweep it to the side with your fingers. Pros and cons: it is the lowest-maintenance style here, but it needs a regular trim to keep the shape. Who should avoid it: anyone growing their hair out — a wavy lob is the better bridge. Quick verdict: the coolest head on the trail.
31. Long Layers for the Summit at Sunset
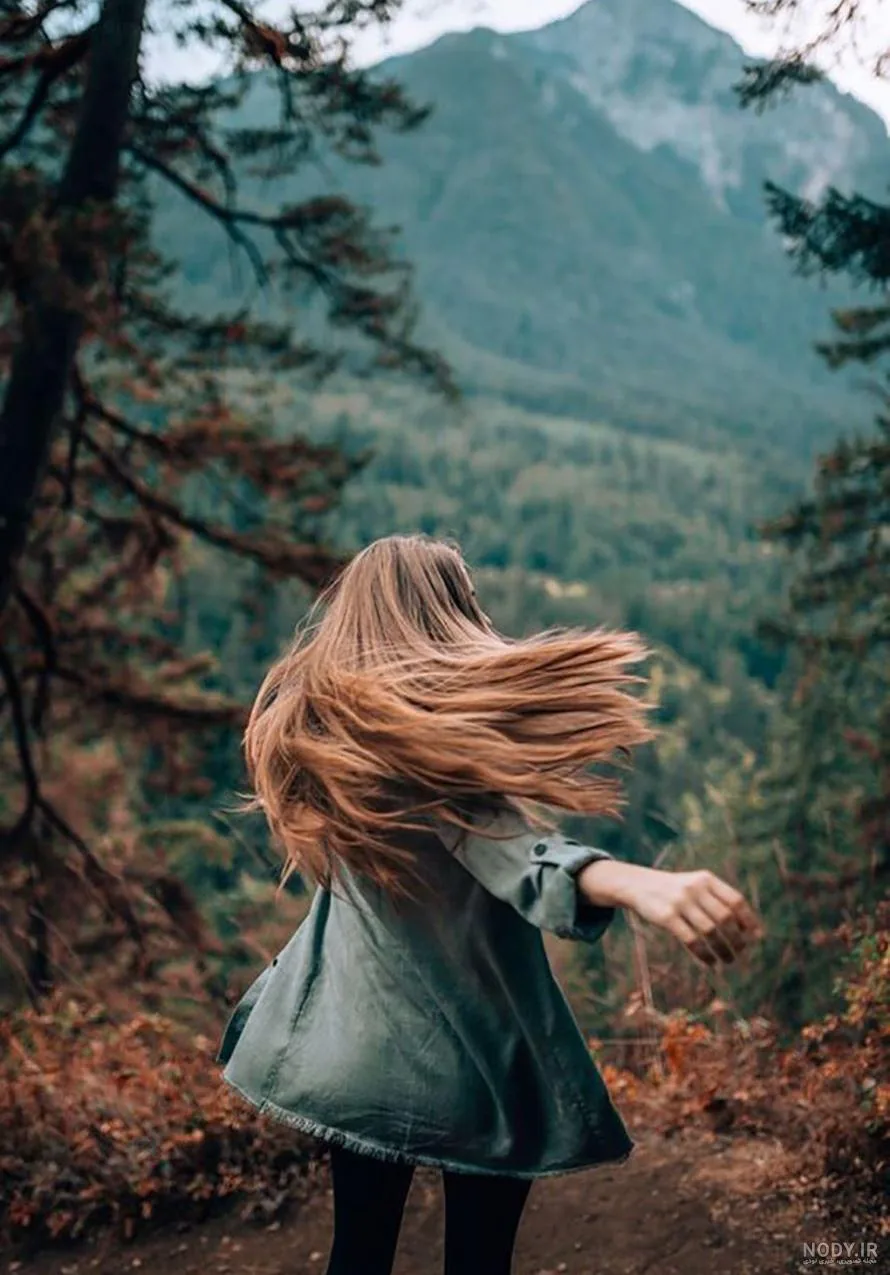
Long layers are the closing hiking style, and the one that sums up a day on the trail: the layers give long hair movement that catches the breeze and the sunset light, the face is framed softly on both sides, and the whole look is effortless in a way that only takes ten minutes to create. On the summit at sunset, with the sky behind you and the wind in your hair, long layers do what no updo can — they move, they shine, and they look like the day itself. Wear them loose for the summit photo, then braid them for the walk down, when the light fades and the trail gets rocky.
Best for: long hair, all textures, and the golden hour. How to style it: blow-dry the front pieces with a round brush, curving them away from the face, and add a loose wave through the lengths with a wide-barrel iron. What to ask your stylist before hiking season: ask for long layers that start at the cheekbones, so the front pieces frame the face in the breeze. Maintenance: a leave-in conditioner on the ends keeps them soft in the sun. Quick verdict: the sunset style — save it for the summit, and let the breeze do the rest.
Campfire Hair: Styles That Survive Smoke and Sparks
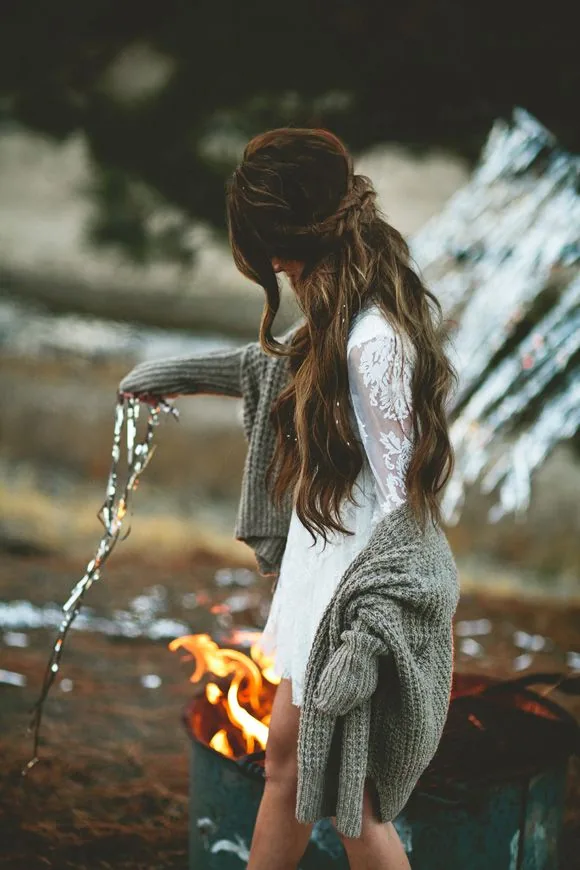
A campfire is the best part of a hiking day — and the hardest thing you can ask of your hair. Smoke gets into everything, sparks land where they like, and by the end of the evening your hair smells like a bonfire and feels like one too. The styles that survive a campfire are the ones that keep the hair up, back, and covered: a low bun, a braid, or a braided bun, with a bandana or a buff over the top if the smoke is thick. Loose hair down by a fire is a bad idea for two reasons — it soaks up the smoke, and a stray spark can singe the ends before you notice. Keep it up, keep it covered, and keep it away from the flames.
The other half of campfire hair is the morning after. Smoke does not wash out with water alone, and on a multi-day hike you may not have a shower to fix it. A braid worn overnight keeps the smoky hair contained and stops it tangling while you sleep, and a little dry shampoo at the roots in the morning lifts the smell and the flatness together. What to avoid: hairspray near a fire — it is flammable, and a spark plus a sprayed style is a combination to avoid. Quick verdict: braid it up, cover it if the smoke is thick, and let the campfire stay in the photos, not in your hair.
The No-Shower Refresh: Dry Shampoo and Braid Rescues
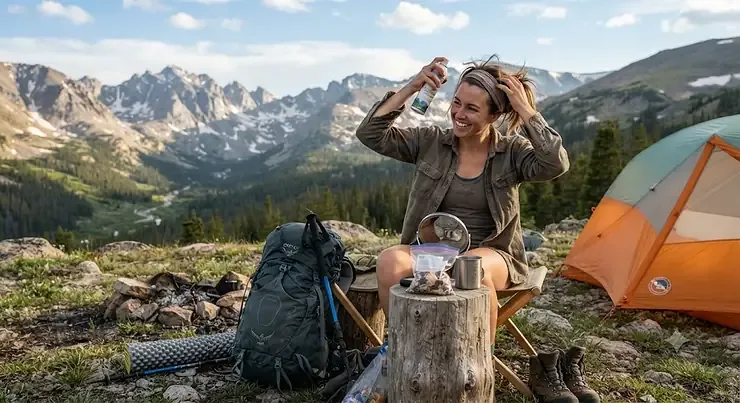
On a multi-day hike, there will be a morning when your hair feels flat, greasy, and thoroughly done with the trail — and there will be no shower in sight. The no-shower refresh is the answer, and it takes five minutes sitting outside your tent. Start with dry shampoo: shake it into the roots, wait a minute, and brush it through with your fingers, and the flatness and the grease are gone. Then re-braid or re-tie: take the style down, shake the roots out, and put it back up in a fresh braid or bun, and the whole head looks new again.
The braid rescue is the second half of the trick. A braid that has been slept in for two nights will look flat and fuzzy at the edges, but a quick re-braid of just the front sections — two small braids from the temples, pinned back — makes the whole style look deliberate again. A bandana or a buff over the crown hides the roots entirely, which is the fastest fix of all on a bad hair morning. Common mistake: overloading the roots with dry shampoo, which leaves a white cast — use a little, wait, and brush it through. Quick verdict: dry shampoo, re-braid the front, and a bandana over the rest — five minutes, no water needed.
Washing Your Hair on the Trail
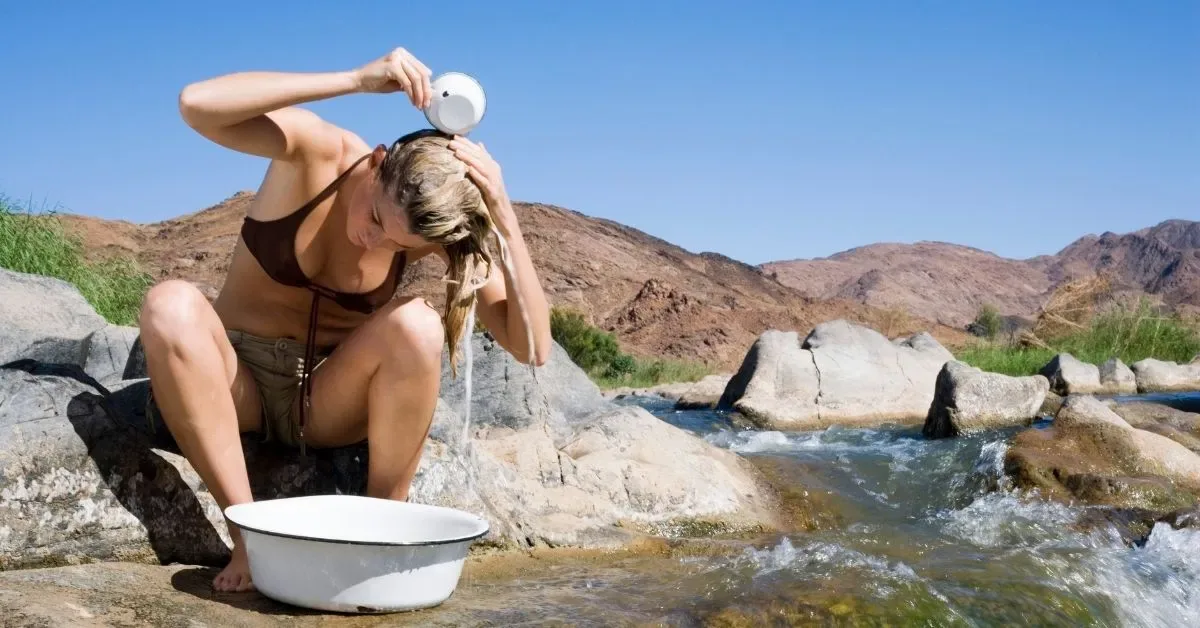
Sooner or later on a long hike, you will want to wash your hair — and the trail makes it harder than it sounds. The first rule is the one that matters most: never wash your hair in a lake or a stream. Soap, shampoo, and conditioner pollute the water, even the biodegradable kind, and the Leave No Trace rule is to wash at least 200 feet from any water source, using a small basin or a bottle. Carry a tiny bottle of biodegradable camp soap, wash with a little water away from the stream, and scatter the grey water on the ground where the soil can filter it.
The practical side is just as important. Wash in the late afternoon, when the sun is still warm enough to dry your hair before dark — wet hair in a sleeping bag is miserable. Braid it loosely while it dries, which keeps it from tangling and gives it soft waves by morning. And pack a small microfibre towel: it weighs almost nothing, it dries your hair in minutes, and it doubles as a pillow cover on a cold night. What to avoid: washing at night, or washing in cold water on a cold day — a chill at altitude is a real risk. Quick verdict: wash away from the water, dry in the sun, and braid it while it dries.
A Multi-Day Hair Plan for a Week on the Trail
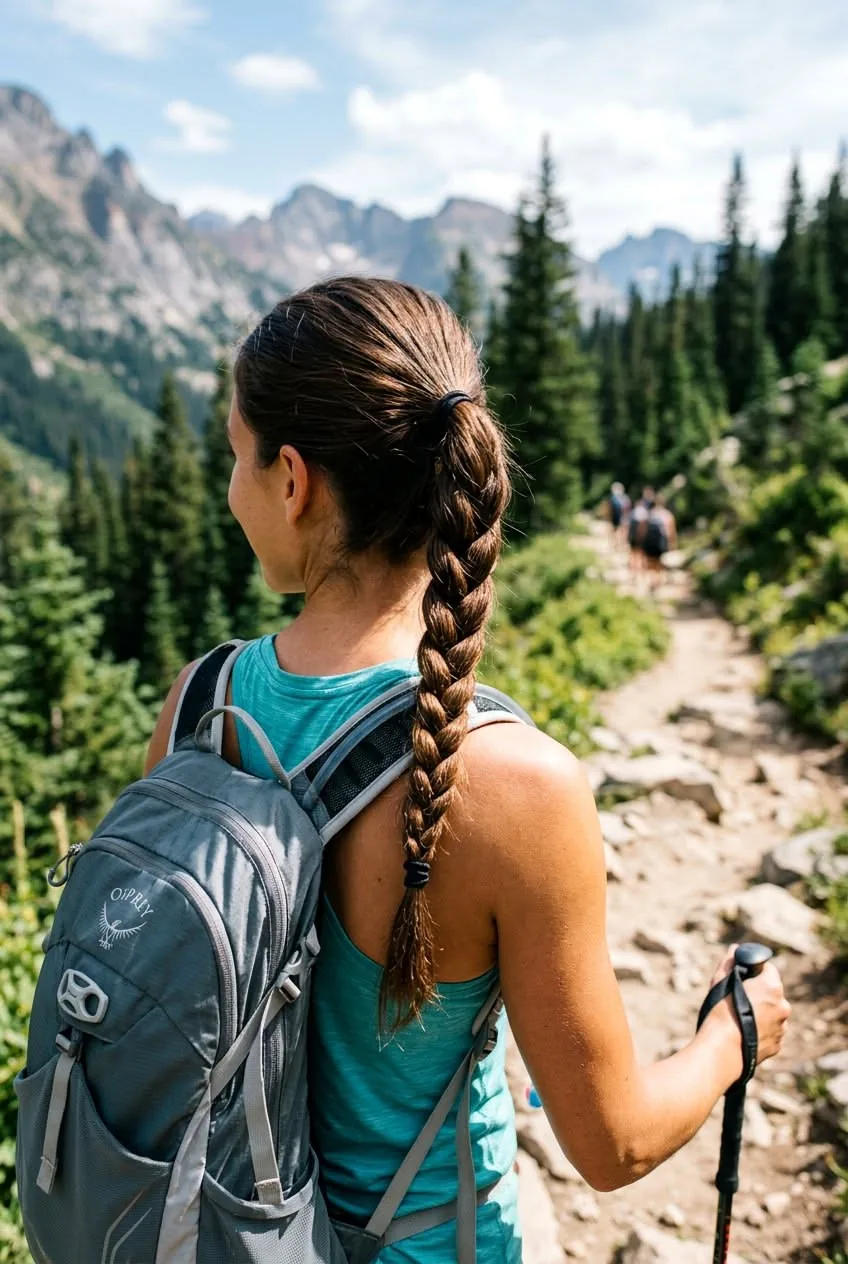
A week on the trail is a different game from a day hike, and your hair needs a plan, not just a style. The plan that works is a rotation: start the week with a fresh braid or bun, re-braid every morning, and switch the style every two days so the hair never sits in the same parting or the same tension for a week. Day one and two, a French braid. Day three and four, two low braids or a low bun. Day five, a wash day if there is water, and a fresh braid for the last stretch. The rotation stops the breakage that comes from wearing the same tight style for seven days, and it keeps the hair looking different in every photo.
The kit for a week is small but specific: four bobby pins, two spare elastics, a travel dry shampoo, a mini leave-in conditioner, a wide-tooth comb, a silk scarf or bandana, and a claw clip. That is the whole list, and it covers every style in this guide — the pins fix a loose braid, the elastics re-tie a ponytail, the dry shampoo revives flat roots, the scarf covers a bad hair day, and the claw clip is the five-second rescue when you want your hair up and off your neck. Cost and time: one pouch, packed in two minutes, and a fresh style every morning. Quick verdict: rotate the style, re-braid every morning, and let the trail be the only thing that stays the same.
What is the best hairstyle for hiking?
The best hairstyle for hiking is one that stays put through wind, sweat and a backpack — a French braid, two low braids, a low bun, or a braided ponytail. These styles are anchored to the head, so they hold their shape on a steep climb, fit under a hat or a helmet, and still look good in summit photos. A French braid is the safest all-round choice, two French braids are the best for the hardest days, and a low bun is the best for hot afternoons.
How do I keep my hair from getting tangled while hiking?
Keep your hair from tangling while hiking by wearing it braided or in a low bun, so the lengths cannot swing and knot. A braid is the best anti-tangle style there is, because the hair is woven together and cannot catch on branches or backpack straps. A leave-in conditioner on the ends before you leave helps too, and a silk scarf or bandana over the hair on a windy stretch stops the wind from knotting it.
What hairstyle fits under a hiking hat or helmet?
The hairstyles that fit under a hiking hat or helmet are the low ones — a low ponytail, a low bun at the nape, a braid worn down the back, or two low braids. Anything piled on top of the head, like a high top knot or a high bun, will push the hat forward and lift the back of a climbing helmet, which ruins the fit. A low braid or a low bun sits below the helmet’s rim and changes nothing about how it fits.
How do I keep my hair out of my face while hiking?
Keep your hair out of your face while hiking by anchoring the front first — two small braids from the temples, a twisted section pinned behind each ear, or a bandana tied at the hairline. Braids, buns, and half-up styles all work, because the hair is held back instead of blowing free. A light mist of flexible-hold hairspray on the surface before you leave helps too, and a bandana does the same job without any product at all.
Should I wear my hair up or down for a hike?
Wear your hair up for a hike if the day is hot, windy, steep, or wooded — a braid, a bun, or a ponytail keeps the hair off the neck, out of the backpack straps, and out of the branches. Wear it down only on a calm, sheltered trail, and choose texture over smoothness: loose waves survive a breeze, while a perfectly straight style will tangle and flatten. A half-up braid is the best of both, with the top tied back and the rest loose.
How do I refresh my hair on a hike with no shower?
Refresh your hair on a hike with no shower by shaking dry shampoo into the roots, waiting a minute, and brushing it through with your fingers, then taking the style down and putting it back up in a fresh braid or bun. Re-braiding just the front sections makes the whole style look deliberate again, and a bandana or a buff over the crown hides the roots entirely. Use a little dry shampoo at a time, and brush it through, or it leaves a white cast.
Can I wash my hair while hiking or camping?
Yes, you can wash your hair while hiking or camping, but never in a lake or a stream — wash at least 200 feet from any water source, using a small basin or a bottle and a little biodegradable camp soap, and scatter the grey water on the ground. Wash in the late afternoon so your hair dries in the sun before dark, braid it loosely while it dries, and avoid washing at night or in cold water on a cold day.
What should I pack for my hair on a hike?
Pack a small pouch with four bobby pins in your hair colour, two spare elastics, a travel-size dry shampoo, a mini leave-in conditioner, a wide-tooth comb, a silk scarf or bandana, and a claw clip. That is everything you need for every style in this guide. Do not pack hot tools — there is no plug on a trail, and the wind will undo the work in minutes. Keep one spare elastic in your pocket, not in your pack.
How do I stop my hair from smelling like campfire smoke?
Stop your hair from smelling like campfire smoke by keeping it up and covered near the fire — a low bun or a braid with a bandana over the top keeps the smoke out. In the morning, shake dry shampoo into the roots, which lifts the smell and the flatness together, and re-braid the front sections for a fresh look. If you can wash it, do it away from the water source in the late afternoon, and let it dry in the sun.
What is the easiest hairstyle for a hike?
The easiest hairstyle for a hike is a low messy bun — it takes two minutes, needs only a few pins, keeps the hair off your neck in the heat, cannot be ruined by wind, and looks better slightly undone. For short hair, a textured pixie is just as easy: a little paste, a sweep to the side, and the trail does the rest. Both styles work from the trailhead to the summit with no mirror needed.
Conclusion
A hike is the hardest day out there is for hair — and the 31 hairstyles in this guide are all chosen with that in mind. Braids that keep their shape in a crosswind, buns that survive a steep climb, ponytails that sit below the backpack straps, and short cuts that need nothing at all. The right hiking hairstyle does not demand your attention all day — it lets you forget about your hair and enjoy the trail, the climb, and the view from the top.
Start with the guides, not the gallery. Think about what your hike actually holds — open ridge or sheltered forest, a hot afternoon or a cold summit, a morning walk or a week in the mountains — and pick the style family that fits it. Pack the small hair kit, keep a spare elastic in your pocket, and choose the version that feels like you on your best day. Your hair should be the least of your worries on a hike. Now it can be.