
How I Got Glass Hair Shine Without Spending Hundreds At The Salon Weekly
Okay, let’s talk about glass hair. You know that shiny, mirror-like finish everyone’s obsessed with in 2026 hairstyles? I used to think it required weekly salon blowouts and hundred-dollar glossing treatments. I was so wrong. That reflection in the mirror isn’t just for celebrities or rich clients.
I’m Hailey, and after years of testing, I found a simple at-home routine that gives me that same glass shine without the price tag. No fancy tools, no $50 serums. Just smart habits and a few key products you probably already have.
This post is your shortcut to glossy, healthy-looking hair. You’ll learn exactly which steps matter, which ones are a total waste, and how to keep that shine going all week. I promise you’ll walk away with at least one trick you can use tonight. Let’s get into it.
Why Glass Hair Shine Is the Biggest 2026 Hairstyle Trend

Glass hair isn’t just a trend in 2026 hairstyles—it’s basically the gold standard. Everywhere I look, from red carpets to my Instagram feed, shiny strands are stealing the show. There’s something about that mirror-like finish that screams healthy, polished and expensive.
The best part? This look works with everything. Old money hair, a quiet luxury bob, even romantic goth hairstyles can all benefit from that wet-look gloss. It makes any haircut look more expensive and instantly fuller.
And the real secret? You don’t need a fancy salon to get it. You just need to know a few techniques that mimic those pricey treatments. I’ve been testing these for months, and I’m about to spill every single one.
My Private War With Dull Hair (and What Finally Worked)
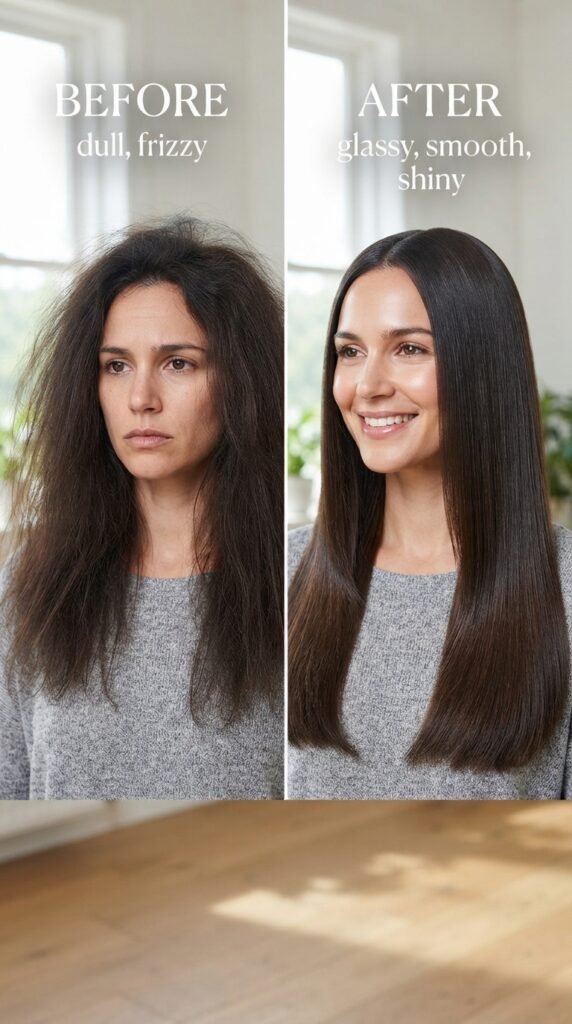
I’ll be honest. For years, my hair was a dull, frizzy mess. I spent so much money on salon glosses and shine sprays, then came home and my strands still looked blah. It was frustrating.
One random evening, I did a cold rinse after washing. The next morning I literally couldn’t stop touching my hair. That one tiny change was the beginning of my glass hair era.
Since then, I’ve added a few more steps that cost nothing. Now I’m sharing all of them with you. If they worked for my damaged strands, they can work for anyone.
Step One: Wash Your Hair Differently
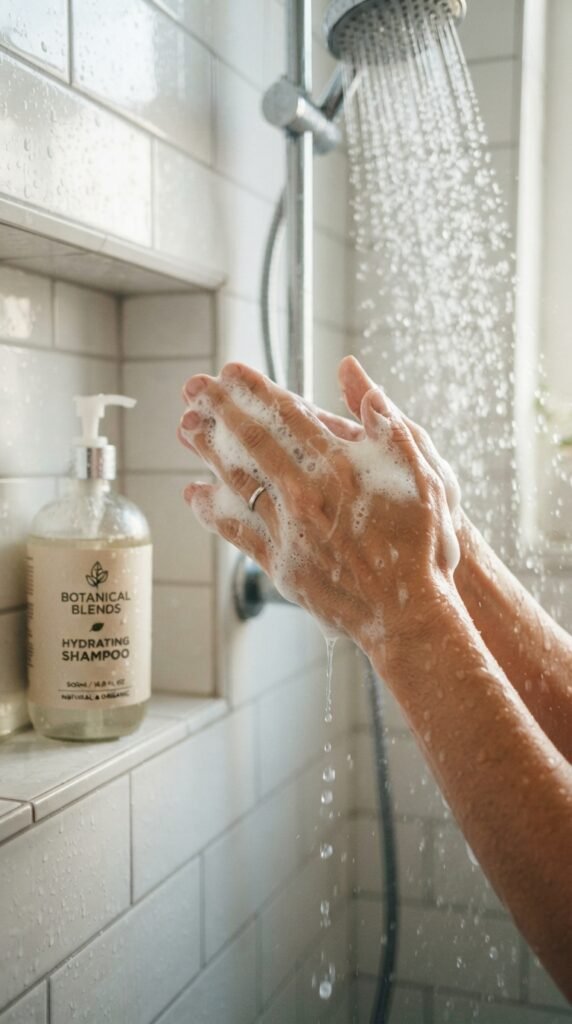
Start with a double cleanse. Yes, just like your skin. First wash breaks down oils and product buildup. Second wash removes the rest and lets the shampoo actually work.
Use a sulfate-free shampoo if you can. Sulfates strip natural oils that your hair needs to shine. I know they create that squeaky feeling, but that’s your cuticle crying.
- Wet hair thoroughly.
- Apply shampoo to roots only.
- Massage with fingertips for 60 seconds.
- Rinse and repeat only if you use styling products.
That’s it. This simple change made my hair shinier within a week.
The Cold Water Rinse That Seals Everything
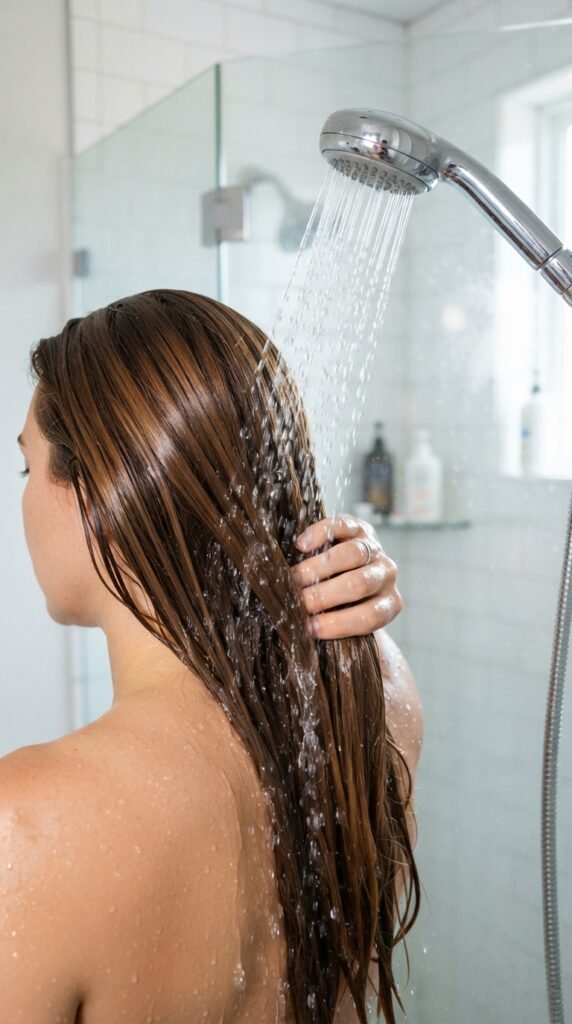
After I condition and rinse with warm water, I flip the shower to cool. Not freezing, just pleasant cold. I let the water run over my strands for maybe ten seconds.
Why does this work? Cold water closes the cuticle. When the cuticle is flat, light reflects off like glass. Warm water opens it, which makes hair look rough and dull.
I know it sounds brisk, but it takes less than a minute. I promise the shock is worth it, especially if you’re in a hurry. Try it once and you’ll never skip it again.
The Towel Trick for Frizz-Free Strands

After the cold rinse, don’t turban-whip your hair in a regular towel. That friction causes frizz, and frizz kills shine.
Instead, use a microfiber towel or even a perfectly clean cotton t-shirt. Lay it over your hair and press gently to squeeze out extra water. No rubbing.
Then let my hair air dry until it’s about 80% dry. This simple swap has been my holy grail for glassy results. Plus, microfiber towels are like $8. Cheaper than a salon gloss any day.
Heat Styling Without Sacrificing Shine
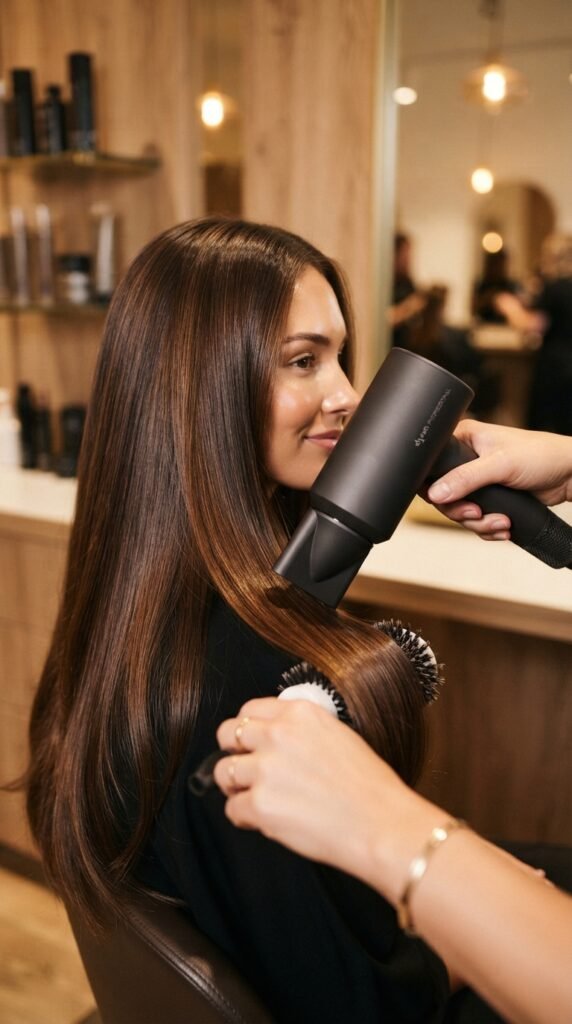
I love my blow dryer, but heat is one of the biggest shine stealers. The trick is to never use high heat and to always point the nozzle downwards. This pushes the cuticle flat instead of flying everywhere.
Always apply a heat protectant spray first. My legs? Non-negotiable. Also, check your tool settings. Ceramic or tourmaline dryers are best for even heat.
If you’re using a flat iron, keep it at 300 degrees or below. Slow and steady gives you that glossy, glass-like finish without damaging your strands.
The Perfect Blowout for Glass Hair
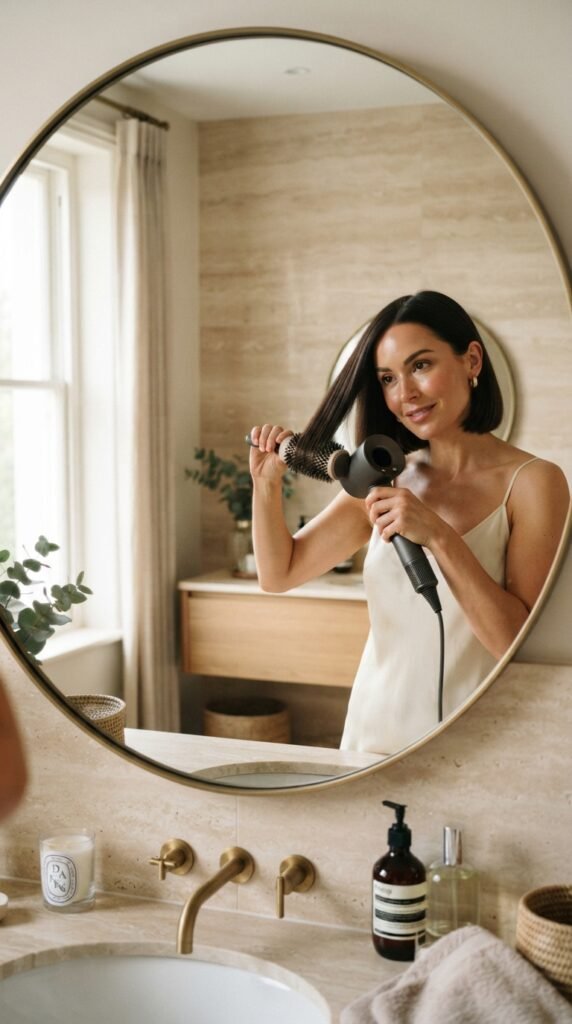
Once my hair is towel-dried, I section it off and use a round brush. I pull each section taught and dry from roots to ends with the nozzle aimed down.
The key is to use a good boar-bristle round brush. It distributes your hair’s natural oils while you dry, which adds instant shine.
Finish each section with a cool shot from the dryer. That blast of cold air locks the style and seals the cuticle. Honestly, this gives me better results than the salon and takes about fifteen minutes.
My Top Shine Serums (And How to Apply Them)
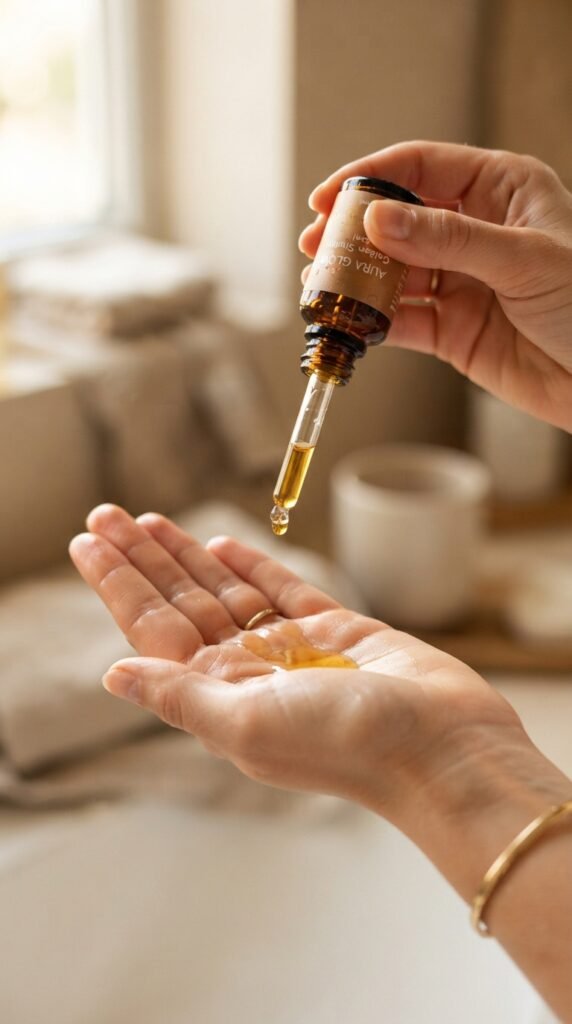
Here’s where a little product does a lot. My current favorites are argan oil-based serums. They’re lightweight and won’t weigh hair down.
Apply two drops to your palms, rub together, then press onto the ends of your hair. Never rub it into your roots. That’s the recipe for greasy-looking hair and shiny-looking scalp.
For extra glass effect, I add one drop to the top of my hair and smooth over the surface. Just be careful not to overdo it. A little shine serum goes a long way in 2026. This works for all styles, from a hime cut to romantic goth hairstyles.
Tools You Need for a Mirror Finish
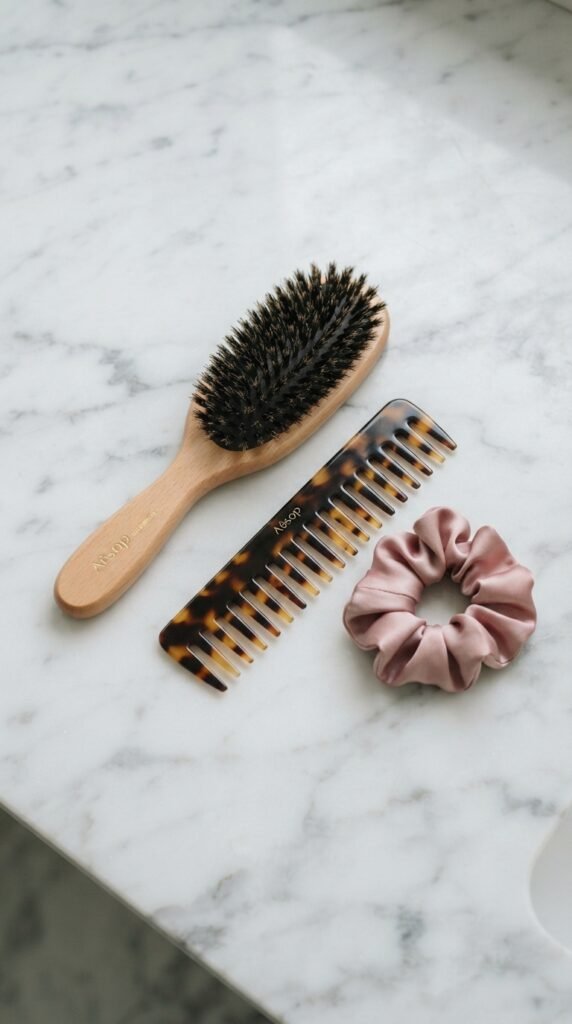
You don’t need expensive gadgets, but certain tools make a huge difference. Here’s my shortlist:
- Boar bristle brush: smooths while distributing oils
- Wide-tooth comb: detangles wet hair without snapping
- Silk scrunchie: protects hair while you sleep
- Finishing sprays: optional but helpful
That’s it. I also love a fine-tooth tail comb for sleek old money hairstyles. These tools total around $30 and last for years. Better than a $300 Dyson? Honestly, for shine, yes.
Sleep Your Way to Shiny Hair

Your hair rubs against your pillow all night. Cotton causes friction, and friction leads to rough, dull strands. Switching to a silk or satin pillowcase is one of the easiest shine hacks ever.
Before bed, I also do a loose braid or a top bun. This stops my hair from tangling and keeps that smooth finish.
In the morning, my hair looks like I just styled it. It’s amazing how much sleep can act as a beauty treatment. Plus, silk is a life-changing luxury that costs less than a single salon visit.
Overnight Masks That Actually Work
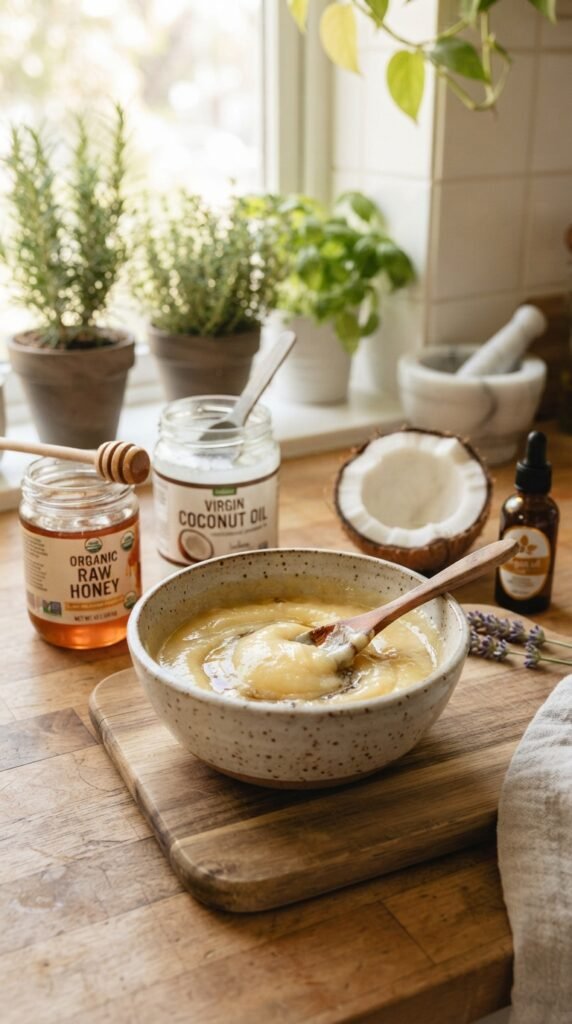
One night a week, I treat my hair to a DIY mask. And honestly, the ingredients are in your kitchen.
My favorite recipe is one tablespoon coconut oil, one teaspoon honey, and a few drops of almond oil. Mix it, warm it slightly, and work it through the mid-lengths to ends.
Wrap your hair in a cotton tee and sleep on it. In the morning, shampoo twice and condition. Your hair will have a deep, expensive shine that lasts for days. This mask costs under $2, which is crazy.
How to Get Glass Shine on a Quiet Luxury Bob

The quiet luxury bob is one of my favorite 2026 hairstyles. It’s sleek, simple, and absolutely perfect for showing off glass shine. Blunt ends are like little mirrors that catch the light.
To keep this style glossy, I comb through a light shine serum and then use a flat iron on low heat. I smooth the hair straight, no curls. A little finishing spray keeps it in place.
The best part? This bob literally looks high-end for zero-effort mornings. Pair it with a neutral outfit, and you have old money energy without the stylist bill.
Old Money Hair Always Looks Shiny—Here’s Why

Old money hair is less about a specific haircut and more about a mindset. It’s hair that looks naturally glossy, never overstyled or fried. And it all comes down to restraint.
Skip harsh chemical treatments. Get regular trims to avoid split ends. Use low heat and high-quality, nourishing products.
The result is hair that catches the mirror finish effortlessly. You don’t need expensive tools. You just need to let your hair breathe. When I stopped fighting my strands and started working with them, that old money shine showed up naturally.
Glass Hair for Your Asymmetrical Lob

The asymmetrical lob is trendy, and its angled lines create so much movement. But it can look a little too one-note if the hair is dull.
That’s why I like to give it a glass finish. After styling, I run a tiny bit of shine mist through the ends. The contrast between the longer front and shorter back looks even more dramatic when it’s glossy.
For beachy waves, I use a curling wand and brush them out. Then I finish with a drop of serum. It’s got that expensive, cool-girl vibe. This cut really shines (literally) in 2026.
Hime Cut Hair Shine: A 5-Minute Routine
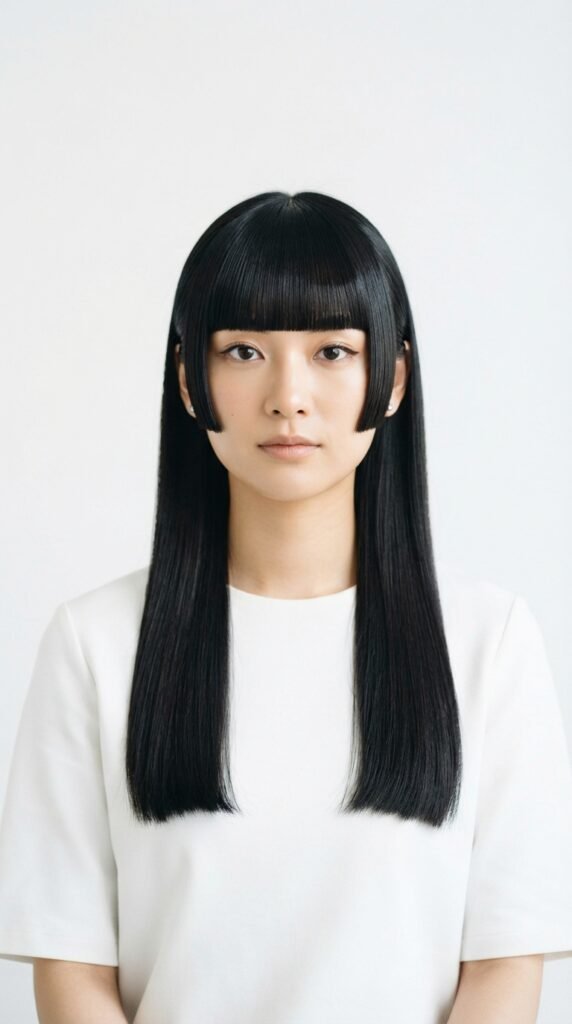
The hime cut is all about straight, smooth, blunt lines. So the shinier your hair, the more striking the style. I love how it frames the face.
My quick routine: after airing to 80% dry, I flat iron on low heat. Then I run a tiny amount of shine serum through the ends. The key is to keep the bangs and the long layers super sleek.
If you have darker hair like me, a clear gloss treatment once a week will give you that wet-look glass effect. It takes about five minutes and changes the whole feel of the cut.
Romantic Goth Hairstyles Can Be Glossy Too

Edgy doesn’t have to mean dull. Romantic goth hairstyles look absolutely incredible when the hair has a glass-like shine. Think black and glossy like a raven’s wing.
For this, I avoid anything with shimmer. I use a violet-based deep conditioner to keep dark brown dye from turning brassy. Then I seal with a lightweight oil.
Dark hair reflects light beautifully when it’s healthy. A little hairspray helps keep those airy waves in place without killing shine. And trust me, shiny black waves with a lace dress is the energy I’m bringing into 2026.
Glitchy Glam Hair Needs Glass Roots

Glitchy glam hair is all about metallics and funky colors. But if your roots are flat and greasy, the whole look falls apart. The trick is a glossy root zone.
I use a dry shampoo at my roots to add grip, then follow up with a shine root spray. This gives that tech-inspired sheen without weighing things down.
For the lengths, I rely on a color-safe gloss. The contrast between shiny roots and metallic ends creates that futuristic, high-fashion vibe. It’s honestly my favorite thing to play with.
Vampire Haircut? Shine Is Non-Negotiable

The vampire haircut is sharp, severe, and all about drama. Think flattering face-framing layers without the softness. For this look, shine matters more than any product.
If your hair looks dull, the sharp layers can feel flat. But when it’s glossy, the razor-like edges catch the light beautifully.
I recommend a pre-styling gloss spray and finishing with a mirror shine mist. Practically no heat is needed. Just smooth, shiny strands that give me the confidence to bite.
Cheap Weekly Gloss Treatments Under $10
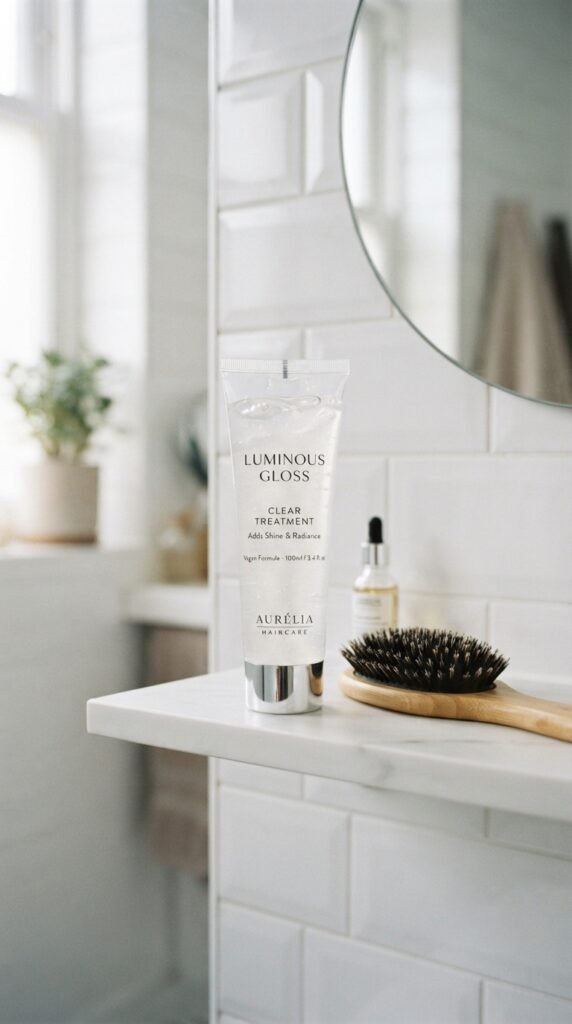
This is the secret weapon that finally gave me that salon glass shine. Clear gloss treatments are basically clear color depositing treatments that smooth and shine. They cost between $5 and $10.
I do one every other week. Apply from mid-length to ends, leave for ten minutes, then rinse. My hair instantly looks more expensive.
You can also DIY a rinse: one tablespoon apple cider vinegar mixed with two cups water. Use it after washing, then rinse with cold water. It’s like a $1 glass glaze. Both options completely cleared up my dullness.
What’s Silently Ruining Your Hair Shine
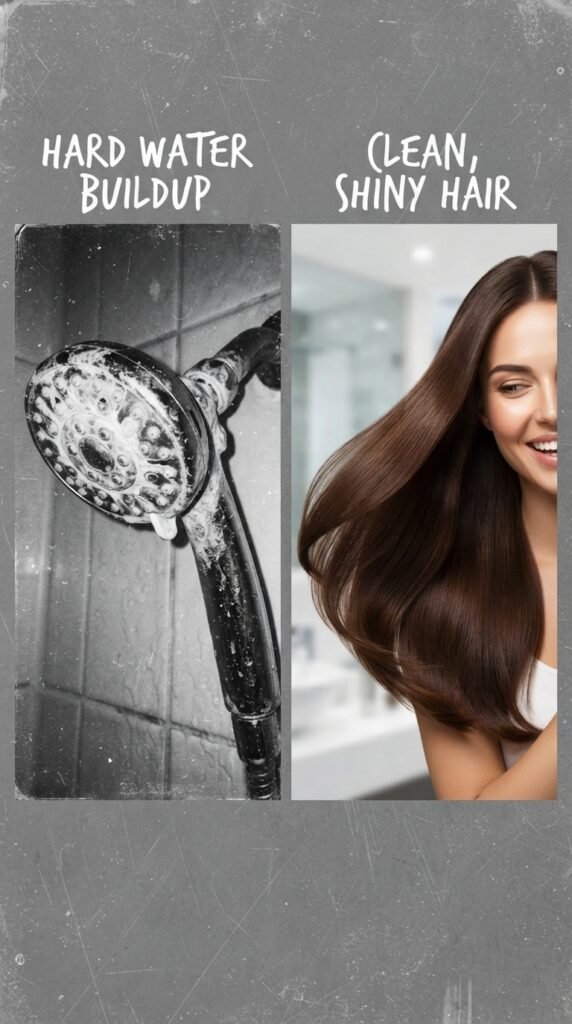
I have to be honest with you. Sometimes the problem is your environment, not your products. Here are the top three things that steal my shiny strands:
- Hard water: leaves mineral buildup that coats hair and kills shine
- Over-washing: strips natural oils
- Skipping heat protectant: freaks out the cuticle
To fix hard water, invest in a cheap shower filter. Over-washing? Teach your hair to be washed every 3-4 days. For heat, always spray before styling.
Once I fixed these three, my at-home glass blowouts rivaled my salon ones. For real.
My 10-Minute Morning Shine Routine
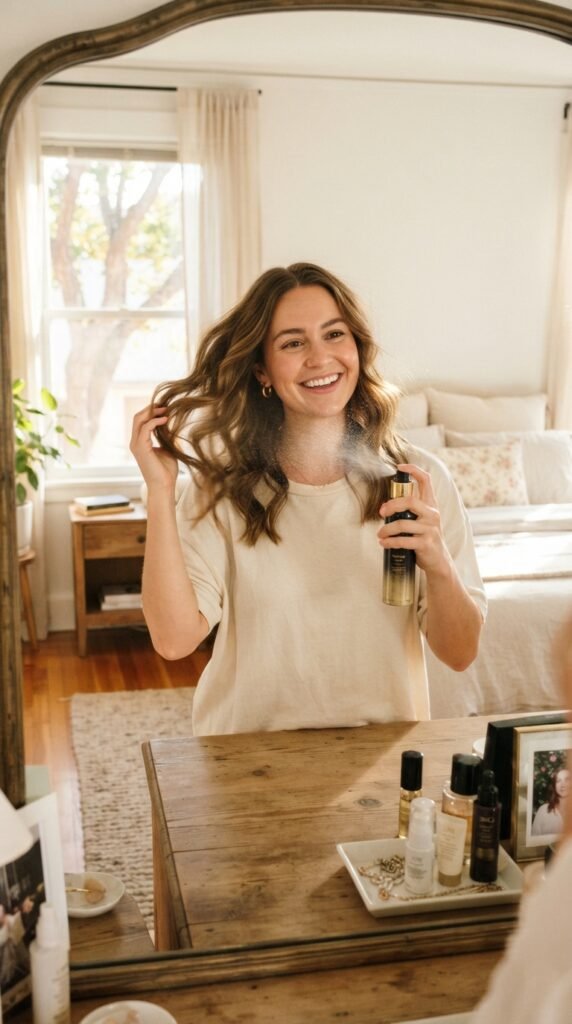
Short on time? Same. Here’s my lazy but effective morning for glass hair:
- Mist hair lightly with water.
- Apply one drop of argan oil to ends.
- Use a boar bristle brush to distribute oils.
- Shake up a shine spray and coat from halfway down.
- Either air dry or do a quick five-minute blowout with a round brush.
That’s it. My hair looks polished, shiny, and ready for whatever. This routine is perfect for a quiet luxury bob, old money hair, or any 2026 hairstyle you’re rocking.
What One Month of Glass Hair Looks Like

A month of these little changes has completely transformed my hair. It’s shinier, softer, and honestly so much less fragile. Friends started asking if I got a keratin treatment.
My tip is to pick just two or three habits and stick with them. You don’t have to do everything. The cold rinse alone will already make a huge difference.
I used to think glass hair required a strict salon schedule. Now I know it’s all about consistency and a few smart techniques. And the best part? No one knows it didn’t cost you a fortune.
A Cozy Recap Before You Go
You now have everything you need to chase that glass hair shine on a budget. From cold rinses and microfiber towels to gloss treatments and heat tricks, it’s all about working smarter, not harder.
Remember, even one small change can transform how your hair looks and feels. I’d love to hear which trick you’re most excited to try. Let me know in the comments below!
Save this post to Pinterest so you have it handy for your next wash day. And tell me below—which shine trick are you trying first? I read every comment.