How to Achieve a Sleek High Ponytail Without Any Bumps
There’s something about a sleek high ponytail that just says, “I’ve got my life together.” It’s bold, clean, and takes less than ten minutes when you do it right. But if you’ve ever wrestled with bumps along your crown, you know the struggle is real. I used to get so frustrated, but over the years, I’ve found a simple method that works every single time. No backcombing tricks, no hiding in hats. Just a smooth, shiny, bump-free pony that lasts through work, dinner, and maybe a spin class. If I can do it with my fine, slippery hair, you can too. Let’s make this your new go-to look.
Why This Ponytail Fits Perfectly Into 2026 Hairstyles
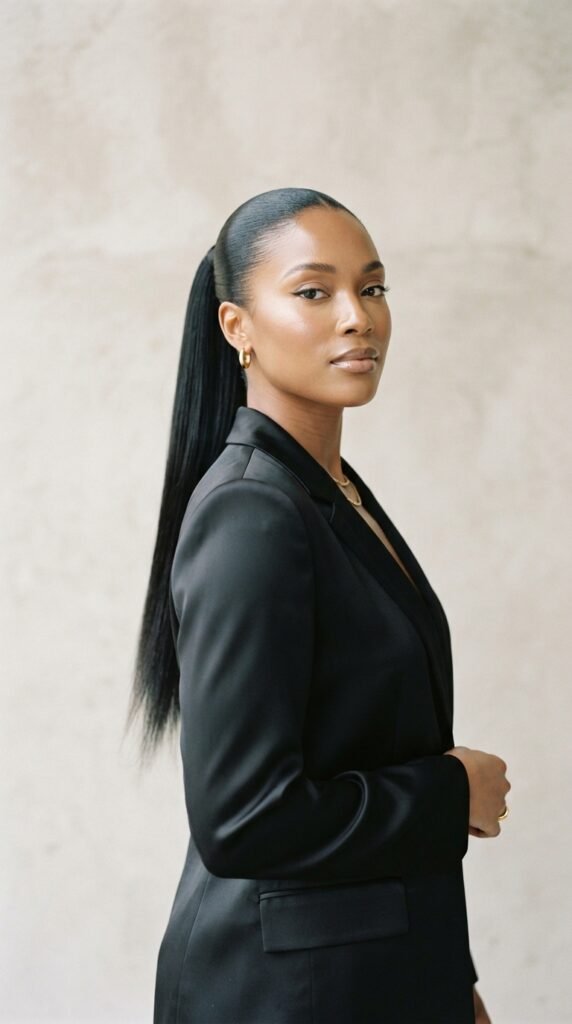
Sleek ponytails are everywhere in 2026 hairstyles, and I am completely here for it. They balance the soft, quiet luxury looks that are so popular right now. If you’ve been wearing your quiet luxury bob all season, this is a fun way to switch things up. It’s also a reliable style when you’re trying out bold statement pieces. I love how it pairs with a blazer or even a simple t-shirt. There’s something so clean and 2026 about it. The best part? This ponytail works on almost any hair type. It’s easy to learn, takes minutes to perfect, and looks expensive without trying too hard. Let me show you how I keep mine completely bump-free.
Gather These Ponytail Essentials
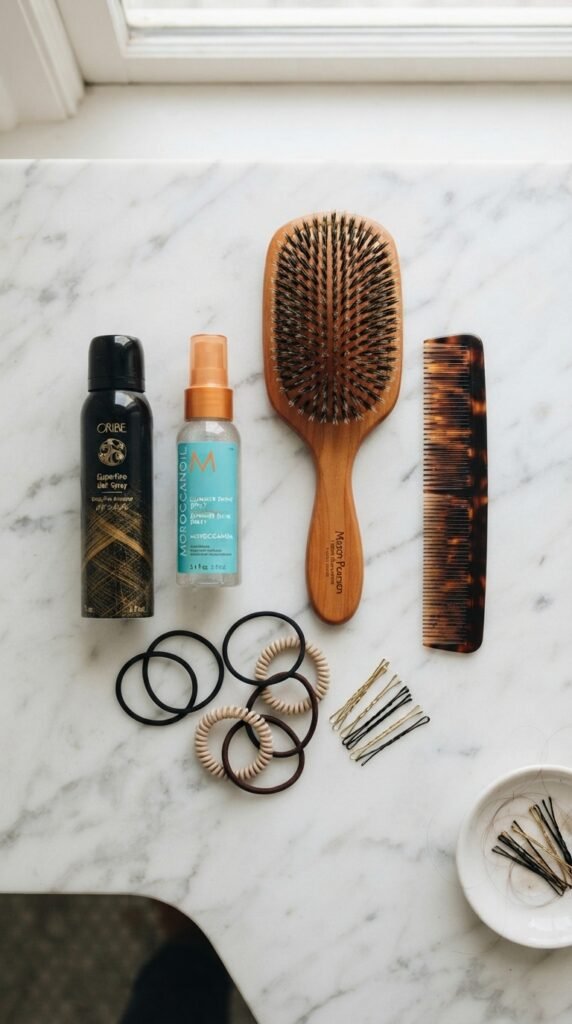
Start with the right tools, and you’re already halfway there. You don’t need a ton of fancy items, just a few basics. Here’s what I keep on hand:
- A paddle brush for smoothing
- A fine-tooth comb for the perfect part
- Strong, thin hair elastics (the kind that don’t tug)
- Bobby pins to secure stray spots
- A clean toothbrush for flyaways
- A light hairspray and shine spray
That’s it. Once you have these, you can create this sleek style any day. I promise, no need to buy a new gadget.
Start With Clean Hair or Dry Shampoo
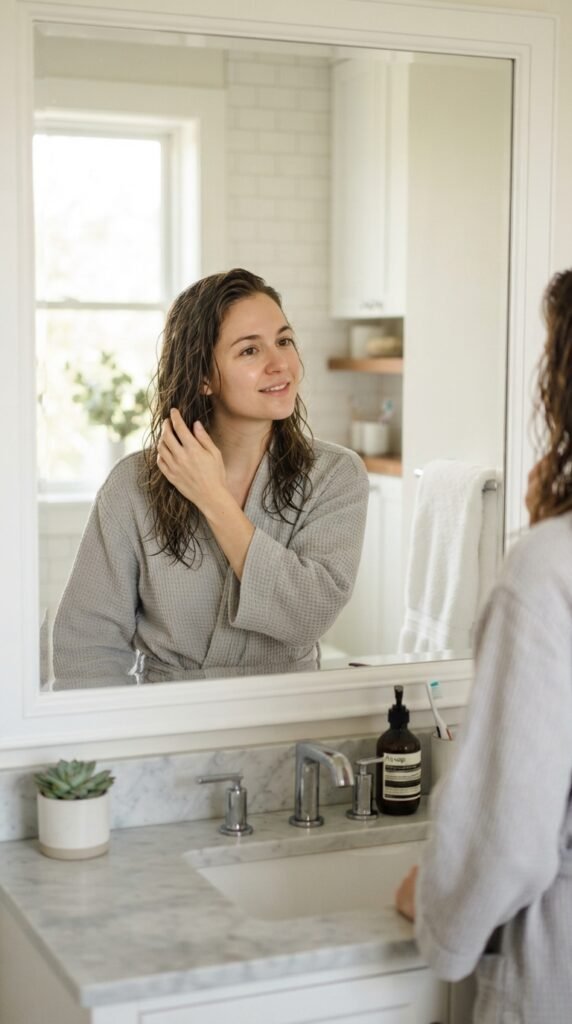
The best time to do a sleek ponytail is on freshly washed hair. Dirt and oil can make bumps more noticeable, and clean hair glides much easier. Wash it the night before, then let it dry completely. In a hurry? Dry shampoo at your roots can help absorb oil and give you extra grip. In fact, a little grit is your friend here. It keeps strands in place and stops things from sliding around. Just brush the dry shampoo through so you don’t see any powder, and you’re good to go.
Prepping Your Hair With the Right Products
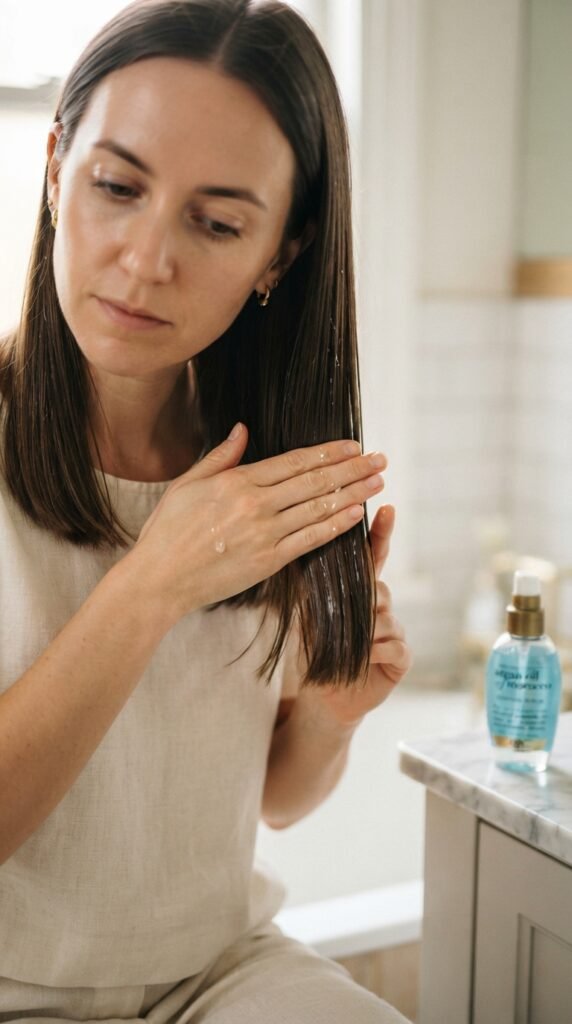
This step makes or breaks your sleek style. After your hair is dry, work in a small drop of smoothing serum or cream. Focus on your mid-lengths and ends, not your roots. Too much at the root will weigh your hair down and create that greasy, flat look. Then spray a light mist of heat protectant if you’ll be using hot tools. I like to add a little gel or pomade at my hairline for control. Keep it light, though, because you want the texture to stay smooth, not stiff.
Blow-Dry in Sections for a Smooth Base
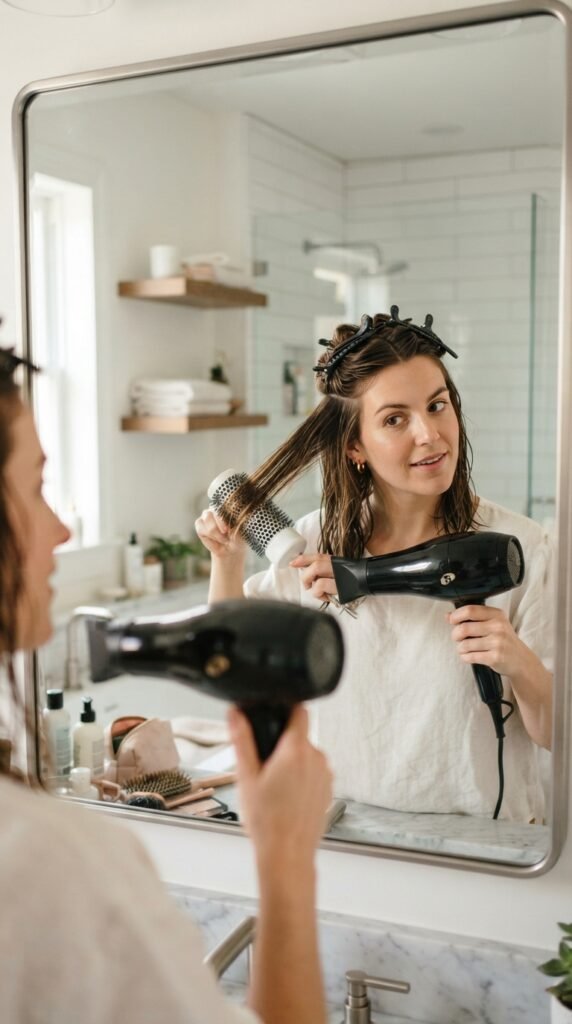
If you air-dried, you can still get a sleek finish, but blow-drying takes it to another level. I section my hair into four parts: top, two sides, and back. Then I point the nozzle downward. That’s a small trick that lays the cuticle flat. As you brush through each section, pull the hair slightly taut so it dries straight and smooth. This is the same principle behind the old money hair look. The smoother the base, the easier it is to pull into a ponytail with zero bumps later.
The Old Money Hair Trick: Comb the Crown Down
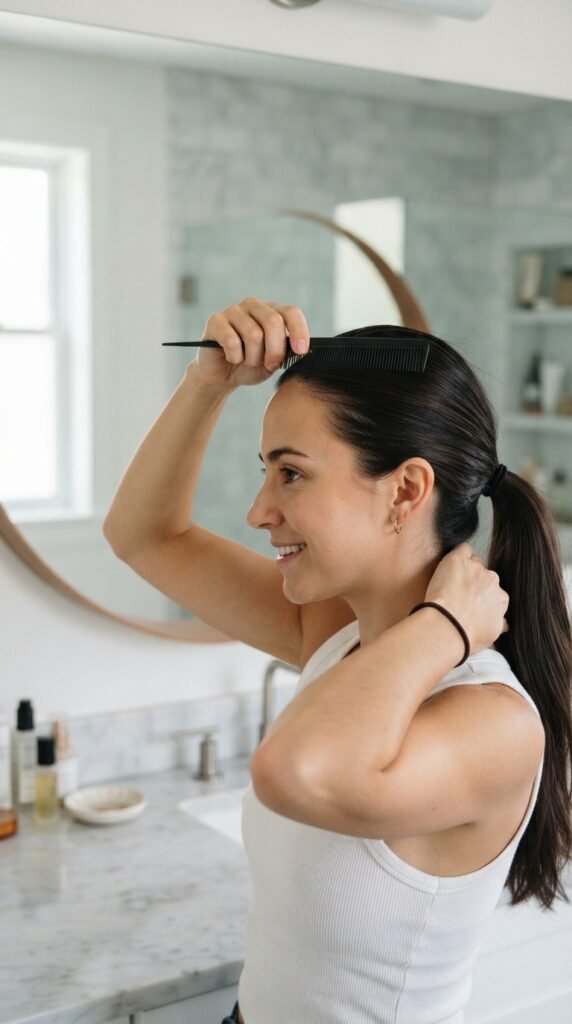
Here’s where we get serious about no bumps. Before you even tie your hair, take a fine-tooth comb and lay it flat against your crown. With your head straight (don’t lean back), gently comb the top of your hair down and back. This keeps all the strands flat and in one direction. It sounds simple, but this is the exact way old money hair gets its polished feel. You’re not adding volume here. You’re creating a clean, smooth base. It also helps avoid that accidental ridge that shows up after you tie it.
Find Your Ponytail Sweet Spot

Here’s my favorite part: finding the right height. I’m not talking low ponytail or high pony for the gym. For a sleek, flattering look, aim for the ponytail to sit right around the upper curve of your head. A good trick is to place your fingers on your cheekbones and draw a line straight up. Your ponytail should land where that line meets your skull. Too low can feel droopy. Too high can feel like you’re going to ballet class. That sweet spot makes your face look lifted, and it stays comfortable all day.
Brush Your Hair Into a Perfect Pony
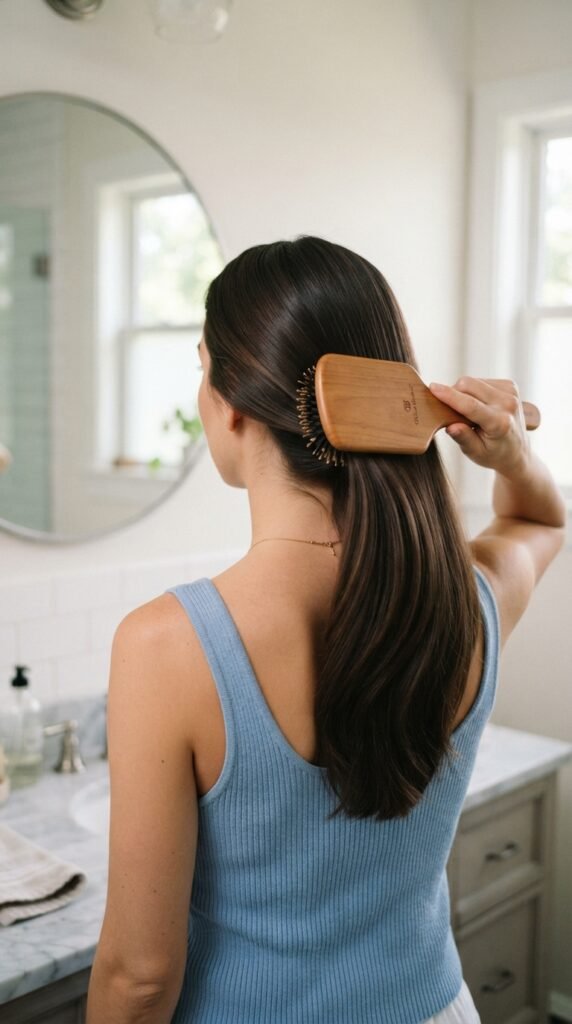
Now, with your head standing tall, brush all of your hair toward that sweet spot. I like to use a paddle brush here because it spreads tension evenly. Hold your hair at the base with one hand, and run the brush all the way down from the nape to the tie area. Keep your movements smooth. If you flip your head over and tie it, you’ll almost certainly cause bumps. When you finish, you should feel the top of your head completely smooth. Keep that base taut while you get ready to tie.
Choose the Right Elastic for the Job
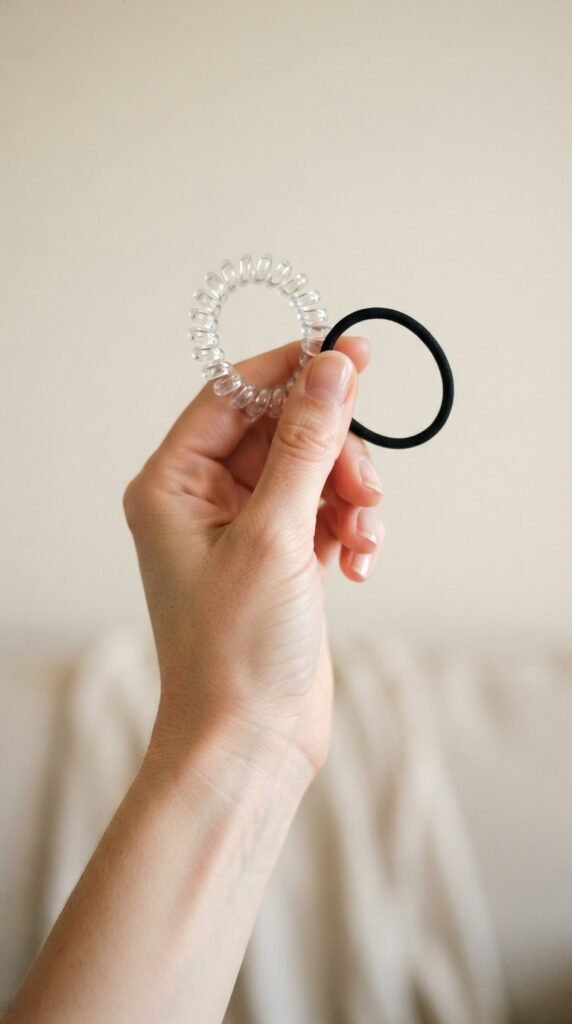
Not all elastics are created equal. For this style, you want something thin and firm, but with a little grip. Those fluffy scrunchies? Save them for another day. Thick fabric ties can catch on strands and create lumps. Instead, use a small elastic that lies flat. Sometimes I use the clear ones for an invisible look. If your hair is heavy, use two: one to secure, one to add extra hold. Just be gentle, so you don’t snap your hair. Try to tie it exactly where your fingers are holding.
The Secret to a Bump-Free Tie
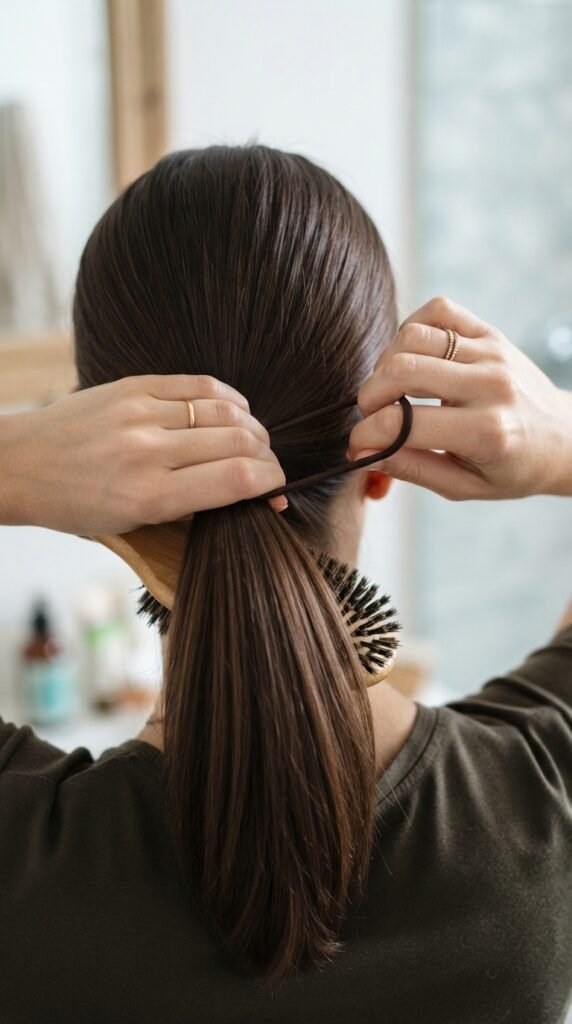
This is the step that changed everything for me. When you wrap the elastic, don’t pull the hair loose and then re-tighten. Instead, keep your hand gripped around the bundle at the base. Use the other hand to loop the elastic around that space. Pull the hair through the elastic until it’s snug, then release your grip slowly. This keeps the hair flat against your head, right up to the tie. If you pull the elastic too high afterward, you’ll see a ridge or bump form. So, tie it exactly where you held it.
The Toothbrush Trick to Smooth Bumps Instantly
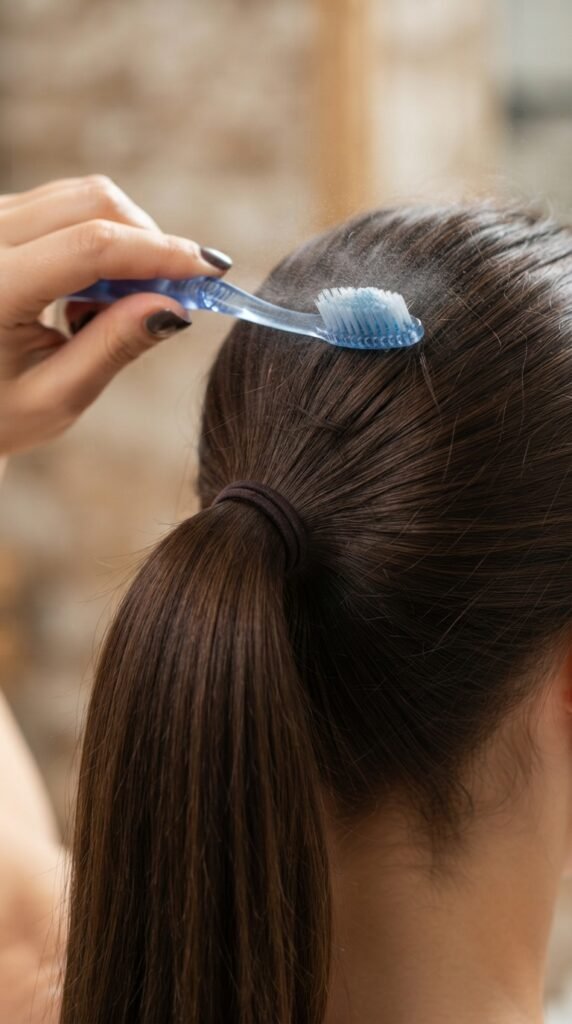
If you see any little bumps or flyaways after tying, don’t panic. A toothbrush is my hero here. Spray it lightly with hairspray, then press it flat against your crown and brush downward. The small bristles catch every tiny hair without pulling out your whole pony. For stubborn bumps, add a bit more spray to the toothbrush. But don’t brush over and over. Let each pass dry for a few seconds. This smooths the surface and locks everything in place. It’s a trick I use for editorial styling at home.
Use Hairspray the Right Way
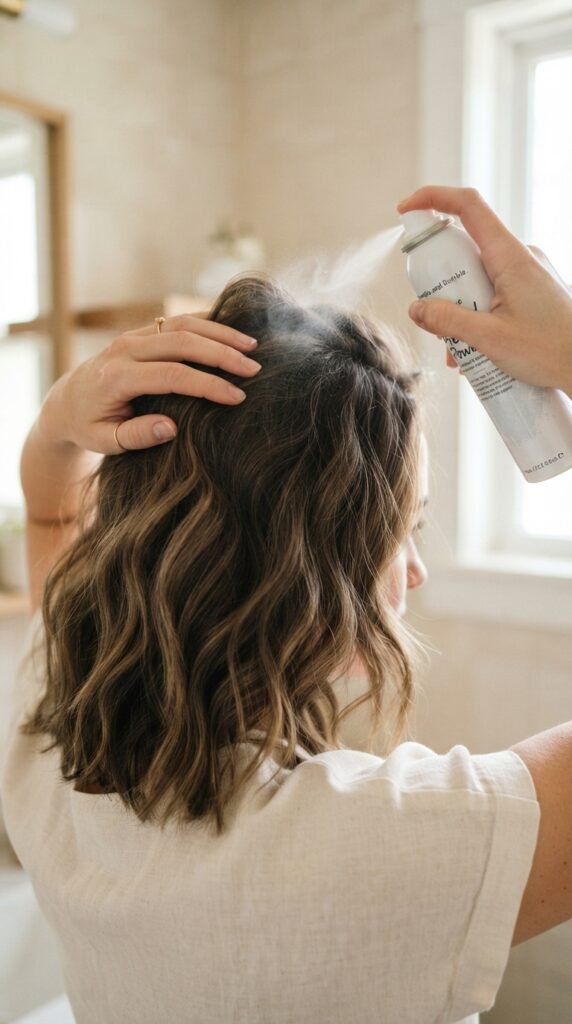
The key to a polished ponytail isn’t drowning it in product. Here’s what works for me: spray a fine layer all over my head, especially the crown, sides, and nape. Then I gently press my hand over the hair to flatten it down. The spray dries quickly, so each area feels smooth, not sticky. For extra hold, I finish with a quick spritz under the ponytail as well. This helps stop the whole style from slipping during the day. If you use a strong-hold hairspray, wait a few seconds before moving your head.
How to Hide the Elastic With Your Own Hair
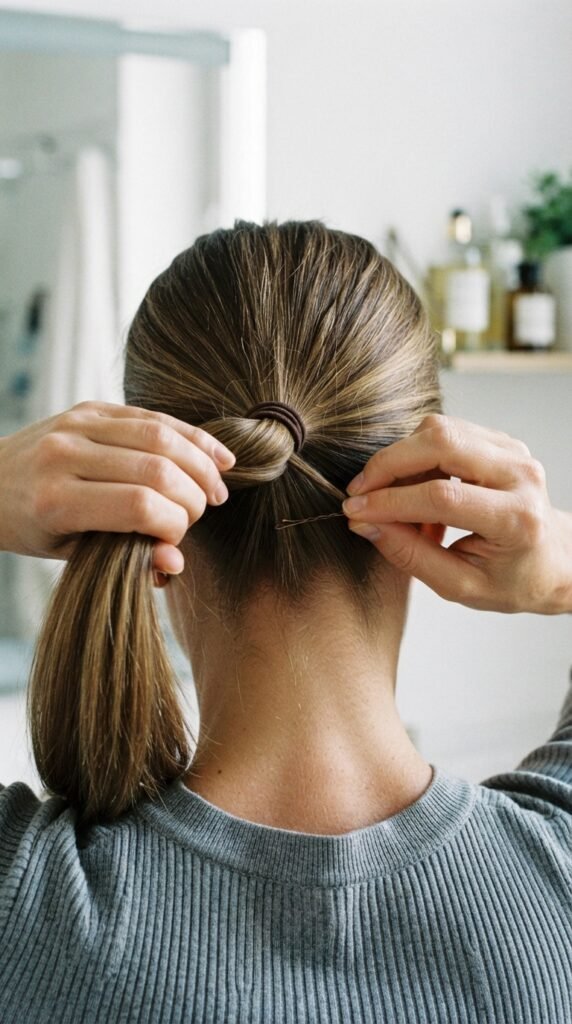
This little step makes a slick ponytail go from good to expensive. Take a small strand from underneath the ponytail and wrap it around the base, covering the elastic. Once it’s wrapped once or twice, tuck the end underneath and secure with a bobby pin. This mimics that quiet luxury feel where everything looks intentional and clean. You can also skip the pin by keeping tension tight as you wrap. It makes the ponytail look more put together, and no one will see the elastic. It takes only ten extra seconds.
Add Shine Without Grease
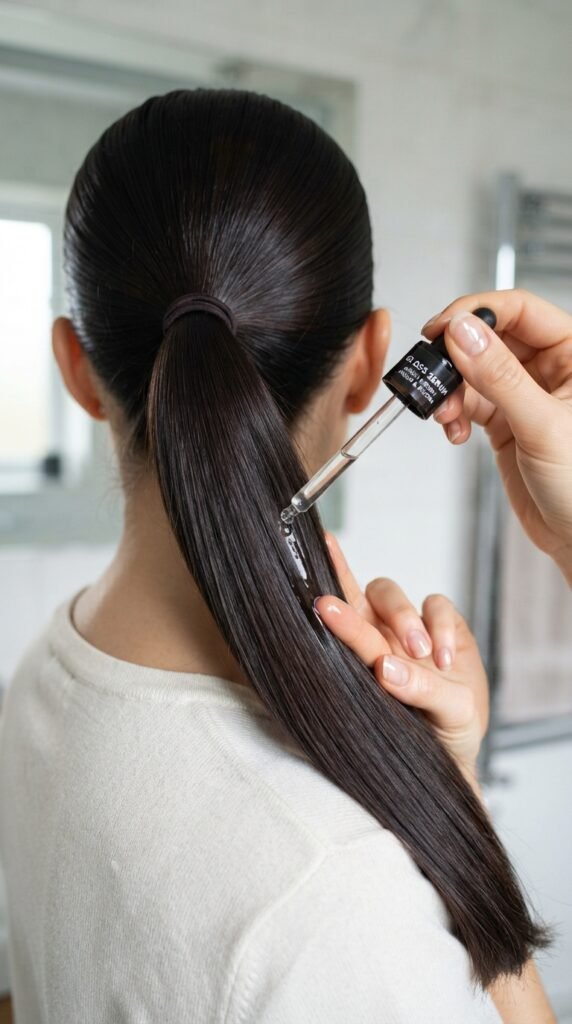
Shine is what makes a sleek ponytail look so expensive. But you have to be careful. I put a very small amount of shine serum or oil on my fingertips, rub them together, and then gently pat the surface of my hair. I avoid my root area, or my hair will look flat and oily. Focus on the visible hair over my head and the ponytail itself. If you’re worried about it looking heavy, use a shine spray instead. A light mist adds polish without any grease. You want it to look like healthy, natural hair.
What If You Have Baby Hairs? No Problem
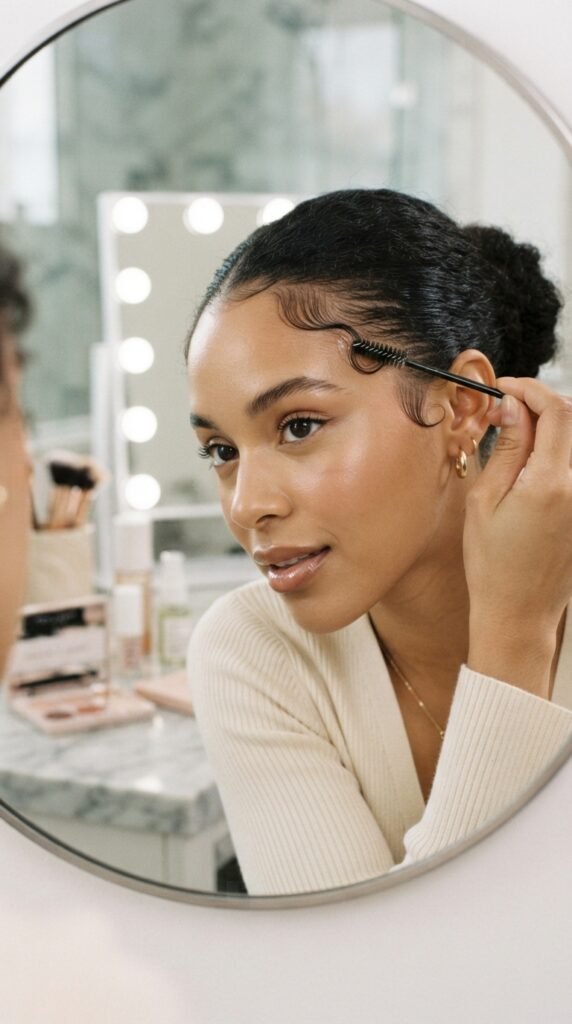
Baby hairs are beautiful, and they’re actually super easy to tame for this look. Use a bit of styling gel or even a wax stick on a clean spoolie. Then brush the baby hairs flat around your hairline. You can also use the toothbrush trick to blend them right into the rest of your strands. If you like the clean, old-money hair vibe, you’ll want these pieces softened downward. No need to make them stiff or crunchy. Just smooth them down and let the rest of your ponytail do the speaking.
How to Fix a Bumpy Ponytail Without Starting Over
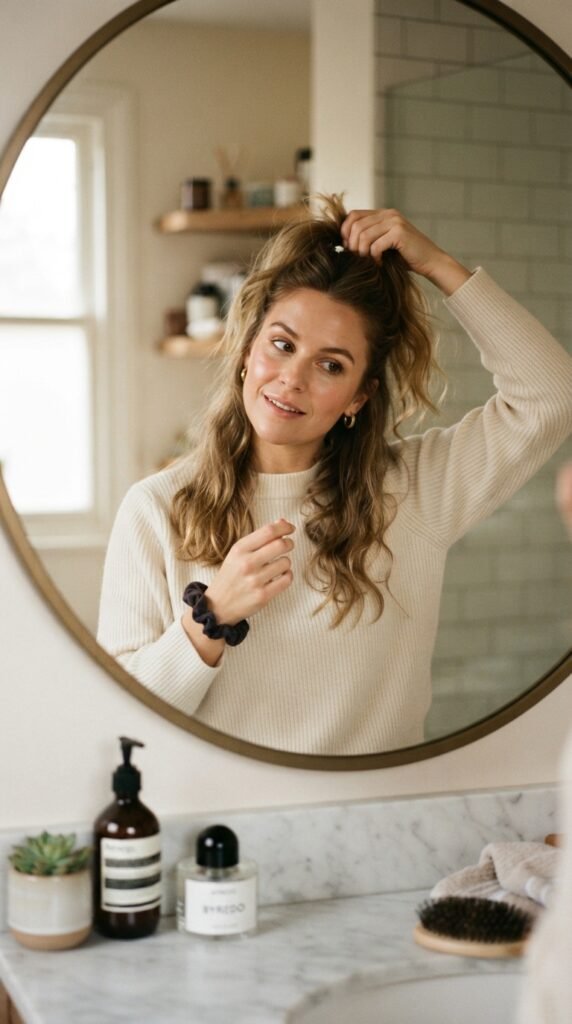
I’ve been there, you tie your hair and see a bump you didn’t notice. Don’t restart unless you have to. Here’s a quick fix. Slide the elastic down half an inch, which releases some tension. Then use a fine-tooth comb to lay the bump flat. Smooth the hair upward again, and re-tie the elastic right where you had it. Another fix is to use a small clip at the bump and let it sit for a few minutes while the hairspray dries. Both work. Just avoid yanking the hair, since that creates more bumps.
Make It Last: Night and Day Tips
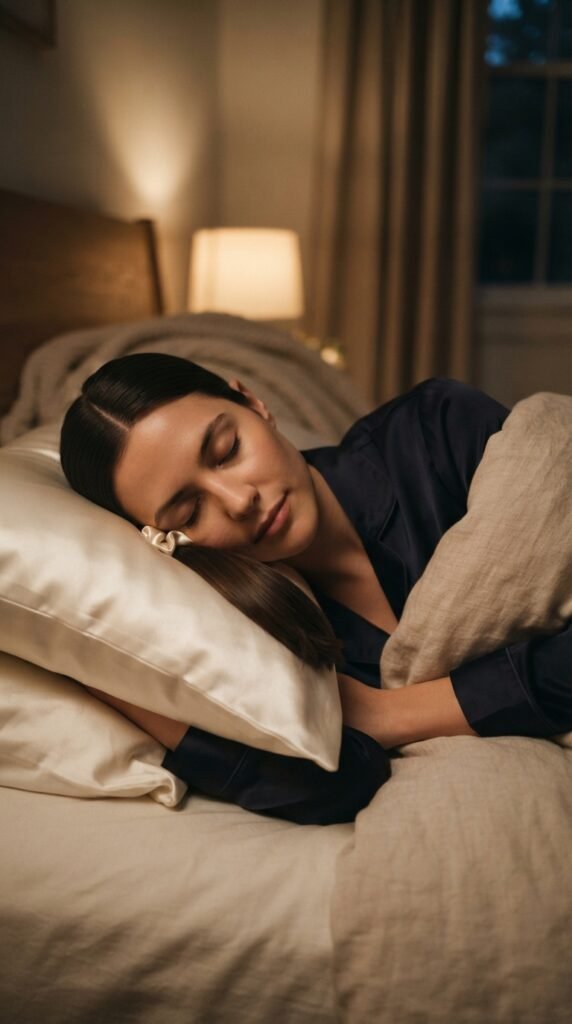
If you’re the kind of girl who wants a sleek pony to last from morning meeting to evening dinner, you need to protect it. Carry a mini hairspray in your bag. During the day, I spray my hands with hairspray and smooth down any spots that feel puffy. At night, I do a loose, low ponytail on a silk pillowcase to keep the shape. That trick helps me get a second day of wear. It’s a total time saver, and it protects your hair from breakage too. Trust me, this works.
Sweat-Proof Your Sleek Ponytail

I love a sleek ponytail that can survive a little movement. For sweaty days, start with a dry texturizing spray at the roots. It gives grip and keeps your ponytail from sliding away. Then finish with a strong-hold hairspray all over. Another easy trick is to wrap a strand around the base and secure it with a bobby pin. This keeps everything anchored. If you’re planning to work out, just pull the pony into a low loop and clip it up. That saves the sleek crown from sweat and frizz. When you’re done, let it down and smooth it again.
How to Wear It With Bangs and Face-Framing Pieces
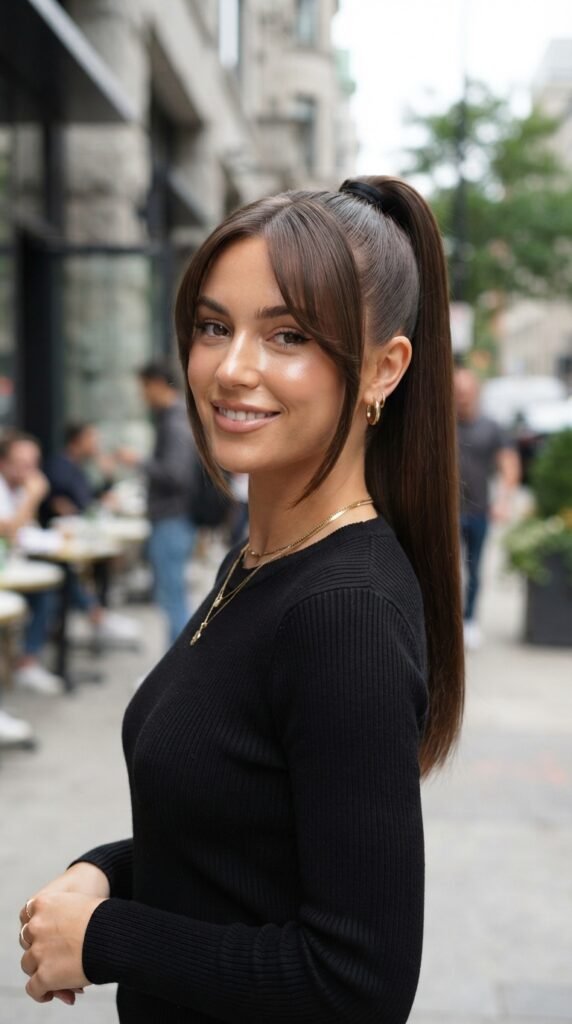
Bangs with a sleek ponytail? Yes, please. If you have a hime cut or curtain bangs, leave those front pieces out and style them smooth. They actually frame your face beautifully. I like to blow them straight with a round brush before pulling the rest back. For a hime cut’s cheekbone pieces, a flat iron gives a polished finish. If you want more of an asymmetrical lob vibe, you can tuck the shorter strands behind your ears with a little gel. Just remember, any piece you leave out should flow straight to keep the sleek look unified.
Easy Ways to Make the Style Your Own
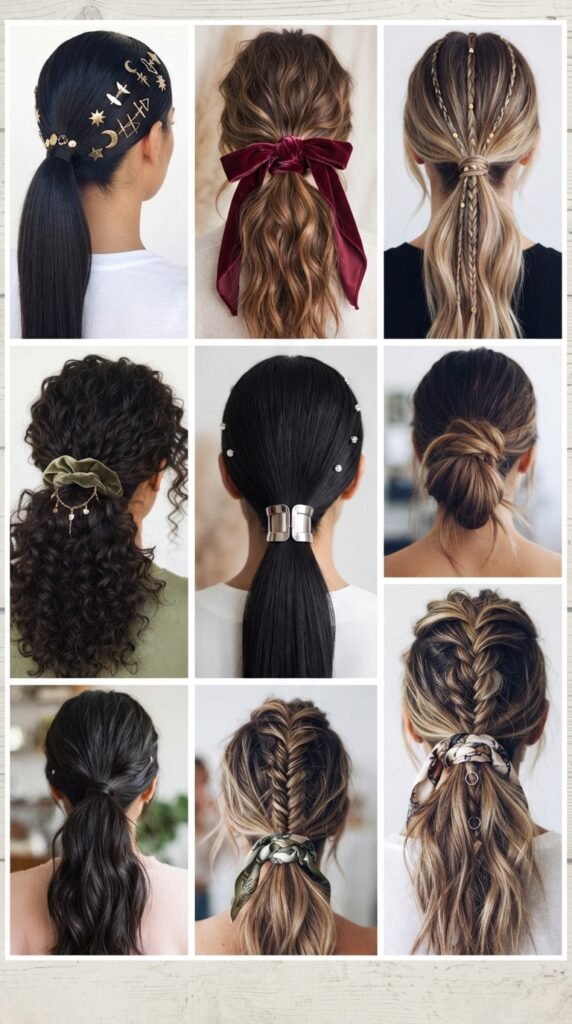
Even though it’s a classic, you can totally put your own spin on it. For romantic goth hairstyles, add a black velvet bow or spiky claw clip. If you love glitchy glam hair, try shimmer strands or a silver cuff around the base. You can also braid a section of the ponytail for texture. This sleek base works with almost any aesthetic, from quiet luxury bob fans to vampire haircut lovers. Spend a minute to add an accessory that feels like you. It’s the easiest way to keep your look fresh without starting over.
One Last Thing
I hope these little tips help you feel as confident and polished as you deserve. Remember, the sleek high ponytail isn’t about perfection, it’s about working with your own hair and having fun. Start with the basics, go slow, and don’t stress over tiny bumps. They’re so much easier to fix than you think. With a little practice, this will become your most reliable good-hair-day trick.
Now I’d love to hear from you. Do you have a favorite trick for getting a sleek ponytail? Tell me in the comments below.
Save this post to Pinterest so you can find it the next time you need a quick hair fix!


