How to Add Curl Definition to Naturally Wavy Hair Types
Hey friend, if your hair is naturally wavy but always ends up flat, frizzy, or just a mess on good days, this guide is for you. I know exactly how that feels.
Some mornings your waves look cute and effortless. By noon, they’ve dropped their shape and turned into sad, stringy fluff. The struggle is real.
But here’s the thing: You don’t need a pile of expensive curly products or a complicated routine. Adding real definition to wavy hair is all about using the right methods and knowing what your hair craves.
This post gives you quick, practical steps to bring out your natural waves and keep them looking fresh all day long. Let’s make wavy hair your best accessory this year.
Why Natural Wavy Hair Needs a Definition Fix
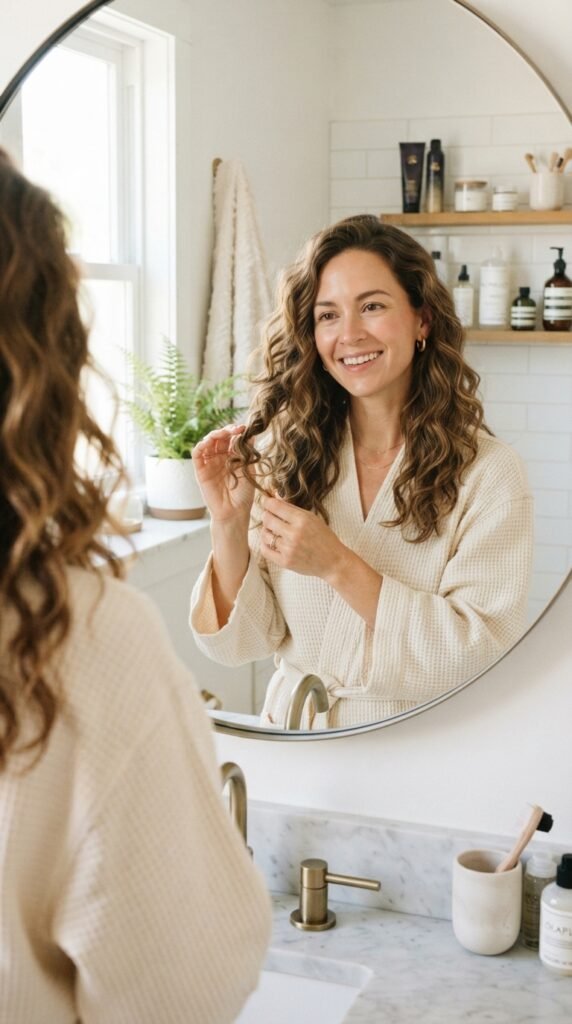
Wavy hair gets ignored in the curly conversation. It’s not straight enough to blow out sleek, and it’s not curly enough to curl up tight. So it frizzes, flattens, or does both.
The secret to definition is training your hair to form smooth clumps. Clumps give wavy hair that thick, juicy, polished curve. When your hair clumps, your waves turn into an actual hairstyle instead of a wild guess.
The trick is to start while your hair is soaking wet. Dry brushing is the enemy of wave definition. Once you learn a few careful moves, the results feel almost like magic.
Stop Washing Your Waves Every Day

Over-washing strips your hair of the natural oils that help waves hold their shape. When your hair is squeaky clean, it also means extra frizz and zero clumping.
Try washing every 2 to 3 days instead. On non-wash days, just wet your hair in the shower and let conditioner do the talking.
- Your scalp stays happy.
- Your waves keep their muscle memory.
- You save time and product.
If you feel greasy at the roots, a little dry shampoo works wonders while still keeping your waves defined.
The Perfect Shower Routine for Defined Waves
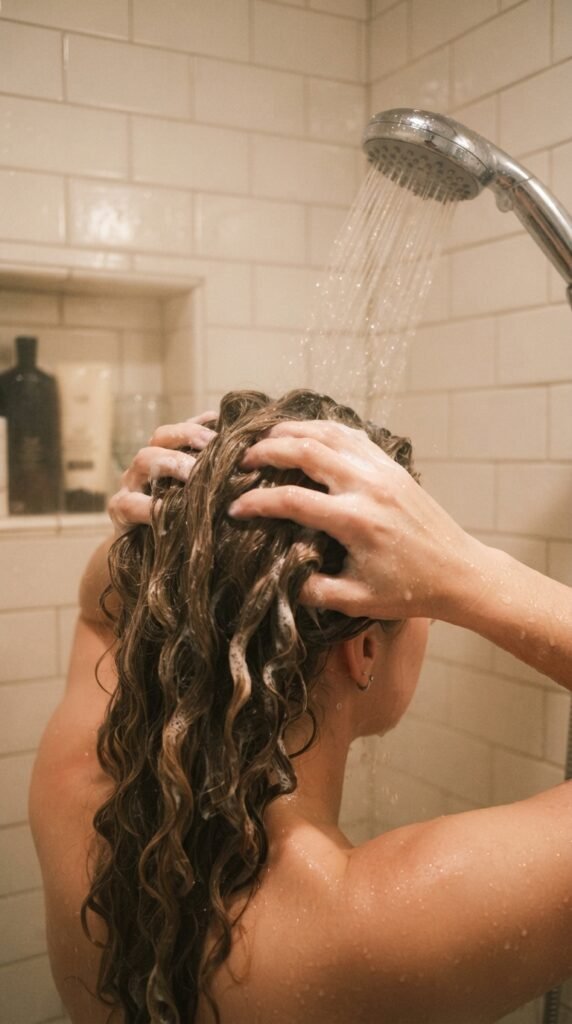
First, flip your head upside down and scrubbing just your scalp. Let the water run through the length without piling it all on top.
Then add conditioner generously from mid-length to ends. This is where you start forming clumps. Use your fingers to gently detangle, but don’t rake through your scalp.
- Rinse with cool water to seal the cuticle.
- Squeeze out excess eater gently.
- Keep your head upside down as you leave the shower.
Cool water is your best friend today. It helps every wave stay smooth.
What Is Squish to Condish and How to Do It

This sounds fancy, but it’s just a simple way to help your hair drink up conditioner. After applying conditioner, cup your hand full of water and squish it into your waves.
You’ll hear a squishing sound. That’s your hair getting juicier and more defined in seconds.
- Keep your head tilted side to side.
- Use light pressure so clumps stay together.
- Rinsing fully means smooth ends.
Do this for one minute. Then let your hair sit while you finish washing your body. It works because your hair is literally learning to hold water and nutrients in the right places.
Ditch the Cotton Towel: Try Microfiber or an Old Tee

Cotton towels create friction, which roughs up the hair cuticle. That leads to puffiness and shockingly flat wave patterns. A soft cotton t-shirt or microfiber towel changes everything.
After you shower, scrunch your hair with the shirt in a quick, pulsing motion. Don’t rub. Rubbing breaks up all those beautiful clumps.
- Fold the tee flat.
- Lean forward and scrunch each side.
- Stop when your waves feel damp, not dripping.
Once you try this, you’ll never go back to a regular towel again.
The Art of Plopping for Bouncier Waves
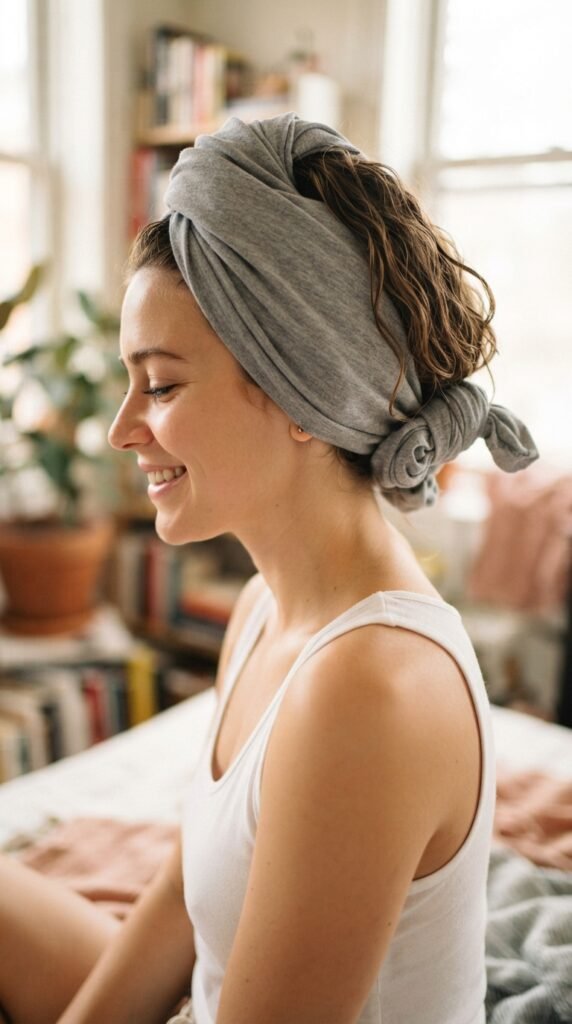
Plopping is basically wrapping your hair in a t-shirt to help clumps dry together. It gives your roots lifted volume and stops gravity from weighing everything down.
Place a t-shirt on a flat surface, then lean forward so your waves fall onto the fabric. Fold the shirt up around your hair and secure it at the back of your head.
- Leave it on for 10 to 20 minutes.
- The longer you plop, the stronger the wave hold.
- Don’t plop overnight—you’ll wake up with crimps.
Plopping gives you that bouncy, salon-look definition without touching a curl iron.
The Right Product Cocktail for Your Waves
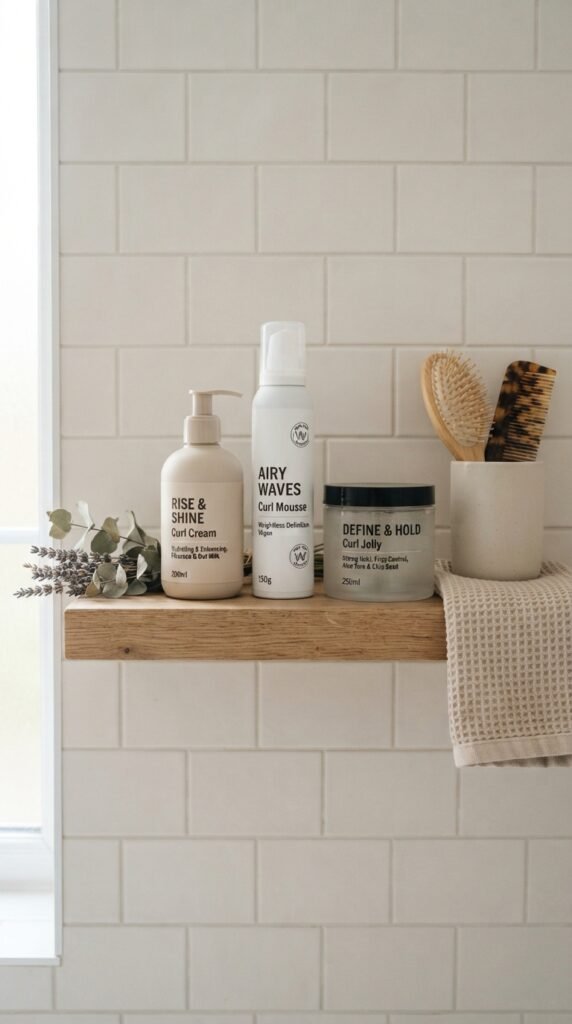
Wavy hair needs lightweight hydration, not heavy butters. Look for water-based formulas. Start with a tiny amount of leave-in cream or spray.
Then lock it in with a mousse or a gel. The product texture matters less than how you layer it.
- Apply leave-in first to damp hair.
- Follow with mousse for volume.
- Finish with gel for hold, if needed.
Think of products as building a jacket for each wave. You can always add more, but you can’t easily take it away.
Mousse vs Gel: Which Creates Better Curl Definition?
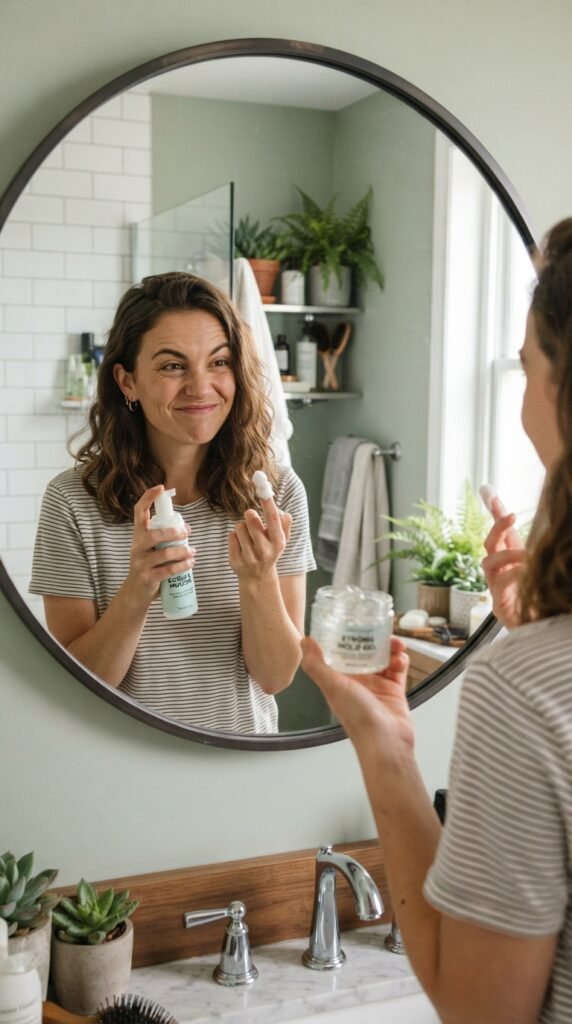
The classic debate. Mousse gives light, airy form that works great for looser waves. Gel adds stronger hold, which is useful when your hair won’t keep a pattern.
For naturally wavy hair, I lean toward mousse on warm days and gel for humid or rainy days.
- Mousse: soft, bouncy, touchable.
- Gel: defined, longer-lasting, slightly crunchy until scrunched.
- Mix both layers for a stronger wave cast.
Test one first, then try the other on different wash days. You’ll feel the difference almost immediately.
Diffuse Like a Pro for Frizz-Free Waves
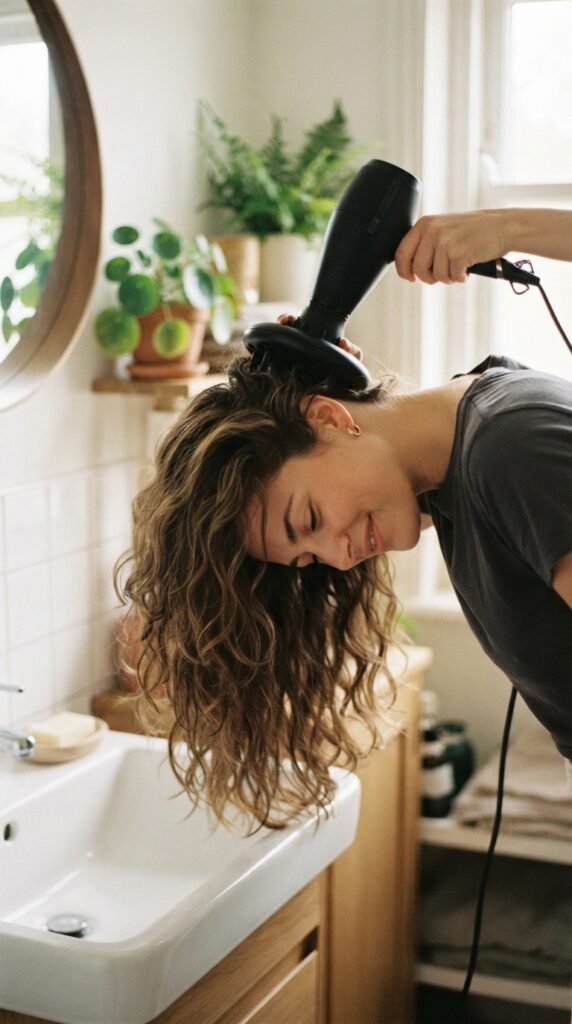
Diffusing isn’t scary once you know the basics. Start on low heat and low speed. High heat zaps moisture and bubbles away your defined clumps.
Flip your head upside down and place the diffuser near your roots. Don’t press it hard into your hair. Let the bowl coddle each section.
- Dry for 5-minute intervals.
- Pulse the diffuser instead of holding still.
- Finish by scrunching out any stiffness.
If you want volume, sleep on it? No, actually just diffuse upside down at the crown.
Use Root Clips for Serious Volume at Your Crown
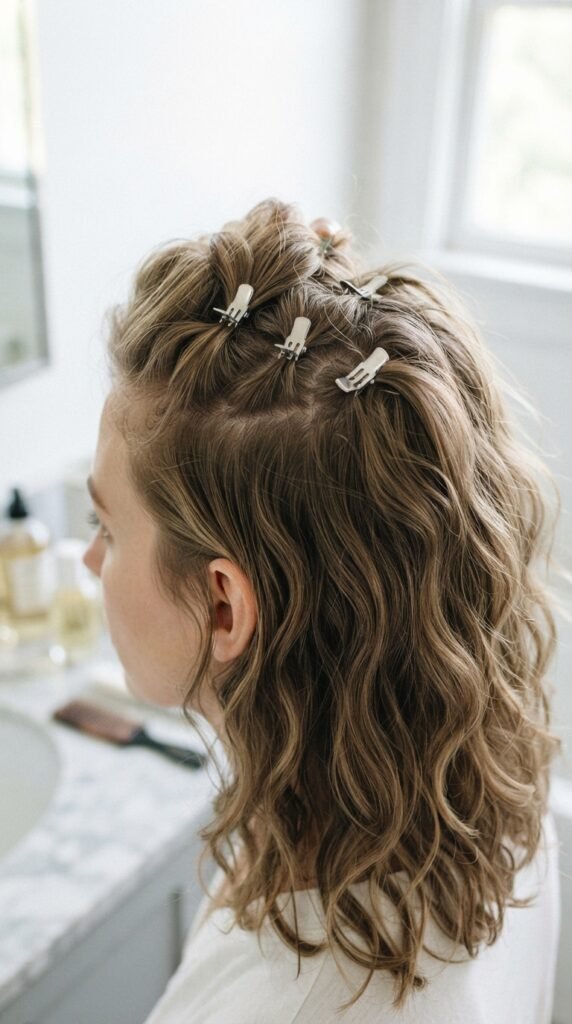
Even if your waves are defined, flat roots ruin the polished vibe. Root clips are tiny duck-bill clips that hold your wave roots up while they cool or dry.
After styling your hair, lift sections at the crown and slide a clip in near the scalp. Wait for a few minutes while you do your makeup.
- Clips create gentle tension that sets a lift.
- They work with mousse and even sea salt spray.
- No heat needed, just time.
When you remove the clips, your roots will look airy while your waves stay intact.
How to Get Lifted Roots Without Losing Definition

Root problems usually come from over-styling or touching your hair too much. Once your waves are set, don’t touch them for at least 20 minutes. Touching breaks up clumps and drops lift.
If your roots go flat later, flip your head forward and gently massage only the roots with your fingertips.
- Lift and shake each side gently.
- Use a texturizing powder at the roots.
- Restyle only the top layer.
Keep the middle and ends intact. You’re fixing the root, not trying to recreate the whole wave.
Why You Need a Satin Pillowcase (Plus the Pineapple Method)

Cotton pillowcases soak up your hair’s moisture overnight. They also yank the shape out of your waves while you toss and turn. A satin or silk pillowcase creates a smooth surface that preserves definition.
The pineapple method sounds cute because it is: put your hair in a very loose, high ponytail on top of your head before bed. This keeps waves from being flattened underneath you.
- Use a soft scrunchie, not elastic.
- Don’t loop it too tight.
- For long waves, do two pineapples.
You’ll wake up with mostly beautiful second-day hair.
The Best Way to Refresh Wavy Hair the Next Morning

Don’t start over every morning. Mix water with a drop of leave-in conditioner in a spray bottle. Mist your hair until it feels lightly dewy, not soaked.
Then scrunch upward with gentle fingers. This reactivates your product and brings the wave definition back to life.
- Avoid soaking your hair down.
- Use a little gel on stubborn sections.
- Air dry dripping, or diffuse quickly.
If your hair feels crunchy, just gently shake the roots. No need to re-wash everything.
Sea Salt Spray: Your Quick Fix for Beachy Waves
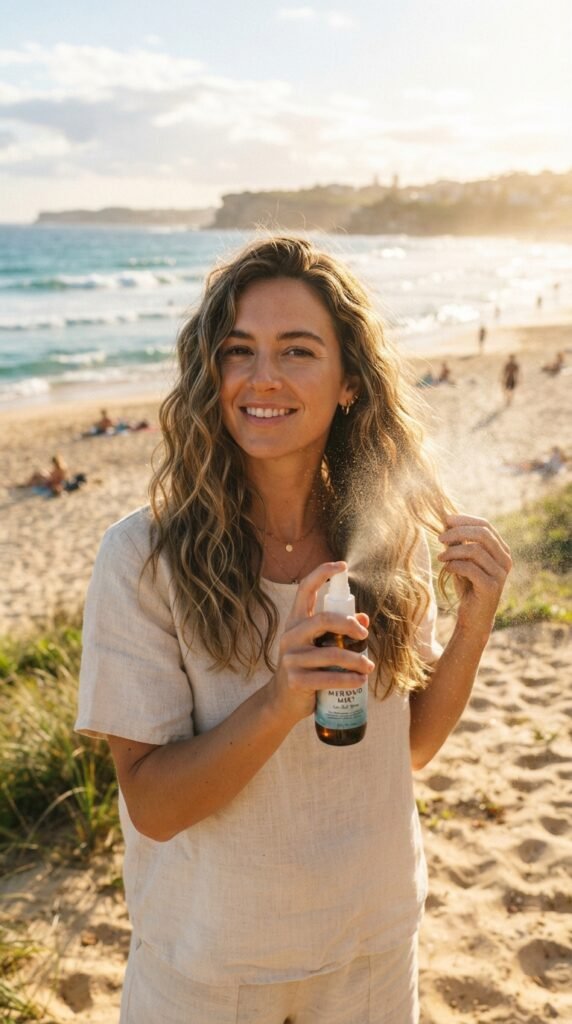
Sea salt spray adds grip. That grip helps wavy hair make tight curls at random places instead of falling limp. Spray it on damp or slightly dry hair, then scrunch.
Don’t overload it. A few spritzes are enough to create that “I woke up at the shore” wave.
- Shake the bottle well before spraying.
- Hold it eight inches from your hair.
- Use on roots for extra texture, not hold.
This works beautifully with a 2026 beachy wave moment, whether you wear it down or in a loose twist.
The Best Haircuts to Enhance Your Natural Wave Pattern
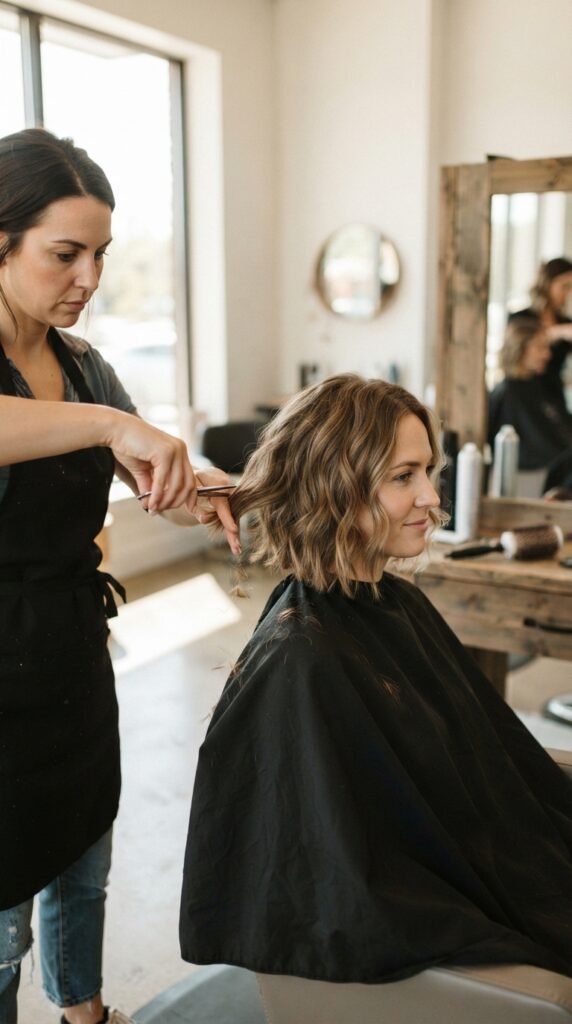
Your haircut shapes everything. That’s why the quiet luxury bob feels just as stunning on wavy hair as it does on straight hair. Keep the ends heavy but add soft internal layers so your waves have room to curl.
An asymmetrical lob gives all the movement and style while trimming split ends. For someone with natural waves, the hidden layer under your chin opens up the whole face.
- Avoid blunt cuts that cause triangle shape.
- Ask your stylist for carved layers.
- Face-framing pieces give definition.
Consider old money hair—a deep shiny wave that always looks expensive. Your natural texture fits right in.
Wavy Hair Trends for 2026: Old Money and Quiet Luxury

2026 hairstyles are all about looking polished without trying too hard. Old money hair and the quiet luxury bob celebrate natural tones and modern fuss-free beauty.
For wavy types, that means less heat and more product cocktailing. Use your natural S pattern as the base for those glossy, blowout-looking waves.
- Do a gentle heatless set on damp waves.
- Run a little finishing oil over the ends.
- Keep your roots smooth with mousse.
Old money waves are chic, but they still need real definition to avoid looking messy. This is where clumping and diffusing become your best friends.
For short hair, the quiet luxury bob gets a wave upgrade when you style it with a tiny round brush or a curl cream.
Romantic Goth Hairstyles for Wavy Hair Lovers

Romantic goth hairstyles include tousled, dark, romantic waves that feel mysterious and dreamy. Your natural wave definition helps keep the look effortless, not overly stiff.
Add a deep side part, and your waves naturally form a curtain over the eye. This gives the whole look an air of quiet drama.
- Keep your wave spray lightweight.
- Make a dramatic dark hair shine with a few drops of shine oil.
- Don’t brush the curls out all the way.
Romantic goth is very popular for the upcoming 2026 seasons. You can wear a veil clip, dark velvet ribbon, or just a strong hairline.
The best part? Your gentle waves build that delicate structure without needing a curling iron for every strand.
Adding Glitchy Glam and Asymmetrical Lob Vibes to Waves

Glitchy glam hair is all about playful textures, odd shine contrasts, and slight asymmetry. For a wavy natural, that translates into mixing broken wave patterns with sleeker tiles.
An asymmetric lob looks incredible with loose waves because the angles add movement while the texture feels modern.
- Ask for a lob that’s shorter in the back, longer in front.
- Style with a soft wave cream.
- Breeze through your roots with a flattening iron for a single polished section.
That contrast between smooth and wavey is exactly what makes glitchy glam fashion forward. Pair it with a cute drop earring.
This is also where you get to play with a smoothing pomade—just on the ends, please.
Hime Cut and Vampire Haircut: Edgy Wave-Friendly Cuts

Hime cut is the Japanese-inspired cut with curved fringe around the face and longer sides. It’s surprisingly lovely on naturally wavy types because the blunt face frame contrasts with softness.
The “vampire haircut” is about dramatic long layers and side-swept fringe. On women with waves, it looks like a freshly sharpened, mysterious style.
- A strong fringe gives a face-framing silhouette.
- Waviness adds just enough romantic dishevelment.
- Use a curling cream at the front to create a curl-over-face.
Both cuts work perfectly with romantic goth and witchy aesthetics. This is your chance to try bold, fashion-forward wave hairstyles.
If you love the look, take a photo of great hime-inspired waves to your stylist.
How to Beat Humidity and Keep Waves Defined All Day

Humidity loves to turn wavy hair into a puffball. The antidote is creating a frizz barrier with anti-humidity gel or serum, then letting your hair dry completely before stepping out.
Use the prayer-hands method to glaze gel over your clumps after all other styling. This locks the shape and seals out moisture.
- Apply gel gently over the surface.
- Do not rake fingers through the hair.
- Diffuse until fully dry to set the hold.
A great hairspray with flexible hold also does wonders. When in doubt, slick your waves back into a low ponytail and allow them to look intentionally elegant.
Keep a mini travel spray in your bag so you can refresh on the go.
Wrapping Up With a Smile
I hope your wavy hair feels a little less like a mystery and a lot more like your favorite styling partner. These tips are designed to help you work with your texture, not against it.
The key is to keep things simple: gentle washing, powerful squishing, a soft towel, and the right product layering. Every time you practice, your hair learns how to behave.
Go ahead, give yourself a quick scrunch right now. Your waves deserve that little glow-up.
Save this post to Pinterest so you always have these wave-defining tricks handy. And tell me in the comments: what is your wavy hair struggle right now?


