How to Braid a Dutch Fishtail Without Any Prior Practice
Let me start with something honest. I used to think the Dutch fishtail braid was reserved for people with a hair school diploma, a farm of bobby pins, and very patient best friends. Turns out, I was very wrong.
Once you understand the one tiny movement that makes a braid “Dutch,” you can absolutely do this on your first try. No prior practice. No magic fingers. No tears in the bathroom mirror.
I’ve broken this down into the simplest possible steps, the exact routine I used when I first learned. By the end, you’ll be able to create a soft, romantic, slightly undone braid that looks expensive and intentional.
Even better? You won’t need special tools or a stylist. Just your hands, a small elastic, and about ten honest minutes.
What Makes a Dutch Fishtail Different

A regular fishtail crosses little strands over the middle. A Dutch fishtail crosses them under, which lifts the braid off your head into a gorgeous raised rope. That one tiny flip from “over” to “under” is the entire secret.
Once your brain understands the under-move, the braid basically builds itself. People assume it’s advanced because the result looks 3D, but you’re doing less work than a classic three-strand braid. Fewer sections, fewer decisions, same wow effect.
- Regular braid: strands cross over.
- Dutch braid: strands cross under.
- Fishtail: thin outside pieces feed inward.
Why You Don’t Need Prior Practice

Most braids look messy because you’re juggling three sections, confusing directions, and aching arms. The Dutch fishtail only uses two big sections and one repeating motion, so your hands learn the rhythm in under a minute.
You’re also allowed to make it a little loose. In fact, loose is where the charm lives. No one will ever know it wasn’t perfectly planned, and that relaxed finish is exactly what makes the style feel current.
Grab These Three Things First

Keep it simple. You really only need three things:
- A paddle brush or wide-tooth comb to remove knots.
- A tiny clear or matching elastic to secure the end.
- A little texture spray or water to give strands grip.
Slippery, freshly washed hair makes any braid harder. If your hair is too silky, add a spritz of sea salt spray and let it dry for a minute before you begin.
Step 1: Split Your Hair Into Two Even Halves

Gather all your hair at the nape of your neck, like you’re making a very low ponytail. Split it straight down the middle into two equal halves.
Hold one section in each hand. This is your starting position for the entire braid, so get comfy. Keep your elbows relaxed and your hands close to your head, and try to keep both sides balanced as you go.
Step 2: Pick Up a Slim Strand From the Outside Left
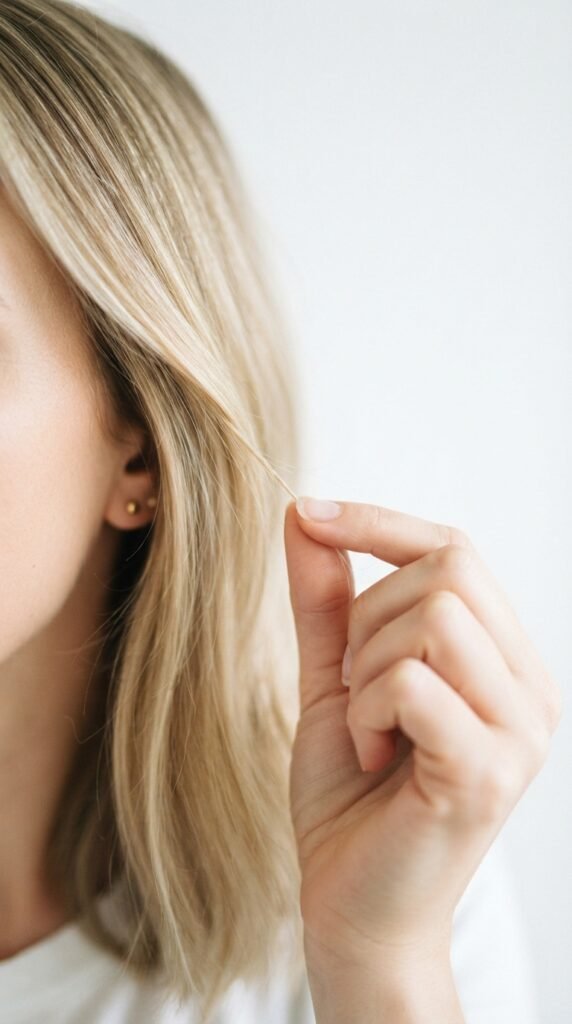
Here’s where the magic begins. Look at your left section and find its outer edge, the part farthest from the middle. Use your thumb and index finger to pull away a thin, small strand.
Think pencil-thin, not giant. If you grab too much, the braid will look more like a rope than a delicate fishtail, but honestly, even that looks cute. You can always soften it later.
Step 3: Cross It Under the Left Section
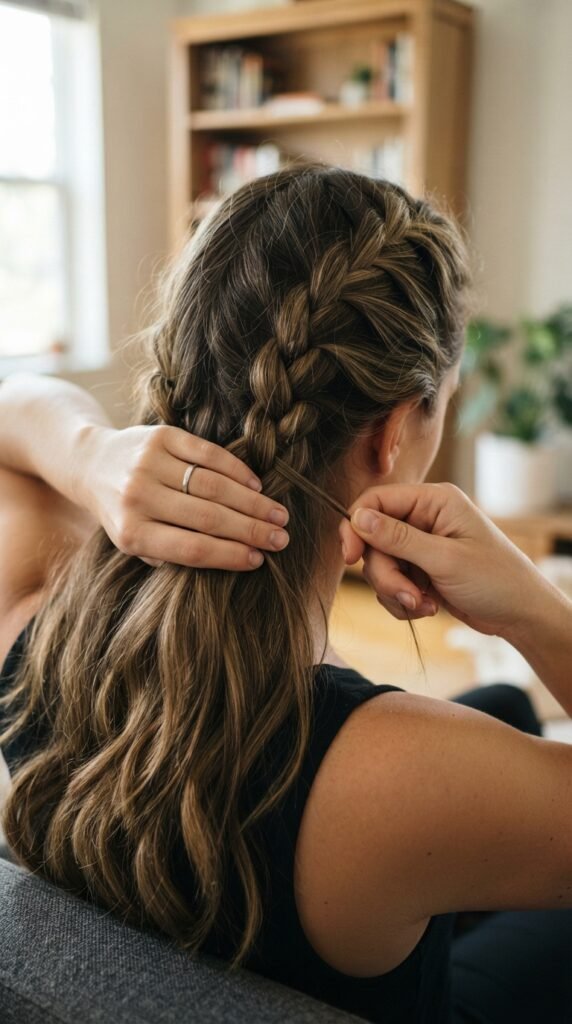
Take that thin strand and cross it underneath the left section, then hand it over to join the right section. Yes, under, not over. That “under” move is the entire Dutch difference.
After the transfer, your left hand holds the original left piece, and your right hand holds the section that just received the new strand. Keep the movement smooth and simple.
Step 4: Repeat on the Right Side
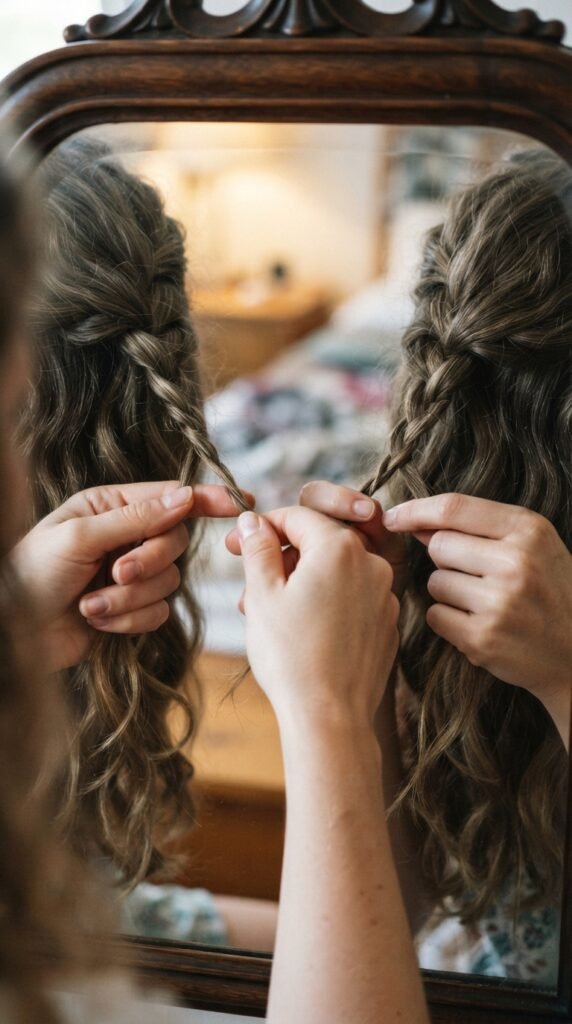
Now mirror it. From the outer right section, pull away another thin strand. Cross that one under the right section and let it join the left section.
See the pattern? Left outside piece moves right, right outside piece moves left, always underneath. If your hands feel clunky for the first few repeats, that’s totally normal. Keep going, it clicks faster than you think.
Step 5: Keep Adding Slim Little Strands
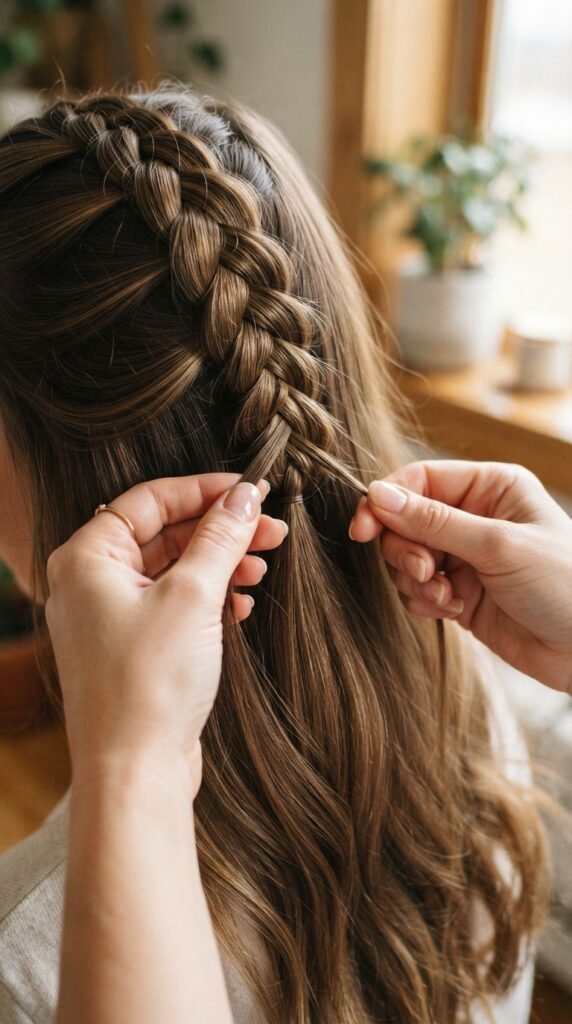
Repeat this pattern all the way down. Each time you move a strand from the outside of one side, cross it under and hand it to the other side. Just keep the rhythm going.
- Always pull from the outside edge.
- Cross under the section you’re leaving.
- Don’t stop to judge it mid-braid.
The more consistent your strand size, the neater the braid. Even uneven pieces create a cool, organic texture, so try not to overthink it.
Step 6: Keep Tension Even, Not Tight

Grip your sections firmly enough that the braid doesn’t unravel, but loosely enough that you can still slide the weave at the end. You want even tension all the way down, not a tight, painful pull.
If you notice one side looks looser, just take a breath and match the pressure on the next few passes. This is muscle memory forming in real time, and it gets smoother every inch.
The Pretty Messy Secret: Why It Works

Here’s what I wish someone told me: a Dutch fishtail is supposed to look a little imperfect. Flyaways, loose wisps, and uneven loops are what give it that expensive “I woke up like this” feel.
Think of the braid as a soft texture, not a sculpture. If you try to make it perfect, you’ll actually suck all the charm right out of it. Loose always wins.
Can This Work on Shorter Hair?

Yes, and it’s one of the sweetest ways to style shorter lengths. If your hair barely reaches your shoulders, try a Dutch fishtail that starts at the side and wraps toward your ear, almost like a modern take on a crown braid.
A shorter face-framing Dutch fishtail looks amazing on an asymmetrical lob or a growing-out bob. You don’t need miles of length to enjoy this technique.
- Shoulder length: full braid works.
- Chin length: go for a mini side version.
- Pretty layers: leave them loose for softness.
Why This Braid Fits 2026 Hairstyles
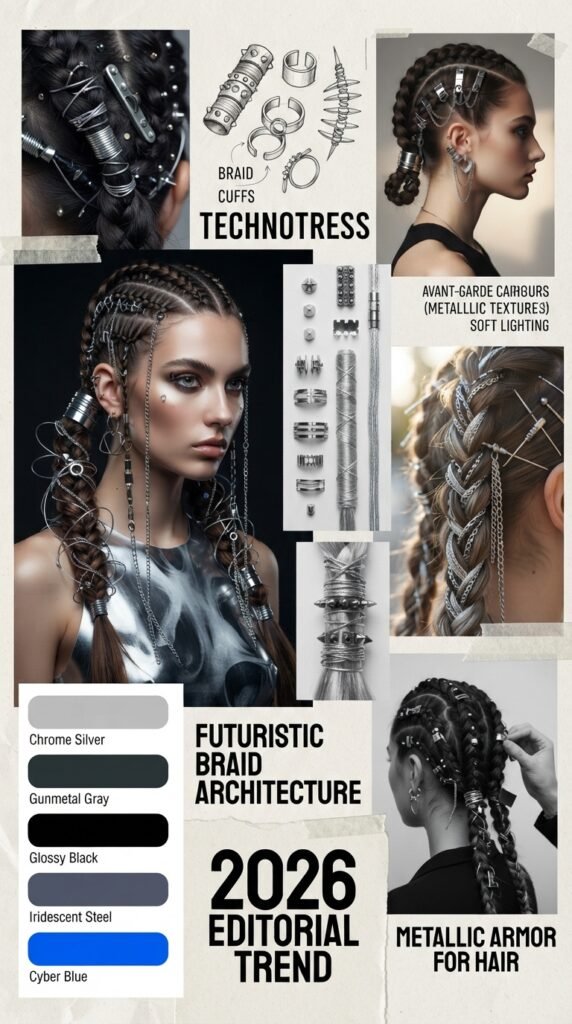
2026 hairstyles are all about texture that looks organic and effortless. Designers are moving away from stiff, polished hair and toward styles that feel almost handcrafted, which is exactly what a Dutch fishtail delivers.
Whether you wear it sleek to the office or loose and boho on the weekend, this braid adapts to every trend. It’s the rare style that feels both timeless and completely current at the same time.
How to Wear It With Old Money Hair

Old money hair leans on quiet polish, clean lines, and expensive-looking simplicity. A neat, low Dutch fishtail fits right into that vibe when you keep the rest of your hair sleek and shiny.
Pair it with a simple center part, minimal accessories, and a calm, confident energy. That “I didn’t try too hard” feeling is the whole point of the aesthetic, and this braid delivers it perfectly.
The Quiet Luxury Bob Version

If you have a quiet luxury bob, you might think braids are off the table. Not at all. Take a small front section and Dutch fishtail it away from your face, then pin it behind your ear.
It adds instant architectural interest to a classic cut without losing any of that refined, expensive energy. It’s subtle enough for work and special enough for dinner out.
Romantic Goth Hairstyles Love This Braid

Romantic goth hairstyles are having a real moment, and the Dutch fishtail is practically their mascot. Dark, dramatic, and slightly undone, it captures that whole moody fairytale energy.
Try weaving a thin black ribbon through the braid or adding small silver rings around it. The underhand technique creates the perfect raised bed for all those little gothic details.
Glitchy Glam Hair and Asymmetrical Lob Vibes

Glitchy glam hair is about unexpected contrasts: sharp angles with soft texture, sleek sections against chunky braids. A Dutch fishtail fits beautifully next to an asymmetrical lob because both styles love visual movement.
You can even braid only one side and leave the other side loose and glossy. That half-braided look feels fresh, fashion-forward, and completely doable at home.
Vampire Haircut and Hime Cut? Yes, Even Those

The vampire haircut and hime cut rely on dramatic face-framing layers, and people always wonder if braids will ruin them. They won’t, as long as the braid is an accent, not the whole style.
Gather just the top crown section and create a small Dutch fishtail that ends behind the ear, leaving your gorgeous layers free. It adds a touch of fantasy while showing off the cut’s shape.
Loosen It Up: The Easiest Way to Finish
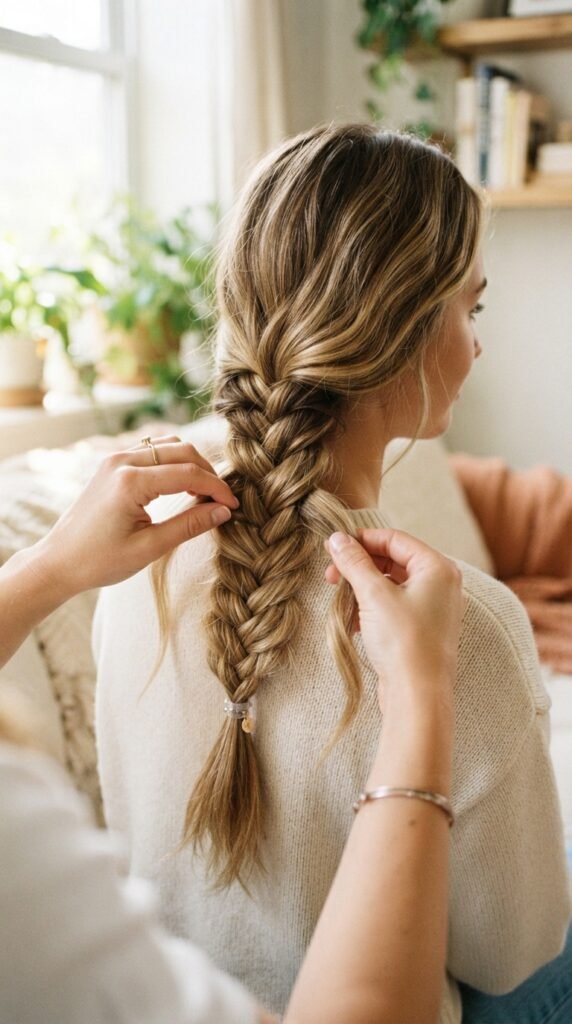
Once you reach the end, secure it with a tiny elastic. Then comes the best part: softening. Gently pull the outer edges of the braid outward, starting from the bottom and working up.
Pro tip: Pull each loop in the same direction you crossed it. That way, the braid widens evenly instead of looking lopsided. Stop when it looks loose, romantic, and full.
Quick Fixes When the Braid Feels Wonky
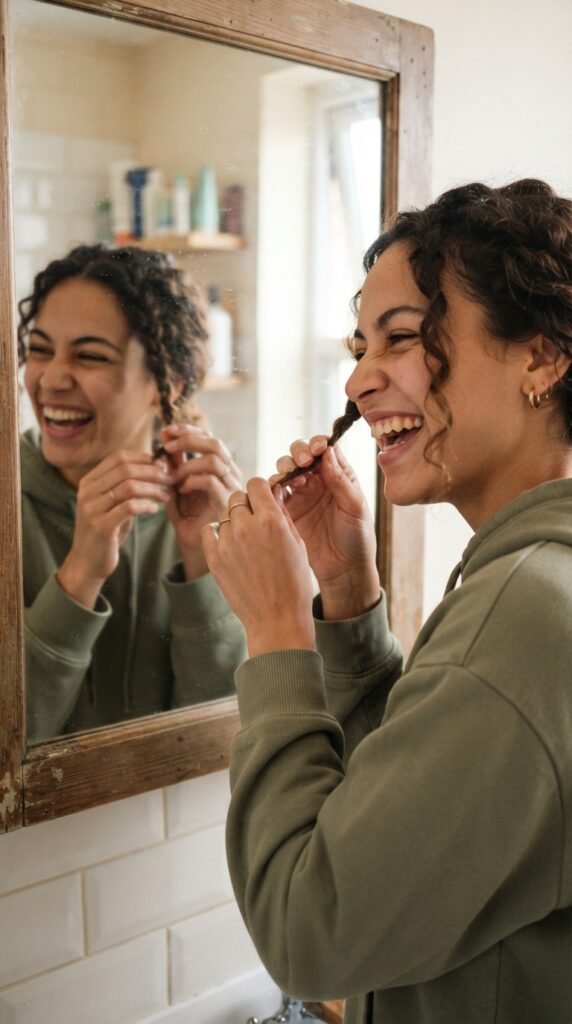
If your braid twists to one side, it usually means you skipped a cross or dropped a strand. No big deal. You can gently re-braid just that small spot without starting over.
- Too tight? Shake your head and softly tug loops apart.
- Too loose? Re-braid the last few passes.
- Frizzy? Rub a tiny drop of hair oil between your palms and smooth down.
That’s it. Problem solved in seconds, and nobody at brunch will ever know.
A Warm Final Thought
I know braiding can feel intimidating when every tutorial makes it look effortless. But I hope you try this the way I did: slowly, badly at first, and then suddenly, it clicks. Your hands learn faster than your brain expects.
Remember that a Dutch fishtail is supposed to feel soft and organic. The tiny imperfections are what make it look like a real-life hairstyle and not a magazine cover that took three hours.
If you make one tonight, I’d love to hear how it went. Tell me in the comments, and save this post to Pinterest so your future self can find it the next time you’re staring at your hair in the mirror.


