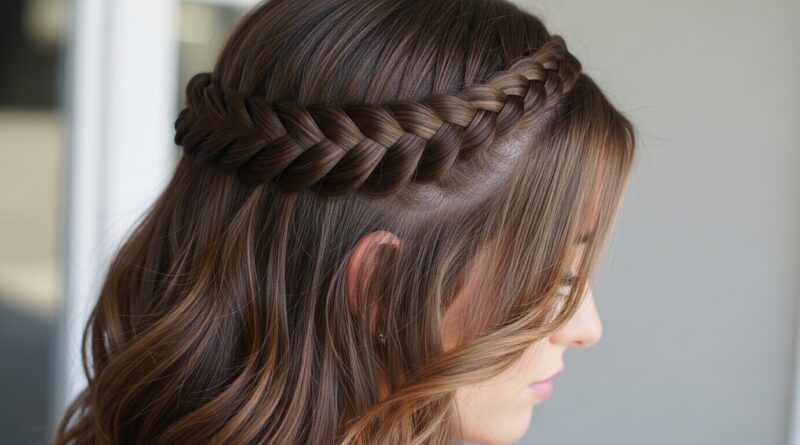
How to Braid Thick Hair Without It Looking Bulky
Hey friend. If you’ve got thick hair, you know the braid struggle is real. You start with this gorgeous, intricate idea, and end up with a heavy, bulky rope that feels more like a workout for your neck than a hairstyle. I’ve been there so many times.
But here’s the secret: thick hair is actually a blessing for braiding. You just need a few simple tricks to tame the volume and create sleek, beautiful styles that last all day. This isn’t about fighting your hair’s natural texture.
It’s about working with it to get those elegant, defined braids you see everywhere. Whether you’re aiming for a classic look or something more like the trending 2026 hairstyles, the key is in the prep and technique. Let’s dive in and get you that perfect, non-bulky braid.
1. Start with the Right Wash Day

Everything starts in the shower. For sleek braids, you need smooth, hydrated hair that’s easy to manage. Skip heavy, creamy shampoos that can weigh hair down and opt for a clarifying or volumizing one instead.
Conditioner is your best friend, but only on the mid-lengths and ends. This prevents your roots from getting too soft and slippery, which makes braiding harder. A good rinse-out conditioner followed by a lightweight leave-in is the perfect combo.
- Use a clarifying shampoo once a week to remove buildup.
- Apply conditioner from your ears down, avoiding the roots.
- Finish with a detangling leave-in spray for slip.
2. The Blow-Dry Smoothing Method
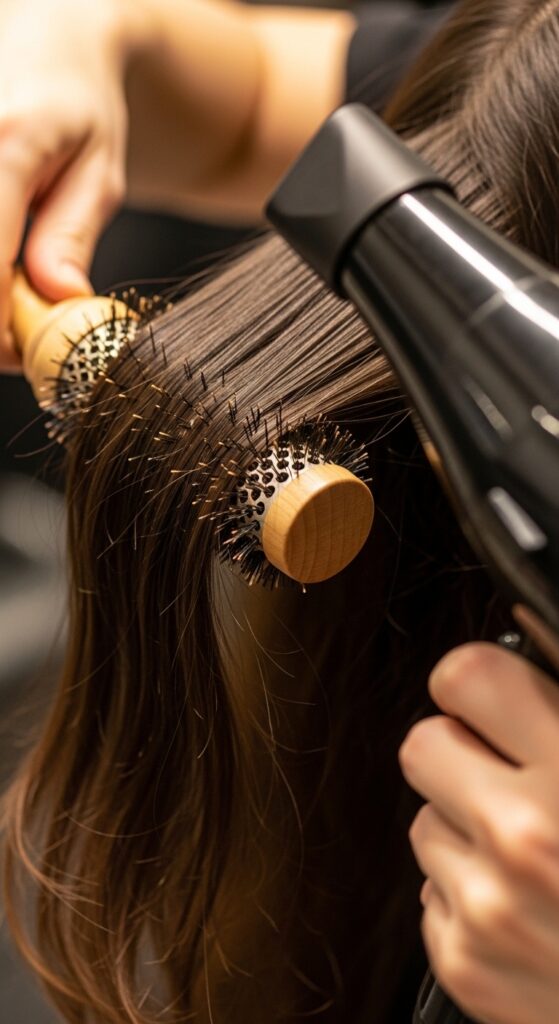
Air-drying is great, but for braiding, a blow-dry gives you way more control. Your goal isn’t poker-straight hair, but smoothed-out texture. Use a medium heat setting and a nozzle attachment to concentrate the airflow.
Work in small sections with a round brush. Pull the hair taut as you dry, focusing on the roots first for lift, then smoothing the length. This process stretches the hair shaft slightly, reducing overall bulk and making each section easier to handle.
3. Strategic Product Application

Products are essential, but with thick hair, less is more. You want control without stickiness or crunch. Start with a heat protectant before blow-drying. Once hair is dry, a tiny drop of smoothing serum is magic.
- Rub one pump of serum between your palms and lightly glaze it over the surface of your hair, focusing on the canopy and ends.
- Avoid the roots completely.
- This seals the cuticle, fights frizz, and gives you that sleek “old money hair” finish perfect for a polished look.
4. Sectioning is Everything
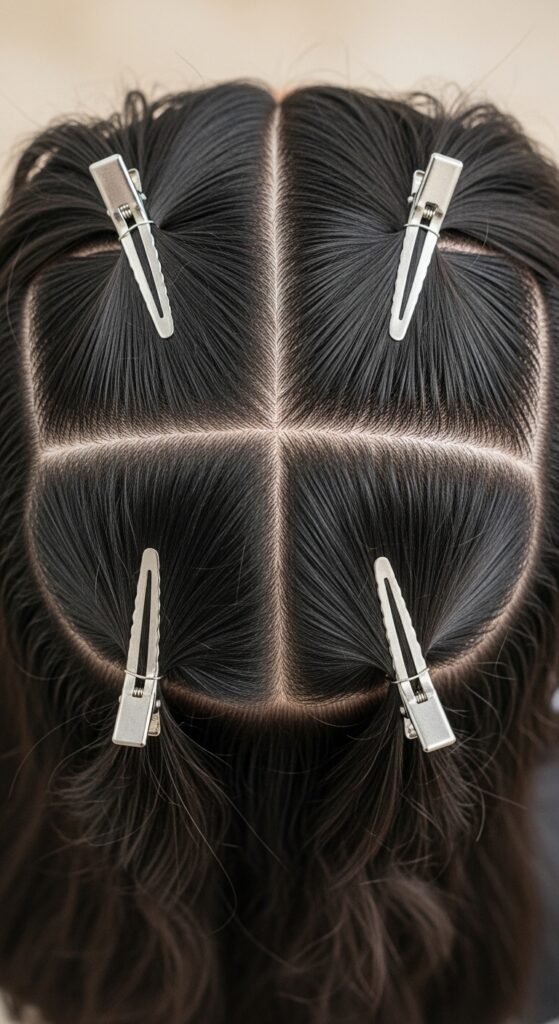
This is the biggest game-changer. Never try to braid all your thick hair at once. The more sections you create, the more control you have. For a standard braid, part your hair down the middle first.
Then, clip away the top half. Start braiding the bottom section first. This keeps the hair from getting tangled and allows you to make each braid tighter and neater. Clean sections are the foundation of a non-bulky style.
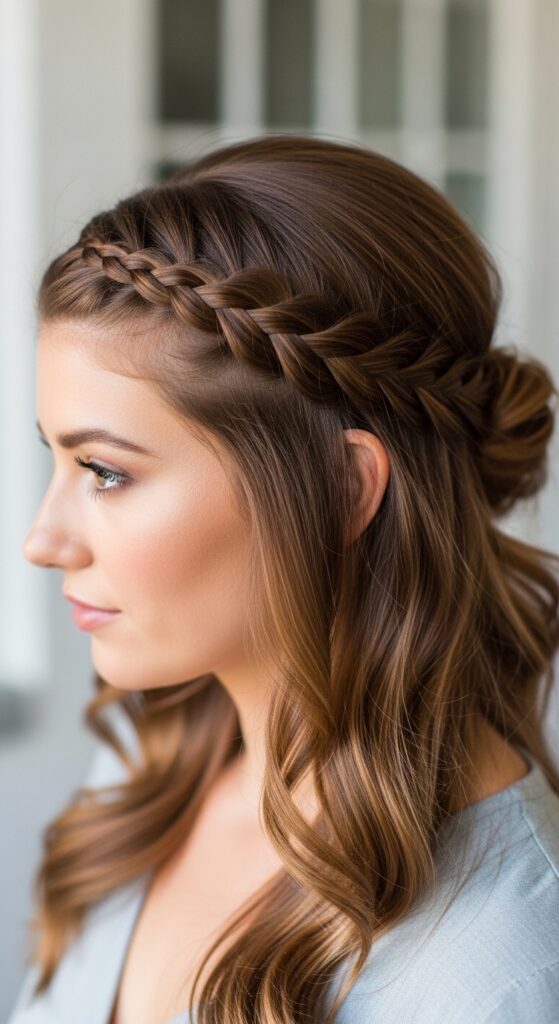
5. The “Under-Braid” Technique
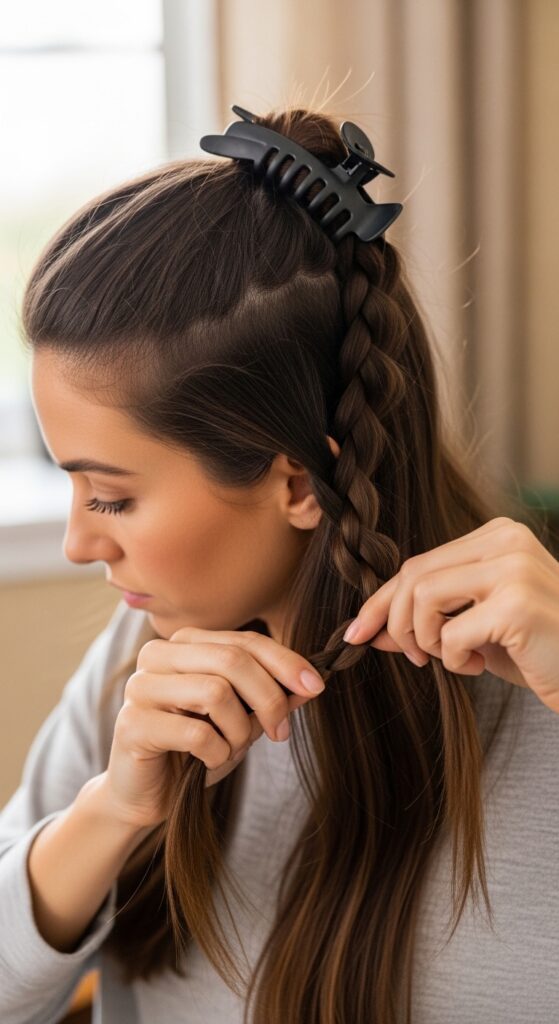
For a single braid, like a classic three-strand or a French braid, always start with the under-layer. This bottom section tends to be the thickest and most unruly. By braiding it first, you contain the bulk.
Then, when you unclip the top section and incorporate it, you’re just adding a sleek layer over an already stable base. This prevents the braid from becoming one giant, puffy column and gives it a flatter, more elegant look against your head.
6. Master the Tension
Uneven tension creates a lumpy, messy braid. As you braid, pull each section firmly and consistently to the side, not down. Pulling down adds drag and makes the braid loose. Pulling to the side keeps it tight to the scalp and compact.
Your hands should feel the same amount of resistance from each strand. If one piece feels looser, tighten it before you cross it over. Consistent, firm side-pulling tension is your secret weapon for a sleek finish.
7. The “Pancaking” Secret for Volume Control
“Pancaking” is gently pulling on the sides of a finished braid to make it look wider and fuller. For thick hair, we use this trick in reverse. Do not pull the braid outwards.
Instead, if your braid still looks too thick, gently tug each loop upwards, towards your head. This shortens and tightens the braid from within, compressing the bulk. It’s a subtle move that flattens the braid against your scalp beautifully.
8. Try a Four-Strand Braid

It sounds more complex, but a four-strand braid is actually easier to keep flat than a three-strand. The extra strand distributes the hair’s volume more evenly, creating a flatter, more ribbon-like effect.
The basic pattern is: cross the outer left strand under two, then over one. Then, cross the outer right strand under two, then over one. Repeat. This weave naturally contains bulk and looks incredibly elegant, giving a “quiet luxury bob” vibe even in braid form.
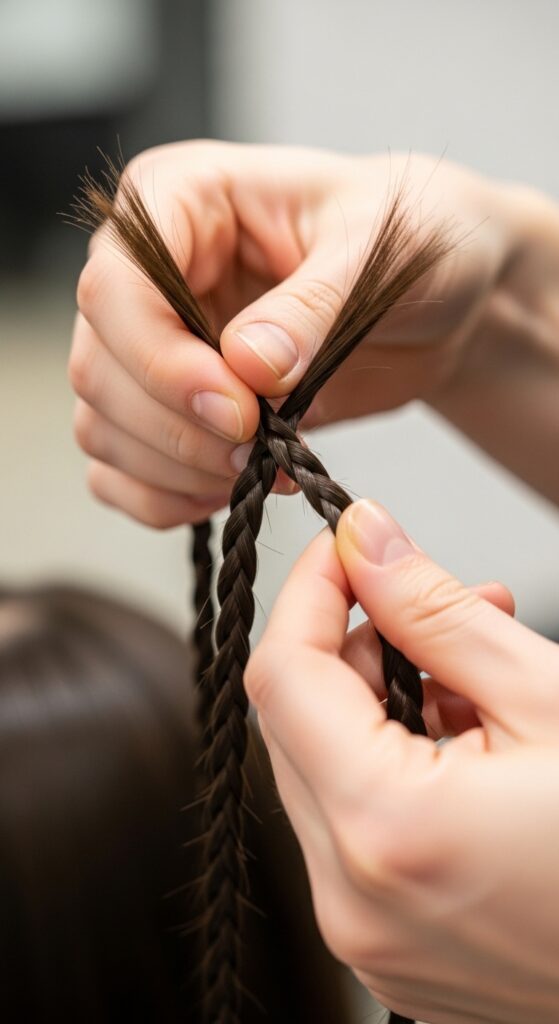
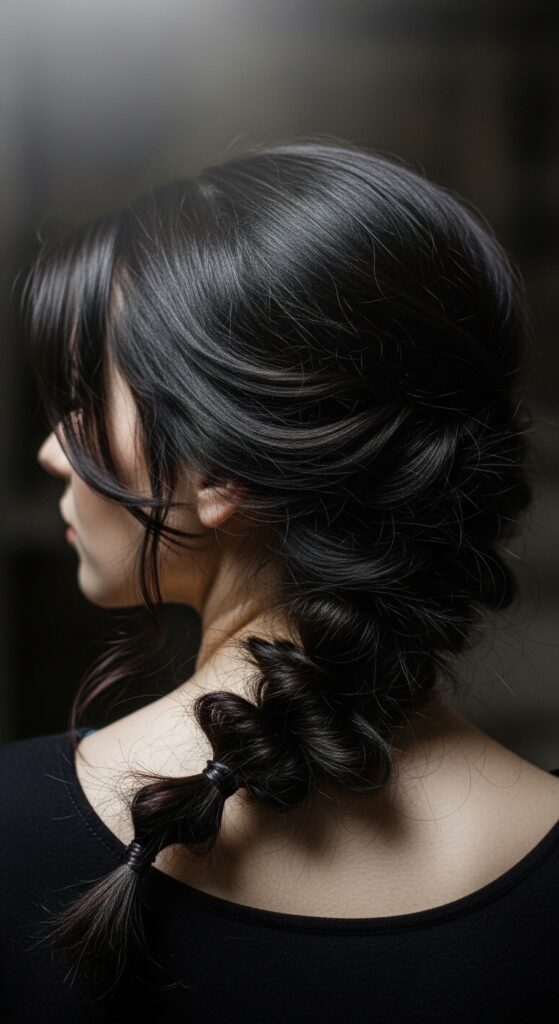
9. The Sleek Rope Braid Hack

A two-strand rope braid is a lifesaver for thick hair. It looks intricate but is simple, and it naturally looks less bulky. The trick is to twist each section very tightly in one direction before you twist them together in the opposite direction.
Twist the right piece clockwise, twist the left piece clockwise. Then, twist them around each other counter-clockwise. This double-twist method locks the hair in place and creates a thin, defined cord that won’t puff up.
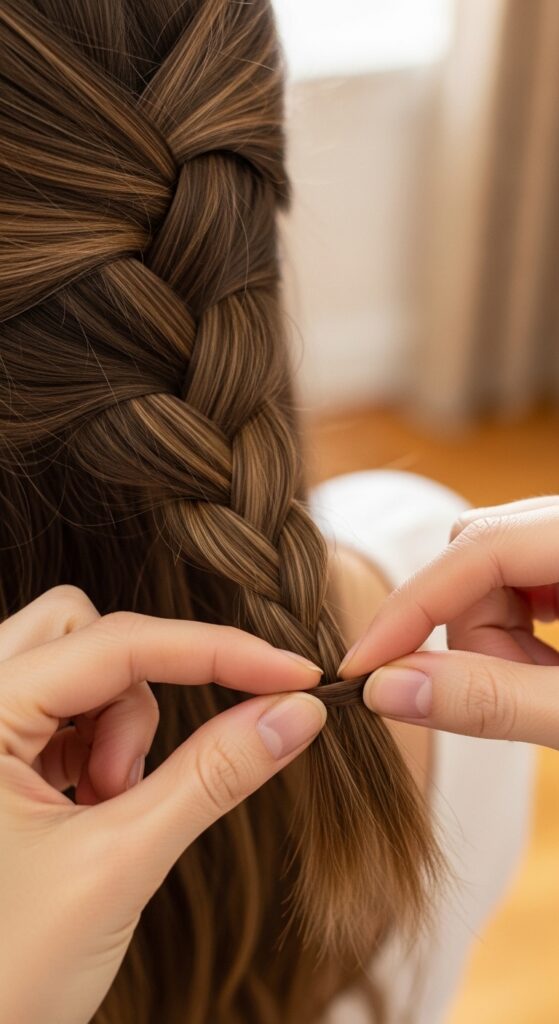
10. Dutch Braids for a Flatter Finish
For a braid along your scalp, choose a Dutch (inside-out) braid over a French braid. A French braid crosses sections over, which can sit on top of the hair and add height. A Dutch braid crosses sections under, weaving them inwards.
This technique literally tucks the hair under itself, creating a braid that sits flatter and more seamlessly against your head. It’s the perfect base for updos or a sporty-chic look that won’t feel heavy.
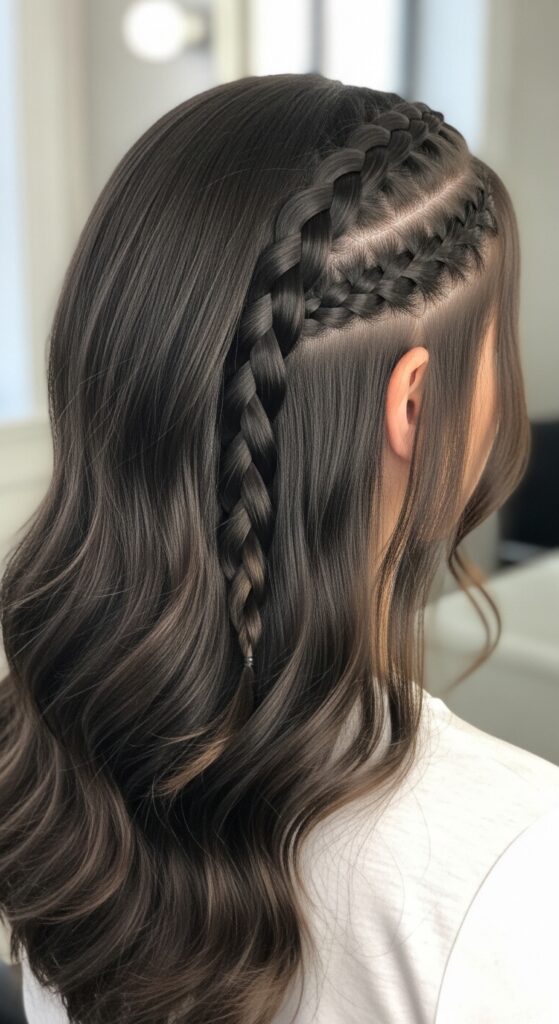
11. Half-Up Braids to Reduce Weight
If a full braid feels like too much, a half-up style is your answer. It removes weight from the crown and temples, where bulk is most noticeable. Create a small, flat Dutch braid on each side, or a single braid at the crown.
Keep these braids tight and small. Secure them at the back, letting the rest of your hair flow freely. This gives you the detail of a braid without the neck strain and works with almost any texture.
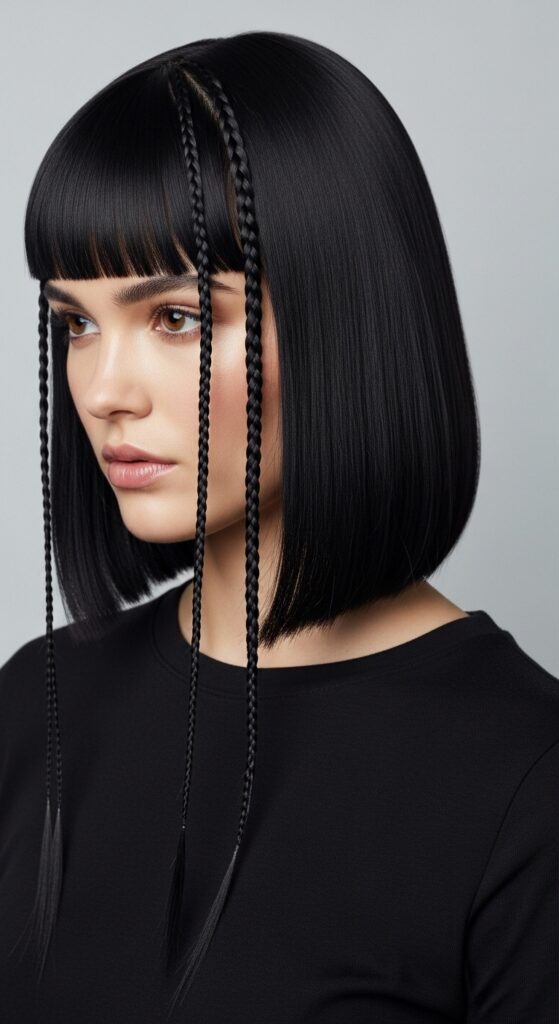
12. Incorporate Trends: The Asymmetrical Lob Braid
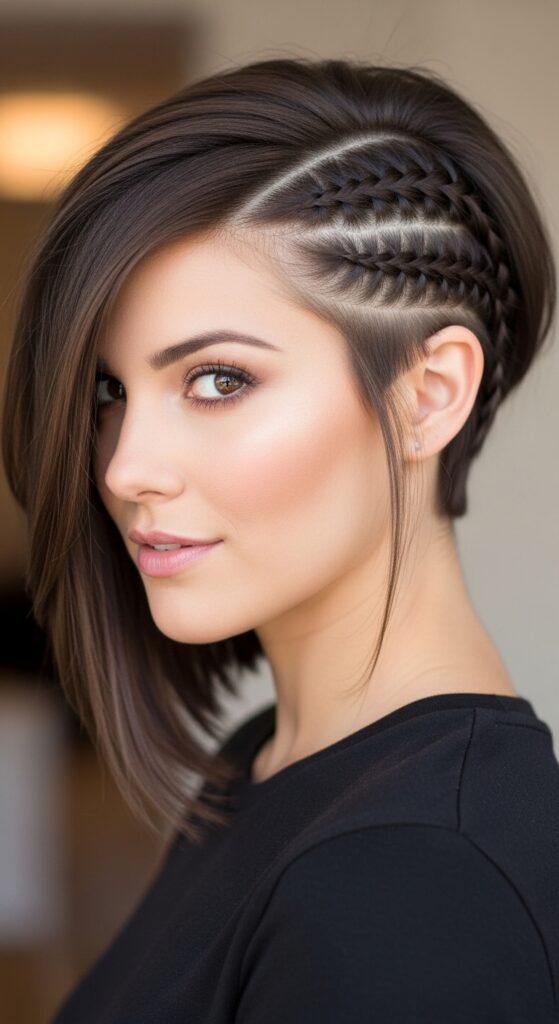
Got an asymmetrical lob? Use it to your advantage. A single, small braid on the longer side can be a stunning accent. Because you’re only braiding a portion of your hair, bulk is a non-issue.
Try a mini rope braid or a three-strand braid starting at your temple, following the line of your lob. Pin it back behind your ear. It’s a modern, chic take on braids that feels fresh and perfectly suited for shorter, thick hair.
13. Embrace the “Romantic Goth” Vibe
For a romantic goth hairstyles look, bulk can actually add to the ethereal feel. The key is to make it intentional. After a loose braid, gently pull at the loops to widen it, but only in the middle sections.
Keep the braid tight at the top near your neck and at the very end. Leave out some face-framing pieces. This creates a soft, undone braid that’s voluminous but controlled, messy but beautiful.
14. Add a “Glitchy Glam” Element
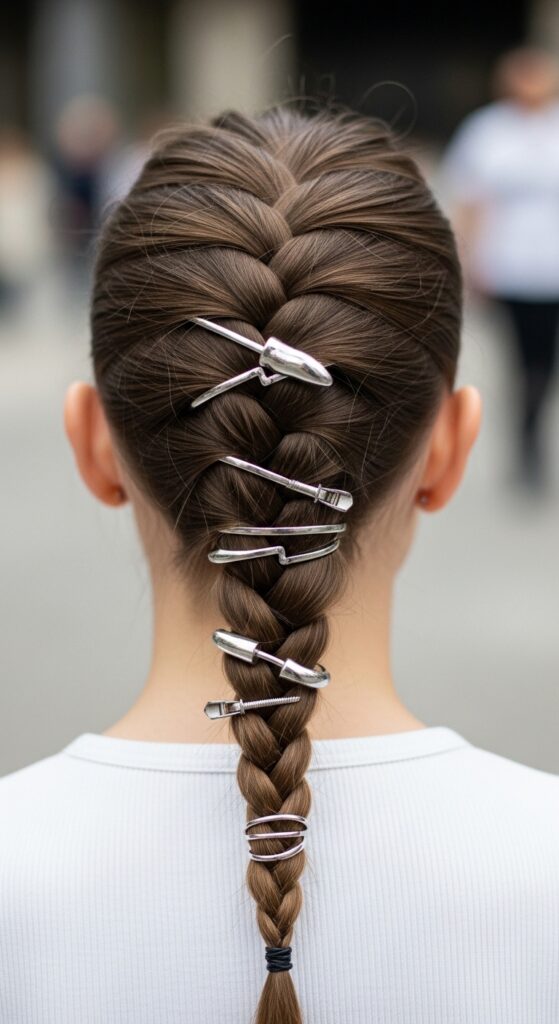
The glitchy glam hair trend is all about intentional disruption. Use it to distract from bulk. Create a simple, sleek braid. Then, add a few small, shiny hair cuffs or snap-on clips at random points.
Place one where the braid might look puffiest. The eye is drawn to the shiny accessory, not the volume underneath. It’s a cool, easy hack that makes your braid look deliberately edgy and modern.
15. The Low Bun with Braided Wrap
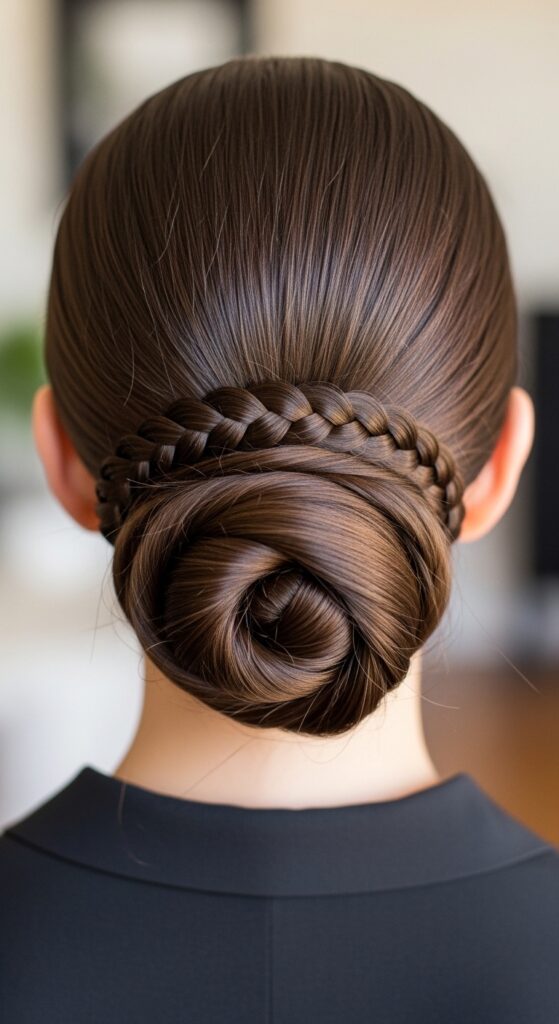
Turn your braid into a tool for a sleek updo. Make a low ponytail and twist it into a bun. Then, create a very thin, tight three-strand braid from a small section of hair (or from a piece you left out).
Wrap this thin braid around the base of the bun and pin it. This contains all the bulk of the bun inside the wrap, giving you a polished, elegant finish that looks complex but is easy to do.
16. Prep for a “Vampire Haircut” Style
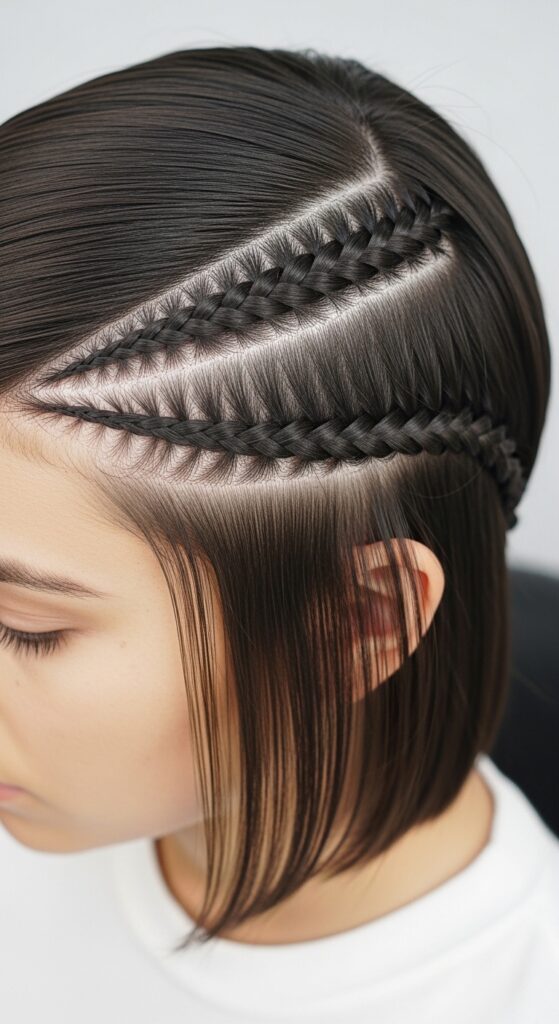
If you rock a sharp, blunt vampire haircut, flat, tight braids are your best accent. Think small cornrows or flat twists along the hairline. The contrast between the blunt cut and the intricate, flat braid is stunning.
Use a strong-hold gel on the braiding sections before you start. This will slick down every baby hair and keep the braid perfectly flat against your head, complementing the sharpness of your cut.
17. Adapt the “Hime Cut” with Face-Framing Braids
The hime cut has those iconic long front strands. Instead of leaving them plain, braid them! Take each front section and make a tiny, tight three-strand or rope braid.
Because these sections are already separated from the bulk of your hair, the braids will stay delicate and thin. It adds a beautiful, princess-like detail that honors the style’s origins while keeping hair managed.
18. Overnight Braiding for Waves

Braiding damp hair overnight gives amazing waves, but for thick hair, it can create a frizzy, bulky result. The fix? Braid when hair is 90% dry. Use a light mousse before braiding for hold.
Make two loose, low braids. Don’t pull them tight. In the morning, unravel and run your fingers through. You’ll get soft, non-bulky waves with less frizz. Sleeping on a silk pillowcase is non-negotiable here.
19. The Right Tools Make All the Difference
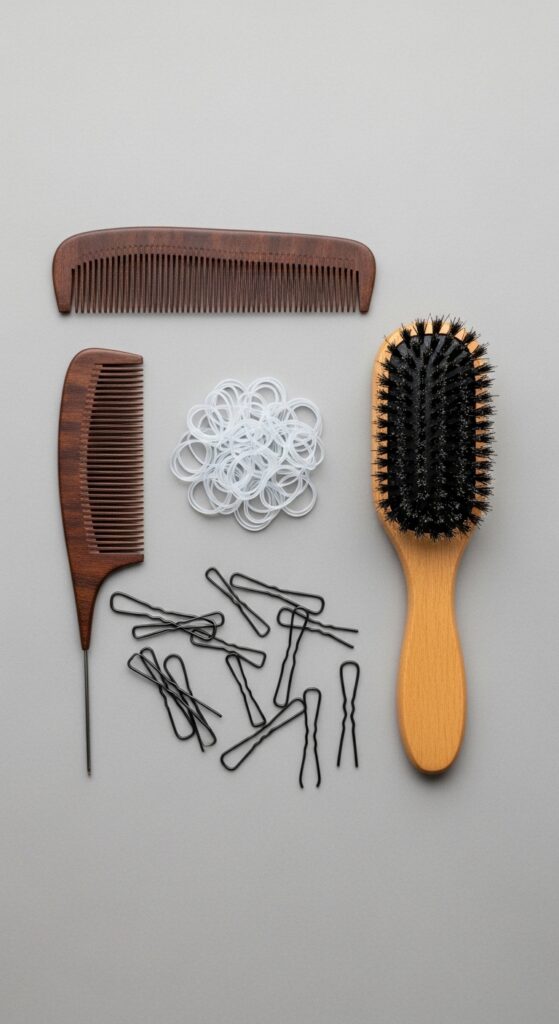
Ditch the bulky hair ties. Tiny, clear elastics are your best friend for securing braid ends without adding a big knot. Use a fine-tooth comb for perfect sectioning and a boar bristle brush to smooth the surface before you start.
U-shaped pins are better than bobby pins for securing braids to your head; they hold more hair and lie flatter. The right tools give you precision, which is the enemy of bulk.
20. Practice and Patience, Always
Your first try might not be perfect, and that’s okay. Braiding thick hair is a skill that gets better every time you do it. Start with simple three-strand braids on dry, brushed hair to get the tension right.
Then move to Dutch braids, then rope braids. Practice when you’re just watching TV. The more you do it, the more you’ll understand how your specific hair behaves and what techniques work best for you.
So there you have it. Braiding thick hair doesn’t have to be a battle against volume. It’s about using that volume to your advantage, with smart prep and clever techniques. Remember, your thick hair is a gift—it holds styles longer and can create such stunning, dramatic looks that thinner hair just can’t.
Start with one or two of these tips next time you braid. Maybe focus on sectioning better, or try the four-strand method. You’ll be shocked at the difference it makes. That sleek, elegant, non-bulky braid you’ve been wanting is totally within reach.
Save this post to Pinterest so you always have these tricks handy! And I’d love to know—which tip are you trying first? Or do you have a thick-hair braiding hack of your own? Share it with everyone in the comments below!