How to Do a Rope Twist Braid Using Only Two Strands
Okay, let’s be real. Sometimes you see a gorgeous, intricate braid and think, “I need seven hands and a YouTube degree to figure that out.” I get it. That’s why I’m obsessed with the rope twist braid. It looks like a fancy, twisted masterpiece, but the secret? You only need two strands. Seriously.
It’s the perfect hack for when you want that elegant, put-together look in under five minutes. Whether you’re running out the door or prepping for a big night, this is your go-to. It works on all hair types and lengths, adding instant texture and polish.
Think of this as your foundation braid. Once you master this, you can weave it into so many of the trending 2026 hairstyles. It’s that versatile. So grab two hair ties, and let’s turn a simple twist into your new signature look.
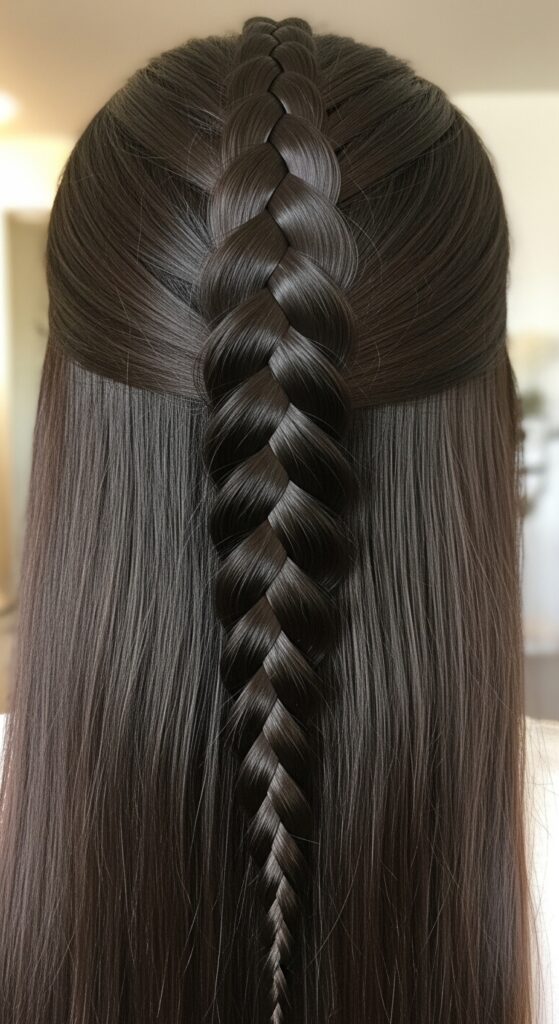
What Exactly Is a Rope Twist Braid?
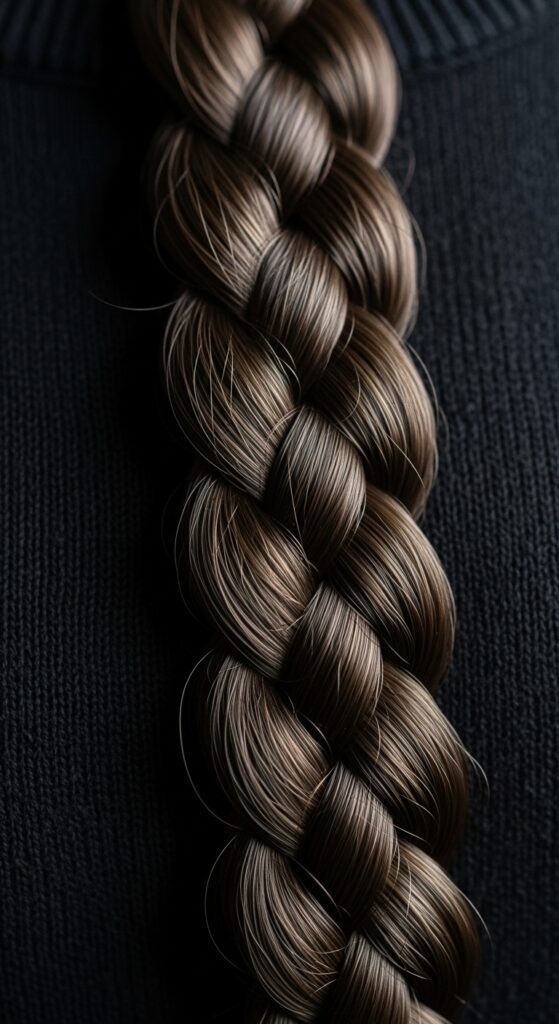
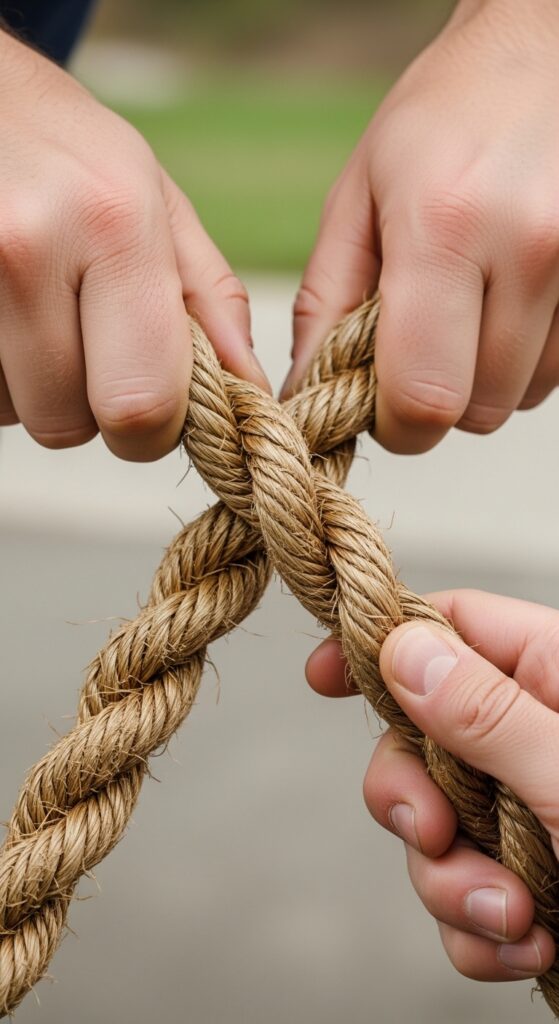
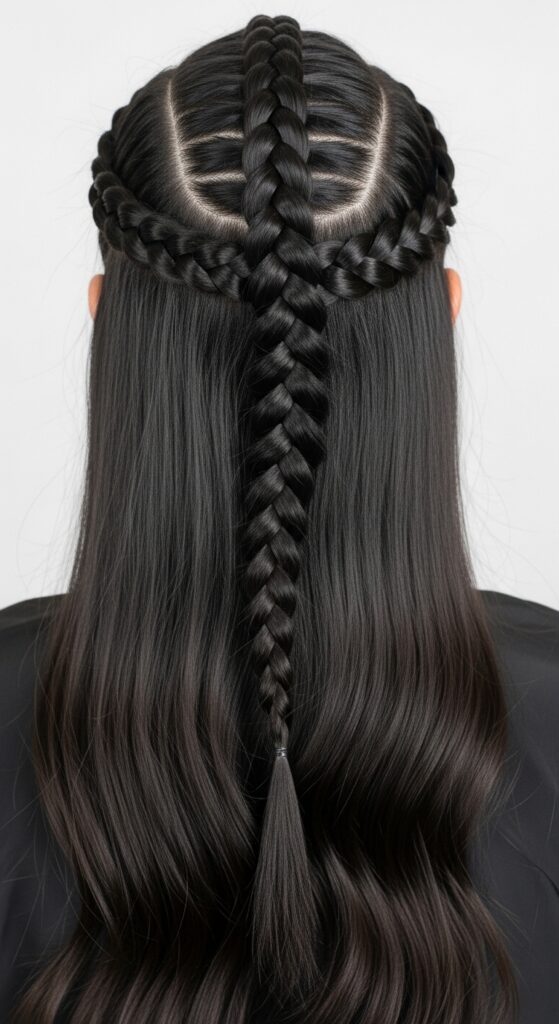
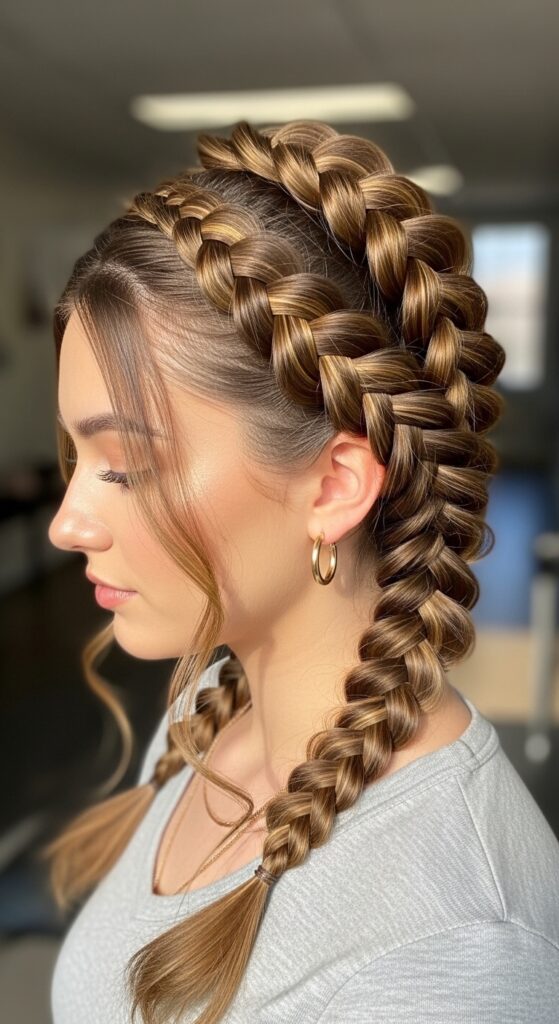
At its heart, a rope twist is a two-strand braid where you twist each section individually before wrapping them around each other. This double-twisting action is what gives it that distinctive, rounded, rope-like appearance.
Unlike a traditional three-strand braid which can look flat, the rope twist has beautiful dimension. It’s fuller and often looks more intricate than it actually is. It’s a fantastic technique to add to your repertoire, especially if you love styles that hint at quiet luxury hair—effortless but deeply polished.
Why This Simple Braid is a Total Game-Changer
First, it’s incredibly fast. Once you get the motion down, you can do it with your eyes closed. Second, it’s a savior for second or third-day hair, adding grip and style to slightly lived-in strands.
It also serves as a stunning base for more elaborate looks. We’re talking half-up styles, crown braids, or even woven into an asymmetrical lob to create interest. It’s a building block for so many looks, from office-chic to weekend-cool.

What You’ll Need to Get Started
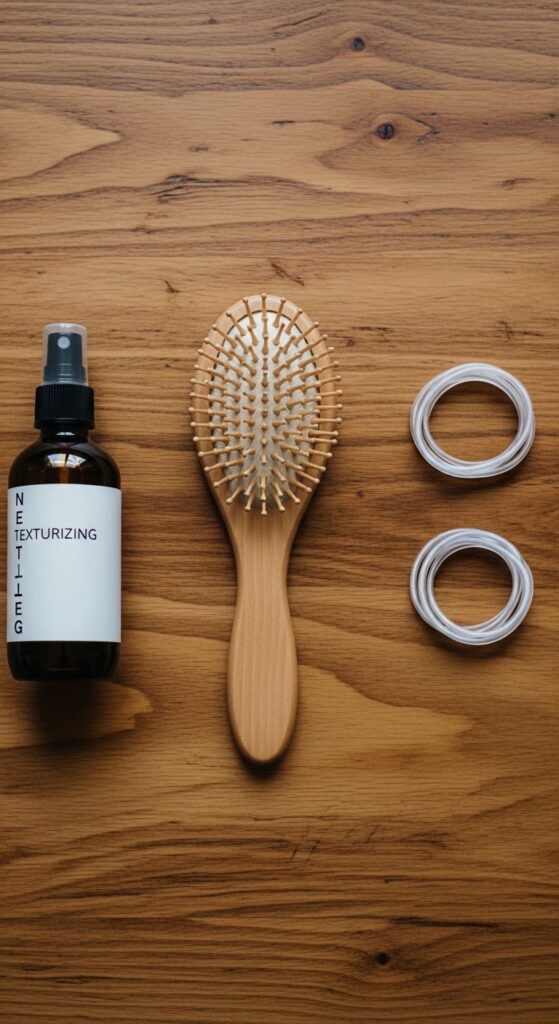
You truly don’t need much. That’s the beauty of it. Here’s your minimal toolkit:
- Two hair ties or small elastics: Clear ones are great for a seamless look.
- A fine-tooth comb or brush: For smoothing sections, especially if you want a sleek finish.
- Optional: A light-hold texturizing spray or mousse. This gives fine hair a bit more grip and makes the twists hold their shape beautifully.
Step 1: Prep Your Hair for Success
Start with hair that’s not slippery clean. Day-old hair or hair lightly misted with texturizing spray works best. If your hair is very smooth, the twists might slip.
Brush through to remove any tangles. Decide where you want the braid. A side rope twist? A low one at the nape of your neck? For now, let’s practice a classic low braid. Gather all your hair as if you’re making a low ponytail, but don’t tie it yet.
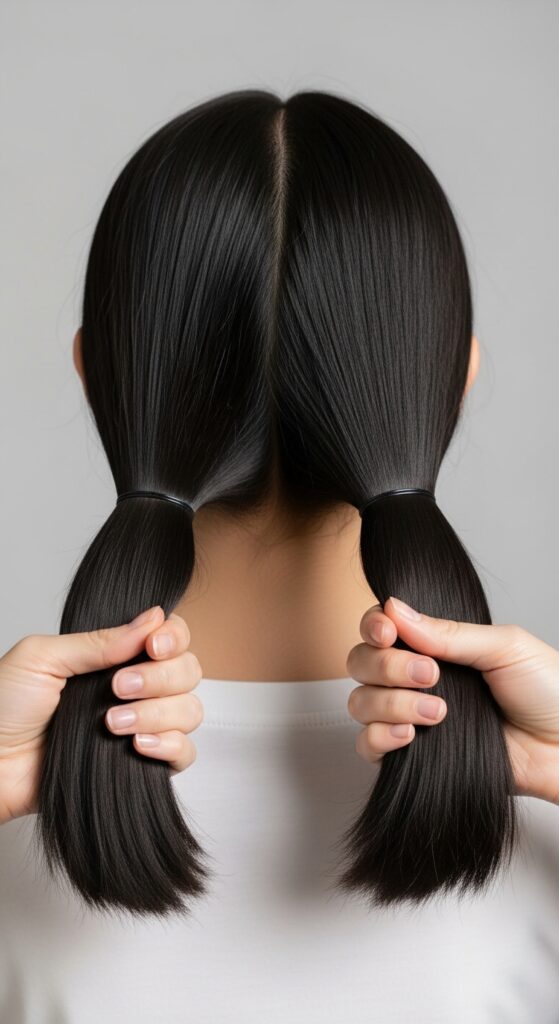
Step 2: Split Your Hair Into Two Equal Sections
Once your hair is gathered, divide it cleanly down the middle into two equal sections. Use your fingers or a comb to make the part precise if you want a neat look, or keep it a bit messy for a softer vibe.
Hold one section in each hand. Give them a little shake so they’re separate and not tangled together. This is your blank canvas. The key here is keeping the tension even as you work.
Step 3: Twist Each Section Individually to the Right
This is the magic step. Take the right section in your right hand. Begin twisting it tightly and evenly clockwise. Keep twisting until it starts to coil on itself.
Do the exact same thing with the left section in your left hand: twist it clockwise as well. You are twisting both sections in the same direction. This pre-twisting is what creates the rope effect later.
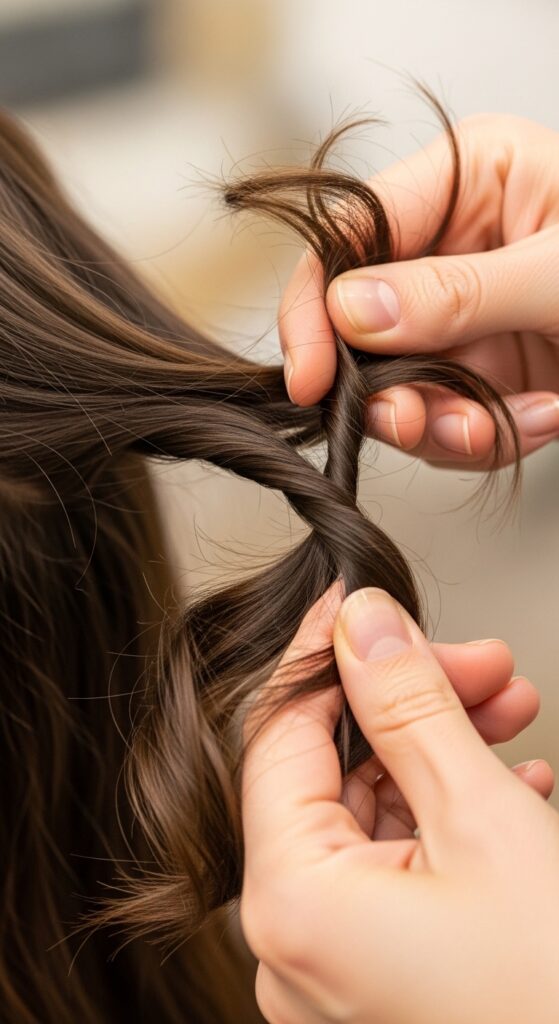
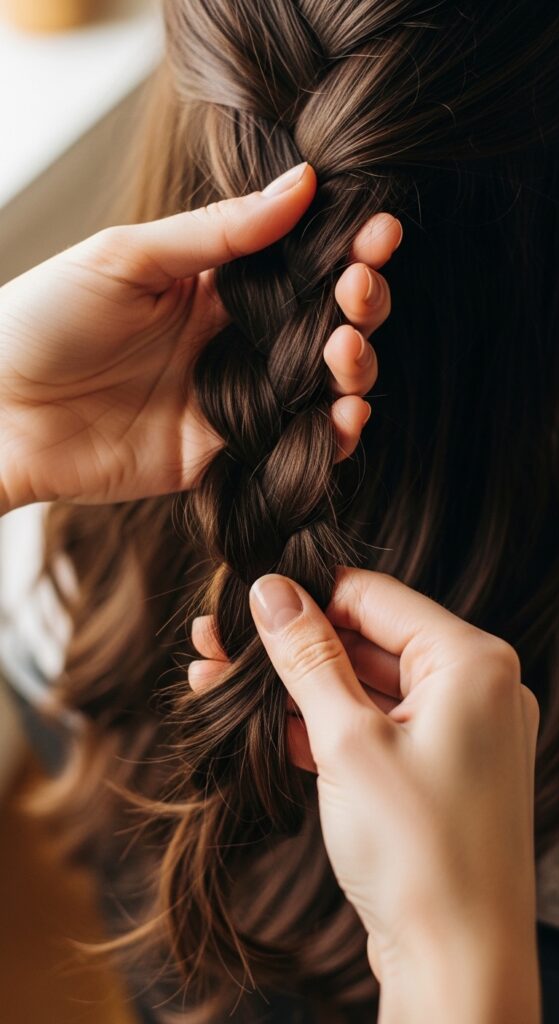
Step 4: Now, Cross the Sections Over Each Other
Here’s where it comes together. Take your right section (the one you just twisted clockwise) and cross it over the left section. So the right piece now becomes the left piece, and vice versa.
The motion is like you’re wrapping them around each other, but you’re really just crossing them once. Keep a firm hold on the ends so your initial twists don’t unravel.
Step 5: Repeat the Twist-and-Cross Motion
After you cross them, you’ll need to re-twist. The sections have loosened. So, twist the new right section clockwise again. Then twist the new left section clockwise again.
Then, cross the new right section over the new left section. See the pattern? You are constantly re-twisting each section clockwise, then crossing right over left. That’s the entire technique.
Step 6: Continue All the Way Down the Length
Just keep going! Twist, cross, twist, cross. Maintain even pressure as you work your way down your hair. If a section feels loose, give it an extra twist before crossing.
The braid will start to form that beautiful, rounded rope shape. Don’t worry about perfection; a little unevenness adds to the charming, handmade feel. It’s part of the glitchy glam hair appeal—intentionally imperfect.
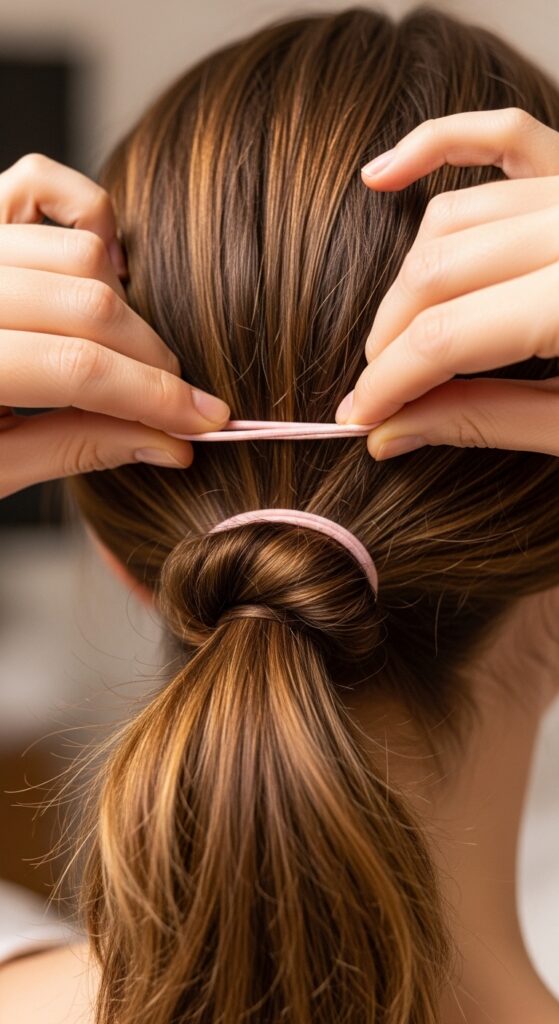
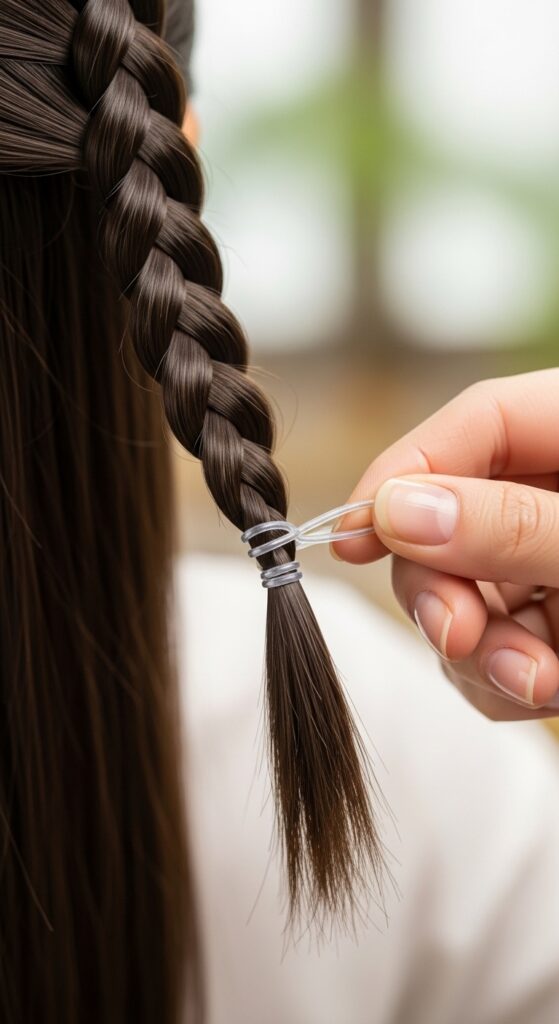
Step 7: Secure the End With an Elastic
When you reach the ends of your hair, pinch the bottom tightly with one hand. With your other hand, wrap a small elastic around the end to secure everything.
Give the bottom a gentle tug to loosen the braid slightly if you want a fatter, more bohemian look. This also helps the twist pattern relax and look more effortless.
How to Make Your Rope Twist Look Fuller & Thicker
If your hair is fine or thin, you can easily cheat volume. After you secure the braid, gently pull on the outer edges of the twist. Tug lightly all the way up its length.
This “pancaking” technique widens the braid without undoing it. You can also try this style on second-day hair or after using a volumizing powder at the roots for major lift.
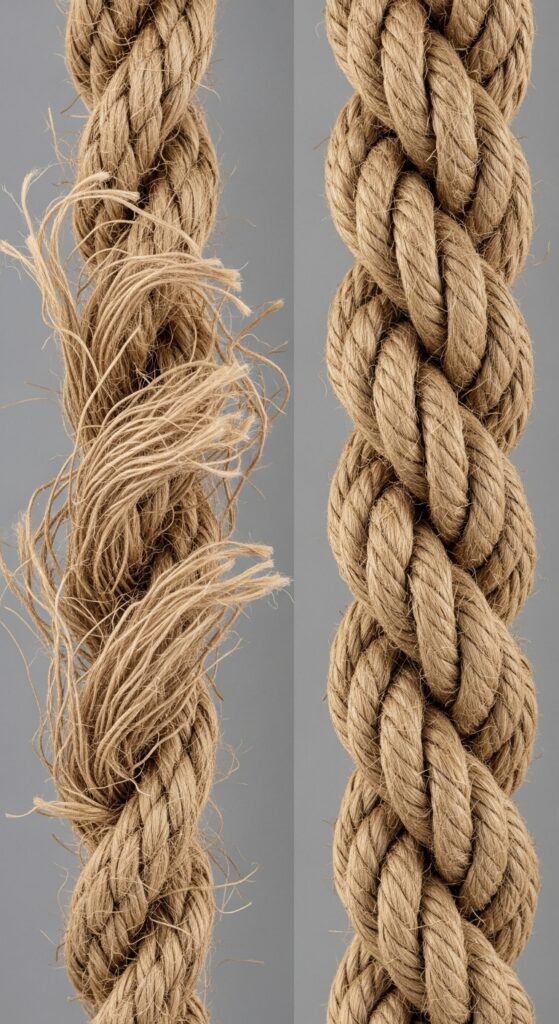
Fixing the Biggest Mistake: The Braid Falling Apart
If your braid unravels or looks flat, it’s almost always because the individual sections weren’t twisted tightly enough before crossing. The pre-twist is non-negotiable.
Go back to Step 3 and really focus on getting a firm, consistent twist in each section before you cross them. It feels like extra work, but it’s the step that makes the whole structure hold.
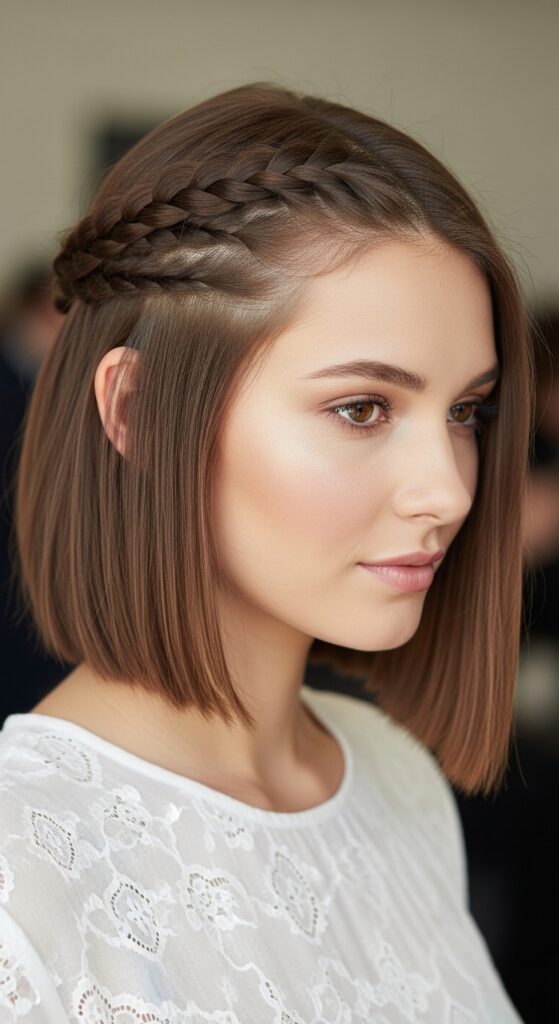
Adapting the Braid for Shorter Hair (Like a Bob or Lob)
Shorter hair works beautifully! For an asymmetrical lob or quiet luxury bob, create a smaller, side-swept rope twist. Take a section from the front near your part.
Follow the same steps, but just make a mini braid along your hairline and secure it behind your ear. It’s a gorgeous, subtle detail that elevates a simple cut instantly.
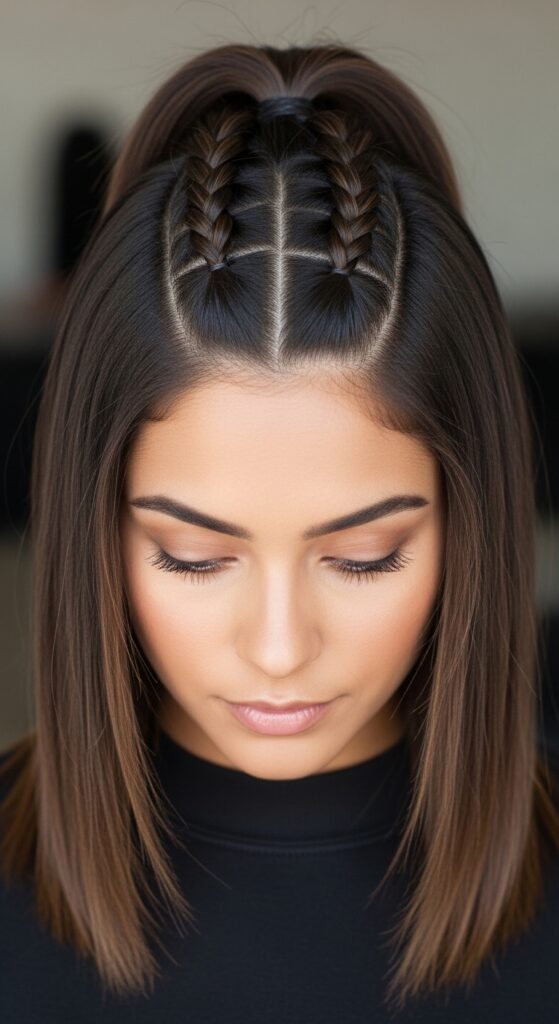
Creating a “Hime Cut” Inspired Half-Up Style
The hime cut is all about dramatic, face-framing pieces. Use the rope twist to highlight that! Take two front sections, one from each side.
Create a small rope twist with each section, then bring them to the back of your crown and secure them together. It gives that beautiful, structured yet soft princess vibe the style is known for.
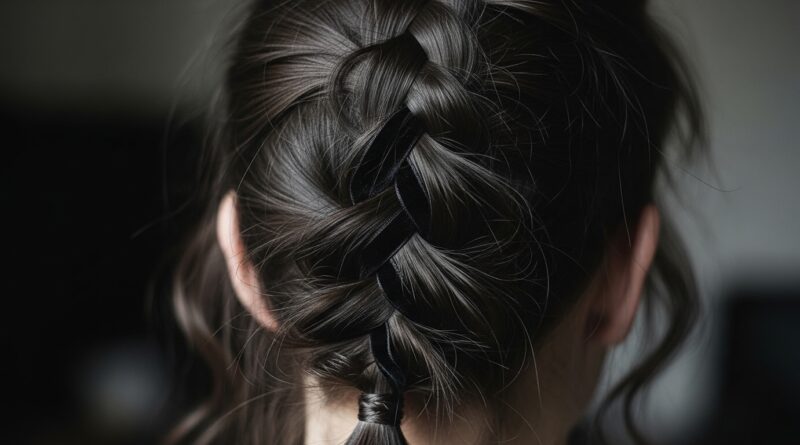
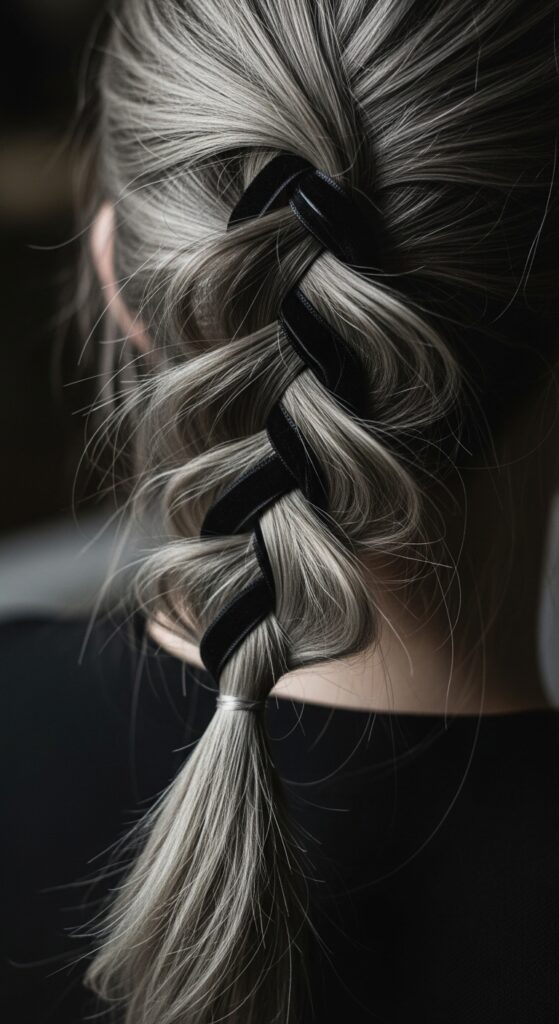
Adding a Dark Romantic or Goth Vibe
For a touch of romantic goth hairstyles or a vampire haircut edge, make your rope twist messy and textured. Use a strong-hold spray before braiding.
Pull out a few face-framing wisps and strands after you’re done. You can even weave in a thin, black ribbon as you braid for an extra dramatic, timeless feel.
Elevating It to “Old Money Hair” Status
Old money hair is sleek, healthy, and understatedly elegant. For this, your rope twist must be immaculate. Start with super sleek, blown-out hair.
Use a smoothing serum and make your sections perfectly even. The goal is a glossy, tight twist that looks inherently expensive and fuss-free. Pair it with a quiet luxury bob for maximum effect.
Using Rope Twists in a “Glitchy Glam” Look
Glitchy glam hair plays with imperfections and unexpected details. Create two rope twists on either side of your head, but make them intentionally uneven—one thicker, one higher.
Leave some pieces out, maybe even pin one twist in a slightly “off” place. It’s about controlled chaos and making a simple braid feel fashion-forward and editorial.
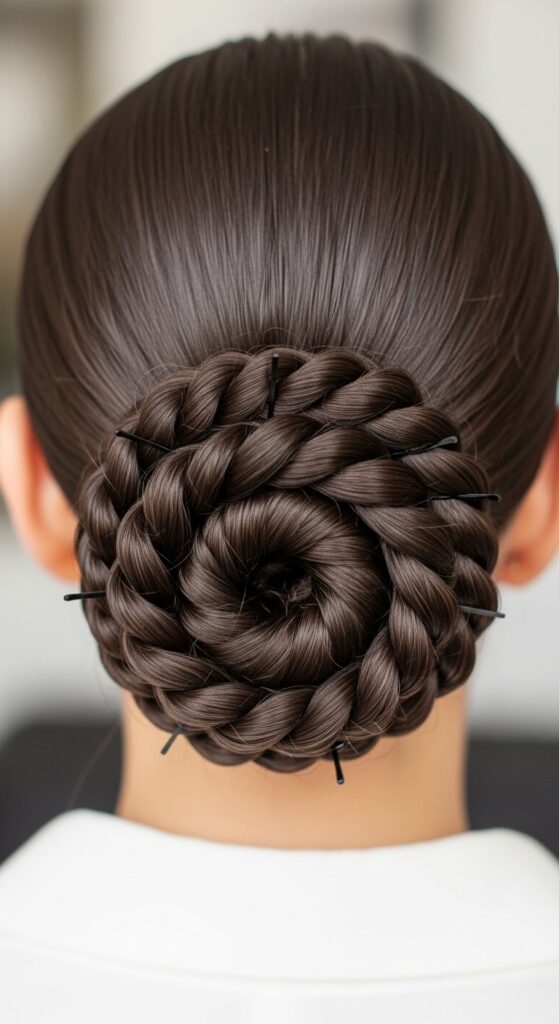
Turning One Braid Into a Chic Updo
Once your rope twist is done, it’s easy to turn it into an updo. Simply coil the braid into a low bun at the nape of your neck and pin it in place.
Because the braid itself has so much texture, the bun will look intricate and full. It’s a five-second upgrade that works for anything from a work meeting to a wedding.
Styling a Rope Twist Crown for a Festival or Wedding
This is a stunning look. Create a rope twist along your hairline, starting at one temple. Braid all the way around your head, adding in hair as you go, like a headband.
Secure the end at the starting point with bobby pins. It’s a gorgeous, bohemian crown that pairs perfectly with both floral dresses and edgy festival wear.
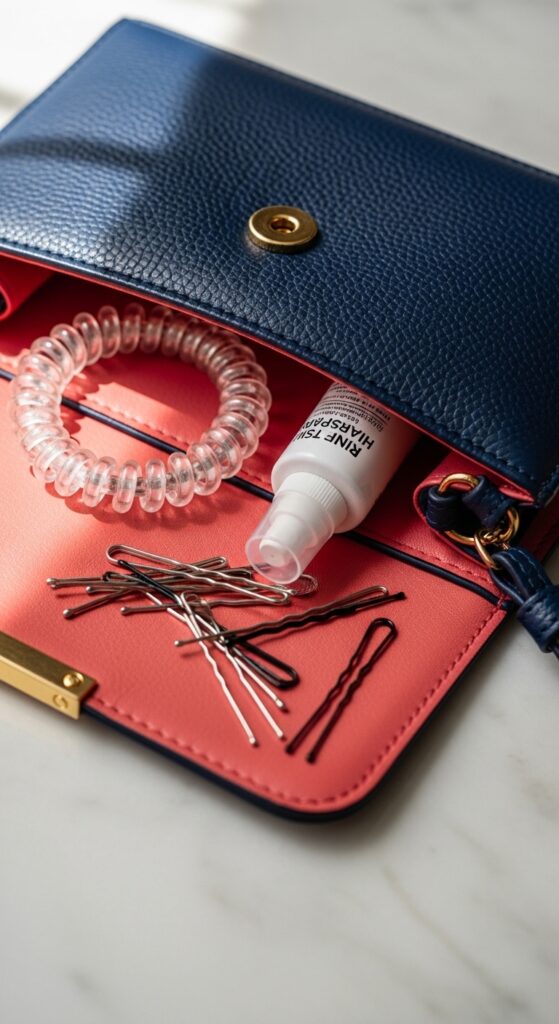
How to Make the Style Last All Day & Night
Longevity is key. After securing the braid, mist it lightly with a flexible-hold hairspray. If you have flyaways, use a tiny bit of hair gel on a toothbrush to smooth them down.
Carry an extra elastic and a couple of bobby pins in your bag for quick touch-ups. If the braid gets loose, you can often just tighten it by twisting the entire finished piece as one.
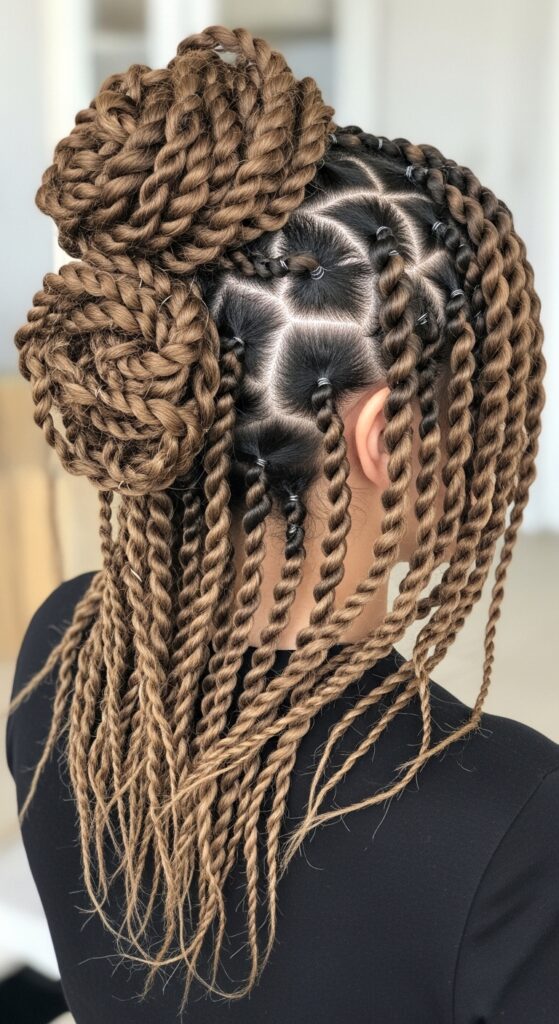
Experimenting With Different Textures & Colors
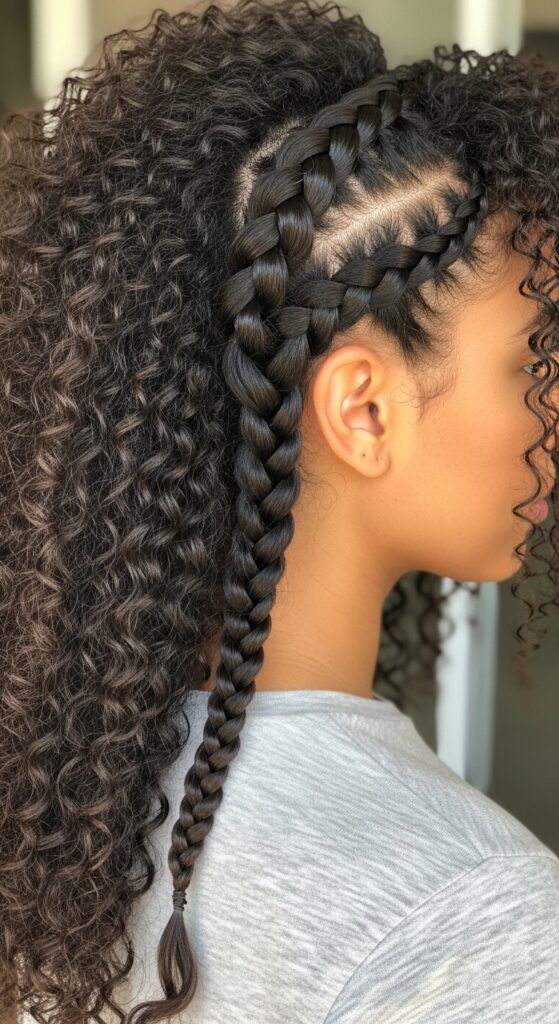
Curly hair creates an amazing, voluminous rope twist. The texture gives it so much grip and character. On highlighted hair, the twisting action creates a beautiful, woven color effect.
Play with it! This braid isn’t just for straight, brown hair. It’s a fantastic way to show off your unique color or curl pattern in a structured way.
My Final Little Pep Talk for You
Don’t get discouraged if it’s not perfect the first time. Hair has a learning curve. I must have messed this up a dozen times before my hands understood the rhythm.
Each attempt teaches you about your hair’s texture and how much tension you need. Before you know it, you’ll be doing it without a mirror. It becomes that kind of muscle memory.

Where to Go From Here: Your Next Braiding Steps
Now that you own the two-strand twist, try incorporating it into other styles. Use two rope twists to create a double braided updo. Or, add a rope twist as an accent to a messy bun.
This technique is a gateway to so many of the cool, emerging 2026 hairstyles that play with structure and simplicity. You’ve just added a major tool to your beauty toolkit.
And just like that, you’ve mastered a braid that looks like you spent an hour on it. The best part? It only takes a few minutes. That’s the kind of beauty hack I live for—maximum impact, minimum effort.
I hope this breaks down any intimidation around braiding. It’s really just twisting and crossing. Once your fingers get the memo, you can adapt it to fit any mood, any trend, any day of the week.
Save this post to Pinterest so you always have the steps handy! Did you try it? I’d love to know—tag me on Instagram or drop a comment below telling me how it went. What’s the next style you want us to tackle together?