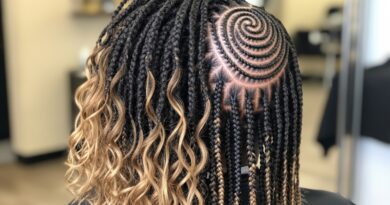
Triangle Part Box Braids Tutorial for a Trendy Geometric Look
Hey friend! So, you know I’m always on the lookout for that next-level protective style, right? Something that feels fresh, a little different, and totally “you.” Well, I think I’ve found it. Move over, standard part—the triangle part is here to completely change your box braid game.
This geometric twist is the perfect way to add a modern, architectural edge to a classic look. It’s surprisingly simple to do yourself, and the payoff is huge. Think of it as the cool, edgy cousin of those soft, quiet luxury bob vibes.
It gives off major “I know what I’m doing” energy without being fussy. Whether you’re into 2026 hairstyles that push boundaries or just want a break from the middle part, this tutorial is for you. Let’s get into it—I promise it’s easier than it looks!
Why a Triangle Part? The Style Breakdown
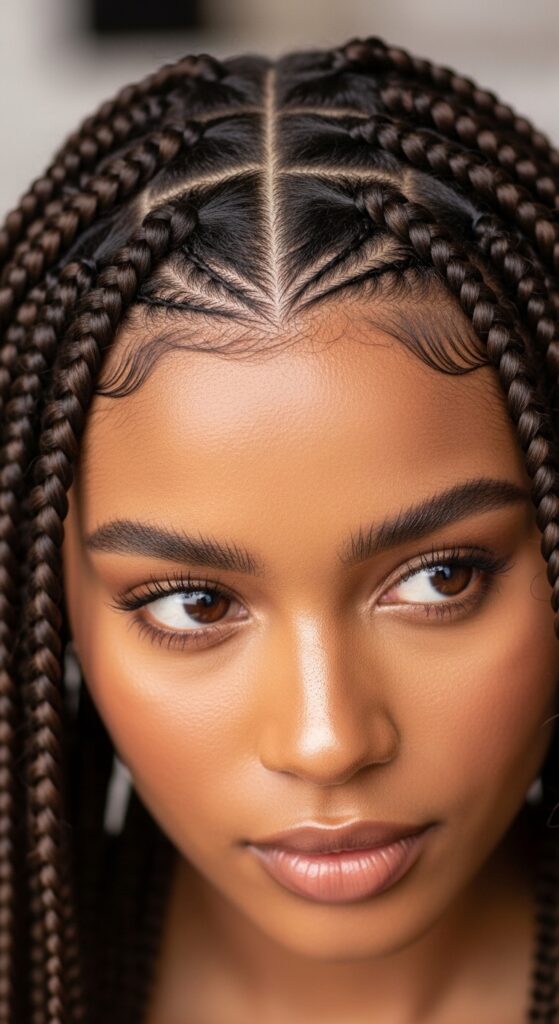
First, let’s talk about why this small change makes such a big impact. A straight part is classic, but a geometric shape like a triangle instantly adds intention and artistry. It frames your face in a unique way and turns your braids into a statement.
It’s that perfect mix of structured and cool. This look fits right in with the trend of personalized, detail-oriented styles we’re seeing everywhere, from the asymmetrical lob to the precise hime cut. It’s a subtle nod to being fashion-forward.
Gathering Your Braiding Essentials
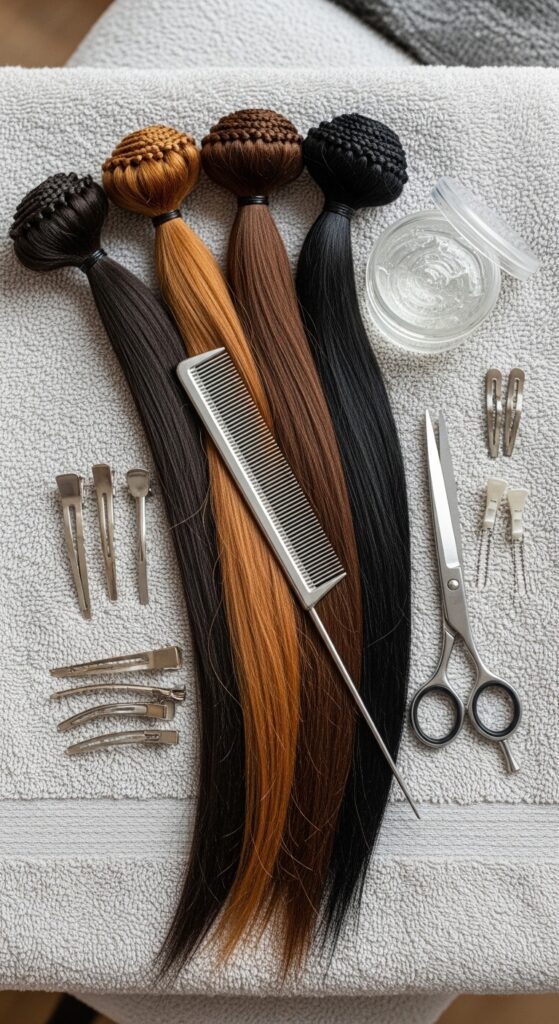
You won’t need anything too wild, just your standard braiding kit with a couple of key extras. Having everything laid out before you start is the secret to a stress-free session.
- Pre-stretched braiding hair of your choice
- A fine-tooth rat-tail comb for precise parting
- Strong-hold edge control or gel
- Clips to section off hair
- Sharp hair shears for trimming
- A trusty mirror and good lighting!
Starting with a Clean, Detangled Base
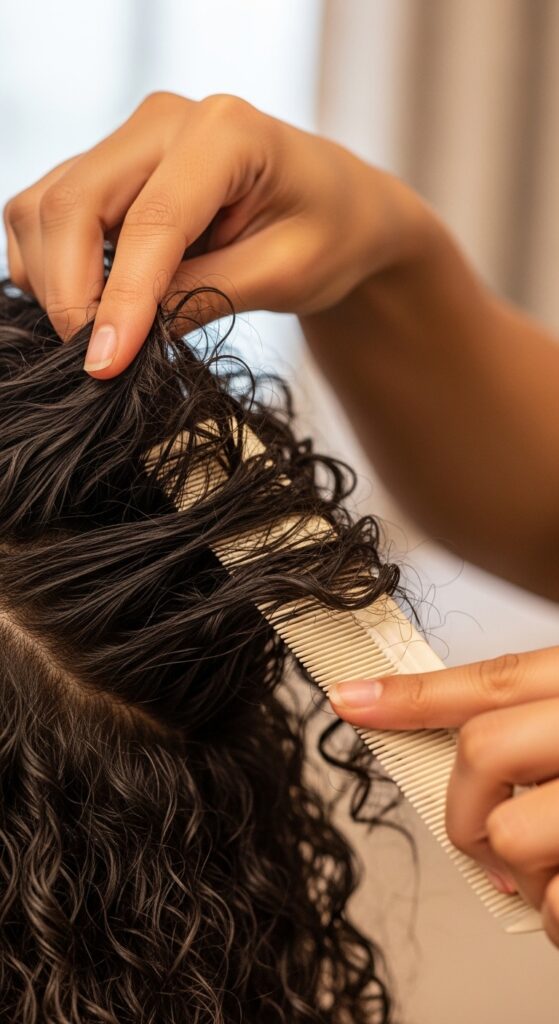
This step is non-negotiable for a sleek finish. Wash and deep condition your hair as you normally would for braids. While your hair is damp, apply a good leave-in conditioner and a light gel to your natural hair.
Then, blow-dry or stretch your hair until it’s completely dry and detangled. Braiding on damp hair can lead to mildew, and braiding on tangled hair is just a headache. A smooth base makes every step that follows so much easier.
Mapping Out Your Triangle Part
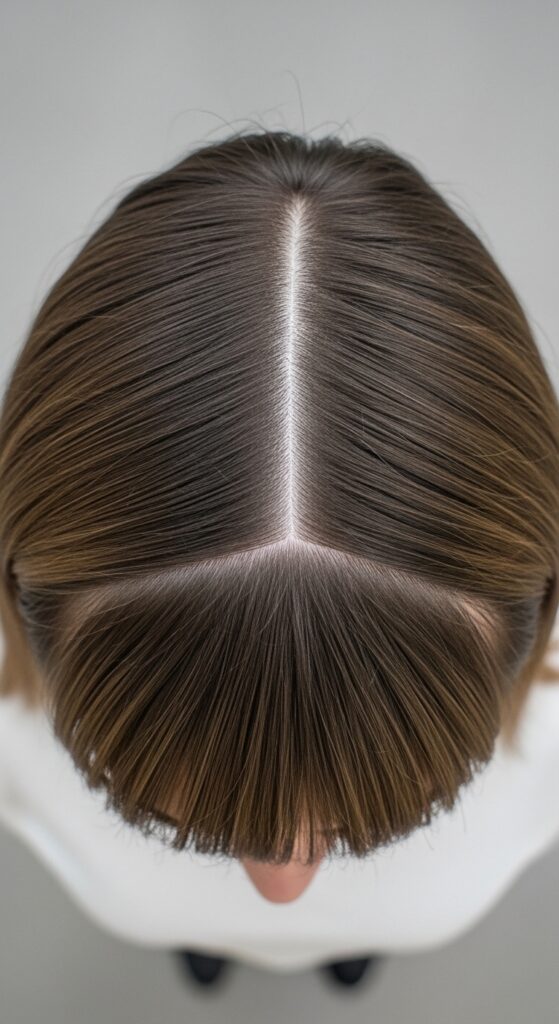
This is the most important step! Don’t just start drawing lines. Decide where you want the triangle to sit. Centered is most common, but an off-center triangle can give glitchy glam hair vibes.
Using the tail of your comb, start at your front hairline and draw a small triangle. It doesn’t need to be huge—about 1.5 to 2 inches deep is perfect. Keep the lines clean and the point of the triangle sharp.
Sectioning and Clipping the Rest Away
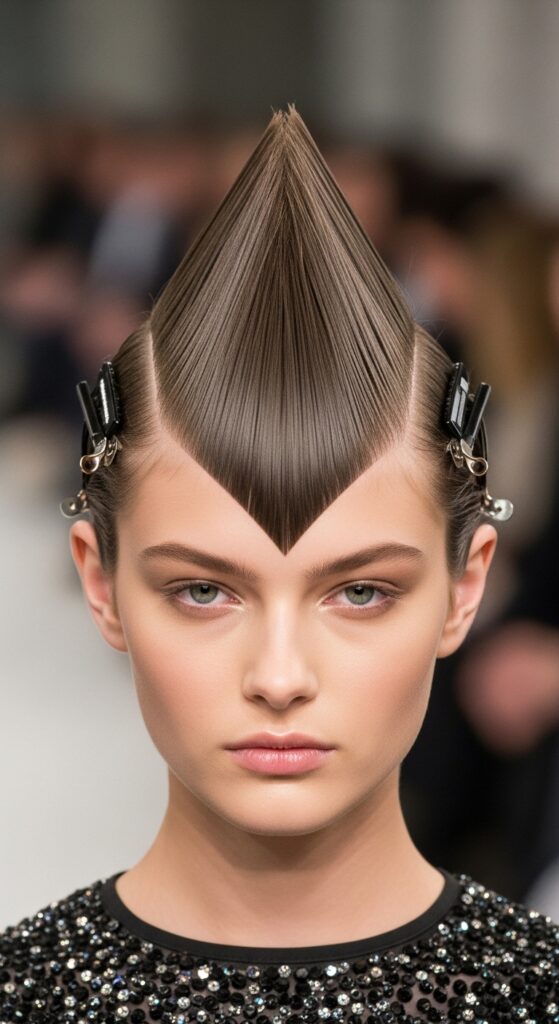
Once your triangle is perfect, you need to isolate it. Carefully clip all the hair outside of your triangle part away from the section. Use strong clips to keep it secure.
This lets you focus solely on braiding the hair in that defined geometric section first. It keeps everything organized and prevents you from accidentally blending the sections. Think of it like painting a detailed part of a canvas.
Prepping and Adding Hair to the First Braid
Take a small, neat subsection from the front point of your triangle. Apply a tiny bit of edge control to this section for maximum sleekness. Now, grab a piece of your braiding hair and fold it in half.
Attach it to your natural hair using the loop method, making sure it’s secure at the root. This first braid sets the tone for the whole triangle, so take your time to get the tension right—snug but not painful.
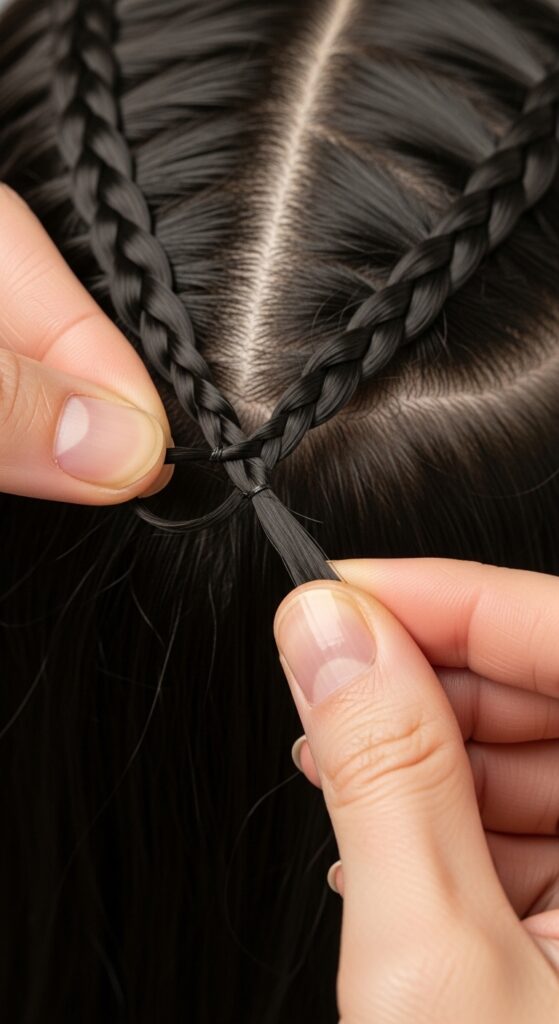
Braiding Down the First Section
Now, braid down! Use the underhand technique for a traditional box braid look. Keep the braid tight and even, adding no additional hair since this is just that first subsection.
Once you reach your desired length, secure the end with a small rubber band. This braid will be the front-most piece, sitting right in the center of your style. Its neatness is super visible.
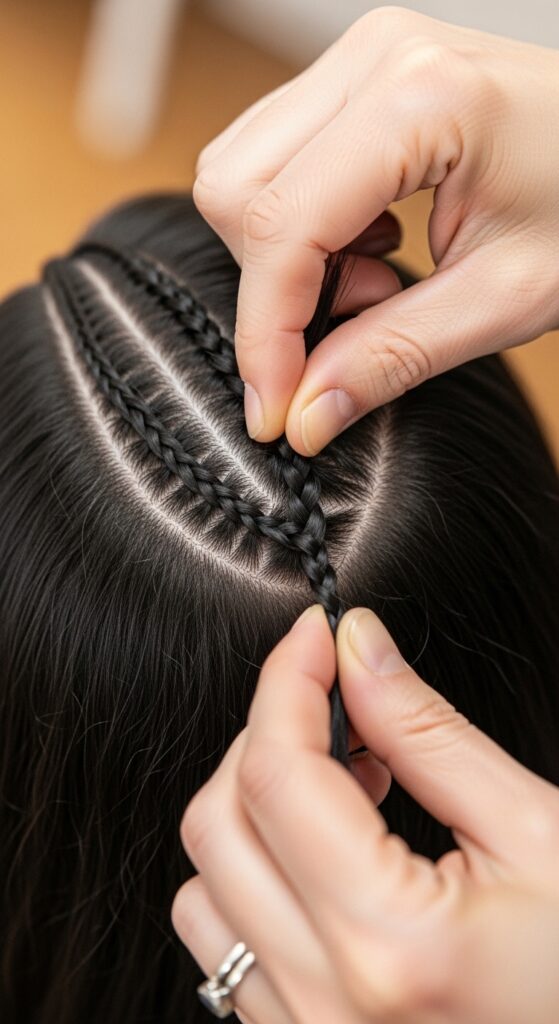
Moving to the Second Braid in the Sequence
Release a small amount of hair from the right side of your triangle section. Combine it with a new piece of braiding hair. Here’s the key: you will incorporate a tiny bit of hair from the first braid’s base as you start this second one.
This connects them seamlessly and maintains the triangular shape. Braid this section down just like the first. You’re essentially building rows that follow the shape of your part.
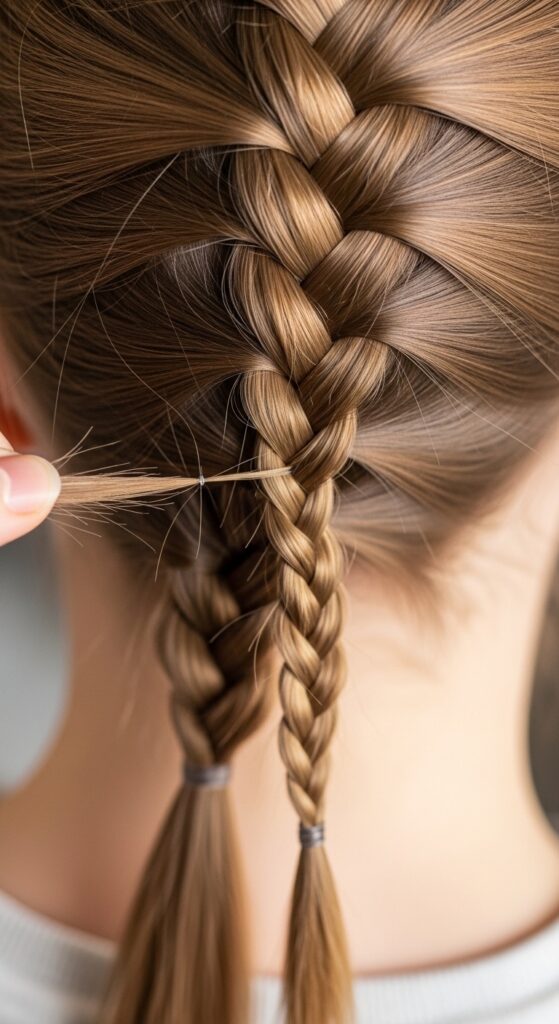
Completing the First Row of the Triangle
Continue this process across the base of your triangle. Each new braid should take a bit of hair from the previous braid’s base and a bit of new, loose hair from your triangle section.
By the time you reach the other side, you will have a clean, connected row of braids that perfectly outlines the base of your triangle part. This row acts as a stunning frame for your face.
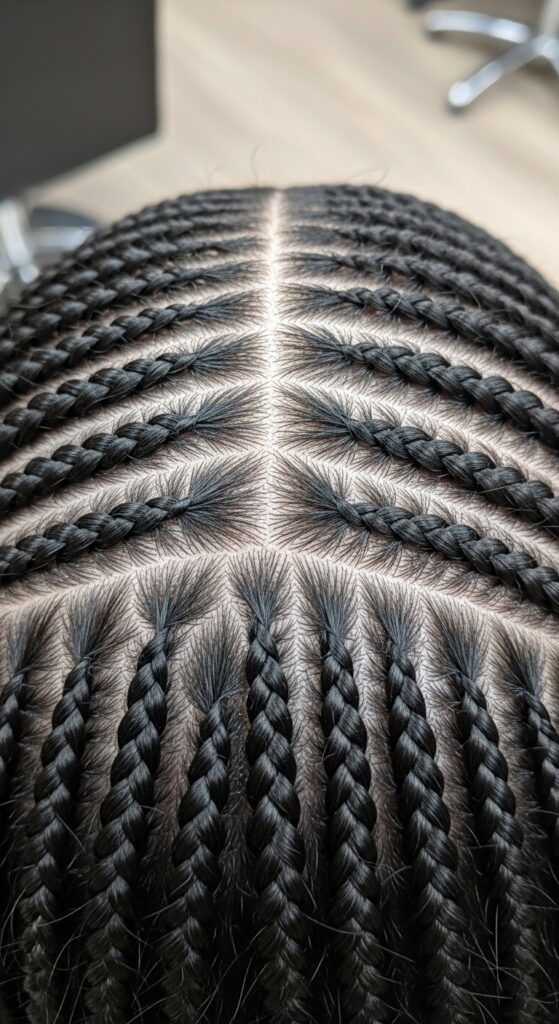
Building the Triangle Upwards: Row Two
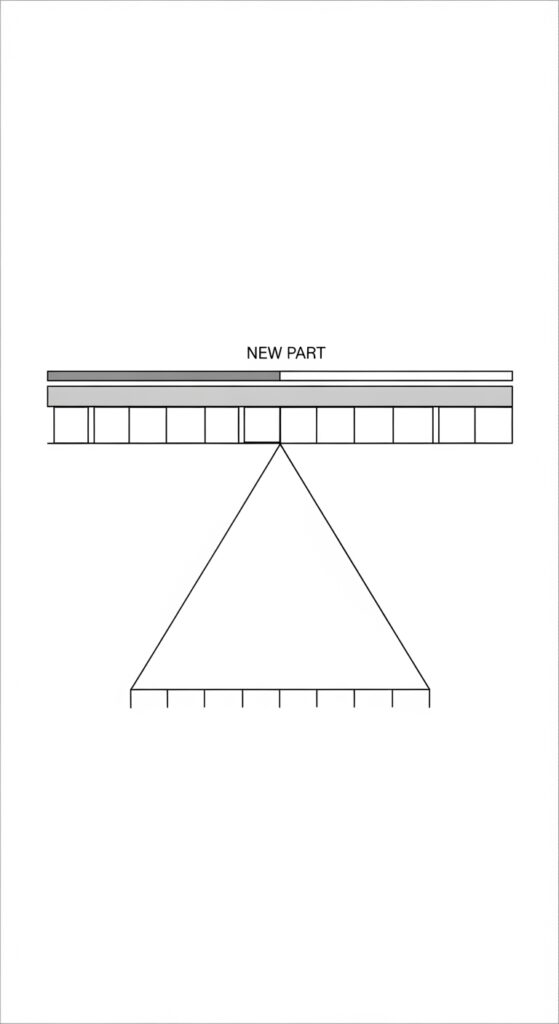
Now, move upwards to create the next row. Part a horizontal line above your first row of braids, still within the triangle. Your first braid in this row will attach to the first braid of the previous row.
This interlocking method is what fills in the triangle solidly. It ensures no gaps and creates that beautiful, full geometric effect. The braids should look like they are stacked neatly.
Finishing the Filled-In Triangle Shape
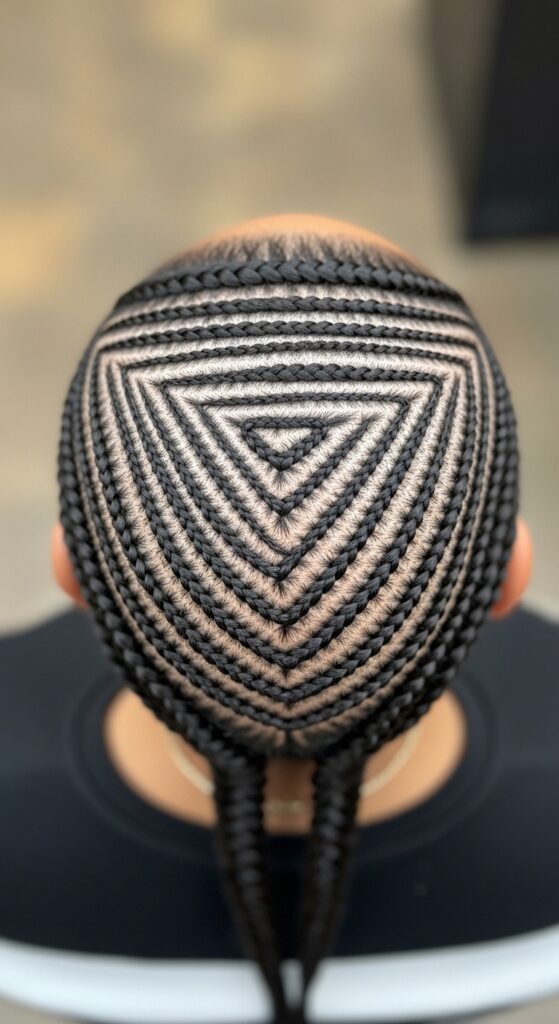
Keep adding rows, each one getting shorter as you move toward the top point of the triangle. Always remember to incorporate a small amount of hair from the braid in the row below to link them.
When you get to the very top, you might only be doing one or two small braids. Once all the hair inside the triangle is braided, you should see a solid, defined geometric shape made of braids.
Releasing and Preparing the Remaining Hair
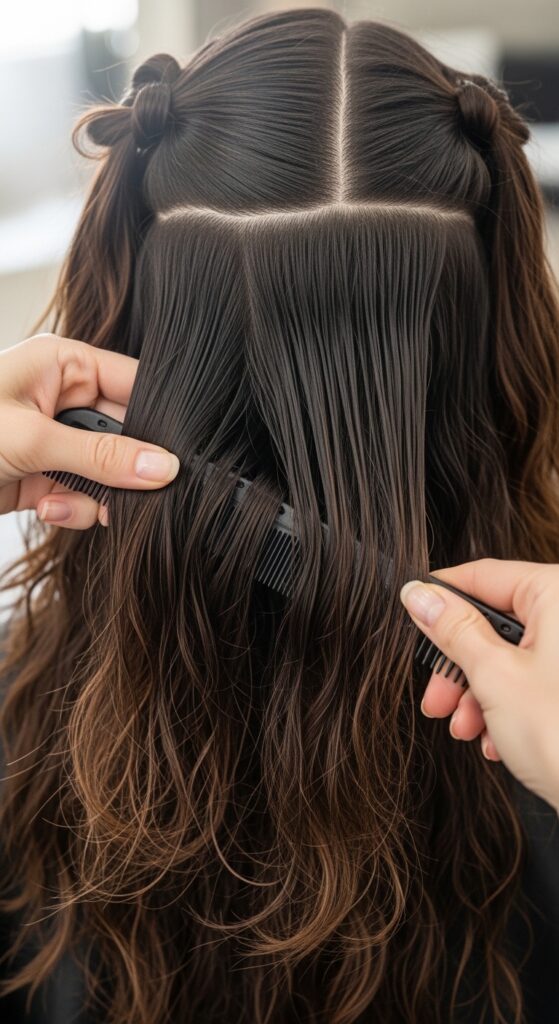
Great job! The artistic part is done. Now, unclip the rest of your hair. You’ll want to part the rest of your hair in a way that complements your triangle.
Many people choose to continue with straight-back parts or a simple grid pattern. Detangle this hair again lightly and apply a bit more moisturizer if needed. Now you’re ready to braid the majority of your head.
Choosing Your Overall Braid Size and Pattern
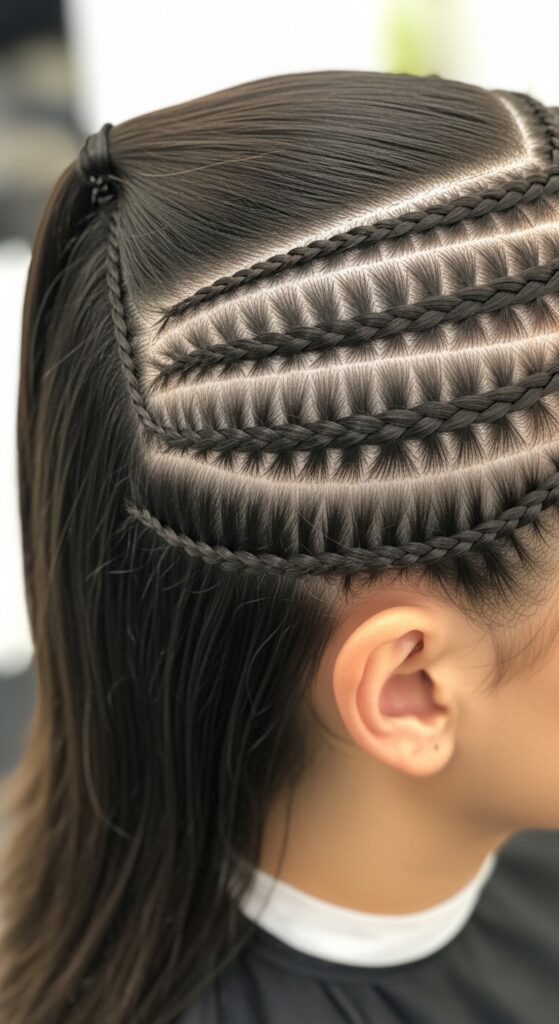
Your triangle is the star, so keep the rest of your braids consistent and classic. Medium-sized box braids are a great choice. You can do a simple all-back pattern or a side-part pattern that flows from the triangle.
The goal is to let the geometric detail shine without competition. This balance is what gives it that elevated, intentional feel, much like the difference between a basic cut and an asymmetrical lob.
Braiding the Main Sections of Your Hair
Braid the rest of your head as you normally would. Maintain even tension and consistent braid size. Because you started with that detailed front section, the rest will feel quick and easy.
Make sure the braids near the triangle blend smoothly. You don’t want a harsh line where the triangle ends and the regular braids begin; it should look like one cohesive style.
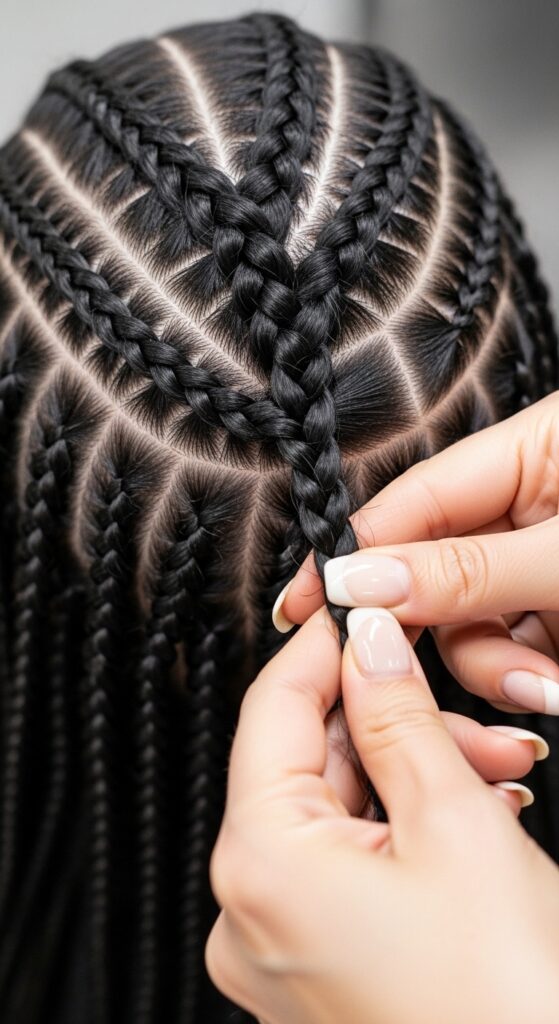
Sealing and Trimming Your Braid Ends
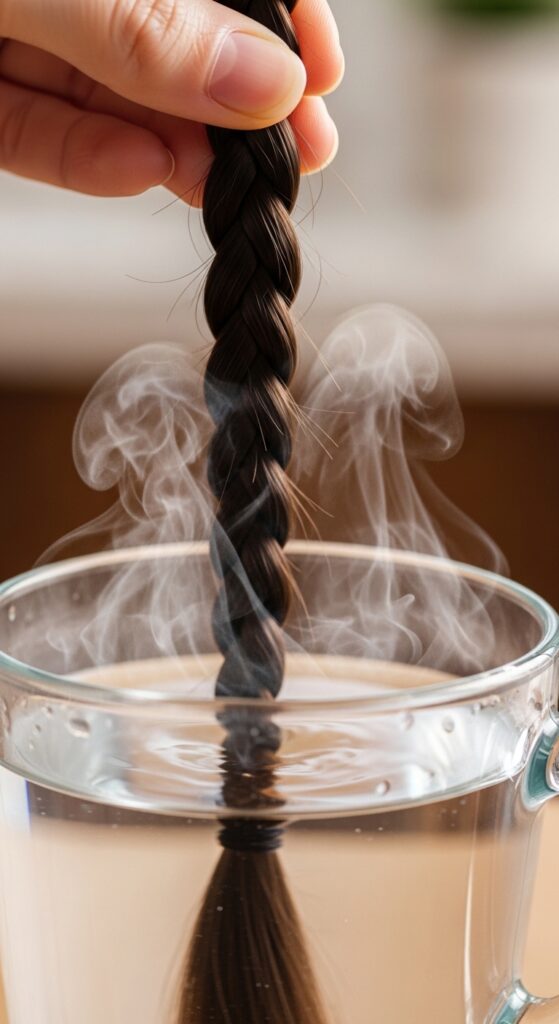
Once all braids are complete, it’s time for the finishing touches. To prevent unraveling, dip the ends of each braid in hot water (using the boiling water method) or use a small flame to carefully seal them.
Then, give your braids a uniform trim. Hold them at your desired length and cut straight across. This step makes the style look polished and professional, not DIY.
Hydrating Your Scalp and Edges
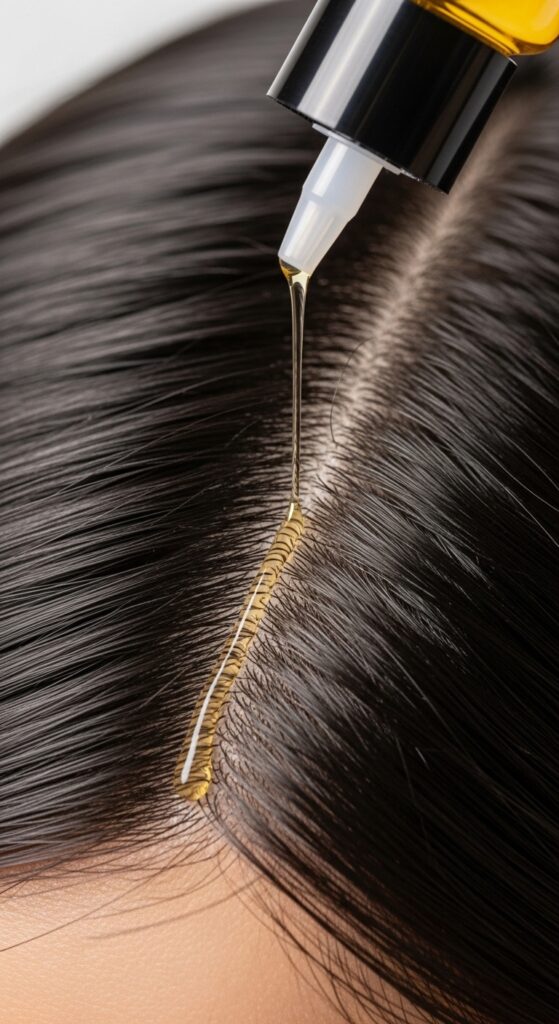
Your scalp and edges need love! Use a light, non-greasy oil or a dedicated scalp spray to moisturize your parts and your skin. Gently massage it in.
For the edges around your triangle, use a soft brush and a tiny bit of edge control to lay down any baby hairs. This sharpens the whole look and keeps that geometric shape looking crisp.
Styling Your Triangle Part Braids
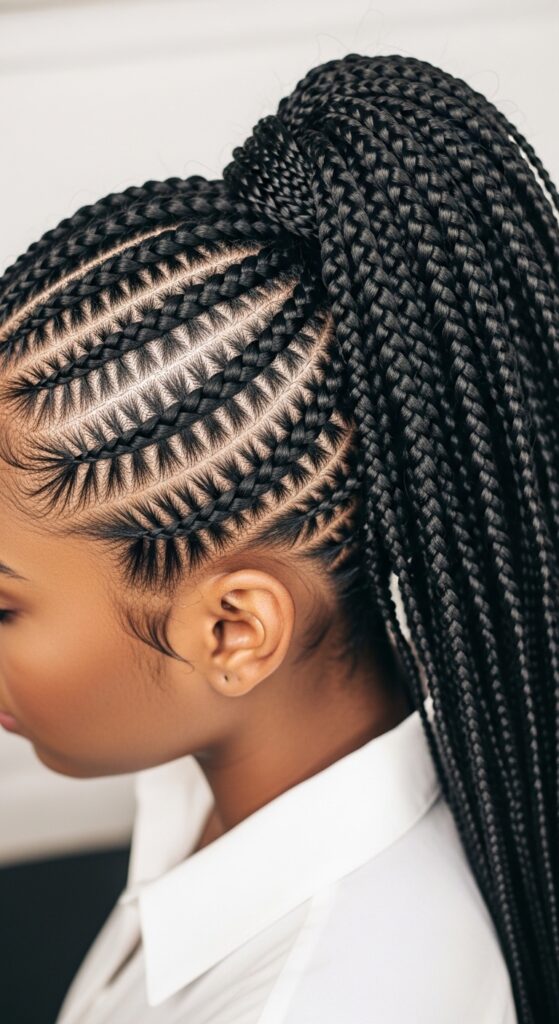
Now for the fun part—styling! You can wear them down to show off the part, or try a half-up, half-down style that really highlights the geometric detail. A high ponytail also looks amazing, letting the triangle sit front and center.
This style is so versatile. It can be dressed up or down, and that triangle part adds interest no matter how you wear it. It’s a conversation starter!
Maintaining Your Braids for Longevity
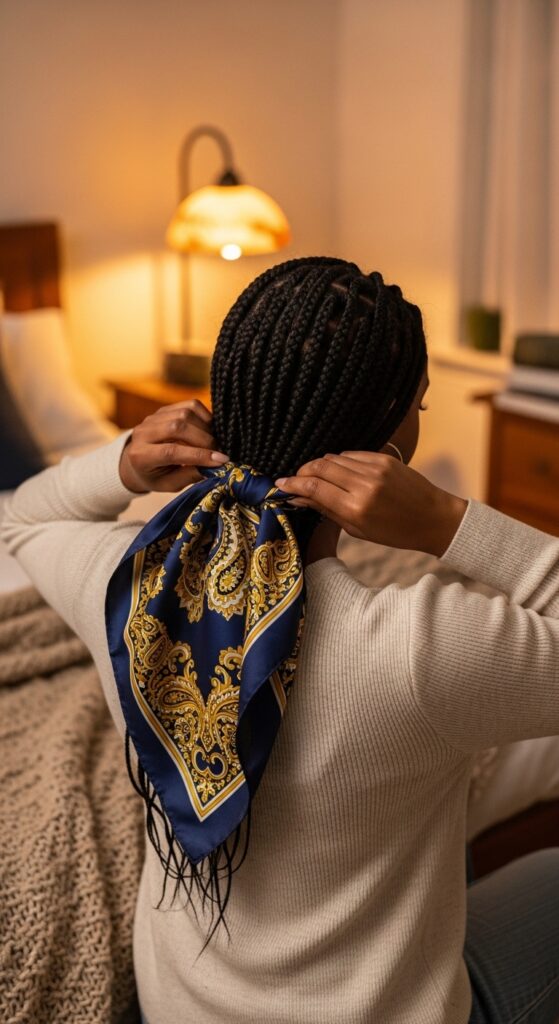
To keep your braids fresh, wrap your hair with a silk or satin scarf every night. This reduces frizz and keeps your parts clean. Use that scalp spray every few days to avoid itchiness and dryness.
Don’t be afraid to gently cleanse your scalp with diluted shampoo every two weeks. Dry shampoo can be a quick fix in between. Good maintenance means your style will last beautifully.
How This Style Fits Into Current Trends
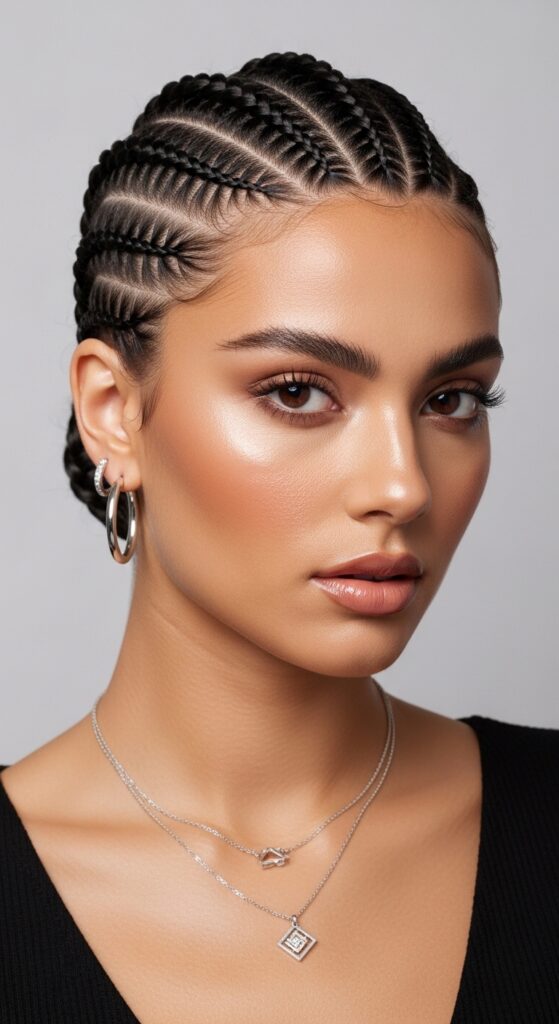
This look is a perfect example of where hair is going. It takes a classic protective style and injects a modern, graphic twist. It has the elegance of old money hair but with a bold, personal signature.
It touches on that “broken” beauty of glitchy glam hair and has a touch of the dramatic flair you see in romantic goth hairstyles or the vampire haircut. It’s all about personalized detail.
Troubleshooting Common Issues
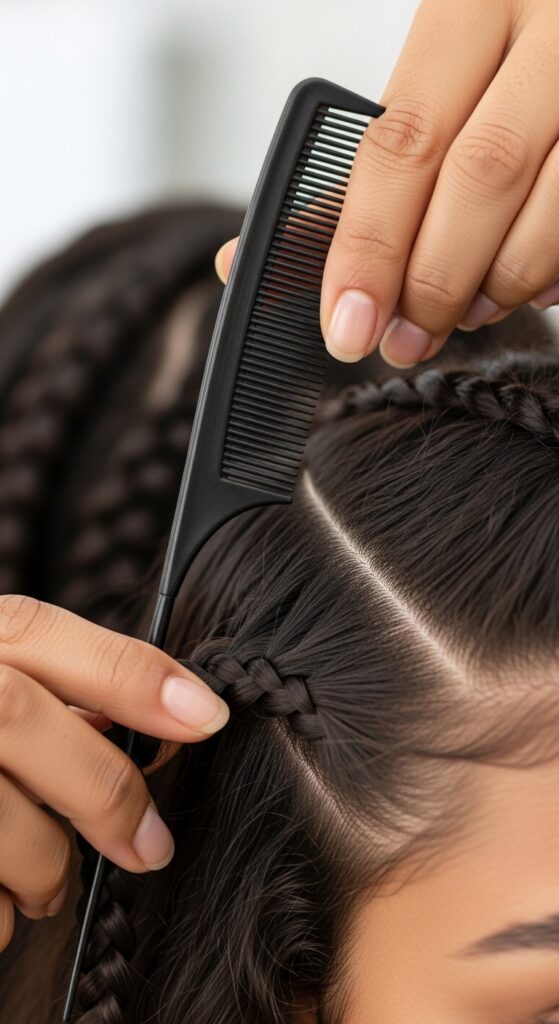
If your triangle looks crooked, don’t panic. You can often adjust it by re-braiding just one or two key braids to straighten the line. If the braids feel too tight at the part, take them out—tension alopecia isn’t worth it.
Frizzy braids? A little gel on a toothbrush can smooth flyaways around your parts. The goal is a style that looks great and feels comfortable for weeks.
Adapting the Triangle for Other Styles
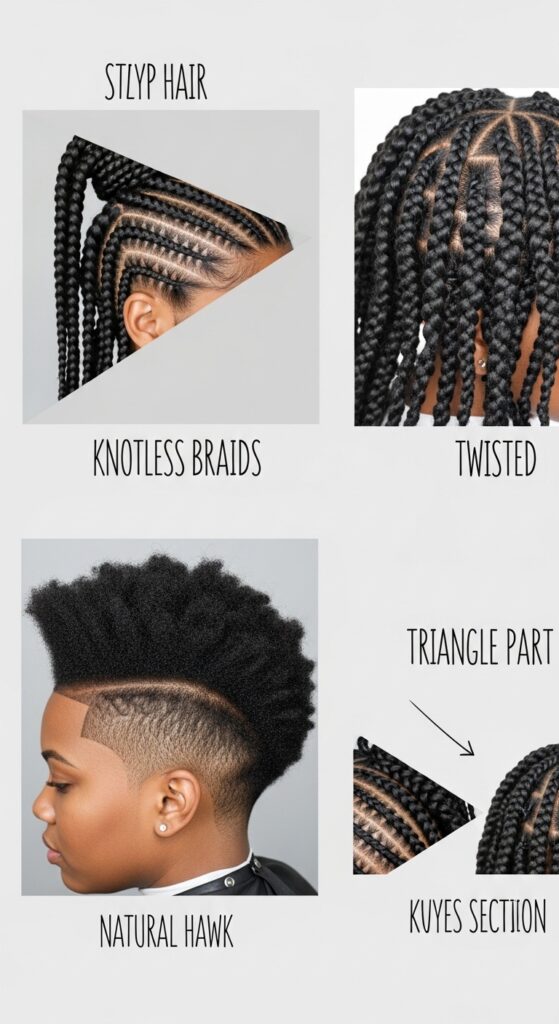
Love this concept? Try it with other styles! A triangle part would look incredible with knotless braids, Senegalese twists, or even as a bold detail for a faux hawk with your own hair.
The principle is the same: define your shape, isolate it, and build your style within it. It’s a technique you can use to customize so many looks, adding that “you” factor every time.
Your Final Look: Confidence is Key
And there you have it! You’ve just created a stunning, head-turning protective style with your own two hands. The most important accessory you can wear with this look is your confidence.
Rock it knowing you put in the work and mastered a cool, geometric technique. It’s more than just braids; it’s wearable art. You look amazing.
So, what do you think? Honestly, once you try a geometric part, it’s hard to go back to just a straight line. It adds that little extra something that makes your style feel custom and current.
It’s proof that sometimes the smallest change—a triangle instead of a line—can totally transform your look. I love how it bridges the gap between protective styling and high-fashion hair trends.
I hope you feel empowered to try this! And if you do, you have to tell me how it goes. Did you wear it down or up first? Was it easier or harder than you expected? Spill all the details in the comments below!
Save this post to Pinterest to keep this tutorial handy for your next braid day! Just hover over any image and click the ‘Pin it’ button. Tag me if you share your results—I live for your styling wins!