How to Do a Waterfall Braid on Fine Hair Without It Falling Apart
Hey friend. If you’ve ever tried to do a waterfall braid on fine hair, you know the struggle. You get halfway through, and it just… dissolves. The pieces slip out, it looks limp, and you feel defeated.
I’ve been there so many times. My fine hair loves to rebel against any intricate style. But after years of blogging and trying every trick, I’ve cracked the code.
This isn’t about having thick, heavy hair. It’s about working with what you’ve got. Today, I’m sharing the exact, simple steps that finally gave me a waterfall braid that lasts all day.
No fancy skills required. Just a few game-changing products and techniques. Let’s turn that hair dream into reality.
Why Fine Hair Needs a Different Approach
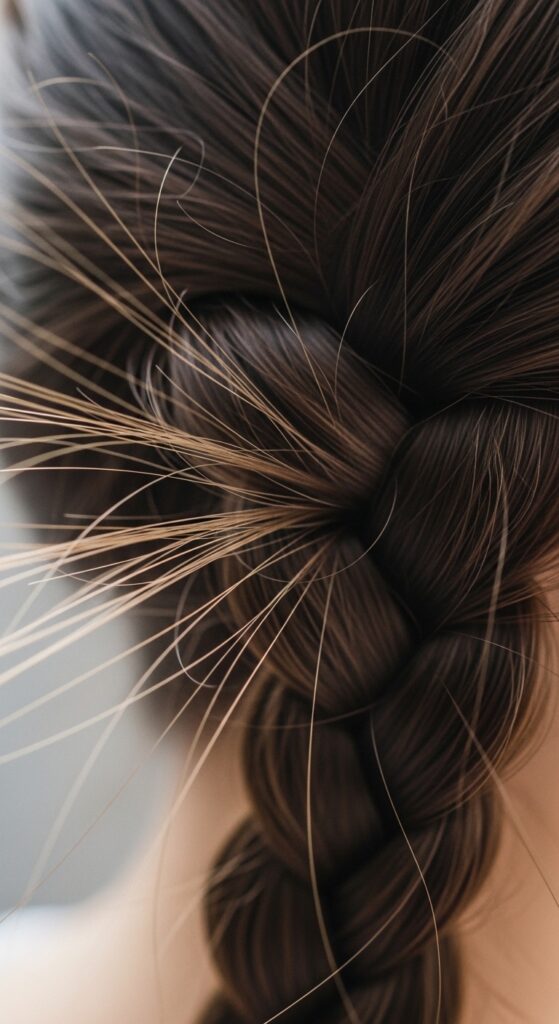
Fine hair isn’t weak hair—it’s just slippery. Each strand is smooth, so it doesn’t have the texture to grip onto itself easily. That’s why classic braiding tutorials often fail for us.
We need to create artificial grip and hold. Think of it like building a foundation for a house. Without it, everything collapses. The goal is to add that slight roughness and support that thicker hair has naturally.
Once you understand this, every step makes sense. We’re not fighting our hair type. We’re just giving it a little help to show off its beauty.
Gather Your Tools: The Non-Negotiables
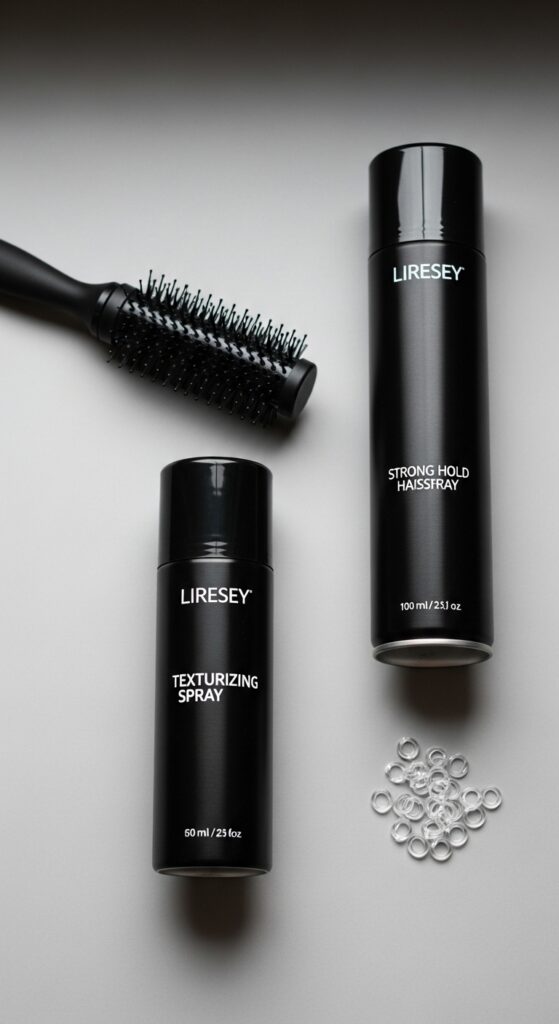
You won’t need much, but what you use is crucial. Ditch the heavy products that weigh hair down. Here’s your toolkit:
- Texturizing Spray: This is your secret weapon. It adds grit and grip.
- A Fine-Toothed Teasing Brush: For precise backcombing at the roots.
- Strong-Hold, Lightweight Hairspray: Look for “flexible hold” or “invisible.”
- Small, Clear Elastics: To secure the braid sections discreetly.
- Hair Clips: To section hair and keep it out of the way.
Start With Day-Old Hair (Seriously)

If your hair is freshly washed and silky, you’re starting on hard mode. Day-old hair has natural oils that add just enough texture and body to help styles hold.
If you must wash, skip the conditioner on the mid-lengths and ends. Or, use a dry shampoo at the roots before you start. It absorbs oil and adds that essential grip instantly.
This one tip alone makes a massive difference. It gives the braid something to cling to right from the start.
Create Grip with Texturizing Spray

Before you braid a single strand, apply a texturizing spray. Focus on the area from your ears down—where the braid will live. Don’t soak it; a light mist is enough.
Run your fingers through to distribute it. You should feel a slight change in texture—a bit more roughness. This is the grip your braid needs.
Let it dry for a minute. This creates a perfect, non-sticky base for weaving your sections together without slip.
Tease the Crown for Hidden Volume
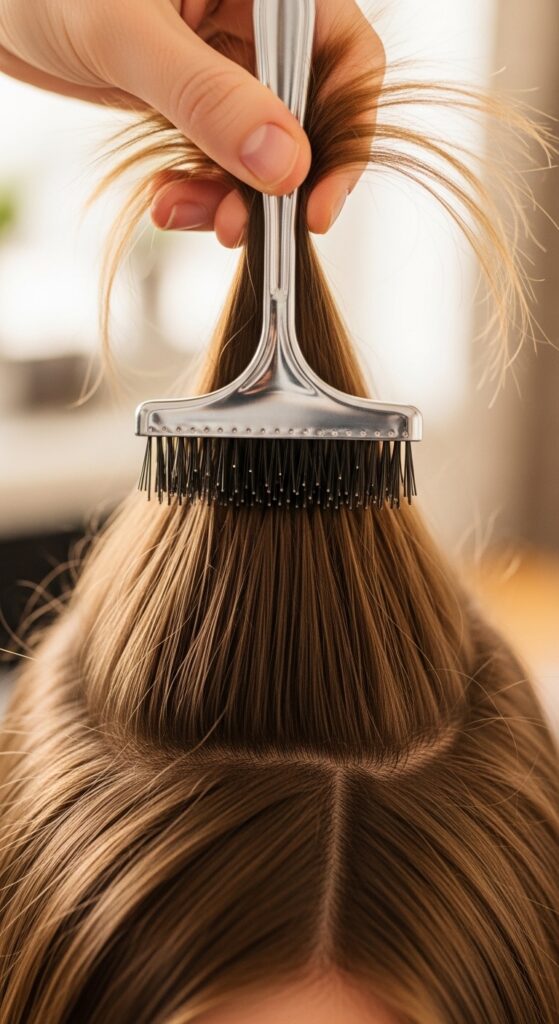
Fine hair braids can look flat at the top. We’re fixing that. Take a one-inch section at the crown. Hold it straight up.
Lightly backcomb (tease) just the root area—only the bottom inch of the section. Do this 2-3 times. Be gentle; you’re not going for 80s volume.
Then, smooth the top layer over it. This gives you invisible lift. The braid will start from a point of volume, not flat against your head.
Section Your Hair Perfectly
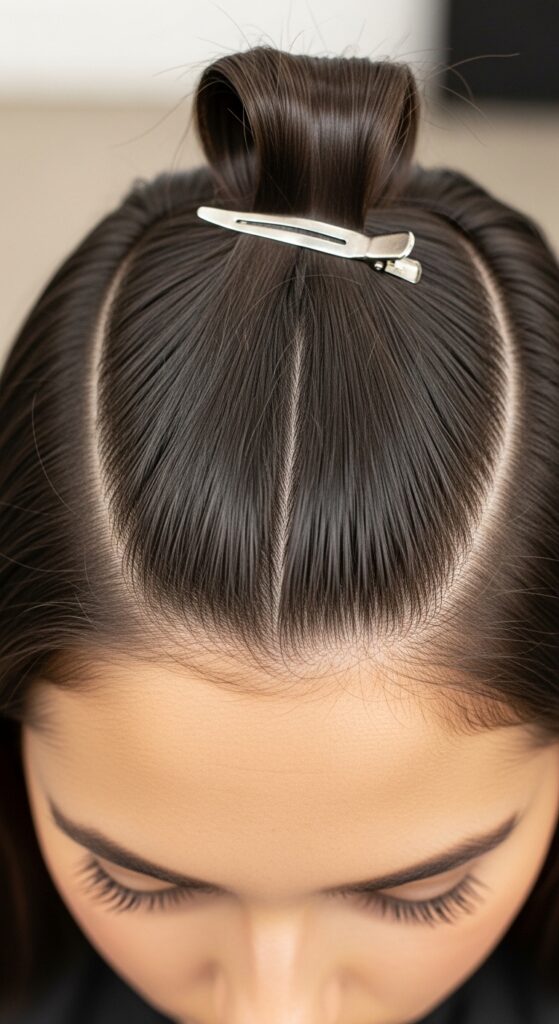
Part your hair as desired. Then, take a triangle-shaped section from the front, near your part. This will be your first working section.
Clip the rest of your hair back so it doesn’t interfere. A clean, organized workspace is key. It keeps you from grabbing random pieces and creating a messy braid.
This initial section should be about two inches wide. Not too thick, not too thin. This is where our braid begins.
Begin the Classic Three-Strand Braid
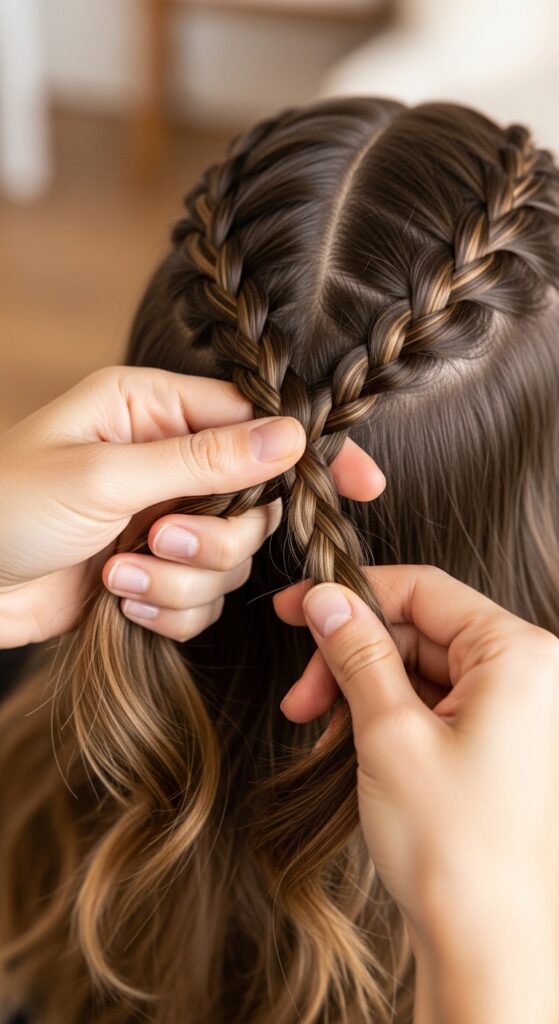
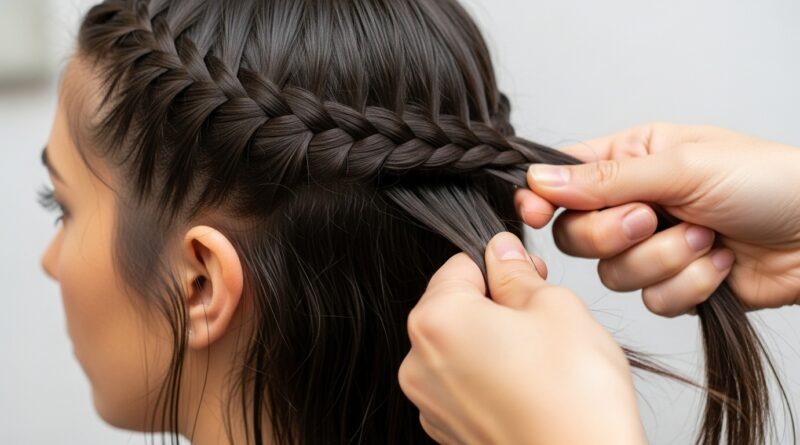
Split your first section into three equal strands. Do one simple crossover: right strand over middle, left strand over middle.
This establishes your braid. Keep tension firm but gentle. You’re controlling the hair, not pulling it out.
After this first crossover, pause. The next step is where the “waterfall” magic happens. You’ve set your foundation.
The Waterfall Drop: The Key Move
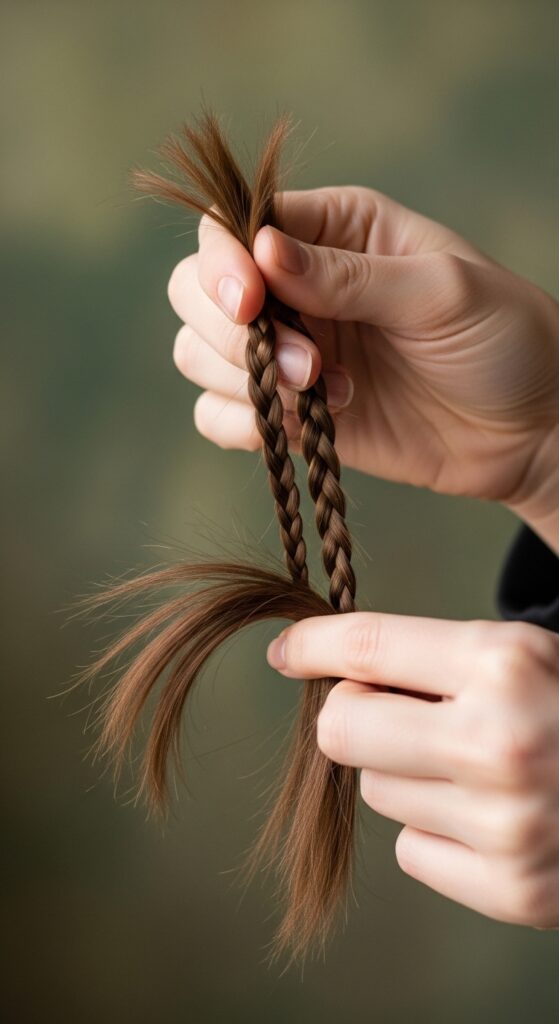
Now, for the signature move. After your first crossover, the bottom strand (the one now on the side) will become your “drop” piece.
Instead of bringing it over the middle, you let it fall free. Literally, just drop it. It will become part of the waterfall.
This is the step that feels scary! But trust the process. That dropped piece is what creates the beautiful, cascading effect.
Pick Up a New Section Every Time
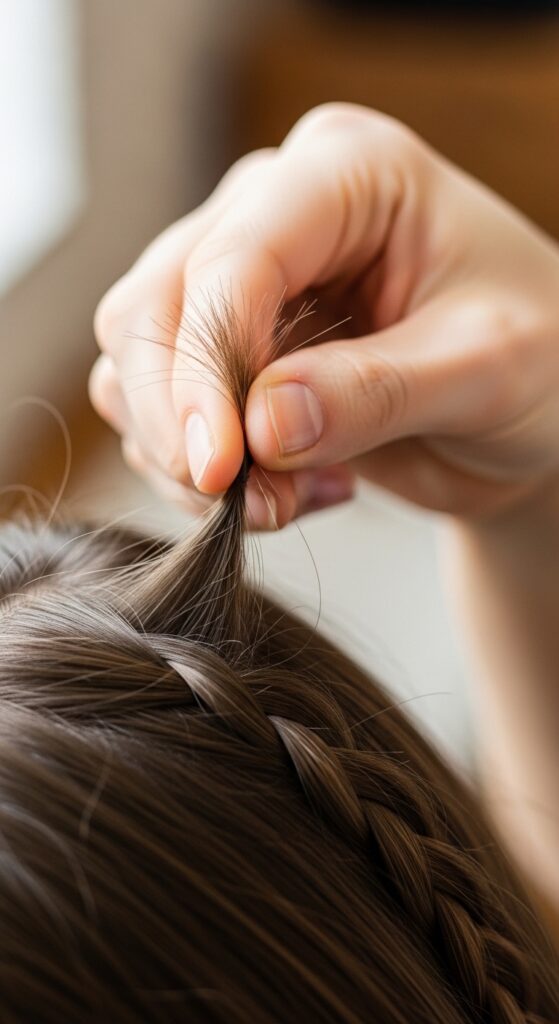
Right after you drop a strand, immediately pick up a new, thin section of hair from the top of your head. Add it to the strand that’s now on top.
This new hair replaces what you dropped. It keeps the braid attached to your head. The thickness of your braid stays consistent.
Then, braid normally: bring that now-thicker strand over into the middle. You’re always swapping dropped hair for fresh hair.
Maintain Consistent Tension
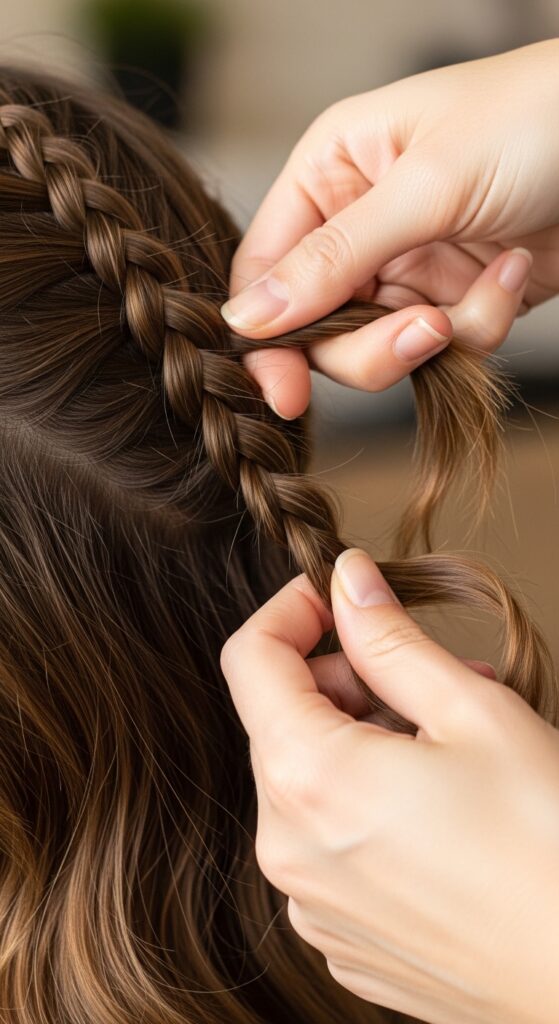
This is the #1 reason braids fall apart. Tension changes. You start tight, then get tired and go loose. The braid gets sloppy.
Focus on keeping the same pull on each section as you cross it over. Not yanking, but a steady, confident hold.
Imagine you’re keeping the strings of a guitar equally tight. Consistent tension means a neat, secure braid from start to finish.
Secure with Clear Elastics as You Go
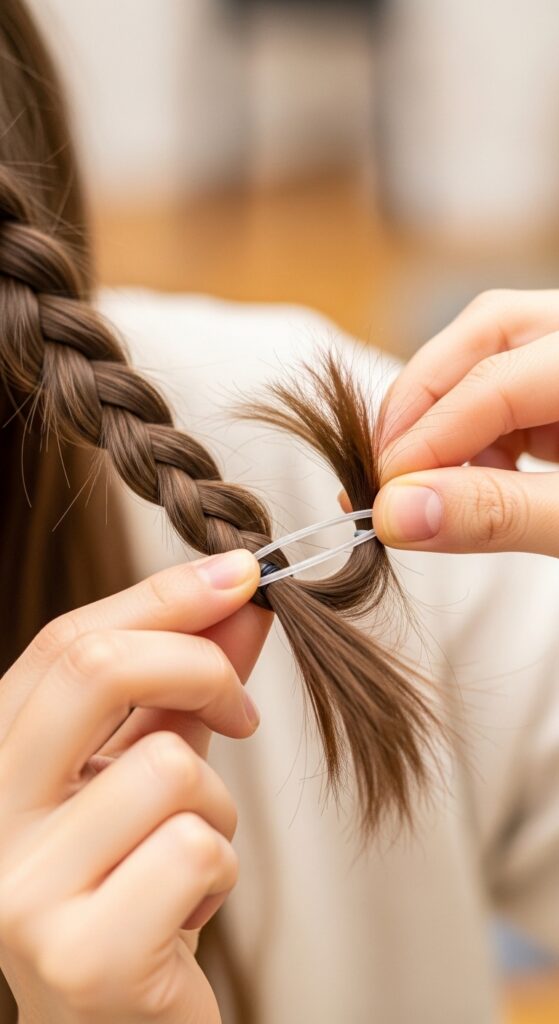
If you’re braiding around your whole head, don’t try to do it all in one go. After a few waterfall sequences, secure what you have with a tiny clear elastic.
This holds your progress and prevents unraveling while you work on the next section. It’s a lifesaver for fine hair.
You can remove it later or incorporate it. It takes the pressure off and lets you focus on technique, not just holding on for dear life.
Lock It with Lightweight Hairspray
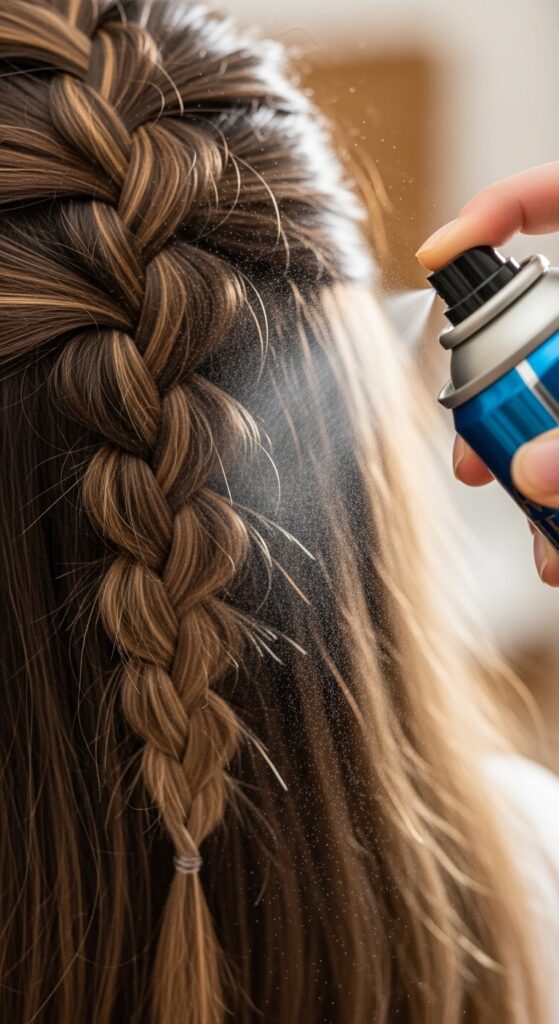
As you complete each major section, give it a light mist of your strong-hold hairspray. Do this from about 10 inches away.
Target the woven parts, not the loose waterfall pieces. This sets the braid without making it crispy or sticky.
Think of it as hitting “save” on a document. You’re locking in your hard work before moving forward.
Finish and Secure the End
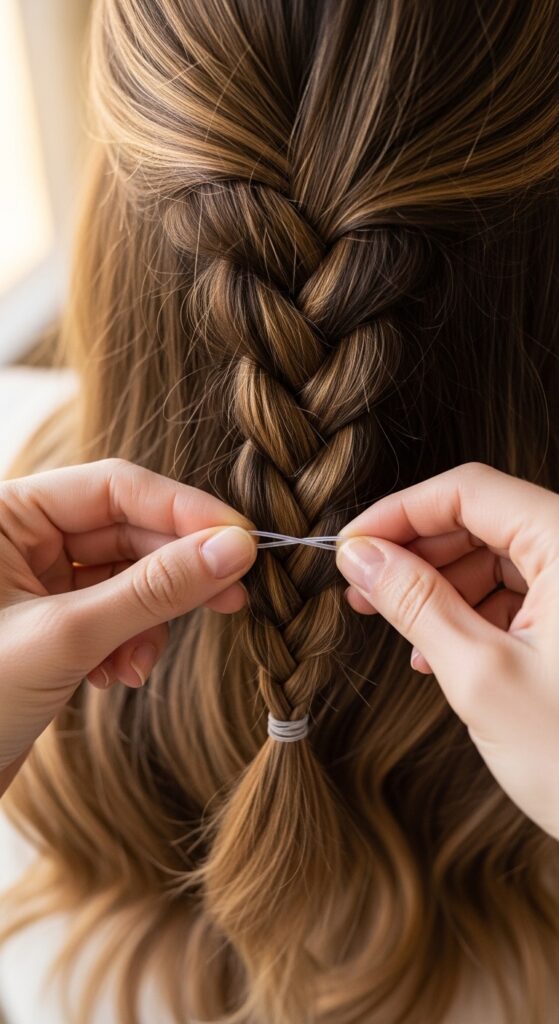
Once you’ve braided as far as you want, gather the three remaining strands and braid them into a regular three-strand braid.
Secure the end tightly with another clear elastic. You can also pull gently on the edges of the woven braid to loosen it for a softer, fuller look.
Now, you have a complete waterfall braid. But we’re not done yet—final touches make it last.
The Hidden Pin Trick for All-Day Hold
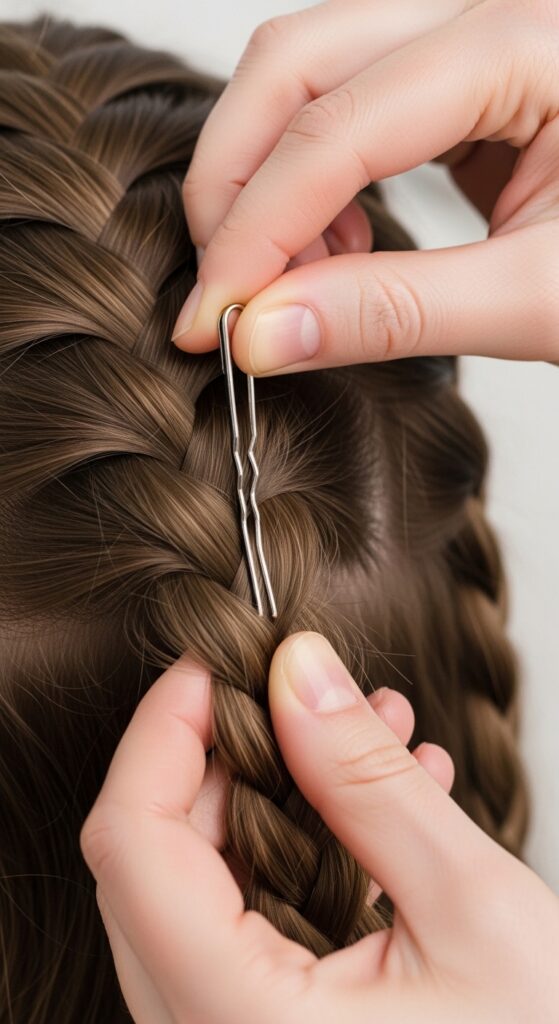
This is my favorite pro tip. Take a bobby pin and open it. Find a secure point in your braid, near the top.
Slide the pin through the braid and then into the hair closer to your scalp. Close it. This anchors the entire style to your head.
Use 2-3 pins along the braid’s path. They’re invisible but act like scaffolding, holding everything perfectly in place.
Final Touch: Texturize the Waterfall Pieces
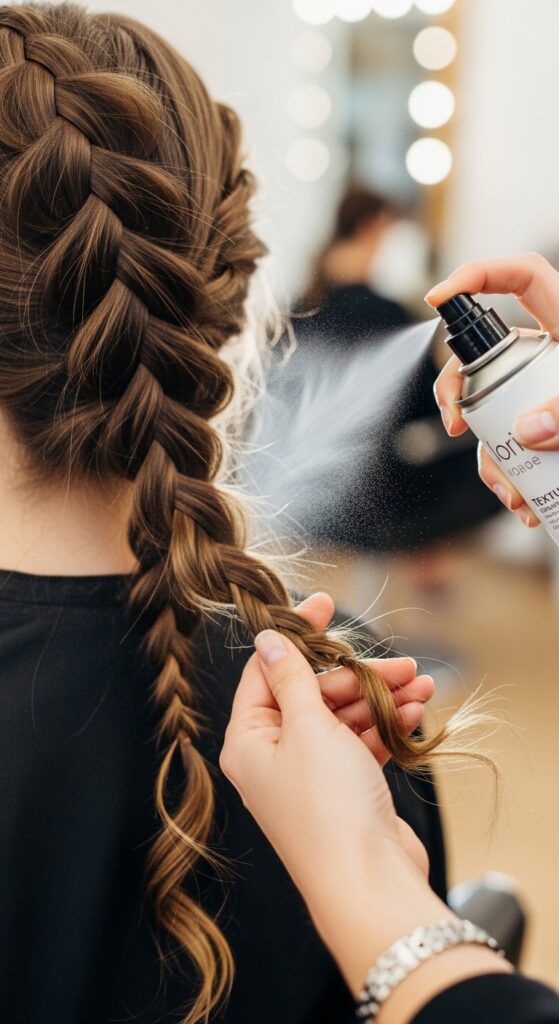
For that effortless, romantic goth hairstyles or old money hair vibe, define the dropped pieces. Rub a tiny bit of texturizing paste between your fingers.
Gently pinch and pull on the cascading strands. This separates them, adds piece-y definition, and makes the style look intentional, not messy.
It enhances the waterfall effect beautifully and adds to the overall hold.
Style It for Different Vibes
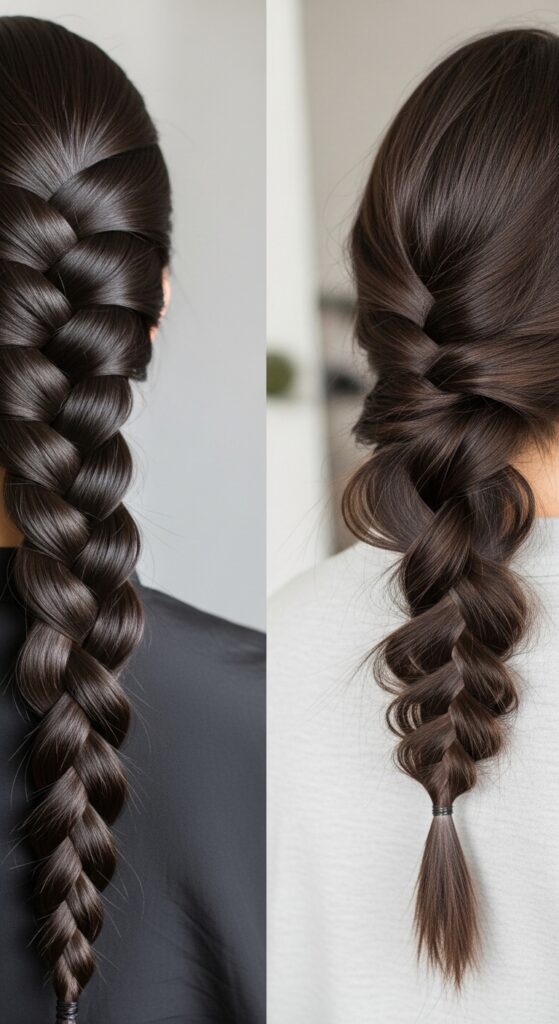
This braid is so versatile. For a sleek, quiet luxury bob adjacent look, spray and smooth. For a softer, romantic goth hairstyles feel, pull it apart gently.
You can also pair it with other 2026 hairstyles trends. Tuck the end under for an updo. Or leave it out with an asymmetrical lob for a cool contrast.
It works with the vibe of a vampire haircut or the softness of a hime cut—it’s all in how you finish it.
Troubleshooting: If Pieces Keep Slipping
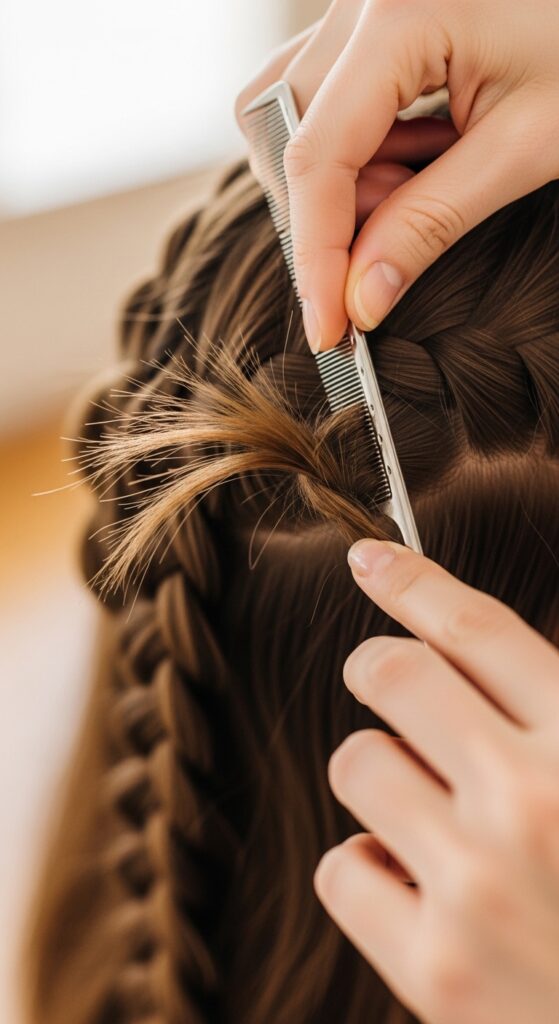
If a section won’t stay, don’t panic. Isolate that piece. Lightly mist it with texturizing spray or gently backcomb it.
Then, re-incorporate it. Sometimes, fine hair is just too smooth. Creating direct grip on the offending strand solves it.
You can also use a mini clip to hold it in place temporarily while you braid around it, then hide the clip later.
Adapting for Super Short Hair
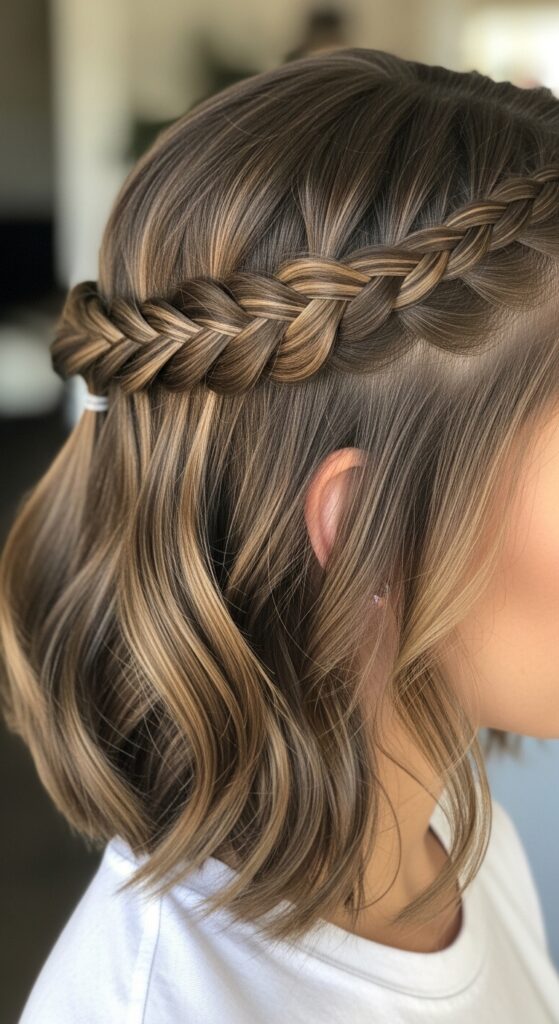
If you have a quiet luxury bob or asymmetrical lob, you can still do this. Just focus on the front.
Start the braid above your ear and take it back only as far as your length allows. You’ll have a beautiful face-framing waterfall accent.
Use more pins to secure it, as shorter pieces are feistier. It makes for a stunning, modern look.
Making It Last Through Wind & Activity

For ultimate hold, after all pins are in, do a final, all-over mist with your strong-hold hairspray. Let it dry completely.
This creates a light “shell” that protects the style. For extra glitchy glam hair durability, a single spritz of dry shampoo at the roots midday refreshes grip.
Now you can confidently go about your day—it’s built to survive.
Pairing With Other Trendy Looks
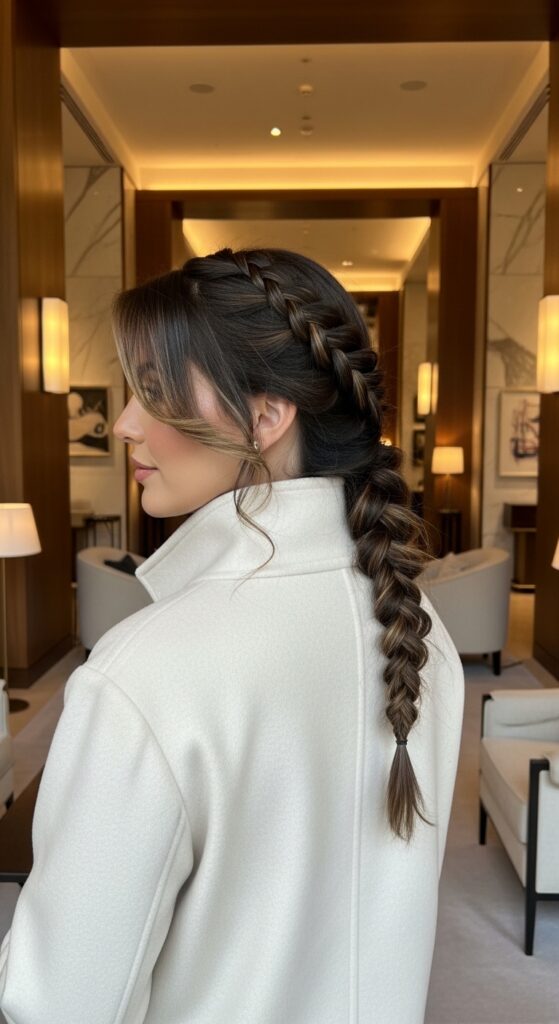
This braid isn’t a solo act. It’s perfect with the soft layers of a hime cut. It adds romance to a vampire haircut‘s sharpness.
For old money hair elegance, keep it low and neat. For glitchy glam hair edge, pull out more pieces and make it messy.
It’s a classic technique that adapts to any trend, from 2026 hairstyles to timeless styles.
Your Quick Morning Routine Version
Short on time? Here’s the 5-minute version: Dry shampoo at roots. One mist of texturizing spray. Braid with firm tension.
Use just 2-3 waterfall drops on one side as an accent. Secure with a pin and a quick hairspray hit.
It gives that “I tried” effortless look in almost no time. Perfect for busy days.
You’ve Mastered the Waterfall Braid
Look at you! What used to be frustrating is now a tool in your style kit. You understand how to work with your fine hair, not against it.
You’ve built a braid with grip, volume, and serious staying power. That’s a major win.
This technique opens doors to so many styles. That feeling of your hair finally listening to you? That’s the best part.
So there you have it—the no-fail method. It’s not about having different hair; it’s about using different techniques. And you’ve totally got this.
The next time you see a beautiful braid on someone with thick hair, don’t feel envious. Just smile, because you know exactly how to make it work for you, and maybe even make it last longer.
Save this post to Pinterest to keep these steps handy for your next hair day! And tell me in the comments—what’s the next hairstyle you want to conquer? I love hearing from you.