How to Do Chunky Braids That Stay Neat for Weeks
Hey friend. So you want those perfect, chunky braids that look fresh for more than just a few days? I get it. You’ve seen the look everywhere—it’s that perfect mix of cool, low-maintenance, and put-together. But when you try it, they get fuzzy and loose way too fast.
I was right there with you. My braids would start looking messy by day three. It was so frustrating! After a ton of trial and error (and some great advice from my stylist), I finally cracked the code.
This isn’t about a temporary style. This is your guide to getting chunky braids that stay neat, sleek, and gorgeous for weeks. Let’s ditch the frizz and get you a long-lasting look you’ll love.
Why Your Braids Get Messy So Fast
Understanding the enemy is step one. The main culprits are usually your hair’s natural texture fighting the style, not using the right products, or the braids being too loose from the start.
If your hair is very smooth, it can slip out. If it’s curly or dry, it can puff up with humidity. The goal is to create a controlled, smooth base before you even begin braiding. Skipping this prep work is the biggest mistake.
The Non-Negotiable Pre-Wash Ritual
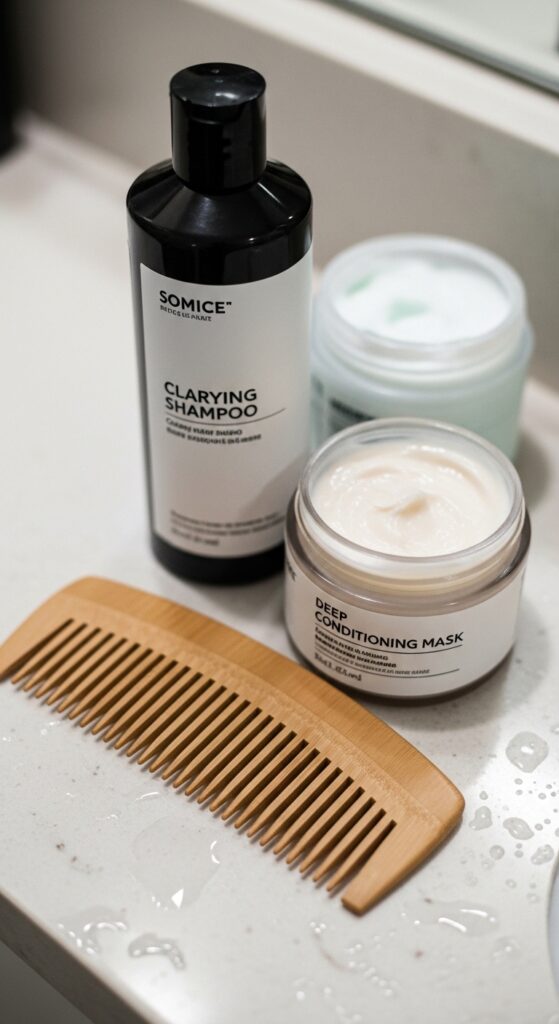
This starts in the shower. You need a super clean, deeply moisturized canvas. I always use a clarifying shampoo to remove any product buildup that can make hair slippery or heavy.
Follow it with a rich conditioner or mask. Focus on the mid-lengths to ends. This moisture will be locked in for the duration of your style, preventing dry, frizzy flyaways later. Detangle gently in the shower with conditioner in.
Dry Completely & Stretch Your Hair
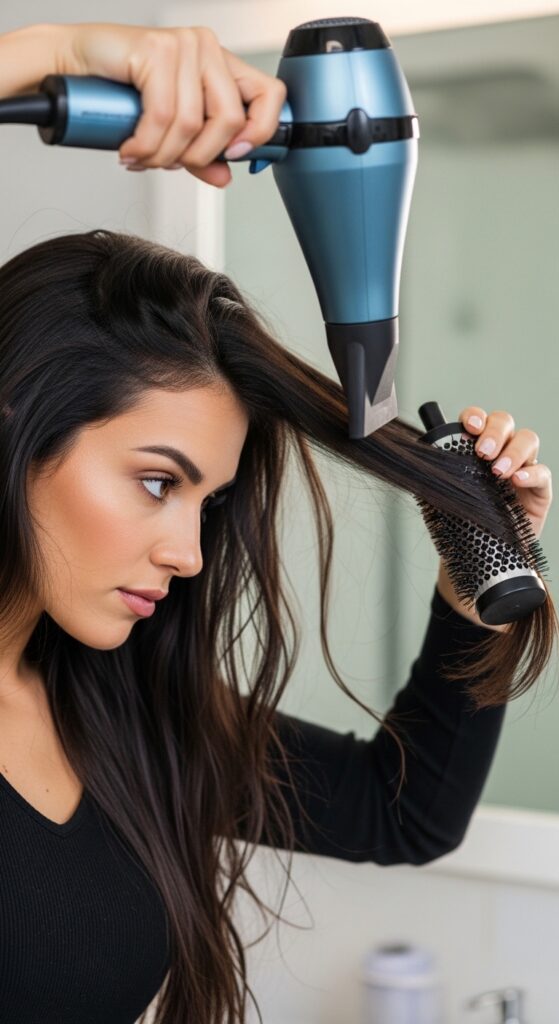
Never, ever braid soaking wet hair. It will shrink and tighten as it dries, causing stress on your roots and making the braids uneven. Always dry your hair 100%.
For curly hair, blow-dry with a comb attachment or do a tension blow-dry to stretch the hair. This gives you a longer, smoother length to work with and makes braiding so much easier. It’s a game-changer for neatness.
The Magic of a Great Blowout Spray
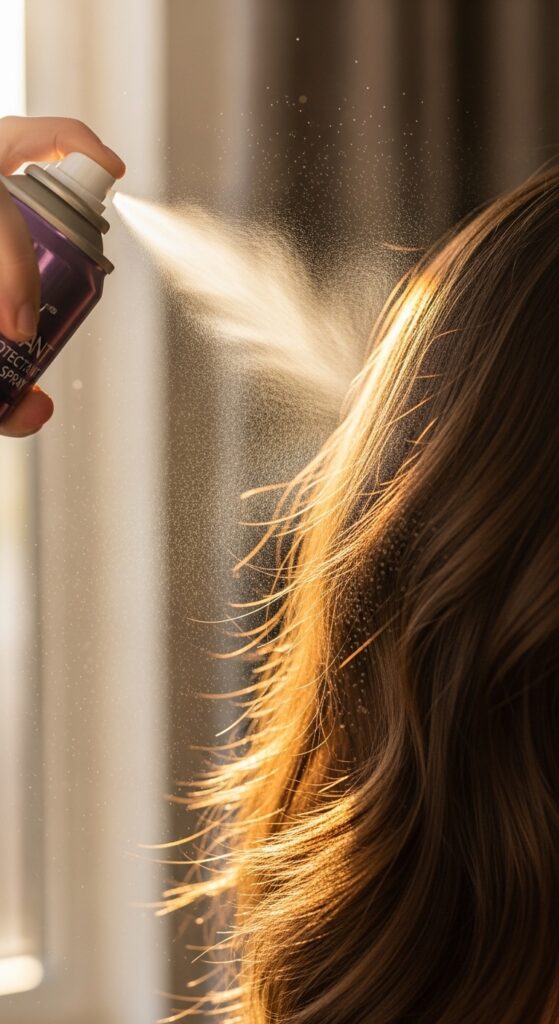
Before any heat styling, I spray a light blowout or heat protectant spray through my dry hair. This adds a light layer of hold and silkiness without any stickiness or crunch.
It helps the hair glide during braiding but also provides a light seal against humidity. Think of it as a primer for your hairstyle. It makes all the difference in achieving that sleek, old money hair finish.
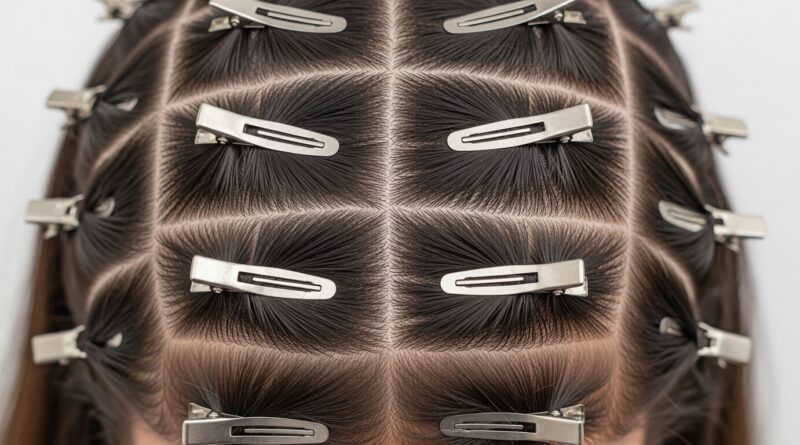
Sectioning is Your Secret Weapon
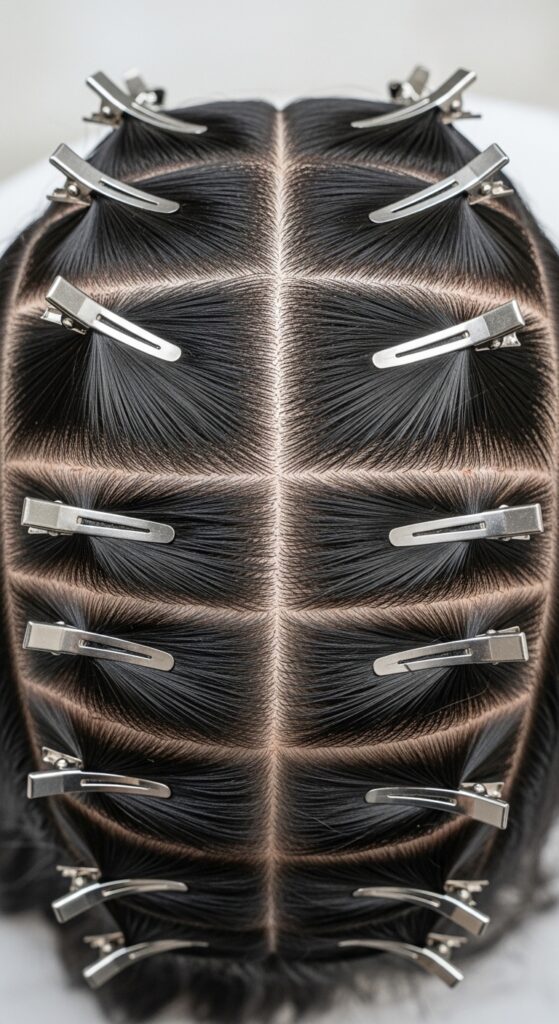
Clean parts are the foundation of neat braids. Use the tail of a rattail comb to create sharp, clean parts. The straighter your parts, the more polished the final look.
Work in manageable sections. Clip away the hair you aren’t using. This keeps you organized and ensures each braid gets your full attention. Messy sections lead to messy braids.
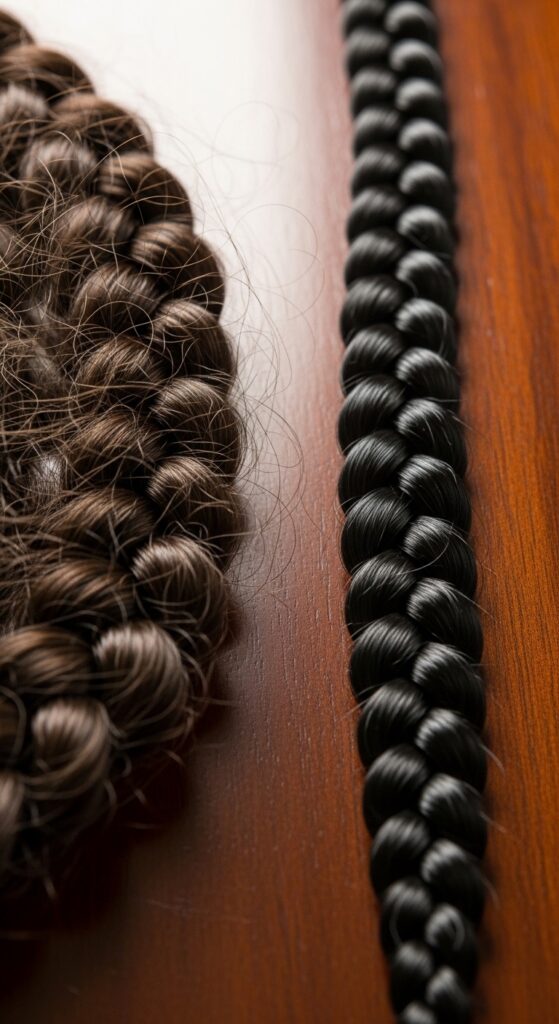
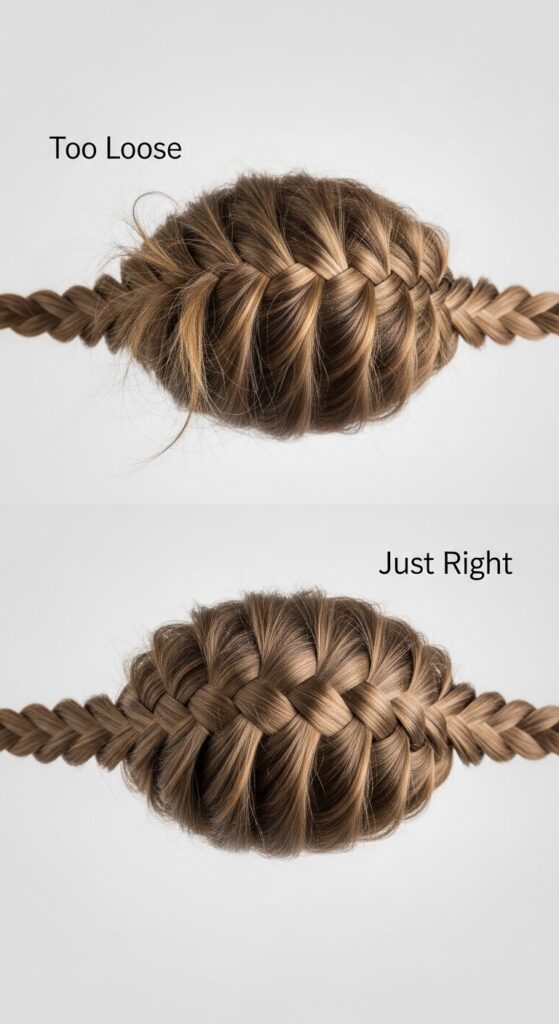
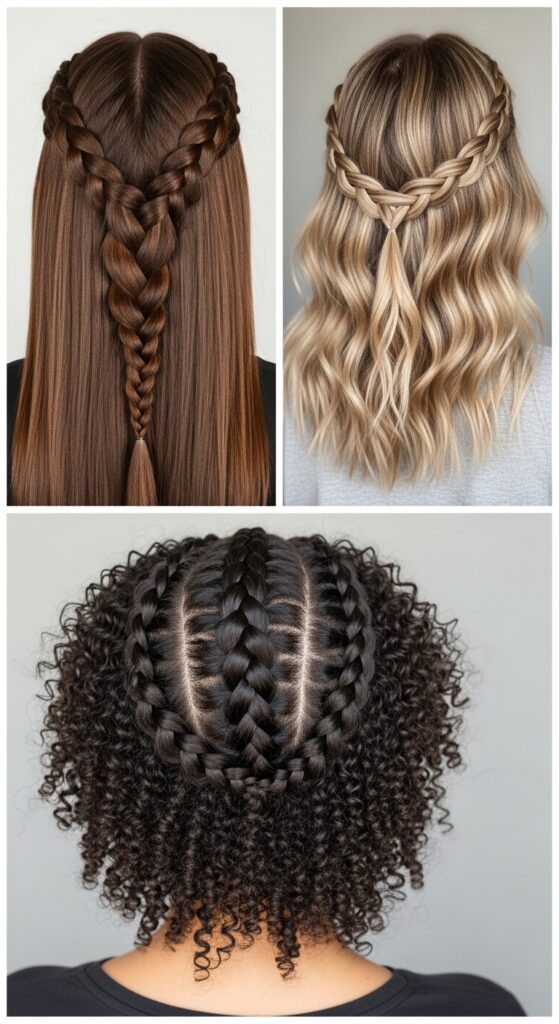
Choosing Your Braid Size & Placement
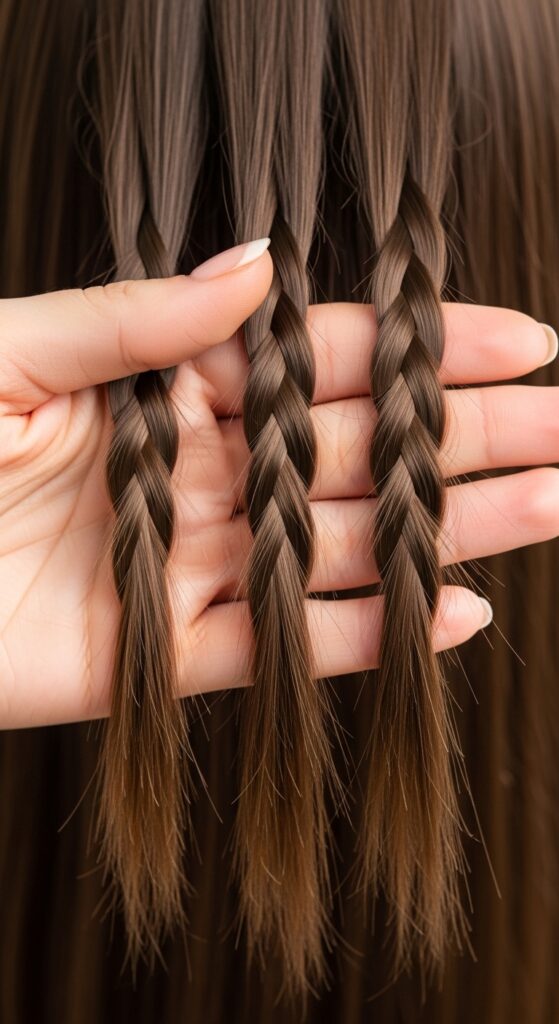
Chunky braids are in, but size matters. For a lasting style, I find 6-8 braids total is the sweet spot. They’re substantial enough to look intentional but not so heavy they pull out quickly.
Think about placement. A middle part is classic. A deep side part feels more romantic. For a modern twist like the asymmetrical lob or vampire haircut, you could do more braids on one side.
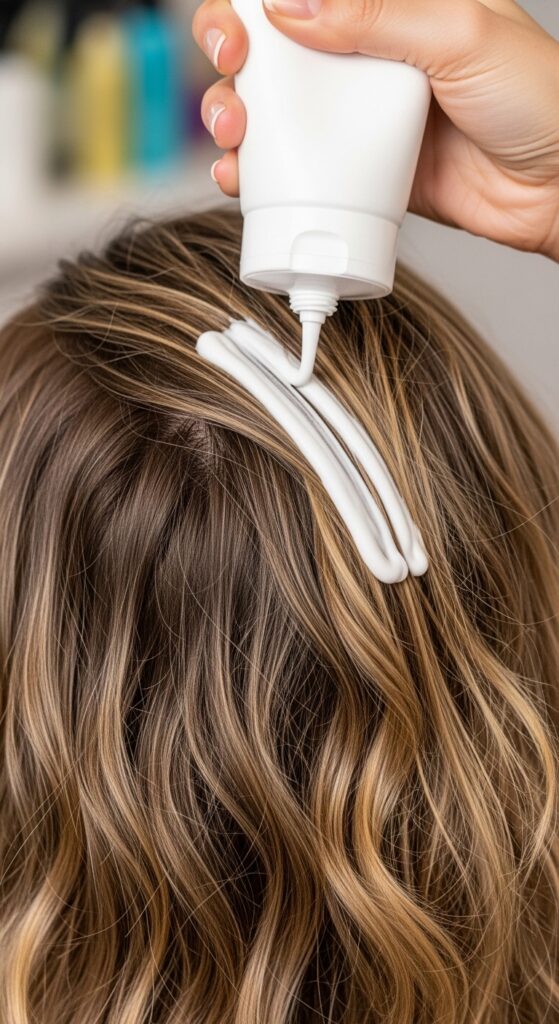
The One Product You Absolutely Need
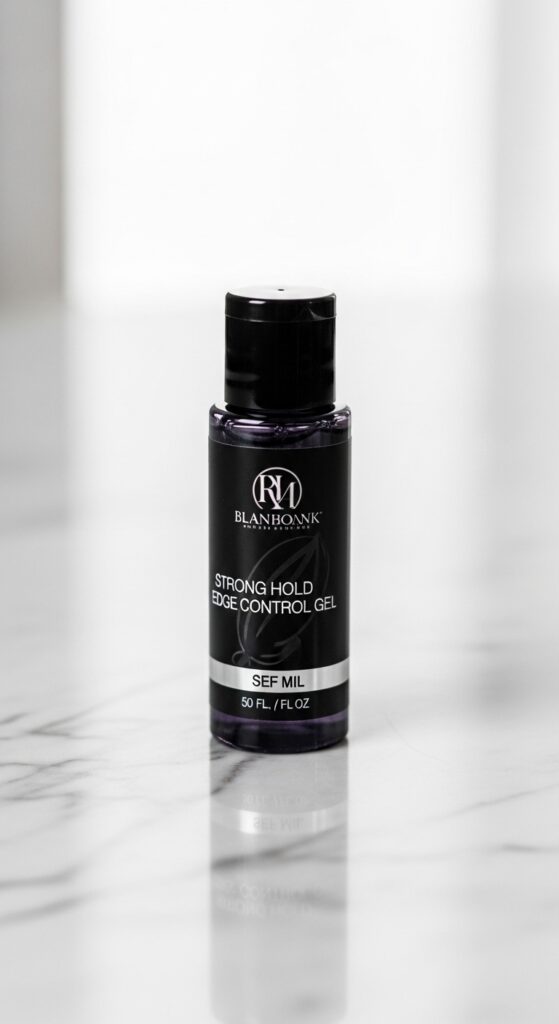
This is my holy grail: a strong-hold edge control gel or a styling paste. You only need a tiny amount. Rub it between your palms and then lightly gloss it over the top layer of the hair section before braiding.
This tames the baby hairs and the top layer of the braid, which is what usually frizzes first. It creates a sealed, smooth surface. Don’t use too much, or it can look greasy.
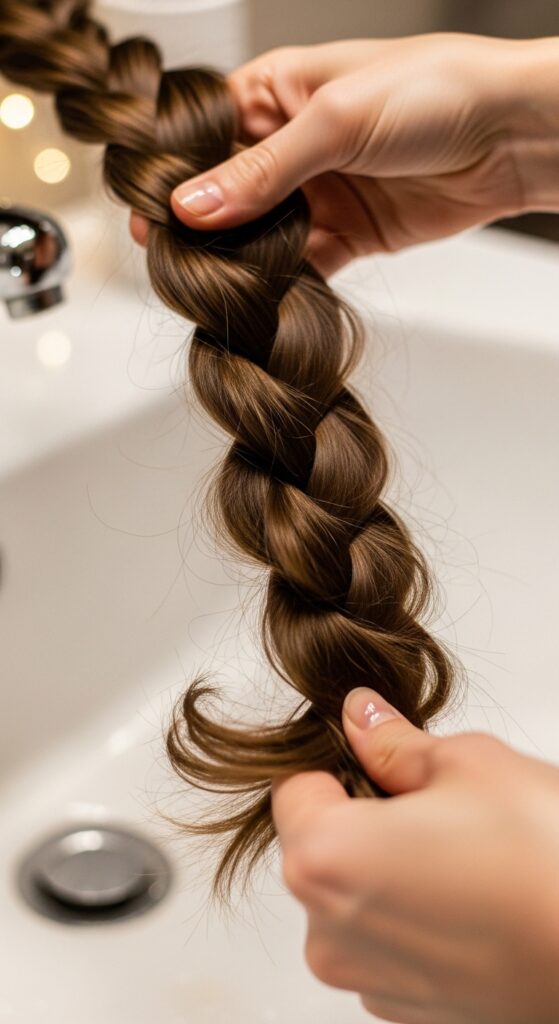
How to Braid for Maximum Hold

Start tight. The first three crosses of your braid, right at the root, need to be done with firm tension. This anchors the entire braid. You can ease up slightly as you go down the length.
Braid all the way to the very ends. Secure the end with a small, clear elastic band. Then, give the braid a gentle pull from the ends to the root to even out the tension and plump it up.
Sealing the Ends Perfectly
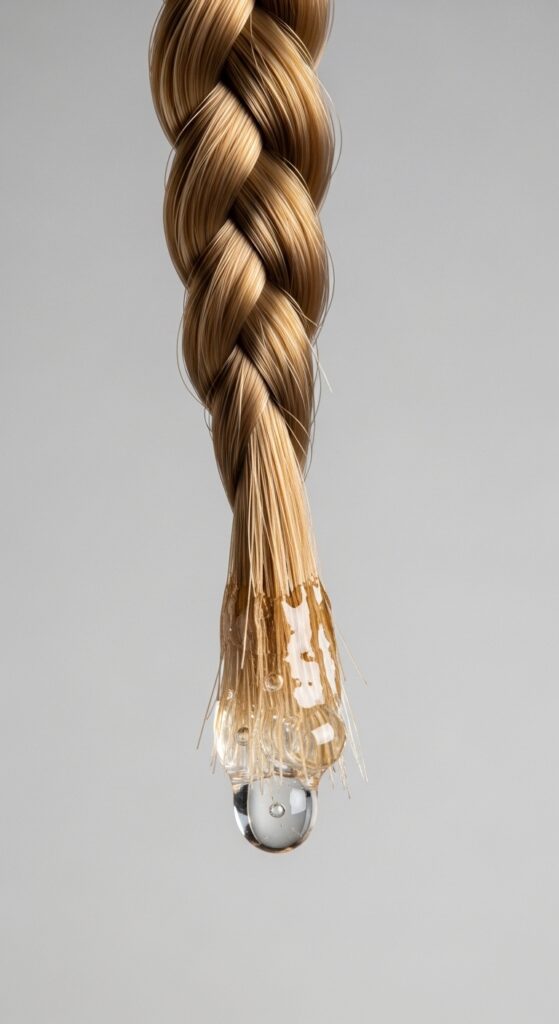
Frayed ends ruin the look. After securing with the elastic, take a minuscule dab of that strong-hold gel or even a tiny bit of hairspray on your fingers.
Smooth it over the last inch of the braid and the elastic. This welds the ends together and prevents them from feathering out. It’s a tiny step with a huge impact.
The Overnight Protection Rule
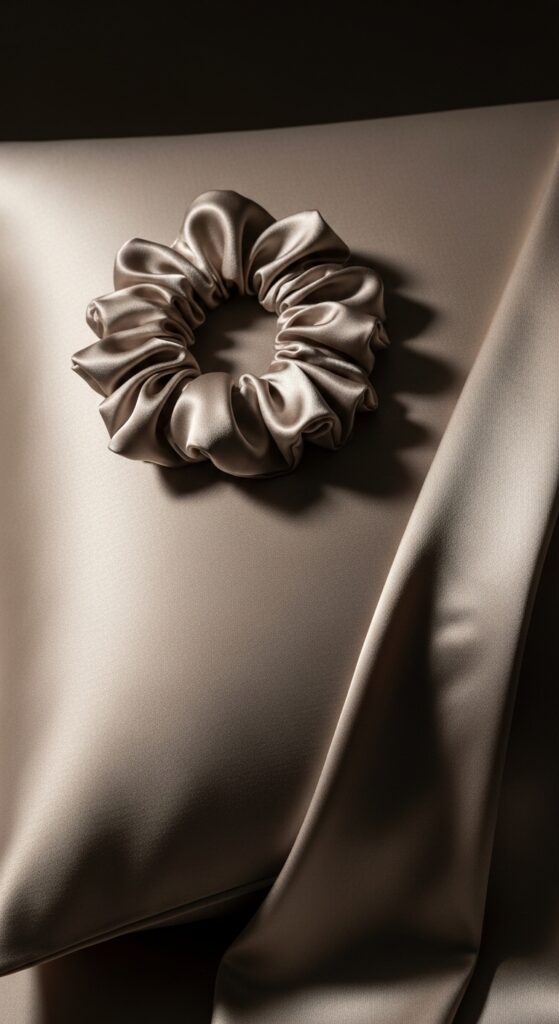
Your bed is where braids go to die… unless you protect them. Always, always sleep on a silk or satin pillowcase. It reduces friction dramatically.
For extra credit, loosely gather your braids into a high ponytail on top of your head with a silk scrunchie. This prevents you from crushing them while you sleep.
Refreshing Without Redoing

Around day five, you might see some flyaways. Don’t panic! Dampen your hands with a tiny bit of water or a light hair oil.
Gently smooth your palms over the surface of the braids, from root to tip. This re-sets the hair without making it greasy. Focus on the halo around your face.
What to Do With Your Roots
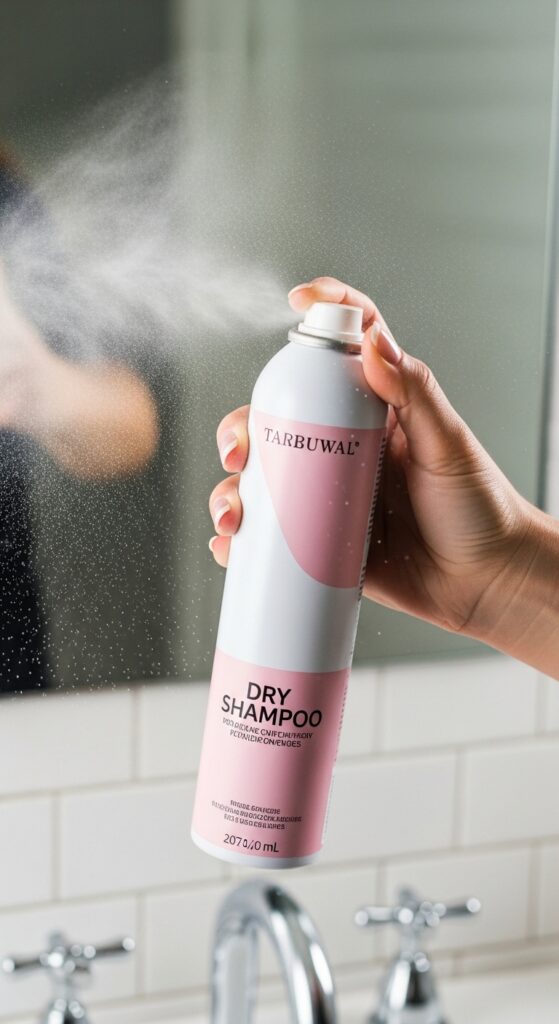
As your hair grows, the roots will loosen. Use a dry shampoo spray not just for oil, but for texture. Spray it right at the root area and gently massage it in.
This gives your roots a bit of grip and volume, helping the braids feel anchored again. It’s a total refresh trick that adds days to your style.
Accessorizing Your Long-Lasting Braids
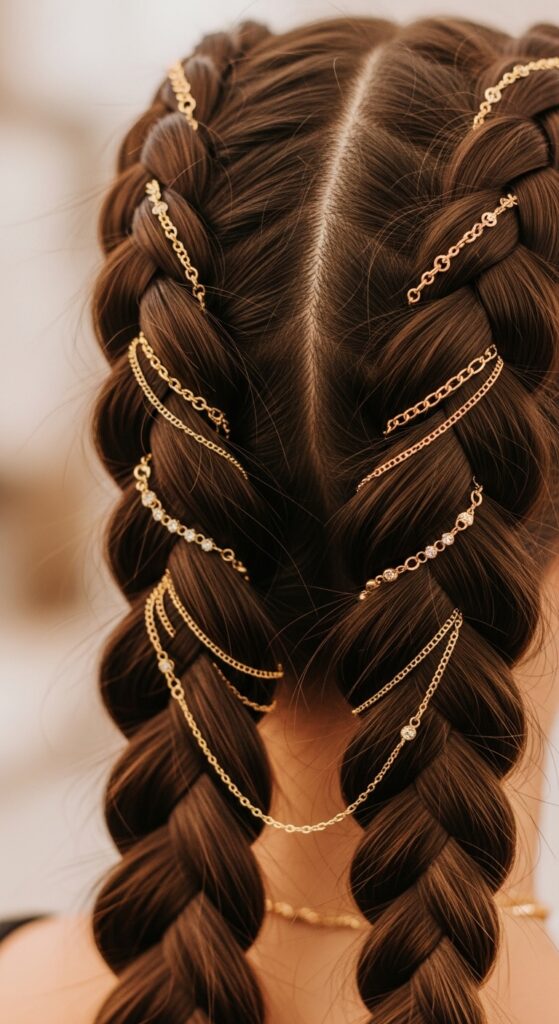
Once your braids are set, have fun! This is where you can tap into different vibes. Add some glitchy glam hair energy with iridescent hair pins.
Or, weave in a few delicate chains for a touch of quiet luxury bob elegance. You can even go for romantic goth hairstyles with dark velvet ribbons. Accessories hide any minor frizz and renew the look.
When to Take Them Down
Even the best braids shouldn’t stay in forever. I max out at three weeks. Listen to your scalp. If it’s itchy or your roots are very puffy, it’s time.
Be gentle when removing them. Snip the elastics with scissors—don’t pull. Slowly unravel the braid and prepare to give your hair some love.
The Healthy Take-Down Process
Your hair will have a gorgeous wave pattern! Start by coating your hair in a slippery conditioner or detangling mask before you even try to comb it.
Use a wide-tooth comb, starting from the very ends and working up slowly to the roots. This prevents breakage. Be patient—it’s worth it.
Give Your Hair a Break
After wearing braids for weeks, your hair and scalp need a rest. Do a nourishing hair mask. Wear your hair down or in very loose styles for a few days.
This is a great time to rock the effortless wave the braids left you with, or try a different protective style. Let your scalp breathe.
Common Mistakes & Quick Fixes
Mistake: Braiding wet hair. Fix: Always dry completely first. Mistake: Using heavy oils before braiding. Fix: Use light products; save oils for refreshing.
Mistake: Skipping the scalp care. Fix: Use a light, non-greasy scalp serum during the style if needed. Mistake: Tight elastics. Fix: Use seamless, coated bands.
Adapting for Different Hair Textures
The core steps are the same for everyone: clean, stretched, sealed. For very straight, fine hair, use a texturizing spray for grip before braiding.
For very curly or coily hair, ensure it’s thoroughly stretched and moisturized before starting. The blow-dry step is crucial for a neat, lasting finish on all textures.
Why This Style is a 2026 Trend Already

Chunky braids are sticking around because they’re so versatile. They fit the 2026 hairstyles forecast of low-maintenance, high-impact looks.
They can be adapted to so many aesthetics—from the precision of a hime cut to the effortless cool of quiet luxury. It’s a timeless technique that always feels fresh.
Your Go-To Product List
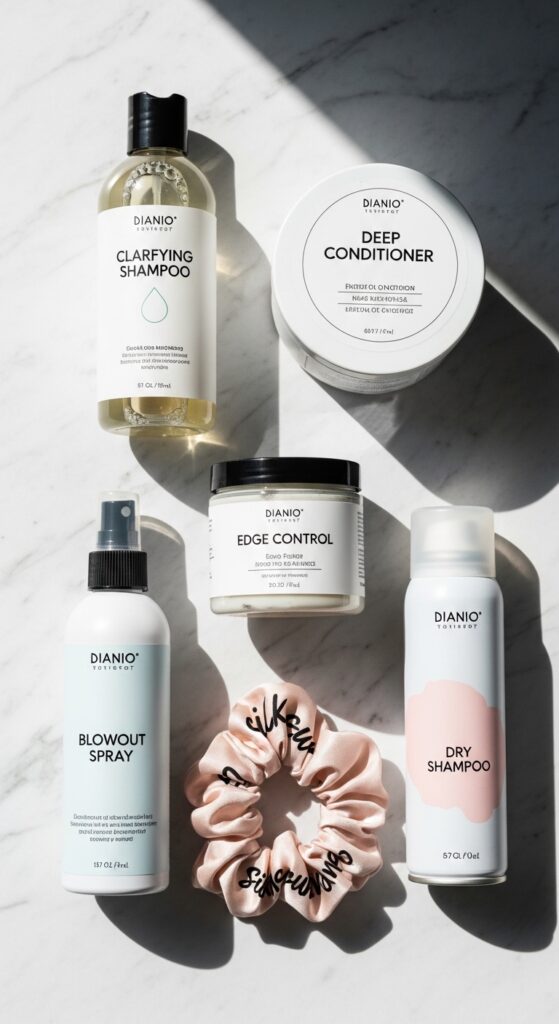
You don’t need a lot. Here’s my tried-and-true kit: A good clarifying shampoo. A hydrating hair mask. A heat protectant blowout spray. A strong-hold edge control (like Gorilla Snot or a styling paste).
Small, clear elastics. A silk pillowcase and scrunchie. A lightweight hair oil or spray for refreshing. That’s it!
Final Confidence Tip
The most important thing is to own it. The first time you do them yourself, they might not be perfect. That’s okay. Each time gets easier and better.
You’re learning a skill that saves time, protects your hair, and gives you an amazing look on demand. That’s a major win. Walk out the door like you just left the salon.
And just like that, you’ve got the full blueprint. From the pre-wash to the take-down, every step is there to give you that flawless, long-lasting style. It might seem detailed, but once you do it once, it becomes a quick, easy routine.
Remember, great hair is about technique, not mystery. You’ve totally got this. I can’t wait to see you rocking those perfect, neat braids all month long.
Save this post to Pinterest so you always have the steps handy! And tell me in the comments—what’s the first event or day you’re planning to wear your new chunky braids for? I love hearing your plans!