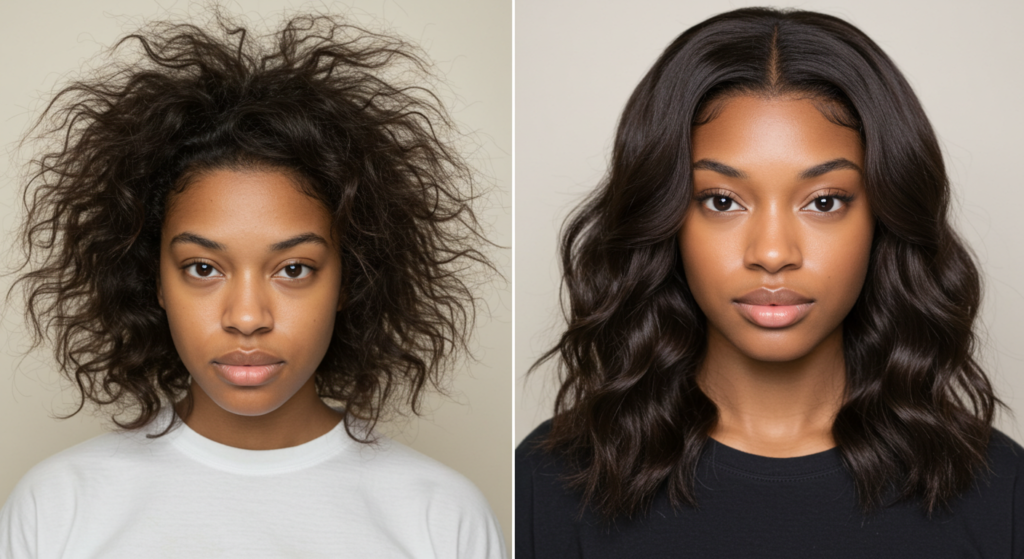
How to Fake a Blowout With Just a Straightener
We’ve all been there – you want those gorgeous, bouncy blowout waves but don’t have the time (or energy) to actually blow dry your hair. What if we told you that you can achieve that coveted salon look using just your trusty hair straightener? That’s right – no fancy tools required! This game-changing technique will become your new go-to for quick, beautiful hair that looks like you just stepped out of the salon.
In this guide, we’ll walk you through the entire process step-by-step, from prep work to finishing touches. Whether you have fine, thick, straight, or wavy hair, these tips will help you fake that perfect blowout in minutes.
Why Use a Straightener for a Blowout?
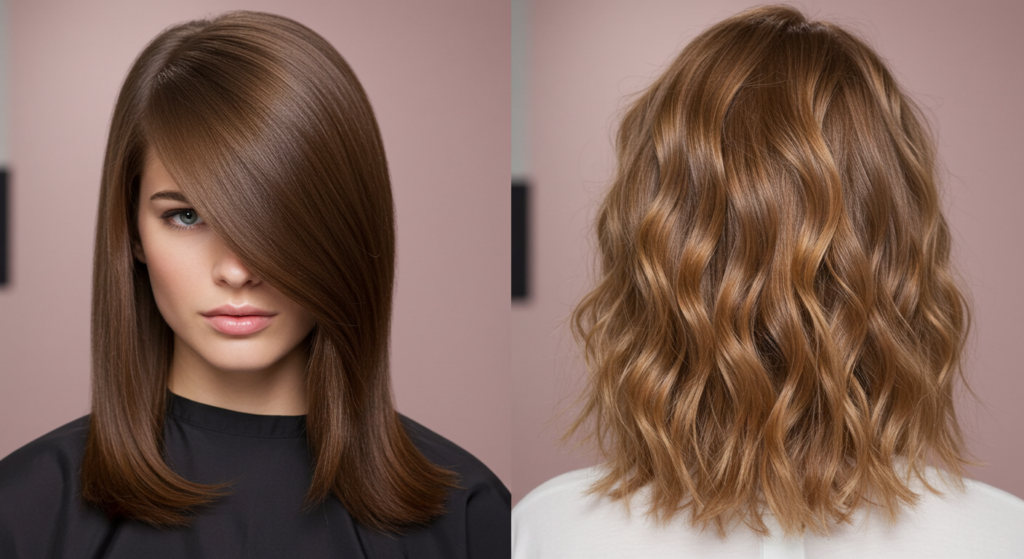
Before we dive into the how-to, let’s talk about why this method works so well. A flat iron creates tension similar to a round brush during a blowout, while the heat helps set the shape of your waves. The result? Beautiful, polished waves that mimic a professional blowout.
Benefits include:
– Faster than traditional blow drying
– More control over wave size and shape
– Works on all hair types when done properly
– No need for multiple styling tools
Prepping Your Hair for the Perfect Faux Blowout
The key to any great hairstyle starts with proper preparation. Here’s how to get your hair ready for the straightener blowout technique:
1. Start with clean, damp hair: Wash your hair as normal, then towel dry until it’s about 80% dry. If you’re short on time, you can use dry shampoo on second-day hair.
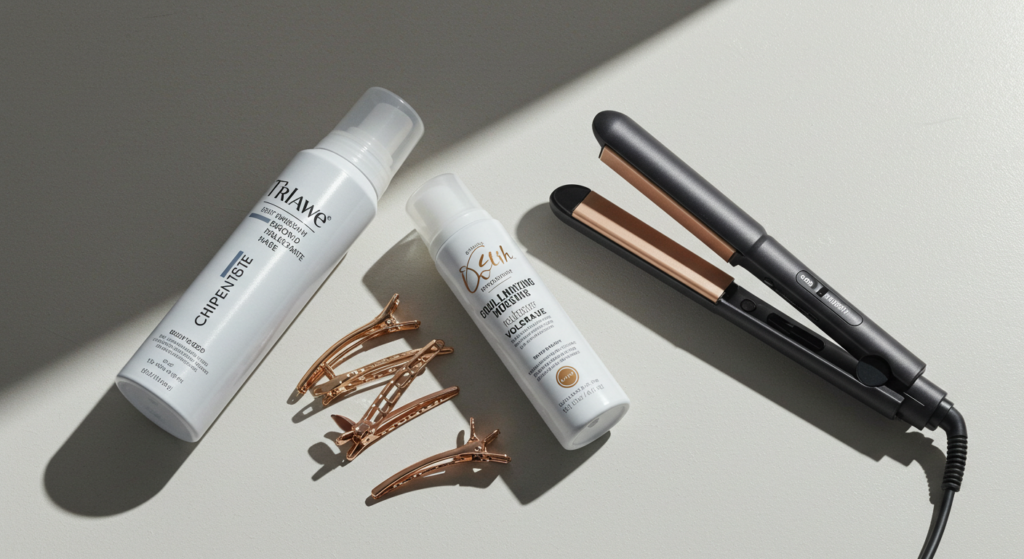
2. Apply heat protectant: This step is non-negotiable! Choose a lightweight heat protectant spray and distribute it evenly through your hair.
3. Add texture: Apply a volumizing mousse or texturizing spray at the roots for extra lift and hold.
4. Section your hair: Clip your hair into 4-6 sections to make styling easier. Start with the bottom layers and work your way up.
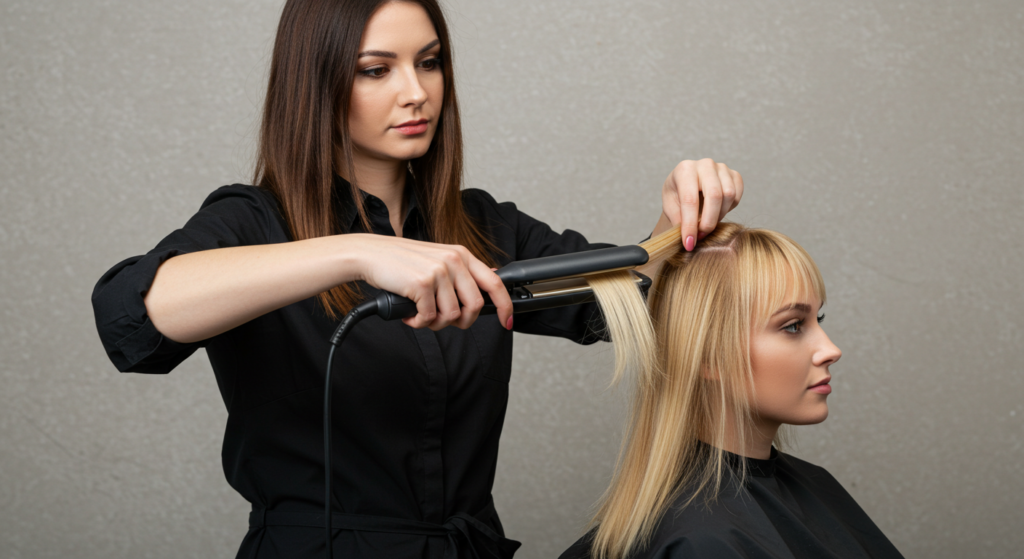
The Step-by-Step Straightener Blowout Technique
Now for the main event! Follow these steps carefully for perfect blowout waves every time.
Step 1: Set your straightener temperature
For fine hair: 300-350°F
For medium hair: 350-380°F
For thick/coarse hair: 380-410°F
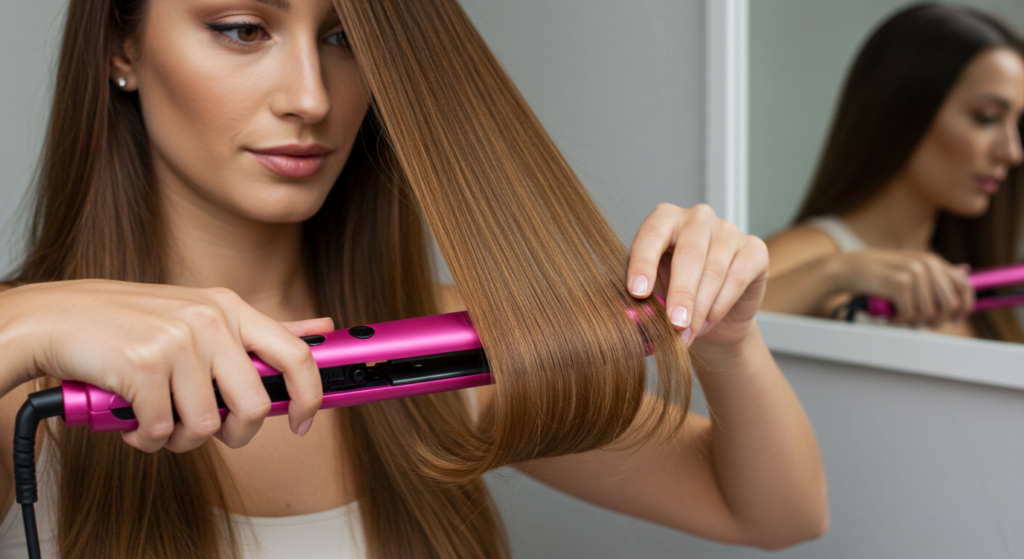
Step 2: Take a 1-2 inch section
Start with a small section from your bottom layer. The smaller the section, the more defined your waves will be.
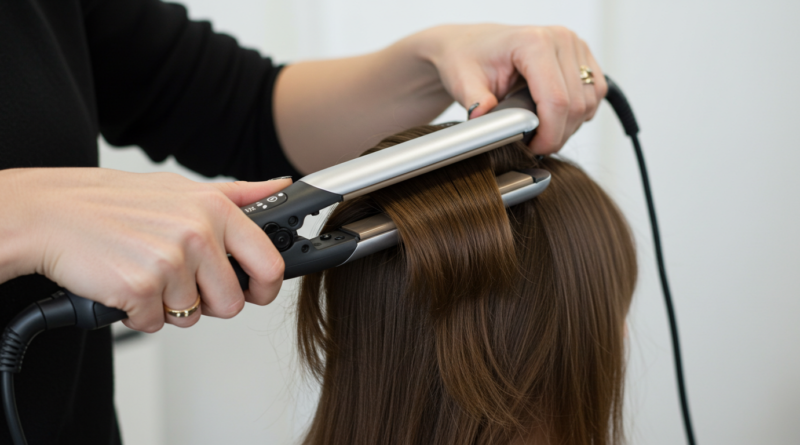
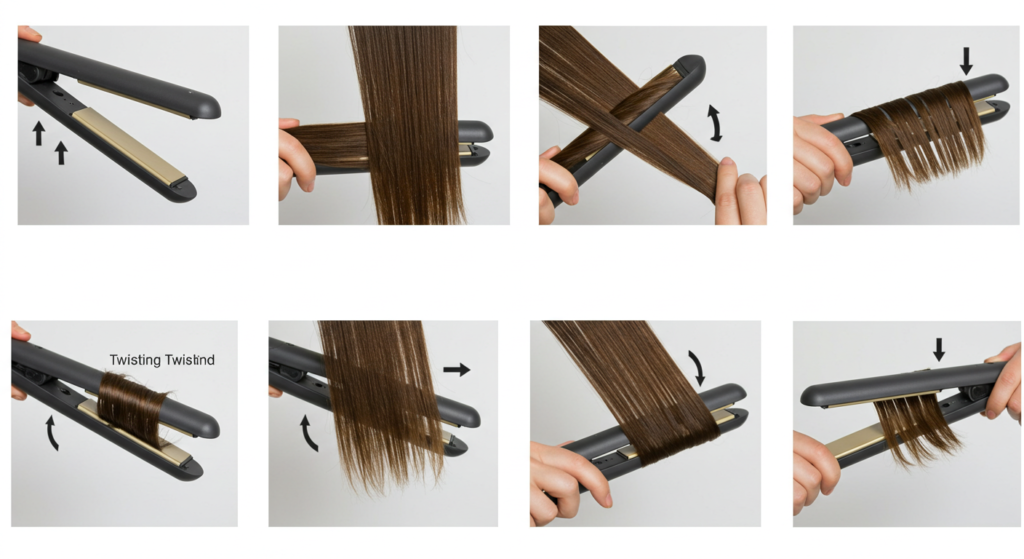
Step 3: Clamp and twist
Place the straightener about an inch from your roots. As you glide down, slowly twist the straightener away from your face. The motion should feel like you’re wrapping the hair around the plates.
Step 4: Hold at the ends
When you reach the ends, hold for 2-3 seconds before releasing to set the wave.
Step 5: Alternate directions
For natural-looking waves, alternate the direction of your twists (some toward your face, some away).
Step 6: Work through all sections
Continue this process until all sections are styled, working from back to front.
Pro Tips for a More Authentic Blowout Look
Take your faux blowout to the next level with these professional secrets:
1. Focus on the roots: For maximum volume, lift each section at the roots before styling and hold for a few seconds.
2. Vary your wave size: Mix tighter waves underneath with looser waves on top for dimension.
3. Use the cool shot: If your straightener has this feature, blast your waves with cool air to set them.
4. Don’t over-style: Leave some pieces around your face straight for a more natural, lived-in look.
5. Finish with texture spray: A light mist of texturizing spray will help your waves last longer and look more natural.
Making Your Blowout Last All Day (and Night)
You’ve created beautiful waves – now let’s make them last! Here’s how to extend the life of your straightener blowout:
1. Set with hairspray: Lightly mist with a flexible-hold hairspray to lock in your style without stiffness.
2. Sleep smart: At night, loosely braid your hair or wrap it in a silk scarf to preserve your waves.
3. Refresh with dry shampoo: The next day, revive your style with dry shampoo at the roots for volume and texture.
4. Touch up strategically: If needed, quickly run the straightener over any fallen waves without redoing your entire head.

Troubleshooting Common Straightener Blowout Problems
Having issues? Here are solutions to common problems:
Problem: Waves fall out quickly
Solution: Your hair may need more texture. Try styling on second-day hair or use a texturizing product first.
Problem: Hair looks fried
Solution: Lower your straightener temperature and always use heat protectant.
Problem: Waves are too tight/too loose
Solution: Adjust your section size – smaller for tighter waves, larger for looser waves.
Problem: Ends look damaged
Solution: Don’t hold the straightener on ends as long, and consider a trim if ends are very dry.
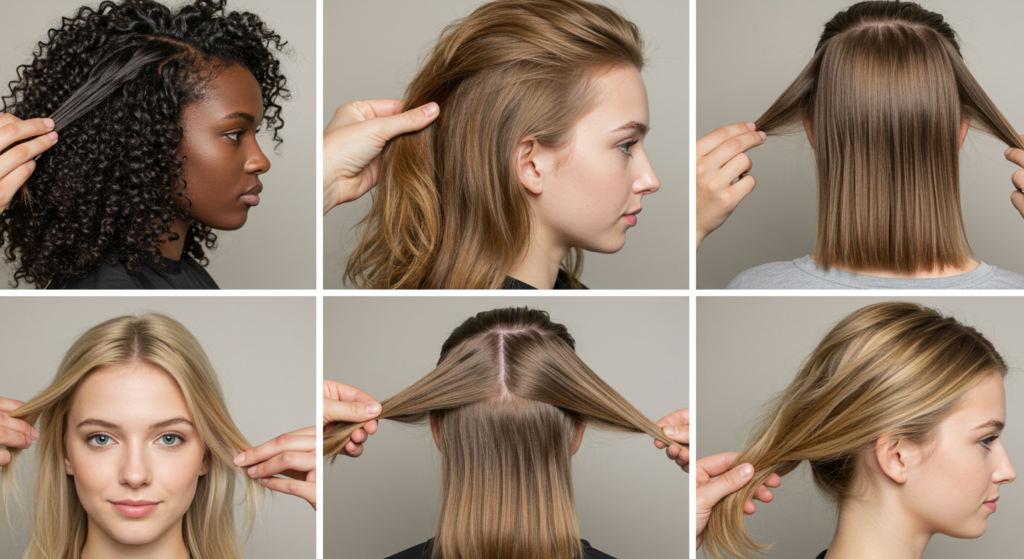
Alternate Techniques for Different Hair Types
Not all hair is created equal – here’s how to adjust the technique for your specific hair type:
For fine hair:
Use smaller sections and lower heat. Finish with a light-hold spray to avoid weighing hair down.
For thick hair:
Take slightly larger sections and use higher heat. Consider pre-straightening if your hair is very textured.
For short hair:
Focus on creating bend rather than full waves. Twist outward at the ends for a piecey look.
For curly hair:
Start with stretched hair (blow dried or stretched curls) before using this technique.
Final Thoughts: Mastering the Art of the Faux Blowout
With practice, this straightener blowout technique will become second nature – saving you time, money on salon visits, and giving you gorgeous hair whenever you want it. Remember:
– Prep is key (heat protectant is non-negotiable!)
– Smaller sections = more defined waves
– Alternate directions for natural-looking results
– Finish with texture spray for longevity