How to Get medium look Hair That Looks Effortless (But Isn’t)
You’ve seen it everywhere: on your favorite influencers, in fashion magazines, and on that one friend who always looks impossibly chic. It’s the “medium look” hair—a style that screams “I just woke up like this” while simultaneously whispering “I have a secret understanding of advanced hairstyling.” It’s that perfect sweet spot between sleek and messy, polished and undone. It looks casual, but achieving it is anything but.
The truth is, this seemingly effortless hair is often the result of very specific effort. It’s an art form, a delicate balance of texture, movement, and strategic “imperfection.” But don’t let that intimidate you. With the right techniques and a little insider knowledge, you can master this coveted style. This guide is your backstage pass to getting medium look hair that turns heads for all the right reasons.
Deconstructing the “Medium Look”: What It Really Is
Before we dive into the how-to, let’s define our goal. The medium look isn’t a single hairstyle; it’s a styling philosophy. It rejects the high-gloss, helmet-like perfection of old-school blowouts in favor of something more organic and lived-in. The core elements are:
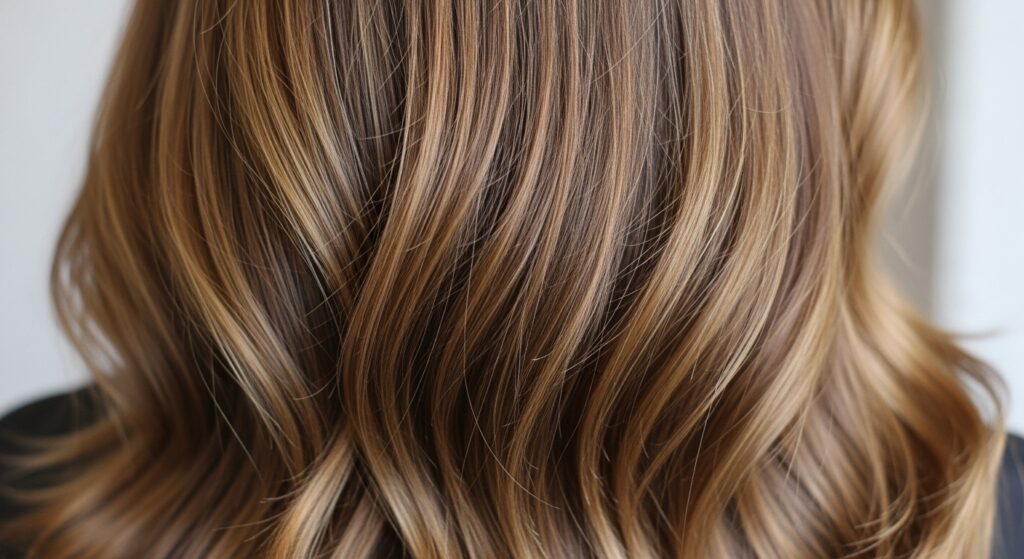
Texture is King: This is the non-negotiable foundation. Hair isn’t stick-straight or uniformly curled. Instead, it has a mix of bends, waves, and slight kinks that create visual interest and volume.
Lived-In Movement: The hair swings and moves as a single, soft unit. It lacks the stiff, crispy hold of heavy hairspray, instead looking like it’s been gently tousled by a sea breeze.
Strategic “Messiness”: Note the word “strategic.” This isn’t bedhead. Flyaways are minimal, and the overall shape is intentional. A few pieces may fall artfully out of place, but the underlying structure is controlled.
Soft Shine, Not High Gloss: The goal is a healthy, satin-like sheen, not a mirror-like reflectiveness. It looks touchable and natural, not shellacked.
The Foundation: It All Starts in the Shower
You cannot style medium look hair on the wrong canvas. Your in-shower routine sets the stage for everything that follows. This is where you build the base of texture and body that the style demands.
Product Choice is Crucial: Ditch the heavy, smoothing shampoos and rich conditioners that can weigh hair down. Opt for volumizing or texturizing formulas. Look for words like “body,” “thickening,” or “beach wave” on the label. These products often contain ingredients like sea salt or rice protein that gently rough up the hair cuticle, creating instant grip and texture.
Condition with Care: Apply conditioner mainly from the mid-lengths to the ends. If you have fine hair, you might even skip conditioner at the roots altogether to preserve volume. A weekly clarifying shampoo can also help remove product buildup that flattens hair and dulls texture.
The Power of the Cool Rinse: It’s an old trick but a good one. A final rinse with cool water helps to flatten the hair cuticle, increasing shine and reducing frizz, which is essential for that polished-but-undone finish.

The Art of the Undone Dry: Pre-Styling for Perfection
How you dry your hair is arguably more important than how you style it with hot tools. This is where you create the foundational movement and volume.
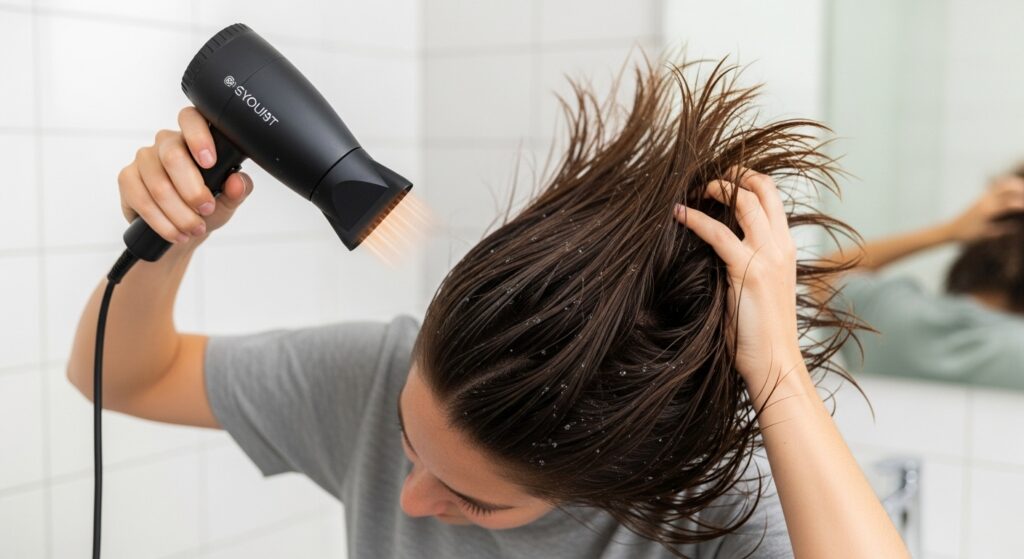
Product Layering is Your Secret Weapon: While your hair is still sopping wet, apply a volumizing mousse or root-lifting spray at the crown. This gives you lift from the bottom up. Then, work a texturizing spray or sea salt spray through the mid-lengths and ends. This is what will give you those piece-y, separated waves later.
Master the “Plopping” Technique: For wavy or curly hair, instead of rough-drying with a towel (which causes frizz), try “plopping.” Lay a cotton t-shirt or a microfiber towel flat, flip your head over, and place your hair in the center. Then, wrap the fabric around your head, tying the arms to secure it. This allows your hair to dry with its natural wave pattern enhanced, without being disturbed.
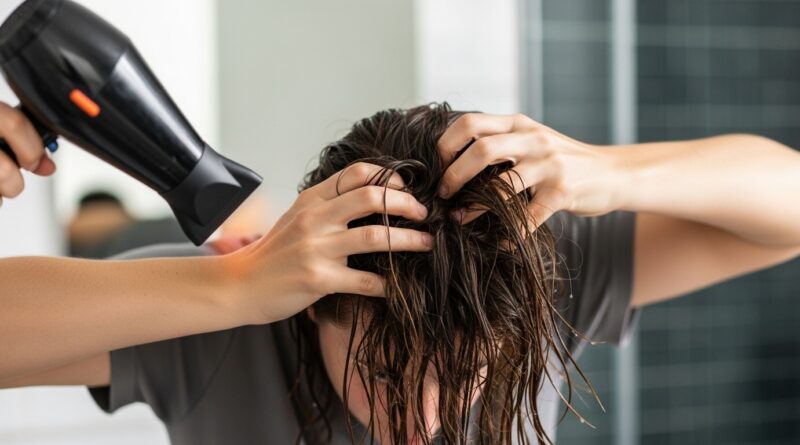
Rough Dry with Direction: If you’re blow-drying, use your fingers instead of a brush. Flip your head upside down and dry the roots until they are about 80% dry. This creates incredible volume. As you dry, use your fingers to scrunch the lengths gently. The goal is not smoothness, but to encourage your hair’s natural texture.
Tool Time: Creating the “I Didn’t Try” Waves and Bends
This is where the magic happens and the “effort” part becomes most apparent. We’re not creating uniform curls; we’re creating a convincing, textured wave pattern.
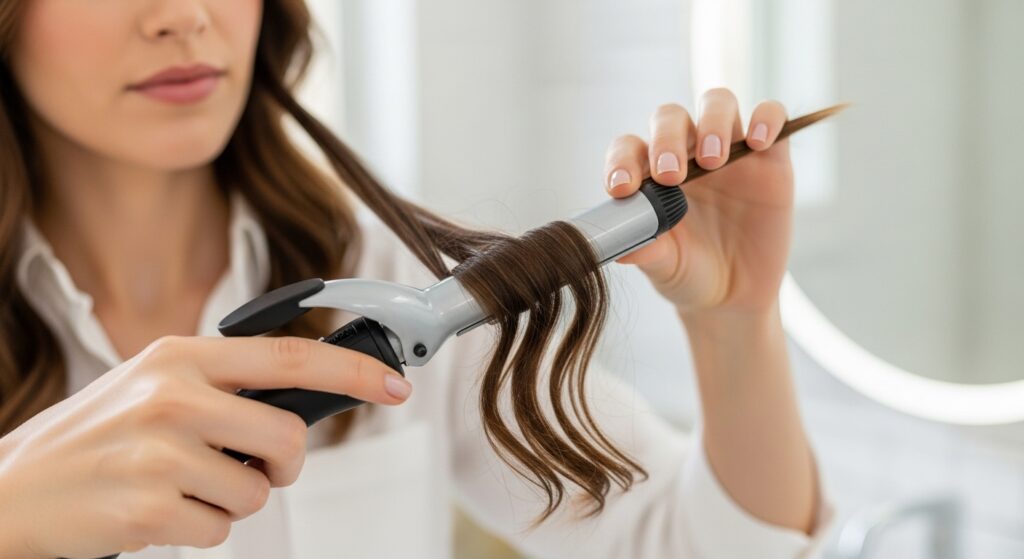
The Curling Wand is Your Best Friend: A curling wand (without a clamp) is the ideal tool for this job. It creates soft, seamless waves without the harsh kink of a clamp. Choose a barrel diameter based on your desired result: a 1 to 1.25-inch barrel for defined waves, or a larger 1.5-inch barrel for looser, softer bends.
The Technique: Direction & Disregard:
1. Section your hair into manageable, horizontal layers.
2. Alternate the direction of your curls. Curl one section away from your face, the next toward your face. This prevents the “pageant hair” look and creates a more natural, undone effect.
3. Leave the ends out. Do not wrap the very ends of your hair around the barrel. This keeps the waves soft and prevents them from looking too finished.
4. Don’t curl all your hair. Seriously. Leave a few bottom layers, especially around your face, uncurled. This adds to the effortless, haphazard vibe.
5. Let the curls cool completely before you touch them. This allows the shape to set properly.
Alternative: The Flat Iron Wave: If you’re more comfortable with a flat iron, you can create beautiful waves by clamping a section of hair and rotating the iron in a slight “S” pattern as you glide it down the strand.
The Final Act: Breaking, Texturizing, and Setting
You’ve curled your hair, and it probably looks a little too perfect. This is the most crucial step: the intentional destruction of your hard work.
Break It Up: Once all curls are completely cool, run your fingers gently through your hair. Don’t use a brush, which will create a uniform, fluffy wave. Your fingers will separate the curls into softer, more natural-looking waves and bends.
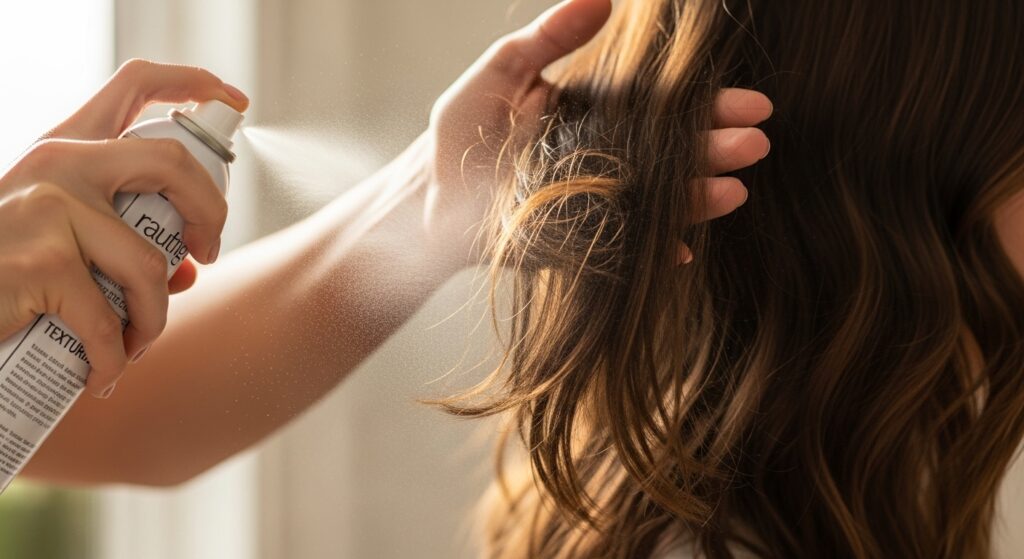
Texturizing Spray is a Miracle Worker: Take your texturizing spray or a dry shampoo and hold it about 10 inches away from your head. Spritz it lightly onto the mid-lengths and ends, focusing on the areas you want to look more piece-y. Then, use your fingers to scrunch and tousle your hair. This product adds grit, grip, and a touch of matte texture, which is the absolute key to the medium look.
Root Lift for Days: For extra oomph, gently tease the hair at the crown with a comb or your fingers, then lightly mist with a flexible-hold hairspray. Don’t smooth it down completely; you just want to support the volume.
The Finishing Touch: Finally, mist a flexible-hold hairspray over the entire style from a distance. This will lock in the texture and shape without making it look stiff or crunchy. The goal is hold without the evidence.
Maintaining the Magic: How to Make It Last
You didn’t go through all that trouble for a one-day wonder. Here’s how to extend the life of your medium look hair.
Embrace Day-Two Hair: This style often looks even better on the second day! The natural oils from your scalp have mixed with the products, softening the texture and making it look even more lived-in.
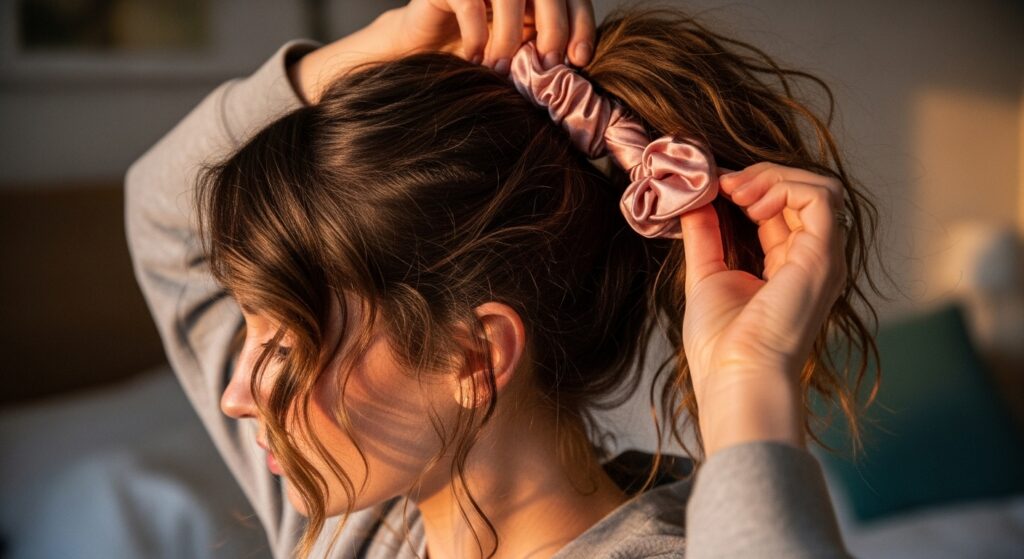
Overnight Preservation: Before bed, pull your hair into a very loose, high ponytail or pineapple on top of your head using a silk or satin scrunchie. This prevents it from getting flattened and smashed while you sleep. Even better, sleep on a silk or satin pillowcase to reduce friction and frizz.
The Morning Refresh: In the morning, let your hair down. Use a dry shampoo not just to absorb oil at the roots, but also to add back any texture that was lost overnight. Gently scrunch your hair with your hands to reactivate the waves and bends. You might need to re-tousle a few pieces with a curling wand on a low heat setting, but the bulk of the style should be intact.
Your Medium Look Hair Toolkit: Essential Products
To achieve this look, you need the right arsenal. Here’s a quick checklist:
Volumizing Shampoo & Conditioner: The foundation for body.
Root-Lifting Spray or Mousse: For that essential lift at the crown.
Texturizing Spray or Sea Salt Spray: The holy grail for creating grip, separation, and that beachy feel.
A High-Quality Curling Wand (1-1.25 inch): Your primary tool for creating waves.
Dry Shampoo: For refreshing volume and texture between washes.
Flexible-Hold Hairspray: To lock it all in without the crunch.