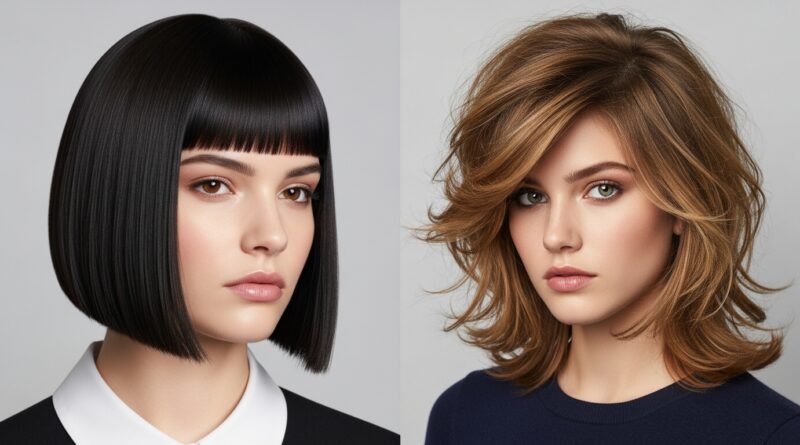
How to Get retro bob Hair That Looks Effortless (But Isn’t)
You’ve seen it everywhere: on runways, on your favorite style icons, and probably all over your Pinterest feed. The retro bob—a chic, often chin-grazing cut that whispers of 60s French new wave cinema and 70s rock and roll cool. It’s the haircut that looks like you just rolled out of bed, threw on a trench coat, and became an instant icon. It looks effortless.
But here’s the secret every stylist and fashion insider knows: that perfectly imperfect, lived-in, “I woke up like this” bob is almost never an accident. It’s a masterpiece of calculated nonchalance. The true art of the effortless bob lies in the meticulous work that goes into creating it. This isn’t a low-maintenance cut; it’s a high-reward one. Ready to learn the secrets? Let’s deconstruct the magic and show you exactly how to get a retro bob that looks like it styled itself.
Step 1: The Foundation – It’s All in the Cut
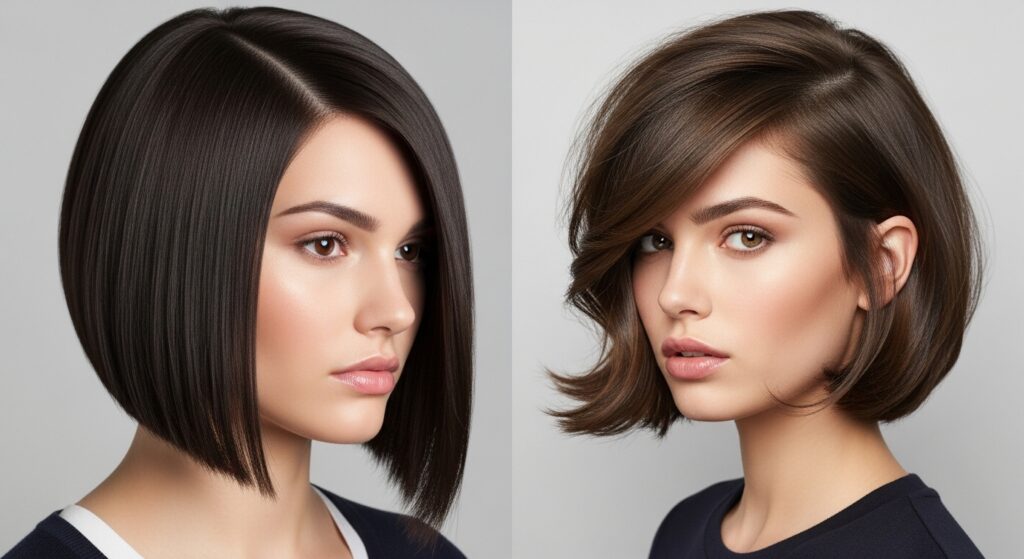
You cannot style a bad cut into a good bob. The entire “effortless” aesthetic is built upon a precision foundation. Walking into a salon and asking for “a bob” is not enough. The retro bob is defined by its specific characteristics.
Key Elements to Discuss With Your Stylist:
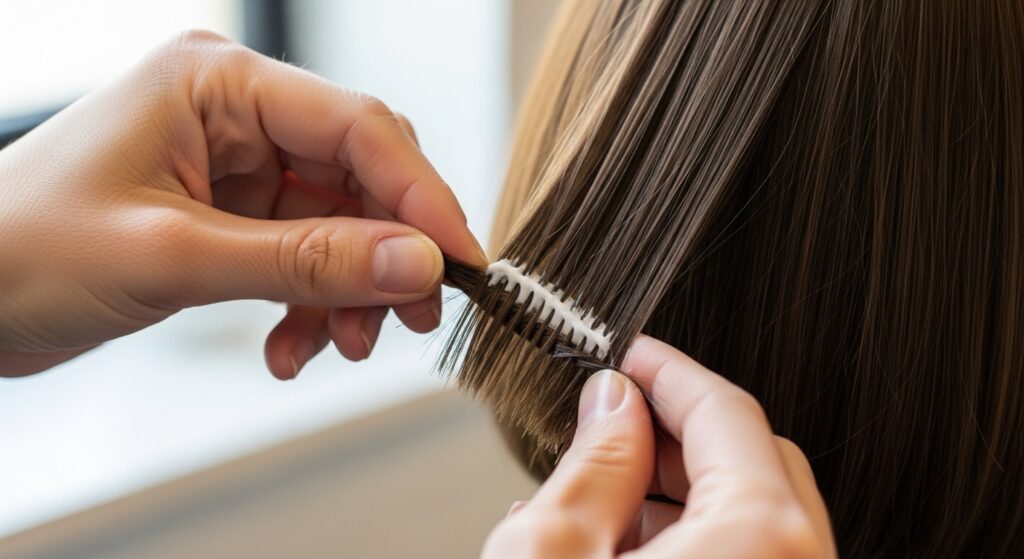
Weight Distribution: A blunt, one-length bob can often feel too heavy and geometric for that soft, retro feel. The key is internal texturizing. Your stylist will use techniques like point cutting or razor cutting to remove bulk from the inside of the haircut, not the perimeter. This allows the hair to move, bend, and fall in that signature piecey way without losing the overall shape.
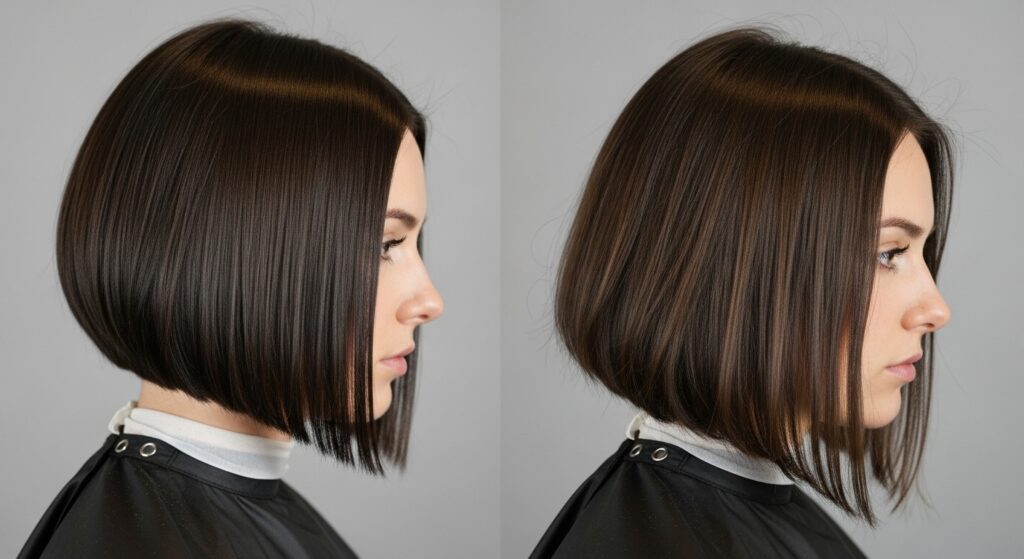
The Shape: Think less perfect hemisphere and more organic shape. Many retro bobs are slightly longer in the front (an “A-line” bob) to frame the face, creating a gentle curve from the back to the front. The ends should be soft and broken up, never a harsh, solid line. This irregularity is what gives it that lived-in, natural appearance.
Face-Framing Layers: Subtle, wispy layers around the face are non-negotiable. They prevent the cut from looking like a helmet and are crucial for creating those piecey, feathery bits that catch the light and add movement. This is where the personality of the bob shines through.
Step 2: Mastering the Texture – The Heart of “Effortless”
Straight, sleek hair does not a retro bob make. The entire vibe hinges on texture—the kind of texture that mimics hair that’s been slightly slept on, sea-salted, or just has a mind of its own. If your hair is pin-straight and fine, or very thick and coarse, you’ll need to create this texture.
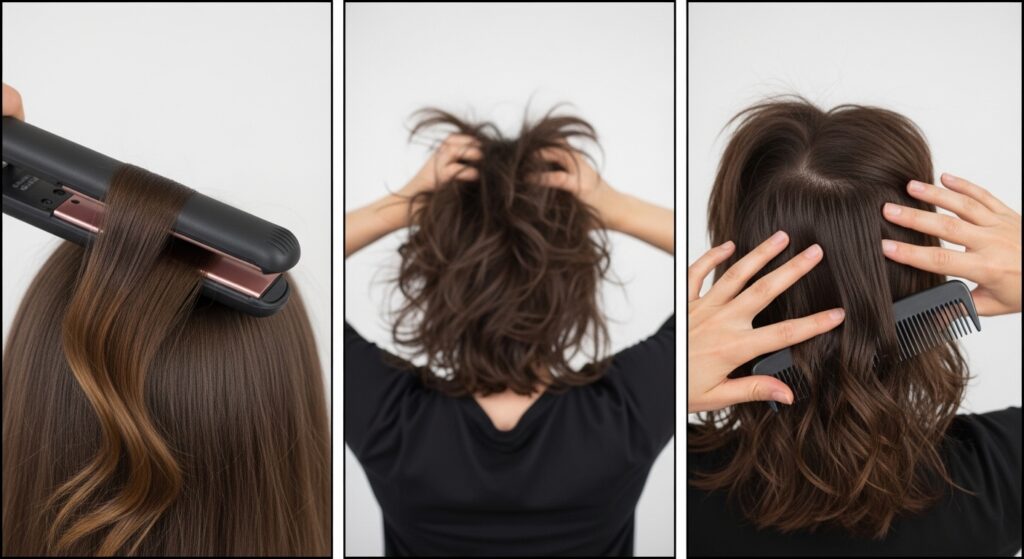
For Fine/Straight Hair: Your best friend is a volumizing mousse or root-lifting spray applied to damp hair. Blow-dry your hair upside down to maximize lift at the roots. Then, use a 1 to 1.25-inch curling iron, but not to create uniform curls. Wrap random, large sections away from your face, holding for only a few seconds. The goal is to impart a gentle bend and wave, not a spiral. Once all the hair is cooled, run your fingers through it vigorously to break up the curls.
For Wavy/Curly Hair: Enhance your natural pattern, don’t fight it. Use a curl-defining cream or sea salt spray on damp hair. Scrunch your hair as you diffuse or air dry. Once dry, you can use a flat iron to smooth out any overly frizzy sections or to redefine the ends, clamping and gently turning the iron to create a more uniform wave pattern where needed.
The Universal Tool: Texturizing Spray. This is the holy grail product. After styling, hold a can of texturizing spray about 10 inches from your head and mist it lightly, focusing on the mid-lengths and ends. Then, scrunch the hair upwards with your hands. The alcohol and salts in the spray break up the style, add grit, and provide hold without stiffness, creating that essential piecey separation.

Step 3: The Art of Styling – Less Brush, More Fingers
Forget everything you know about sleek, polished styling. The methodology for a retro bob is intentionally haphazard. Your hands are your most valuable tool.
The “Lived-In” Blowout: Start with damp, product-treated hair. Using a round brush, blow-dry sections, but focus on creating volume at the root and directing the ends. Don’t obsess over getting every strand perfectly smooth. A little bit of natural wave or kink is desirable. Once dry, flip your head upside down and tousle the roots for added volume.
Strategic Irons: As mentioned, a curling iron or a flat iron is used to create movement, not perfect curls. Take random, vertical sections of hair. With a flat iron, create a soft “S” bend by clamping near the root, pushing the iron slightly inwards, then reversing the direction and gliding it out, turning the ends under or out. Alternate the direction of the bends for a more natural look.
The Final Touch – Tousling: This is the most important step. Once your hair is fully styled and cooled, lean over and shake your head from side to side. Run your fingers through your hair from roots to ends, breaking apart any defined curls or waves. Gently pinch individual pieces and pull them out slightly to emphasize them. The goal is to create a slightly disheveled, but intentional, shape.
Step 4: Product Cocktailing for All-Day Hold (Without the Crunch)
An effortless bob should move, but it also needs to hold its shape. The key is using products that offer flexible hold without looking or feeling like product is in your hair.
Start with a Base: A light-hold texture cream or mousse on damp hair will provide a foundation of hold and memory.
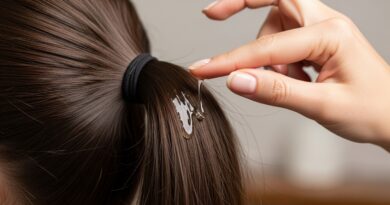
Add Grip: A texturizing paste or pommel is excellent for defining ends. Rub a tiny amount between your fingertips and then gently twist the very ends of your hair, focusing on those face-framing pieces.
Lock it In: A flexible-hold hairspray is your final seal. Avoid spraying it directly onto the style, which can flatten it. Instead, mist it onto your hands and then gently pat and scrunch it into the hair, or hold the can far away and spray into the air above your head, letting the mist fall gently down.
Dry Shampoo is a Preemptive Strike: Don’t wait for your hair to get greasy. A light dusting of dry shampoo at the roots on clean hair adds incredible volume and texture, making it easier to style and giving it that perfect “second-day” hair feel from the start.
Step 5: The Maintenance Mindset
This style thrives on a certain length and shape. Going too long between trims is the fastest way to kill the effortless vibe. When the ends get too long, they lose their bounce and the shape becomes sloppy, not stylish.
Trim Schedule: Plan for a trim every 6-8 weeks to maintain the precise shape and prevent split ends from ruining your texture.
Embrace the Grow-Out: One of the beautiful things about a well-cut textured bob is that it grows out gracefully. That slight A-line becomes more pronounced, evolving into a different but equally chic style. Work with your stylist to understand how to style your bob through its different growth phases.
Healthy Hair is Key: Texturizing techniques and heat styling can be demanding. Keep your hair healthy with weekly deep conditioning treatments and heat protectant sprays. Healthy hair holds a style better, has more natural shine, and moves the way this cut demands.
Conclusion: The Effort is in the Illusion
Achieving that perfectly imperfect retro bob is a beautiful contradiction. It requires a sharp, intelligent haircut, a strategic approach to texture, and a styling routine that values chaos over control. It’s a style that demands you to be both an artist and an archivist, channeling the ghosts of style icons past while making the look uniquely your own.
The real secret? Once you’ve put in the initial work—the perfect cut, the texture-building, the strategic tousling—the maintenance becomes second nature. You’ll spend less time fighting your hair and more time enjoying the compliments. So, embrace the process. The effort is what makes the effortless so utterly captivating.