How to Get Salon Blowout Results Using a Round Brush
I have a confession: round brushes used to make me break out in a sweat. Every tutorial made it look effortless, but my arms ached, my hair flipped in directions it shouldn’t, and I always ended up with a mystery dent. Sound familiar?
Here’s the good news: salon blowouts are not a secret club reserved for stylists. Once you understand two core things — tension and heat direction — you can recreate that smooth, bouncy finish right in your own bathroom.
This guide walks you through the entire routine step by step, including how to adjust it for the haircuts everyone is asking for right now. No filler, no fluff. Just the practical tips I actually use on myself and my friends.
Why Round Brushes Feel Intimidating (But Shouldn’t)
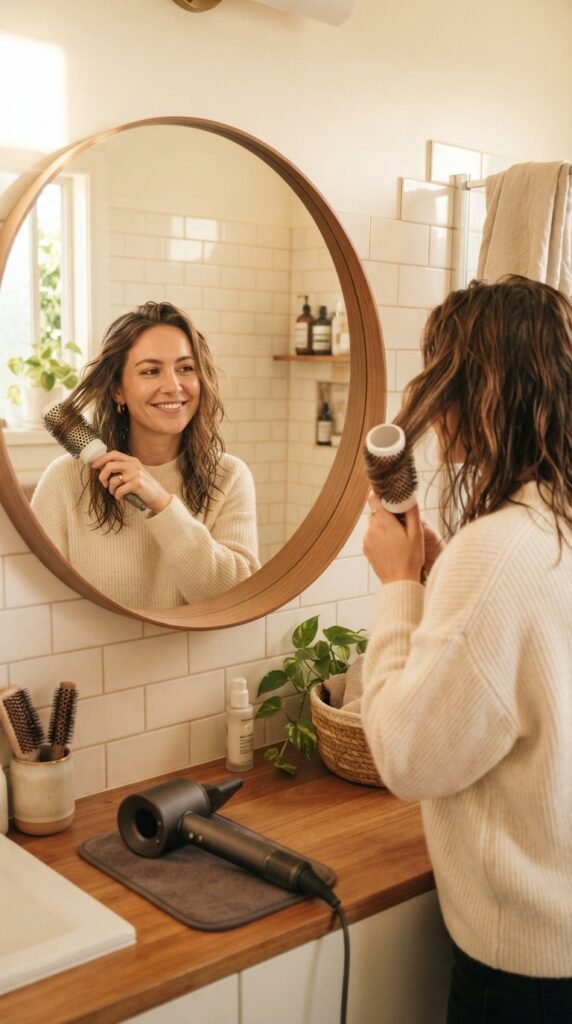
Here’s the truth: it’s not about natural talent or owning the fanciest dryer. It comes down to two simple things — the angle of the brush and where you aim the heat. Once those two line up, everything changes.
You’re not chasing a stiff, pageant-perfect finish. You’re building smooth body, soft movement, and healthy shine into the hair you already have. That’s a much friendlier goal anyway. Give yourself two honest attempts before judging your result. The first is decent; the second is usually the one that really surprises you.
What You Actually Need Before You Start
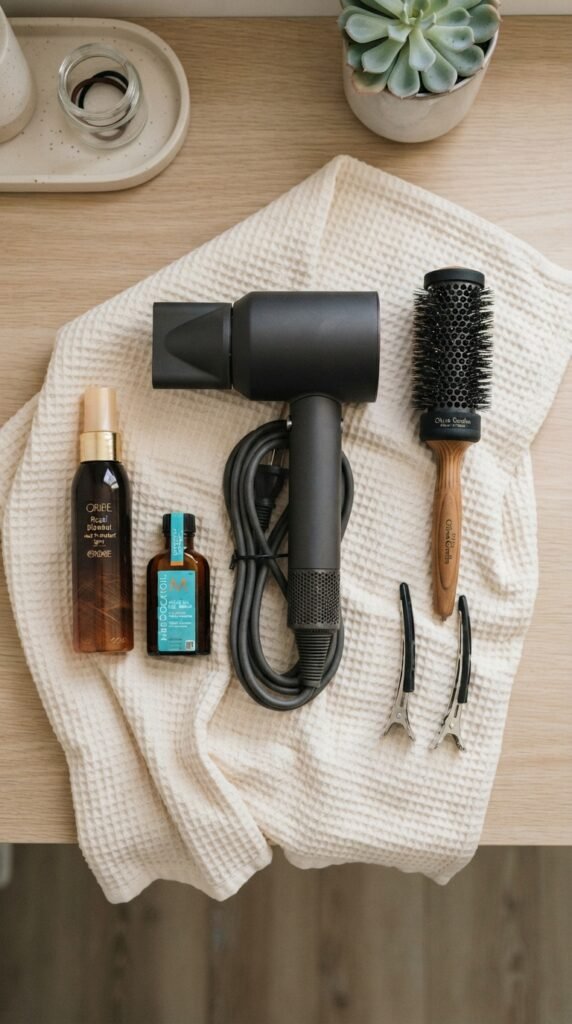
Keep this simple. You don’t need a drawer full of fancy supplies. Just gather the basics:
- A round brush with a ceramic or boar-bristle barrel
- A hairdryer with a narrow concentrator nozzle
- Heat protection spray
- Two or three duckbill clips
Everything else — texture sprays, gloss drops, and finishing mists — can wait until you’ve practiced a few times. And if your hair is naturally fine, skip heavy creams entirely, since they flatten roots before you even pick up the dryer. A light hairspray at the very end is fine, but only when you want extra staying power.
The Brush Size Secret Pros Don’t Tell You
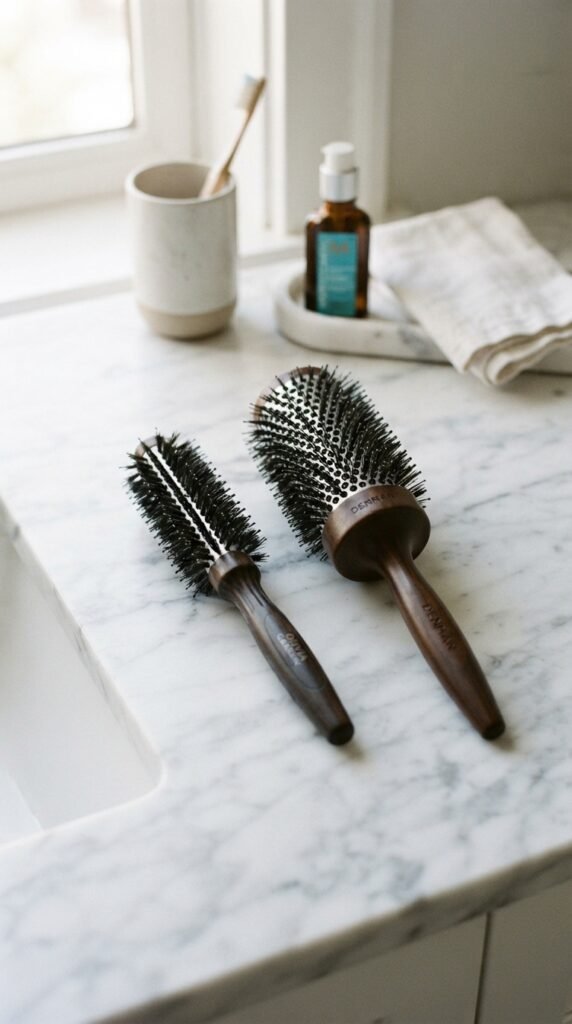
Brush size controls how much bend your hair gets. Big barrels around two to two and a half inches give loose, soft movement and lovely volume. Smaller barrels around one to one and a quarter inches create tighter ends and more defined curls.
Keep a general rule in your head: shoulder-length hair suits a two-inch brush, while bobs, lobs, and short layers call for one and a half inches. When you’re unsure, start slightly bigger. You can always pass a section again for more bend, but it’s much harder to relax a curl that’s already set too tightly.
Step One: Towel Dry Like You Mean It

Blow drying soaking-wet hair with a round brush is pure frustration. It takes forever, your arms get tired, and your ends can get fried before your roots are even warm. Trust me on this one.
Squeeze your hair gently with a microfiber towel or a soft cotton t-shirt, then rough-dry until it’s about eighty percent dry. When a small section still feels slightly damp, that’s your cue to start using the brush.
If your hair dries quickly while you work, keep a mist bottle nearby and lightly dampen each section before brushing. That slightly damp middle ground is where the round brush does its best work.
The Magic of Heat Protection (No Skipping)
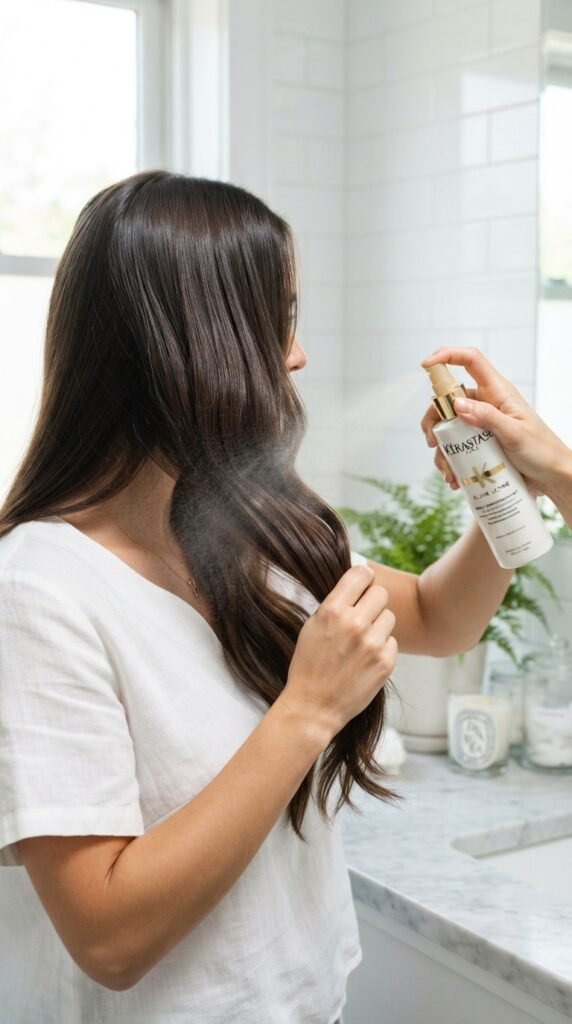
You know this already, but here’s your gentle reminder: heat protection is non-negotiable. Your hairdryer gets genuinely hot, and your hair’s cuticle needs armor against that heat.
Spray evenly from mid-length to ends, then finger-comb it through. Give it a few seconds to absorb before styling. A lightweight misting formula works best because it spreads evenly without flattening your roots.
This matters even more if you love sleek, futuristic looks with that glitchy glam hair energy. A mirror-like finish only reads as expensive when the strands underneath are healthy. So protect first, style second, and shine always.
How to Section Your Hair Like a Pro
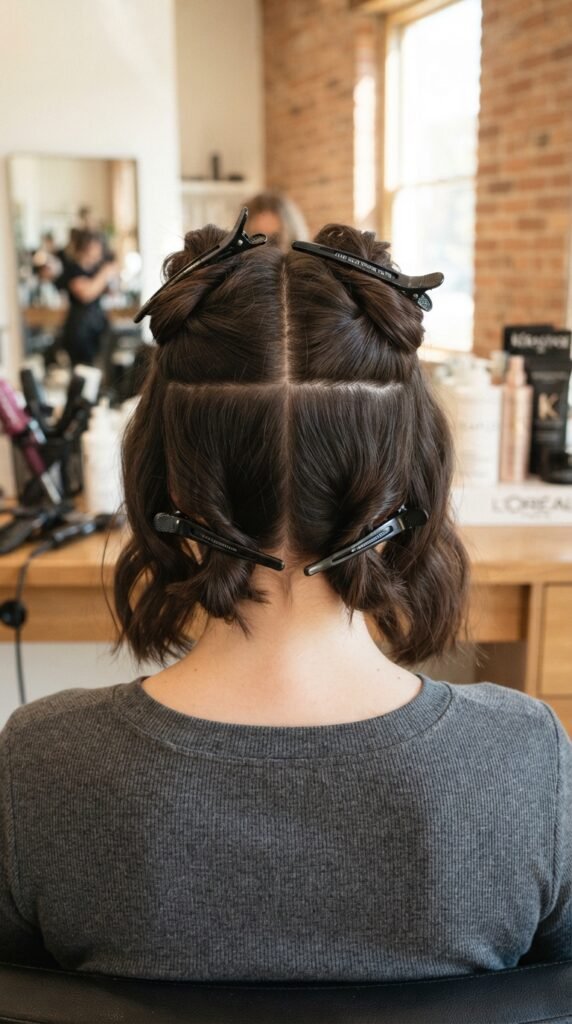
Sectioning is where professional blowouts are born. If you try to dry everything at once, you’ll miss pieces, create strange dents, and make the whole process harder than it needs to be.
Split your hair into four neat quadrants: bottom left, bottom right, top left, top right. Fasten each one with a duckbill clip so they stay out of your way.
Work through them one at a time, always starting at the bottom. Yes, it’s more effort, but it’s exactly what creates that even, polished result. After one wash day, you’ll feel the difference and never skip it again.
The “Tension” Trick That Changes Everything
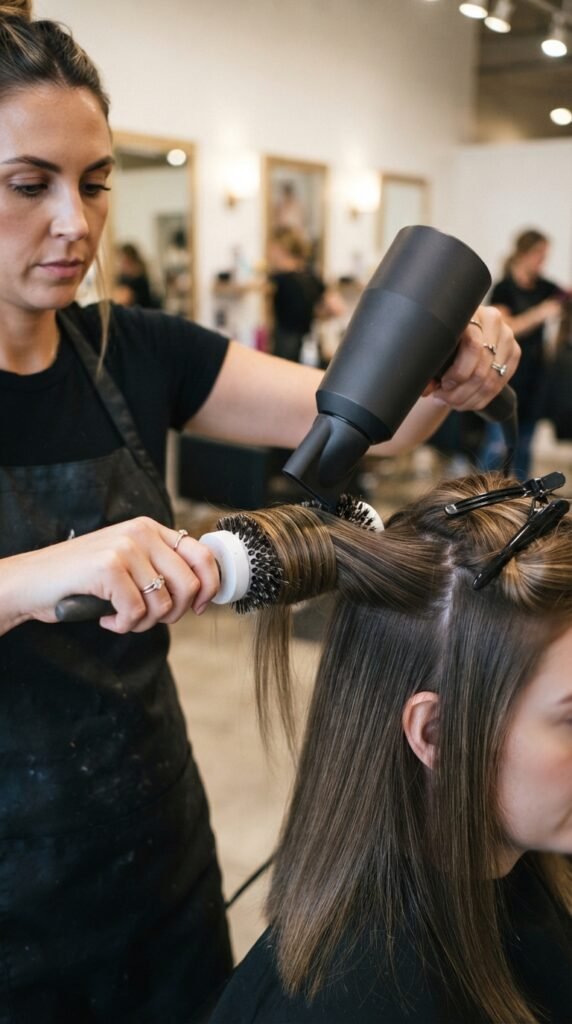
Tension is the magic word of professional blowouts. It means holding the brush so the hair feels snug and slightly stretched while the dryer travels down the strand.
Without tension, hair turns out fluffy and shapeless. With tension, the cuticle lies flat and catches the light nicely. Picture the brush guiding traffic in the exact direction you want the hair to fall.
Try it on one small section tonight and compare it with the rest. Your roots will feel lifted, your ends will feel smooth, and you’ll wonder why nobody told you this sooner. The difference is immediate and honestly a little addictive.
Start With the Bottom Layers First (Always)
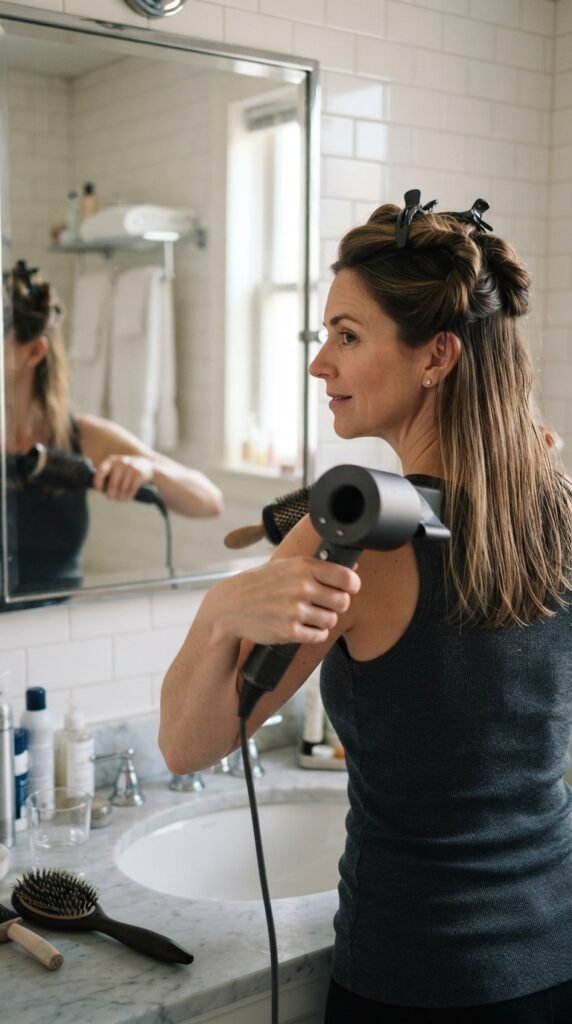
Always start at the nape of your neck. The bottom layers are your foundation, and they take the longest to dry because the rest of your hair hovers right above them.
Unclip one lower section and keep the upper portions pinned. Dry that section with your brush, rolling the ends gently under, then move across until the whole base is done.
That’s when you release the top layers and work through them in smaller slices. Think bottom-up, like painting a wall. If you start at the top, you’ll only end up messing up the bottom. Your future blowouts will thank you for this simple habit.
The Front Pieces: Your Frame Matters Most

The hair around your face matters most because it catches everyone’s eye first. If the front looks polished, the whole blowout looks intentional — even on a rushed Tuesday.
Take small horizontal sections at the front and guide the brush slightly away from your face as you dry. For curtain bangs or face-framing pieces like a hime cut, wrap them around the barrel and roll outward at the ends for that soft, pretty curve.
Slow down here. This part deserves extra patience because it literally frames your face and your smile. Treat it like choosing the right earrings — small detail, enormous impact.
How to Know When Each Section Is Done
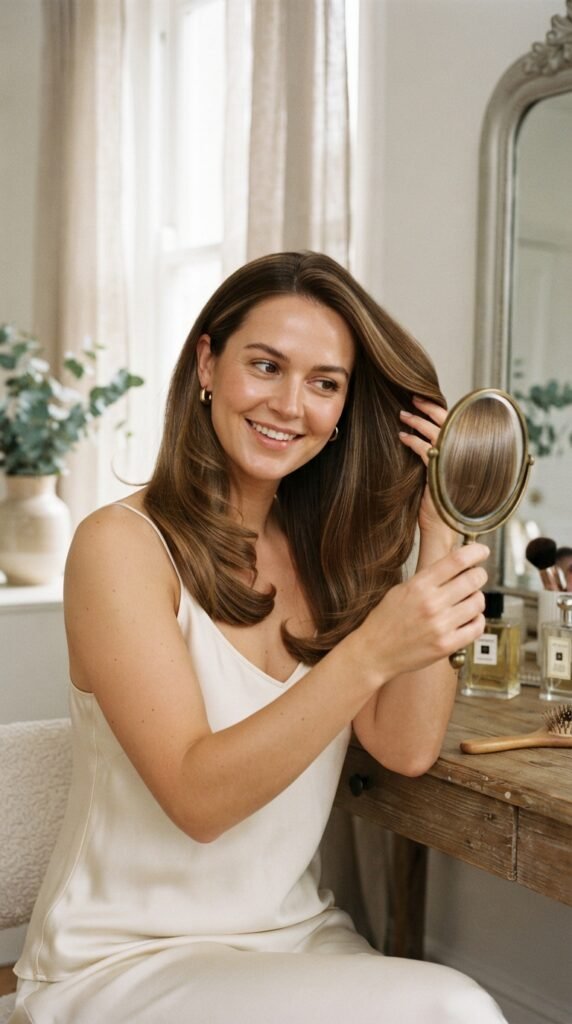
Your section is done when the hair feels fully dry from root to end. Slide your fingers through right after the brush passes. If it catches or still feels cool, it’s not finished. A cool, springy feel is the signal you’re looking for.
Leaving any moisture behind means frizz can appear quickly, and that section will fall flat before you finish the rest of your head. When in doubt, dry a little longer, especially around the roots.
Just keep the dryer moving as you go. Planting it in one spot is how people end up with one slightly crispy section and a very bad memory.
The Cool Shot: Your Best Friend for Hold
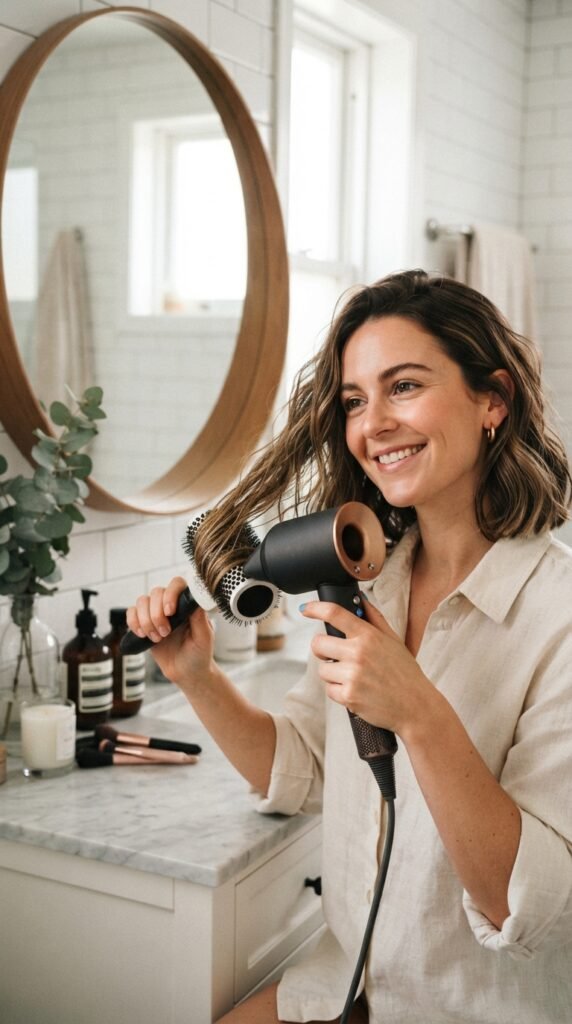
That cold air button exists for a reason. Cool air closes the hair cuticle, which locks in your new shape and adds an instant glossy finish.
After each section is dry, switch to cool and aim a quick blast at the hair while it’s still wrapped around the brush. Hold for five seconds, then release slowly without tugging.
This tiny habit can be the difference between a blowout that lasts two days and one that deflates by lunchtime. It only adds a few seconds per section, and it’s the closest thing to a professional finishing spray that you already own.
That Little Flip at the End? Here’s How
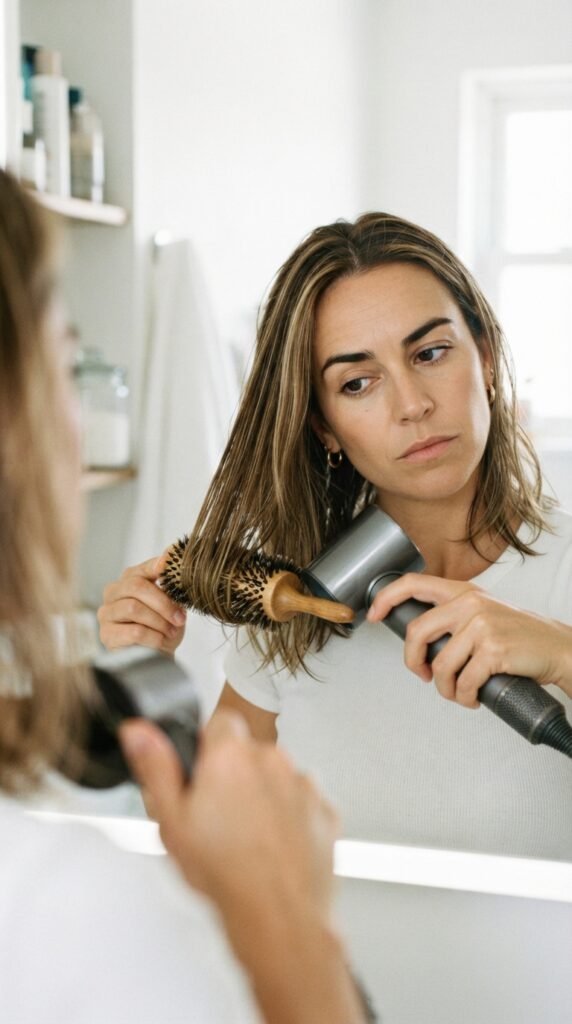
The ends of your cut decide the whole vibe. An inward curl looks soft and classic, while a gentle outward flick feels playful and fresh. Small difference, big personality change.
For tucked ends, wrap the hair around the brush, roll once or twice, and pull downward while you dry. Hold the position for a few warm seconds, then finish with cool air to set it.
For an outward flip, simply steer the brush away from your face as you reach the ends. Don’t overthink it. You’re teaching the hair which direction to fall, and it will remember. Practicing on small sections makes it foolproof.
Volume at the Crown Without Teasing
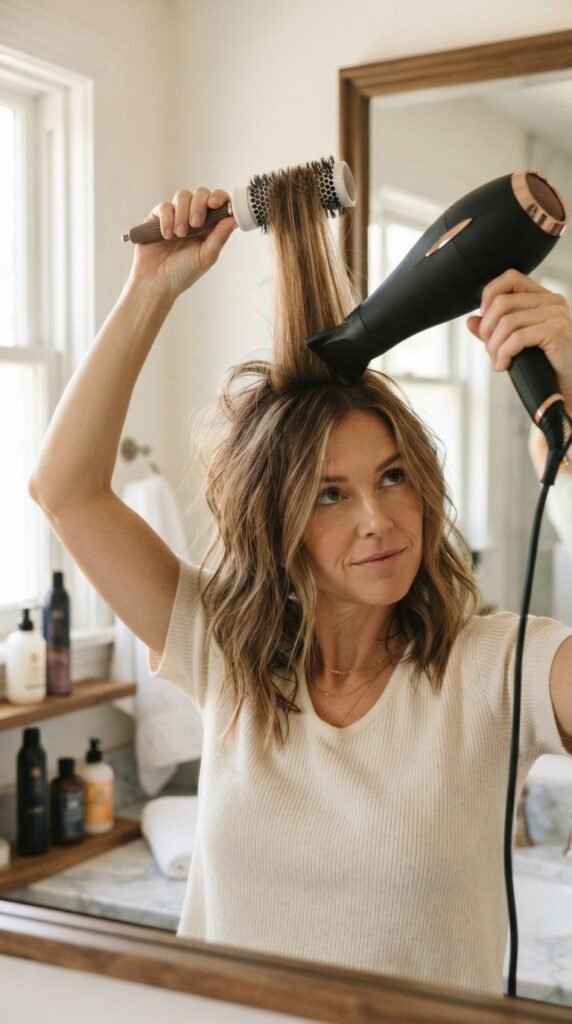
Crown volume is what gives effortlessly expensive hairstyles that airy lift. And no, you don’t need to tease or backcomb to get it.
Take a top section, lift it straight up, and place the brush underneath at the root. Aim warm air at the roots for a few seconds, then slowly pull the brush down toward the ends while drying.
Finish with cool air while the section is still lifted. Because the roots dry in an upright position, they have nowhere to go but up — and the volume stays soft and bouncy all day.
Old Money Hair? This Is the Way

Old money hair is quiet. It whispers polish instead of shouting for attention. That means gentle bends, healthy shine, and absolutely none of that stiff, crunchy feeling some stylers leave behind.
The round brush nails this aesthetic because it adds movement without obvious curls. Dry each section with a soft inward roll, then smooth a tiny drop of hair oil from the ears down. It should feel expensive, but never fussy.
Restraint is everything. You want hair that looks like it naturally decided to behave beautifully today — not like you spent an hour wrestling it into submission. That’s the whole secret behind the vibe.
How to Blowout a Quiet Luxury Bob

A short bob might look easy, but it demands precision. Every strand is on display, so there are fewer places to hide a small mistake. It’s the most forgiving, and unforgiving, shape at the same time.
Use a smaller brush around one and a quarter inches. Smooth each section downward from mid-length to the ends, tucking everything under in a soft, minimal bend. Then let the cool shot lock it all in place.
The personality of a quiet luxury bob lives in its clean silhouette. For the final step, spray a light mist of hairspray onto your brush rather than directly onto your hair. That keeps the shape sleek without killing the gloss.
Nailing the Asymmetrical Lob at Home

An asymmetrical lob has two different lengths, which means each side needs different attention. Don’t treat the whole head like one uniform shape.
On the longer side, pull the brush straight down toward the ends for a sleek finish. On the shorter side, add a subtle outward movement so the angle looks intentional. Then check both lengths in the mirror and refine any heavier spots.
This cut is all about contrast, so don’t be afraid to let the round brush exaggerate the asymmetry a little. That slight imbalance is what makes it look editorial instead of accidental.
If You Have Bangs or a Hime Cut, Do This

Bangs dry faster than everything else, so they willfully take on their own shape if you ignore them. The fix is to style them early, while they still have some moisture.
For curtain bangs, wrap them around the brush and pull gently away from your face. For blunt across-the-brow bangs, like the signature lines of a hime cut, pull the brush straight downward and finish with a cool pass.
If you love darker, dramatic beauty — that romantic goth energy with a vampire haircut — keep the ends blunt and sleek. Sharp lines are what make the whole look read clearly.
Romantic Goth Hair? Yes, This Works Too

Romantic goth hairstyles might feel like a completely different universe, but the round brush is still your hero. Those looks are built on big, dark, swooping shapes that somehow feel both soft and dramatic.
Roll larger sections around a two-inch barrel to create loose movement rather than tight curls. If your color is deep or dark, keep the heat on medium so you preserve the shine without risking damage.
Finish with a few drops of glossing oil, but only on the lengths. Dark colors catch every reflection, so the smoother your cuticle, the more your whole style glows.
What Not to Do (My Biggest Fails)

I’ve made every mistake in the book, so here’s a list of my greatest hits to save you the trouble:
- Don’t pile a section wider than your brush barrel onto it. Smaller sections dry quicker and lie smoother.
- Don’t leave the dryer in one spot for longer than a second. Dents and heat damage happen that fast.
- Don’t yank the brush through hair that’s already dry. You’ll stretch your shape and snap strands.
If you catch yourself doing any of these, pause, put the dryer down, and reset the section. You haven’t ruined anything. You’re just learning the way all of us learned.
Tools That Are Worth the Splurge
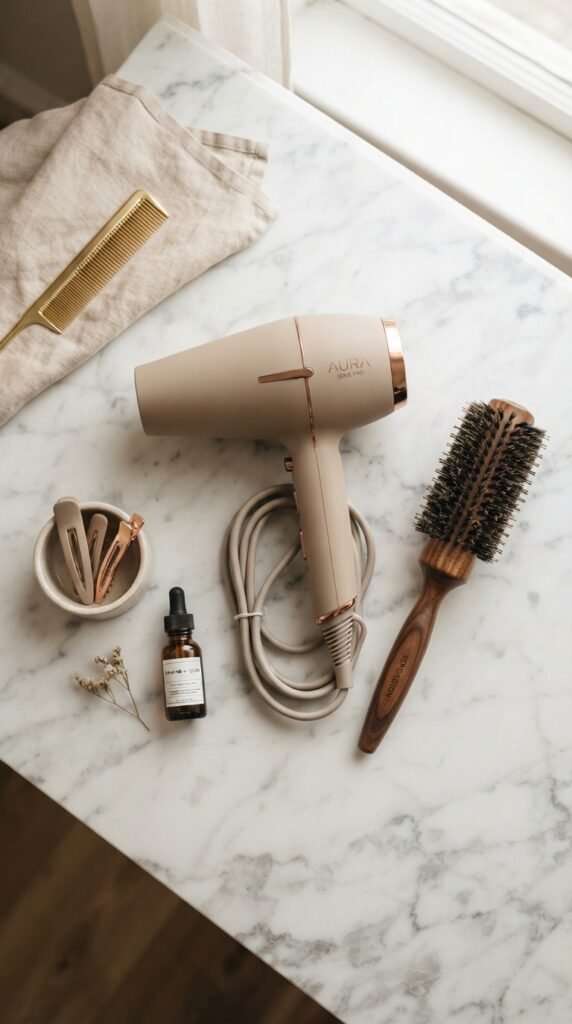
You don’t need to spend a fortune on professional equipment, but a decent round brush genuinely changes the experience. Cheap brushes can snag and pull, while mid-range ceramic or boar-bristle barrels distribute heat evenly.
Your hairdryer needs a narrow concentrator nozzle and a cool button that’s easy to reach. Adjustable heat settings also matter: medium for finer textures, high for thick hair, and a lower setting for fragile ends.
If you’re only upgrading one item this season, make it the brush. The correct barrel shape improves your angle, protects your wrist, and brings you noticeably closer to that salon finish.
The 5-Minute Save When You’re in a Hurry

Some mornings are not full blowout mornings, and that’s totally okay. Here’s your express version:
- Mist your roots and front sections with water or a gentle refresh spray.
- Dry the roots with the round brush, lifting upward as you go.
- Smooth the face-framing strands around the brush, then pin or clip the rest up.
Once the front pieces are shaped and cool, pull the rest into a loose low bun. Everyone will assume you put in real effort, and honestly, that’s all that matters.
Why This Skill Works for 2026 Hairstyles
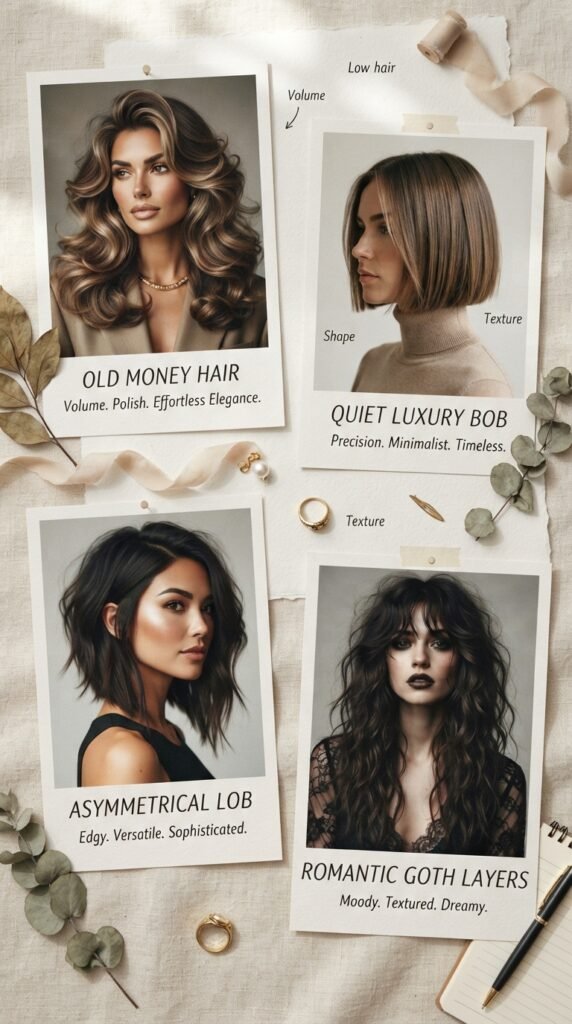
The best part of this skill is that it adapts to every trend instead of fighting it. Those 2026 hairstyles filling your saved folders — old money hair, structured quiet luxury bobs, asymmetrical lobs, romantic goth layers — all sit better when the foundation is a proper blow dry.
Trends change, but the desire for glossy, healthy, effortless movement never does. Master this one technique and you can style ten different haircuts before they even hit the mainstream.
That is the real power of good technique. It never goes out of fashion, and it always makes you look like you know exactly what you’re doing.
Before You Put Down the Brush
Okay, friend, that’s the whole method. No secret potion and no gatekeeping — just practice, patience, and a brush you like holding. The first attempt is about learning, not perfection, so be gentle with yourself.
Try it once on an evening when you have nowhere to rush off to. Play music you love, go section by section, and remind yourself that every stylist started with one awkward piece of hair too.
Save this post to Pinterest so it’s waiting for you next wash day. Then leave me a comment below: which part are you most excited to try first? I read every single reply and I’m cheering for you.


