How to Get wavy curl Hair That Looks Effortless (But Isn’t)
You know the look. It’s that perfect head of hair you see on a breezy day, where every wave and curl seems to have fallen into place by sheer luck. It’s the hair that says, “I just came from the beach,” or “I simply air-dried my hair and this happened.” It’s the epitome of cool-girl nonchalance. But let’s be real: that effortless wavy curl hair is almost always the result of some very specific, deliberate effort.
The good news? You can absolutely achieve it. The secret isn’t magic; it’s method. It’s about understanding your hair’s texture, using the right techniques, and embracing a routine that enhances your natural pattern. This guide will walk you through the entire process, from the shower to the final fluff, to help you create those coveted, “barely-tried” waves and curls that are anything but.
Understanding Your Hair’s Wave Potential
Before you start scrunching and diffusing, it’s crucial to understand what you’re working with. Not all wavy or curly hair is the same. Your hair might be a loose 2A wave, a more defined 2B, or a curly 2C that’s flirting with a full-on ringlet. The key is to enhance what you naturally have, not force it into something it’s not.
Start by assessing your hair on wash day, without any product. How does it dry? Do you see a slight bend, an ‘S’ shape, or a springy coil? This is your baseline. The goal of our “effortless” routine is to take that natural pattern and give it more definition, hold, and consistency, all while avoiding a stiff, “product-y” look. It’s a balancing act between control and chaos, and it starts in the shower.
The Wash Day Foundation: Cleansing and Conditioning for Waves
Your journey to perfect waves begins with how you wash your hair. Harsh shampoos can strip your hair of its natural oils, leaving your waves limp and frizzy. Instead, opt for a sulfate-free shampoo that cleanses gently without creating a squeaky-clean feel. Focus the shampoo on your scalp to remove buildup, and let the suds rinse through the lengths.
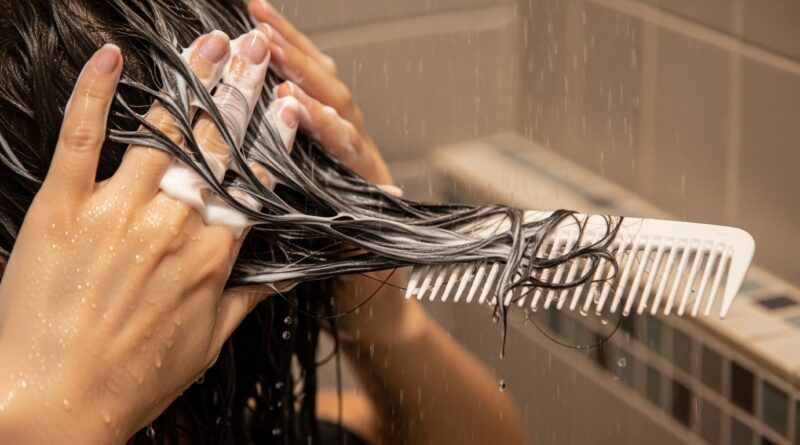
Conditioning is where the magic of hydration begins. Use a generous amount of a moisturizing, curl-friendly conditioner. While it’s in your hair, this is the perfect time to detangle. Using a wide-tooth comb or your fingers, start from the ends and work your way up to the roots. This prevents breakage and helps distribute the conditioner evenly. For an extra boost of definition, try the “squish to condish” method: after applying conditioner, lean your head to the side and cup water in your hands, scrunching it up into your hair. You’ll hear a squishing sound. This helps the hair shaft absorb moisture, which is the bedrock of a good curl pattern.
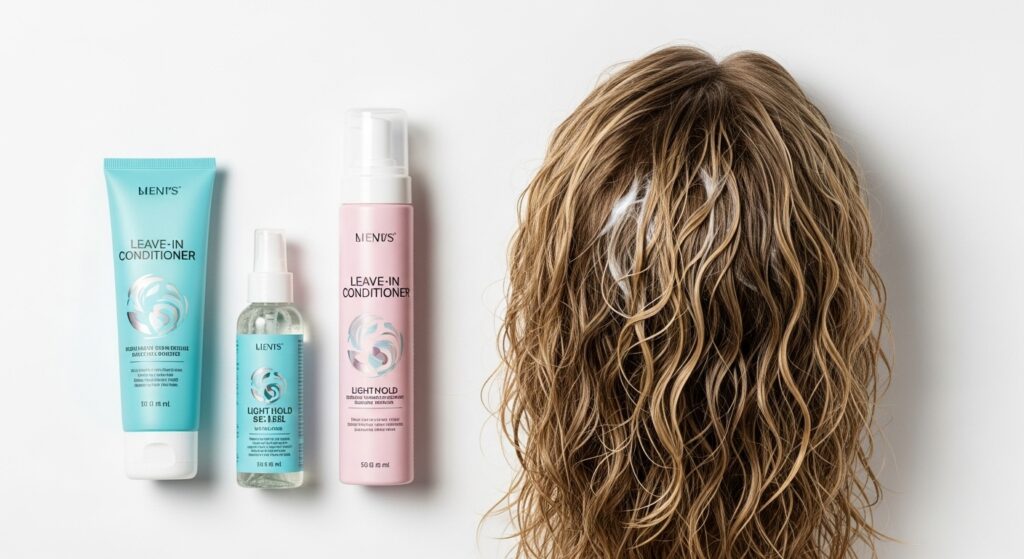
The Art of the Application: Styling Products are Your Secret Weapon
This is the non-negotiable step that separates a frizzy mess from a defined wave. The trick is to apply your styling products to soaking wet hair. This dilutes the product slightly, helps with even distribution, and locks in the moisture your hair just absorbed.
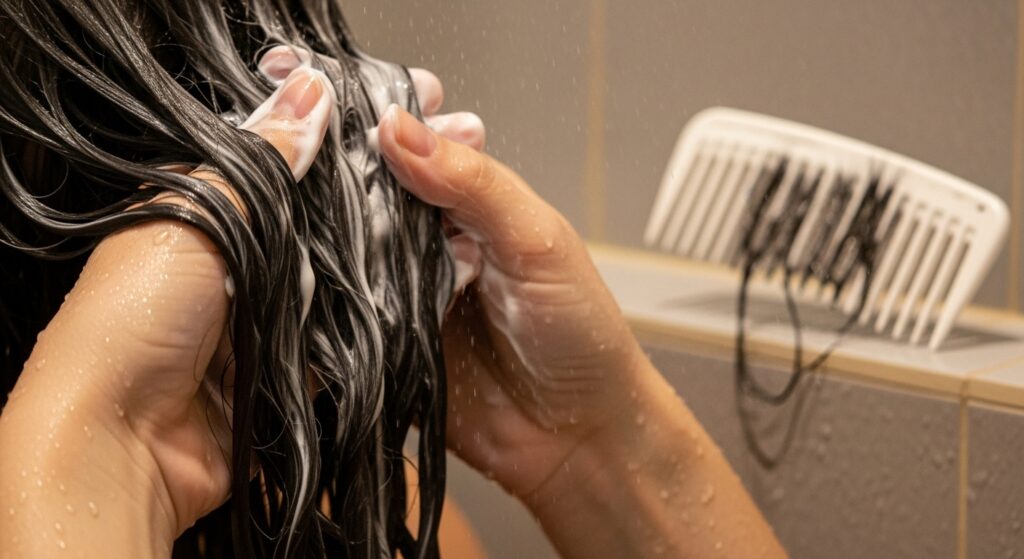
Start with a leave-in conditioner or a curl cream to provide hydration and fight frizz. Follow it up with a holding product. For that “effortless but isn’t” look, a mousse or a light-hold gel is ideal. They provide structure without the crunch of a strong-hold gel. Rake the product through your hair to ensure every strand is coated, then scrunch vigorously from the ends up towards your scalp. You should hear the squishing sound again and see your curl clumps starting to form. Don’t be afraid of the wet, product-heavy look at this stage—it’s temporary and essential for the final result.
Mastering the Microfiber Towel and Diffuser Combo
Your instinct might be to rub your hair dry with a regular bath towel. Resist it! A rough terrycloth towel creates frizz and disrupts those beautiful curl clumps you just worked so hard to create. Instead, gently scrunch the excess water out with a soft microfiber towel or an old cotton t-shirt. The smooth fabric absorbs water without causing friction.
When it comes to drying, air-drying is the most “effortless” method, but it can sometimes lead to stretched-out waves or a damp scalp for too long. For more volume and definition, use a diffuser. Attach it to your hairdryer and use it on a low heat and speed setting. The key technique here is “hover diffusing”: place your hair into the diffuser bowl but don’t press it against your scalp. Simply hover the diffuser around your head, allowing the waves to set in their natural pattern. Once your hair is about 80% dry, you can gently scrunch sections against your scalp with the diffuser to add volume. This method minimizes frizz and maximizes your wave pattern.

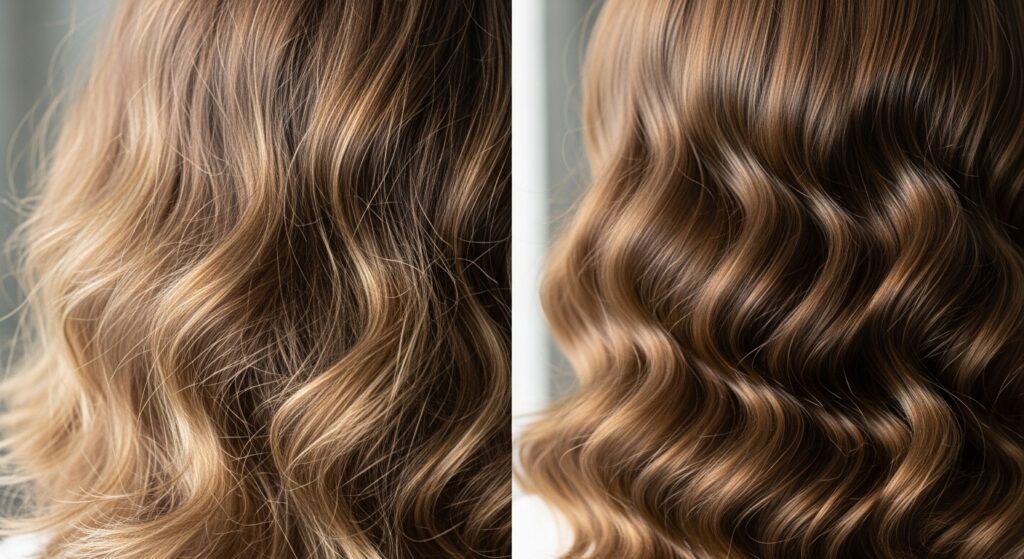
The Crucial “Crunch” and Scrunch Out the Cast
If you used a mousse or gel, your hair will likely dry with a “cast”—a slightly hard, crispy feeling. This is a good thing! This cast is what locks your waves in place all day, protecting them from humidity and preventing frizz. The “effortless” part comes from what you do next.
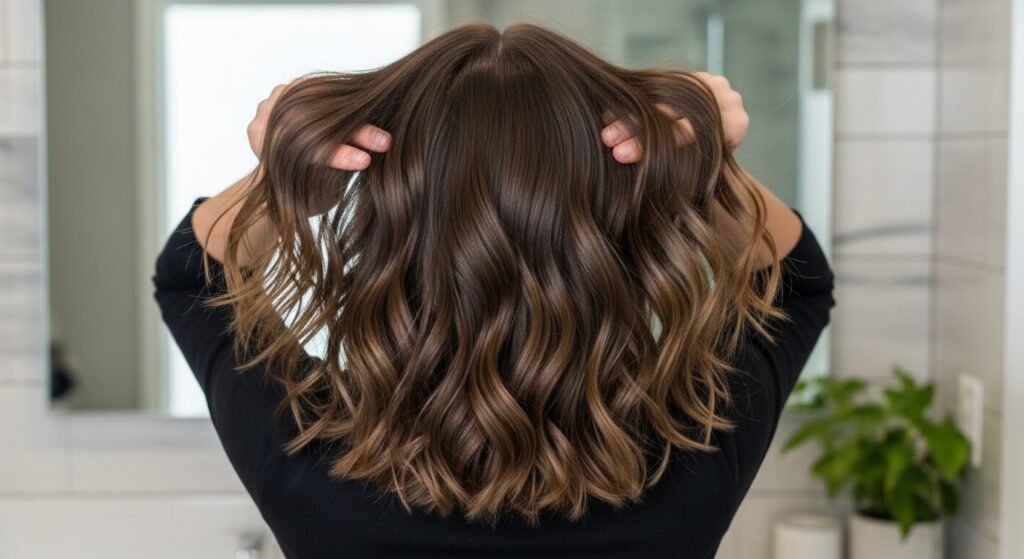
Once your hair is completely dry and cool to the touch, it’s time to break the cast. Take a small amount of hair oil or serum (one drop is often enough) and rub it between your palms. Then, gently scrunch your hair upwards, breaking the hard cast. You’ll feel the crunch disappear and be left with soft, touchable, yet defined waves. This step transforms your hair from “styling product” to “natural beauty.”

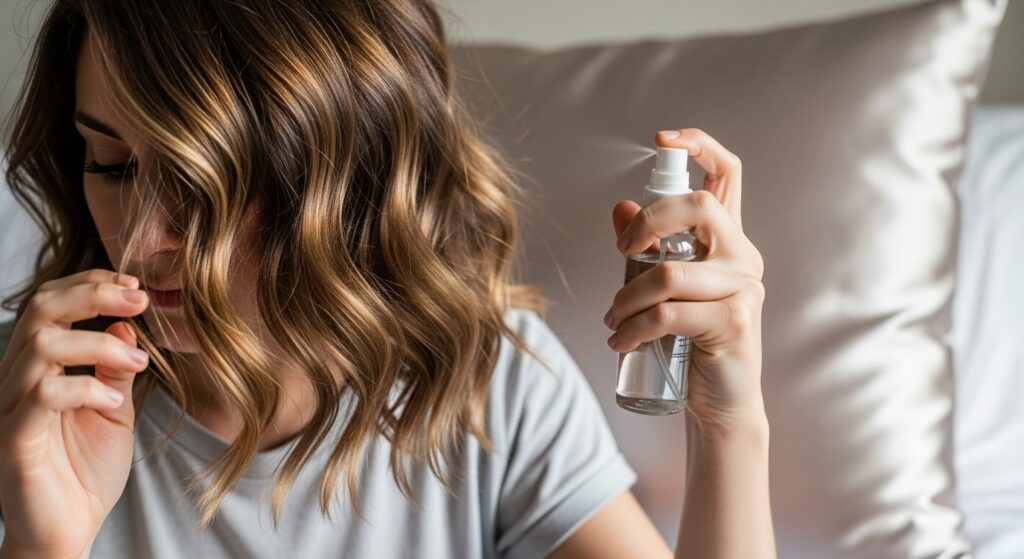
Overnight Care and Next-Day Refreshes
To make your effortless style last more than one day, you need to protect it while you sleep. Sleeping on cotton pillowcases can create friction and absorb moisture, leading to flat, frizzy hair in the morning. Switch to a satin or silk pillowcase, or wrap your hair in a satin scarf or bonnet.
On day two, your waves might need a little pick-me-up. Don’t douse them in water and product again. Instead, mix a small amount of leave-in conditioner with water in a spray bottle. Lightly mist your hair until it’s damp, not wet. Then, scrunch your waves back to life. You can also gently fluff your roots for volume. This refresh technique reactivates the product from the previous day and coaxes your waves back into their perfect shape without starting from scratch.
Common Mistakes That Sabotage Your Effortless Waves
Even with the best routine, small mistakes can undermine your results. Here are the big ones to avoid:
Over-brushing: Brushing your hair when it’s dry will separate your curl clumps and create a frizzy triangle shape. Only detangle when it’s wet and saturated with conditioner.
Using heavy products: Butters and heavy oils can weigh down fine wavy hair, pulling the waves straight. Stick to light creams, mousses, and gels.
Not clarifying: Over time, product buildup can make your hair dull and lifeless. Use a clarifying shampoo once every two to four weeks to reset your hair and remove any residue.
Touching it too much: Constantly running your fingers through your dry waves disrupts their pattern and adds oil and frizz. Scrunch once at the end and then let it be!
Embrace the “Perfectly Imperfect” Mindset
Finally, the most important ingredient for achieving that effortlessly wavy look is your mindset. Wavy and curly hair is, by its nature, unpredictable. Some days your clumps will be perfect; other days you might have a few frizzy sections. That’s okay. The goal is not uniform, salon-perfect curls, but rather a head of healthy, happy hair with movement and texture.
Embrace the volume, the slight frizz, and the pieces that do their own thing. That’s what gives the style its lived-in, effortless charm. It’s a look that says you have better things to do than fuss with your hair all day—even if you secretly know the precise routine that makes it all possible.
So, arm yourself with the right knowledge, the right products, and a little bit of patience. Your most beautiful, wavy, “effortless” hair is waiting just on the other side of your next wash day.