How to Keep Braids from Unraveling at the Tips
Hey friend. So you finally got those gorgeous braids done. They look amazing, but by day two, the tips are already starting to look a little… fuzzy. Sound familiar? I’ve been there too many times to count. That frustrating unraveling can make even the most intricate style feel messy before its time.
But here’s the good news: keeping your braids neat and tight at the ends is way easier than you think. It’s all about the right prep and a few simple tricks you can do at home. No fancy tools needed.
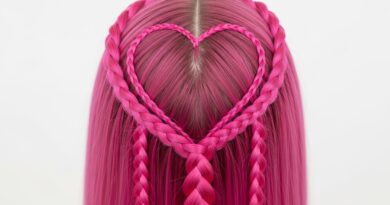
Whether you’re rocking classic braids for an old money hair vibe or something more edgy, this guide is for you. Let’s get into the simple, practical steps to make your braids last longer and look flawless from root to tip.
Why Do Braid Ends Unravel Anyway?
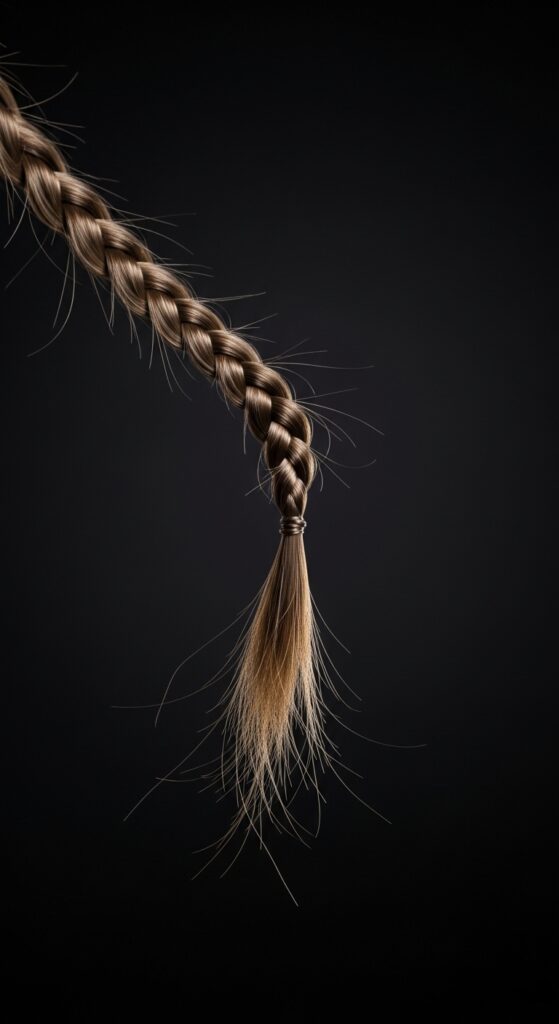
First, let’s understand the enemy. Unraveling happens because the hair at the very end of your braid is the most vulnerable. It has the least amount of tension holding it in place. Every time you sleep, style, or even just move, those end hairs work themselves loose.
The type of hair matters, too. Very silky or freshly washed hair can slip out more easily. And if your ends are dry or damaged, they’re more likely to split and fray, making the problem worse. Knowing this helps us fight back effectively.
The Golden Rule: Start with Dry, Detangled Hair
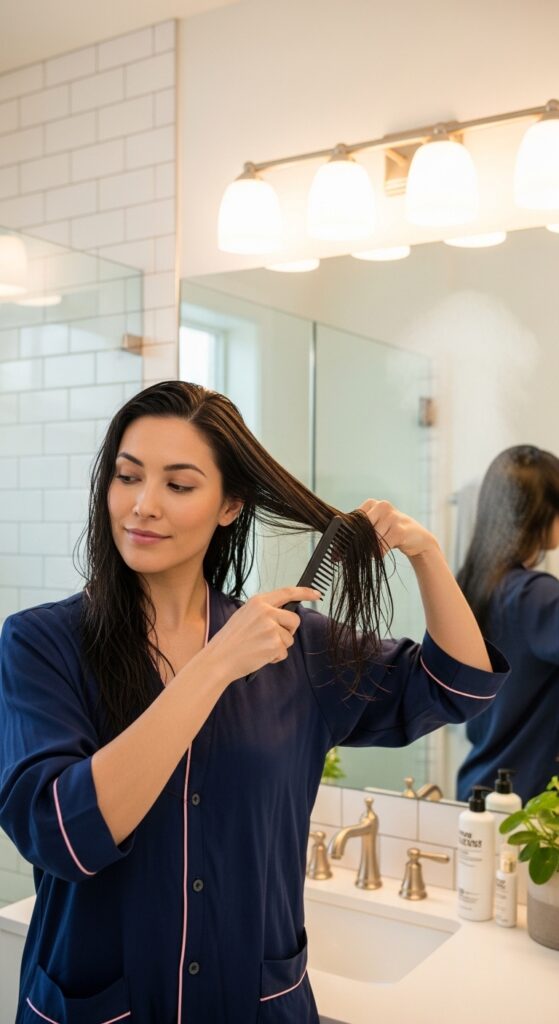
This is the most important step, hands down. Never, ever braid soaking wet hair thinking it will dry tighter. It creates tension that can damage your hair and actually leads to more frizz and unraveling as it dries and shrinks.
Your hair should be about 90% dry—damp, but not wet. Always detangle thoroughly from the ends up to the roots before you start. This ensures every strand is smoothly incorporated into the braid, giving those tips a fighting chance to stay put.
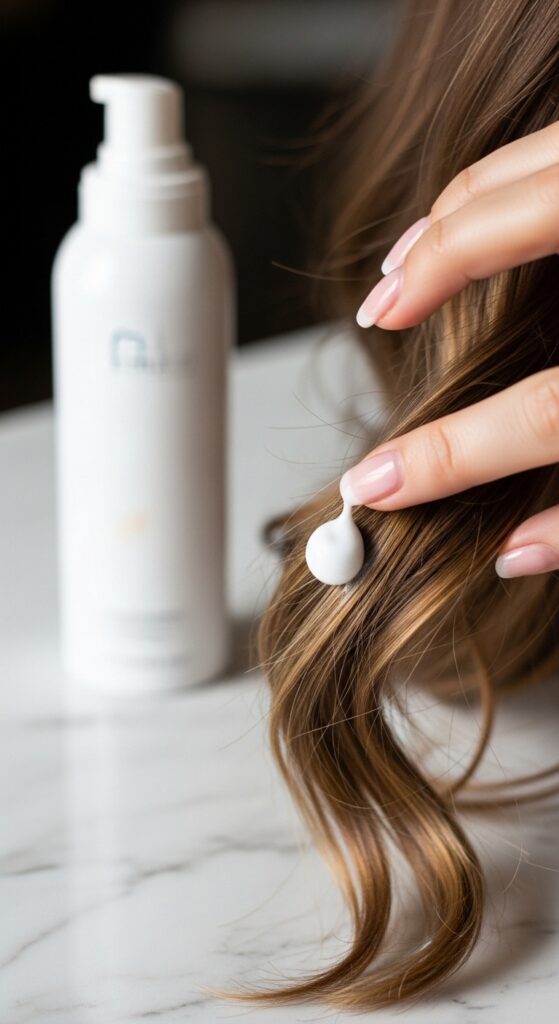
Use a Light Hold Product Before You Braid
A little product goes a long way. On your damp, detangled hair, apply a light-hold mousse or a styling cream. Focus it on the mid-lengths and ends. This gives your hair a tiny bit of grip and texture.
Avoid heavy gels or waxes at this stage, as they can flake or make your braids look stiff and crunchy. We want neatness, not a helmet. This light grip is the secret to keeping even silky hair in place for those sleek 2026 hairstyles we’re all loving.
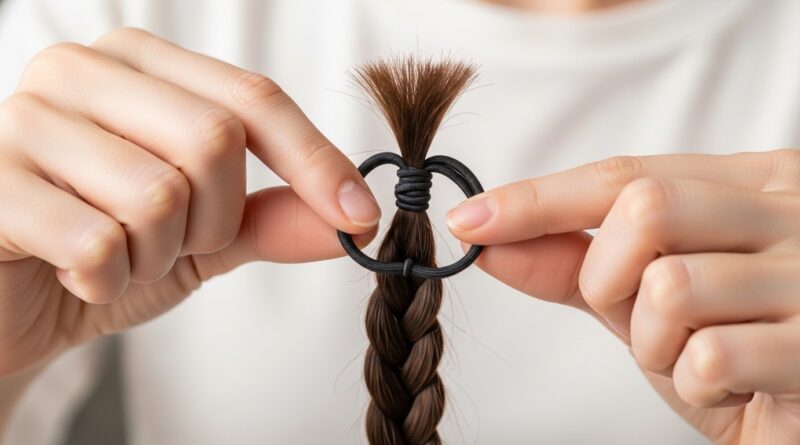
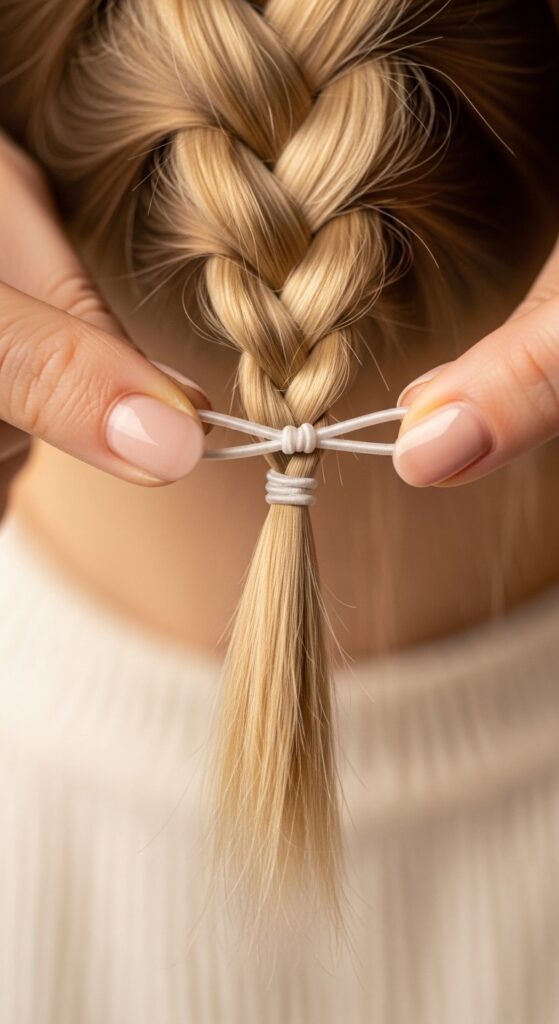
Secure the End Immediately and Tightly
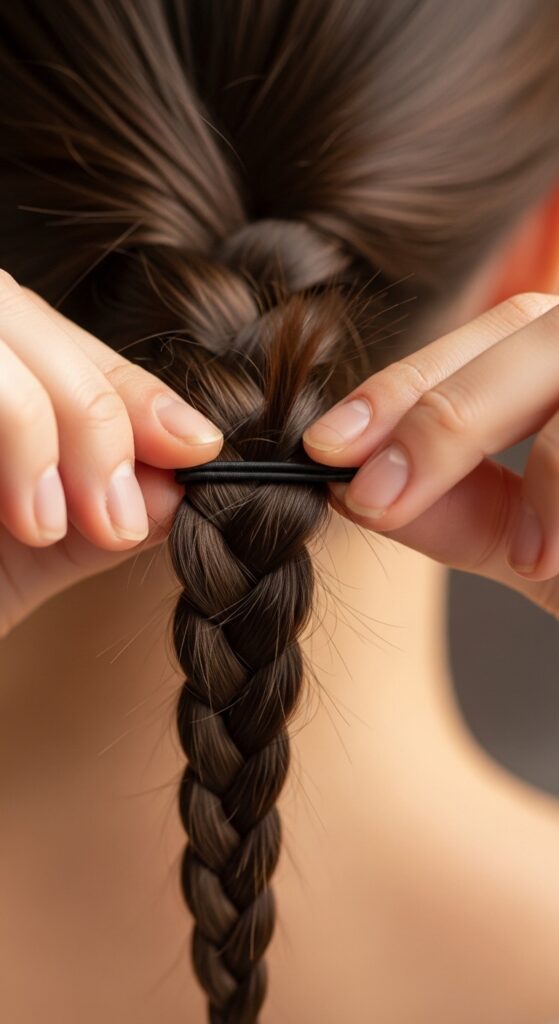
Don’t wait! The second you finish braiding to the very end, secure it. Use a small, clear elastic band that matches your hair color. Wrap it as close to the tip as possible, and loop it two or three times for a snug hold.
If you’re using a fabric-covered band, make sure it’s not too thick. The goal is to trap every last hair right at the tip. This immediate action prevents any initial unraveling while you move on to the next step.
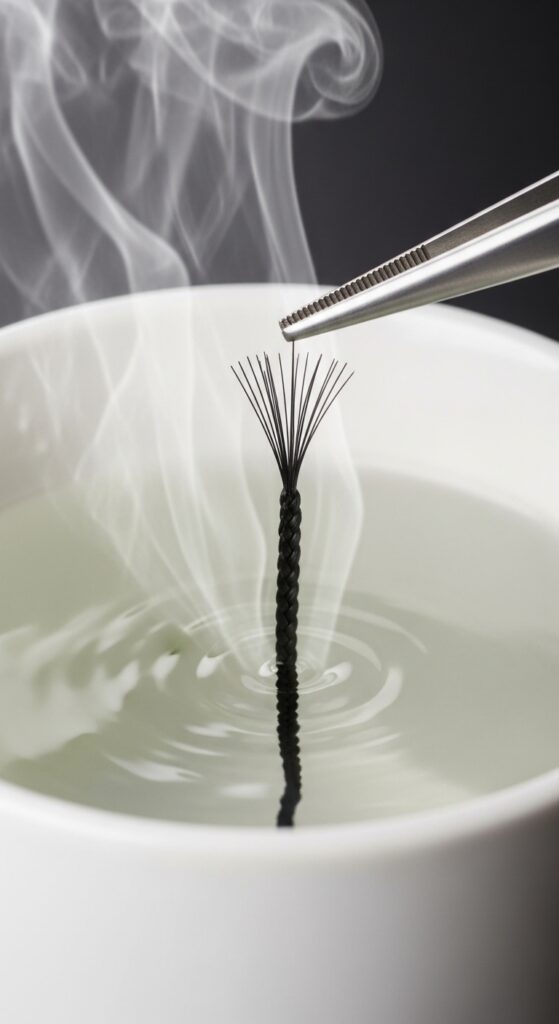
The Boiling Water Method (For Synthetic Hair)
If you’re using synthetic braiding hair, this is a game-changer. After securing the end with a band, carefully dip just the tip of the braid into a cup of boiling water for 2-3 seconds.
- This melts the synthetic fibers ever so slightly, sealing them together.
- Let it cool and dry. The end becomes a clean, blunt, and fused tip that won’t fray.
- Be extremely careful not to burn yourself. Use tongs if needed.
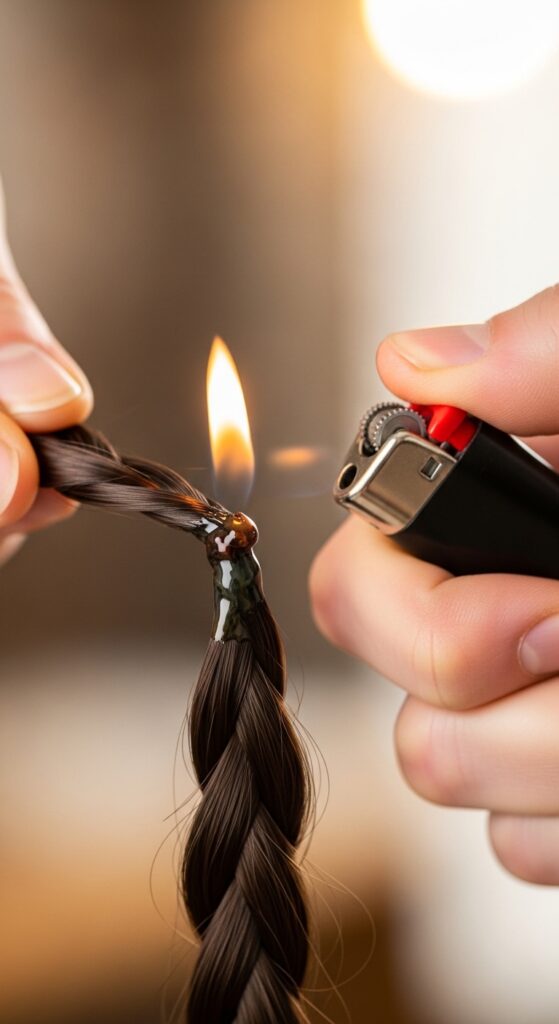
The Lighter Method (Quick & Careful)
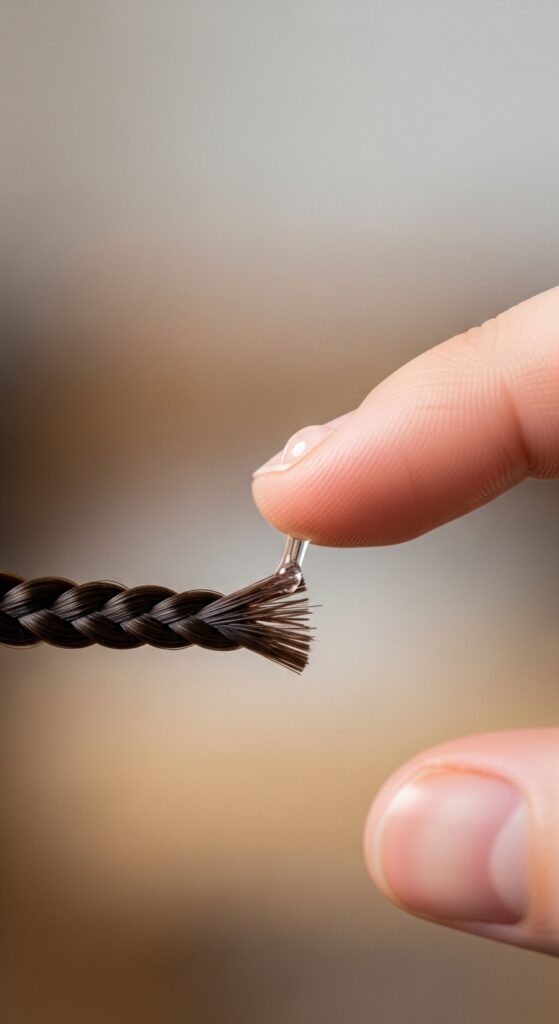
For a quicker fix on synthetic hair, you can use a lighter. Hold the flame briefly near the tip—don’t let it touch. Just pass the heat over it to melt the fibers and seal the end.
This requires a steady hand and should be done in a safe, open area. Always have water nearby. It creates a similar sealed effect as the boiling water method, but it’s faster for a single touch-up.
Using Hair Glue or Edge Control
For a strong hold on natural hair, a tiny dab of hair glue or a strong-hold edge control can work wonders. Put a small drop on your fingertip and smooth it over the secured tip of the braid and the elastic.
This essentially glues the loose hairs to the main braid. Use this sparingly—you don’t want a big, sticky glob. It’s perfect for securing those wispy ends on a polished asymmetrical lob with braided accents.
Try a Clear Nail Polish Seal
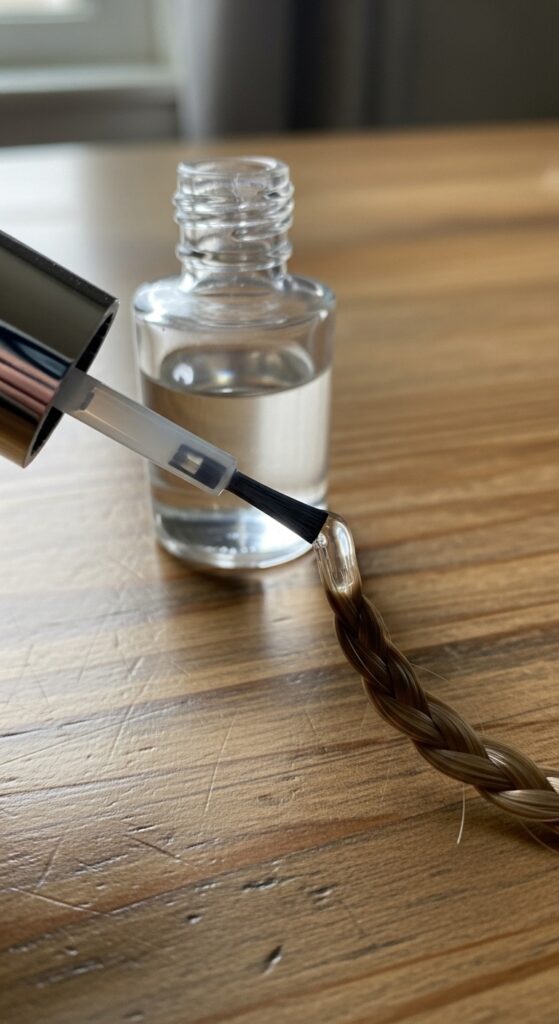
This is an old-school trick that still works. Once your braid is secured with a band, paint a thin layer of clear nail polish over the elastic and the last half-inch of the braid. Let it dry completely.
It creates a hard, protective shell. The downside is it can make the end stiff and might be tricky to remove. I recommend this more for temporary styles or costume looks, like a detailed romantic goth hairstyles braid crown.
Braiding with a Hook (For Invisible Ends)
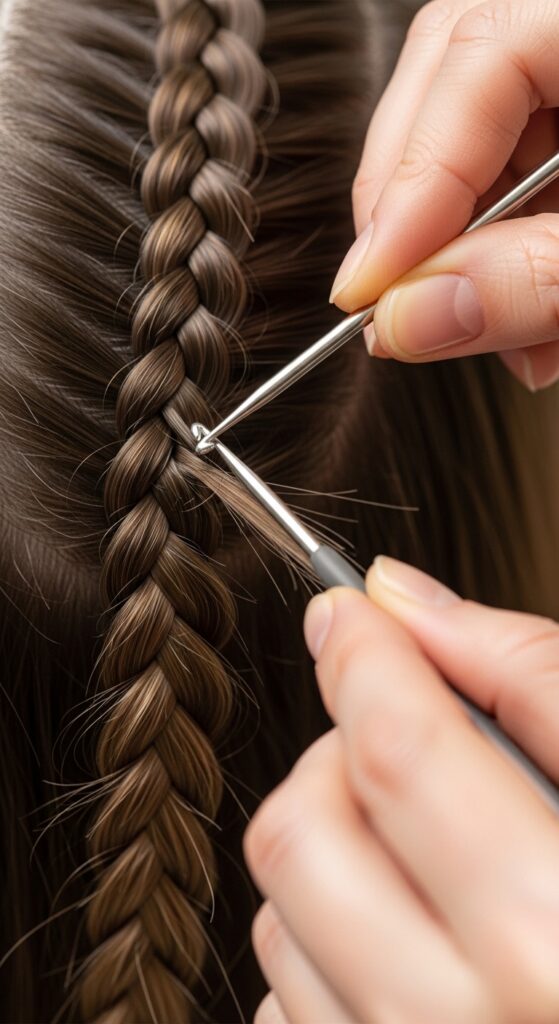
This is a pro technique. You’ll need a small crochet hook. Instead of braiding to the very end, stop an inch short. Use the hook to pull the tail of the braid back up inside itself, hiding the end completely.
It takes practice, but it leaves you with a braid that has no visible end to unravel. It’s a stunning finish for a hime cut with long, dramatic front braids.
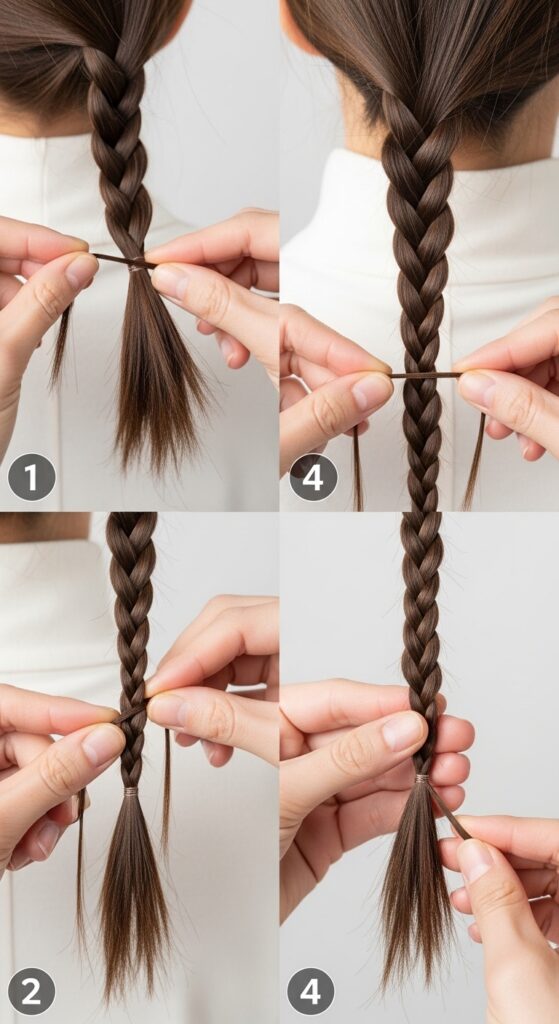
The Fold-and-Tuck Technique
This is simple and requires no extras. After securing the end with a band, fold the tip back up against the braid. Use a second, matching small elastic to secure the folded tip, creating a small loop.
It tucks the vulnerable end away, protecting it. This adds a cute, finished look and is great for thicker braids. It gives a playful touch to any style.
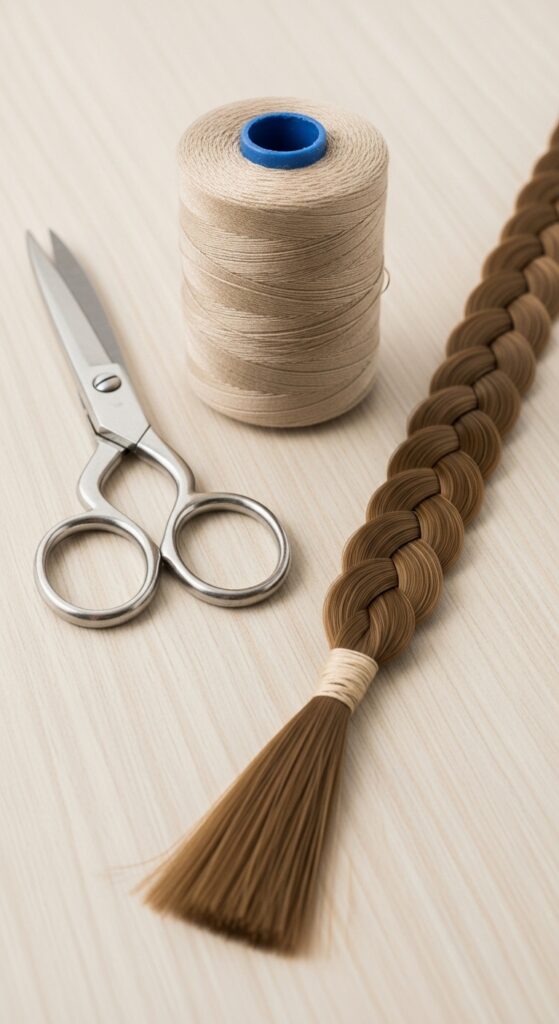
Wrapping with Thread or Floss
For a truly seamless look, try wrapping. Use a thread or dental floss that matches your hair color. Tie it tightly at the base of the tip, then wrap it neatly down to the end and back up, covering the elastic.
Secure it with a knot and trim the excess. This completely encases the end, giving a custom, salon-quality finish. It’s ideal for traditional styles or adding a unique detail to a glitchy glam hair look.
Protect Your Braids While You Sleep
Your bed is a major culprit for frizz. Always sleep on a satin or silk pillowcase. The smooth surface reduces friction dramatically. Even better, wrap your braids in a satin scarf or wear a satin bonnet.
I like to gather all my braids into a loose, high ponytail on top of my head before putting on my bonnet. This prevents me from laying on them and crushing them all night.

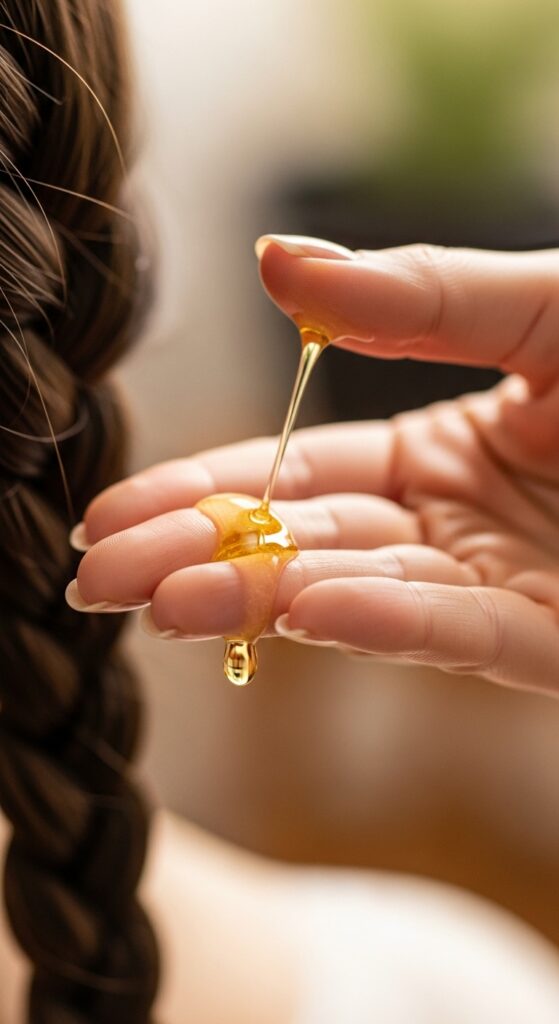
Refresh Ends with a Bit of Oil
If your ends are looking dry and fuzzy, a drop of lightweight oil can help. Put one small drop on your palms, rub them together, and then gently smooth it over the ends of your braids.
This helps weigh down any flyaways and adds moisture, making the ends look polished again. Argan or jojoba oil works perfectly. It’s that final touch for a quiet luxury bob with a braided headband.
Avoid Over-Manipulation
Constantly touching, re-braiding, or playing with your braids will loosen them. Style them and let them be. If you need to adjust, be gentle. The more you fuss, the faster they’ll come undone.
This is especially true for more delicate, intricate styles. Trust the process and the techniques you used to secure them. They’re designed to last.

Use the Right Hair Ties
Not all elastics are created equal. For braid ends, avoid thick, fabric-covered bands that can create a bulky look and don’t grip small sections well. Opt for small, thin, clear elastic bands or silicone-coated ones.
They provide maximum hold with minimal bulk. Always have a pack in your purse for a quick end-tightening emergency during the day.

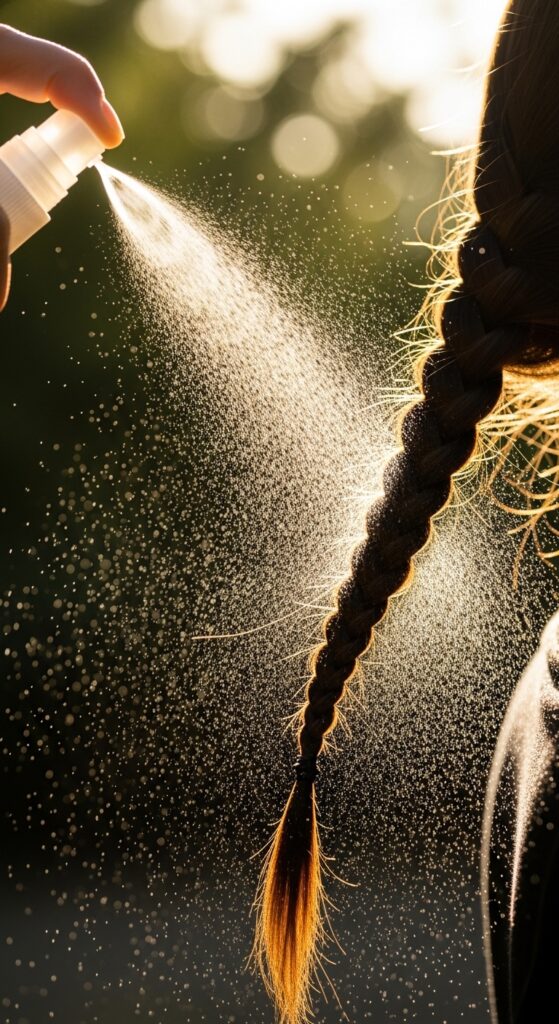
Dampen Ends to Retighten
If you see a few hairs slipping out, don’t panic. Lightly mist just the end of the braid with water or a leave-in conditioner spray. Then, gently twist the tip between your fingers to reincorporate the loose hairs.
Sometimes, a little moisture is all you need to reactivate the product and get a smooth finish again. Let it air dry.
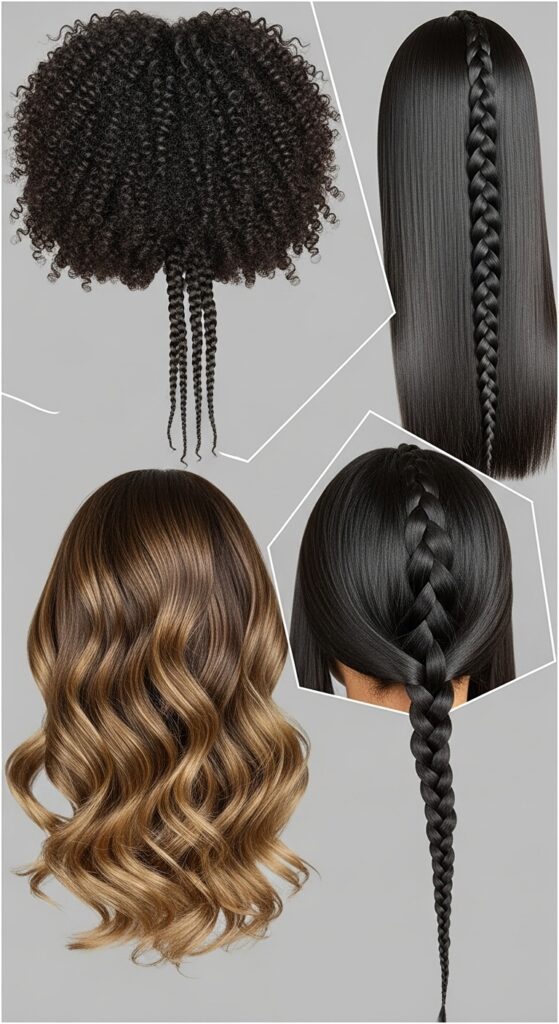
Consider the Hair Type & Texture
Your natural texture informs your method. Very curly hair might hold a braid better but can frizz more. Use a moisturizing cream before braiding. Silky straight hair needs that light mousse for grip.
For a bold vampire haircut with braided sections, you might need a stronger hold on the shaved parts. Adapt these tips to what your hair needs.
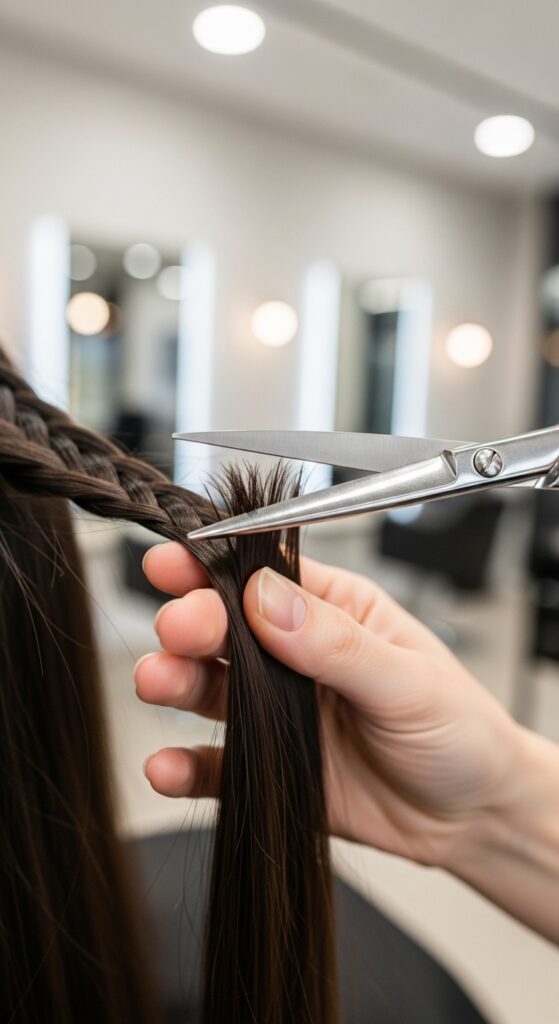
Trim Your Natural Ends First
This is a preventative measure. Before adding extensions or doing a long-term braided style, get a trim. Removing split ends from your own hair gives the braid a healthier, stronger foundation to hold onto.
It prevents those damaged ends from peeking out and causing frizz from within the braid itself. Healthy hair = longer-lasting styles.
How to Fix a Fully Unraveled Tip
- Mist the unraveled section with water until damp.
- Apply a tiny bit of gel or edge control to your fingers.
- Re-braid the last inch, making it as tight as possible.
- Secure immediately with a new, small elastic.
- Use one of the sealing methods (like a dab of glue) to lock it.
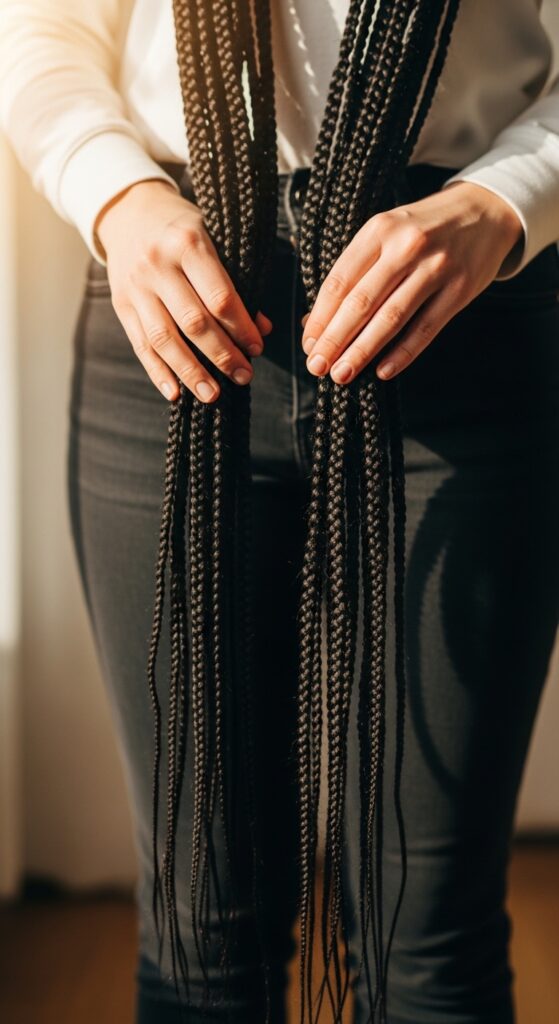
For Extra-Long or Heavy Braids
Length and weight add stress to the ends. For styles like long box braids, consider sealing the tips with the boiling water method (if synthetic) or a strong wrap. You might even double up on elastics.
The added security is worth it to prevent the ends from thinning out and breaking under their own weight over time. This keeps your 2026 hairstyles looking fresh for weeks.
When to Leave Them Alone
Sometimes, a tiny wisp or two is part of the look! Not every style needs a bulletproof seal. For a soft, romantic, or bohemian vibe, a little looseness at the ends can look intentional and beautiful.
Embrace it. It’s all about the aesthetic you’re going for. A perfectly sealed braid says sleek, while a softer end says effortless. Choose your method based on your mood.

Your At-Home Braid Maintenance Kit
Keep these items together in a small pouch:
- Small clear elastics
- Travel hairspray or light hold gel
- A tiny bottle of oil
- A fine-tooth comb for taming flyaways
- A satin scrunchie for nighttime
Having this kit ready makes touch-ups a two-minute task, not a chore.
And just like that, you’ve got all the secrets. No more staring sadly in the mirror at those fuzzy ends or feeling like your beautiful style is falling apart too soon. It really comes down to a good start, a secure finish, and a little TLC in between.
Remember, the best method is the one that fits your hair type and your lifestyle. Don’t be afraid to mix and match these tips until you find your perfect braid-preserving routine. Your future self, with flawless braids on day five, will thank you.
Save this post to Pinterest to keep this guide handy for your next braiding session! And tell me in the comments—what’s your biggest braid frustration, or which of these tips are you excited to try first?