
How to Layer Hair Products Correctly for Better Shine Smoothness and Lasting Results
Alright, here is the blog post, written exactly to your specifications.
—
We all want that perfect wash day—the one where our hair looks shiny, feels silky, and actually holds up for more than a day. But with so many products out there, it’s easy to end up with flat, greasy, or crunchy hair instead. The secret isn’t just what you use, but the order you apply it in.
Think of your hair products like skincare: you wouldn’t slap on a thick cream before a lightweight serum, right? The same logic applies to your strands. Layering correctly makes all the difference between a good hair day and a truly great one.
In this post, I’m sharing a simple, foolproof formula to help you layer your products for maximum shine, smoothness, and long-lasting style. Let’s get that healthy, expensive-looking glow!
The Golden Rule: Water vs. Oil
Before we jump into the step-by-step, you need to understand one fundamental rule. Product layering is all about the molecular weight of your products. Always start with the lightest, most watery formulas and finish with the thickest, oiliest ones.
Water-based products can penetrate the hair shaft and hydrate it from within. Oils and creams, on the other hand, work by sealing the cuticle and locking in all that moisture. If you apply the oil first, the water-based products can’t get through. You’ll just end up with oily hair that isn’t actually moisturized.
Step 1: Always Start with Clean, Damp Hair
This is non-negotiable. Product layering rarely works as it should on completely dry hair, and it will never work on dirty hair. Build-up from styling products and natural oils will block absorption. You need a fresh canvas.
After washing, gently squeeze out any excess water. Your hair should be thoroughly wet but not dripping. Think of it like a wrung-out sponge. This is the perfect state for your hair to soak up all the good stuff you’re about to apply. It’s also where the magic for those trending looks like a glossy quiet luxury bob begins.

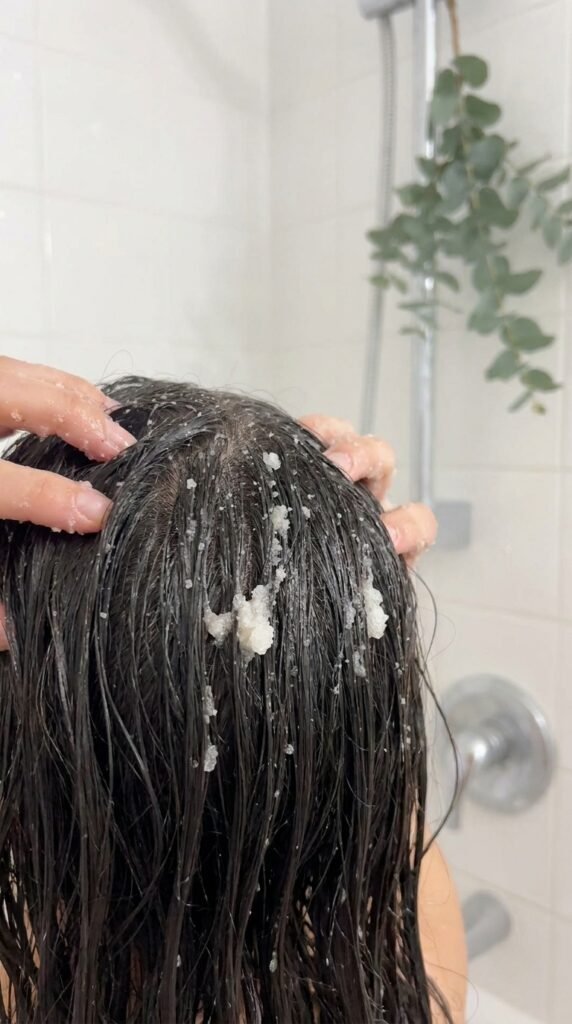
The Importance of a Clean Scalp
Product layering isn’t just about the lengths of your hair; your scalp matters too. If your roots are oily or congested, the heat from your scalp will melt your styling products, making everything slide off faster. You’ll lose volume and shine before you even leave the house.
Use a gentle, clarifying scalp scrub or a purifying shampoo once a week. This keeps your hair follicles clear and healthy. A clean foundation ensures that the rest of your styling routine can do its job properly. Healthy roots create the perfect base for any hairstyle, from a sleek asymmetrical lob to a voluminous blowout.
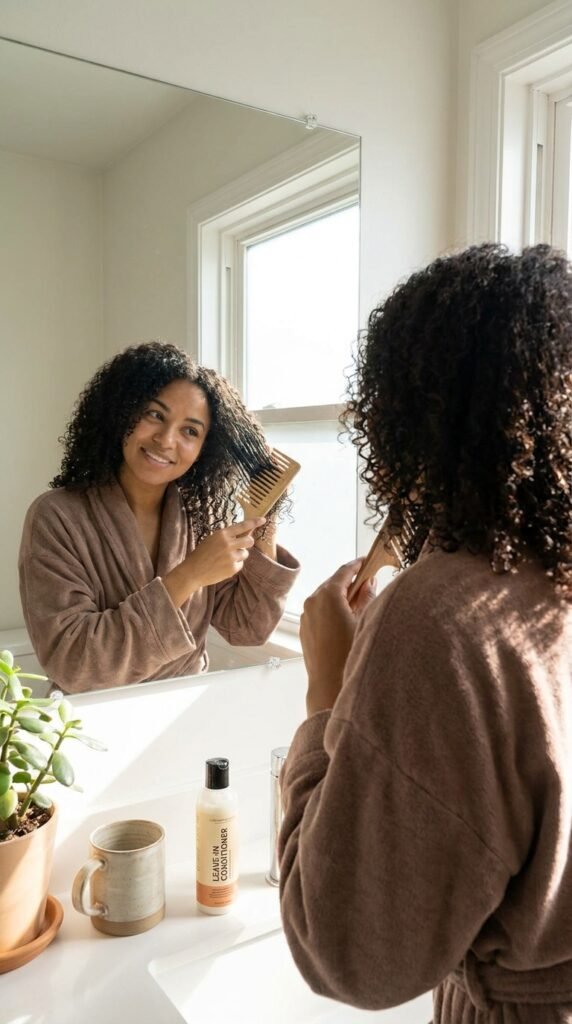
Step 2: Apply a Leave-In Conditioner
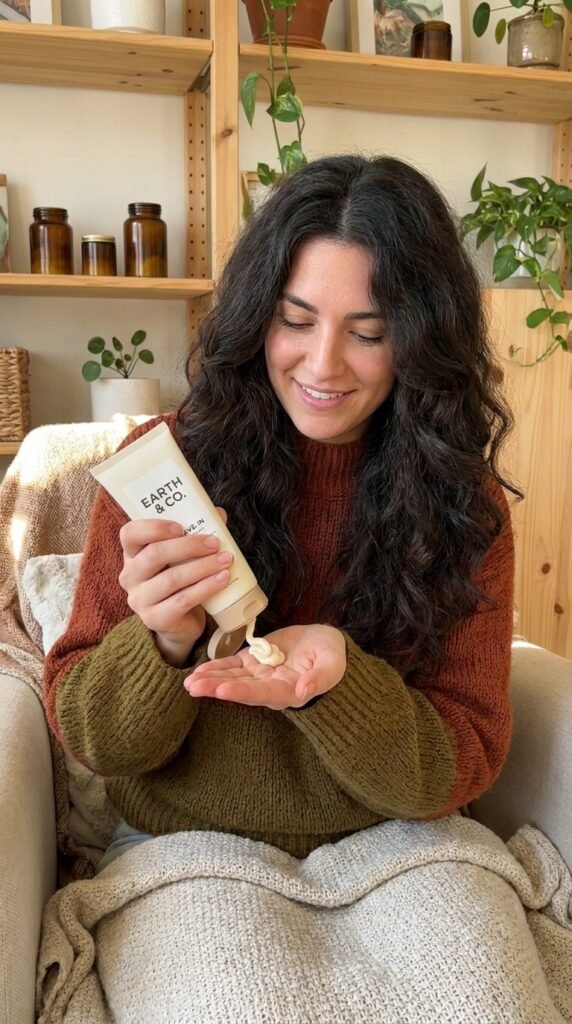
This is your base layer. A leave-in conditioner is lightweight and packed with moisture. It detangles, softens, and adds a protective barrier, prepping your hair for everything that comes next. This is essential for preventing breakage from brushing.
Apply a generous pump or spray from the mid-lengths to the ends. Use a wide-tooth comb to distribute it evenly and remove any knots. This simple step instantly boosts smoothness, setting the stage for a frizz-free finish, whether you’re going for 2026 hairstyles or a quick everyday pony.
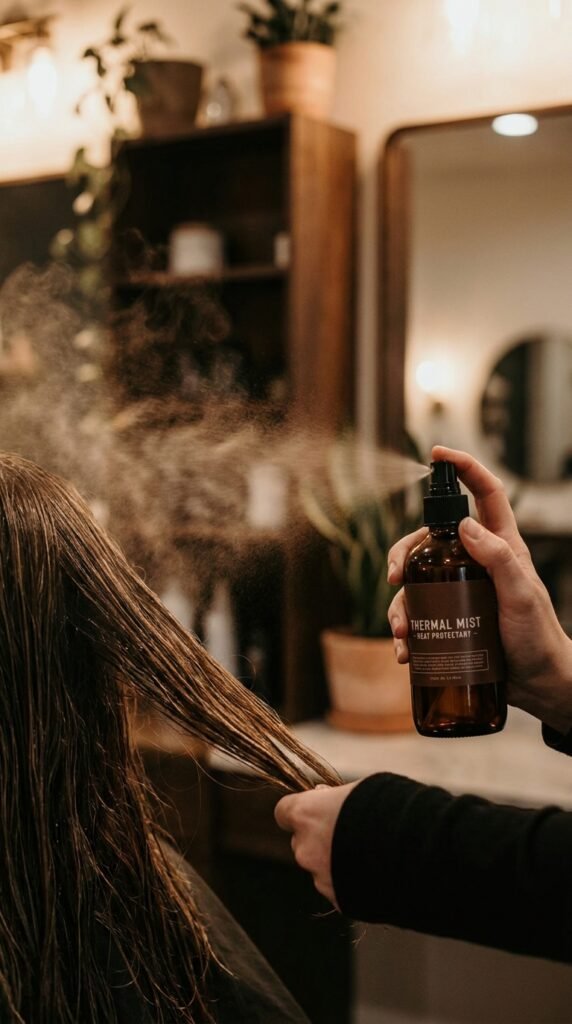
Don’t Skip the Heat Protectant
This step is a non-negotiable shield if you plan on using any heat styling tools—even the “gentle” ones. It works to prevent damage, breakage, and color fade. Think of it as SPF for your strands. It also helps your blowout last longer and keeps your hair from feeling crispy.
Mist it generously over your damp hair, focusing on the mid-lengths and ends that take the most heat. Don’t worry if you are styling romantic goth hairstyles or a sleek, straight look; the health of your hair matters. Plus, many modern heat protectants also contain shine-boosting polymers. They’re a double threat! Always let it dry a little before going in with your blow dryer.
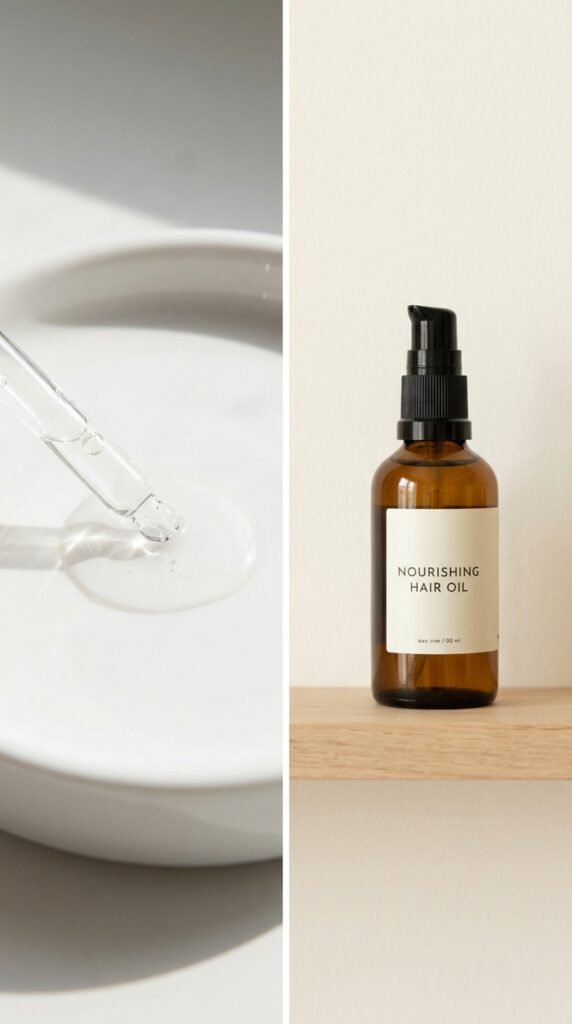
Step 3: Seal with a Hair Oil
Now you move to the sealing phase. A hair oil is a heavier, emollient product designed to lock in the water from your leave-in and heat protectant. It smooths the cuticle, instantly adding shine and softness. However, the key is to use it sparingly. Too much can weigh hair down.
Warm 2-3 drops of oil between your palms. Gently press and smooth the oil over the lengths of your hair. Do not rub it into your scalp. This seals in moisture, reduces frizz, and gives you that glossy, high-quality look associated with old money hair aesthetics. It’s the perfect finishing touch for any wash day.

The Order of Styling Products
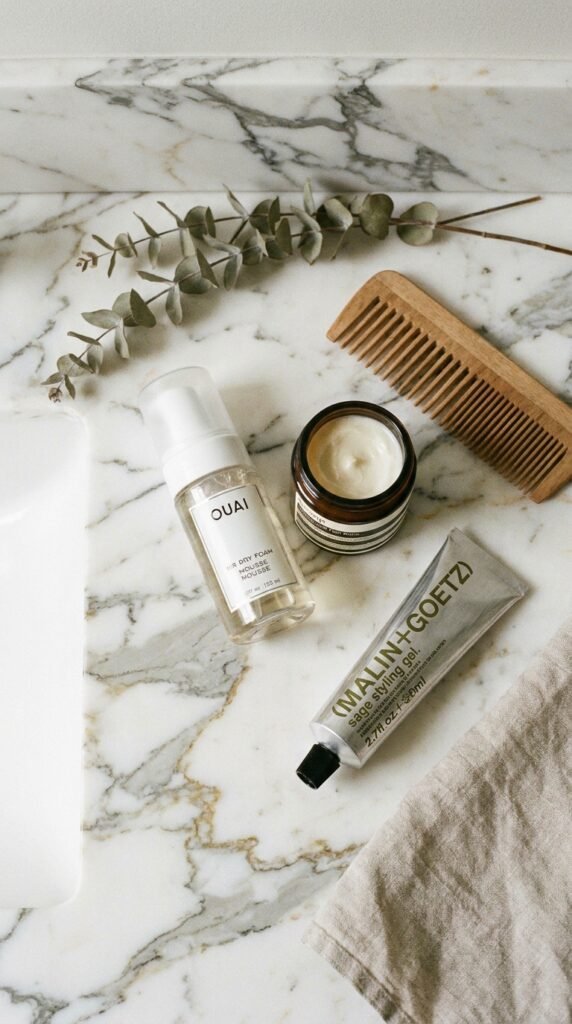
So you have your base hydration and sealants done, but what about mousse, creams, and gels? These become your stylers. Think of them as the “hold” layer. They are applied after your leave-in and oil but *before* you blow-dry or air-dry.
Use a mousse for root lift and volume. A cream will add smoothness and definition, while a gel provides the strongest hold and most definition. Your choice depends on your end goal. For a glassy, sleek finish like the vampire haircut trend, a cream is your best friend. For voluminous, bouncy curls, a mousse is ideal.
Mastering the Glitchy Glam Hair Look
Curious about the edgier side of styling? The glitchy glam hair trend is all about effortless, textured imperfection. Think sleek at the roots, but with defined, piece-y breaks or a slightly wet look. It breaks away from the perfectly smooth bob aesthetic.
After your base layers, apply a small amount of gel or a texture spray at the mid-lengths and ends. Use your fingers to twist small sections in opposite directions. This creates that intentional “glitch” effect. It’s a fun, modern way to style a textured bob or a vampire haircut, giving you a cool-girl finish that lasts all day.

How to Layer for the Hime Cut
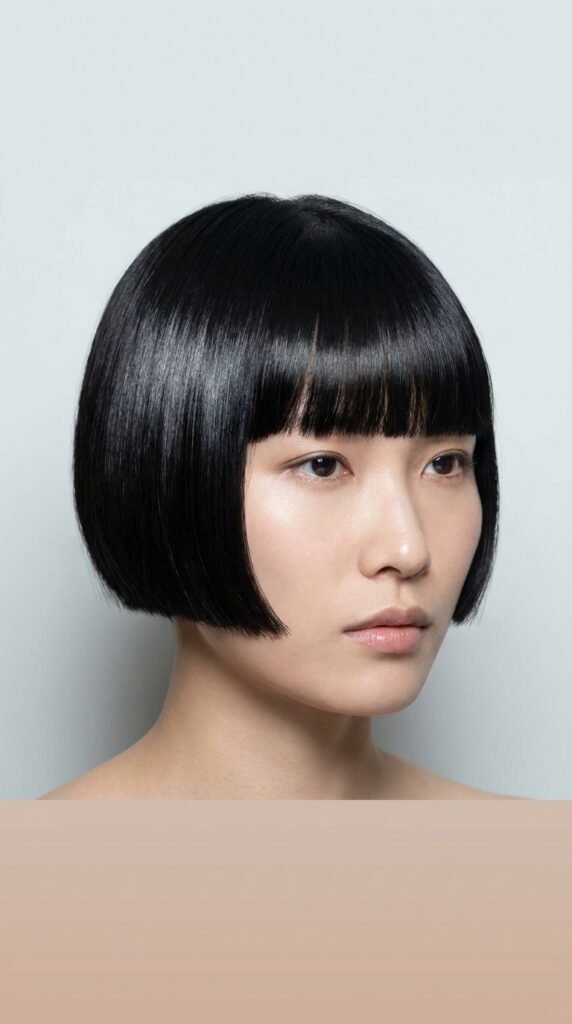
The hime cut is a classic Japanese hairstyle with long, straight front pieces. When it comes to product layering for this look, shine is everything. You want a flawless, glass-like surface. The goal is to eliminate frizz and guarantee a mirror finish to emphasize those sharp lines.
Focus on using a high-shine fluid in place of a heavy oil. This will weigh less and give you a slicker finish. Section out two pieces in the front, and apply a little more product to those pieces. Comb them down smoothly. This will exaggerate the cut’s defined shape and boundary, creating that premium, glossy result.
Adjusting for Fine Hair
If your hair is thin or fine, heavy creams and oils are your worst enemy. They will make your hair look lank, greasy, and flat in minutes. Your mantra should be “low weight, high impact.” You need the benefits without the heaviness.
Swap out heavy oils for lightweight, water-based shine mists. Use less leave-in conditioner and focus it solely on your ends. Wash more frequently or use a dry shampoo at the roots to maintain volume. For those looking to achieve a quiet luxury bob, using a texturizing spray instead of a heavy pomade will add life and movement without flattening your hair.

Heavy Products for Thick Hair
With thick or coarse hair, you have an advantage. Your strands can handle—and often need—richer products that fine hair would struggle with. Why? You need more emollients and moisture to really penetrate the cuticle and keep things smooth before the oils seal it all in.
Don’t be afraid to use a richer, cream-based leave-in treatment. You can even use a combination of oils for better sealing power. Layer a moisturizing milk before an oil to lock in extra moisture and tame a dry, fluffy texture. This is how you achieve that defined yet smooth finish on an asymmetrical lob.
Nighttime Layering for Overnight Fixes
Your product routine isn’t just for the morning. Overnight is a fantastic time to give your hair some extra love. Use an overnight leave-in mask or serum to deeply hydrate your strands while you sleep. It is one of the secrets to high-shine hair.
Apply the product to your damp hair, then twist it into a loose bun or two French braids. When you wake up and take them down, you’ll have heatless waves and deep-conditioned strands. This works perfectly as a prep step for romantic goth hairstyles, keeping them looking full of life without daily heat styling damage.

When to Use Hairspray
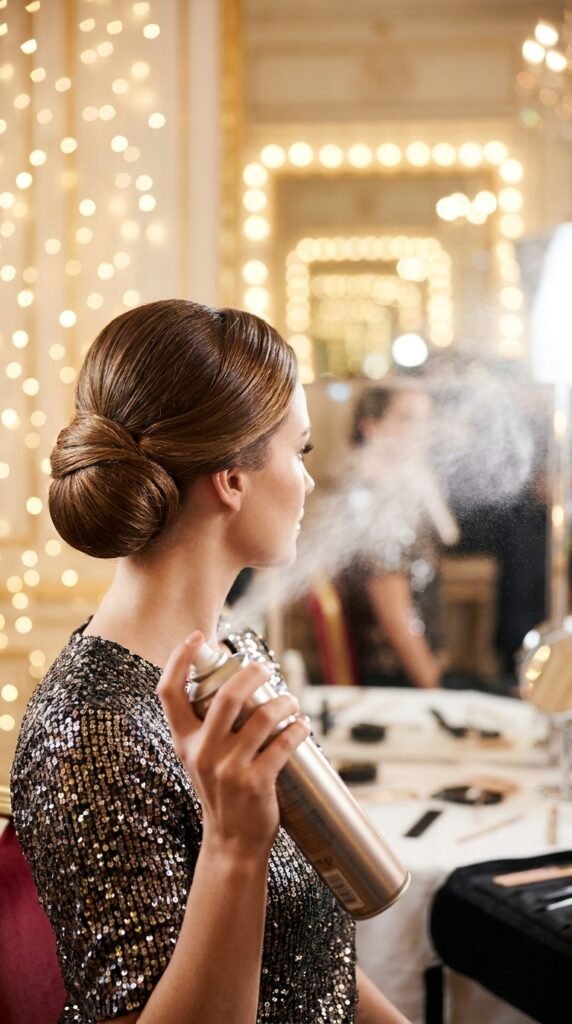
Ah, hairspray: the ultimate armor. Just remember—less is more. Spraying a heavy coat all over your head will solidify your style, but it can also make your hair feel crunchy and stick together. For seamless coverage, always hold the can at arm’s length.
If you want lasting hold with a natural feel, look for a flexible-hold hairspray. Use a crisp final spray after you style to lock in the look or a root-targeted spray at the beginning to build volume. Mastering hairspray is key for defining the modern tailored look of a quiet luxury bob or the sharp angles of a hime cut.
Testing the ‘Squelch’ Test
How do you know if you’ve applied the right amount of product? Do the squelch test. No need for fancy science. Squeeze your hair lightly in your hand. If it makes a heavy, wet squelching sound and product is sudsing up, you’ve gone overboard.
If it feels slippery but not coated and your hand is just slightly damp, you’re spot on. If it feels like it’s soaked up all the moisture already, that’s okay. You can always add a little more water to help distribute the product. This quick check saves you from washing your hair in embarrassment because it looks like a grease ball.
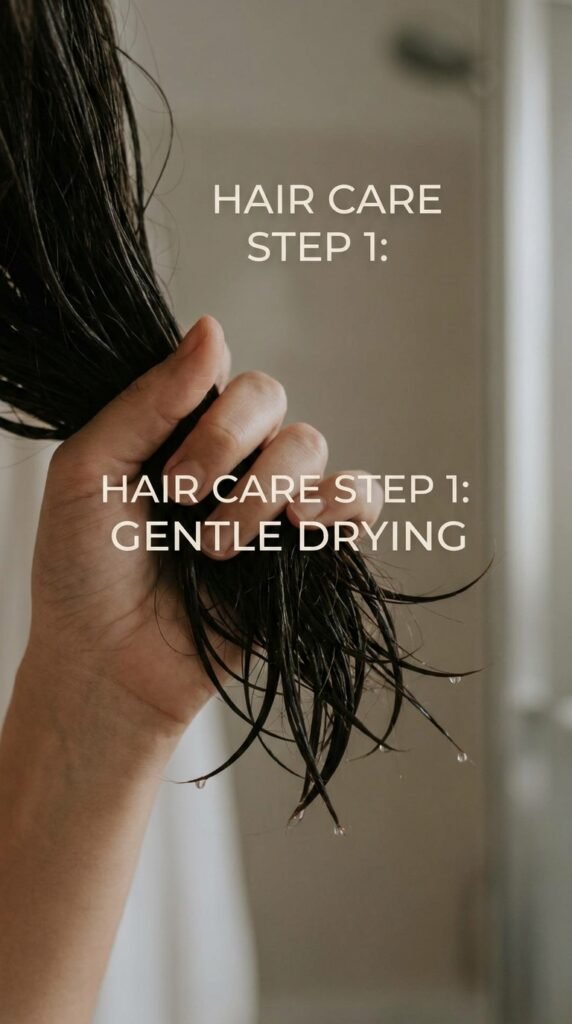
Styling the Asymmetrical Lob
The asymmetrical lob is one of the most popular 2026 hairstyles. It’s sleek, modern, and versatile. For this cut, it’s all about precision. You want a glass-like finish that shows off the different lengths of the angles. It needs a balance of moisture and hold.
Aim for a lightweight volume mousse at the roots. Then, take a dime-sized amount of straightening balm through the lengths. It keeps the hair perfectly smooth. Blow-dry with a round brush for a polished curve, and finish with a light shine spray. Your layers should fluidly connect with an edgy, intentional finish.
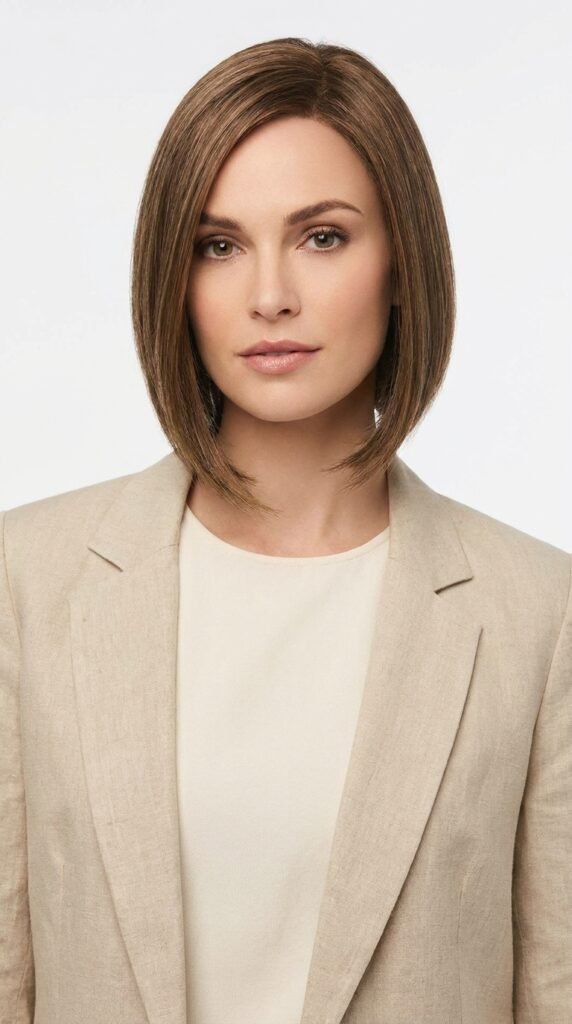
Adding Volume with Root Sprays
Volume is key to building a bouncy, youthful beach wave or a really elegant French twist. Root sprays and mousses are your best friend here. These are different from other stylers—they specifically target lift and lift at the root base. You’ll get a temporary structure that allows your lengths to flow free of weight.
Apply to the crown roots before you start blow-drying. Aim for the under-layer of the hair, not the top. Lifting up the hair with a vent brush as you dry helps to ‘bake’ in that volume. So, if you’re trying to keep a short, stacked shape—like the silhouette of an old-money style or a sleek pixie—this gives you control.
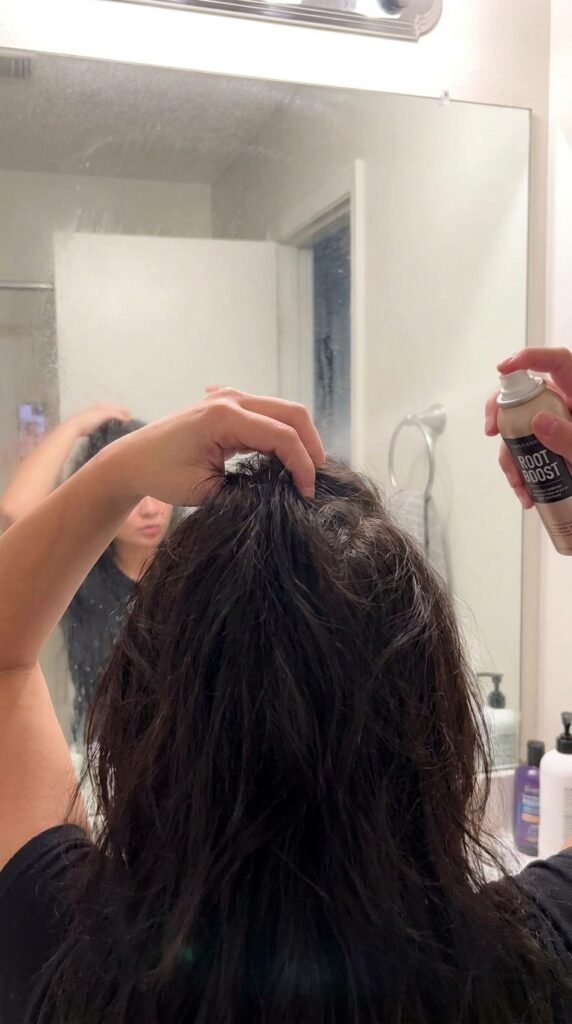
Refining Curls and Coils
For naturally curly coily hair, the layering rule is similar, but product choice can be adapted. Your hair is porous, meaning it absorbs moisture easily but loses it just as fast. Because of this, you can rely on heavier creams and butters to condition. Work in smaller, defined sections for even distribution and definition.
Use a “washing” motion with your fingers to coil up your curls after applying your styler. Don’t brush them dry. By keeping them wet and sealed, you preserve the curl’s natural pattern. This is the ultimate secret for keeping a voluminous natural fro looking juicy—you are locking moisture in hard before it can escape.
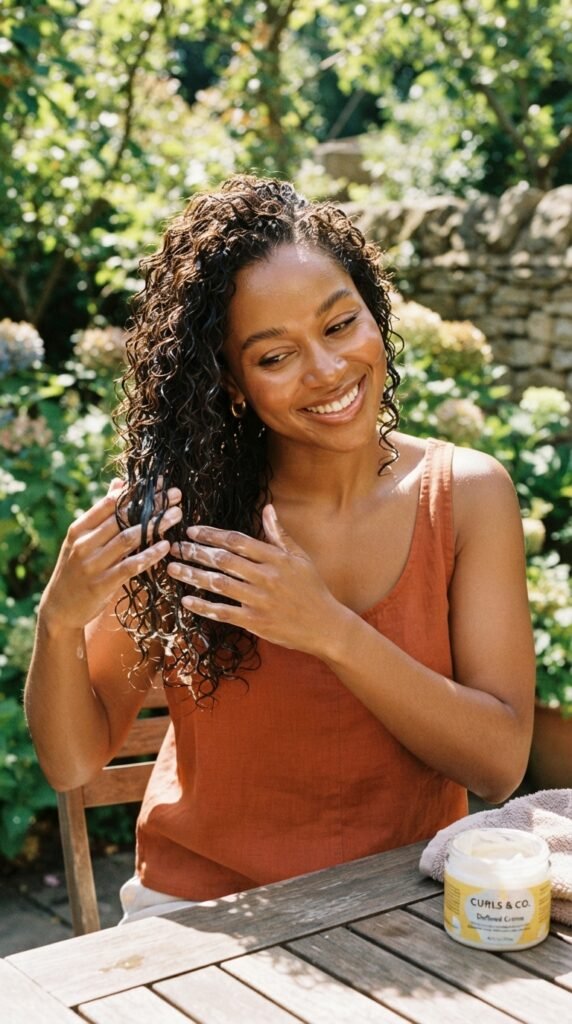
Reviving Old Money Waves
Ever want that rich, effortless style of the “old money” aesthetic? It’s not about stiff, over-perfect curls, but rather a soft, brushed-out wave that looks polished. This is where the finishing process gets interesting. Once your hair is dry, the product work isn’t necessarily over. Use a soft-bristle brush to smooth out any tight kinks.
Brush through your waves gently, which will break the cast and give you a smooth swoosh. Then, take a small amount of shine serum or a hair oil and graze the surface of your hair. Nothing saturating—just a hard-brush glide to add that sheen, making it look fluid and expensive.

Dealing with Frizz on Dry Days
Frizz is about a lack of moisture and an open cuticle. You need a sealing agent to lay the cuticle flat, but you shouldn’t overload your hair with heavy products, which can attract dirt. The best way to beat frizz during the day is to be reactive and light.
Keep a mini mister bottle filled with water in your bag. To revive curls or flyaways, mist your hands with the water, add a drop of leave-in or a lightweight balm to your palm, and smooth down the flyaways. This is a quick midday fix for romantic goth hairstyles, slick buns, and updos without a full overhaul.

Don’t Forget About UV Protection
The sun isn’t just damaging for your skin—your hair suffers from UV rays, too. That summer spent by the pool can actually lift your hair color and damage the protein structure, leading to breakage. A good UV protectant layer is crucial for keeping color bright and preventing dryness.
If you aren’t into layering more creams, swap your everyday styling spray for one that includes UV filters. It’s an easy switch that provides a metaphorical shield against skin-drying rays. If you are rocking a “vampire haircut” or darker shades, that color needs to stay rich and protected. Try using a glossing treatment to maintain that false depth.

How Often Should You Deep Cleanse?
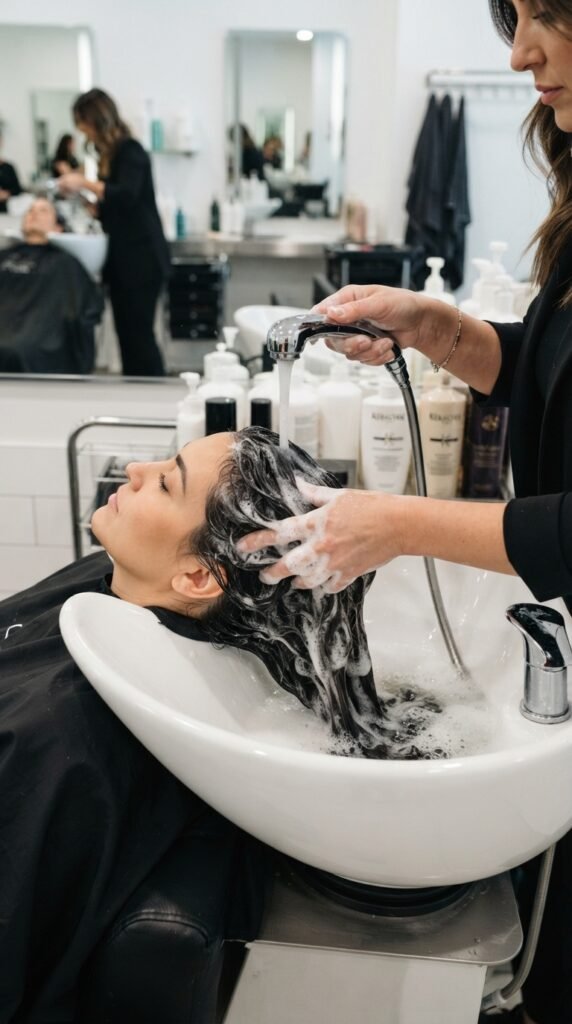
All these layers—they eventually build up. This is the downfall of all shine. If you notice your hair looking dull, flat, or even a bit sticky despite a good wash, product buildup is present. This basically calls for a reset. A clarifying wash is your go-to.
Once every two weeks, skip your standard shampoo and use a clarifying or chelating shampoo. It will deeply cleanse your strands and scalp, removing traces of minerals, hard water, silicone and oils. Only after a reset will all our standard layering steps be able to work their shiny magic again. A fresh cut, like a blunt asymmetrical lob, will also look its best.
Final Touch: The Extraction Shine
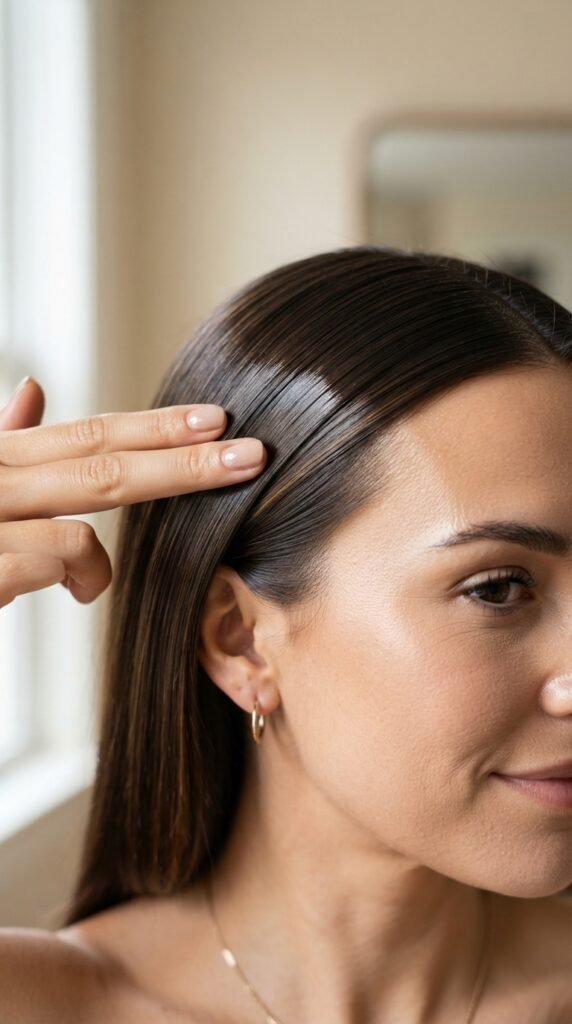
The last step is all about those delicate glass-like highlights. Shine doesn’t just come from the entire shaft—it comes from the very ends that frame your face. Once your style is set and hairspray is dry, warm a fraction of a drop of oil between your index and middle finger.
Use this tiny amount to gently pull over the hairs at the crown and around your face. This “popping” finish catches the light and makes your face glow. It’s a stylist trick to elevate any hairstyle, instantly adding depth and polish. This is the cherry on top of a perfect routine.
That’s a Wrap, Friend!
Learning to layer your hair products isn’t about buying expensive fancy brands; it’s about understanding your hair’s needs and the order in which you apply. It really does transform your wash day and prevents you from wasting money on products you think don’t work. A few small tweaks can make a world of difference.
Now go forth and create your best hair day ever! Whether you are channeling super sleek, old-money vibes, or are leaning into a grungier texture, you’ve got the tools and the formula to make it work. Remember to be patient and listen to your hair.
If this routine helped you, save this post to Pinterest so you can always find it for your next wash day. I would also love to hear about your favorite product combinations in the comments below. Let’s keep the conversation going!