How to Make layered shag Hair Look Expensive on a Budget
So, you took the plunge. You got the layered shag haircut of your dreams, a cascade of textured, face-framing layers that promises effortless cool-girl vibes. But now, a familiar fear might be creeping in: how do you keep this high-maintenance-looking haircut looking expensive and sharp without spending a fortune on salon products and weekly appointments? Fear not. The shag, in its beautiful rebellion, is actually one of the most forgiving and budget-friendly cuts when you know its secrets.
Looking expensive isn’t about the price tag on your serum; it’s about the health, shape, and intentionality of your style. An expensive-looking shag is defined by its movement, its healthy ends, and its perfectly undone texture. With a few clever tricks and a shift in your routine, you can achieve that coveted, salon-fresh look right from your bathroom. This guide is your roadmap to making your layered shag look like a million bucks, even on a shoestring budget.
Master the Art of the “Second-Day” Shag
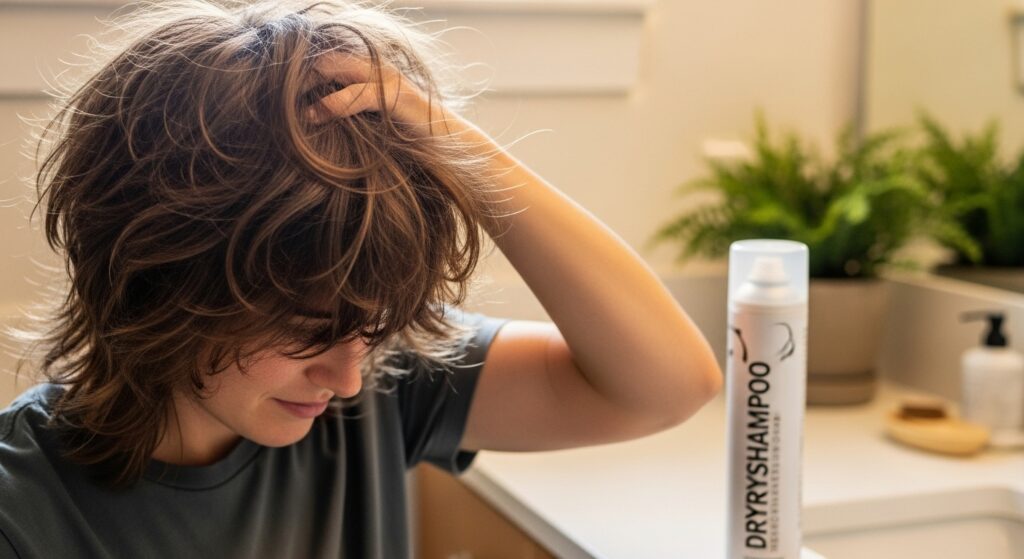
Let’s start with a little secret that will save you time, product, and your hair’s health: the shag is meant to be a little lived-in. Unlike sleek, polished styles that require daily washing, the shag truly shines on day two or even day three. The natural oils from your scalp are your best free texturizing tool. They add grit, separation, and that perfect amount of “undone” that makes the style so compelling.
To extend the life of your blowout or wash, invest in a good dry shampoo—but not just any dry shampoo. For a shag, a formula that adds texture and grip is more valuable than one that simply soaks up oil. Look for keywords like “volumizing” or “texturizing” on the bottle. Apply it at night before bed, focusing on the roots. This allows the powder to distribute evenly as you sleep, absorbing oil proactively and giving you incredible volume and texture in the morning. This one habit alone will cut your styling time and product usage in half.
The Budget Blowout: Strategic Drying for Maximum Impact
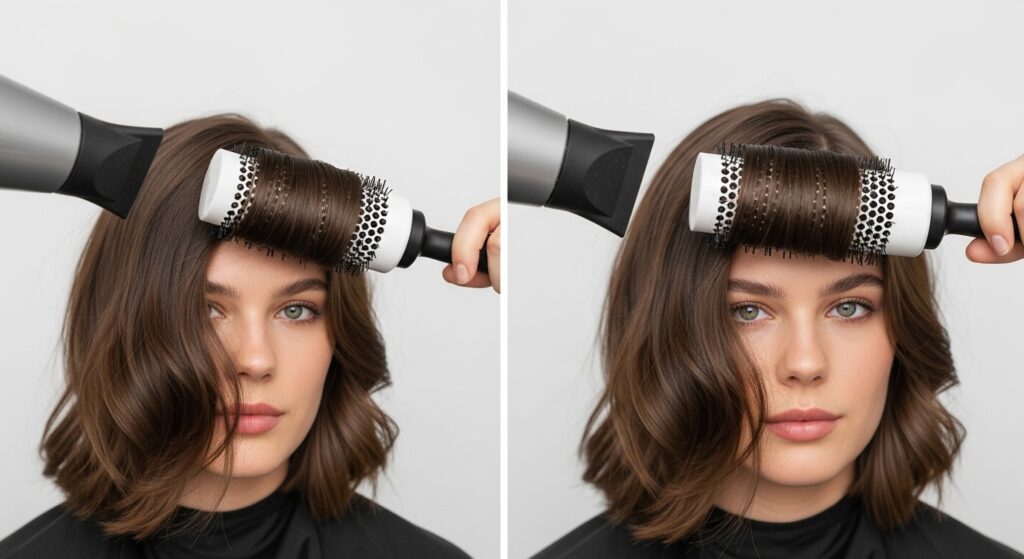
You don’t need a professional Dyson dryer to get a professional-looking finish. What you need is technique. The goal for an expensive-looking shag is volume at the roots and defined, bouncy ends. After washing, gently towel-dry your hair until it’s just damp, not dripping. Apply a heat protectant—this is non-negotiable for maintaining healthy, expensive-looking hair.
Now, flip your head upside down and blow-dry the roots first. Use your fingers to rake through your hair and lift the roots away from your scalp. This rough-drying phase creates 80% of your volume. Once the roots are about 90% dry, flip your head back up. Now, use a concentrator nozzle on your dryer (that flat attachment you probably never use) and a round brush. Section your hair roughly. Direct the airflow down the hair shaft from mid-lengths to ends to smooth the cuticle and create shine. For the face-framing layers, wrap the ends around the brush and direct the heat to create a slight bend, not a tight curl. This technique gives you that “I woke up like this” shape with intentional polish.
Texture is Your Best Friend (And It Doesn’t Have to Cost a Lot)
The soul of a great shag is texture. While high-end sea salt sprays and texturizing creams are wonderful, there are incredibly effective budget alternatives. A light-hold hairspray can be your best texturizing agent. Simply spray it onto your hands, rub them together, and then scrunch it into the ends of your dry hair. This breaks up the strands, adds grip, and prevents that “helmet head” look.
Another kitchen-counter hero? A very small amount of pomade or even a tiny dab of petroleum jelly (use this very sparingly). Warm it up between your fingers and gently smooth it over any frizzy flyaways around your hairline and part. This trick tames unruly hairs and gives a sleek, polished finish that looks incredibly expensive. The key with all texturizing products is to start with less. You can always add more, but it’s hard to take it away.

The DIY Dusting: Maintaining Your Shape Between Cuts
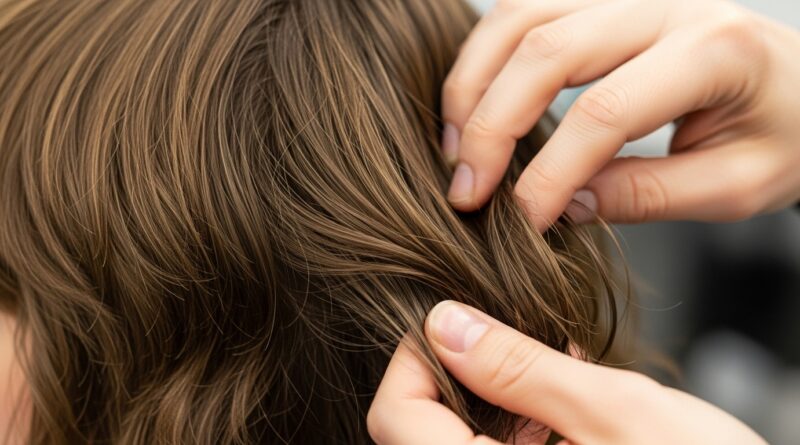
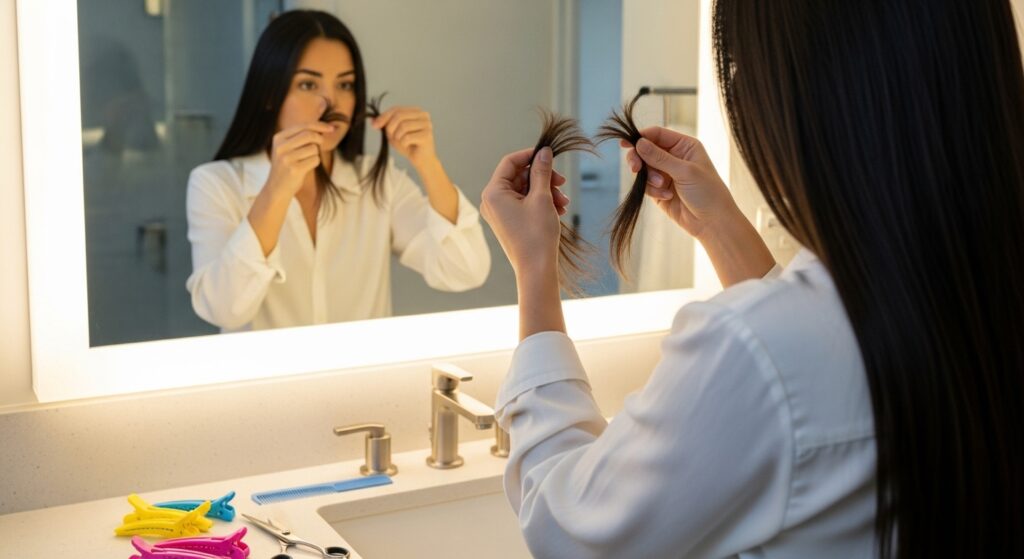
The fastest way for a shag to look cheap is when it grows out into a shapeless, heavy blob. But you don’t need a trim every six weeks to maintain its integrity. Learn the art of the “dusting.” This is where you snip off just the very tips of your hair—the part that is most likely to be split and dead—to preserve the health and shape of your cut without sacrificing length.
Search for a few reputable YouTube tutorials on “DIY dusting for layered hair.” You’ll need a pair of sharp hair-cutting shears (never use craft or kitchen scissors!) and a few sectioning clips. The goal is to carefully search for and trim only the individual hairs that have split ends. By doing this every 4-6 weeks, you can easily extend the time between professional haircuts to 3 or even 4 months, saving you a significant amount of money while keeping your ends looking fresh and healthy.
Invest Wisely: The One Product You Shouldn’t Skimp On
While we’ve championed budget hacks, there is one area where a slight investment pays massive dividends: a good heat protectant. Think of it as insurance for your hair. Cheap heat tools and a lack of protection will fry your ends, leaving them brittle, dull, and prone to splitting. This is the antithesis of an expensive look.
You don’t need the most expensive brand, but do look for a reputable one that offers a blend of heat protection and nourishing ingredients. A good heat protectant spray will not only shield your hair from damage but will also often contain silicones or oils that smooth the hair cuticle, creating instant shine and manageability. This single product makes every budget blowout look and feel more luxurious and, in the long run, saves you money on corrective treatments for damaged hair.

Accessorize Like a Pro: The Instant Elevation
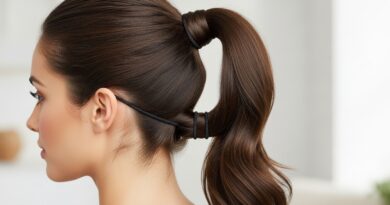
Nothing says “I put thought into this” like a well-chosen accessory. A shag haircut is the perfect canvas for statement pieces. A simple, sleek claw clip to pull back the front layers, a classic silk scarf tied around the head as a headband, or a few minimalist gold hair pins strategically placed can transform your look from casual to curated in seconds.
These accessories don’t need to be expensive. Look for simple, solid-colored clips and pins at discount retailers or online marketplaces. The goal is to add a touch of metal or a pop of color that draws the eye and makes your entire style look intentional and chic. It’s a five-second trick with a massive style payoff.

Embrace the “Undone” Philosophy
Finally, the most important budget-friendly tip of all: change your mindset. The layered shag is not a perfect, geometric bob. It’s a rock-and-roll, effortless cut. A little asymmetry, a piece that falls out of place, a slight unevenness in the texture—these are not flaws; they are features. They give the haircut its character and charm.
Stop striving for impossible perfection. Instead, run your fingers through your hair, shake your head, and let it fall where it may. The confidence you carry when you’re not constantly fussing with your hair is the ultimate secret to making any style look expensive. Your layered shag is designed to be easy, cool, and low-maintenance. By mastering these budget-friendly tips, you’re not just saving money—you’re embracing the true, rebellious spirit of the shag.