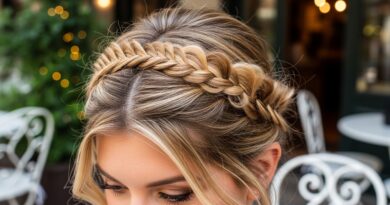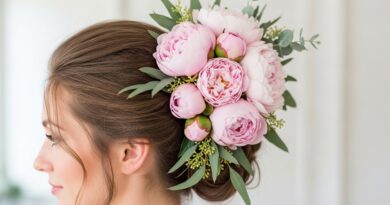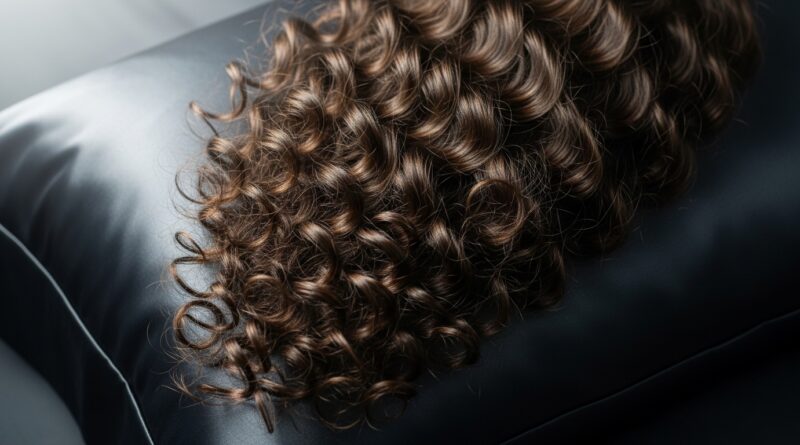
How to Make modern curl Hair Look Expensive on a Budget
Let’s be real. Scrolling through social media, you’d be forgiven for thinking that gorgeous, bouncy, defined curls require a secret trust fund. The shelves are lined with tiny bottles of miracle potions carrying hefty price tags, and the salon appointments for a curly cut can feel like a luxury. But what if we told you that an expensive-looking curly hair routine doesn’t have to cost a fortune?
The secret to modern, high-end curls isn’t about the price on the bottle; it’s about technique, consistency, and a few clever budget hacks. It’s about working with your hair’s natural texture to enhance its health and beauty. Ready to transform your curls from frizzy and frantic to polished and premium? Let’s dive into our ultimate guide to making your curly hair look expensive on a budget.
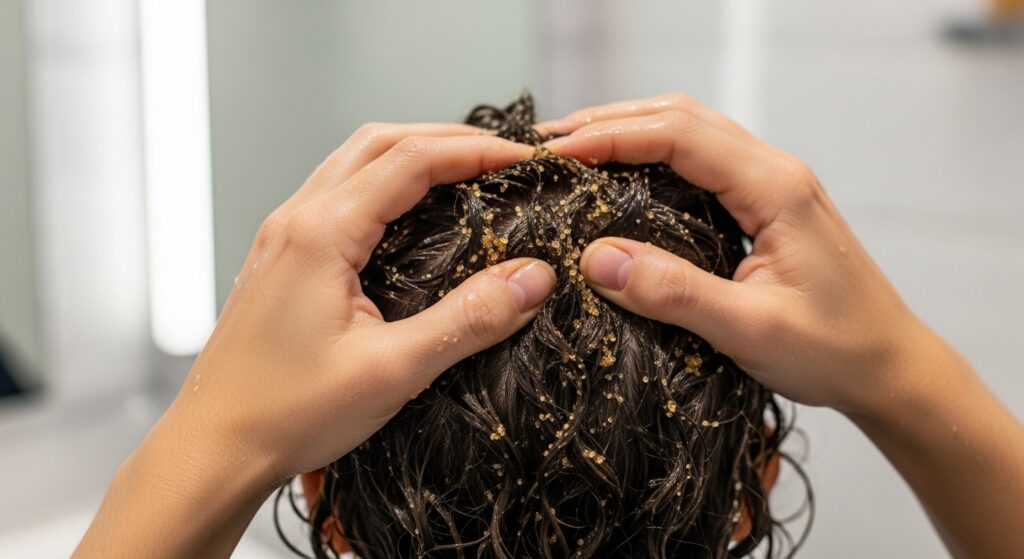
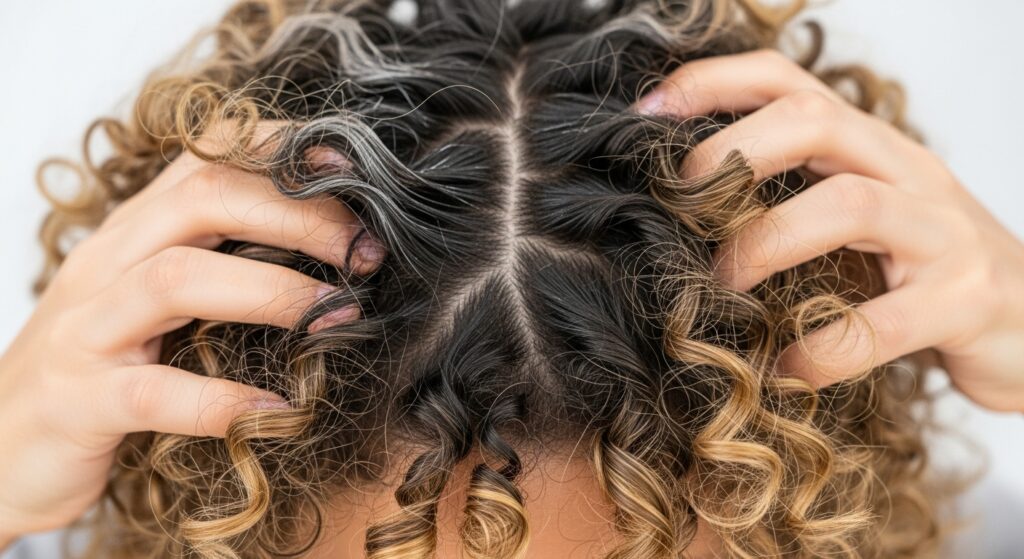
1. The Foundation: A Scalp-Cleansing Reset
Every magnificent building needs a solid foundation, and for your curls, that foundation is a healthy scalp. Expensive-looking hair is, first and foremost, healthy hair. Instead of splurging on clarifying shampoos, consider a simple, budget-friendly reset: a scalp scrub.
You can create an effective one at home with just two ingredients: brown sugar and your regular conditioner. Mix a tablespoon of each and gently massage it into your wet scalp before you shampoo. This DIY scrub helps to exfoliate dead skin cells, unclog follicles, and remove product buildup, which can weigh curls down. A clean scalp promotes better hair growth and allows your natural oils to distribute more evenly, giving your hair a natural, healthy shine from the roots.
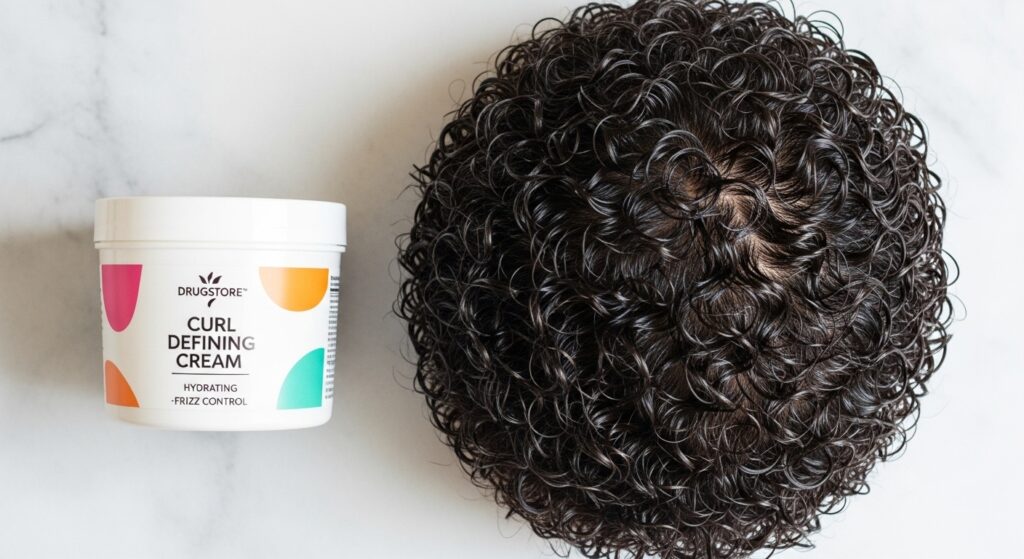
2. The Budget-Friendly “Holy Grail” Product Swap
You don’t need a shelf full of a dozen specialized products. The modern curly girl approach is leaning towards minimalism. The key is to find one or two multitasking products that work wonders for your specific curl pattern.
Instead of buying a separate leave-in conditioner, curl cream, and gel, look for a styling cream or custard that offers both moisture and hold. Many affordable drugstore brands now offer excellent, curly-hair-approved lines. The goal is definition and frizz control without crunch or stickiness. Apply your chosen product to soaking wet hair using the “praying hands” method to smooth it down, followed by gentle scrunching to encourage your curl clumps. Remember, well-defined, hydrated clumps are the hallmark of expensive-looking curls.
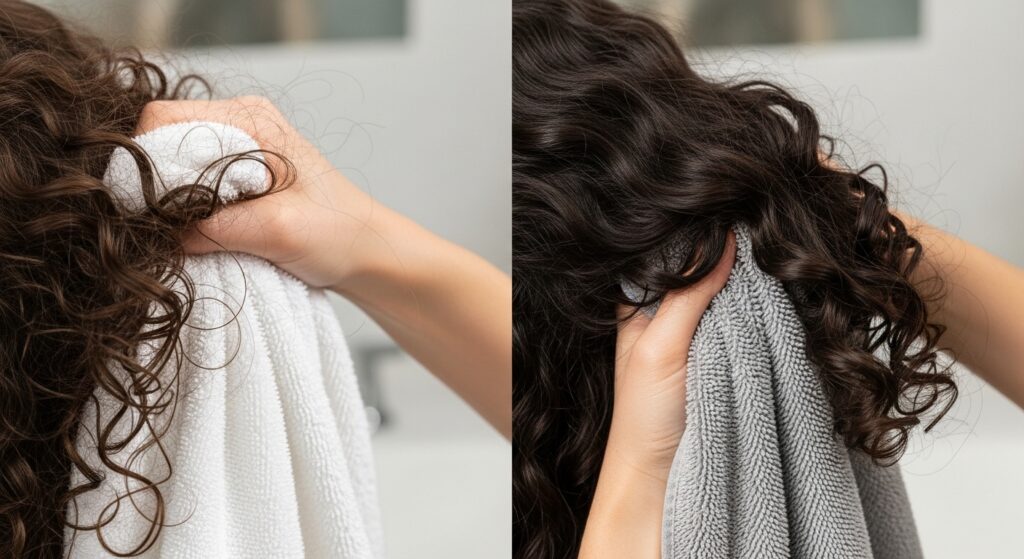
3. The Microfiber Towel (or T-Shirt) Transformation
This is perhaps the easiest and most impactful change you can make. That old, fluffy bath towel you’ve been using is a primary culprit for frizz. Its rough texture roughs up the hair cuticle, creating a fuzzy, dull appearance.
Swap it immediately for a microfiber towel or a simple, clean cotton t-shirt. Both are incredibly smooth and cause minimal friction. After applying your styler, use your t-shirt or microfiber towel to gently scrunch out the excess water. Don’t rub! Just cup sections of your hair and squeeze upward. This simple switch will instantly reduce frizz, enhance your curl pattern, and give you a much smoother, shinier finish. It’s a luxury result for less than the price of a coffee.
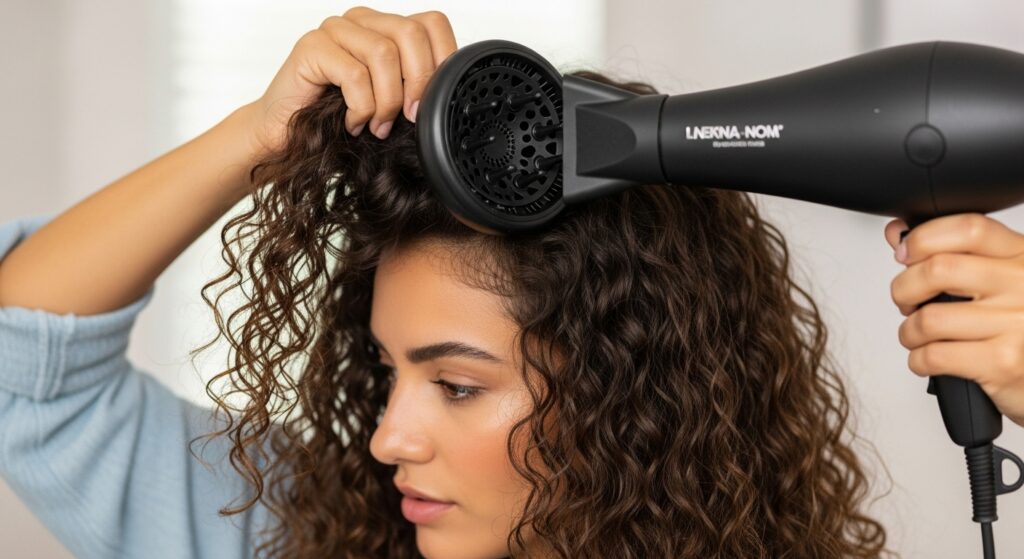
4. The Art of the Diffuser: Your At-Home Blowout
Air-drying is great, but for volume, bounce, and that coveted “salon-fresh” shape, a diffuser is non-negotiable. The good news is that you don’t need an expensive hairdryer. A universal diffuser attachment can be purchased for under $20 and fits most dryer models.
The technique is what makes it look expensive. First, do not turn the dryer on until the diffuser is in place. Cup a section of your curls and lift them up to your scalp. Hold it there for a few minutes on a low heat and speed setting, then turn the dryer off before moving to the next section. This “hovering” or “pixie diffusing” method sets the cast without causing chaos. It creates incredible root volume and preserves your beautiful curl clumps, preventing them from getting blown apart into a frizzy mess.
5. The Secret Weapon: A Silk or Satin Pillowcase
Your haircare routine doesn’t stop when you go to bed. Cotton pillowcases absorb moisture and create friction, leading to morning frizz, flattened roots, and even breakage. The solution is a silk or satin pillowcase.
While pure silk can be pricey, high-quality satin (often made from polyester) is a very affordable alternative that offers the same benefits. The smooth surface allows your hair to glide as you sleep, retaining moisture and your hairstyle’s integrity. You’ll wake up with more defined curls and less work to do in the morning. It’s an investment that pays for itself in saved styling time and product.
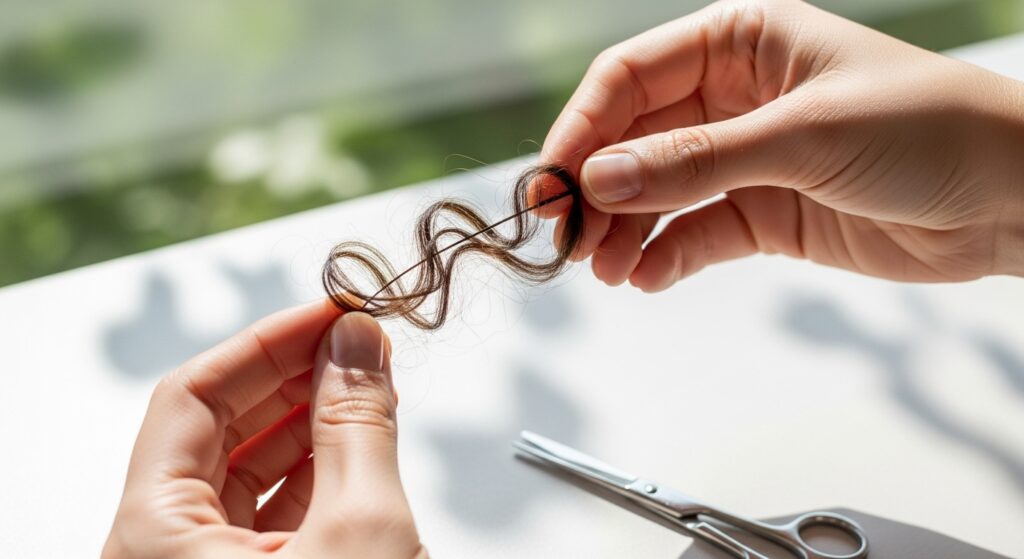
6. Strategic Trims & The “Search & Destroy” Method
Nothing makes hair look more expensive than a good shape. Regular salon trims are ideal, but if that’s not in the budget, you can maintain your ends with a clever “search and destroy” method. Instead of getting a full trim every few months, take 15 minutes every few weeks to carefully seek out individual split ends and snip them off with a pair of sharp hair scissors.
Never use craft or kitchen scissors, as they will damage your ends further. By proactively removing split ends, you prevent them from traveling up the hair shaft and causing more damage. This keeps your ends looking healthier, thicker, and less frizzy between professional cuts, preserving your hair’s overall expensive appearance.
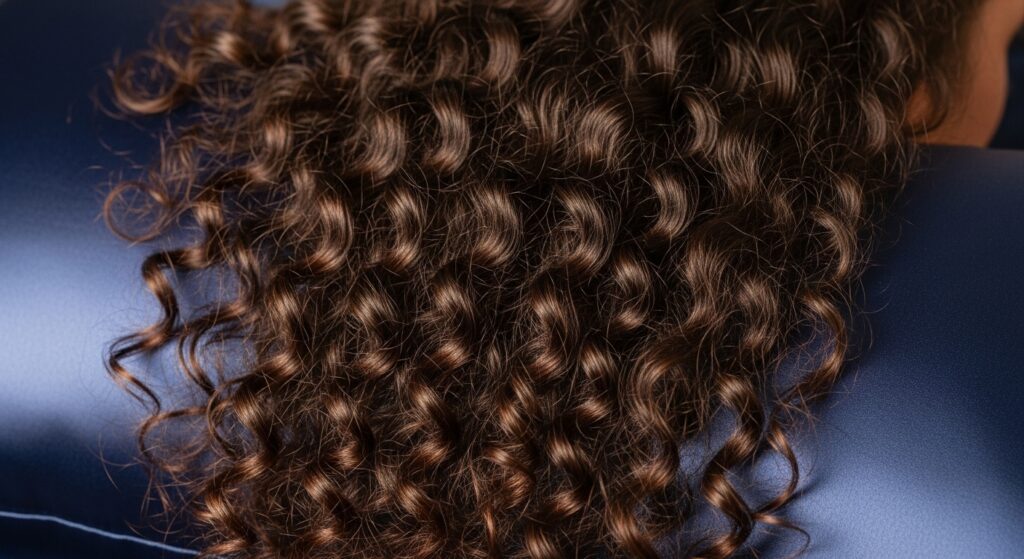
7. The Power of a Great Final Act: Scrunching Out the Crunch
If you use a gel or mousse with a strong hold, you’ll end up with a “cast”—a hard, crunchy layer over your curls. This is a good thing! It means your curls are locked in place. The expensive finish comes from how you remove it.
Once your hair is completely dry (air-dried or diffused), it’s time for the grand finale. Put a tiny drop of a lightweight oil (argan or jojoba oil are great, affordable options) or even a dab of conditioner on your palms, rub them together, and then gently scrunch your hair upwards. Break the cast without disturbing the curl pattern. You’ll feel the crunch disappear, revealing soft, touchable, yet perfectly defined and shiny curls beneath. This is the magic trick that separates amateur from professional-looking results.
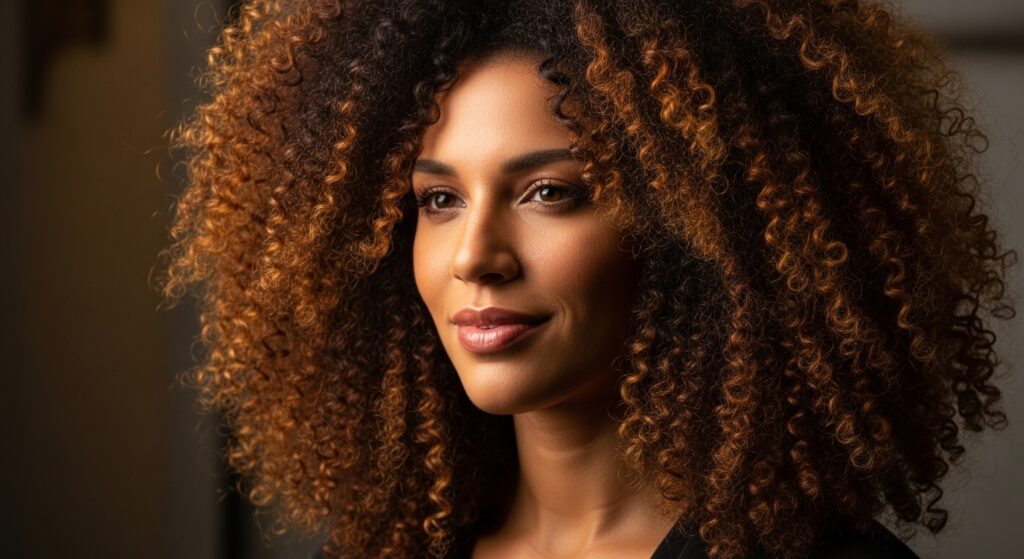
8. Embrace Your Natural Texture & Color
Finally, the most budget-friendly tip of all: learn to love your natural hair. Expensive-looking hair is healthy, confident hair. Constant heat styling and chemical coloring are not only costly but can also compromise your hair’s health over time, leading to dryness and damage that no product can fully mask.
Embrace your unique curl pattern, whether it’s loose waves or tight coils. Work with its natural texture instead of fighting it. If you want a change, explore heatless styling methods like braids or twists for a different wave pattern. Let your hair’s natural highlights and lowlights shine through. This authenticity is the ultimate sign of luxury—it shows you know and appreciate what you have.
Conclusion: Luxury is a Feeling, Not a Price Tag
Creating expensive-looking modern curls on a budget is entirely within your reach. It’s not about the most expensive products; it’s about intentional care, smart techniques, and consistent habits. By focusing on scalp health, using multitasking products, protecting your hair at night, and mastering the art of diffusing and scrunching, you can achieve a head of curls that looks like it just stepped out of a high-end salon.