How To Master The Wet Look Hair Trend Without Sticky Residue
Wet look hair is having a moment, and honestly, I get it. It looks expensive. It looks intentional. It looks like you either just stepped out of a very chic rainstorm or off the set of a music video, depending on your vibe.
But here is the problem nobody warns you about. Most of us try it once, end up with stiff, sticky strands that feel like syrup, and never attempt it again.
Good news: the wet look does not require half a bottle of gel. It just needs the right products, the right order, and a few small tricks I learned the hard way.
By the end of this post, you will know exactly how to get that glossy, effortless finish without the crunch, the flakes, or the icky residue. Let’s get into it.
The Wet Look Is Not the Same as Soaking Wet Hair
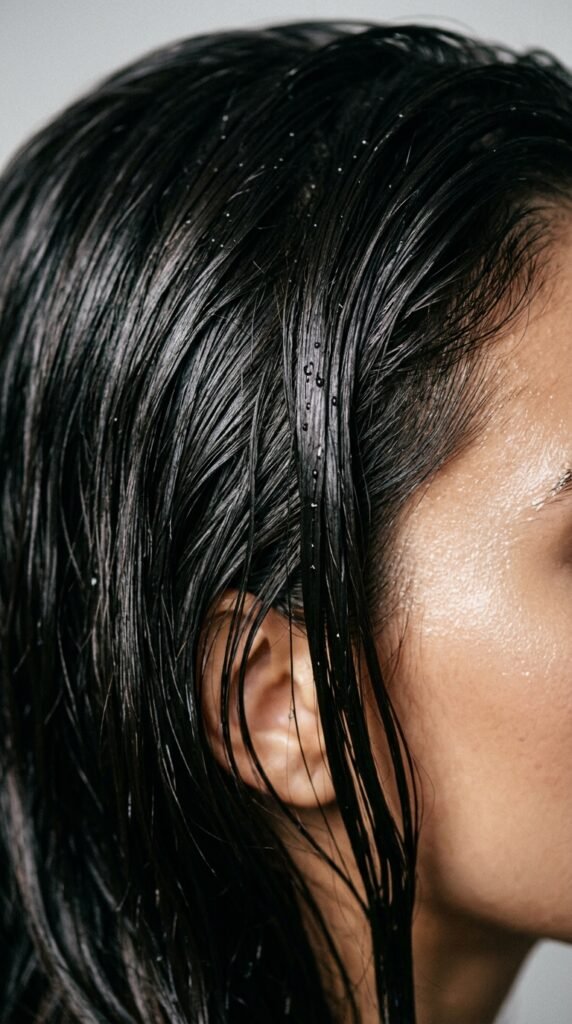
Here is the first thing to understand. The wet look is a finish, not a state. Your hair should look like it just came out of water, but it should feel flexible and touchable, not crunchy.
There are two main versions. The glassy slick-back is glossy and sculpted, usually pulled tight. The damp, textured version is softer, with movement and a little bounce.
Most of the 2026 hairstyles you are seeing on your feed sit somewhere in the middle. Glossy at the roots, soft through the ends. That balance is what keeps it from looking sticky.
Why Sticky Residue Happens in the First Place
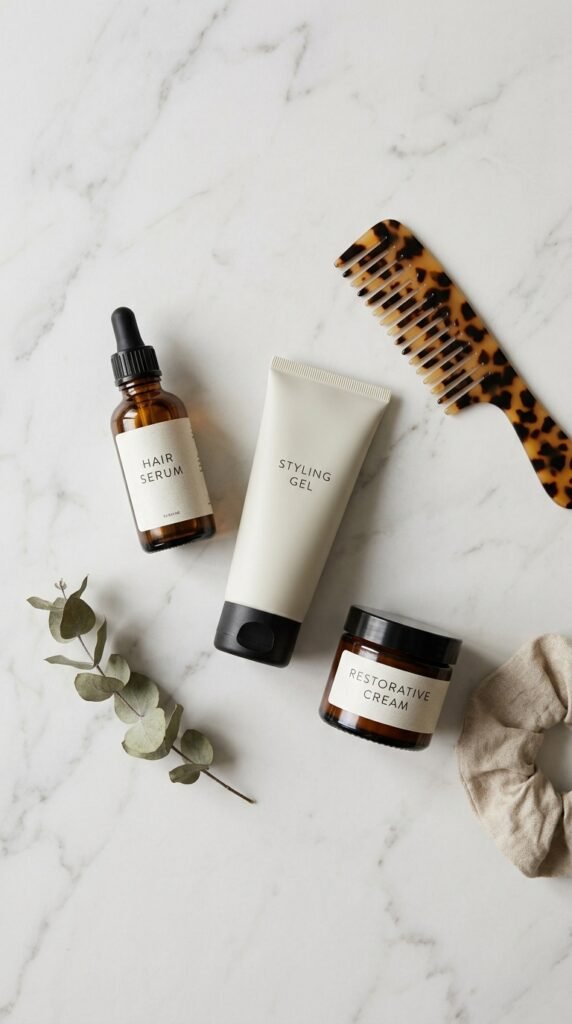
Sticky hair is almost never a mystery. It usually comes down to one of these:
- Way too much product for your hair density
- Layering heavy wax over water-based gel
- Applying to hair that is still dirty or coated
- Mixing silicone serum with a water-based styler
- Not letting the product dry fully before touching it
Fix those five and you fix about 90 percent of wet look disasters. The other 10 percent is usually just the wrong product for your hair type, which we will cover too.
Pick Your Finish Before You Pick Your Product
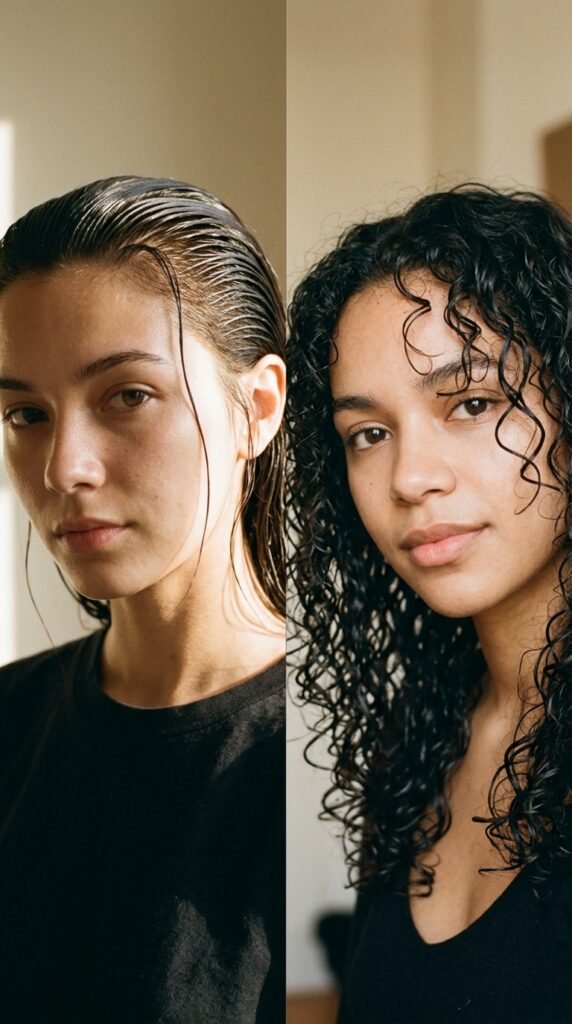
Before you buy anything, decide what you actually want. This one step saves you so much trial and error.
- Glassy: high shine, sculpted, zero movement. Best for bobs and updos.
- Damp: soft, textured, touchable. Best for curls and waves.
- Hybrid: glossy roots, soft ends. The safest bet for everyday.
The hybrid finish is what I recommend for anyone trying the trend for the first time. It flatters a quiet luxury bob just as much as it flatters long romantic curls, and it rarely looks sticky.
Always Start With Clean, Conditioned Hair
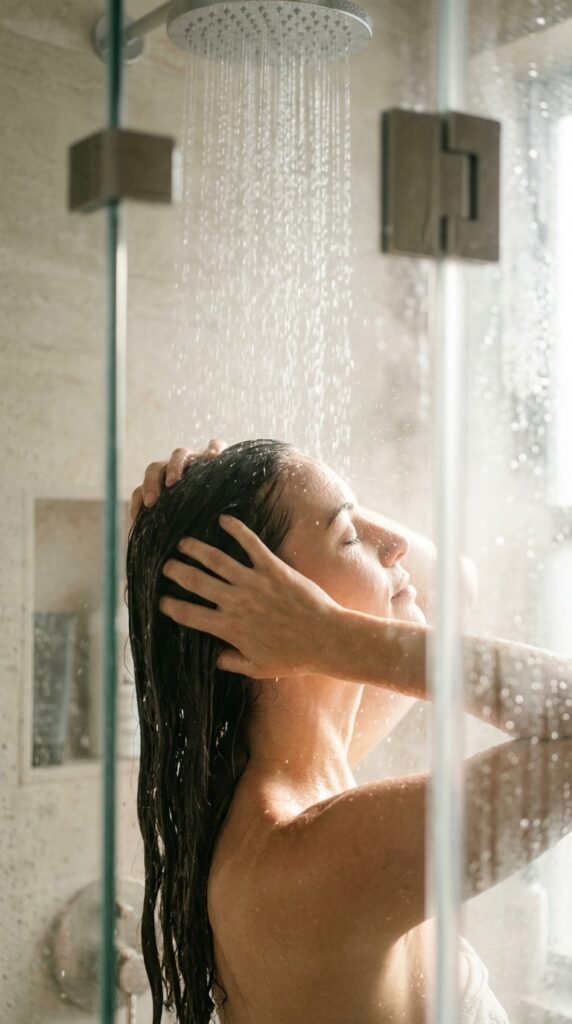
I know some stylists swear by day-two hair for texture. For the wet look, ignore that advice. Product sits on top of buildup, and buildup is what turns sticky.
Wash with a gentle shampoo, then condition from mid-length to ends. Rinse well. Any leftover conditioner near your roots will weigh things down and create that greasy, gummy feeling.
Here is the important part. Do not skip conditioner to chase volume. Dry, rough hair grabs product unevenly, which means some strands get overloaded while others stay flat. Soft, hydrated hair distributes product evenly and looks glossy instead of greasy.
The Microfiber Towel Trick That Changes Everything
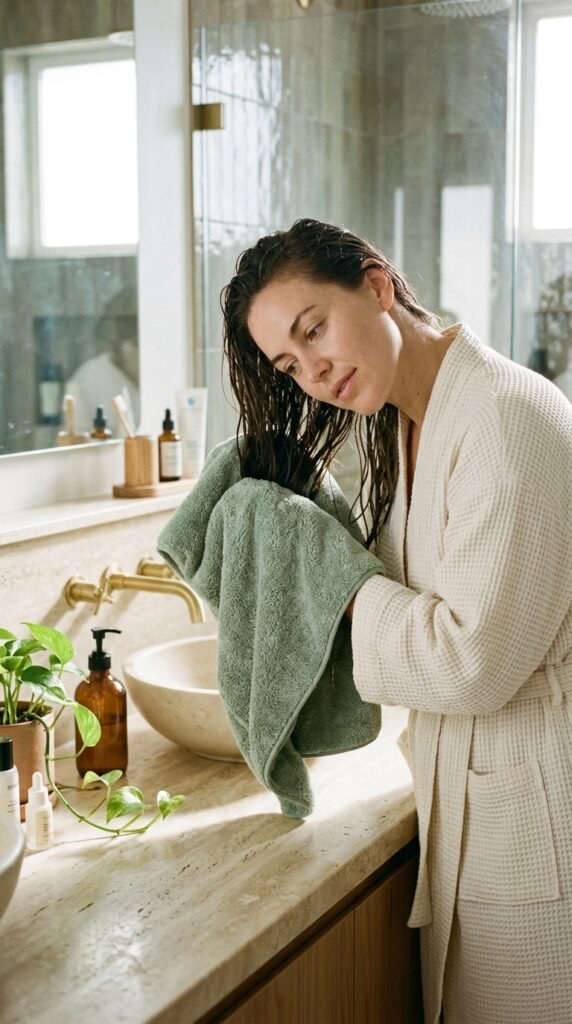
Stop rubbing your hair with a rough bath towel. That is how you get frizz before you have even started styling.
Use a microfiber towel or a soft cotton t-shirt instead, and squeeze gently from ends to roots. You are not trying to dry your hair. You are just removing the excess so the product can actually grab on.
Your target is damp, not dripping. If water is running down your neck when you tilt your head, it is still too wet. If your hair is halfway dry, it is too late and the product will sit on the surface.
Product Order Matters More Than the Product Itself
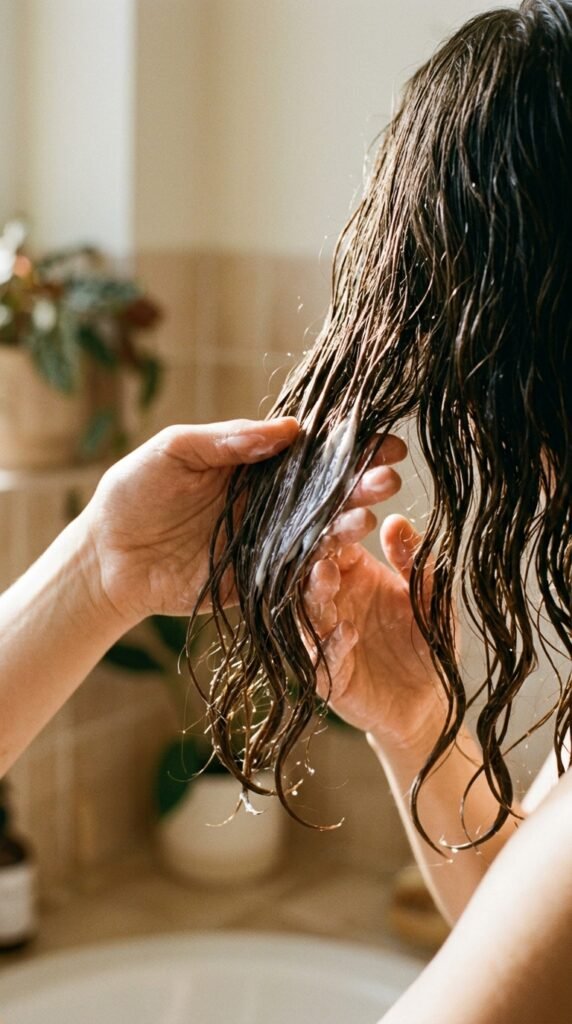
This is the tip that surprised me most. Most people mix everything in their palms and slap it on. That is why it feels sticky.
Layer in this order:
- Leave-in conditioner on damp hair
- Cream or curl enhancer through mid-lengths and ends
- Gel or glaze from roots to tips for hold and shine
- A single drop of lightweight serum, only on the very ends
Four products sounds like a lot, but the amounts are tiny. Each layer does a different job, and the result is shine without that heavy, coated feeling.
Gel, Cream, or Mousse, Which One Wins?
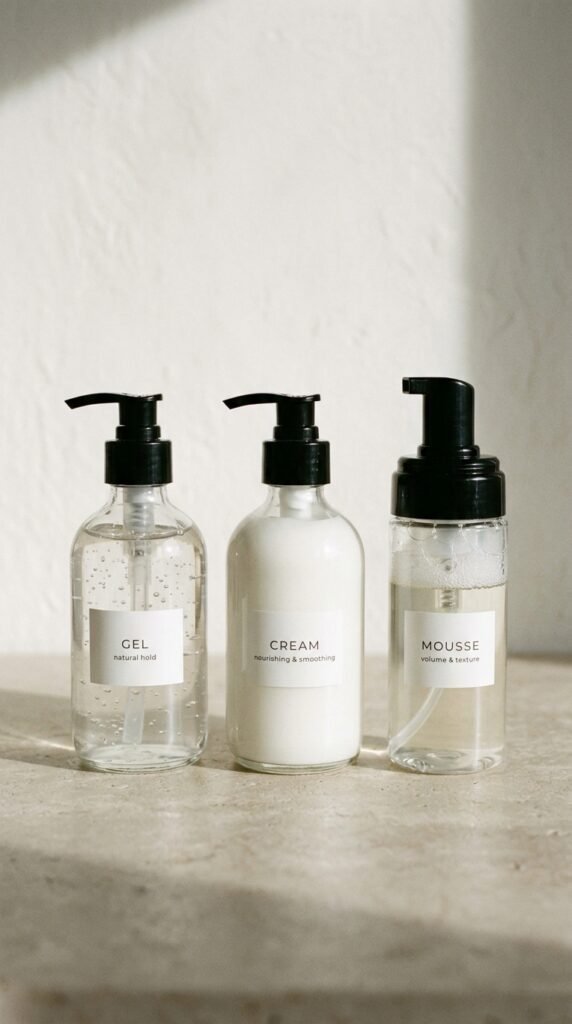
Short answer: gel is the star of the wet look, but it needs backup.
- Gel gives the glassy finish and the hold. Choose a water-based one with no drying alcohol.
- Cream adds softness underneath so the gel does not feel crunchy.
- Mousse is best for fine hair that needs lift without weight.
If you only buy one thing, get a flexible-hold water-based gel. It gives you that wet shine, and it can be scrunched out later without leaving a film. Heavy waxes and pomades are what create the sticky feel, so save those for edges only.
How Much Product Is Actually Enough?
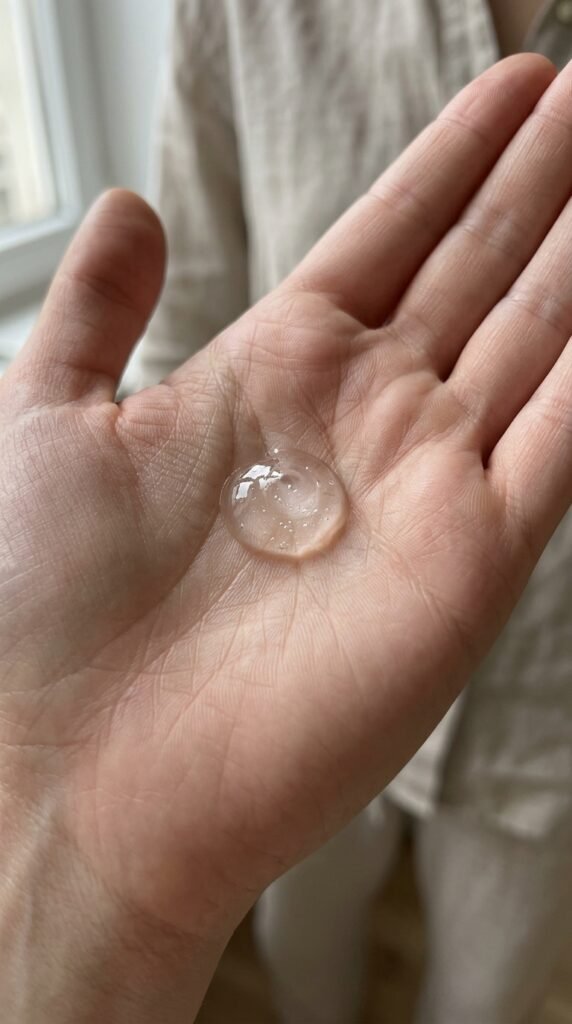
Less than you think. I promise. Start with a dime-sized amount and build from there.
Here is a rough guide:
- Fine hair: a dime for the whole head
- Medium hair: a quarter at the roots, another at the ends
- Thick or curly hair: a quarter per section, added in layers
The trick is to add water, not product, when it stops spreading. Wet your hands and keep working it through. You will get better coverage with half the product, and that single habit kills sticky residue faster than anything else.
The Raking Method for Even Coverage
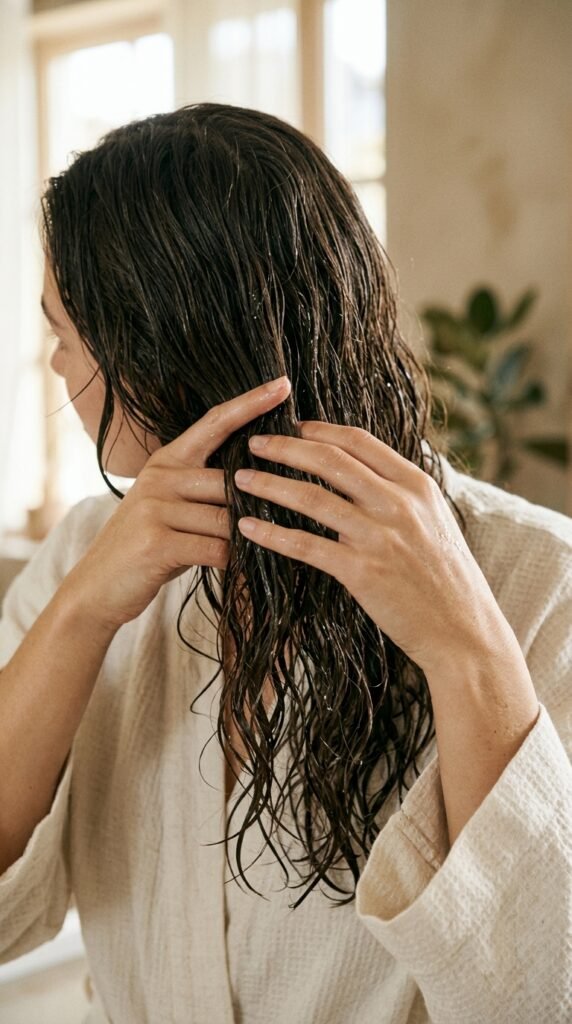
Raking is my go-to technique for the wet look because it coats every strand evenly without overloading any one spot.
- Flip your head upside down or tilt side to side
- Spread your fingers like a comb
- Start at the roots and rake down to the ends
- Repeat four to six times per section
Do not scrunch yet. Raking first means the product is already distributed, so when you do scrunch, you are shaping instead of spreading. It sounds small, but it makes a huge difference in how the final finish looks and feels.
The Prayer Hands Trick Nobody Talks About
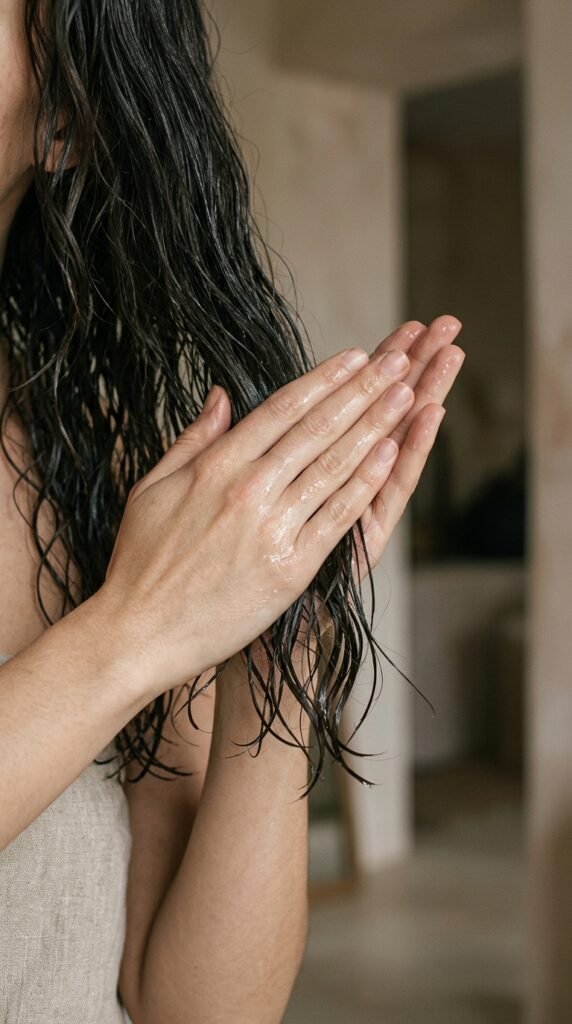
This is the move that separates salon-level wet look hair from the sticky version at home.
Press your palms together flat, with your hair sandwiched gently in between. Slide your hands from mid-length all the way down to the ends. Repeat three or four times.
Prayer hands smooth the cuticle, push the product in evenly, and remove any excess in one motion. You get smoother, glossier hair without adding extra product. It also works beautifully on a quiet luxury bob where you want that clean, seamless finish along the length.
Scrunch Gently, Never Aggressively
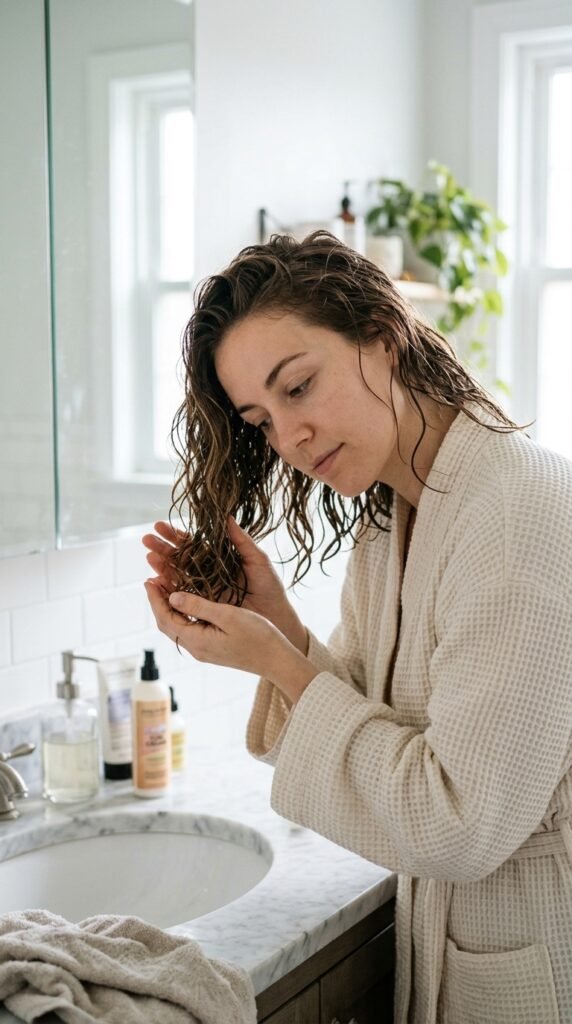
Aggressive scrunching is the fastest way to create frizz and uneven product clumps.
Cupped hands. Gentle squeezes. Work upward from the ends toward your scalp, holding each squeeze for two seconds.
- Use a soft t-shirt or microfiber if you want extra absorption
- Do not twist or wring
- Stop as soon as you see the shape forming
If you are going for a glassy slick-back instead of texture, skip scrunching entirely. Comb everything back and let it dry flat for that mirror-shine finish.
How to Get the Wet Look on Straight Hair
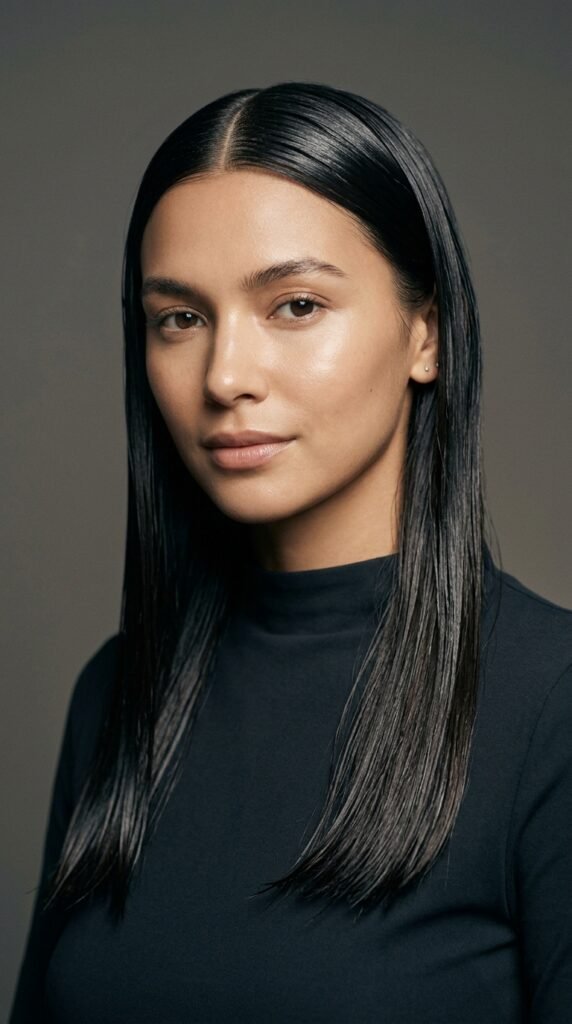
Straight hair is honestly the easiest texture for this trend. It is naturally built for that glassy, sculpted look.
Apply your gel to damp hair, rake it through, then comb everything back with a fine-tooth comb. Use your hands to press the hair flat against your head as it dries. A little light hairspray on your palms helps set the front pieces.
For an asymmetrical lob, comb toward the longer side and tuck one side behind your ear for contrast. Avoid heavy creams here. On straight hair, cream reads as greasy fast, while a water-based gel reads as shiny. That is the whole difference.
How to Get the Wet Look on Curls and Coils

Curls and coils need moisture first, hold second. If you apply gel to thirsty hair, it will look dull and crispy every single time.
Start with a leave-in on soaking wet hair, then a curl cream, then gel. Rake, then prayer hands, then scrunch.
- Work in small sections, always
- Add water as you go, not more gel
- Diffuse or air dry completely before touching
Once dry, scrunch softly to break the cast. You will be left with shiny, defined curls that still look wet without any sticky coating. This is the version I see most on 2026 hairstyles roundups, and it works on every curl pattern.
Fine Hair? Read This Before You Start

Fine hair is where sticky residue shows up first, because there is less hair to absorb the product.
Use mousse at the roots and a light gel on the ends. Skip cream completely, or use the tiniest amount on your ends only. Heavy products flatten fine hair and make it look oily within an hour.
Another trick: apply everything with your head upside down, then flip back and smooth. You get root lift without piling on product. If your hair still looks weighed down, you used too much. Rewet a section and blot it with a towel to remove the excess, then restyle.
Thick Hair? Here Is Your Adjustment

Thick hair can handle more product, but it needs more water too. Otherwise the gel sits on the outer layer and never reaches the strands underneath.
Work in four to six sections. Keep a spray bottle nearby and rewet each section before you apply. Rake, prayer hands, then scrunch.
If you are going for a sleek glassy finish, you may need two rounds of gel: one on damp hair, one on nearly dry hair for the top layer. This gives you that glossy surface without a heavy, sticky feel underneath.
Diffusing Without the Frizz
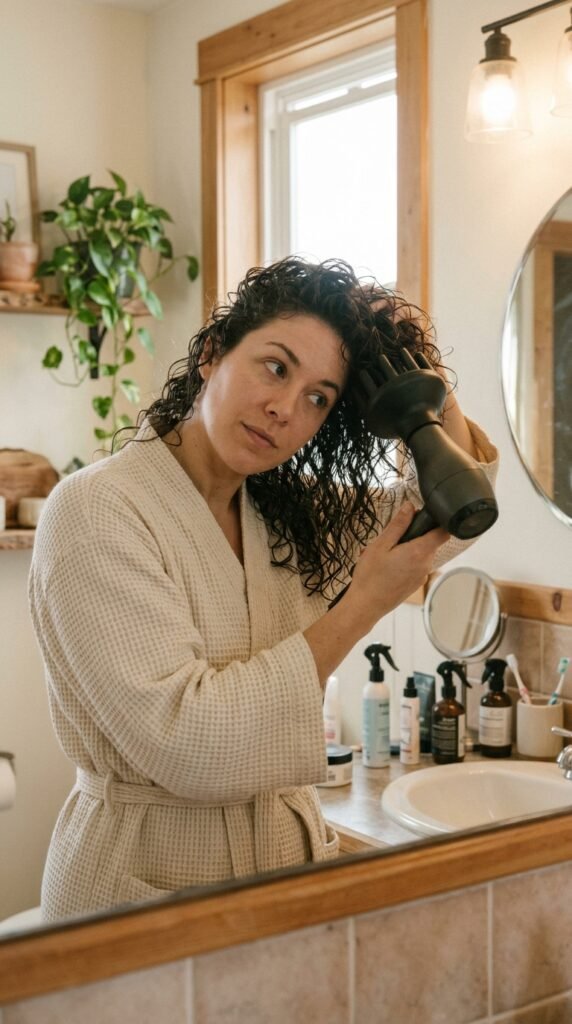
Diffusing is the fastest way to set the wet look, but only if you do it gently.
- Use low speed and medium heat
- Hover around your head first, don’t touch
- Cup sections in the diffuser bowl and hold for 20 seconds
- Turn off the dryer before removing each section
Never move the diffuser around while your hair is inside it. That is what creates frizz. And always finish with a cold shot to lock the shine in. Dry about 90 percent of the way, then let the rest air dry for the softest result.
Air Drying for the Softest, Least Sticky Finish

If you have the time, air drying gives you the most natural, least sticky version of the wet look. There is no heat pushing product into the cuticle.
Style as usual, then leave it alone. Truly. Touching your hair while it dries is what creates frizz and breaks the gel cast too early.
Expect it to take one to three hours depending on your density. For a faster dry, sit near a fan on low, or clip your roots up for lift. The payoff is hair that looks glossy and feels soft, not crunchy or coated.
Breaking the Cast Without Breaking the Style
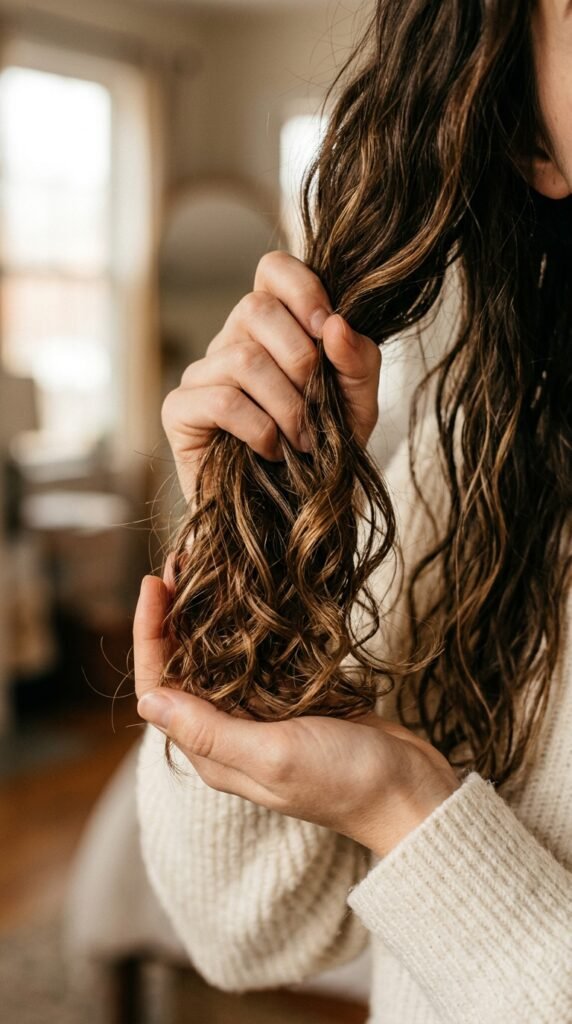
A gel cast is that crunchy shell that forms as the product dries. It is protecting your style, so do not panic.
Once your hair is 100 percent dry, gently scrunch with dry hands. You will feel the crunch disappear and softness appear underneath. That is the moment the style actually looks good.
- Wait until fully dry, or you will get frizz
- Scrunch upward, not downward
- Add one drop of lightweight oil on your palms for extra shine
If your hair still feels sticky after scrunching, you simply used too much product. Next time, cut the gel amount in half.
Making the Wet Look Last Through Humidity

Humidity is the wet look’s biggest enemy. It sneaks under the gel and puffs everything up.
The fix is a humectant-free gel, meaning one without glycerin listed near the top. Glycerin pulls moisture from the air into your hair, which is great in dry climates and terrible in humid ones.
Finish with a light mist of flexible hairspray to seal everything. Keep it light, since heavy spray makes hair stiff and dull. Then avoid touching your hair all day. Hands transfer oil, and oil is what turns a clean wet look into a sticky one by 3 p.m.
The Wet Look With a Quiet Luxury Bob

A quiet luxury bob and the wet look are a match made in heaven. The blunt lines look incredible when glossy and sculpted.
Comb a water-based gel through damp hair, part it slightly off-center, and press the sides flat against your face. Let it dry completely before touching. Tuck one side behind your ear for a clean, intentional finish.
Keep the gel light near the ends. On short hair, too much product builds up fast and leaves a visible white film. A small amount at the roots and mid-lengths is all you need for that polished, expensive-looking shine.
Old Money Hair and the Asymmetrical Lob

Old money hair is all about looking effortlessly polished, and the wet look fits right in when you keep it subtle.
Skip the full glassy slick. Instead, aim for glossy roots and softly defined ends. It reads as healthy and shiny rather than wet and sticky.
On an asymmetrical lob, rake your product toward the longer side and use a comb to smooth the top section only. Leave the ends slightly undone. Pair it with a middle part and tucked-back shoulders for that timeless, understated finish. Less product, more polish. That is the whole idea.
Romantic Goth Hairstyles and the Wet Look

Romantic goth hairstyles love the wet look. That moody, glossy finish is basically made for it.
Use a strong-hold water-based gel and work it through damp hair from roots to ends. Add a deep side part and loose, glossy waves through the lengths. Think rain-soaked but intentional.
For extra drama, define a few face-framing pieces with extra gel and let them dry flat against your cheek. A dark plum or black shine spray on the ends adds to the mood without making anything sticky. It photographs beautifully in low light, which is exactly the point.
Vampire Haircut, Hime Cut, and Glitchy Glam Hair

These three trends all thrive on the wet look, so if you have one of these cuts, you are in luck.
- Vampire haircut: define the sharp center part and let the face-framing pieces dry flat against your cheekbones
- Hime cut: keep the blunt side sections glossy and straight, then let the back stay soft
- Glitchy glam hair: mix a glassy top layer with deliberately undone, textured ends
For all three, use gel on the structured sections only. Leave everything else alone. Contrast is what makes these styles look editorial instead of sticky.
How to Refresh a Wet Look on Day Two

Do not wash your hair just to redo the wet look. You can bring it back in about three minutes.
- Fill a spray bottle with water and a pea-sized drop of gel
- Mist the sections that lost their shape
- Re-rake those sections with your fingers
- Prayer hands over the surface for shine
Focus on the top layer and your face-framing pieces. Those are the areas people actually see. The underneath can stay as it is. This trick works especially well on a quiet luxury bob or a short vampire haircut, where the shape is mostly built at the root.
Stopping Flakes and White Residue for Good
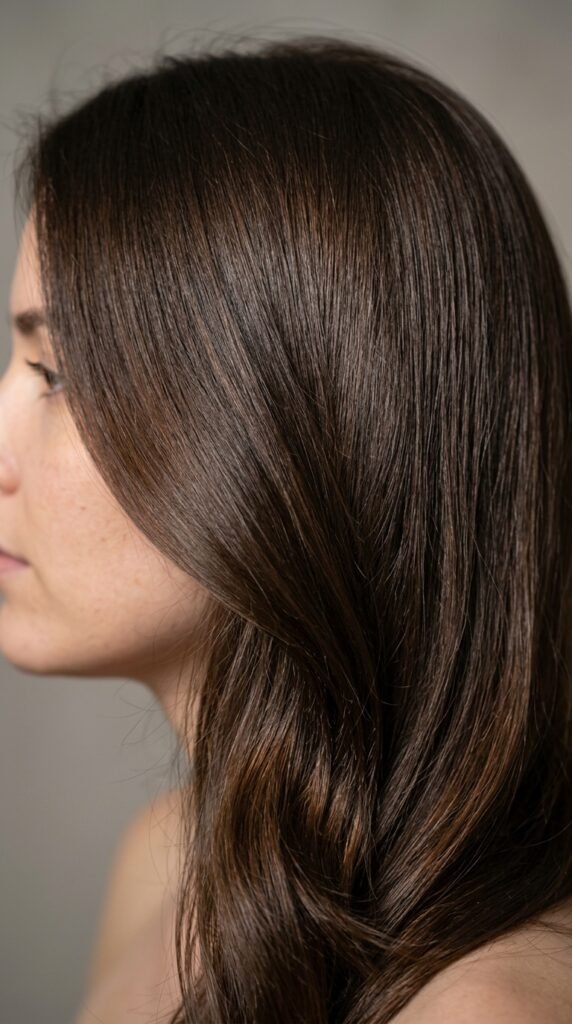
White flakes are the number one complaint about the wet look, and they are almost always caused by one thing: product overload.
- You used too much gel
- You layered oil over water-based gel
- You applied to hair with leftover product on it
- You touched your hair while it was drying
Start with less product and add water instead. If you already have flakes, mist the area with water and blot gently with a microfiber towel. For a full reset, rinse and restyle. Once you get the amount right, flakes basically stop happening.
Washing It All Out Without Stripping Your Hair
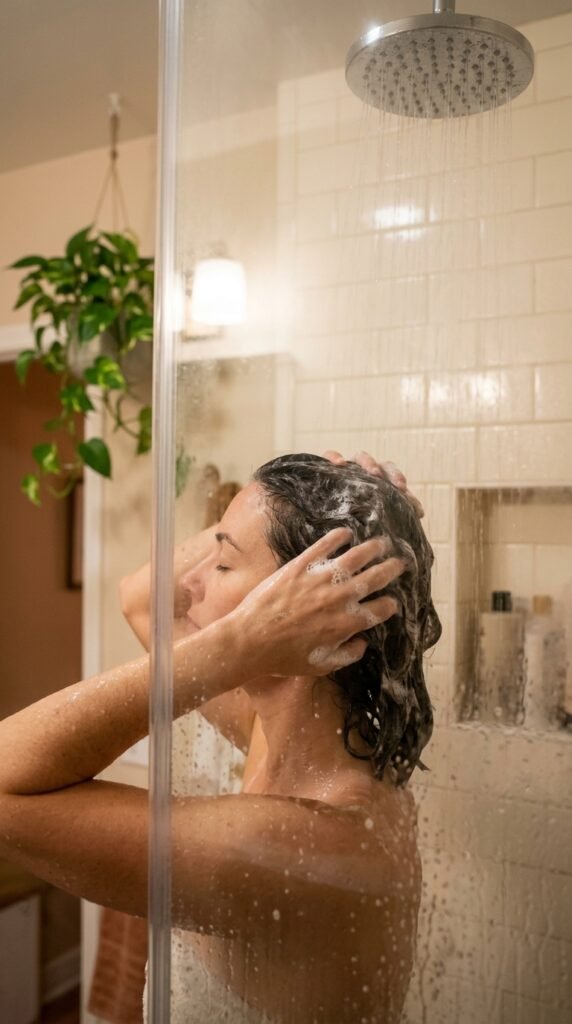
The wet look uses more product than a normal style, so wash day needs a little extra attention.
Do one rinse with warm water first to loosen everything. Then shampoo gently, focusing on your scalp and roots, where buildup collects most. Follow with conditioner on your mid-lengths and ends only.
Once a week, use a clarifying shampoo if you style wet regularly. If your hair feels waxy or heavy even after washing, that is your sign. Clarify, deep condition, and you are back to a clean slate.
One Last Thing Before You Go
The wet look is one of those trends that feels intimidating until you realize it is mostly about restraint. Less product. More water. Fewer touches. That is genuinely it.
Start with the hybrid finish, use a water-based gel, and layer light. Once you get the hang of it, you can push into glassy slick-backs, soft damp curls, and all the moody, editorial versions you see everywhere.
And remember, if it feels sticky, you did not fail. You just used too much. Rinse, restart, and go lighter next time.
Save this post to Pinterest so you have it handy the next time you are getting ready and want that glossy finish in five minutes.
Now tell me in the comments: are you a glassy slick-back person or a soft damp curls person? I read every single one, and I would love to know which version you are trying next.