How to Style Box Braids So They Last for Weeks
Girl, I get it. You just got your box braids done, and you want them to look fresh for as long as humanly possible. Braids are a huge time investment, and honestly? They deserve a little TLC if you want them to stay cute.
The good news? With a few simple tricks, you can stretch those gorgeous braids to three or four amazing weeks without the frizz or fuzz ruining the look. In this post, I’m sharing my exact routine for making box braids last longer, protecting your edges, and keeping your scalp happy. All of it is easy to do at home.
No fancy products. No crazy hours in front of the mirror. We’re talking practical, real-world tips that actually work. Trust me, these are the same tricks I use when I need my own style to stay flawless for a busy month. Let’s get your braids looking like day one, well past day fifteen.
Why Box Braids Are the Ultimate Trusty 2026 Hairstyle
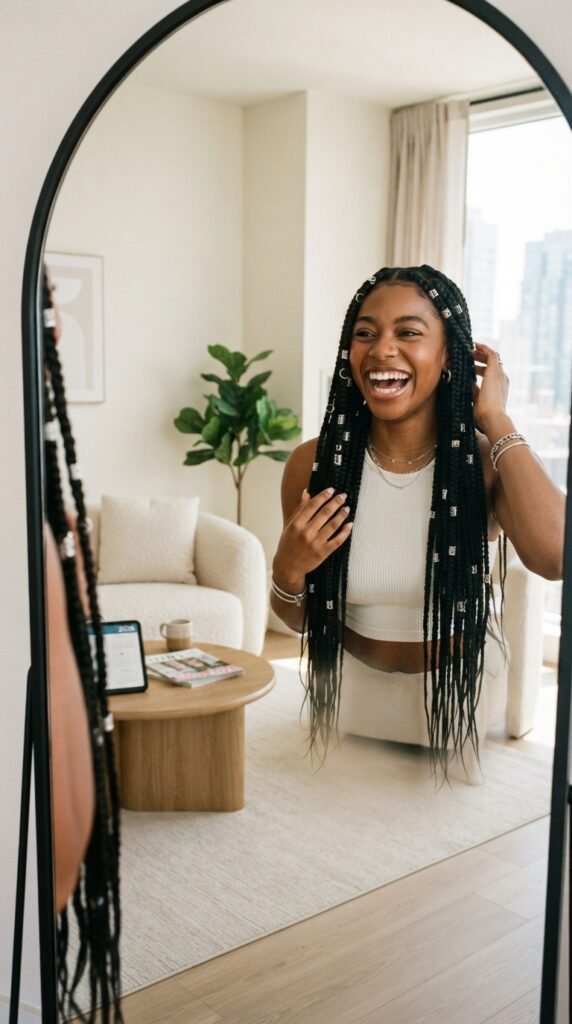
Box braids are still showing up in every major trend roundup for 2026 hairstyles, and I’m honestly not surprised. They’re one of the rare protective styles that look effortlessly cool, take less upkeep than loose hair, and give you freedom for weeks.
Whether you keep them waist-length or go for a shoulder-grazing version, your braids become the perfect base for a dozen quick styles. Less daily stress, more “I woke up like this” energy.
Step One: Wash and Deep Condition Before You Braid

Your braids are only as fresh as the hair you hide underneath. Wash your natural hair with a clarifying shampoo to remove buildup, then follow up with a rich deep conditioner for 20 to 30 minutes.
Doing this pre-step gives your strands the slip and moisture they need while they’ll be tucked away for weeks. Dry your hair completely before you head to your braider. Damp hair underneath can cause mildew and itching.
Step Two: Pick the Right Braiding Hair Texture
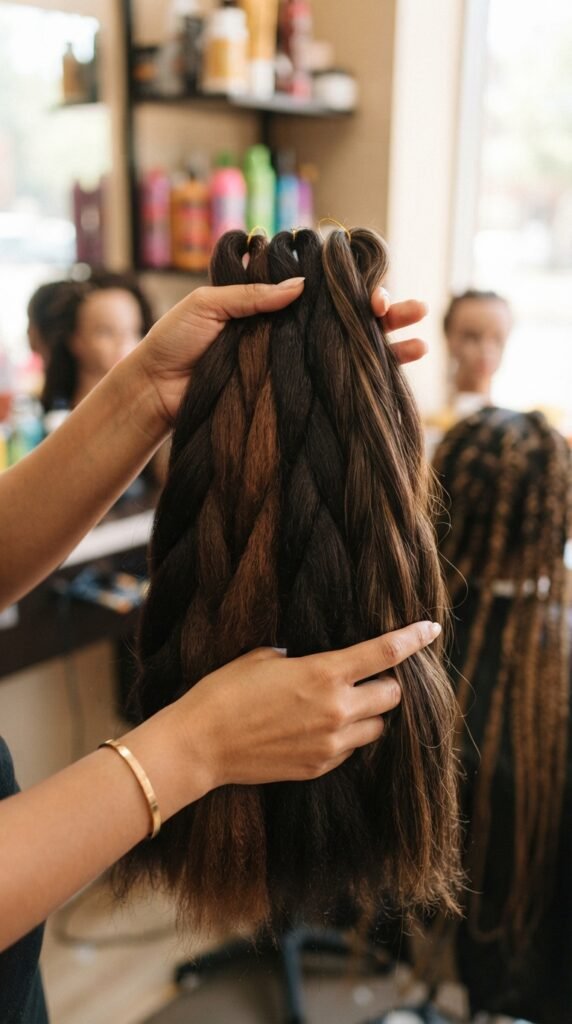
Don’t just grab any pack from the store. The texture of your braiding hair matters a lot for how long your style will stay neat. Softer, Yaki textured hair blends better with natural hair and won’t cause as much frizz.
Also check the weight of the hair. Too heavy and your edges will suffer. Too light and the braids might look thin. A good rule is to take a small strand and wrap it around your finger – if it holds the curl without kinking too much, it’s a winner.
Step Three: Keep the Tension Easy on Your Edges
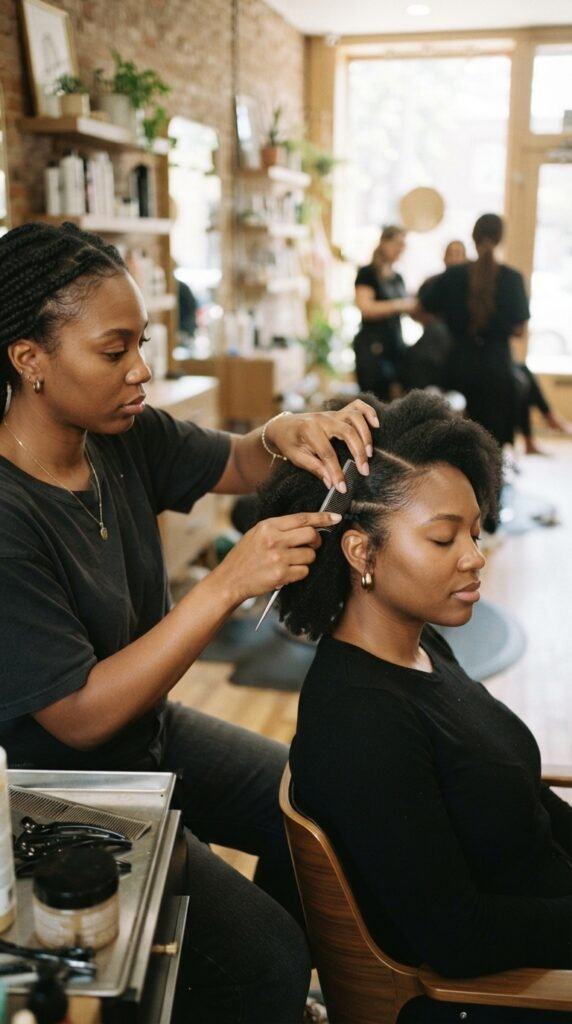
We all want neat braids, but your hairline wants to live. Tight braids along your edges are a fast ticket to breakage and sore bumps. Ask your stylist to keep the tension lighter along the front and nape.
If a braid feels like it’s pulling your eyebrows up, say something immediately. A tiny adjustment now can save you from a week of pain and a month of damaged edges. Remember, healthy edges are what let you wear your braids down without stress.
Step Four: Boost Moisture With a Light Leave-In
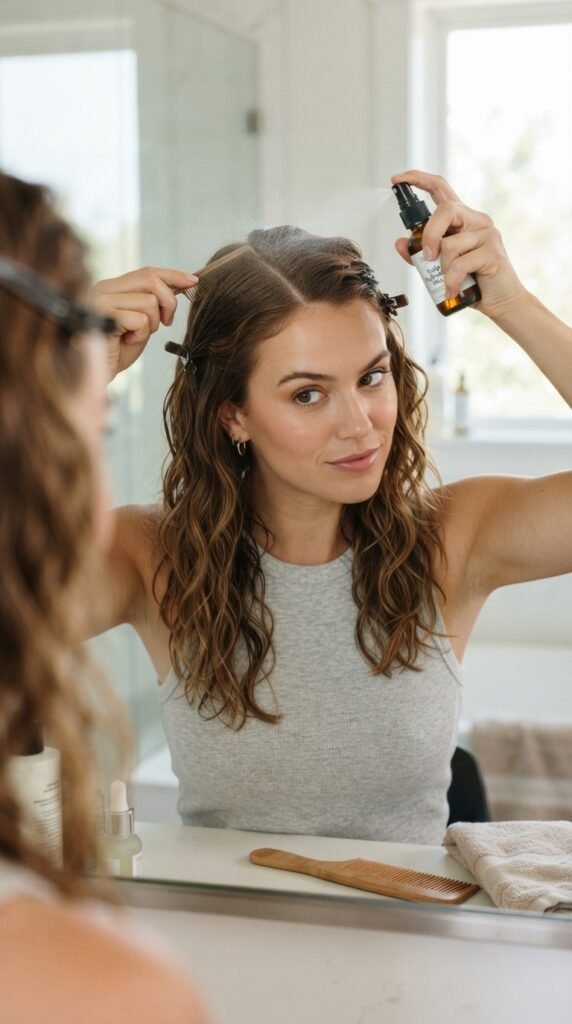
Your scalp still needs hydration while it’s under all those braids. Mix one part leave-in conditioner with three parts water in a spray bottle. Spritz lightly directly on your scalp once every few days.
Heavy creams are a no-go. Thick oils and butters can sit on your skin, clog pores, and mess with the shine of your braids. A light mist keeps you fresh without causing buildup or greasy-looking parts.
Step Five: Smooth Your Edges With Care and Patience
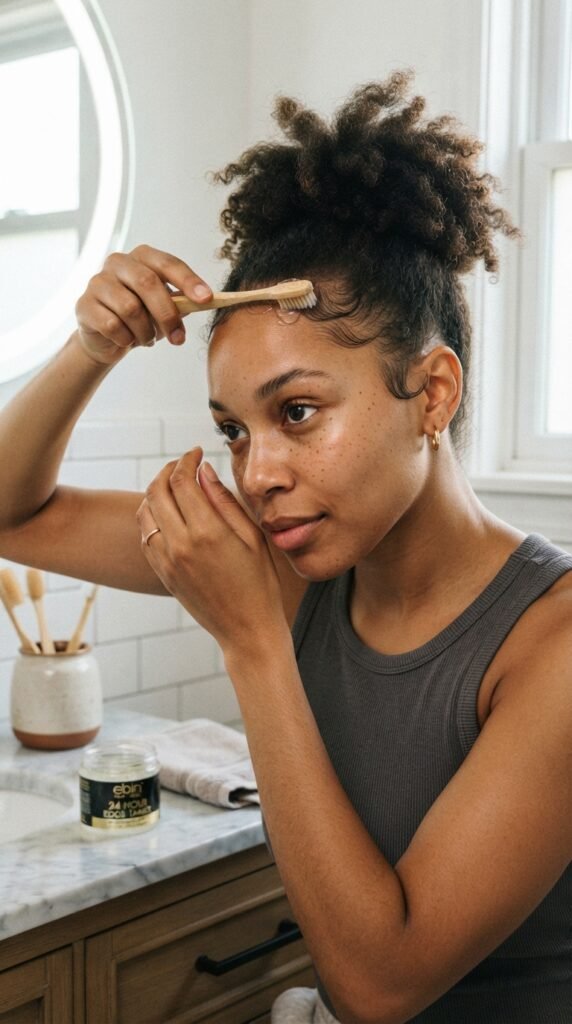
The key to durable edges is less product and more patience. Apply a pea-sized amount of edge control that comes in a gel texture, not a paste. Use only your fingertips or a soft toothbrush to smooth back baby hairs.
Once you’ve got them placed exactly where you want, tie a satin scarf around the perimeter for five minutes while it sets. You get a clean, laid look that doesn’t flake and actually holds through humidity.
Step Six: Seal the Ends So They Stay Slick For Weeks
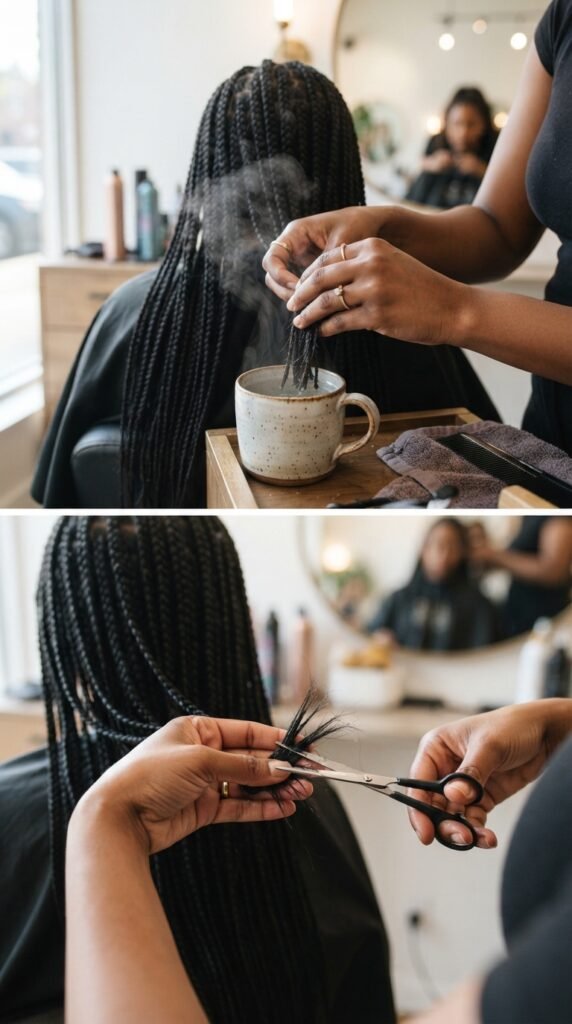
You can’t let the ends of your braids go wild. When your braider finishes, ask for the ends to be sealed with warm water or a specially designed sealing gel. That simple step locks off the ends and stops them from unraveling.
At home, run your fingers over each tip every few days. If you feel a fuzzy section, use a tiny dot of hair wax and roll it between your fingers. This little habit keeps all your braids looking polished.
Sleep Trick That Keeps Your Old Money Hair Energy Intact
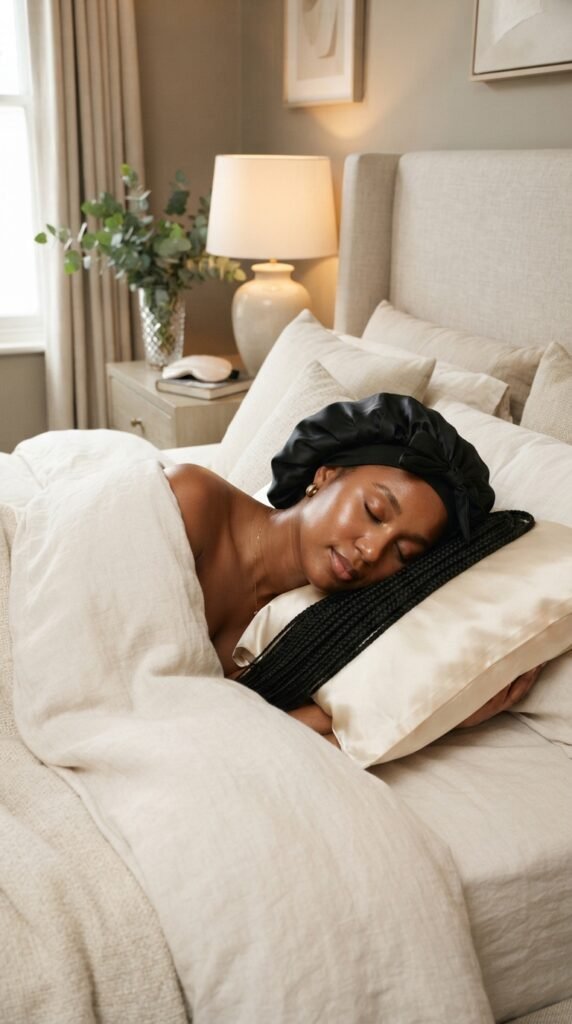
Old money hair is all about controlled polish, and that vibe starts overnight. Wrap your braids in a satin or silk scarf before you go to sleep. You can also loosely braid them into two large twists to reduce friction.
If your braids are extra long, don’t sleep on them loose. Tuck them under your head scarf completely. That keeps them from rubbing against the pillow and creating frizz. You wake up with them looking just as neat as the day you got them.
The Morning Refresher Every Client Swears By
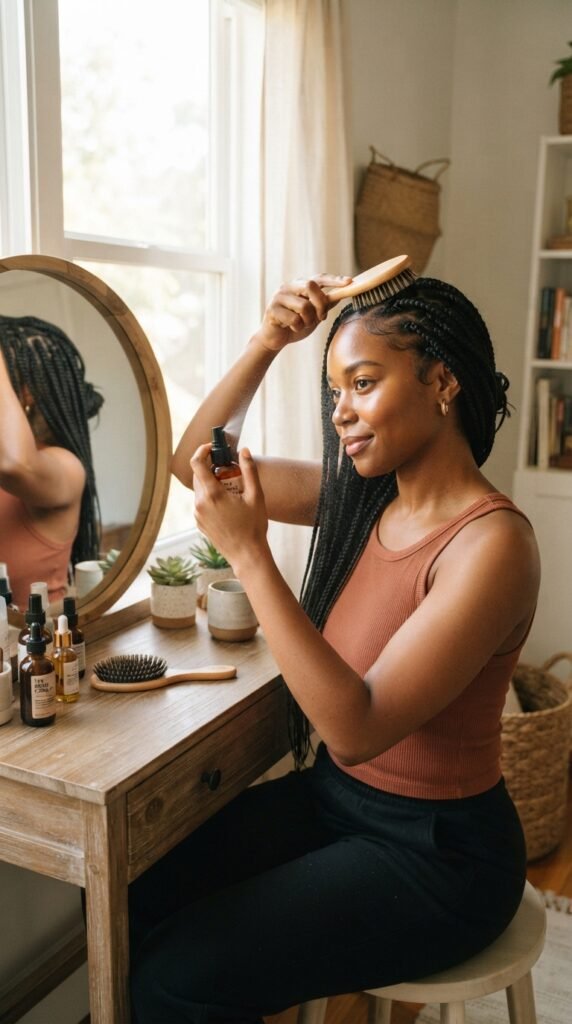
Give your braids a quick reset in the morning, even if you haven’t washed them yet. Spray your hands with water and run them down each section to flatten any flyaways. Then, gently smooth your part lines with a wide-tooth comb or your fingers.
You don’t need to redo anything. The goal is minimal while still keeping that “fresh from the salon” shine. Add a tiny bit of hair oil to your palms if you notice dull spots, and pat them down.
How to Wash Braids Around Day Ten Without the Frizz
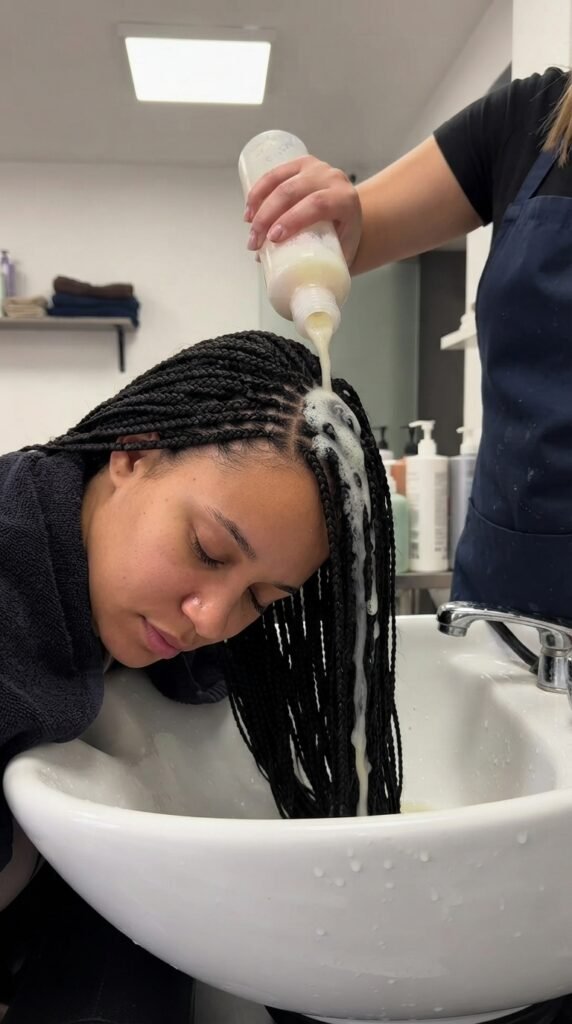
You can absolutely wash your braids without ruining them. Wait at least ten days, then fill a squeeze bottle with watered-down shampoo. Squeeze it directly onto your scalp in a line along each part. Gently scrub with your fingertips in small circles.
Rinse with cool water and never rub your braids together. Pat them dry with a towel or put them in a scrunchie and let the water drip. Keeping the wash minimal is what preserves those parts and prevents frizz for weeks.
Never Sleep on Wet Braids – Here’s Why
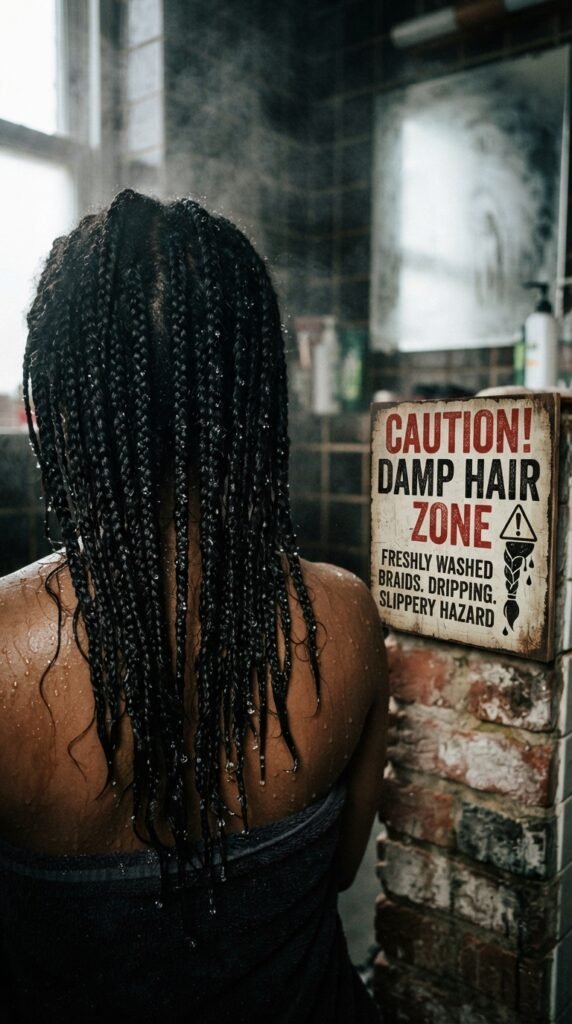
This is the most common way people accidentally wreck braids. Wet braids are heavy and lose their hold while drying. They can also create a damp environment on your scalp, leading to an unpleasant mildew smell.
If you need to wash them, do it earlier in the day so they have plenty of time to fully dry. If you’re in a pinch, sit under a hooded dryer for 20 minutes on low heat. Their shape will stay sharp and your scalp stays happy.
Use a Lightweight Oil to Keep Your Parts Lookin’ Fresh
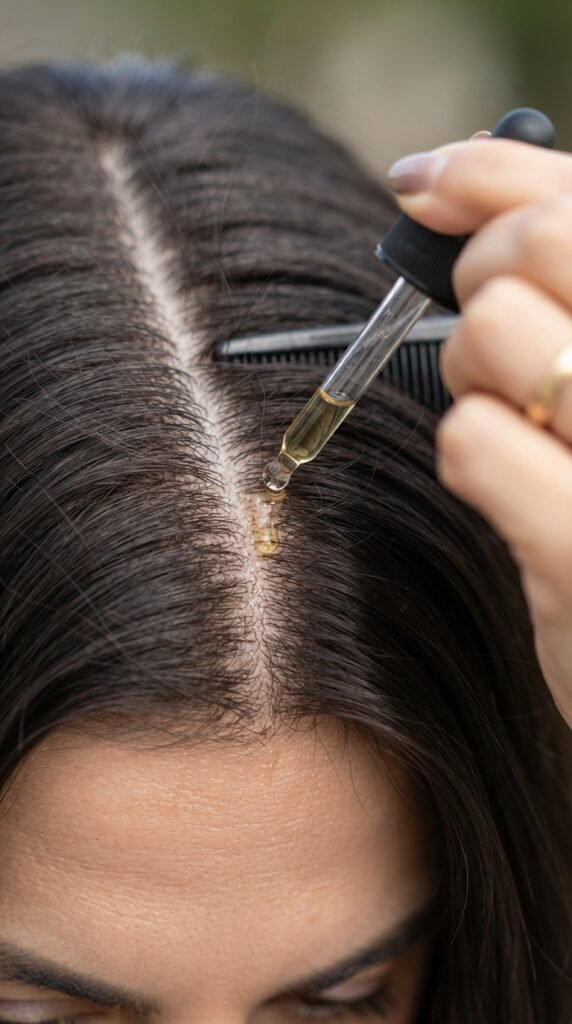
Your braids look freshest when your parts are shiny and moisturized. Use a lightweight oil, like jojoba, grapeseed, or a hair-specific blend, and carefully rake it along your part lines with your fingertip every two to three days.
Avoid heavy olive oil or castor oil. Those are too sticky and will attract lint and dust that make your parts look dull. A thin oil keeps everything smooth and gives you that clean, freshened look without feeling greasy.
Styling Box Braids Into a Quiet Luxury Bob

The quiet luxury bob took over the hair world because it looks expensive and effortless. You can recreate that exact silhouette with box braids. Simply loop the ends of your braids under and tuck them in yourself.
Use a small clear elastic to hold the tucked section, or blend it with a few bobby pins. You instantly get the polished, blunt bob look that’s everywhere. It’s perfect for days when you need a style shift without any extra damage.
A Romantic Goth Hairstyle With Box Braids and Jewels

Romantic goth hairstyles are all about dark allure and soft details. With your braids, you can lean into that aesthetic by adding small silver or gold cuffs, glass beads, or little chains. Space them sparingly for a delicate look.
For an evening out, take two braids from each side and twist them into a low updo at the nape. Leave a few loose pieces around your face for that moody, mysterious finish. It’s playful but still gives the romantic goth energy.
Glitchy Glam Hair Ideas With Braids and Metallic Threads
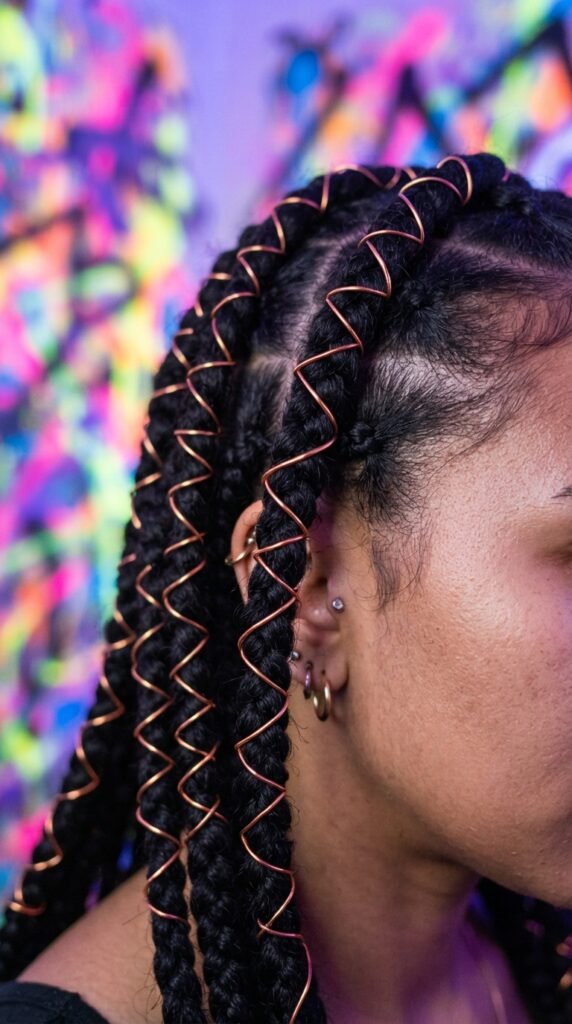
Glitchy glam hair is one of those bold trends that takes a graphic, almost techy twist. Box braids make it possible by using thin metallic threads or brightly colored extensions. Wrap a small piece of thread around a few braids at random spots.
You can create sharp diagonal lines that mimic an old TV screen glitch. It’s weirdly pretty and makes your style feel custom and futuristic. Best part? You don’t have to change your braids at all. Just add the thread and go.
Asymmetrical Lob Look for Box Braids
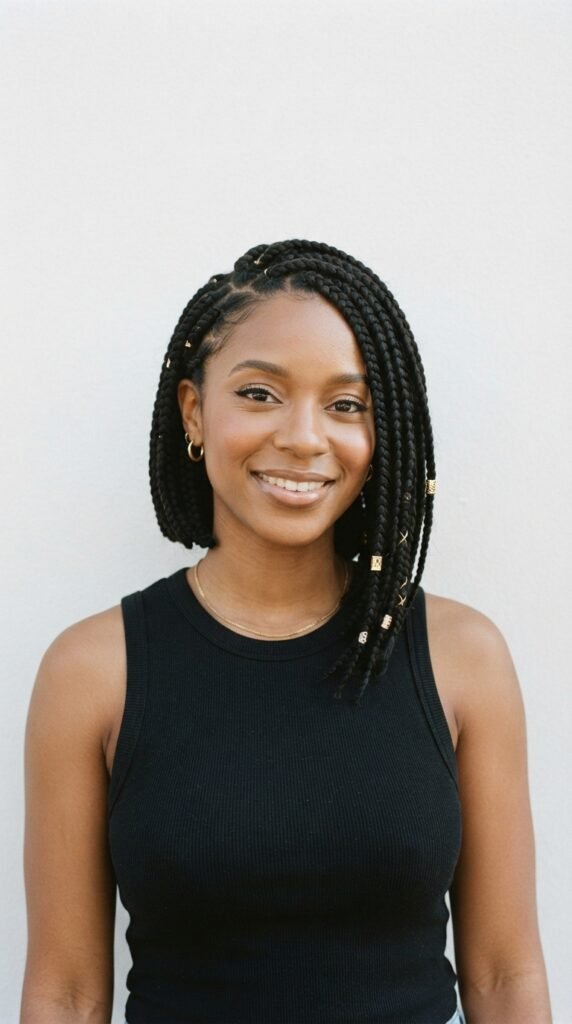
The asymmetrical lob is all about a sharp, chic line that’s shorter in the back or one side. To get this look with your braids, simply gather them to one side of your neck and create a faux bob shape.
Let one section fall longer over your collarbone while keeping the other side tucked or pinned higher. It gives off major editorial energy without committing to a real cut. Use bobby pins to secure the back and you’re ready for a night out.
Vampire Haircut Vibes With Sharp Deep Parts
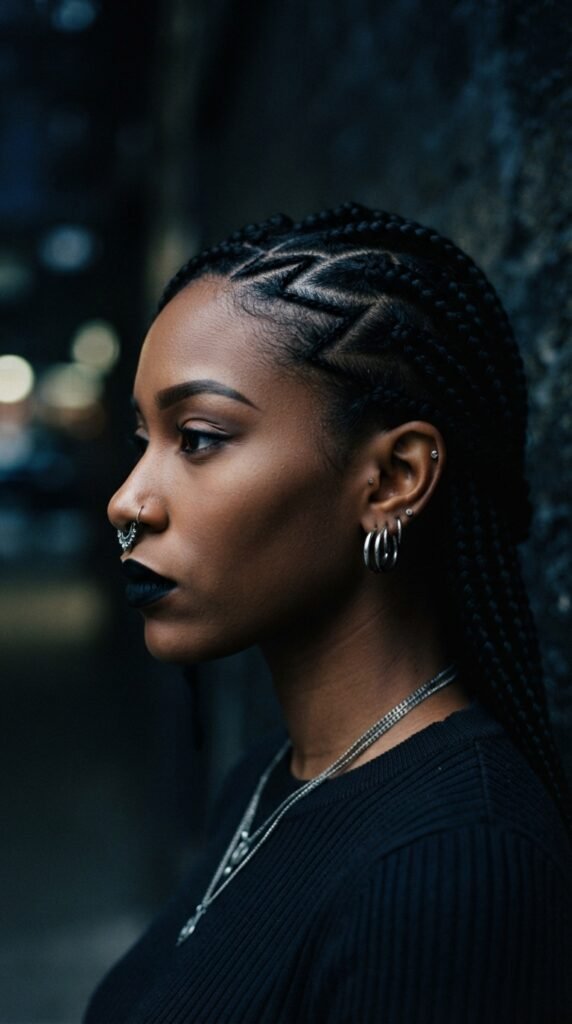
The vampire haircut is famous for sharp angles, long layers, and a little danger. You can channel that through brave part work. Instead of a straight center part, use the end of a rat-tail comb to create a diagonal or pointed zigzag part.
Finish with a deep side-swept edge that flips outward like old-school Hollywood. Add long, pointed side strands to frame your face. It’s a subtle nod to the vampire aesthetic without any scissors involved.
Hime Cut Style For Face-Framing Braids
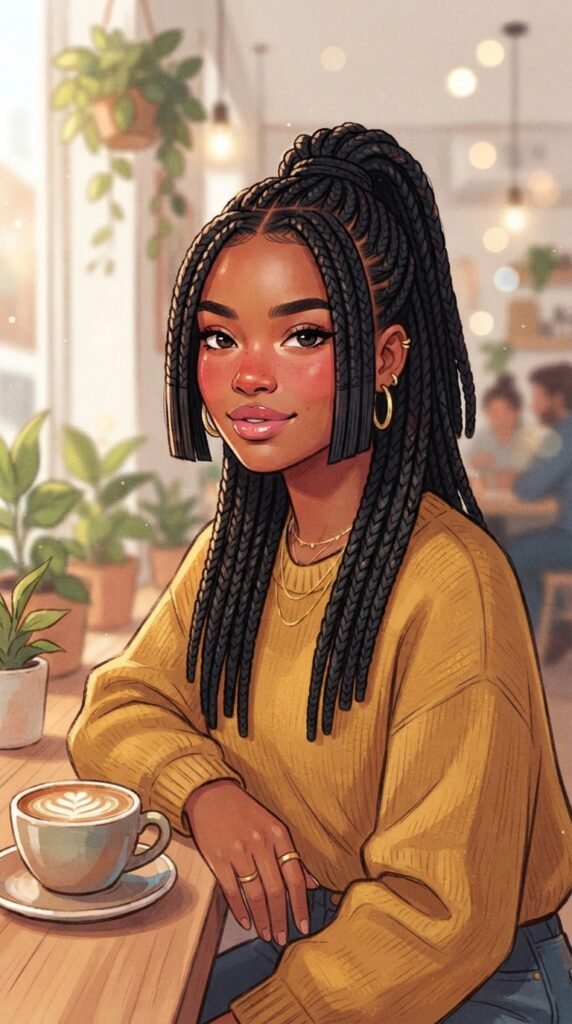
The hime cut uses those short, straight-across cheekbone pieces that frame your face. To pull this off with box braids, you’ll need to set aside the four front pieces when you get braided. Keep those shorter than the rest, right at your chin or cheekbone.
If your braids are already done, you can fake it. Take the two front braids and gently fold them up and under until they sit at cheekbone length. Pin them invisibly. You get the structured, doll-like look of the hime cut with zero permanent change.
How to Protect Braids While Working Out or Swimming
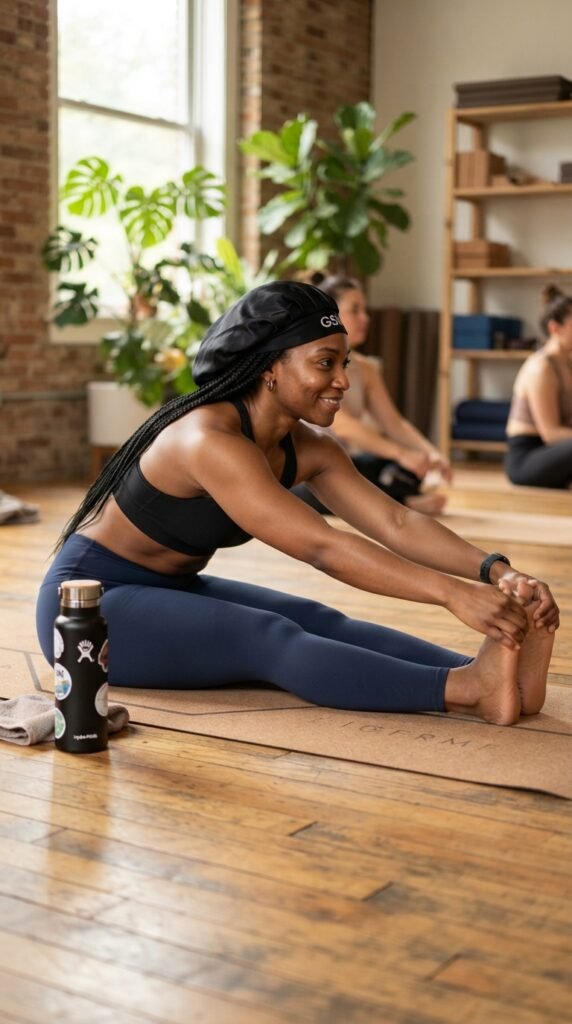
Your workouts shouldn’t wreck your braids. Put your braids into a high ponytail or a loose bun on top of your head. Then wrap a satin lined cap around your edges to keep sweat from soaking into your hairline too quickly.
For swimming, always wet your braids with clean tap water first. This stops chlorine and saltwater from being absorbed so deeply. Rinse thoroughly after you’re done and let them dry completely. A few small habits make a huge difference over the month.
Five Signs It’s Time to Take Down Your Braids
No matter how carefully you treat them, braids have a natural lifespan. Time to take them down if you see major shedding around the roots, excessive buildup on your scalp, or if they start to smell bad despite washing.
Another big sign is if your head feels sore and tender in a way that doesn’t go away. When you take them down, be gentle. Use a nourishing oil, work in sections, and follow with a protein mask to bring your natural hair back to life. Your hair will thank you for the break.
Alright, bestie, that’s my whole honest go-to routine for making box braids last weeks and weeks without losing their charm. The biggest secret is really just a few minutes of nightly care, a gentle touch, and using styles that work with your braids instead of fighting against them.
I hope this gives you all the confidence to keep your braids looking irresistible and cute. Try out that quiet luxury bob or a romantic goth vibe this weekend and tell me which one’s your favorite in the comments. Save this post to Pinterest so you have it ready for your next style, and don’t forget to share your results with me!


